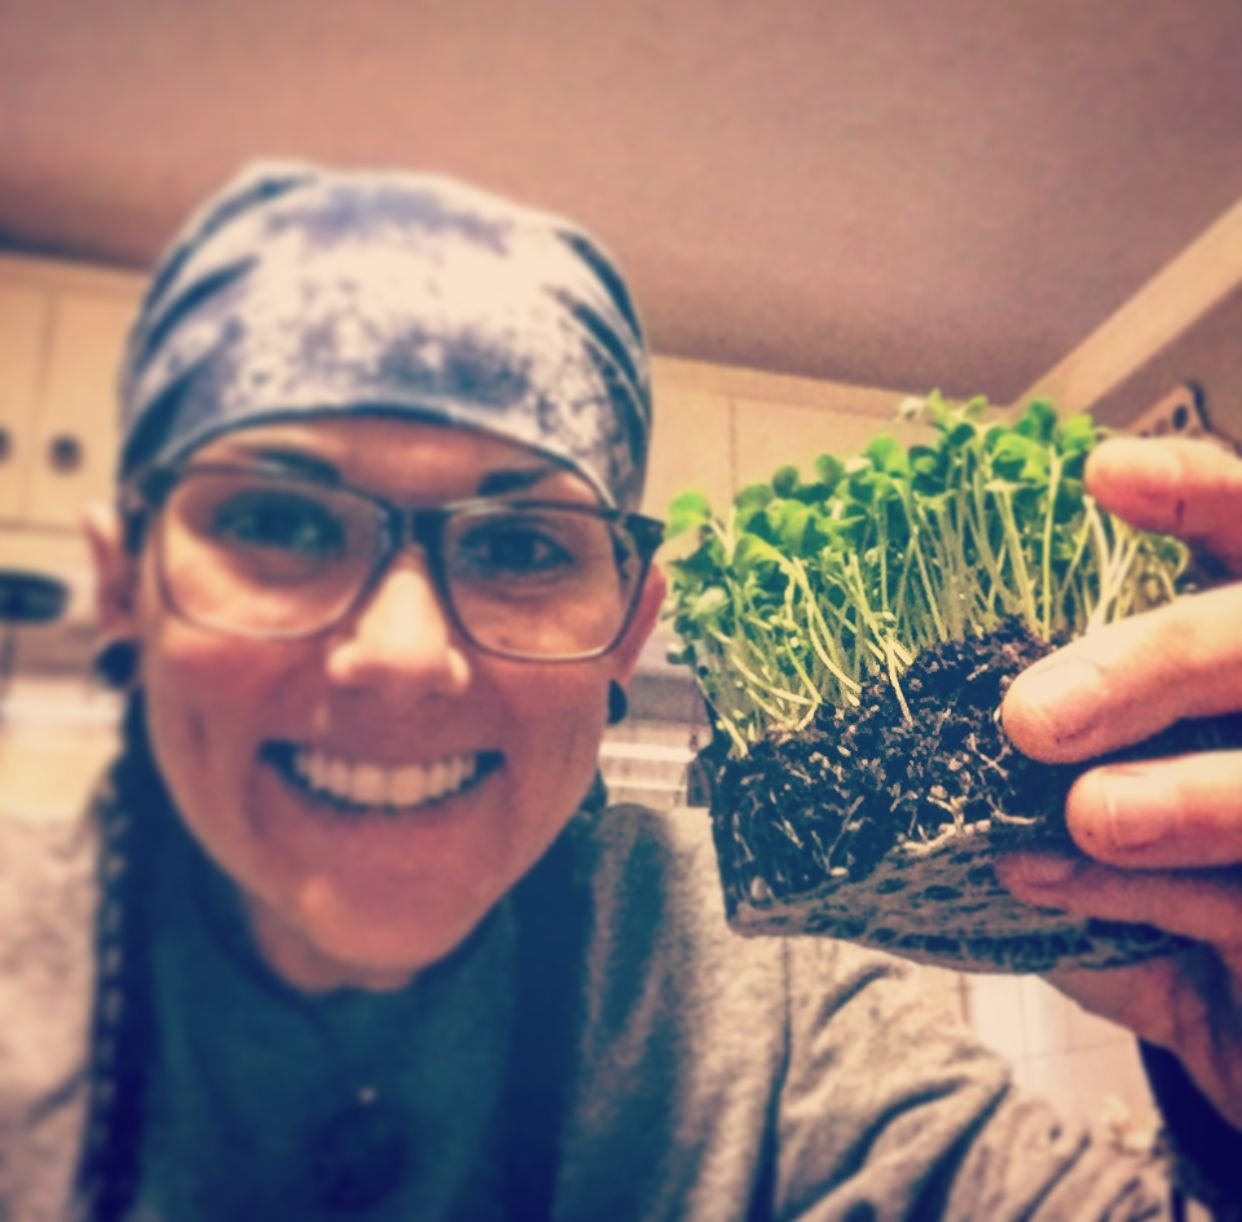
Everywhere I’ve read about growing microgreens in soil (as opposed to germination pads) have said that the harvest process of microgreens can be tedious. This is true. I will say that I think I want a pair of little kid scissors to get in really closely to the roots so I can cut as close to the soil as possible.
Some folks use the whole plant in their harvest, but I chose to clip the greens as close to the soil level as possible, and then I will be composting the remaining soil which also includes the roots from the greens in it as well. I’ve mentioned this before, but if you happen to have seeds germinate in your compost, just be sure to mix up your compost and break up these shoots as they may arise.
Rather than cutting from in the tray (bit of an awkward angle), I chose to remove the flats from the containers so I could get even closer to the dirt-level to make my cuts. I was surprised how easily these came out of the containers. Especially the kale, which had quite a complex network of roots holding everything together. I had suspected that these particular kale weren’t going to get much larger because I had planted them so densely....looking at these roots, I think I was right.
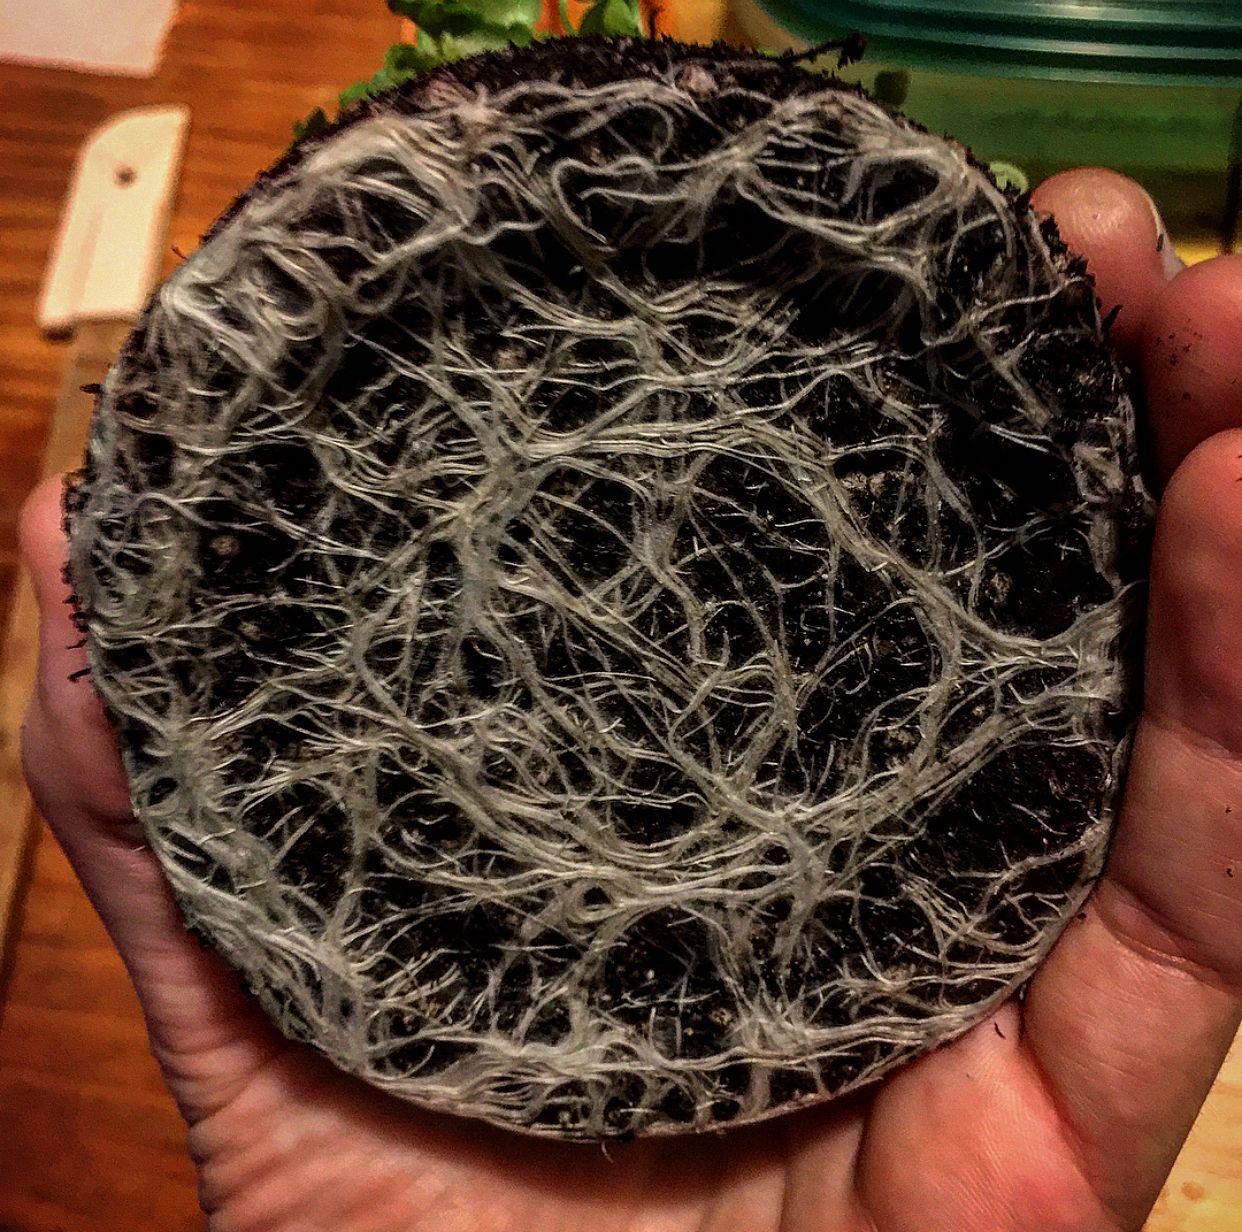
To remove them from the containers, I used a spatula and a butter knife. The kale practically came out on its own.
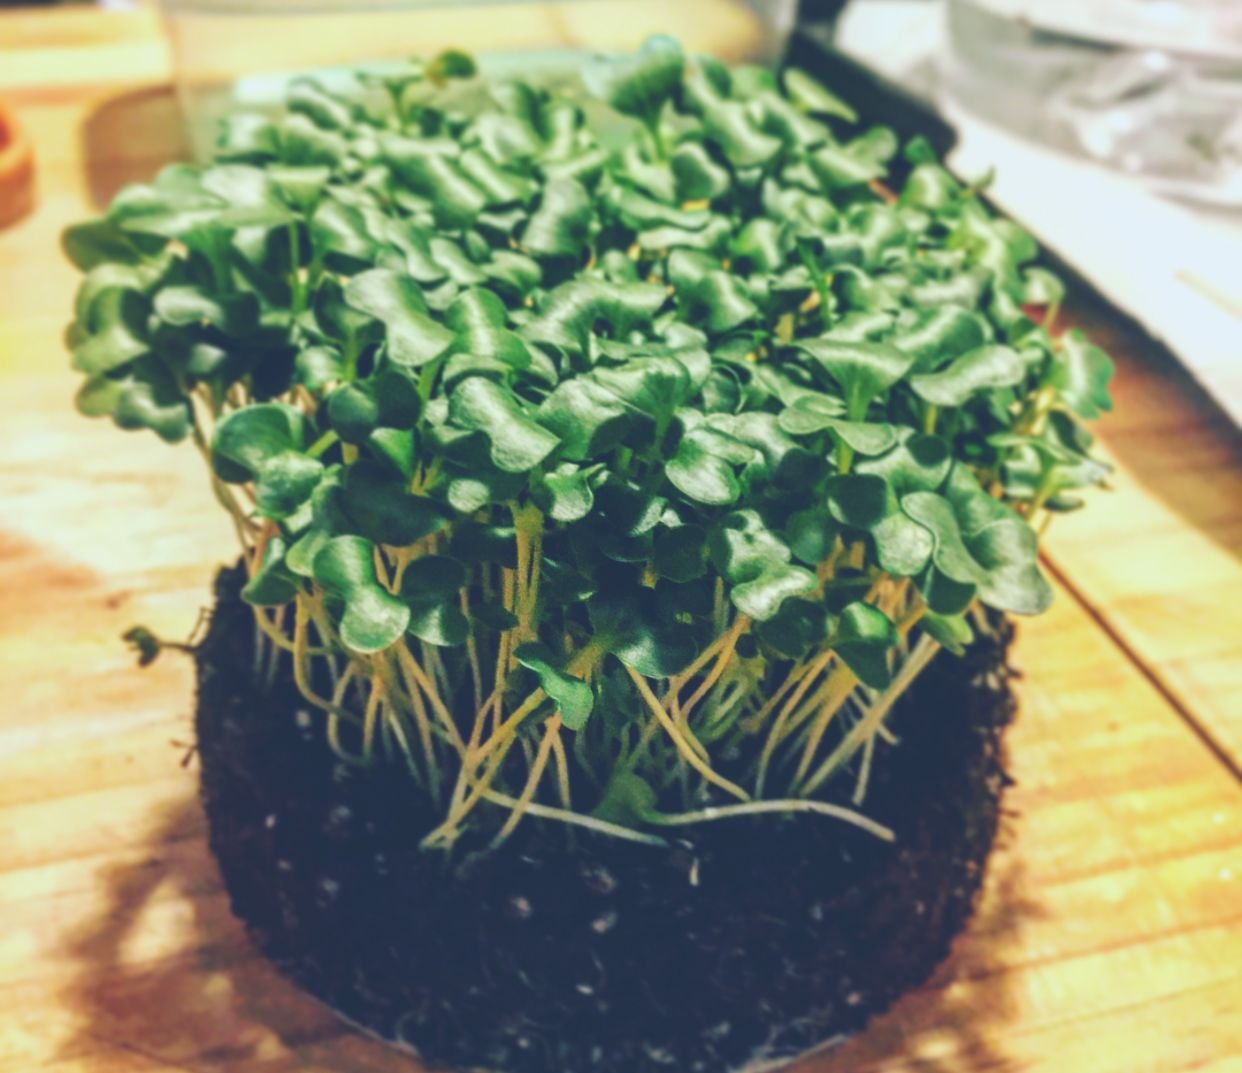

For maximum freshness, leaving the greens in the planters until you are ready to use them is probably going to be the best practice...however, you can also harvest them as a whole, package them, and they’ll keep nicely in the refrigerator for about a week (according to the numerous sources I’ve been checking out over the course of the past few months as I’ve been researching this).
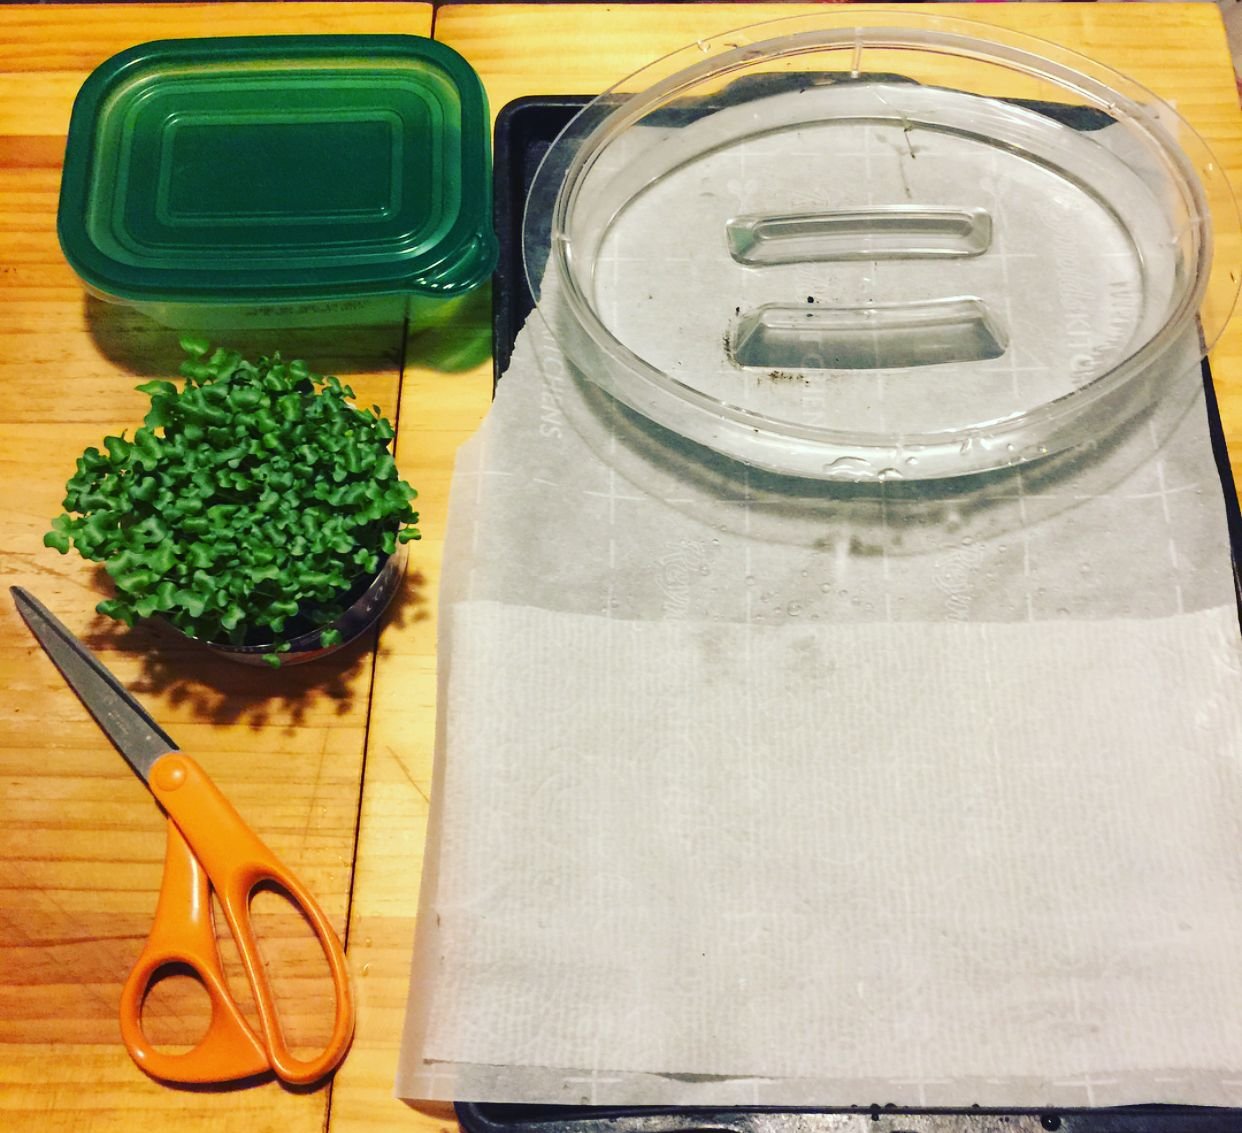
Here’s what you need to harvest your greens:
1 ) scissors
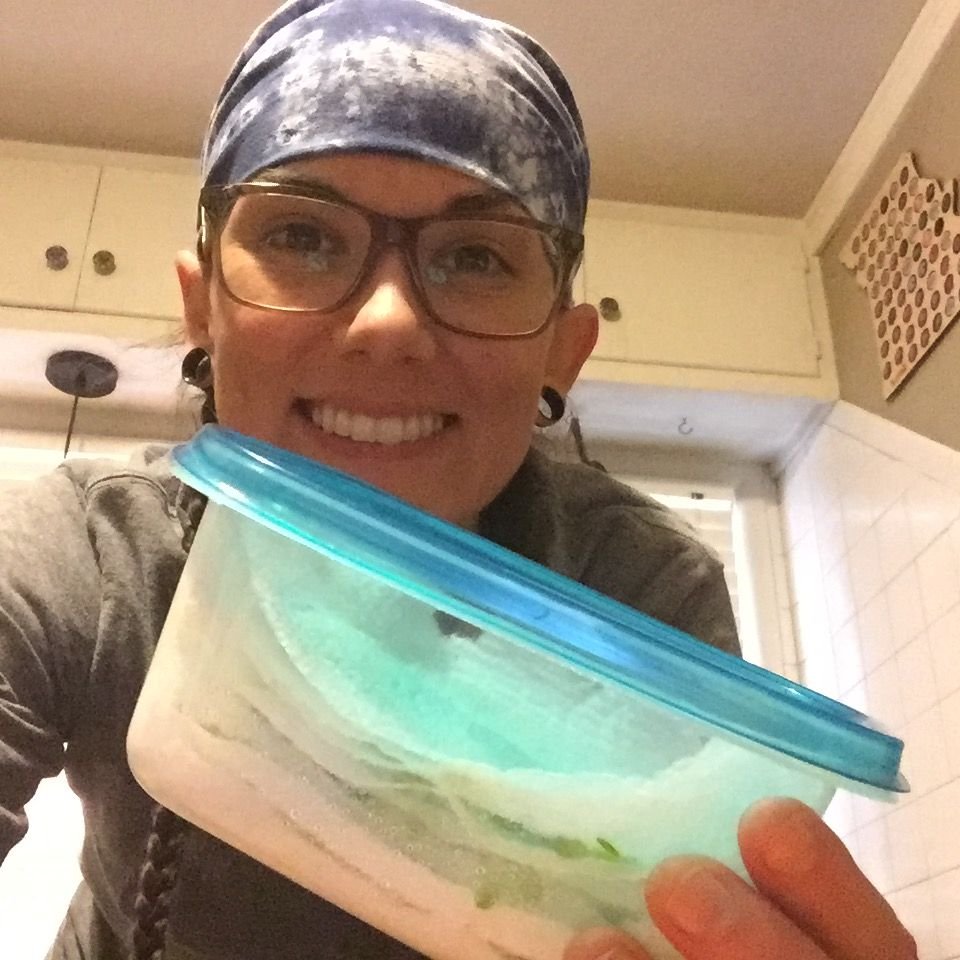
2 ) air-tight container
3 ) moistened paper towels to fit the container
4 ) surface covered with moist paper towel to lay out your initial cuts
5 ) water mister/sprayer (optional, but totally handy)
First of all, once you start clipping, you’ll want to work quickly. These greens will wilt if kept at room temperature for too long, so if you think it takes you a little too long at first (like I did when I was clipping them), I went ahead and put one container in the fridge before it was “full” so I could go ahead and keep them cold while I was working on the others.
As you clip the microgreens, make sure to give them a quick dip in cool water and leave them on the paper towel surface.
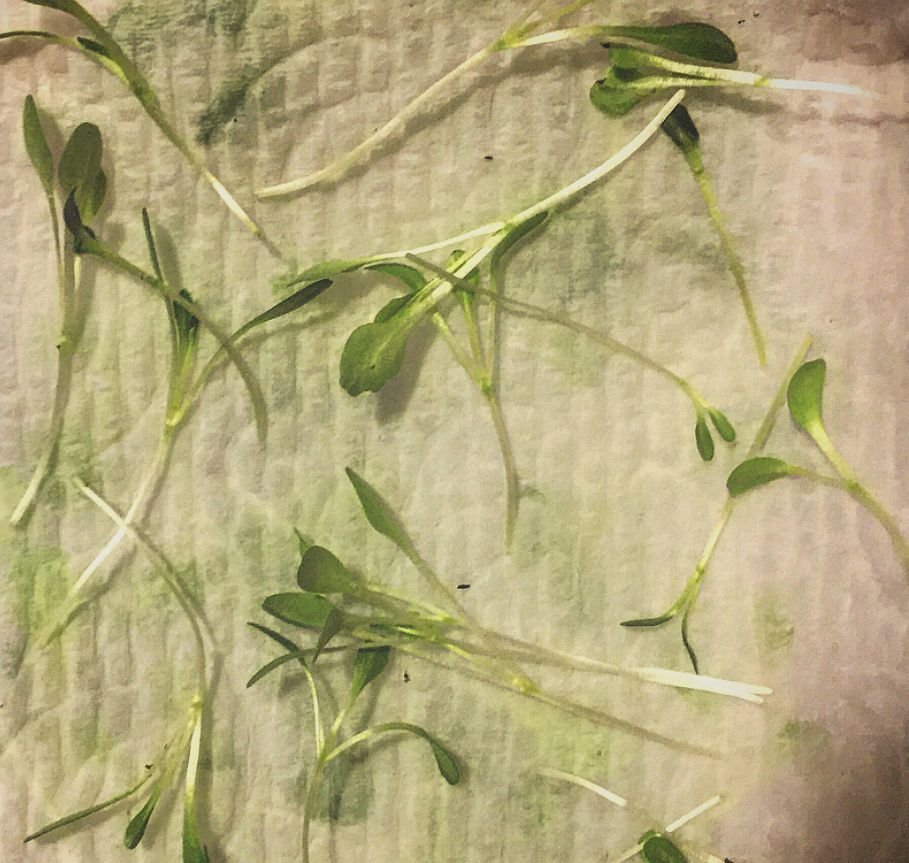
Place them on moistened paper towels inside the airtight container and try to leave as much room between the greens as possible as you pack them into the container. Layer moistened towels between the greens so you can fit multiple servings into one container.
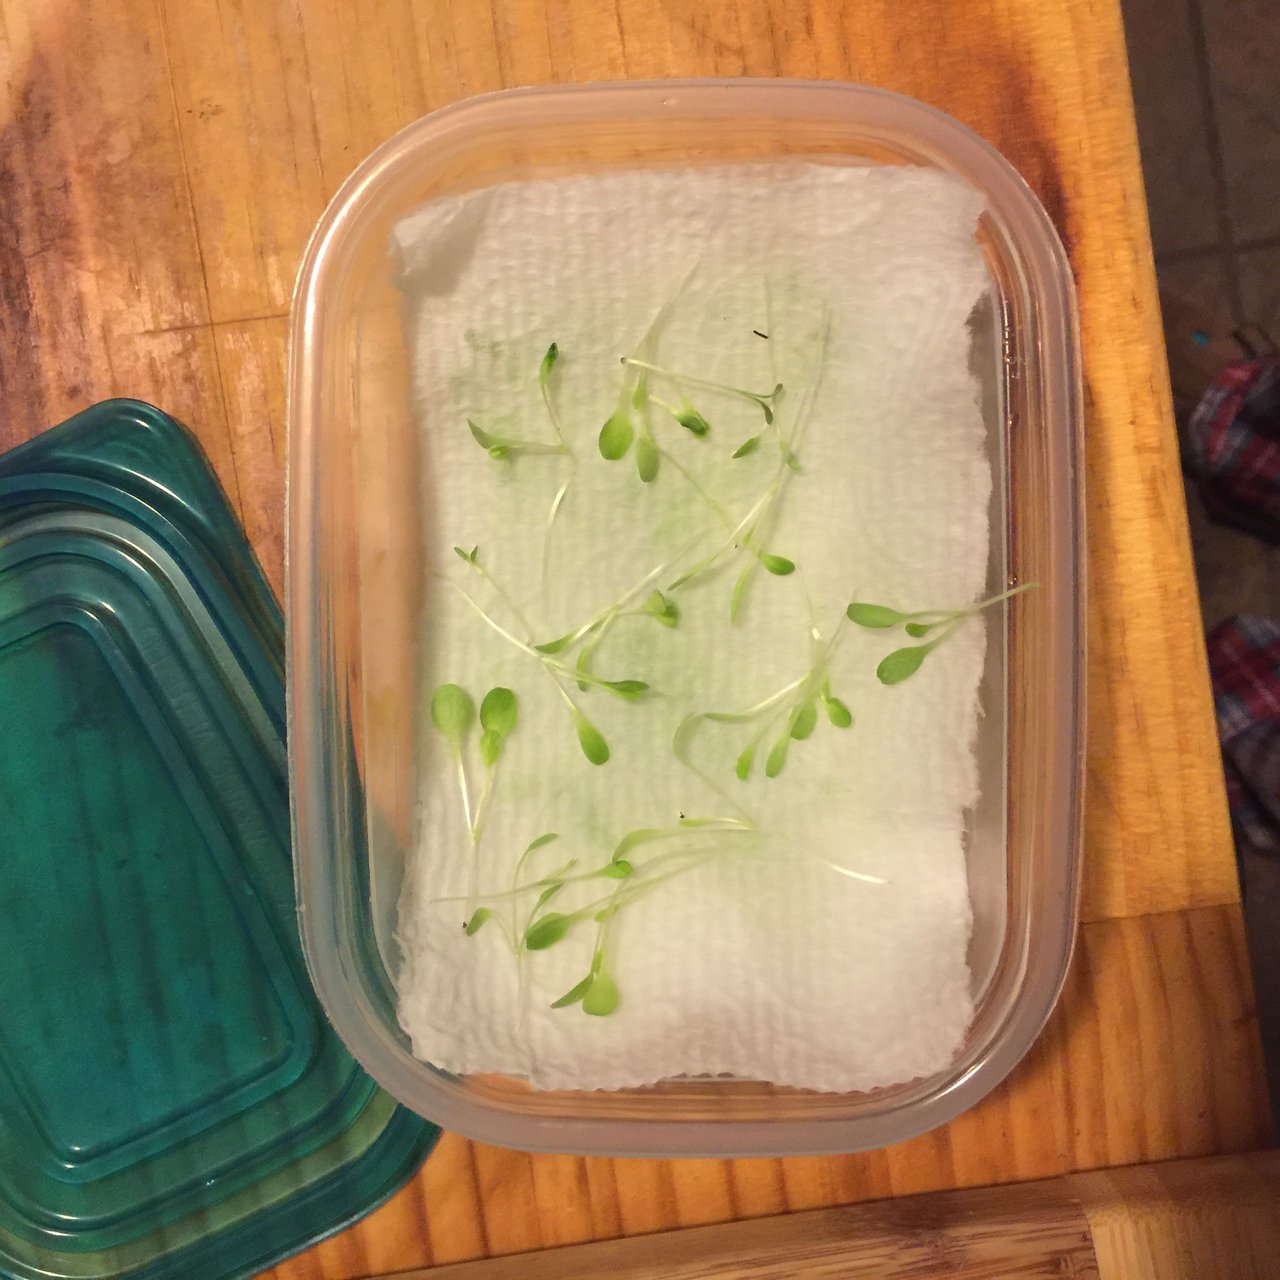
They should last in the fridge like this for about a week!! I’m sure we will snack on these before then.
I’d love to hear how you store your greens, and if you have any other awesome and more space-efficient ways to pack up delicious greens! Let me know!
Next article will be about my latest greens experiments: PEA SHOOTS, CILANTRO AND MUSTARD GREENS! Follow and Share so everyone can benefit from this awesome green goodness!!

COMMUNITY IS THE NEW MONEY

Community Forums