As I begin this series, I’ll spotlight a couple different plants in each post. I’ll focus on plants that I have either already successfully propagated or ones that I’m currently working on. I’ll do my best to cover a variety of plants and propagation methods as the series continues, and attempt to answer any questions that are asked the best I can.
WHY PROPAGATE?
Propagating plants for the purpose of food is my main goal and focus, but there is certainly something appealing about ornamental and flowering plants as well. You can expect some non-food plants to be periodically mixed in as we move forward. Propagating a plant allows you to have another plant that you did not formerly have. If you can propagate it yourself, then there is no cost to you, other than the investment of time and energy. Over time, you can save thousands of dollars by creating your own new plants, rather than buying them at a nursery or garden center. Not only will you be saving money, you'll essentially be eating for free, since you won't be buying the plants or the food that they produce. That is why I am fascinated with propagating.
PROPAGATING FROM CUTTINGS
Today, we will focus on propagating from cuttings and we will use the Passionfruit and Elderberry as examples. The cutting method simply means cutting a piece off of a plant and getting it to root, creating a new plant genetically identical to the original. Some people will also refer to these cuttings as clones, since you are essentially copying an existing plant. It works with many varieties of plants, and today I'll show you two examples.
PASSIONFRUIT

Purple Passionflower is also known as the “Maypop”, which is a common term used to refer to the Passion Fruit. Though Passionflower is often grown solely as an ornamental flower, many do enjoy the fruit, and there are even some places where it is commercially grown for market. It is a perennial vine that does well in growing zones 7-11.
Since the seeds can be a tedious and lengthy investment to get sprouting, I will show you an easy way to propagate this plant from stem cuttings. This process is a wise investment for many reasons. First, since Passionfruit is a perennial, the root will stay alive in the earth even after the vine dies, as long as you are not too far north. Since the winter will kill the vine anyway, there’s no reason not to cut it off at harvest time and attempt to get a few more vines going for the next year. Cutting off and propagating something that you were going to lose anyway is not exactly a risky endeavor. Worst case scenario, you’ve still got nothing. Also, cutting a vine doesn’t cost you anything. If you know someone who has some growing, most likely they will share some of the extra vine with you for free. My neighbor has them everywhere and doesn’t even like them. I’ve already propagated between fifty and an hundred from a field that was going to be cut for hay. Additionally, if you can get the vine to root, you’ll be starting out with a larger plant than if you got a seed to sprout. This allows you to have a quicker return on your investment. Now if you find some Passionfruit at a local store or market, by all means, feel free to plant the seeds. If they eventually sprout, great, and if not, again, you haven’t lost anything.
Anyway, the cutting method is very simple. I usually select a vine to cut that looks thick and healthy. In the case of removing them from the hay field, I simply tried to uproot them. Due to the seriously hard soil, most of them broke off at ground level, so the result was essentially the same as if I has cut them.
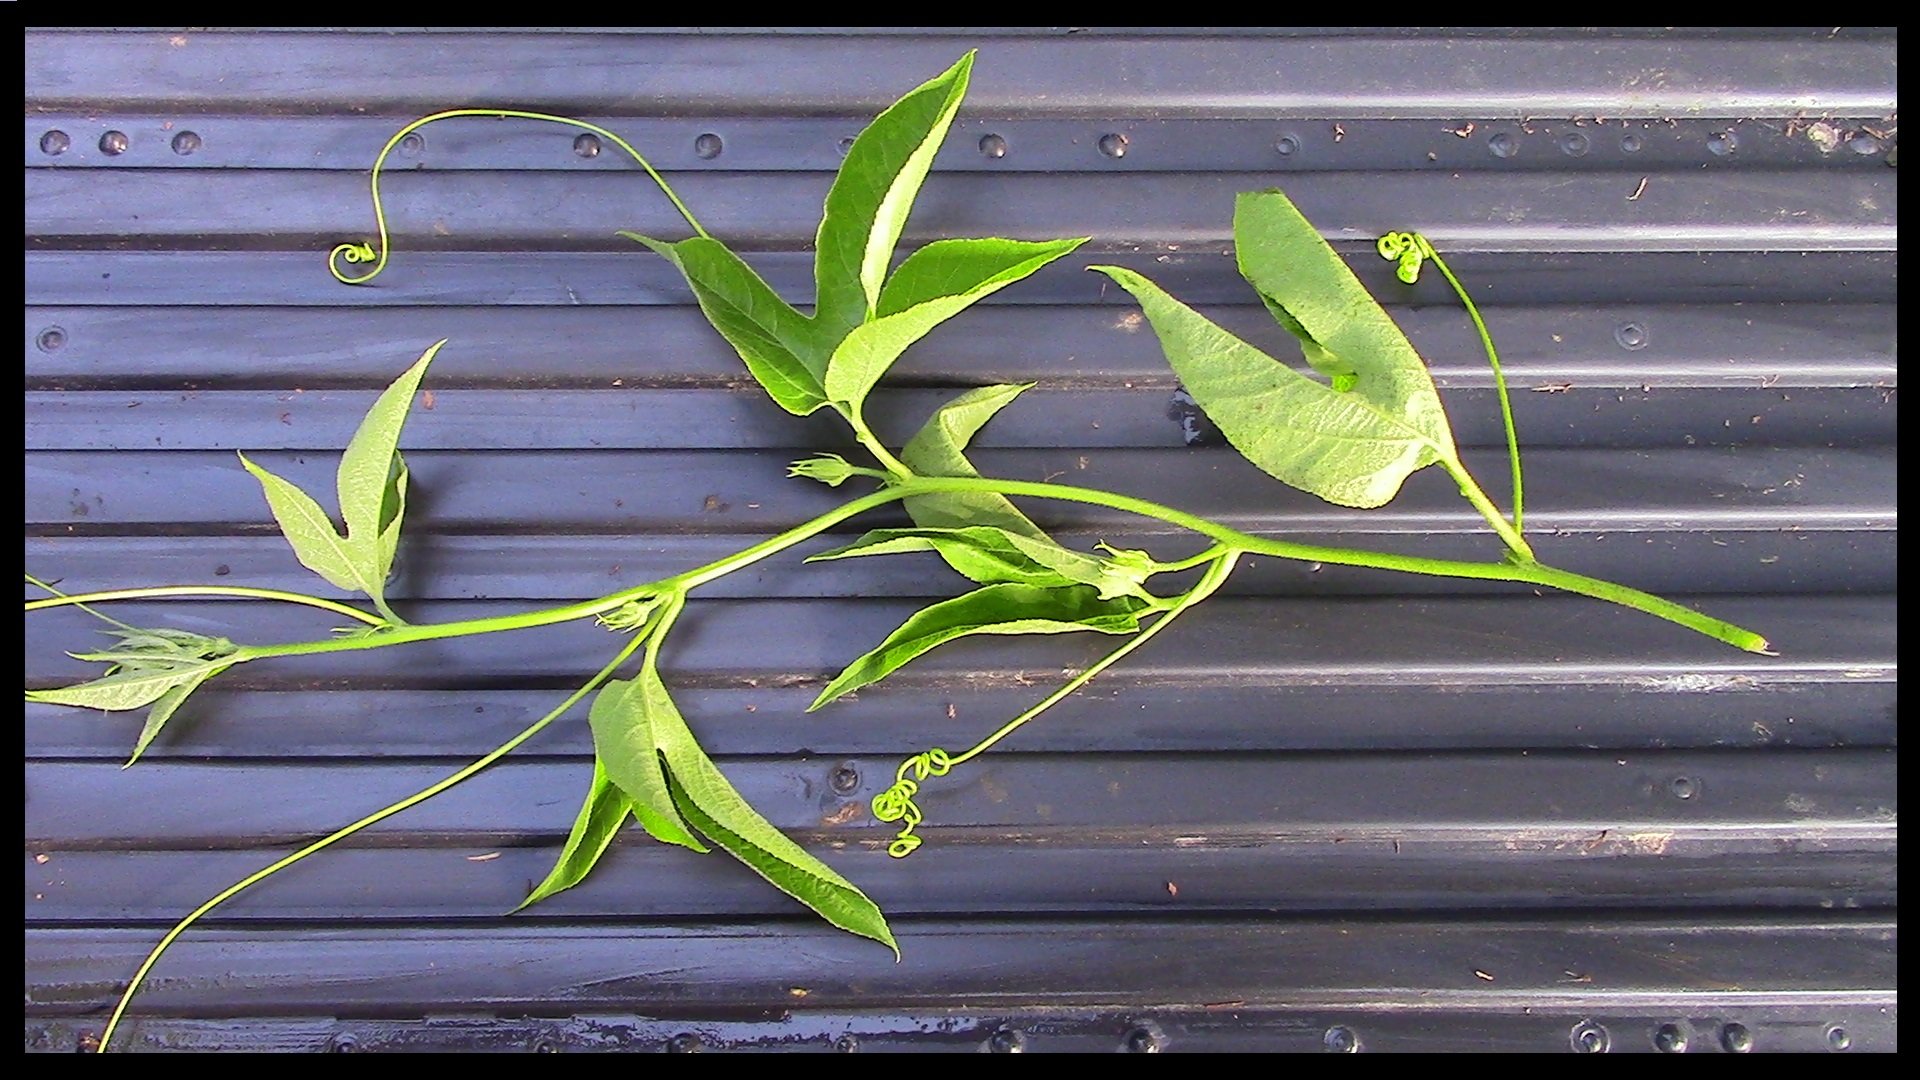
CUT VINE
Once the vine is cut off, examine it. Note where the leaves, tendrils, and baby flowers are. For propagating, the tendrils and flowers will be useless, so cut them off right away. Also, though leaves do act like solar panels for the plant and allow the plant to use energy from the sun, a lot of leaves won’t be much help for propagating. Remember, we have no roots. Excessive leaves will waste a lot of water at this stage, so I usually select two or three small leaves near the tip to keep. I snip off the rest.

CUTTING AFTER “PRUNING” IT
Once this has been done it is time to prepare the end to be rooted. Note, always plant the cutting the same way it was growing. The end that was closer to the dirt should be planted in the dirt and the end growing away from the dirt should still be growing away from the dirt. Don’t plant your cutting upside-down. To prepare the cutting, snip it at an angle just below a node.
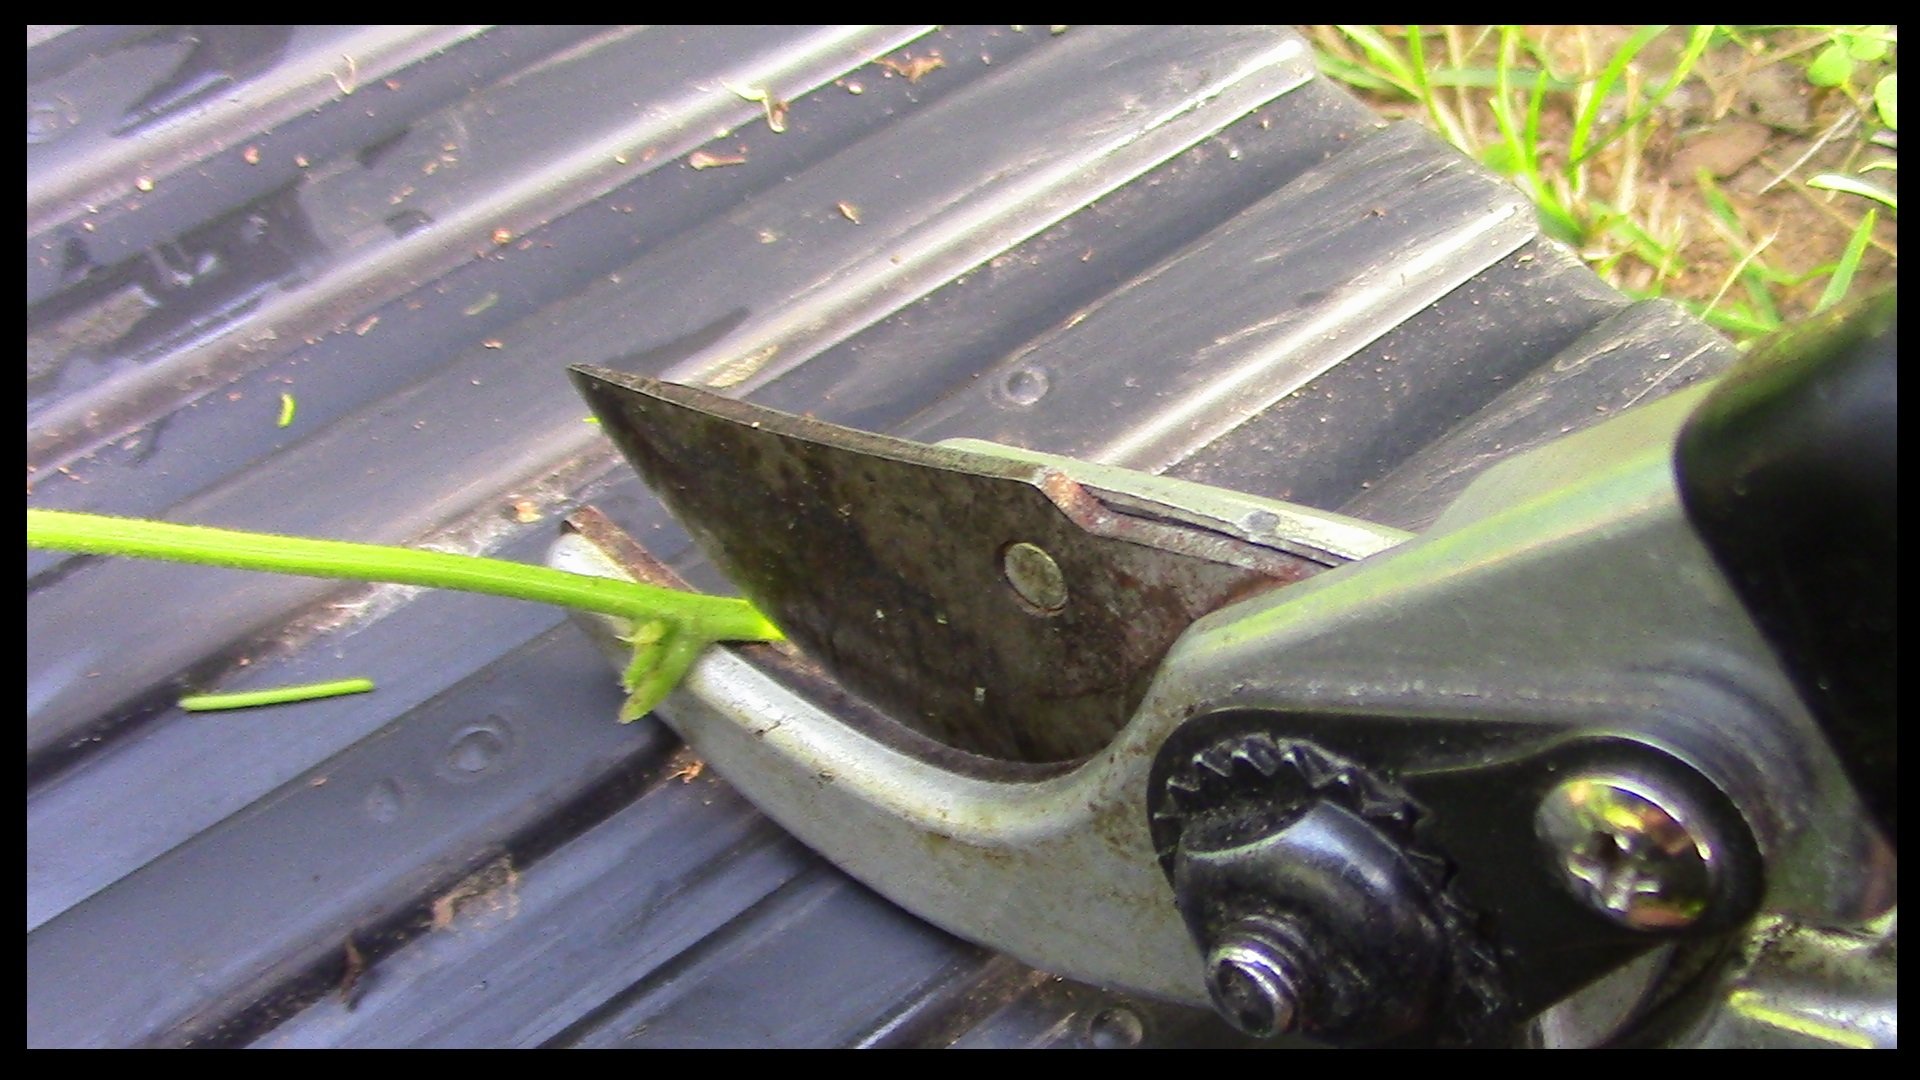
CUT THE END JUST BELOW A NODE
The nodes on the plant is where specific types of growth happen. On a Passionfruit, a node is where a root, leaf, tendril, or flower will appear. Within the plant are the programs for growing these parts, and our goal is to get the plant to grow a root where we just cut off a leaf, tendril, and/or flower. (Often all three of these will be growing from one node.) I also scrape the vine at this point across the node area, exposing the deeper layers of the plant. It will be easier for the plant to grow a root here if the “skin” is broken.
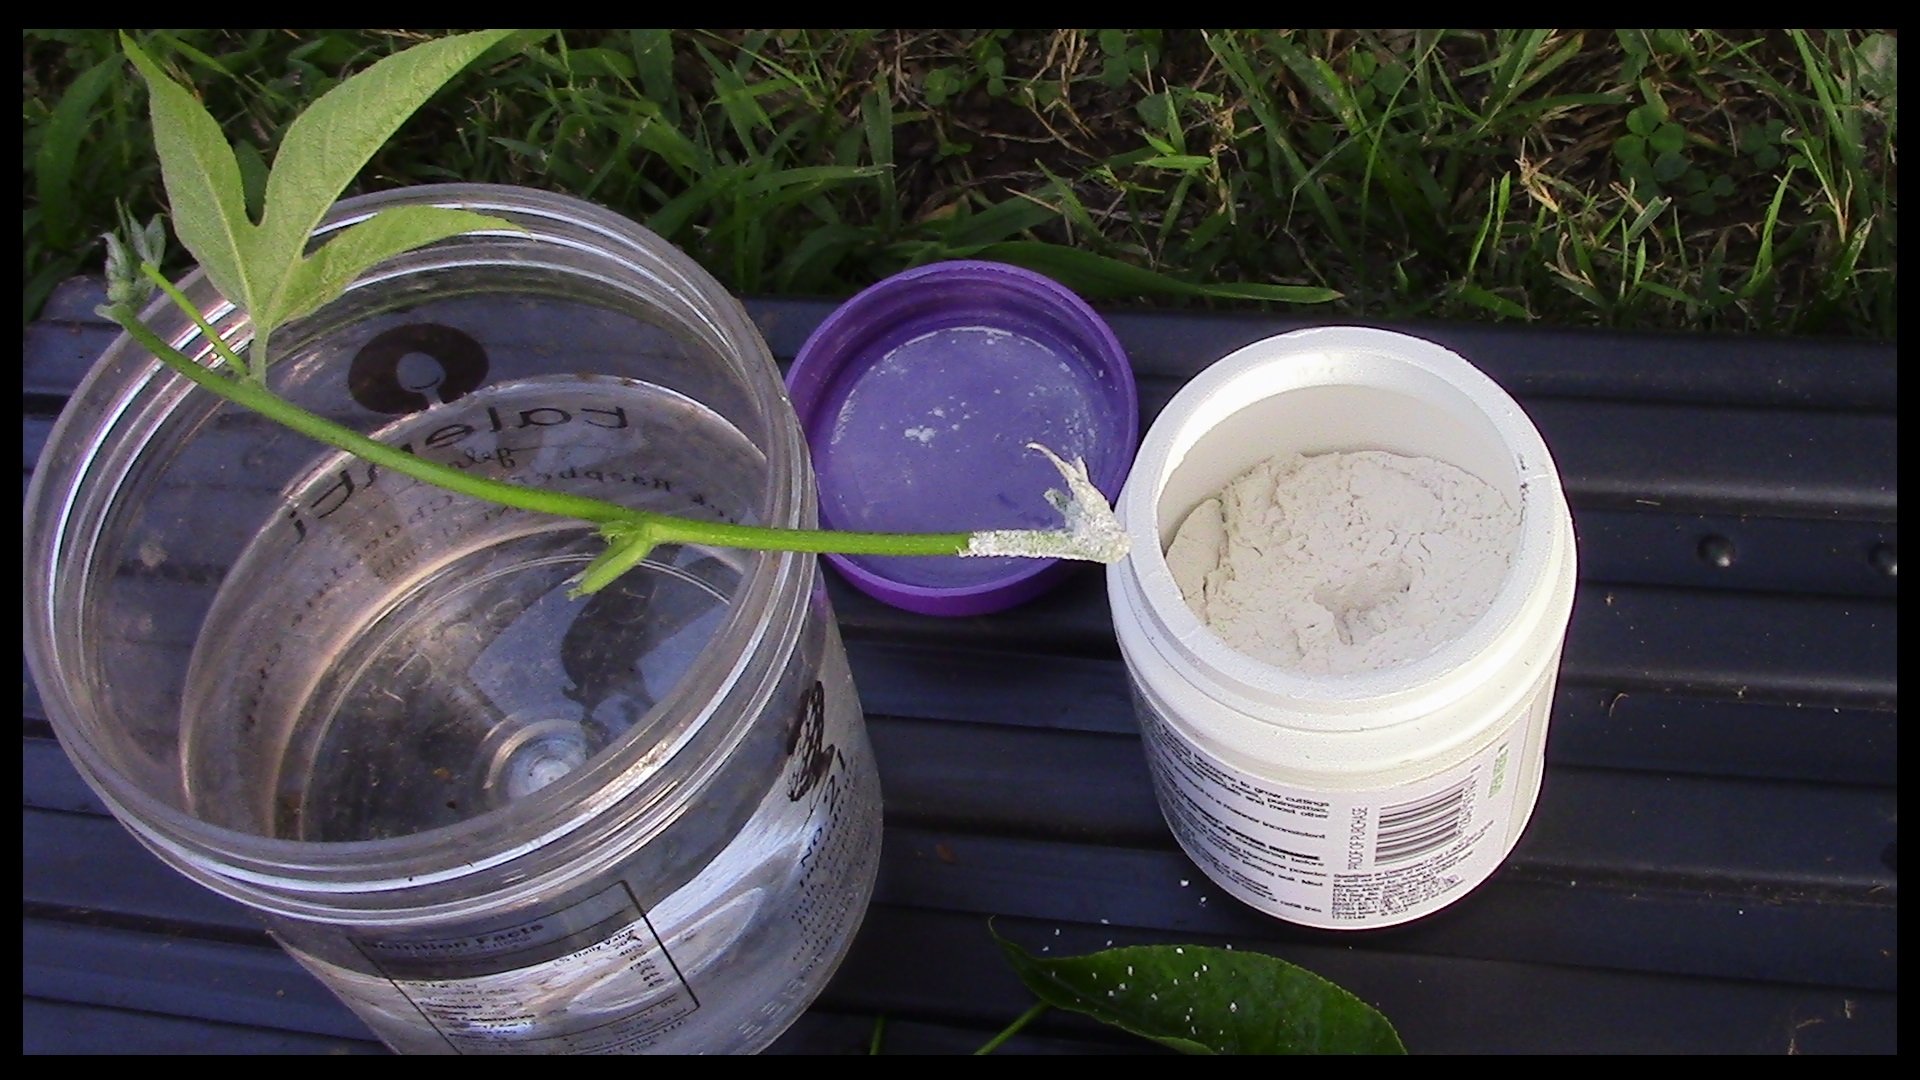
DIP THE CUTTING IN WATER 1st, THEN ROOTING HORMONE
Though you could simply stick your vine in the dirt at this point and hope for the best, I prefer to use a rooting hormone. Eventually I may make my own organic version using the branches of Willow trees, but for now I use a store-bought powder. Dip your exposed node in water first, and then into the powder. Now, you’re ready to plant.
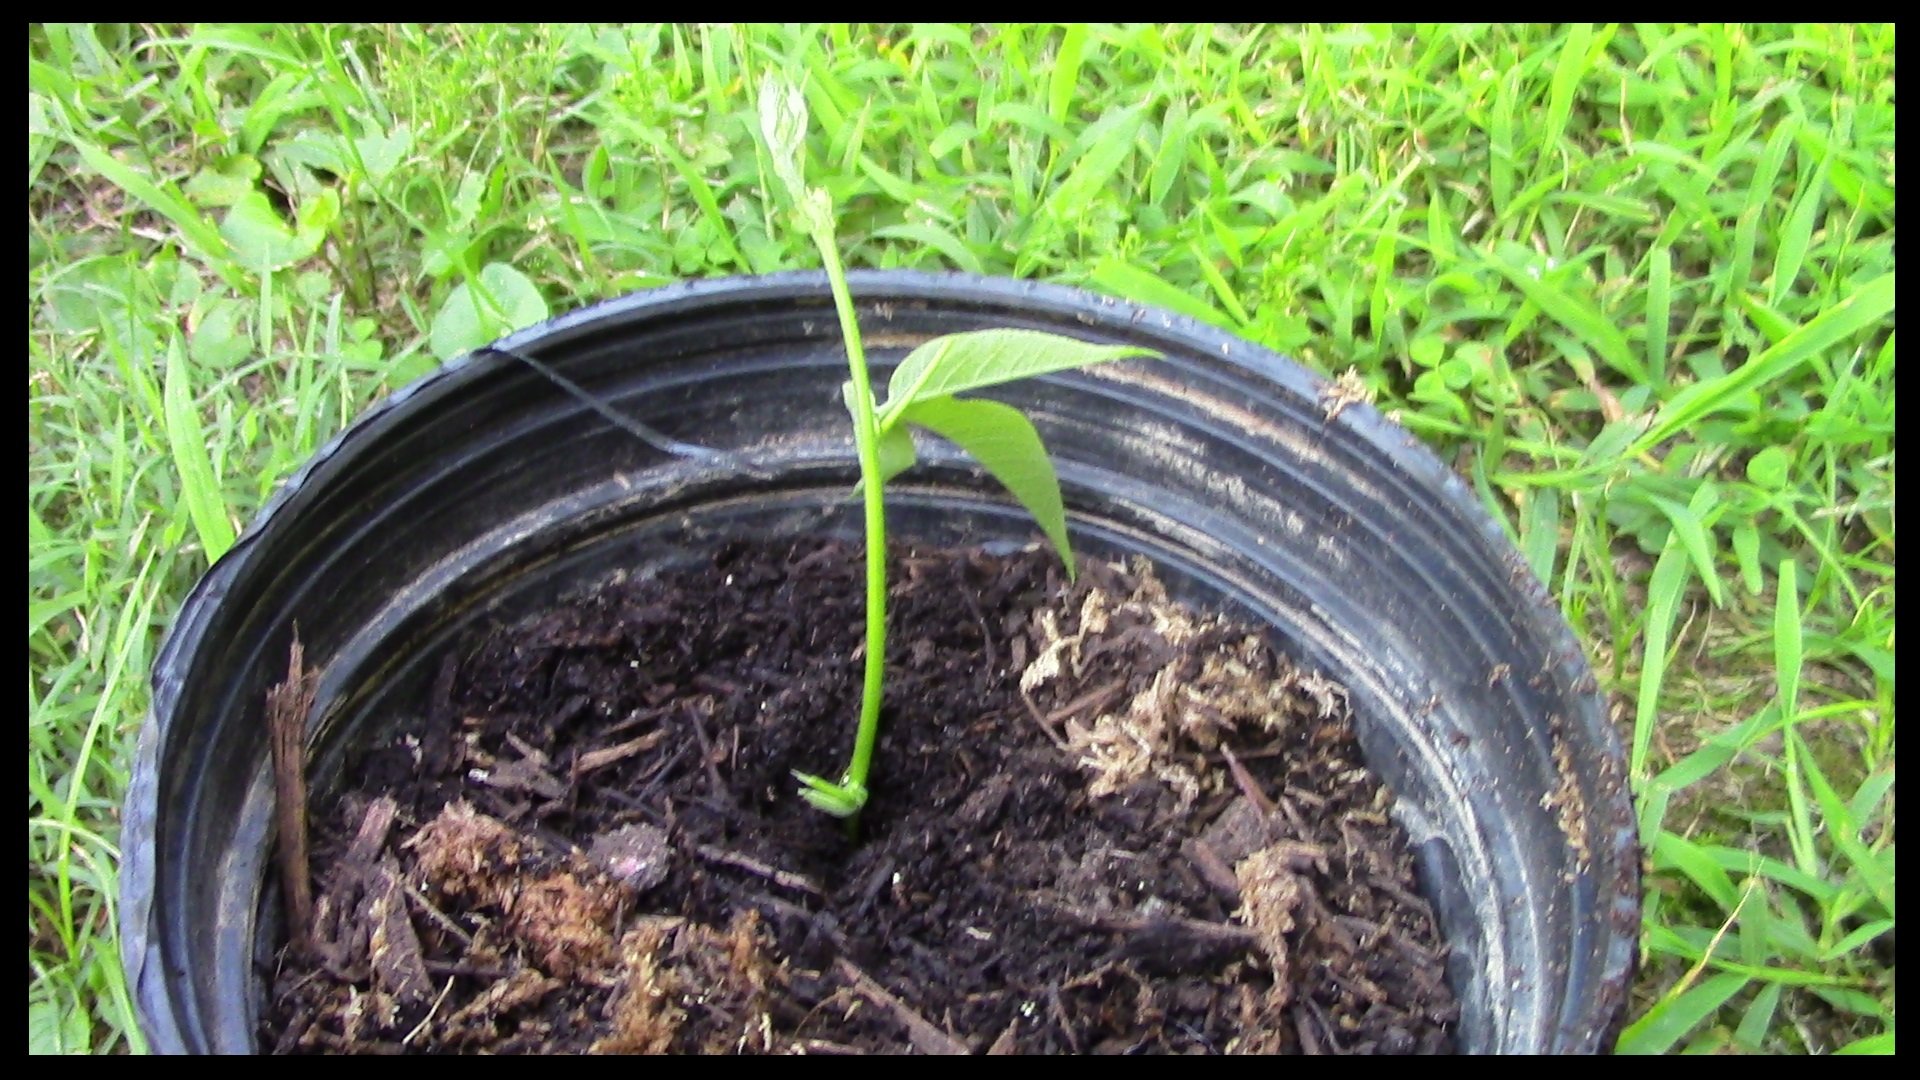
PLANTING THE CUTTING
Stick the cutting into the dirt and press down. I’ll usually go up to the second or third node. Since I’ve already removed the leaves and tendrils, I’ve created a few more places that roots might appear. When propagating plant from cuttings, you need roots to start growing, so if a few extra ones develop, that’ll just help the process.
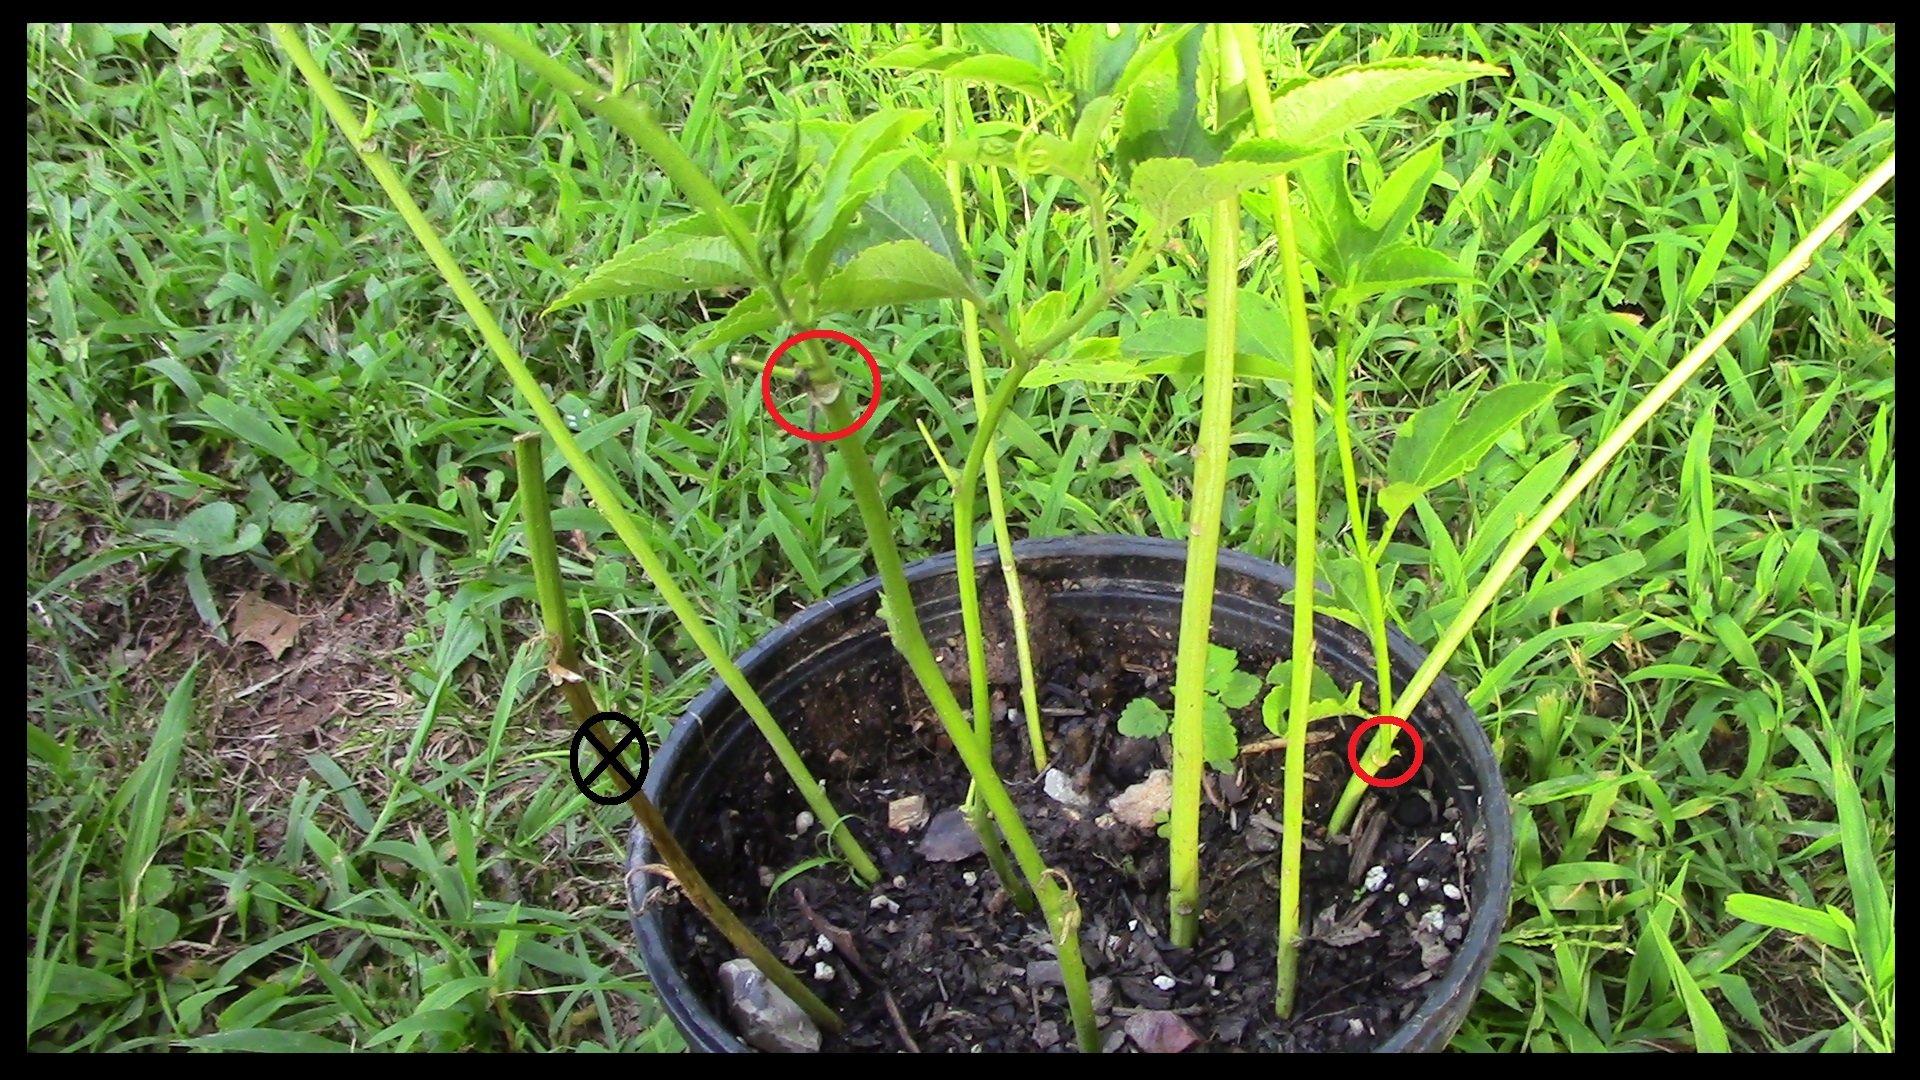
PREVIOUSLY PROPAGATED PASSIONFRUIT CUTTINGS
If you look closely at this pot of previously propagated Passionfruit vines, you’ll notice that only the one with the black X on it appears to be dying. All others are green and growing. Notice the red circles as well. Here you can see new growth from both the top and bottom of cuttings. New growth is a good sign that your plant is doing well.
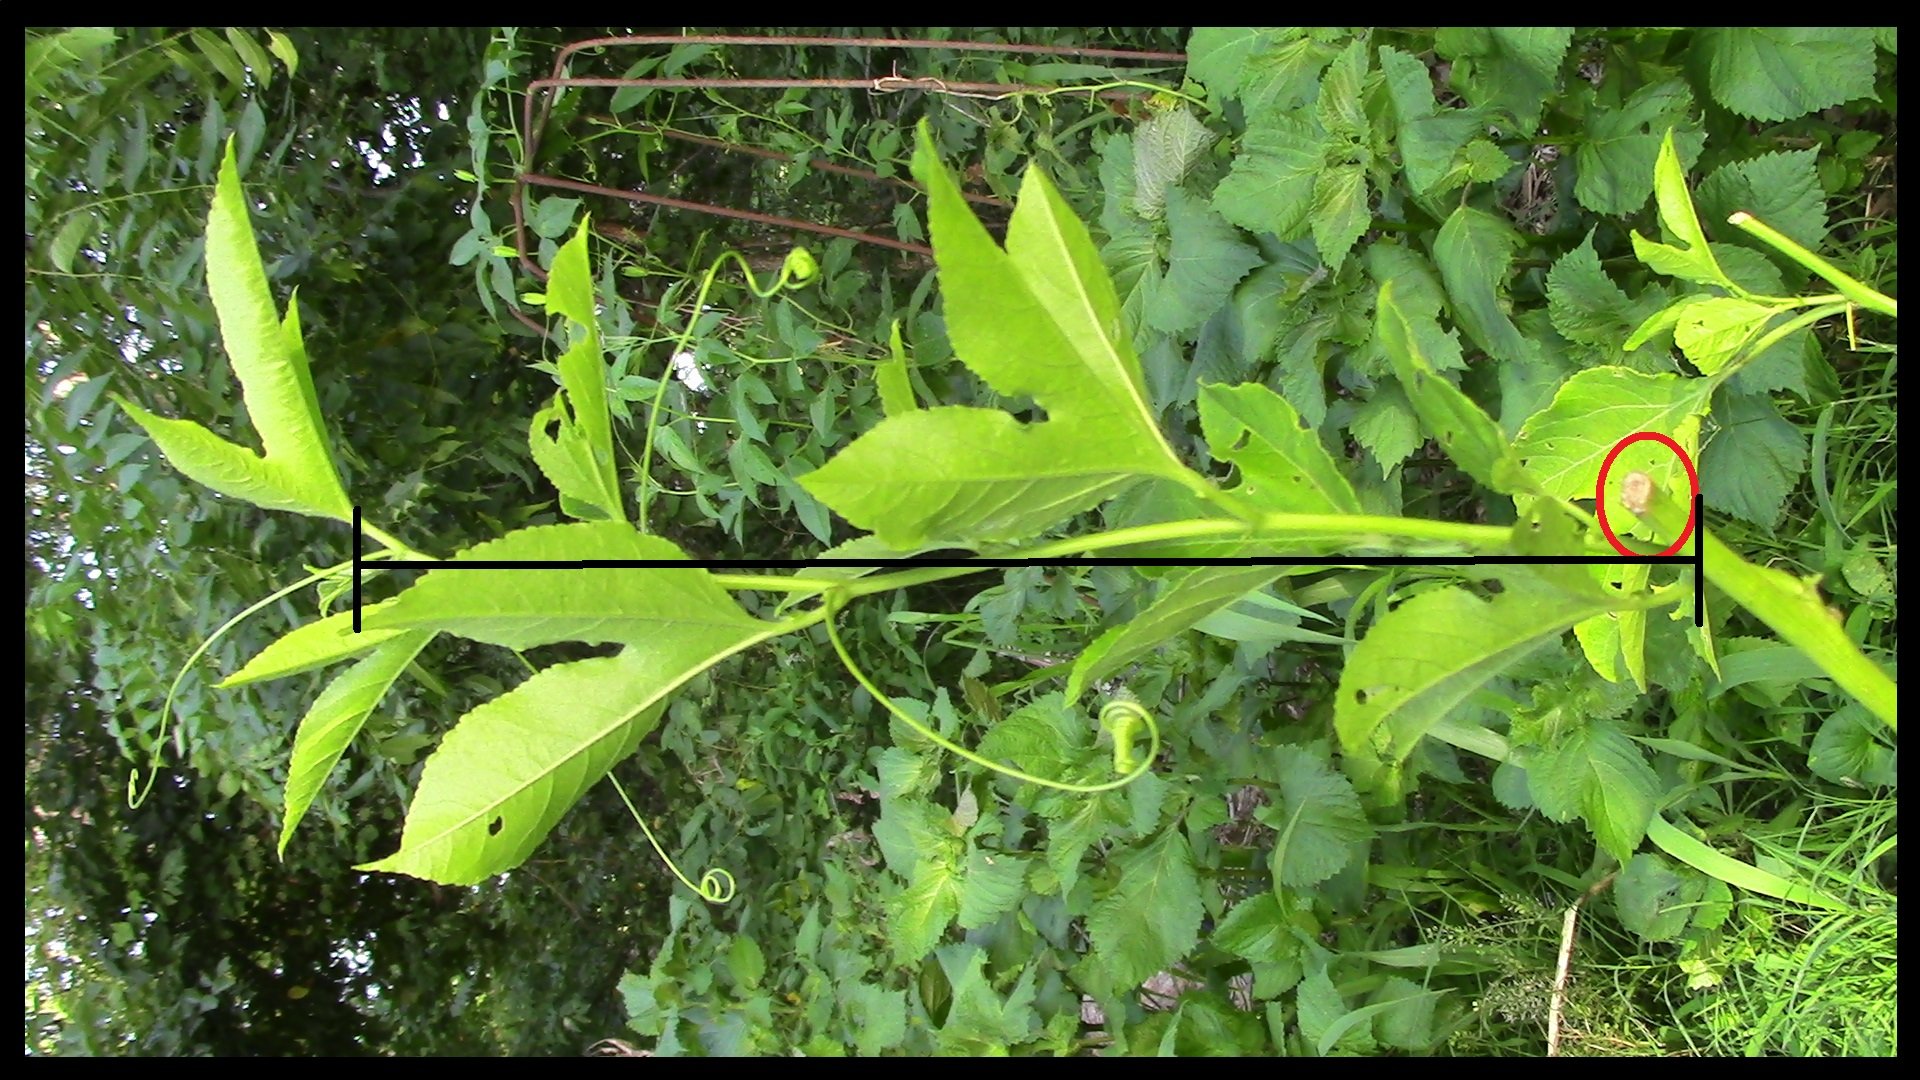
NEW GROWTH ON A ROOTED CUTTING
The red circle in this photo is to show where I cut the top off of this vine. Often, with longer vines, I’ll cut them into several pieces for propagating. The black line shows how much new growth has appeared since propagating.
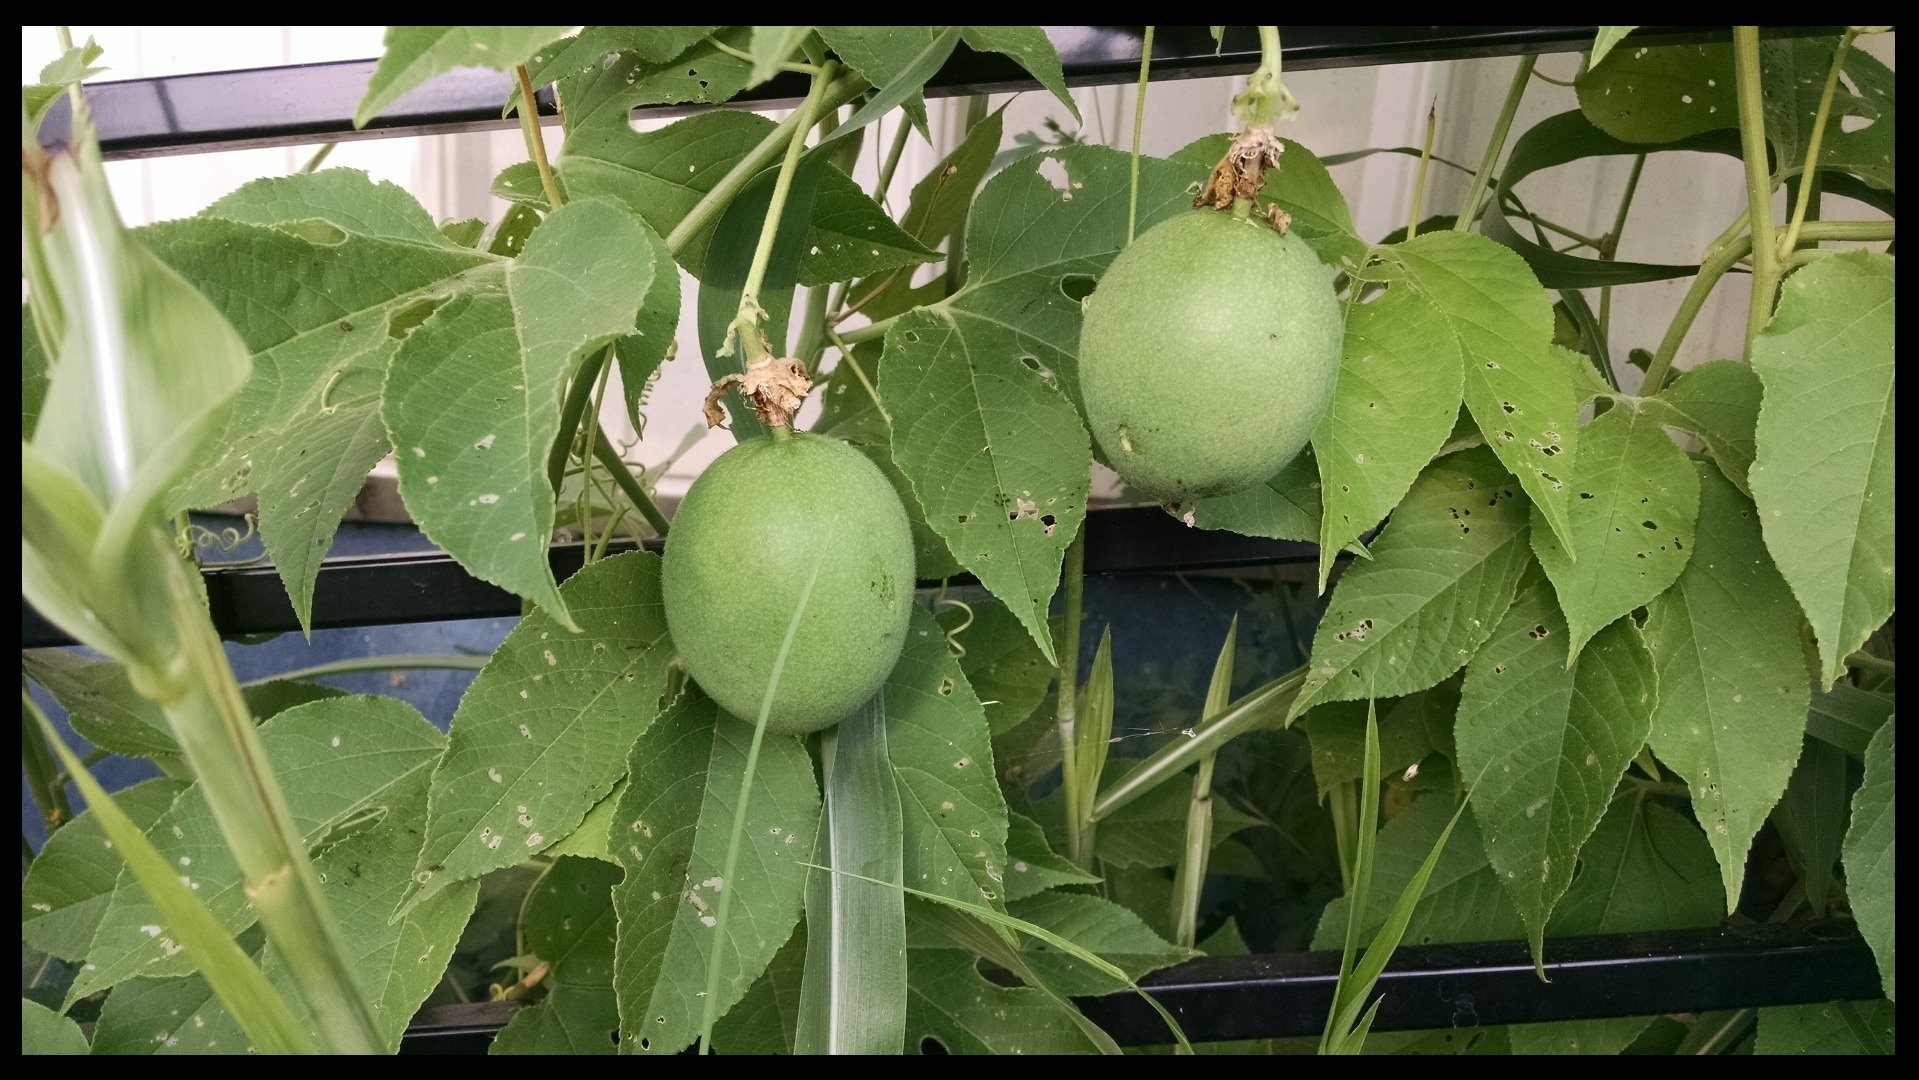
PASSIONFRUITS GROWING ON A VINE
The Passionfruit is a great addition to any yard. Since it is a perennial, once you get it established it will keep coming back year after year. The quick-growing vines get covered in incredible flowers, and once the attractive flowers disappear, you’re left with an edible fruit. That’s a pretty good deal. I plan on having them grow on whatever fences I don’t grow grapes on.
ELDERBERRY
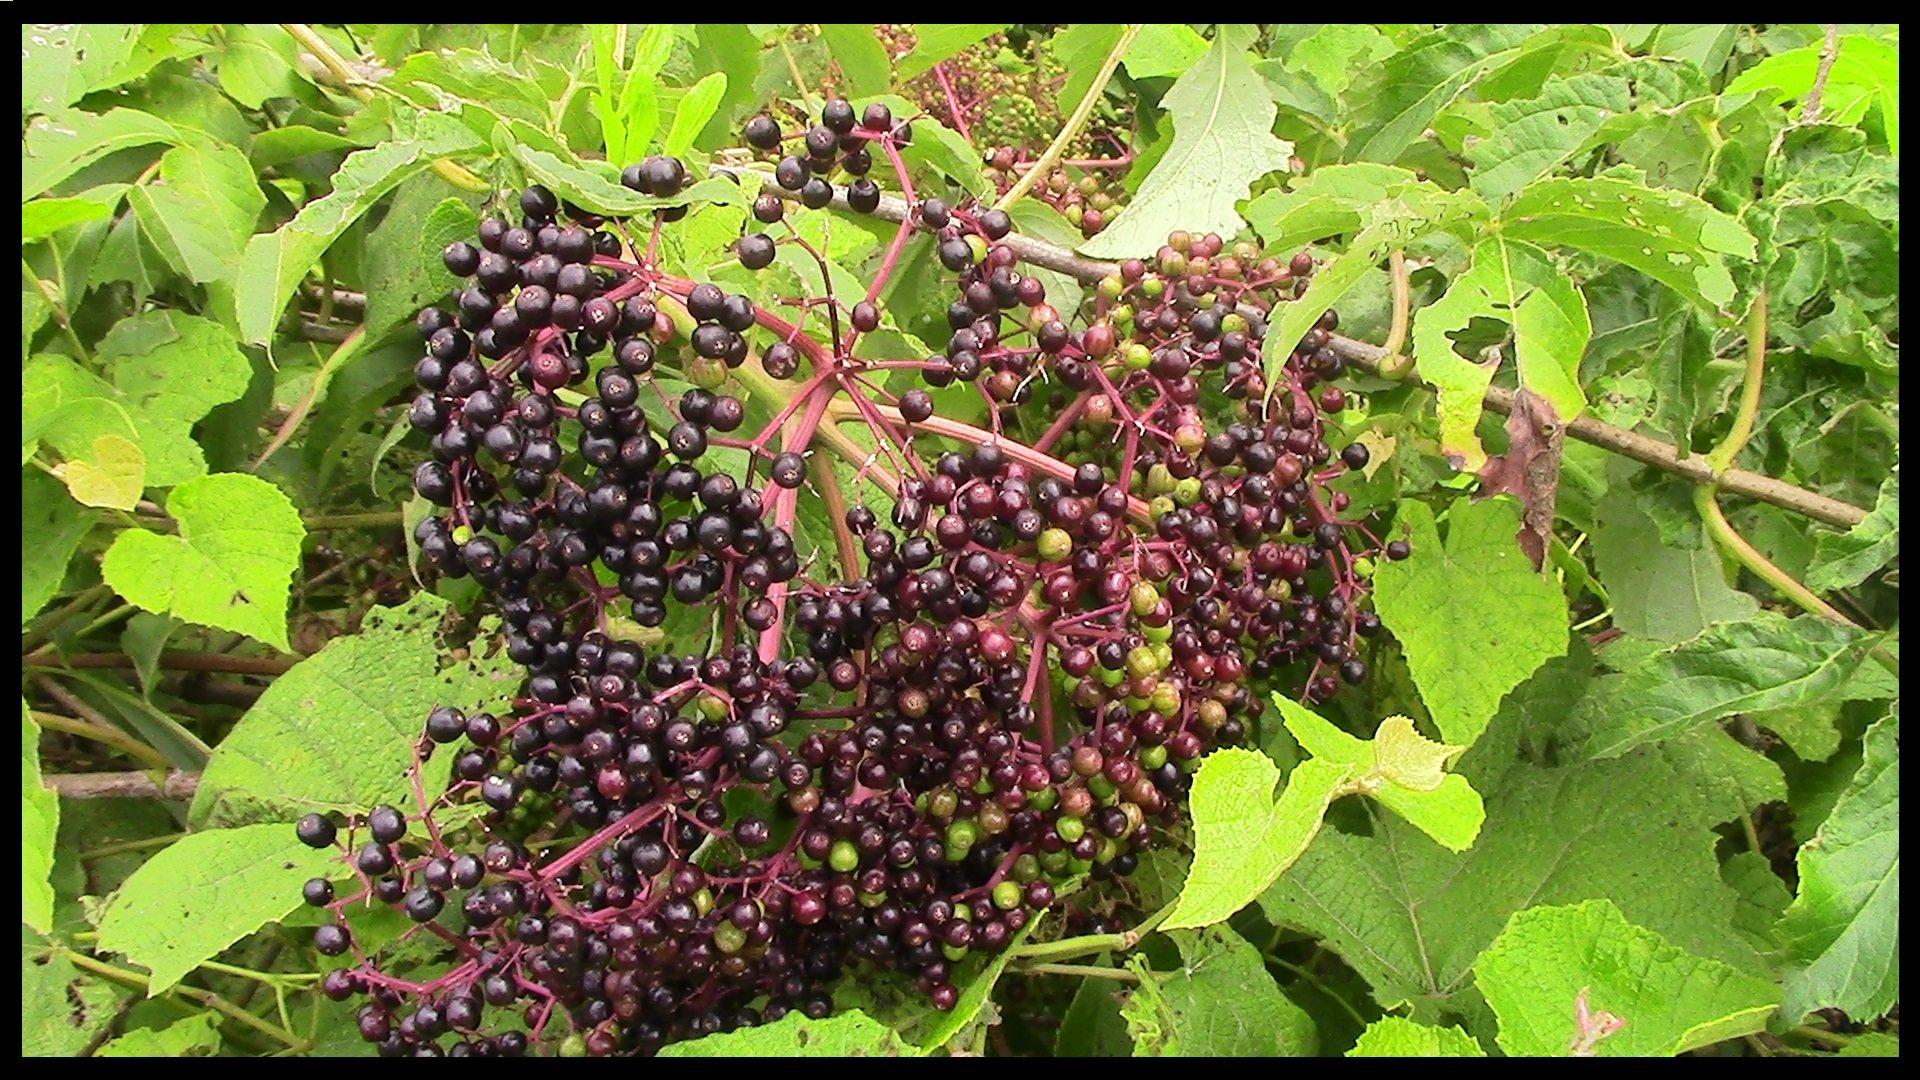
Elderberry is another plant that can be easily propagated by cuttings. Ideally, this would be done sometime between late fall and early spring, when the plant is dormant. A dormant plant is one that is still alive, but not actively growing. Often, all the leaves will fall off during this time and only the branches will remain. Basically, the plant is asleep.
Once the plant, or cutting, is "woken up" in the springtime, the stored energy within the plant is released to grow stems and leaves, or, in our case, roots. The Elderberry it one plant that if you were to cut the branches off of an established plant and simply stick them into the ground in spring, odds are, you’ve have a whole lot more Elderberry plants just that easily. Here in Arkansas right now, they are definitely not dormant, and are actually actively fruiting. I’ll try to only cut off branches that aren’t setting any fruit currently.
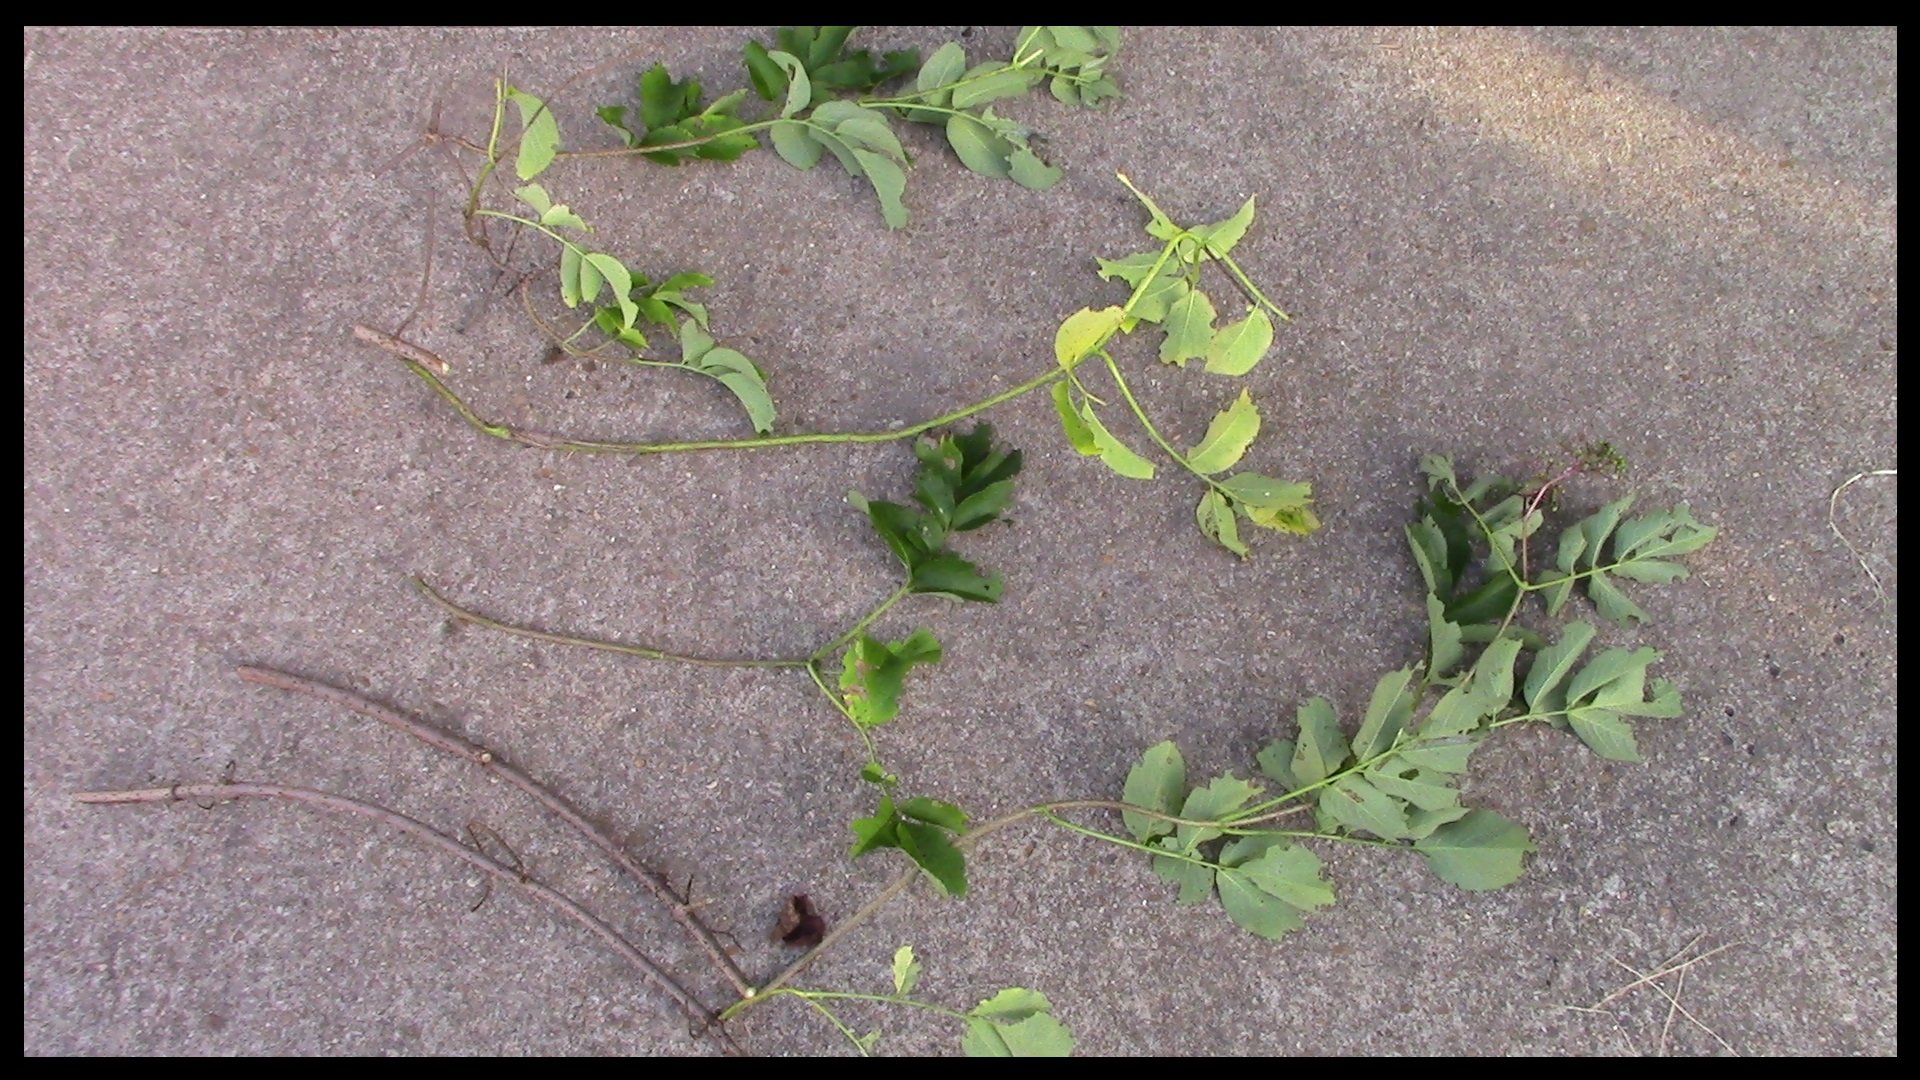
BRANCHES CUT OFF AN ELDERBERRY BUSH
These are the branches that I cut. Some are from last year and some are new green growth. Both could root, so I’ll try planting everything that I cut. Remember, I’ve got nothing to lose and no money tied up in this. Worst case scenario, I’ll still not have any extra plants. Best case scenario, I’ll have even more than I bargained for, and can then choose to either plant the extra ones, share with a friend, or sell them to make a few bucks.
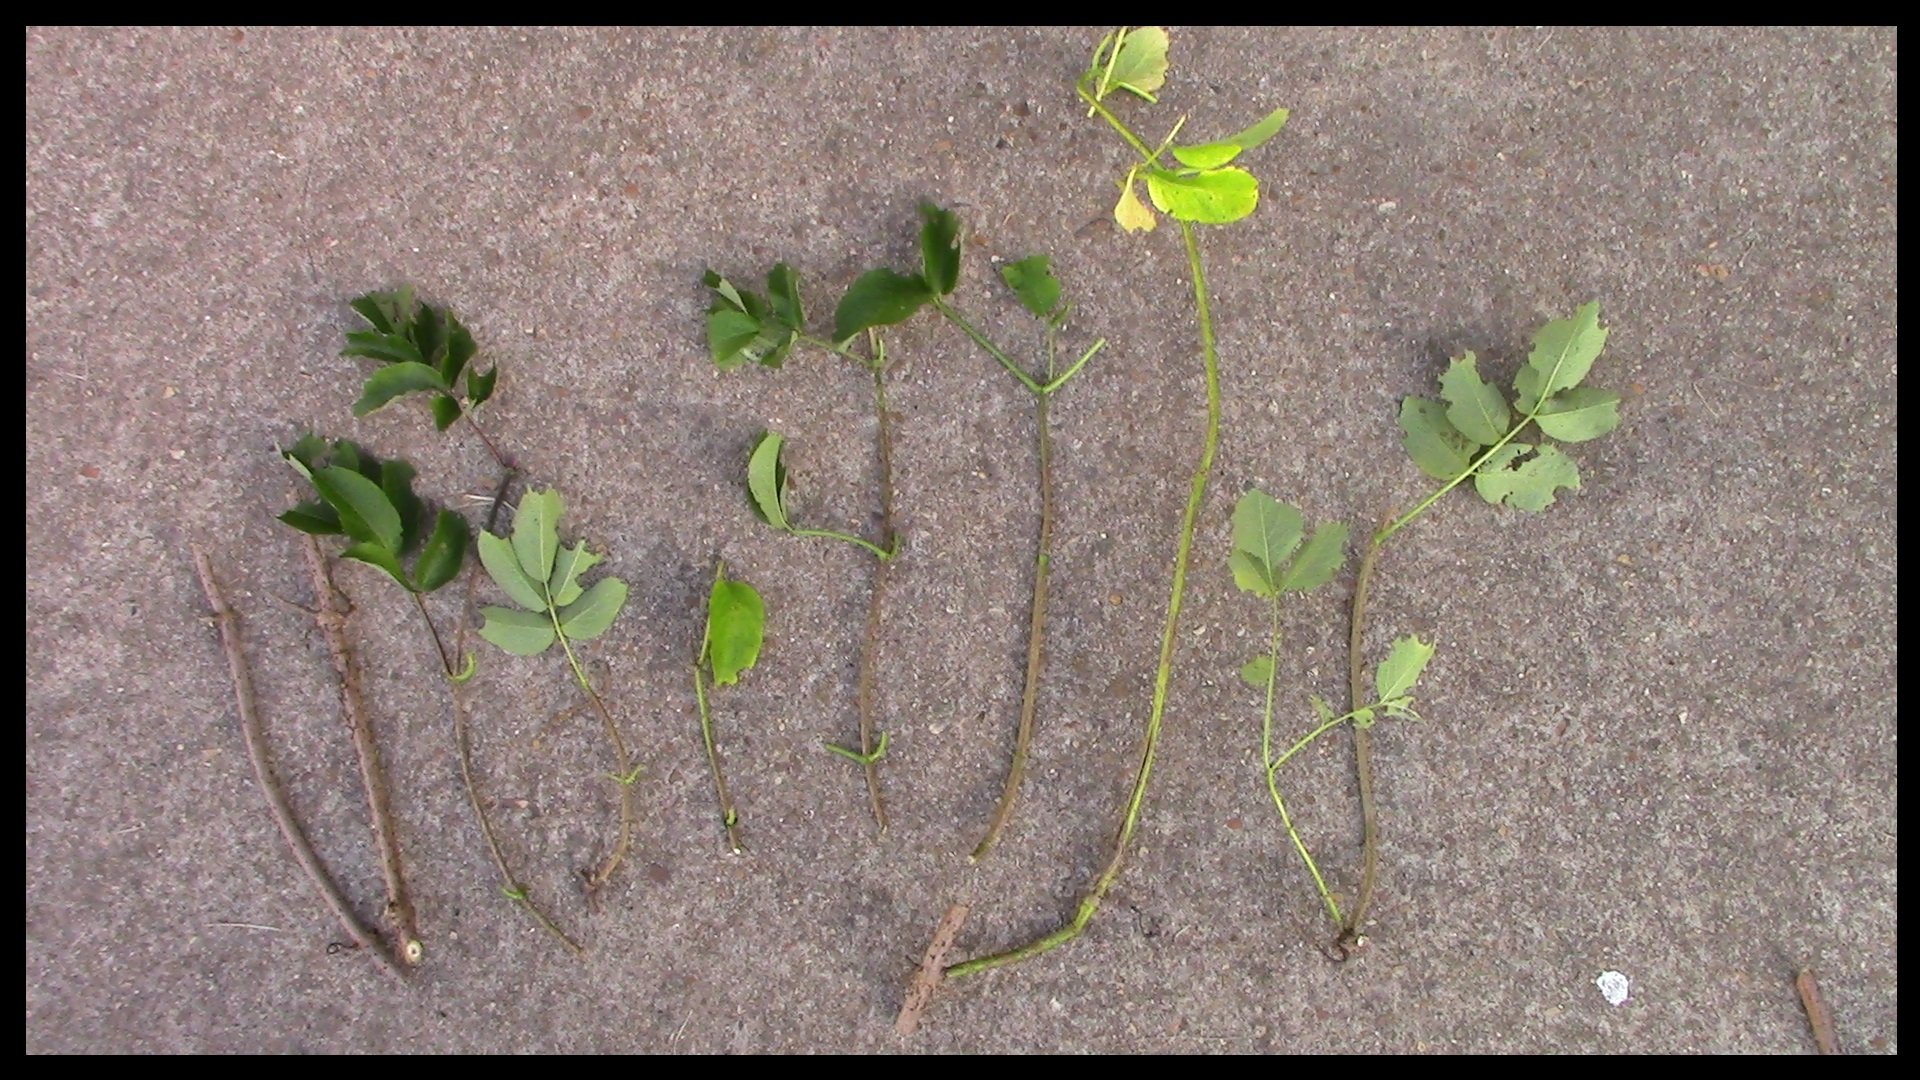
CUTTINGS, PRUNED AND SHORTENED
Just like we did with the Passionfruit, we’ll need to remove the excess leaves. If we wind up with a good node to plant and a few good leaves up top, then we’ve got an excellent cutting. If we attempt to use everything that we chopped off and wind up with a piece with no nodes or leaves, it could still work, though we would have a better chance if it were still dormant.
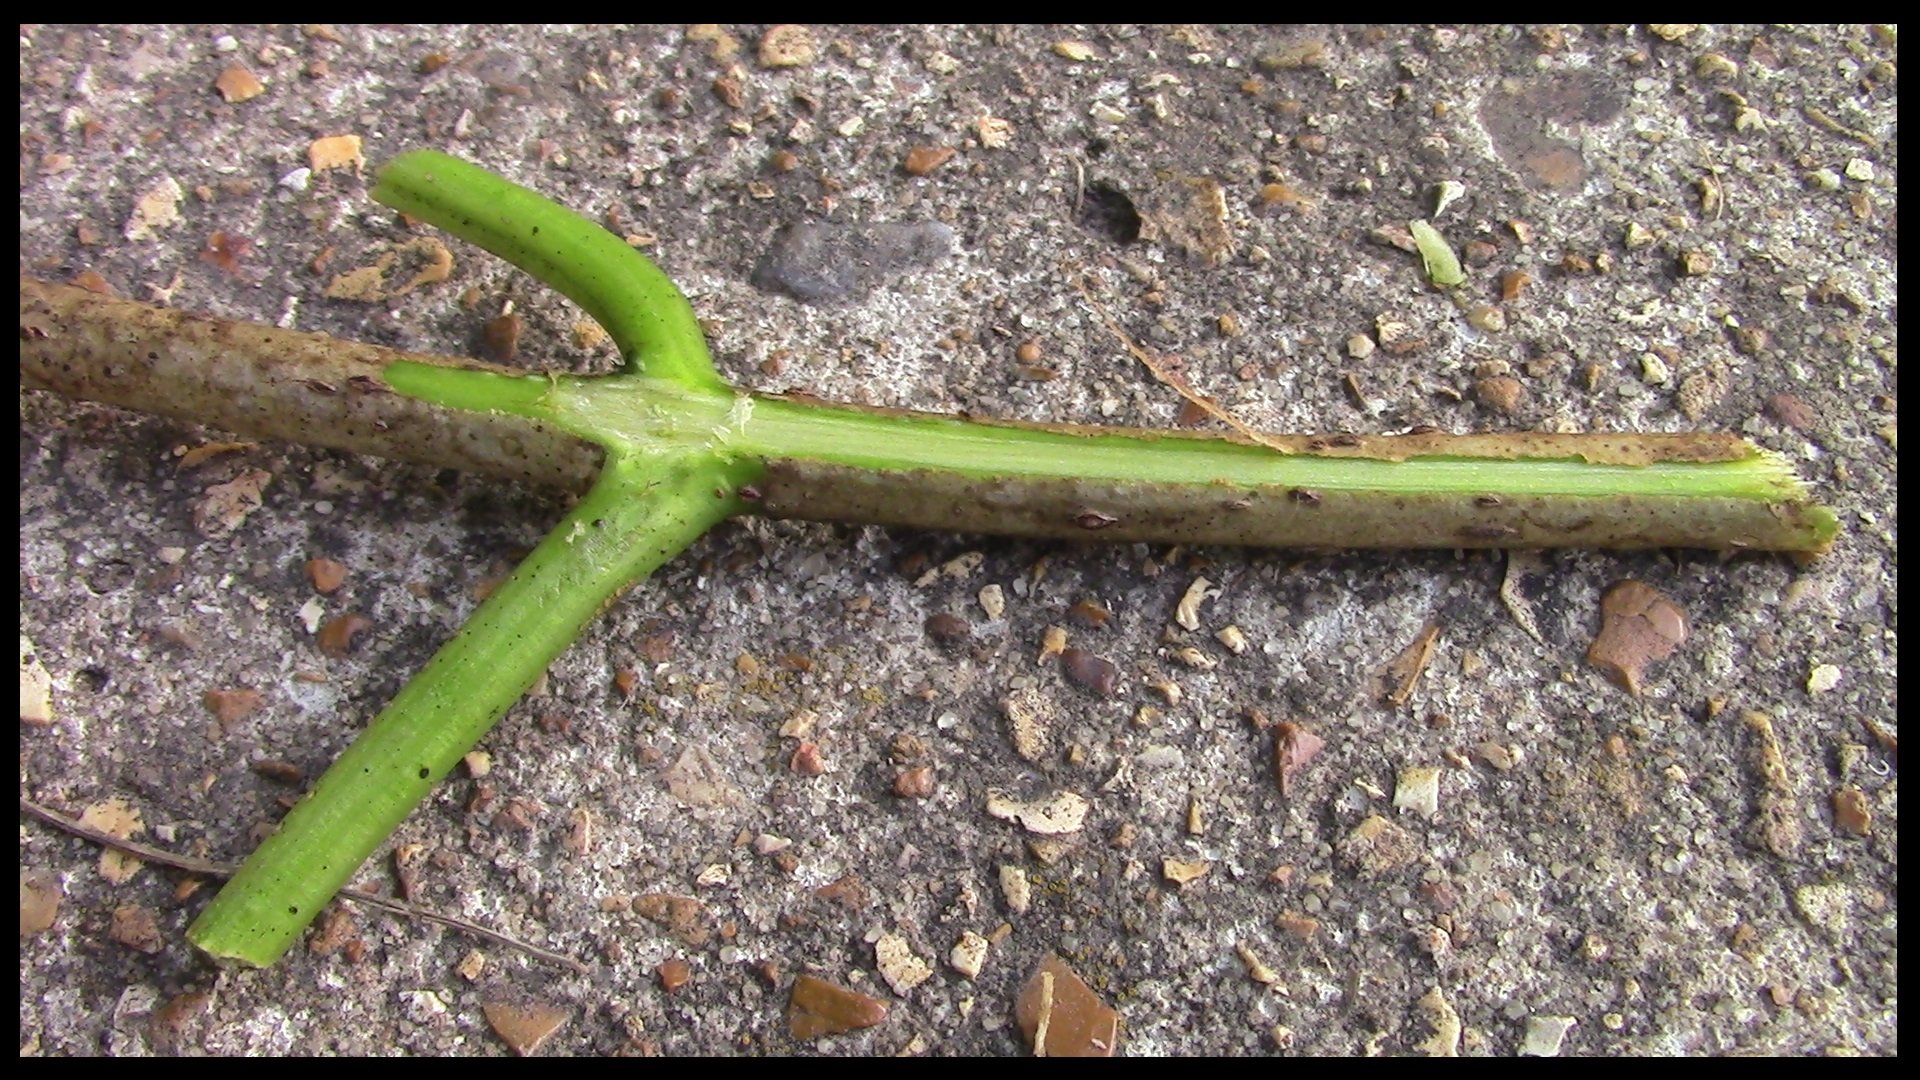
SCRAPE ACROSS THE NODE, EXPOSING THE DEEPER LAYERS
After pruning, we’ll scrape the planting end like we did with the Passionfruit. Aim for a node if you’ve got one, otherwise just scrape what you’ve got.
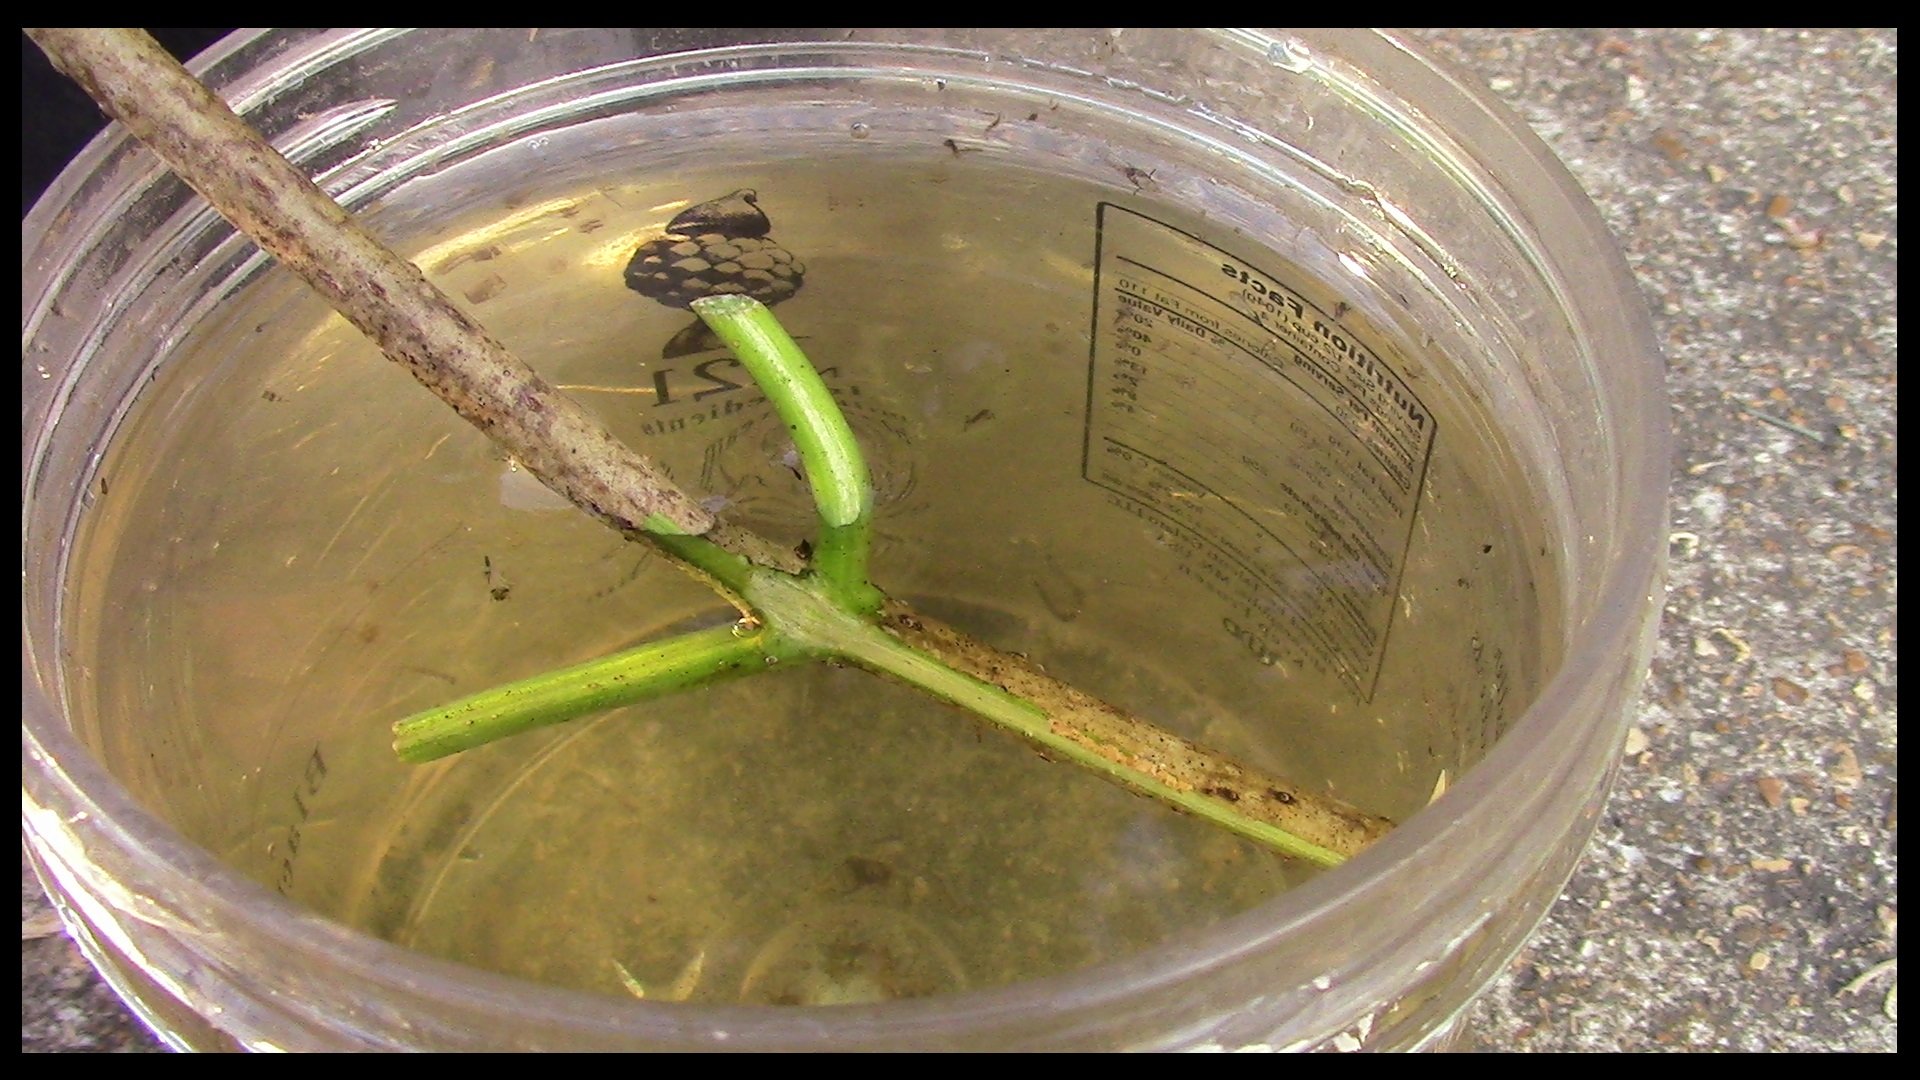
DIP CUTTING IN WATER
Then, dip it in water.
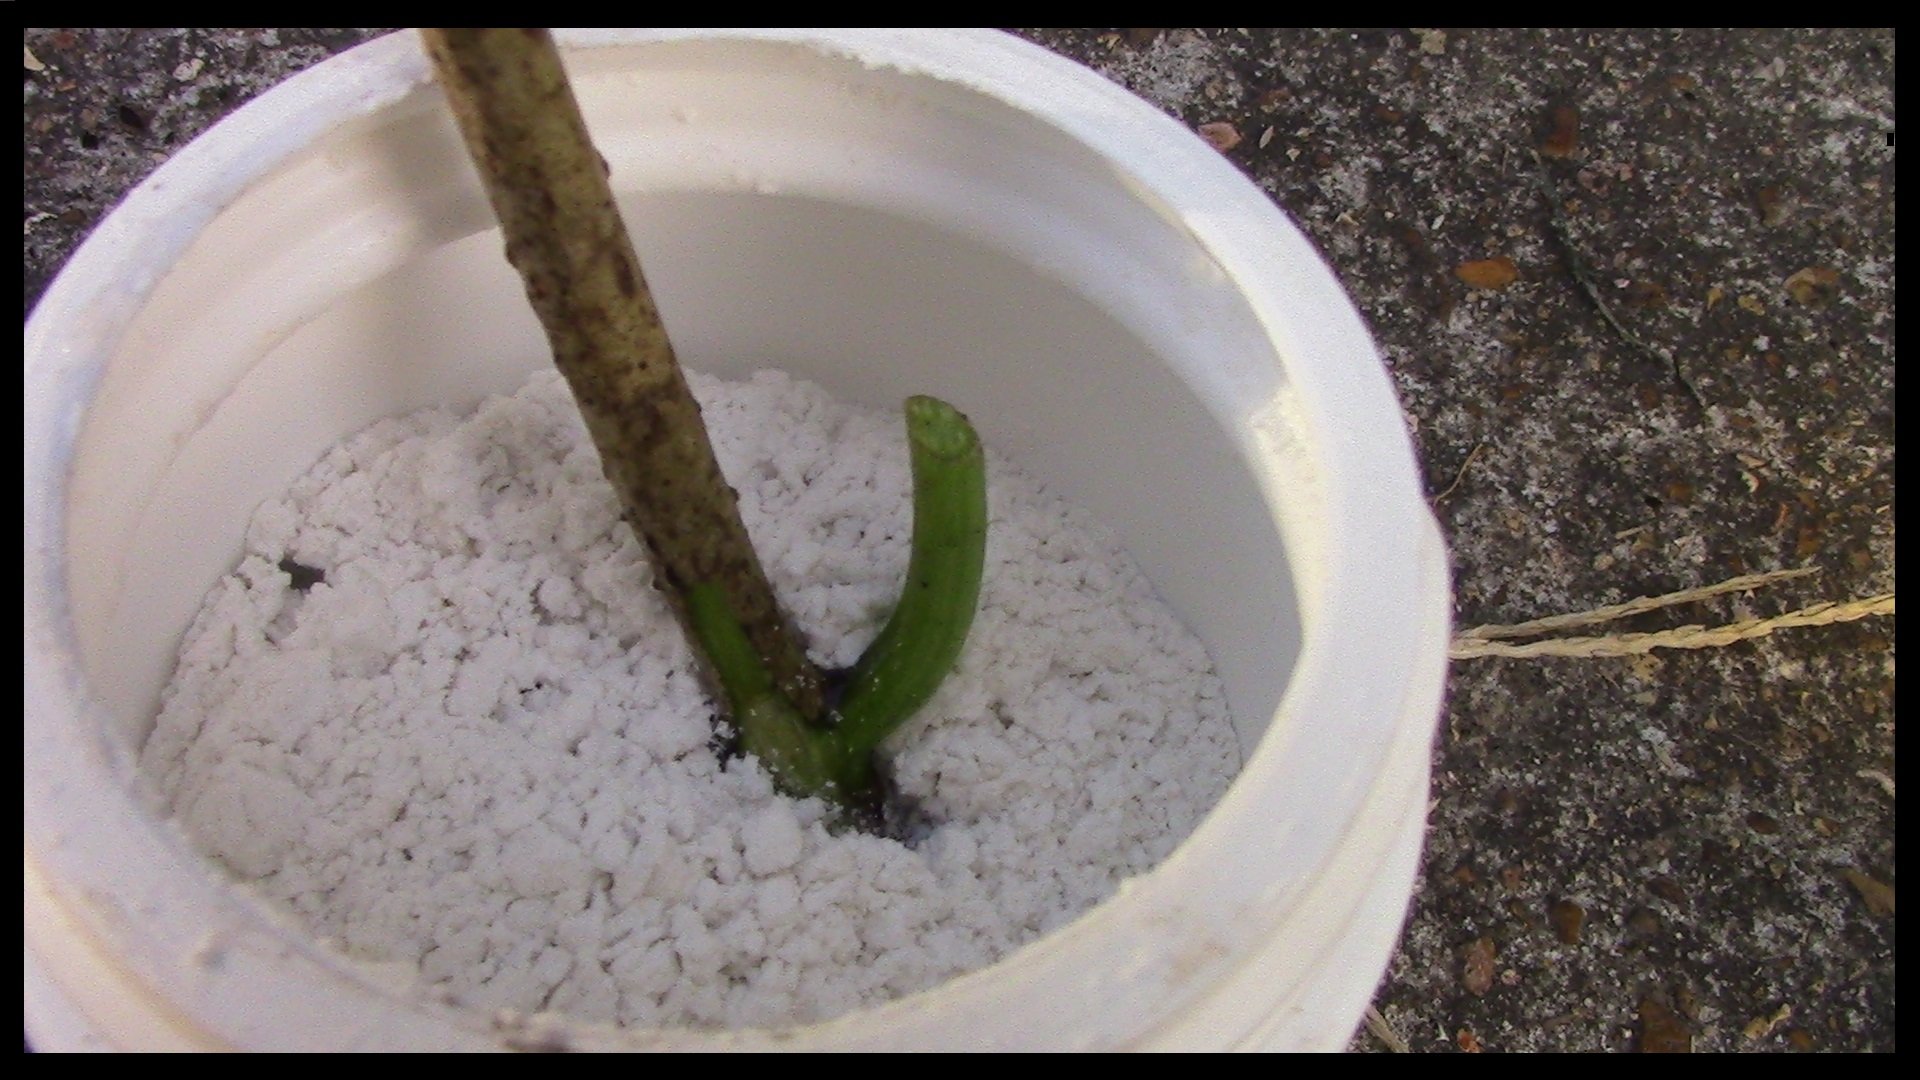
DIP WET CUTTING IN ROOTING HORMONE
And then into the rooting hormone.
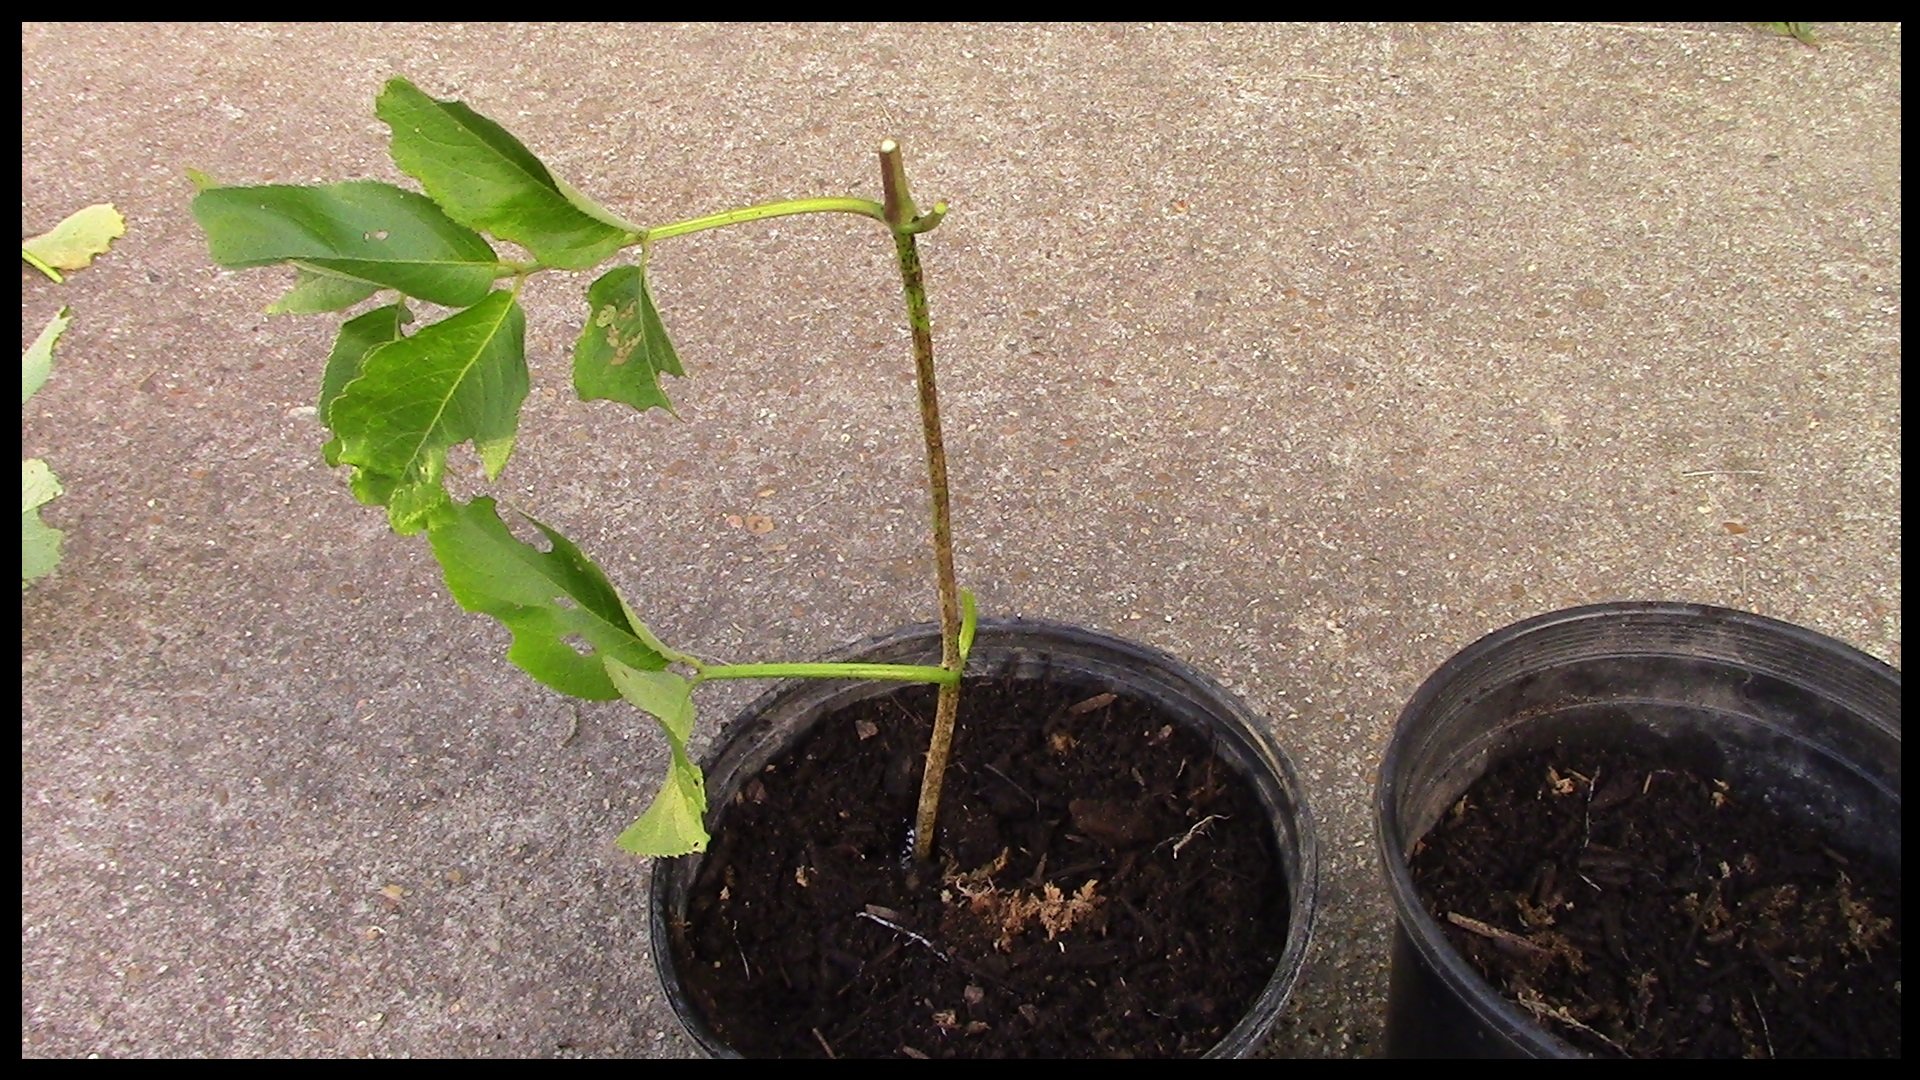
PLANT CUTTING IN SOIL
Press it deep into the soil too, and keep it moist.
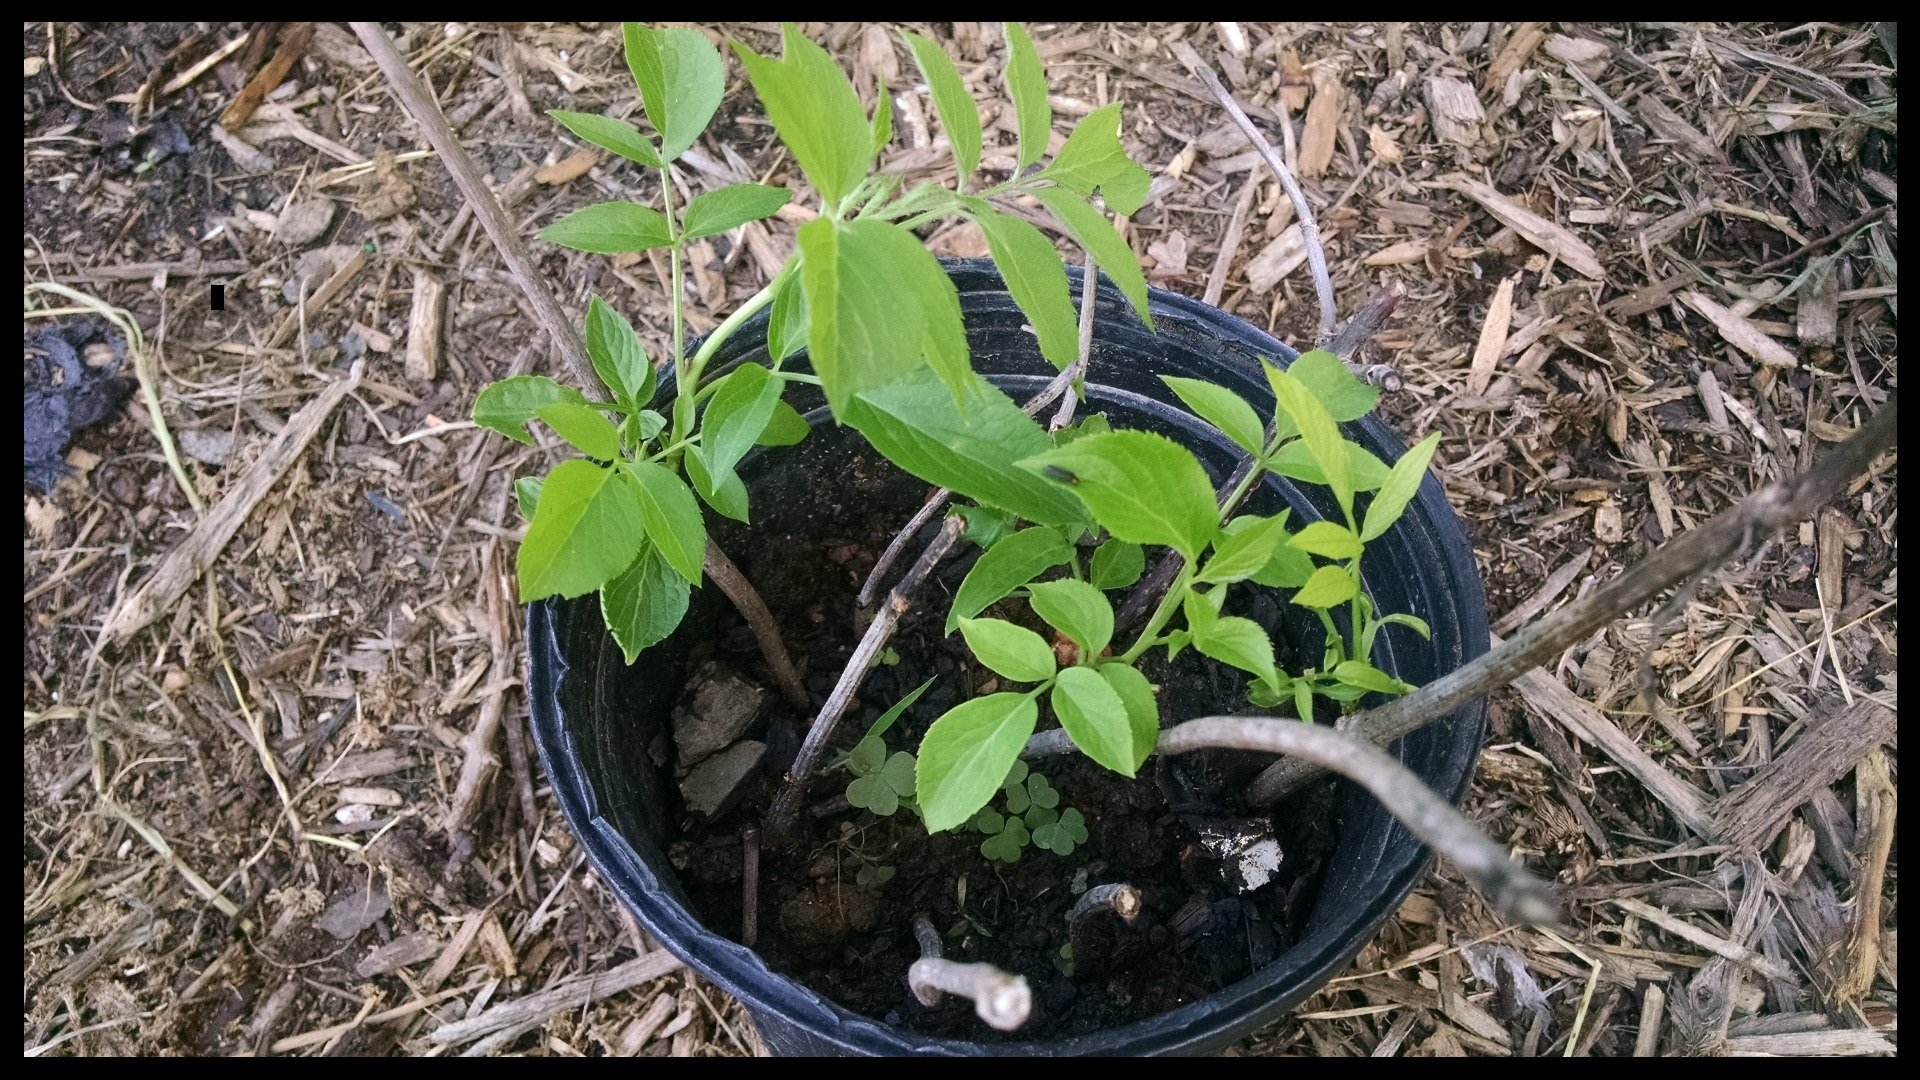
PREVIOUSLY PROPAGATED ELDERBERRY CUTTINGS
This is an example of a pot that I propagated earlier this year. Again, I did not take the cuttings while the plant was dormant, so the overall success rate was probably decreased. Out of the eight that I tried to propagate, four have new growth. Though I did not get eight new plants from this pot, I still have four more than I used to have.
CARE FOR NEWLY PROPAGATED CUTTINGS

Cuttings that you are trying to propagate in this manner are extremely delicate. If they become too wet, they'll rot before they root. If they become too dry, they'll die. I usually put cuttings in a mostly shady, partially sunny location. That way, they'll be getting a lot of indirect sunlight and won't get burned by constant heat from the sun. Since these are cuttings from outdoor plants, there is no need to harden them off, as you would with a seedling in the spring. Also, to keep them watered enough, I place them in a seedling tray so that about an inch of water can be available at the base of the pot. This prevents them from drying out in the hot Arkansas sun.
You may have noticed that I am am propagating into pots right now. This is because I am not sure of the final resting place for these plants. With multiple attempts in each pot, usually something will grow, so I'm not wasting one pot on each attempt. Also, when the time comes to put them in the earth, I can separate the ones that are growing and plant them in different places. If you are planting directly into the earth, I would suggest using a five gallon bucket to water your plants. Drill a small hole in the bottom of the bucket near the edge. Position this hole next to the base of your plant. When you fill the five gallon bucket, the water will then be on a time release, slowly trickling out to keep your cutting moist long into the day.

