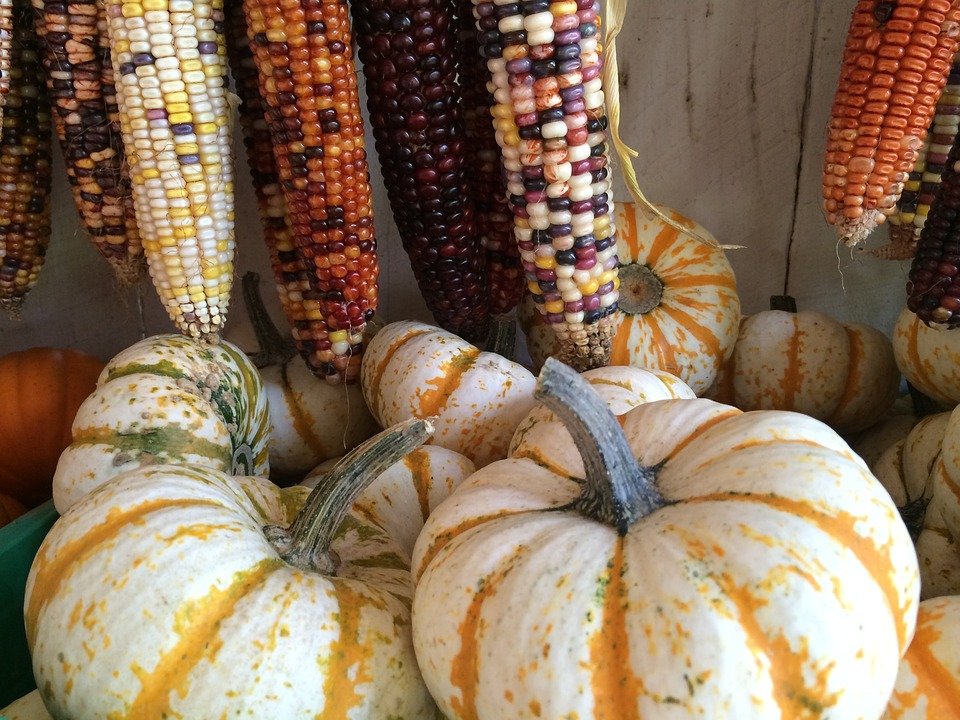
The three Sisters: corn, beans, and squash, have been planted together in traditional Native American gardens for centuries. The three sisters support each other and form an ecosystem that helps each other to grow. It's companion planting at its finest.
The Iroquois Legend of the Three Sisters
The term “Three Sisters” emerged from the Iroquois creation myth. It was said that the earth began when “Sky Woman” who lived in the upper world peered through a hole in the sky and fell through to an endless sea. The animals saw her coming, so they took the soil from the bottom of the sea and spread it onto the back of a giant turtle to provide a safe place for her to land. This “Turtle Island” is now what we call North America.
Sky woman had become pregnant before she fell. When she landed, she gave birth to a daughter. When the daughter grew into a young woman, she also became pregnant (by the West wind). She died while giving birth to twin boys. Sky Woman buried her daughter in the “new earth.” From her grave grew three sacred plants— corn, beans, and squash. These plants provided food for her sons, and later, for all of humanity. These special gifts ensured the survival of the Iroquois people. source
Here's How it Works
- The corn provides a tall stalk to support the beans.
- The beans bring nitrogen to the soil for the benefit of all three.
- As the beans grow and wind their way up the cornstalks, they stabilize the three crops, holding them close together.
- The large leaves of the sprawling squash protect the trio by creating living mulch: providing shade, holding in the soil moisture and suppressing weeds.
- The prickly squash leaves help to keep pests away.
There are a variety of ways to create a three sisters formation. This is not the most traditional formation but it's the version that I have found works best for us.
Select a Location & Create Hills
Find a sunny location in your garden. This trio benefits from 8 hours of sunlight a day. Once all threat of frost has passed you can start planting your three sisters garden. Prepare the planting area. Add compost or manure to the soil.
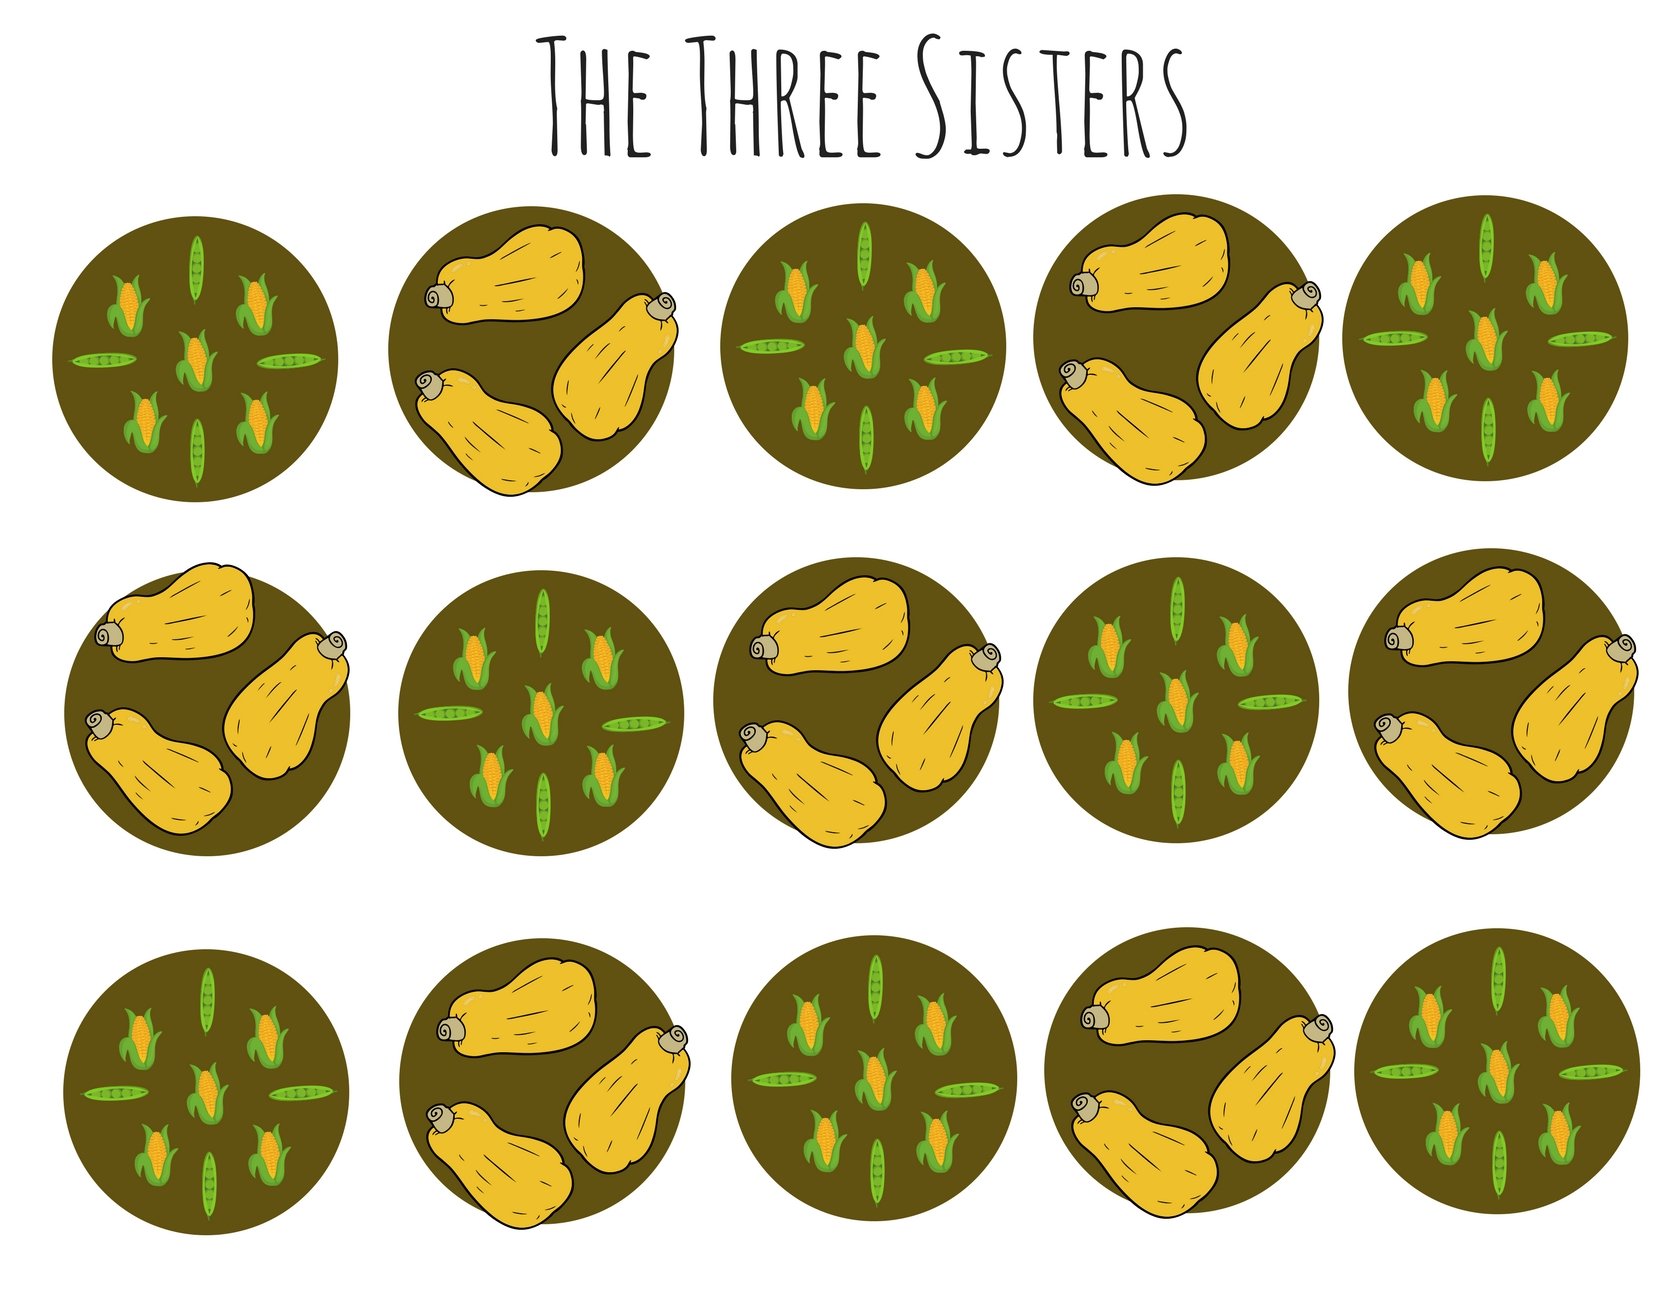
Create three 10 foot long rows. Each row should have a hill that is 5 inches high and 18 inches across. the hill should be flat to prevent water run off. The spacing between the rows should be about 5 feet when measured from the center of each mount the the next center.
The formation looks something like this.

Plant the Corn
The corn should be planted in a cluster formation. Plant one seed in the centre area of the mound and four seeds, 6 inches apart and 1inch deep to form a square around it. Remember than you need numerous corn plants because they pollinate each other via wind. The corn will provide a stalk for the bean to climb up on.
If you don't want to grow corn you can substitute with sunflowers or you can add sunflowers to the grouping.
Plant The Beans
Once the corn is about 4 inches tall (2-3 weeks) it’s time to plant the beans in the same hill as you've planted your corn. You will want to plant pole or runner varieties of beans. Plant four beans per hill. Space them 3 inches from the corn.
The beans will provide the corn with much needed nitrogen through the growing season while also helping to stabilize the corn and protect it from winds.
Plant the Squash
You'll want to plant vining varieties of squash. Some varieties that work well are: crookneck, straightneck, butternut, spaghetti & zucchini. Plant three or four squash plants per hill. The squash leaves will eventually cover the ground area and smother out weeds. They can also act as a living mulch, helping to retain moisture in the soil.
Care
While the plants are establishing you'll need to keep the soil moist and free of weeds.
Save Your Seeds
Remember to save some of your seeds for next years planting. Saved seeds provide you with the added benefit of being more adapted to your growing conditions and climate than those you buy new.
- Corn & Beans - leave a husk of corn and some beans on the vine/stalk to dry.
- Squash - scoop out the seeds and allow to dry.
Once you remove the seeds from the shells/husks, allow your seeds to air dry for a few days and then store in a dark container, in a cool dark location.
Reources: nativeseeds.org | southernexposure.com | www.techxlab.org | gardening.cals.cornell.edu
Building a greener, more beautiful world one seed at a time.
Homesteading | Gardening | Frugal Living | Preserving Food| From Scratch Cooking|
You can also find me at: walkerland.ca
Photo credit: Pixabay

