This post is the sixth in a series on seeds. In this series we'll cover everything from the importance of seeds, how to save seeds, how to start seeds, correct storage and so much more!
Today we are going to talk about how and why you should sprout seeds for culinary use. This is an often overlooked yet highly valuable method of growing and producing nutritious food for your household.
You can find part 1-5 of this series here:
Heirloom Seeds Part 1: The Importance of Seed Saving & How to Select The Best Seeds
Heirloom Seeds Part 2: SEEDING FEAR | Documentary Short
Heirloom Seeds Part 3: Determining and Using Plant Hardiness Zones
Heirloom Seeds Part 4: When To Start Your Seeds
Heirloom Seeds Part 5: Seed Starting
When people think about stocking a pantry, seeds often get overlooked. The seed is most often relegated to seasonal gardening but it truly deserve a place on every pantry shelf. Raw sprouted seeds are more nutritionally dense than full grown vegetables. They are simple to make and you don't need a garden to grow them. They are versatile, nutrient rich and truly an asset to anyone wanting to be more self reliant.
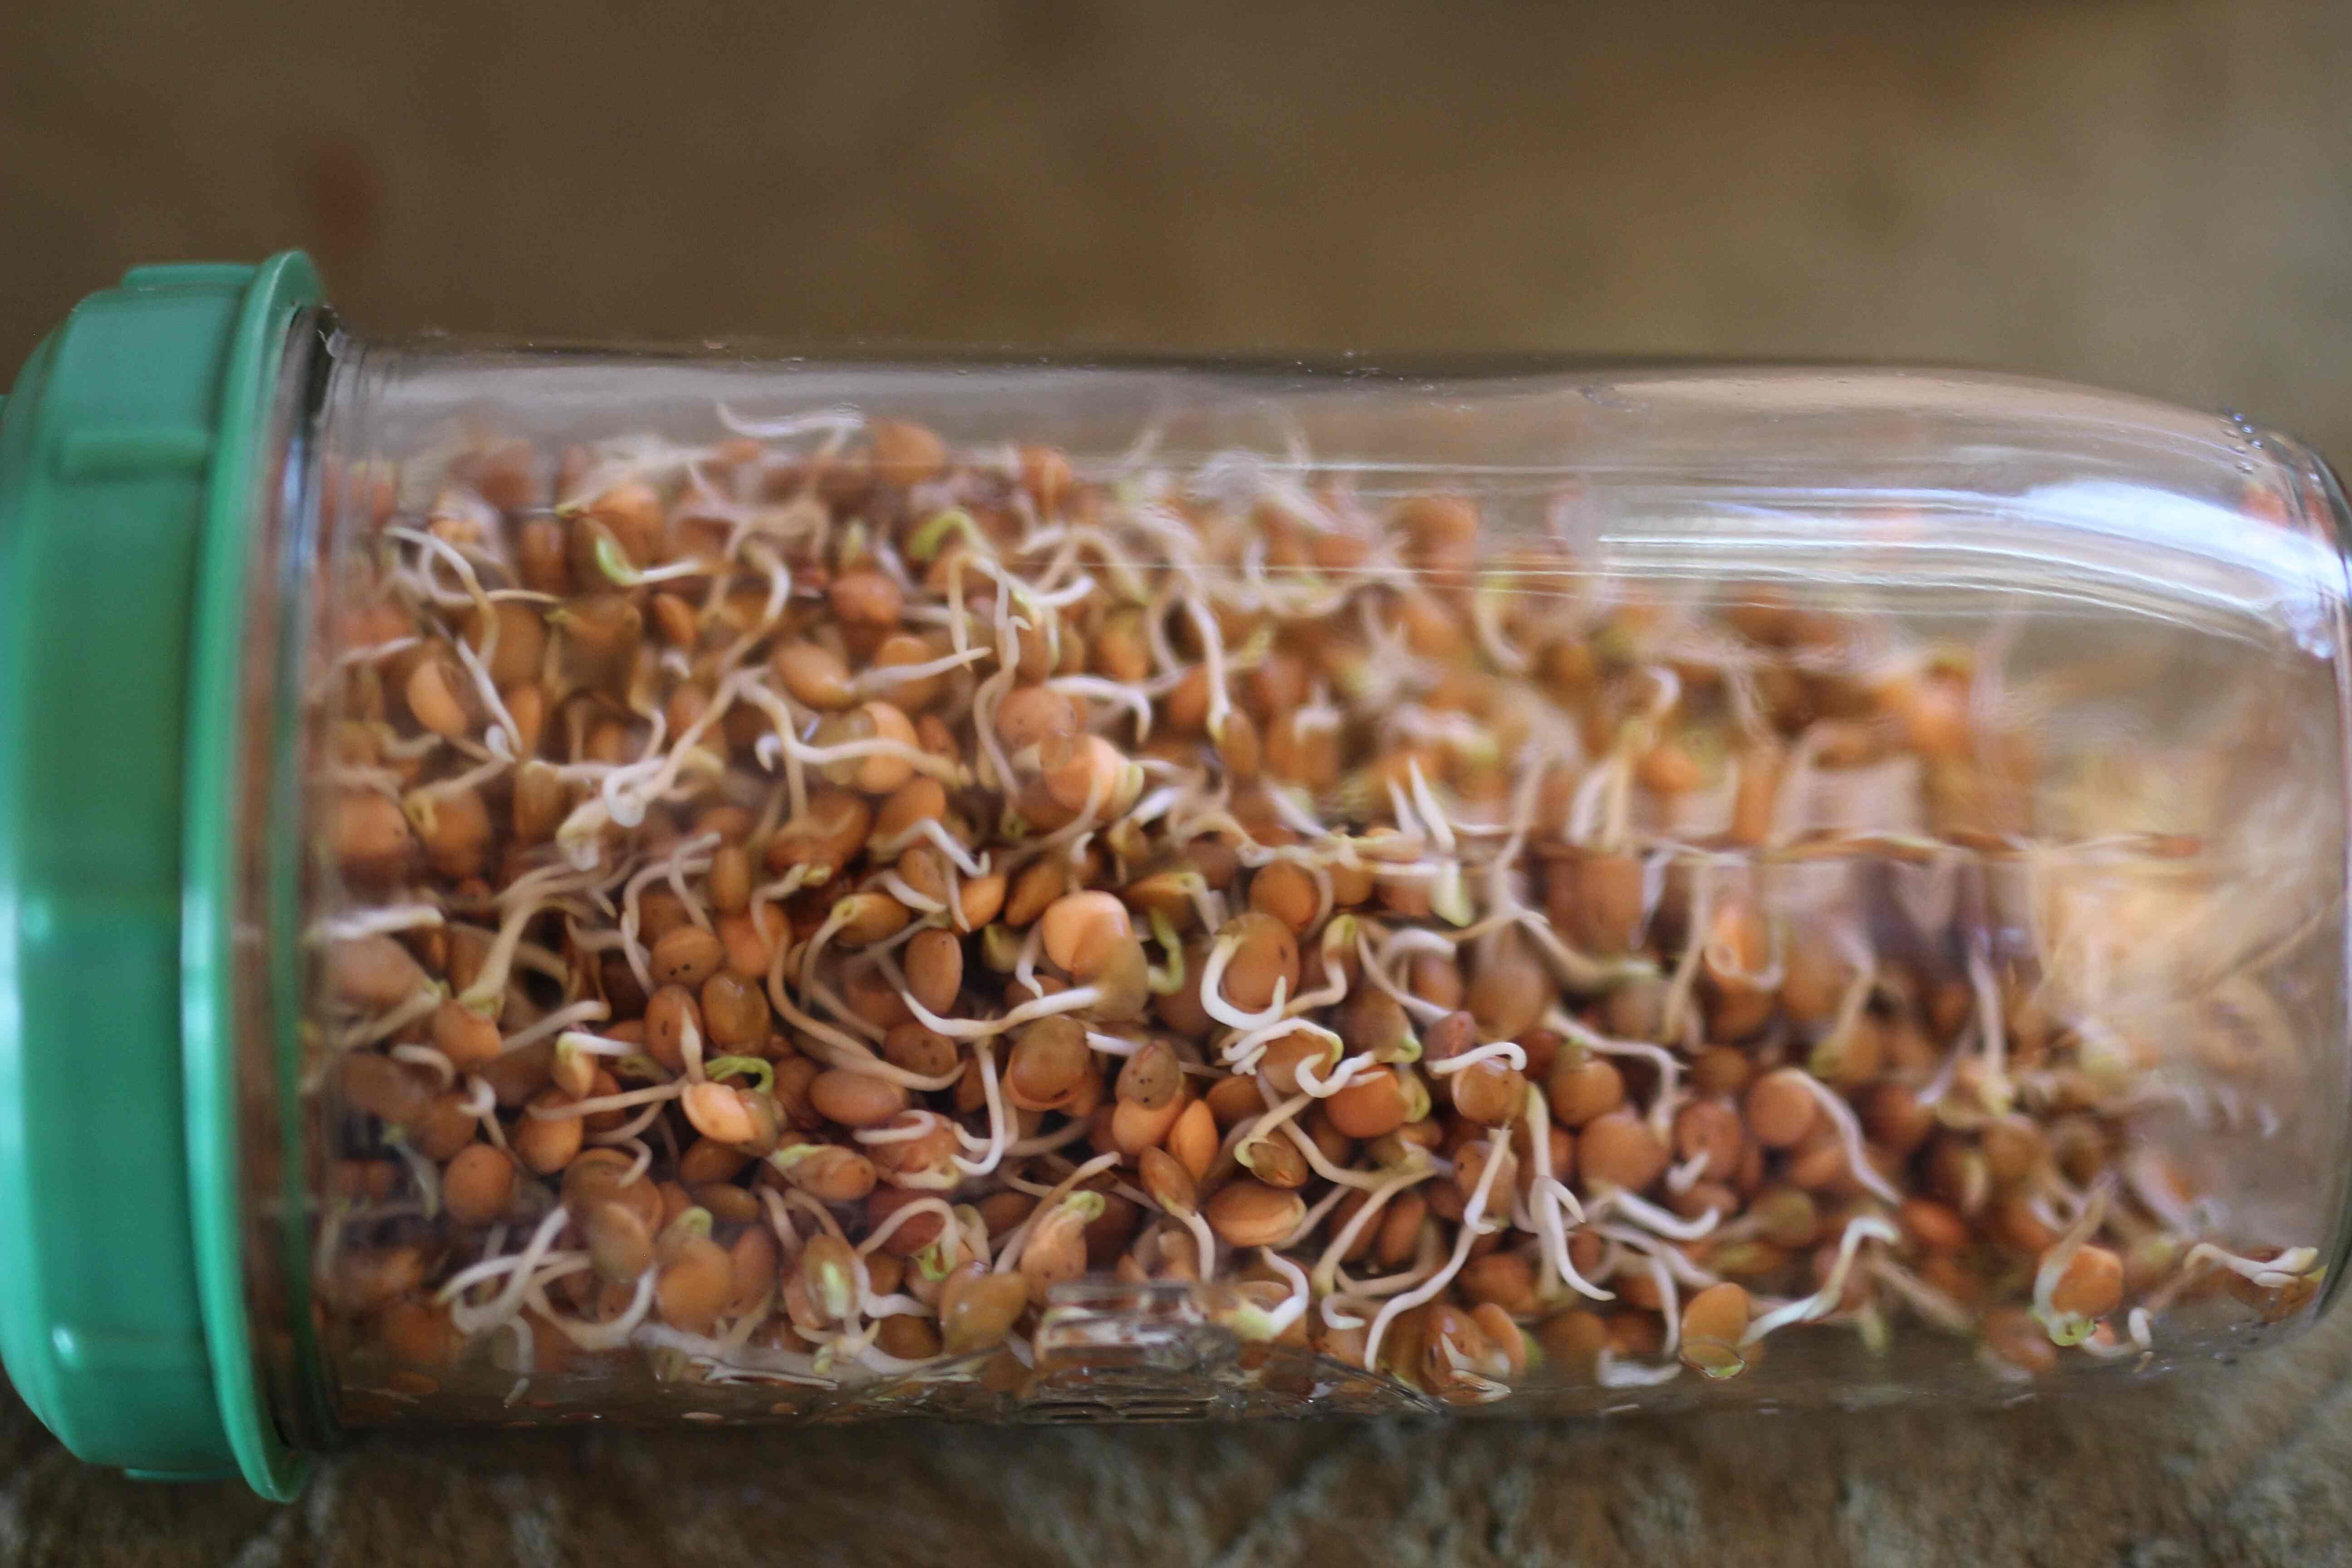
Did you know that you can make your own bean sprouts at home? If you have mung beans or soy beans in your cupboard, you have all you need to make your own fresh bean sprouts.

Health Benefits
Eating sprouts may improve cardiovascular health while helping to prevent heart disease and stroke. They can play a role in improving bone mineral density, protect DNA against free radicals, and potentially help to to treat a number of diseases. Sprouted seeds are packed with protein and are low in fat, high in fibre and are cholesterol free. They are packed with nutrients however the nutrient density varies from seed to seed so I won't list the details here. You can find a complete nutritional breakdown on sprouting.com.
Animal Health
Sprouts are generally very low in digestive inhibitors. They can be used to supplement livestock and backyard poultry feed as well. We tend to sprout some for the chickens over the winter months. Cooked & sprouted lentils can also be given to your canine friends as part of a balanced diet. Just be sure to keep an eye on them to make sure they are not having issues with digestion. Some dogs, like humans, can have trouble digesting them.
Equipment Needed
By sprouting the seeds in your own kitchen you have access to cheap, fresh nutrient packed greens throughout the winter. You don’t really need anything special to sprout seeds. Sprouting trays do make the job a little more convenient, they are inexpensive and are readily available on-line. You can make your own sprouting jar using a glass jar, rubber band and any sort of pliable mesh screen (such as bug screen). Here are the more common sprouters.

You can also develop sustainable & cost effective livestock feed systems if interested search for "fodder system".
Jar with mesh/straining lid
Sprouting Tray (such as the SproutMaster)
Hemp Bag
Freshlife Automatic Sprouter
Sprouting Seeds
Here is a list of seeds that are excellent when sprouted. How about popcorn? Fresher tends to be best for successful germination, however there is no harm in trying so if you've got some lentils or beans in the cupboard - give it a shot!

| Alfalfa | Arugula | Barley |
|---|---|---|
| Basil | Beets | Broccoil |
| Buckwheat | Clover | Dill |
| Peas | Popcorn | Fenugreek |
| Kale | Lentils | Sunflower |
| Sesame | Wheat berries | Mung beans |
| Garbanzo bean | Fava bean | Adzuki beans |
Directions
- Measure your seeds. You need about 2tbsp per sprouting tray or jar.
- Place the seeds in a fine mesh sieve (something with small enough mesh that they wont fall through) . Rinse well with cold water and place the seeds in a bowl or wide mouth jar. Cover the seeds with cold water and let them soak. This will re-hydrate them.
- Drain the water and put the seeds in the sprouting tray. If using a mason jar you need to let it rest on it’s side so that the seeds are not “steeping in moisture”.
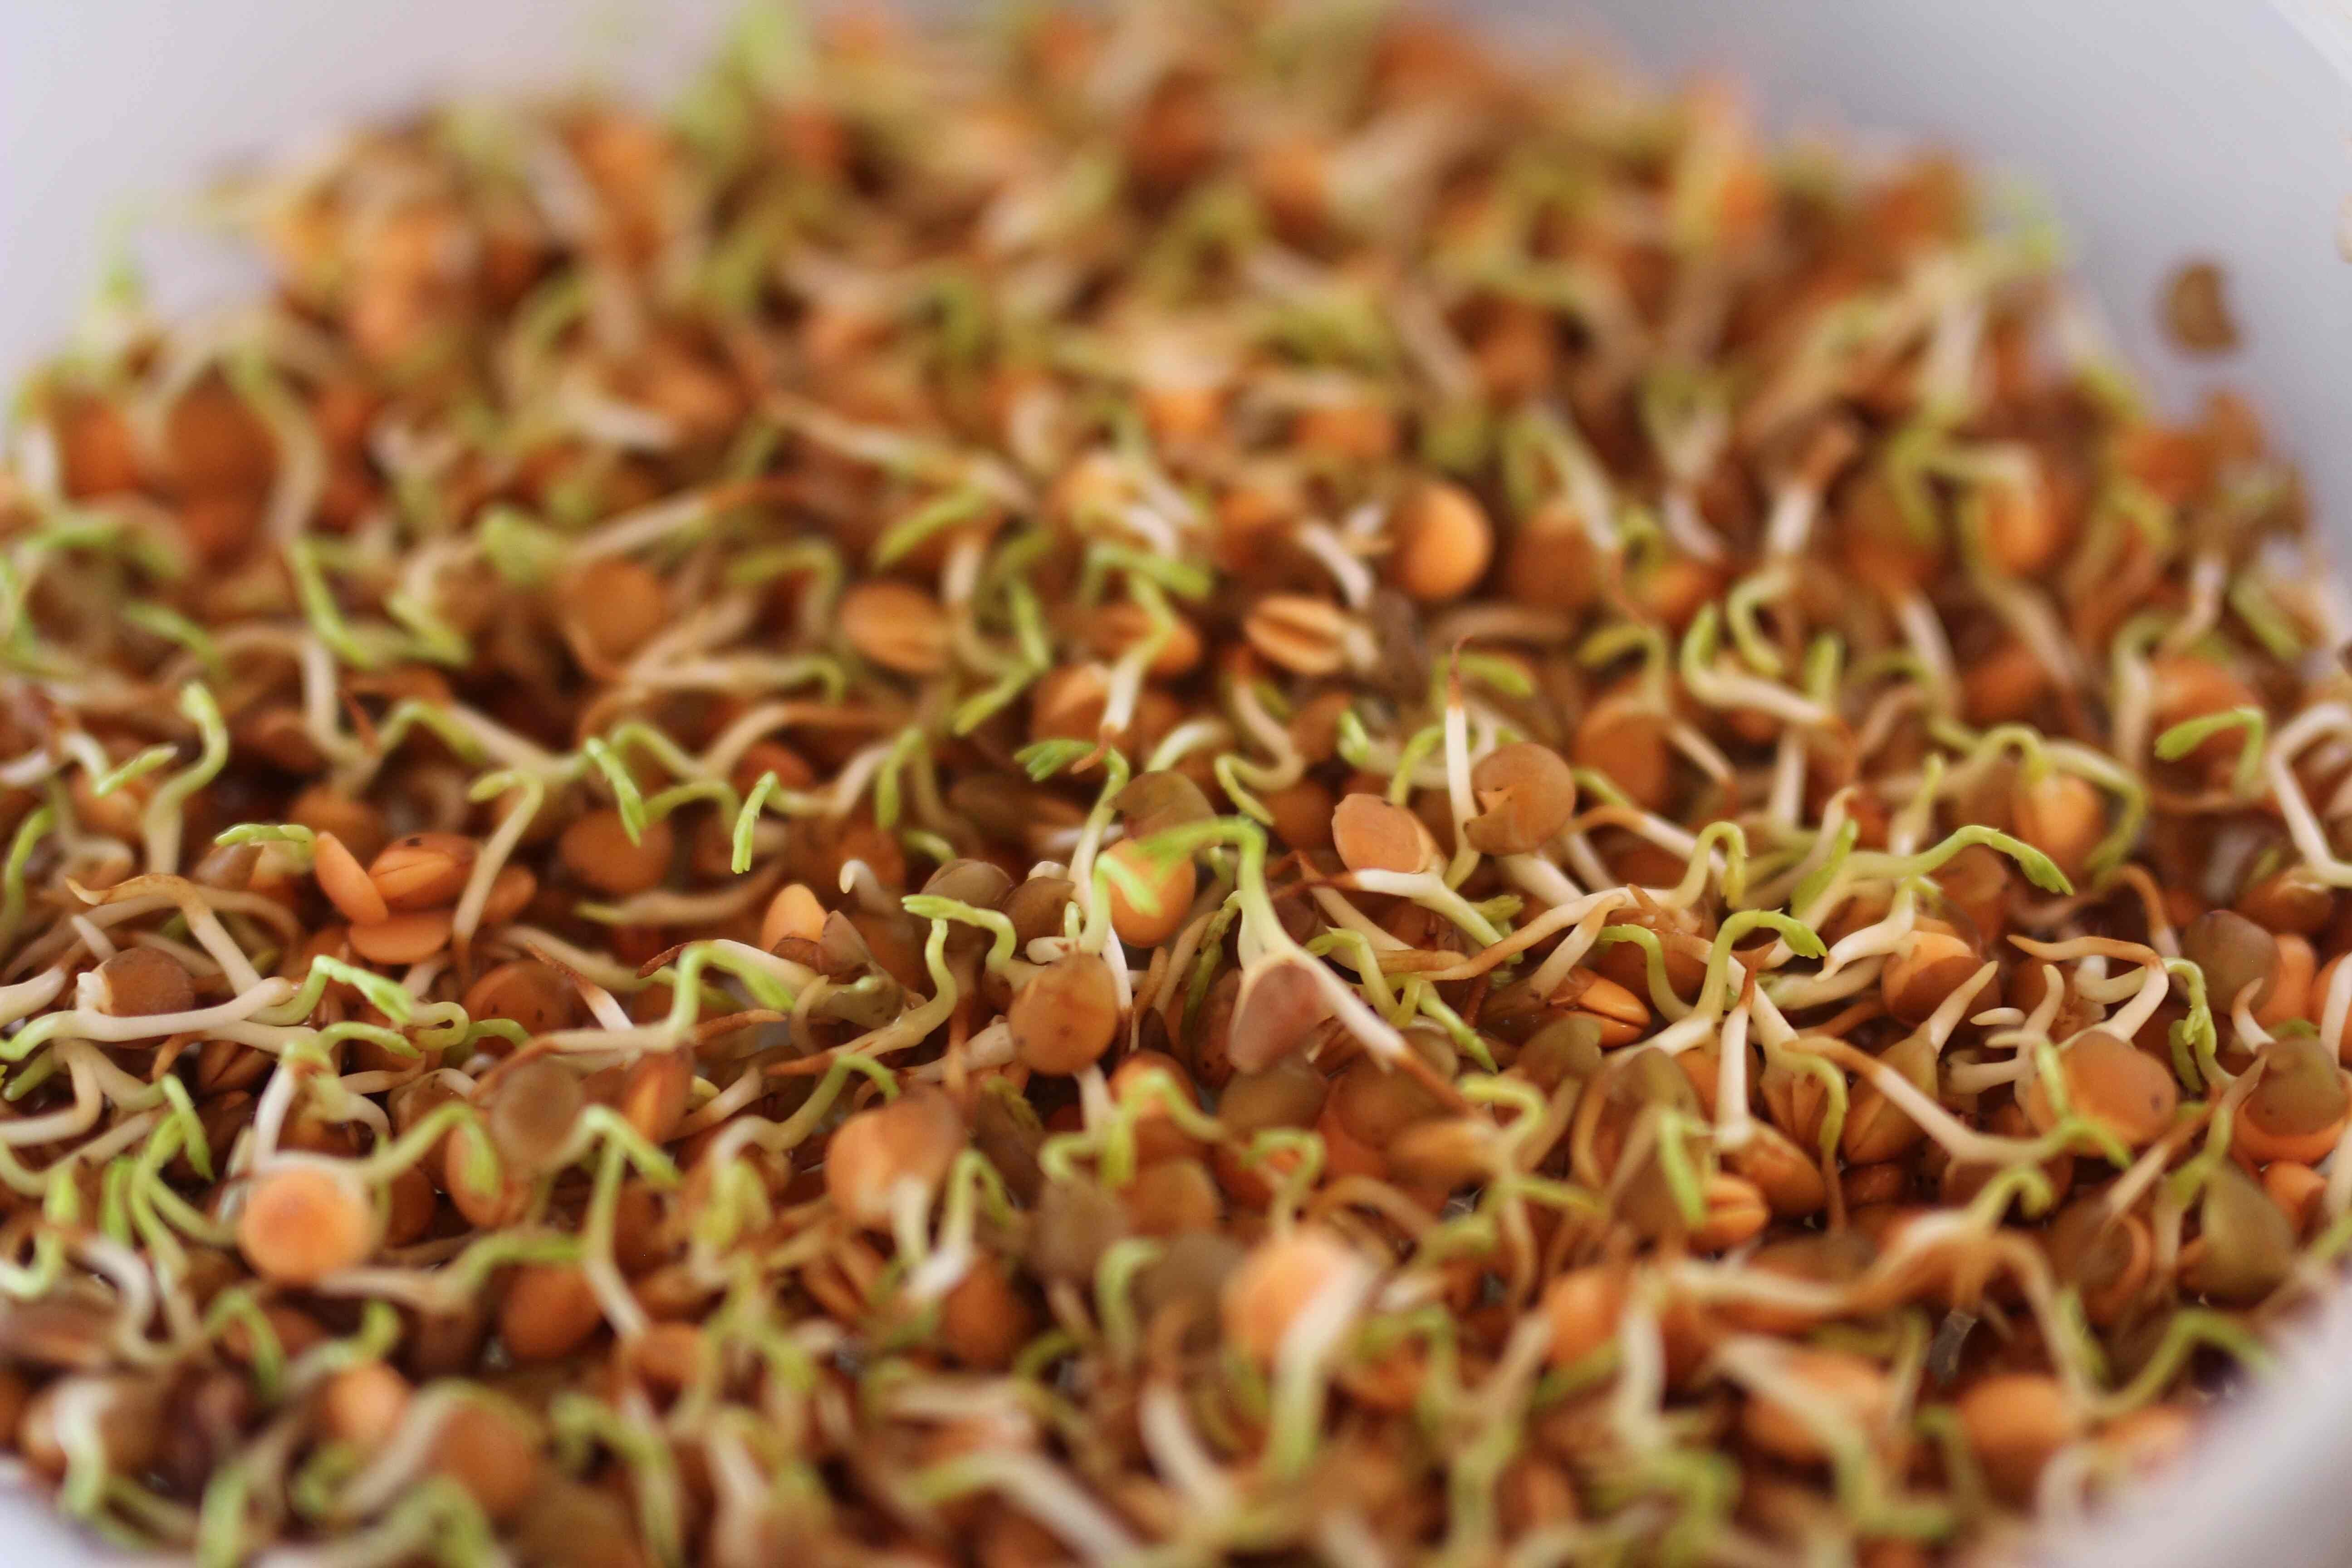
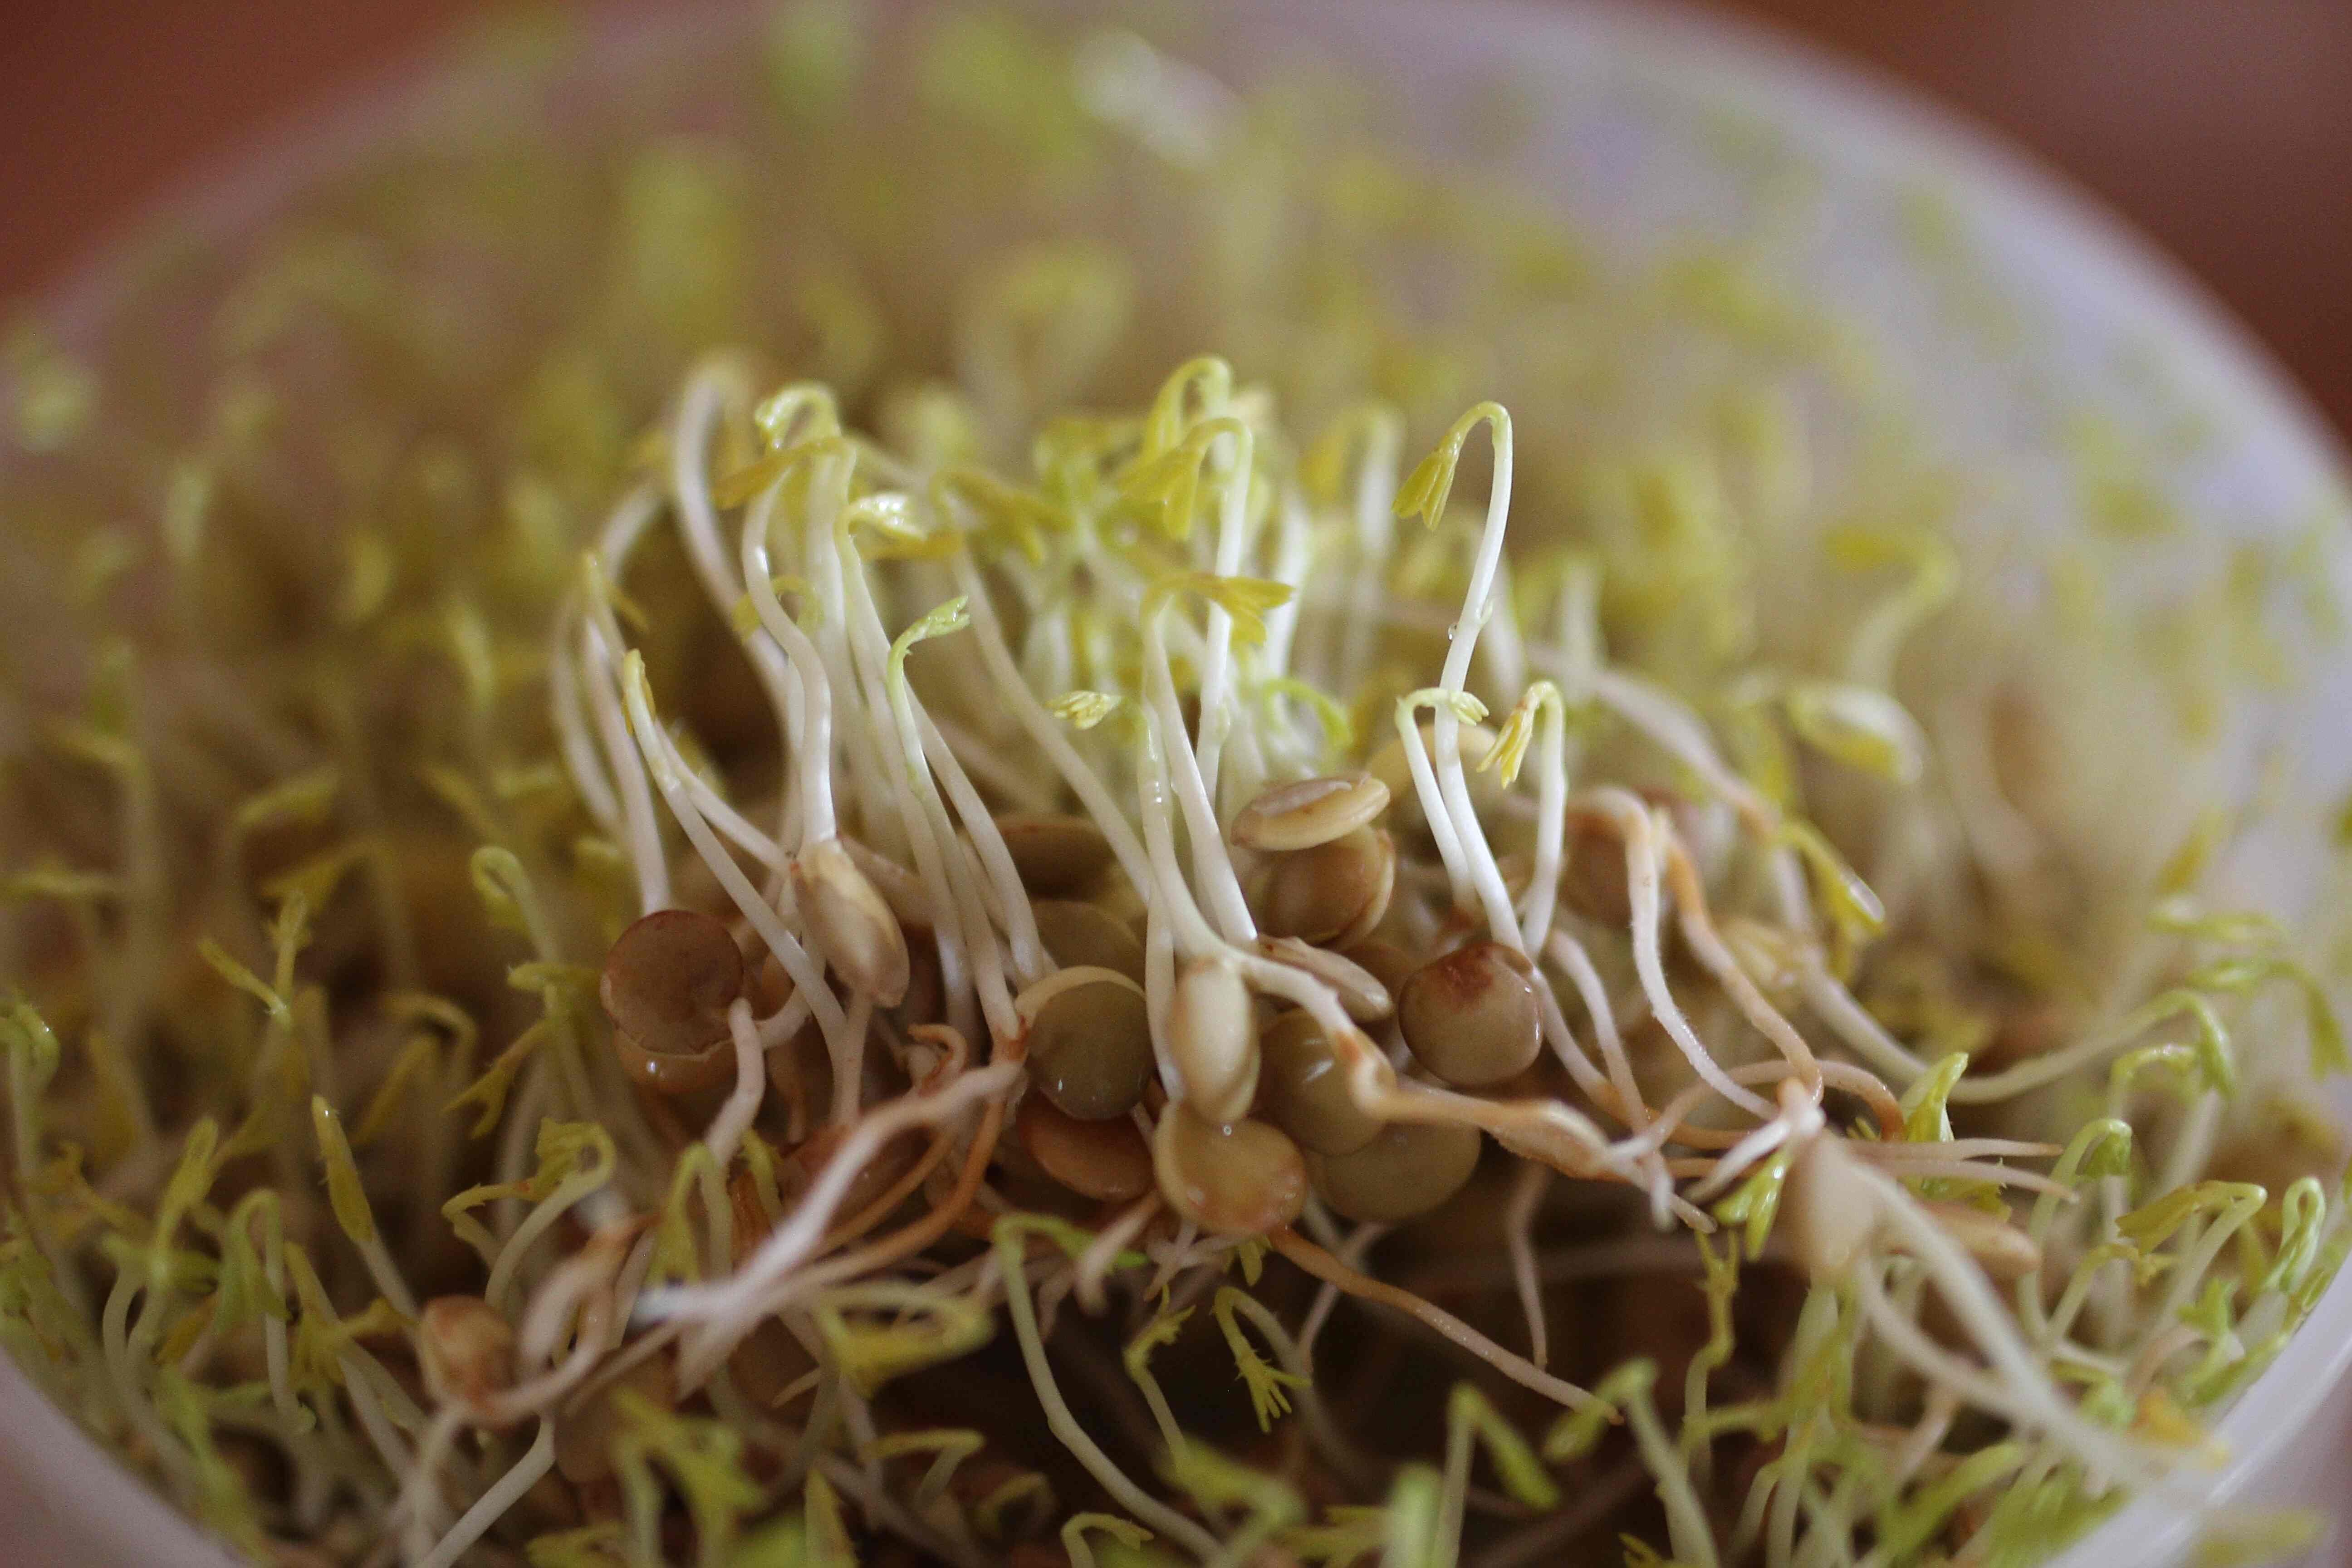
- Drain and rinse the seeds twice per day. Continue doing this until the sprouts have teeny green leaves forming on the ends. It takes about three to five days.
- Once the seeds have sprouted remove them from the sprouting tray or jar and eat them or place them in a clean dry mason jar with a folded piece of paper towel on one side to absorb excess moisture and refrigerate them. They can keep for three to five days this way but are best when eaten quickly.
Soaking Times
These are ideal soak times but if in doubt soak less rather than more. If you do over soak, don't worry about it. Seeds are pretty resilient when they want to be!
- Broccoli family: Cabbage, kale, radish etc: 2-3 Hours
- Small seeds: 2-6 Hours
- Large seeds: Peas, lentils, grain, etc: 6-12 Hours
- Mucilaginous seeds: Cress, arugula, chia, flax, basil: Do not soak, lightly mist to keep moist.

Storing Seeds
If you are saving seeds for sprouting or have bought some, they are best when stored in a cool dry place. If you will be storing them for over a year, you can extend their germination life by placing them in the fridge and for even longer storage, the freezer.
I sincerely hope this inspires you add sprouting seeds to your culinary repertoire.
Happy Gardening!
Building a greener, more beautiful world one seed at a time.
Homesteading | Gardening | Frugal Living | Preserving Food| From Scratch Cooking|
You can also find me at: walkerland.ca
Photo copyright: @walkerland
Sources: Sprouting.com & walkerland.ca

