Hello friends,my name is de prince and i am here to share my skill with us and I believe we will find it useful enough. Skill is a life time asset that goes to the grave with us and it's something everyone should acquire. Below is a step by step guide to how I made these beautiful ladies heels 👇.
Normally in shoe making, when trying to make any product unless you are making use of already made sole,but if you are not using already made sole, the first thing to do is to mark your fibre and cut it to the desired size you want to make.
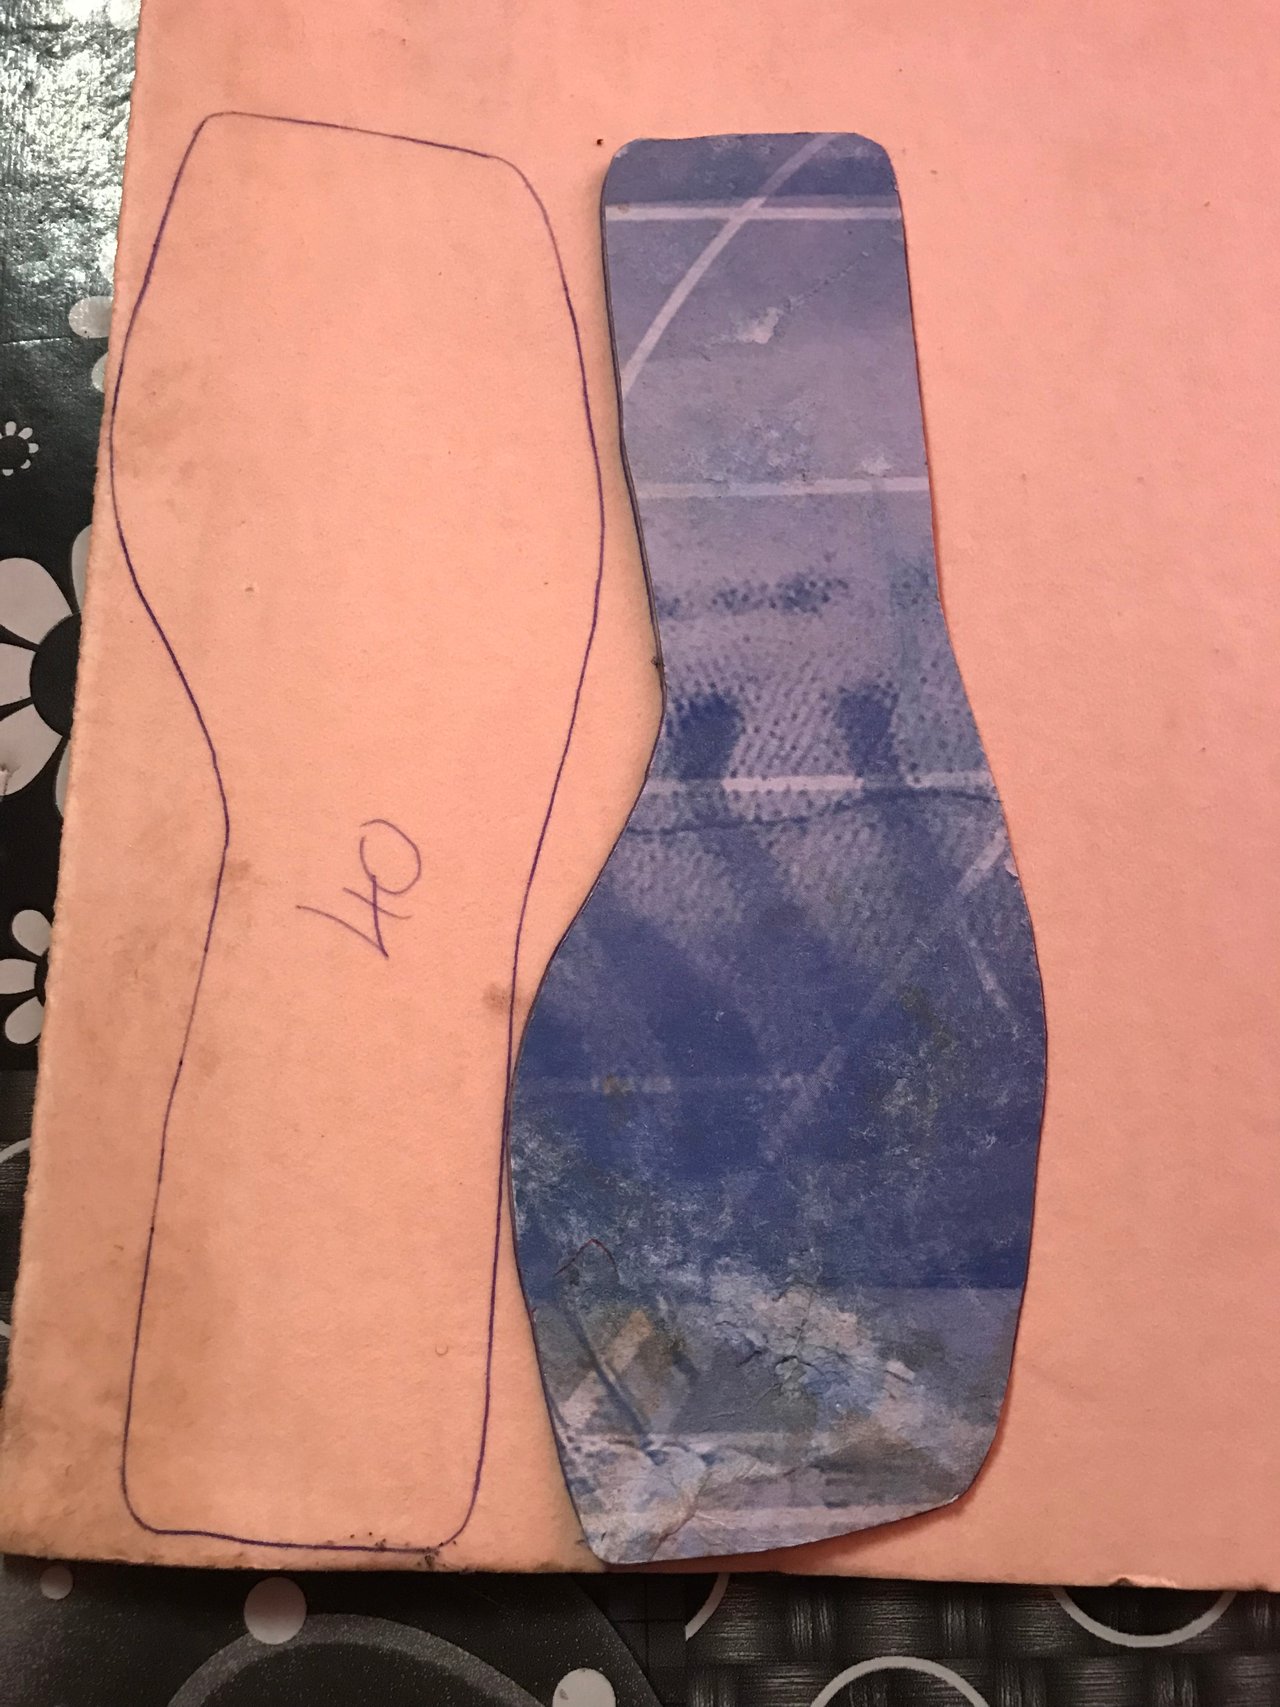
Why you must mark and cut is because you are not using already made sole that has sizes but you mark any size you want and cut it with the pattern you want.
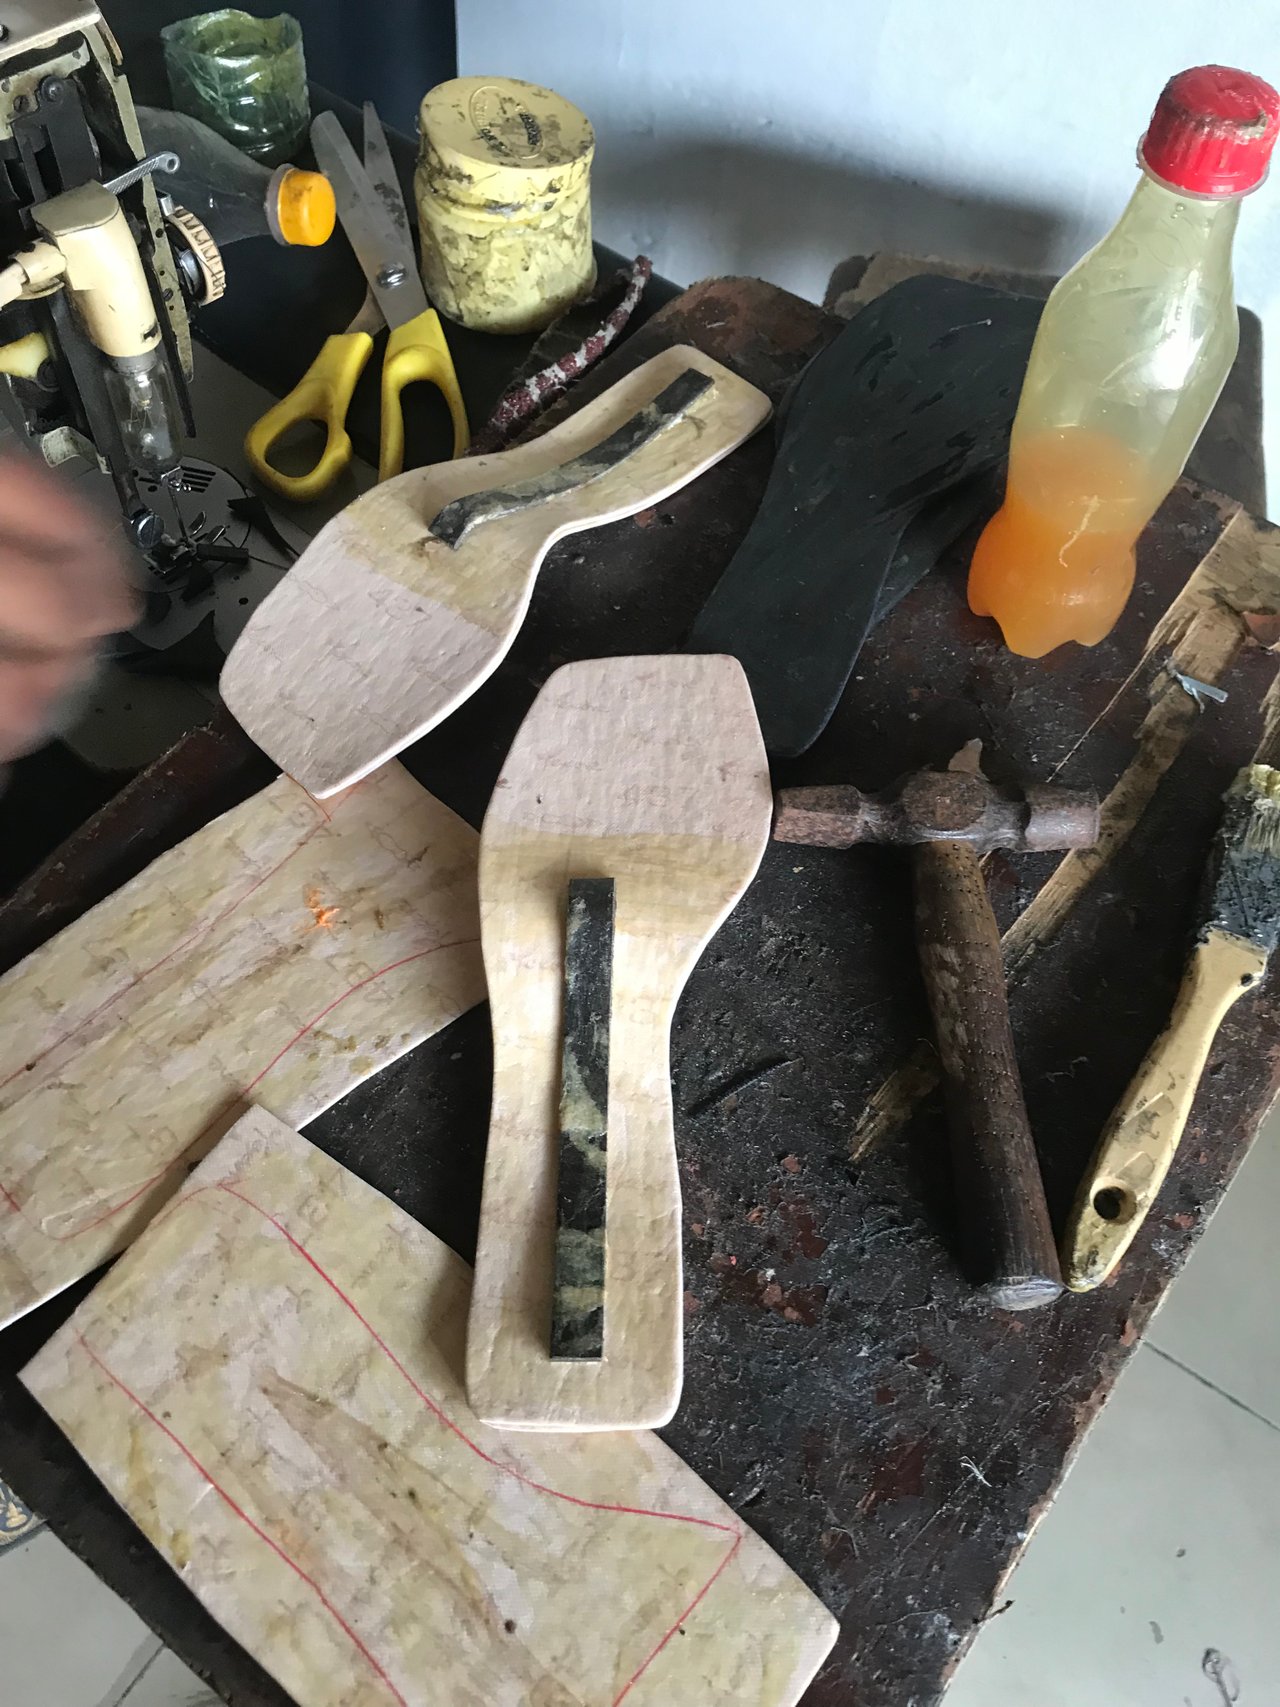
After marking and cutting, it's now time to padd the cutted fibre with what we call shank,in shoe making,shank is an iron like material that gives the heels that figure eight shape. You will have to apply gum on the cutted fibre and also on the half cut and also on the shank. We have foreign and local shank.
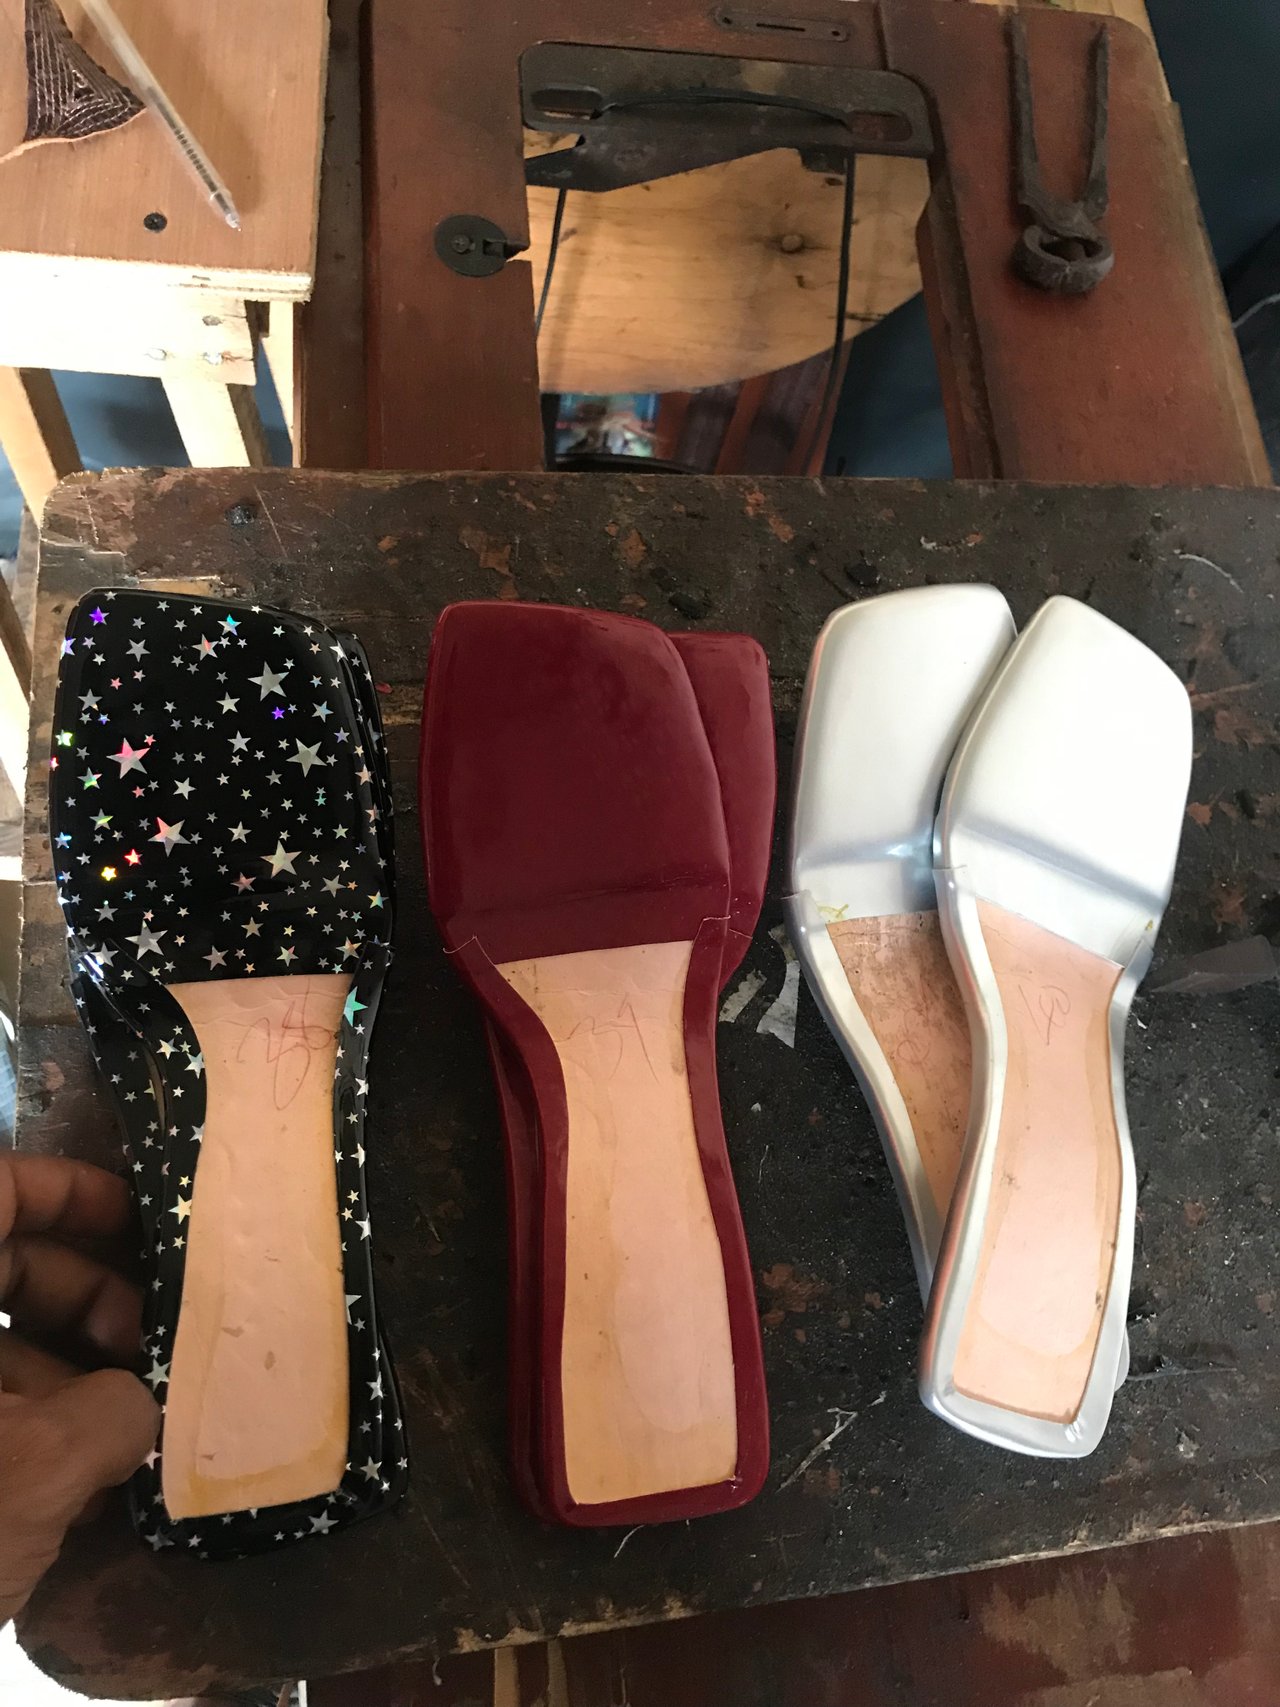
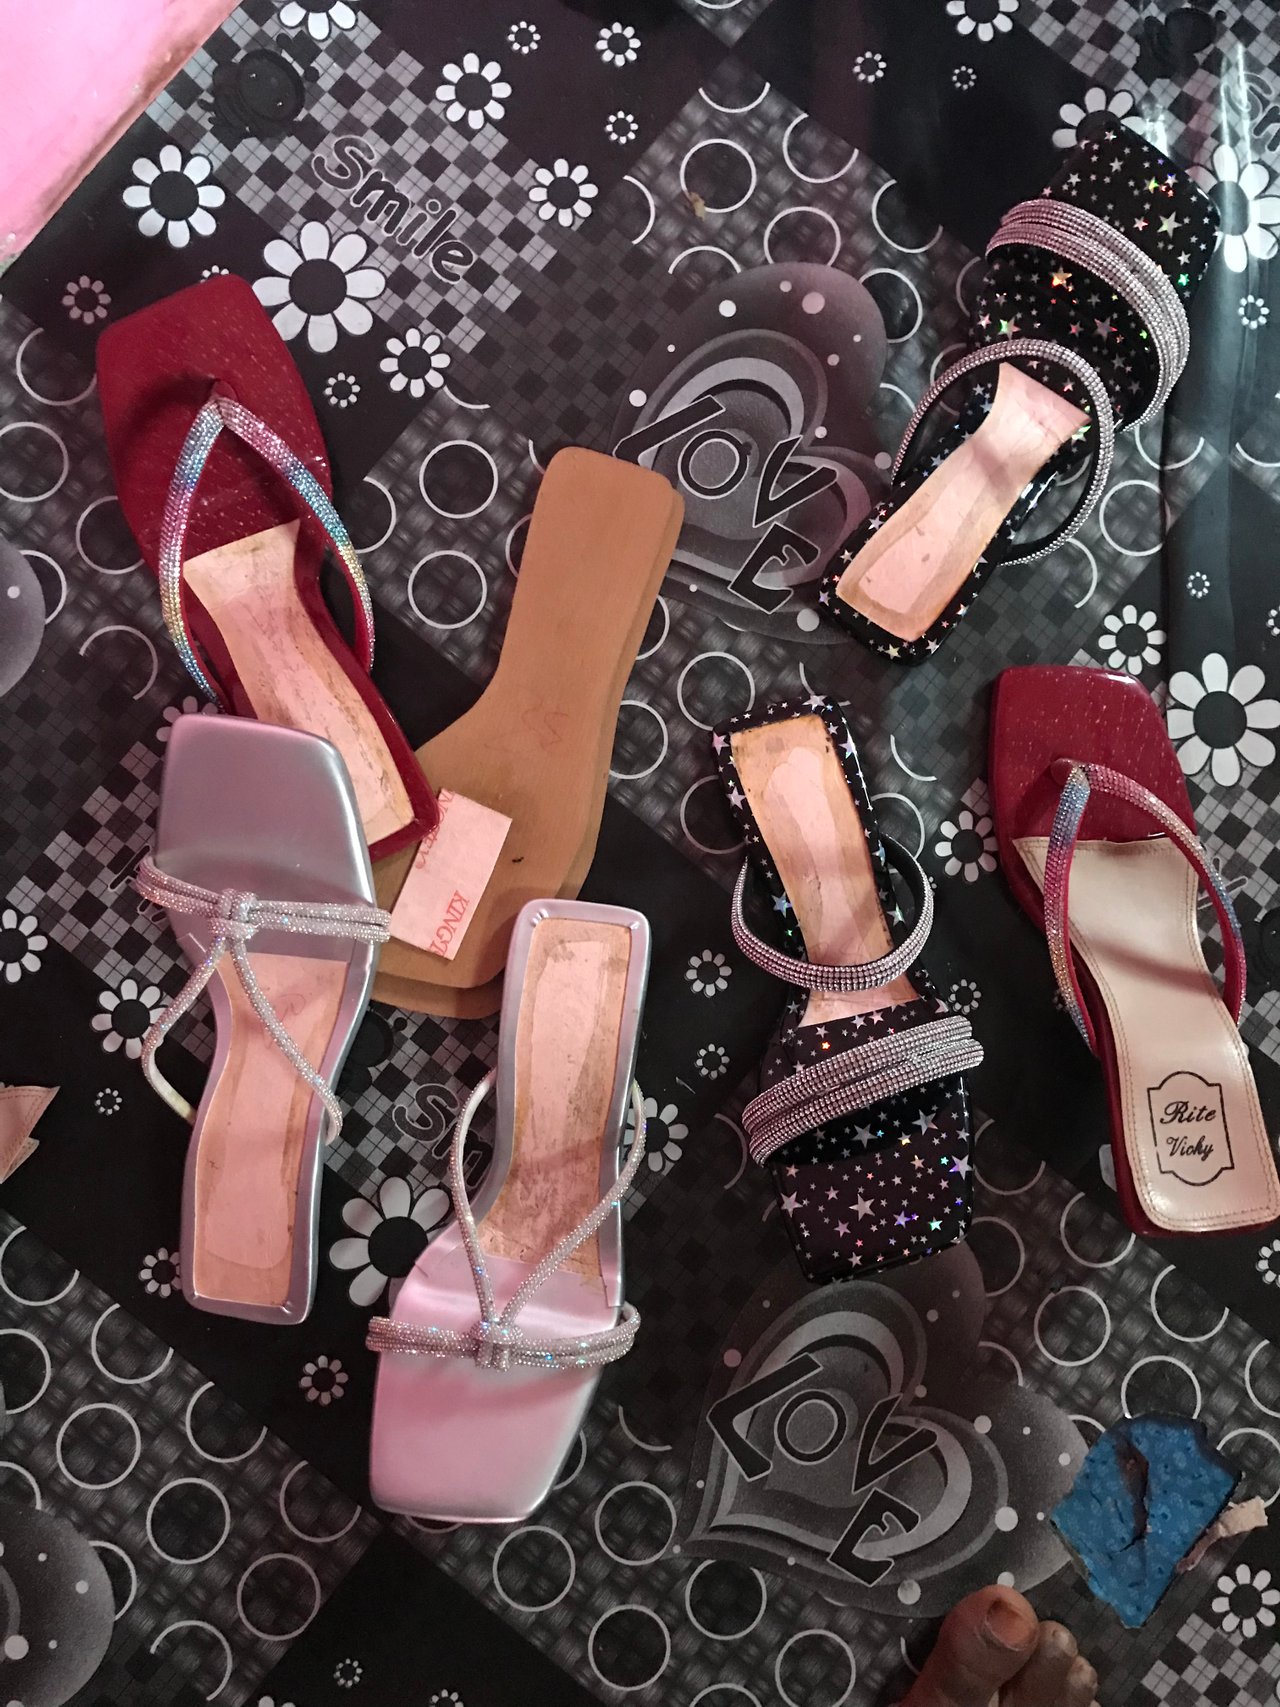
Step three involves taping the padded fibre. Here,I will use the colour of material that the buyer wants as you see the colours I used here are ox blood, silver and black. When taping a sit(padded fibre) you must be careful not to make any mistakes because any mistake you now cannot be corrected after coupling the work,so it's advised to take utmost precaution when taping.
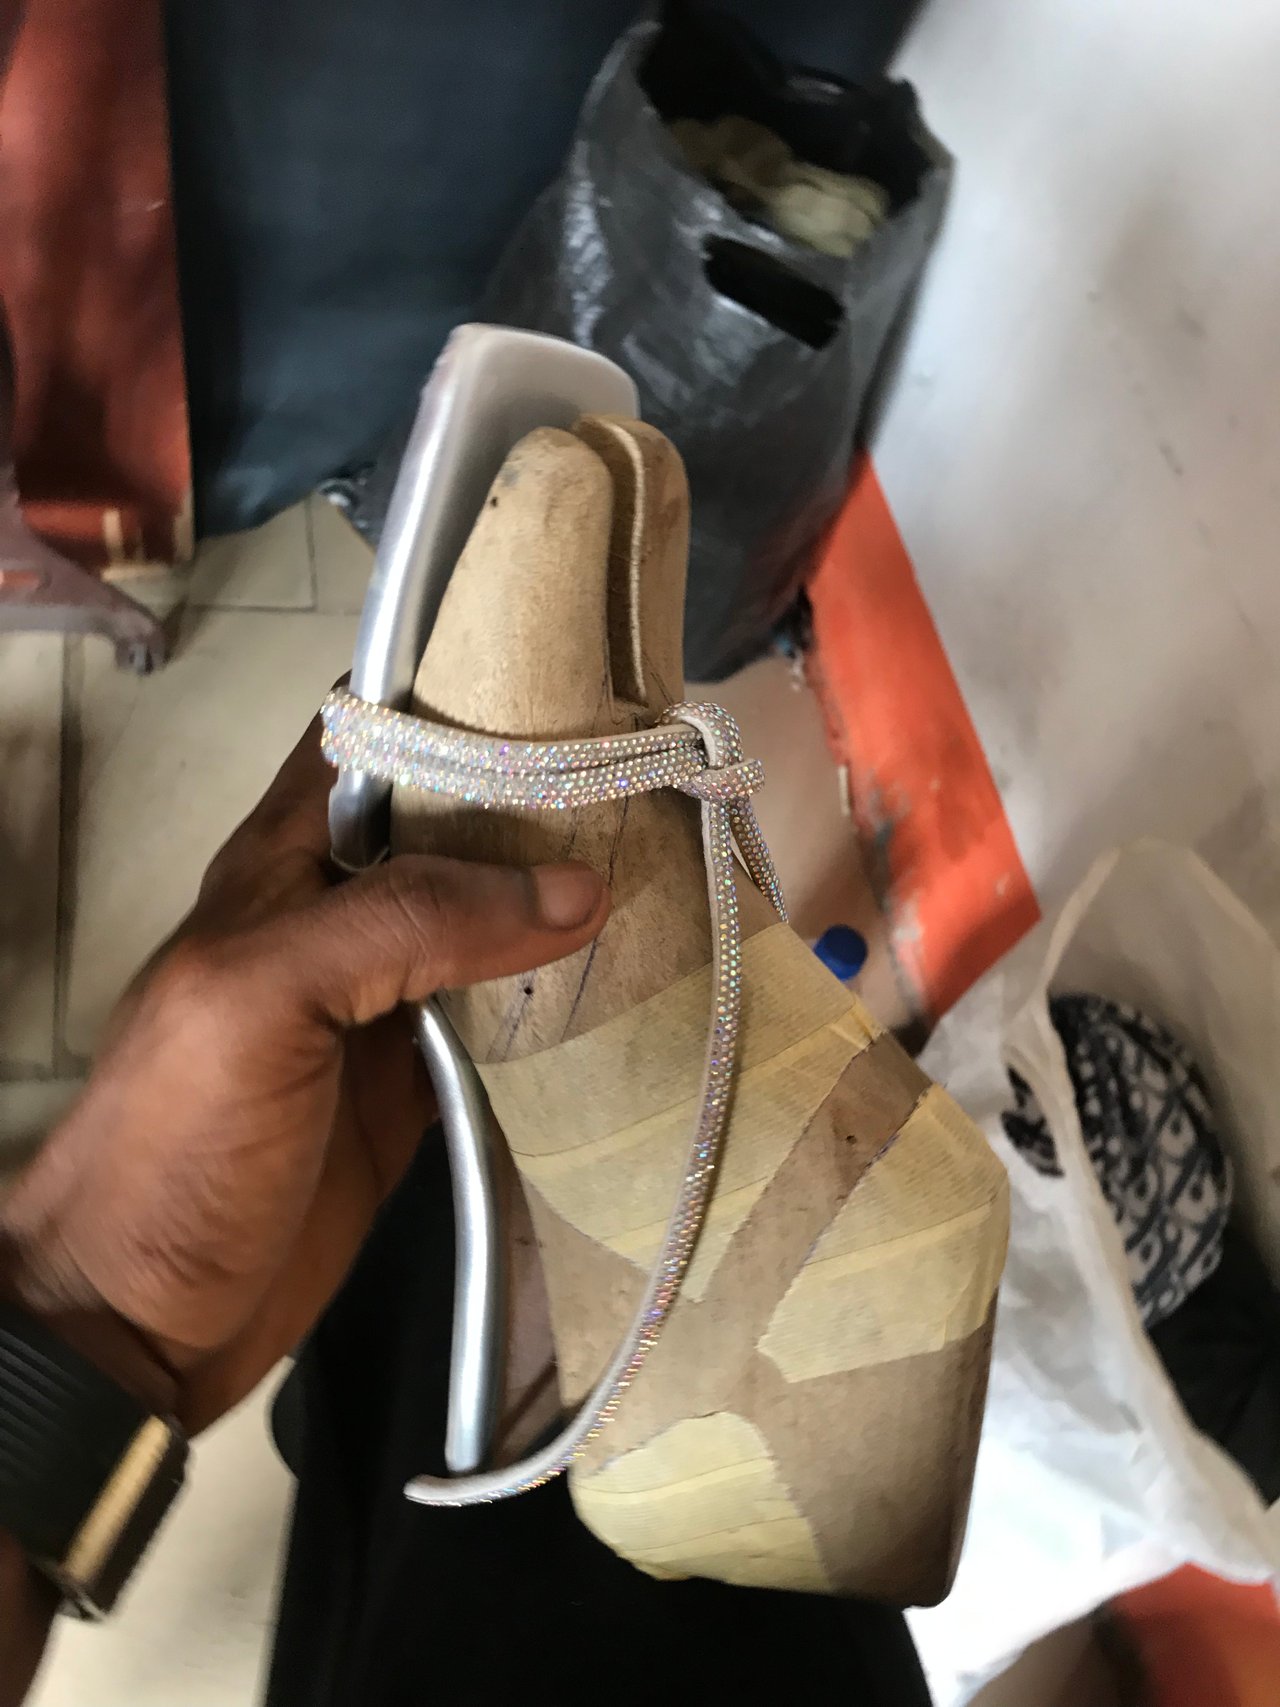
In step four, this where the work starts looking like a real ladies heels. Here,I started lasting the work with a last. A last is like a human leg with sizes on it. When lasting a, you must make sure that you are using the particular size of last you marked on your fibre so as not to make it over size. Why I didn't mention my upper material for lasting is because am making use of foreign belts.
After lasting my work, it's now time for chemicaling and coupling. First of all,you pour some amount if chemical in a container then you use brush to apply it on the lasted work (back of it) after applying it on the lasted work,you also apply it on the Norah you will use to couple it. For you to get the best results, after applying the chemical, leave it for about two hours before going to couple it. When we talk about coupling,it means joining the sole with the lasted work before putting the heels.
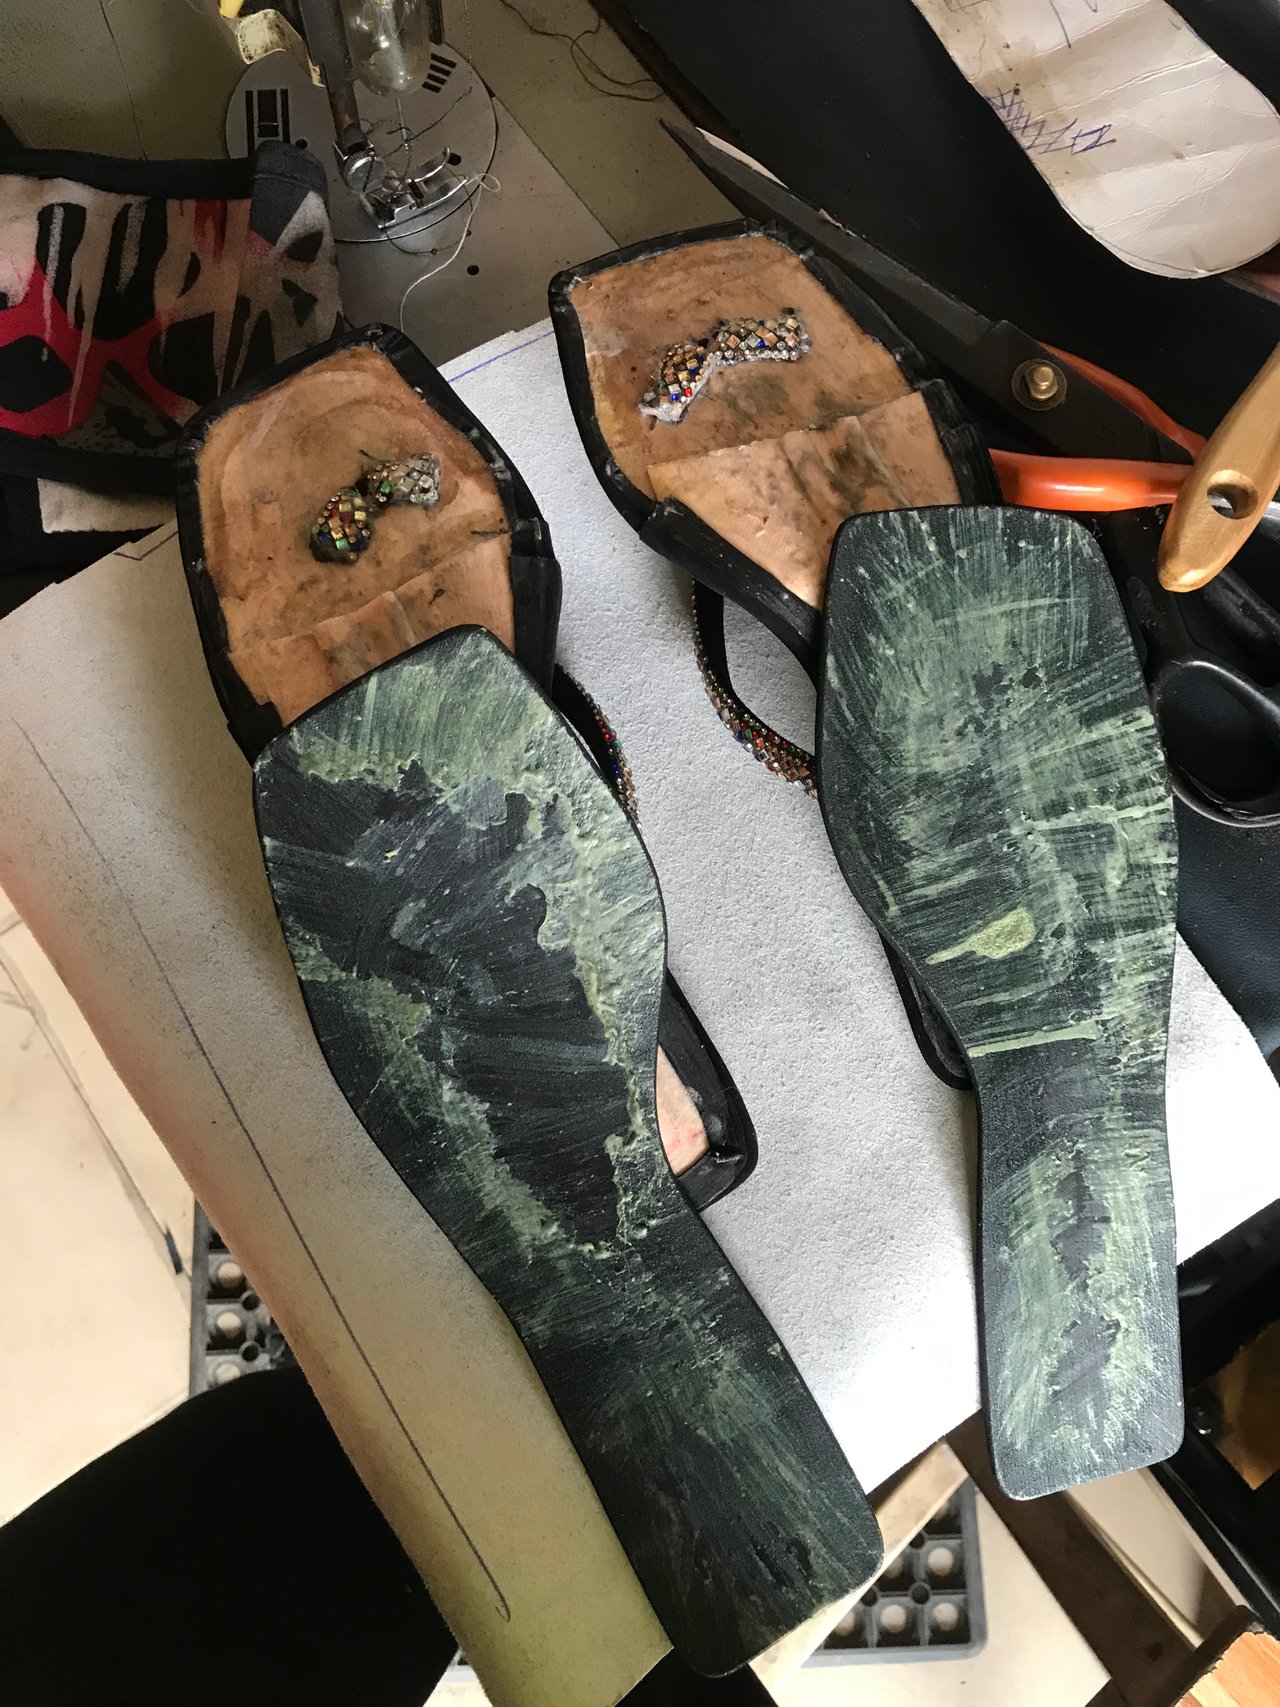
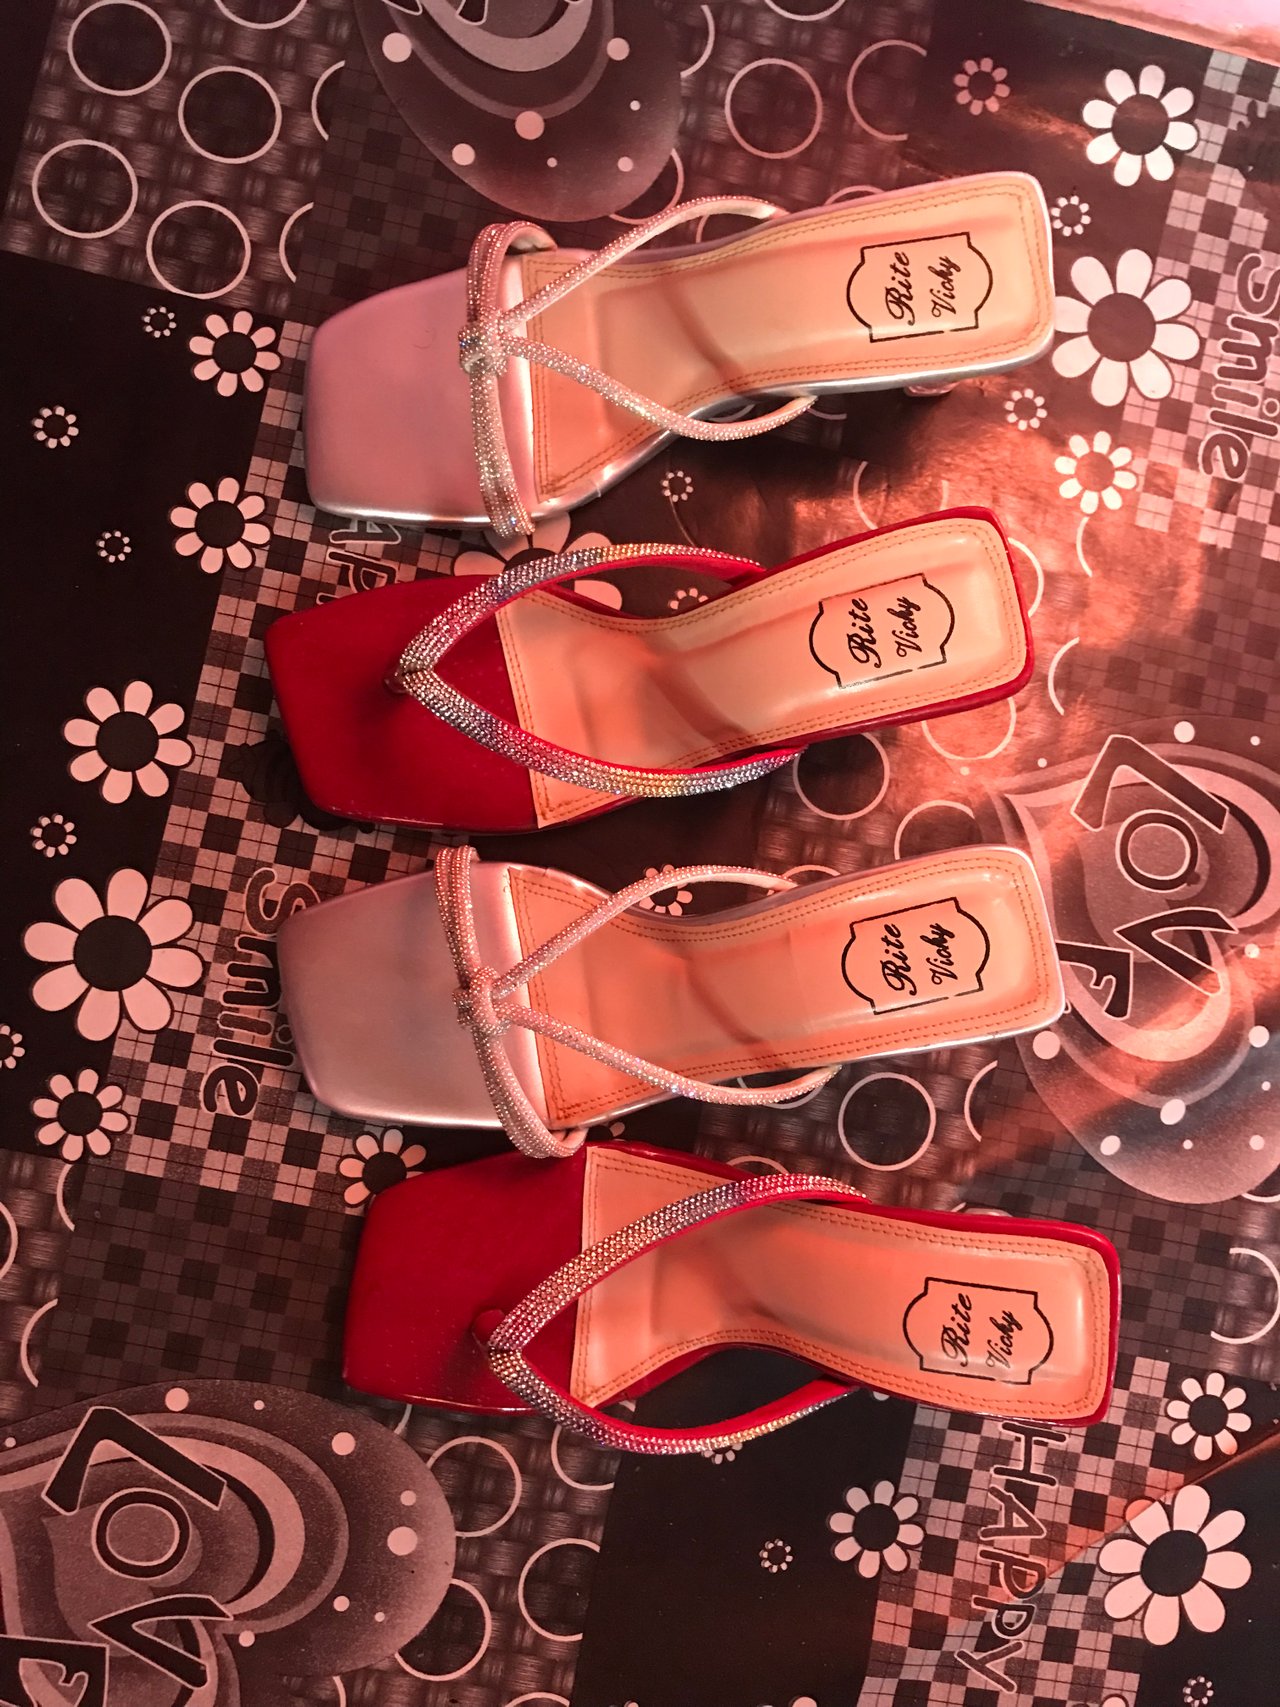
After coupling, it's time to put the heels, when trying to put the heels,you must use the normal size of nail to avoid breaking the heels. When you are done with puting the heels, it's time to label your work. First,you cut a foam and place it in the middle of the work before placing your label to cover it. Label is a material that is used to give your work the last finishing.
Thanks for reading through my post 🙏
I wish to invite @goodybest, @hudamalik20 & @woka-happiness