Hello and Greetings Everyone. This is your very own Haidermehdi, Country Representative of Pakistan and Admin Steemit Pakistan.
As stated earlier, I have been trying to explore adobe illustrator and things went well in the first post as many people showed interest. Thus I am now looking forward to bringing it to shape by teaching more :p I have never ever taught anyone so perhaps I feel that I am a bad teacher. But let's see how we go in this course :p This is our 4th lecture and I am happy that so far I have been able to teach you all in the right way possible..... (As far as I believe lol).

In this post we will be learning How to create a 3D Triangle Using Straight Lines. It's going to be super easy and as I said at the start, it would be great fun if we go together. This one has taken some time and I have also been exploring other tools. We will also be learning to use the pen tool to draw square circles or images with straight lines or sharp corners. Let's proceed and start this lecture!
We will start doing this by drawing a simple line, using the alt+mouse key to make similar lines, and then copying those lines, rotating them, and making a triangle first of all :) Let's Go!

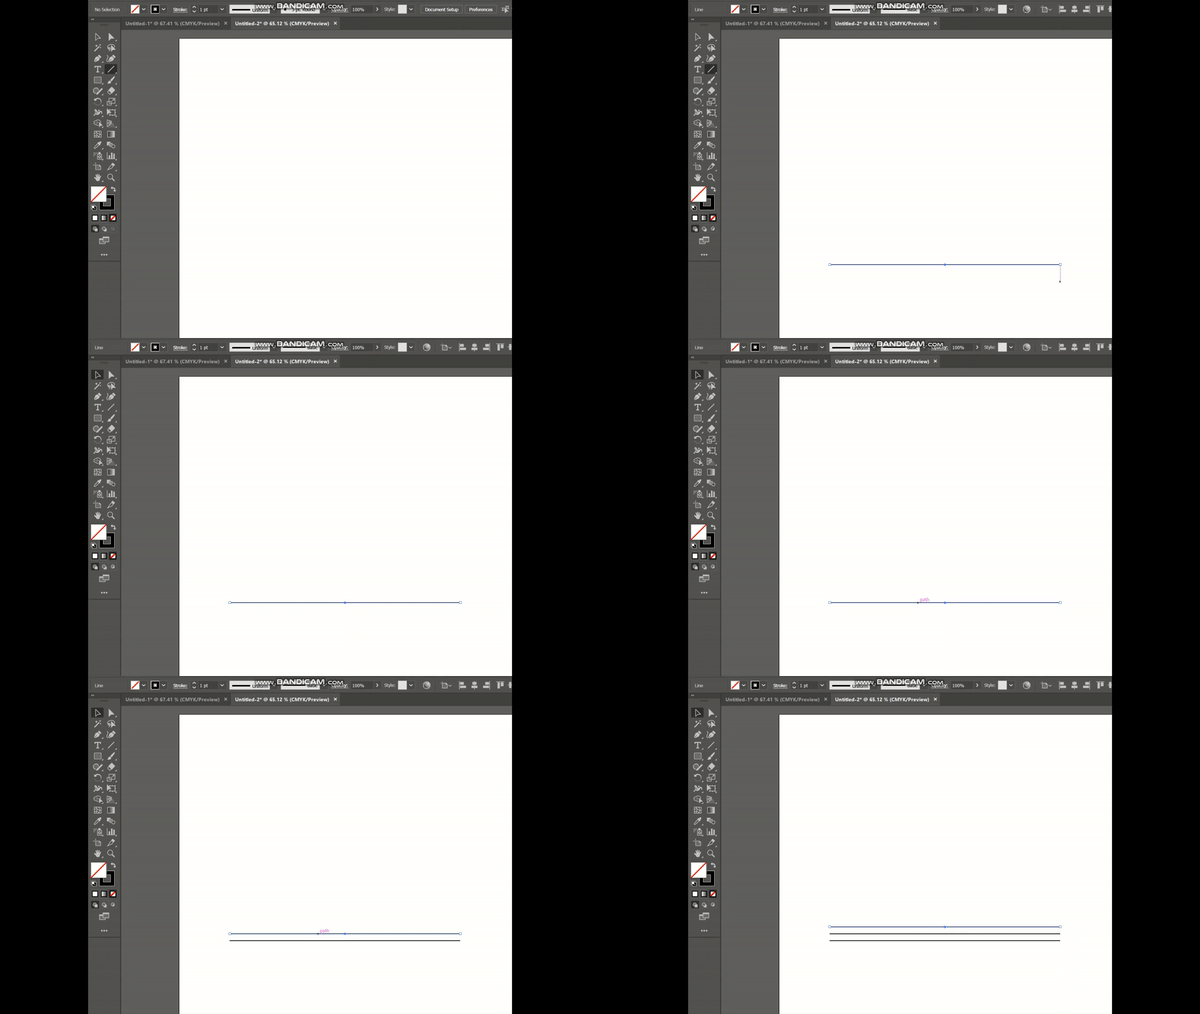
- Drawing a Straight Line and using Alt+Left mouse key to make 9 such lines. (Tip: Use Control + d to copy-paste the line made using alt+mousekey)
.gif)
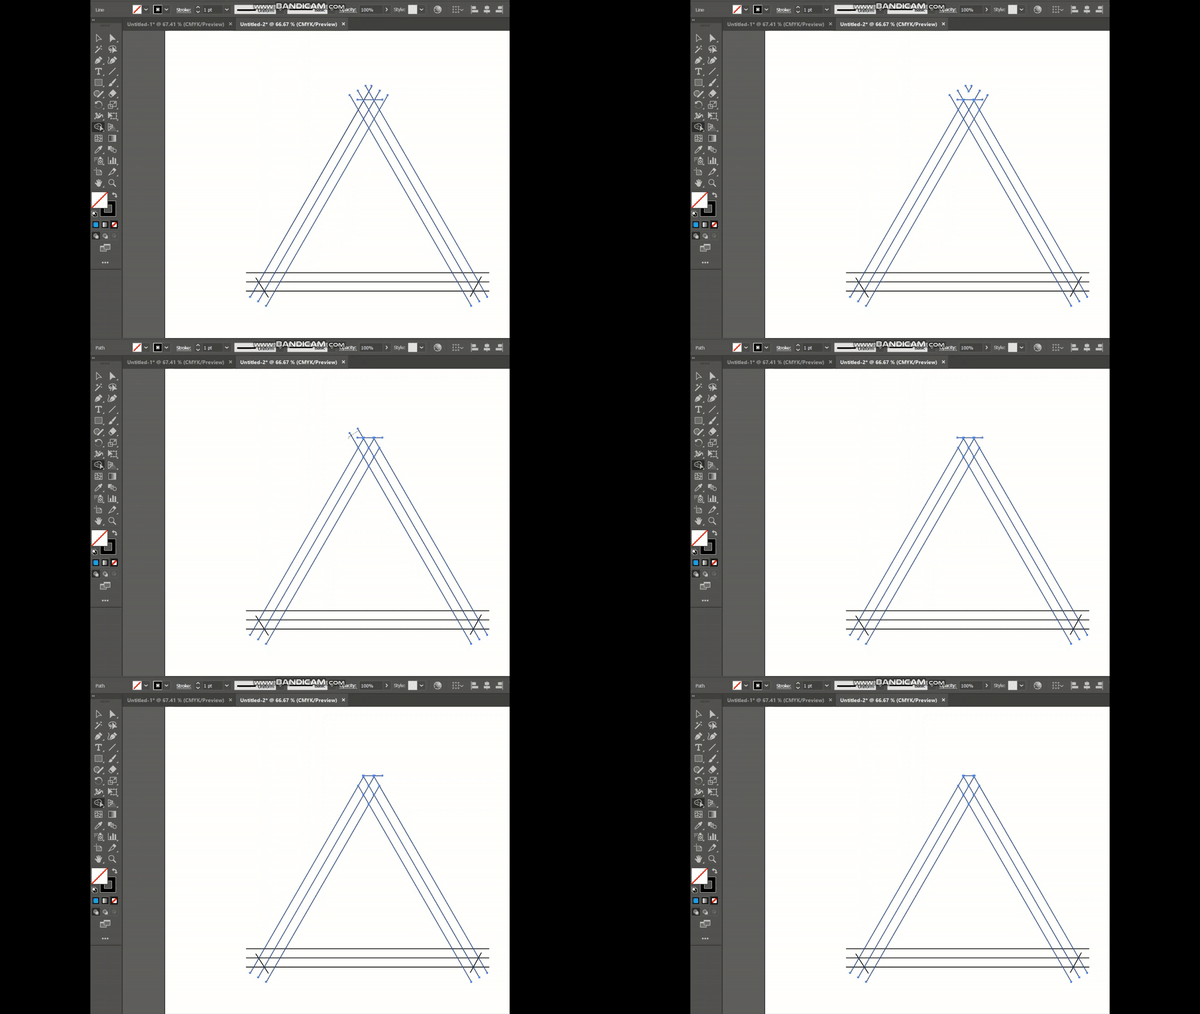
- Now select these 3 Lines and use the alt+mouse left key to duplicate these three lines twice more! Doing so results as it is in the image below. Keep the distance a little more between the lines than in the gif.

- Now select the middle 3 lines and then go to the properties panel on the right-hand side. There you'll find a textbox labeled as angle displaying 0. Change it into 120 for the middle 3 and 240 for the top 3 lines. But remember to select the lines in pair of 3 and then move them in the shape of a triangle with them intersecting the corner points.


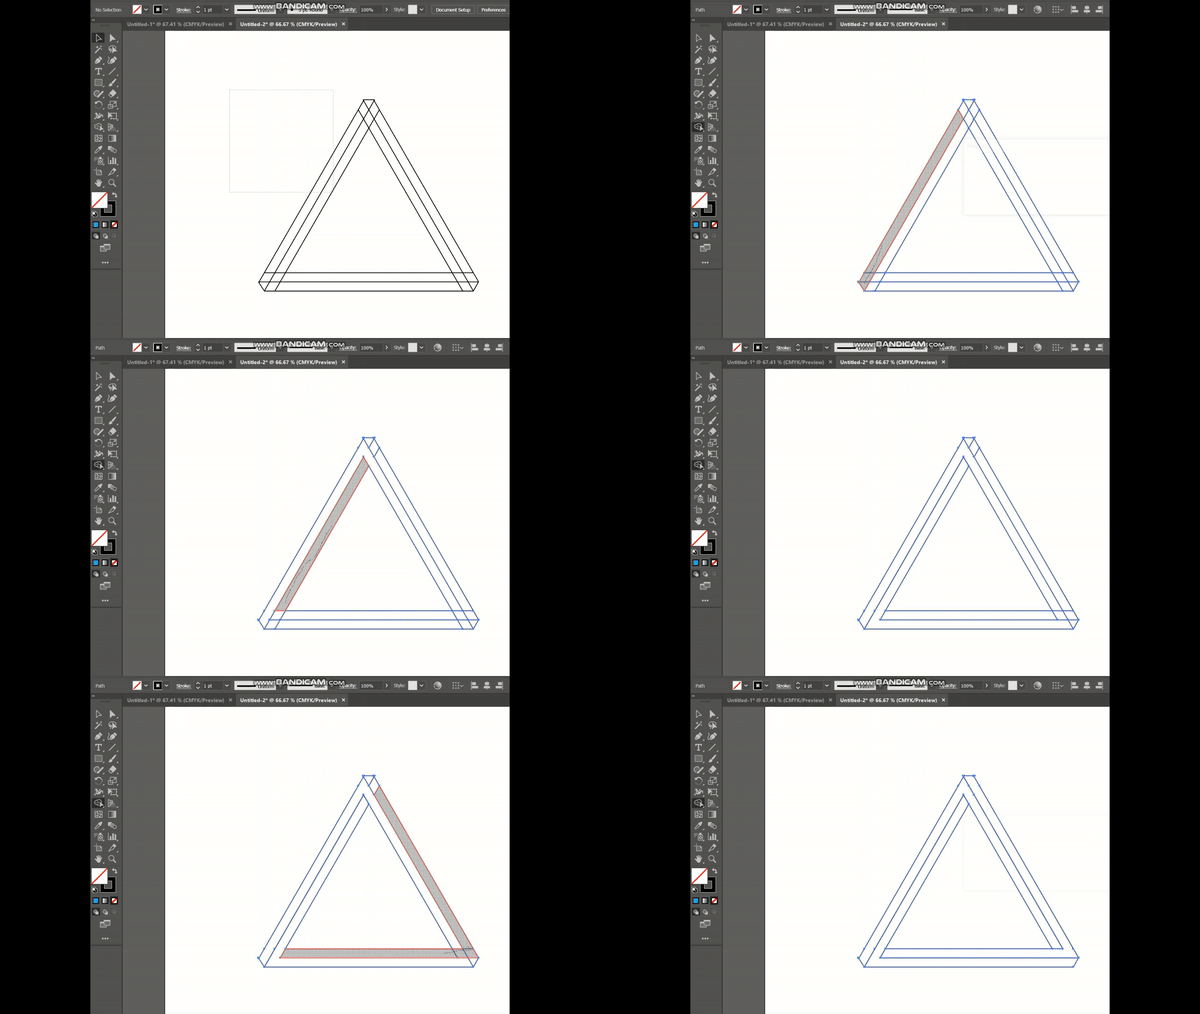
Now use the straight line tool to cut the intersecting points so that we can form the outlines of the 3-D Triangle!
(Hint: see the yellow highlighter in the image below)

Now as learned in the lecture # 3 Post, we will use the Shape merge tool but this time we will use It with alt pressed. When we will press alt with the mouse left key, we will observe a minus sign on the screen. Then we will start using the tool.
One by one we will repeat the process done in the gif below to get the three corners. Select the corners individually and then cut from the intersection point.
See the video below.


- When we are done with this, we see the following shape on the art box.


- Now we will use the shape merger tool without an alt button to join the shapes and make this triangle look like a 3-d Triangle!
.gif)

Now there is not much left to be done. Just fill it with good colours and bang. The 3-D Triangle is ready! Let's fill it and see how it looks :p
To fill it in a 3-d Manner, we will first select the whole triangle by drawing a box over the whole triangle using the mouse left key with the selection tool.
The select the shape builder tool.
Select the color from the control bar.
Then double click in the part of the triangle where you want to put that color!

I am ending the day # 4 post here. Good Luck everyone with your work. We will work over a template in the next day of exploration using the curvature tool. It is the most effective tool on adobe illustrator. Once you learn this, there won't be anything that you can't draw :)!
Till then goodbye and take care. If you are interested in this one and have followed me, I would love to see your homework on doing this task :p Any problems, feel free to ask and we will solve them together :)
Yours, Haidermehdi.
Country Representative Pakistan.
Steem On!
#CLUB100
