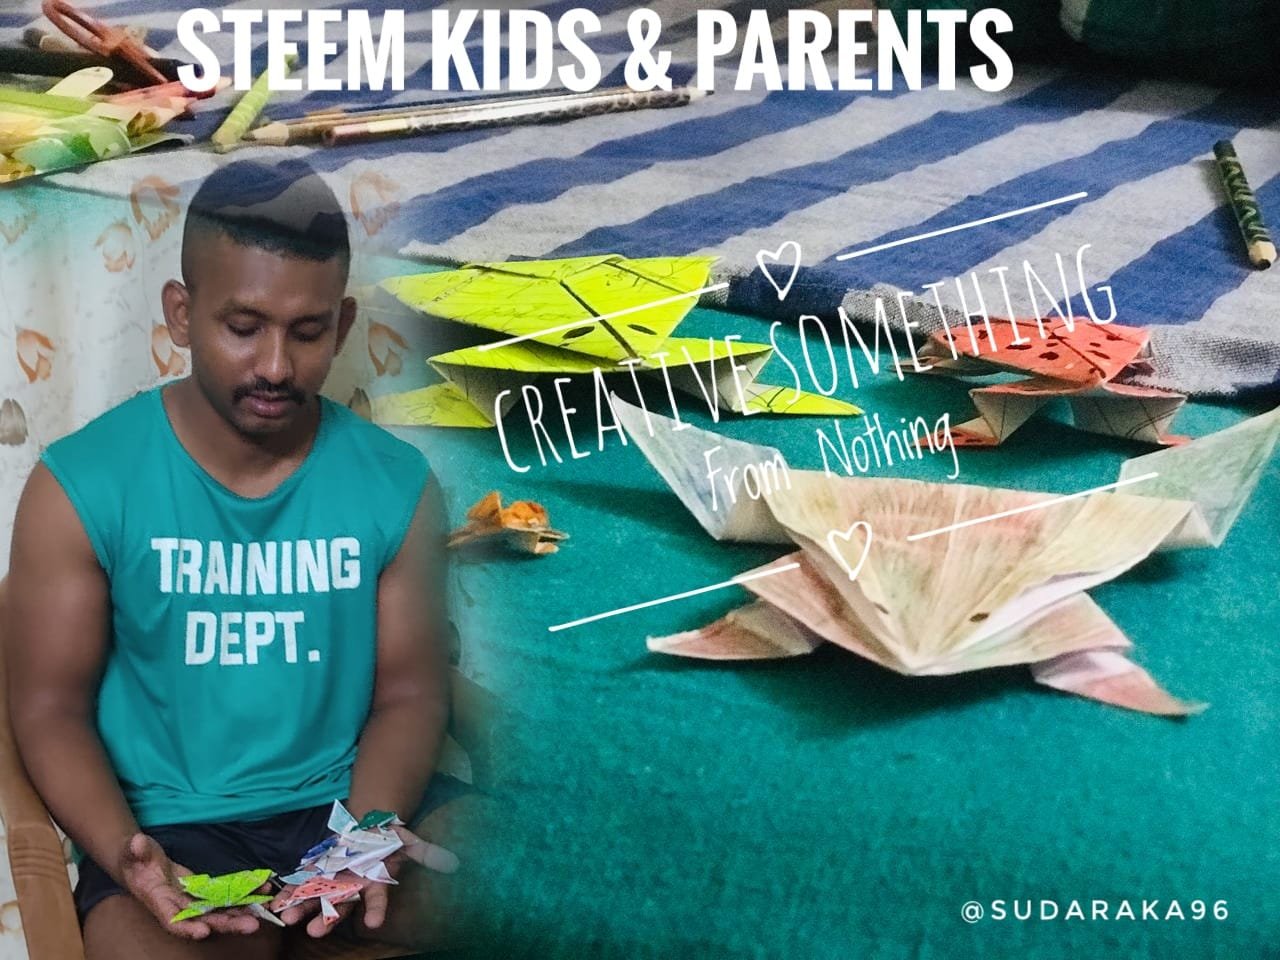
How are you my friends ? I hope you are well. As usual, today I am going to share with you about a design that I have tried. First I would thank @m-fdo for this contest. When we went to the nursery when we were young, in our small classes at the school, we made many different designs using paper, which we called origami. Let's see if you remember, so today I am going to tell you about one of my favorite creations, that is about Jumping Frog. I will explain it to you step by step.
What is the name of what I have made
Jumping Frog
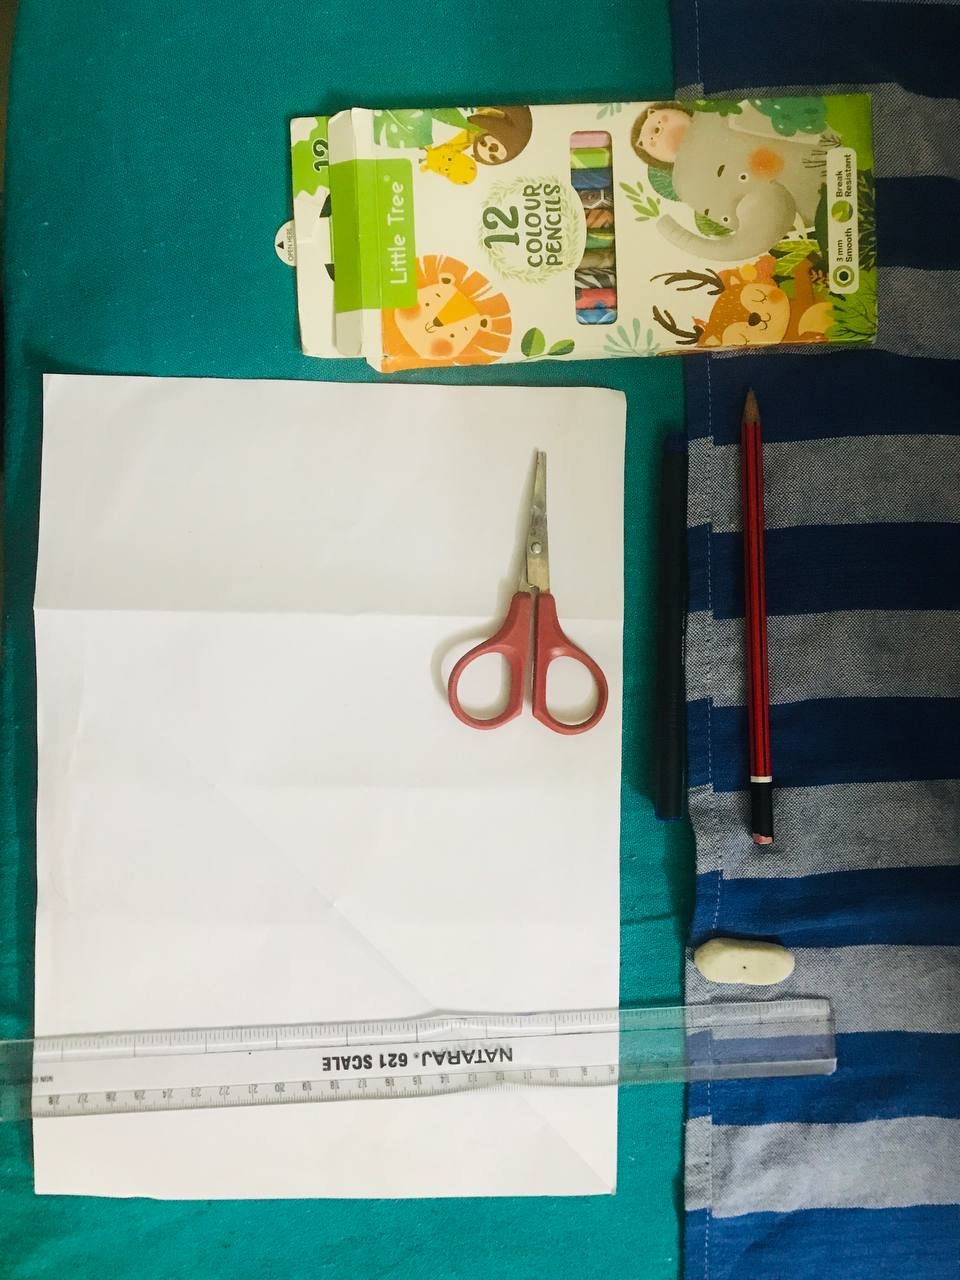
Required things
- A4 paper
- A Scissor
- A Ruler
- Colour pencils
- A Pencil
- Colour markers
Steps on how I made the craft
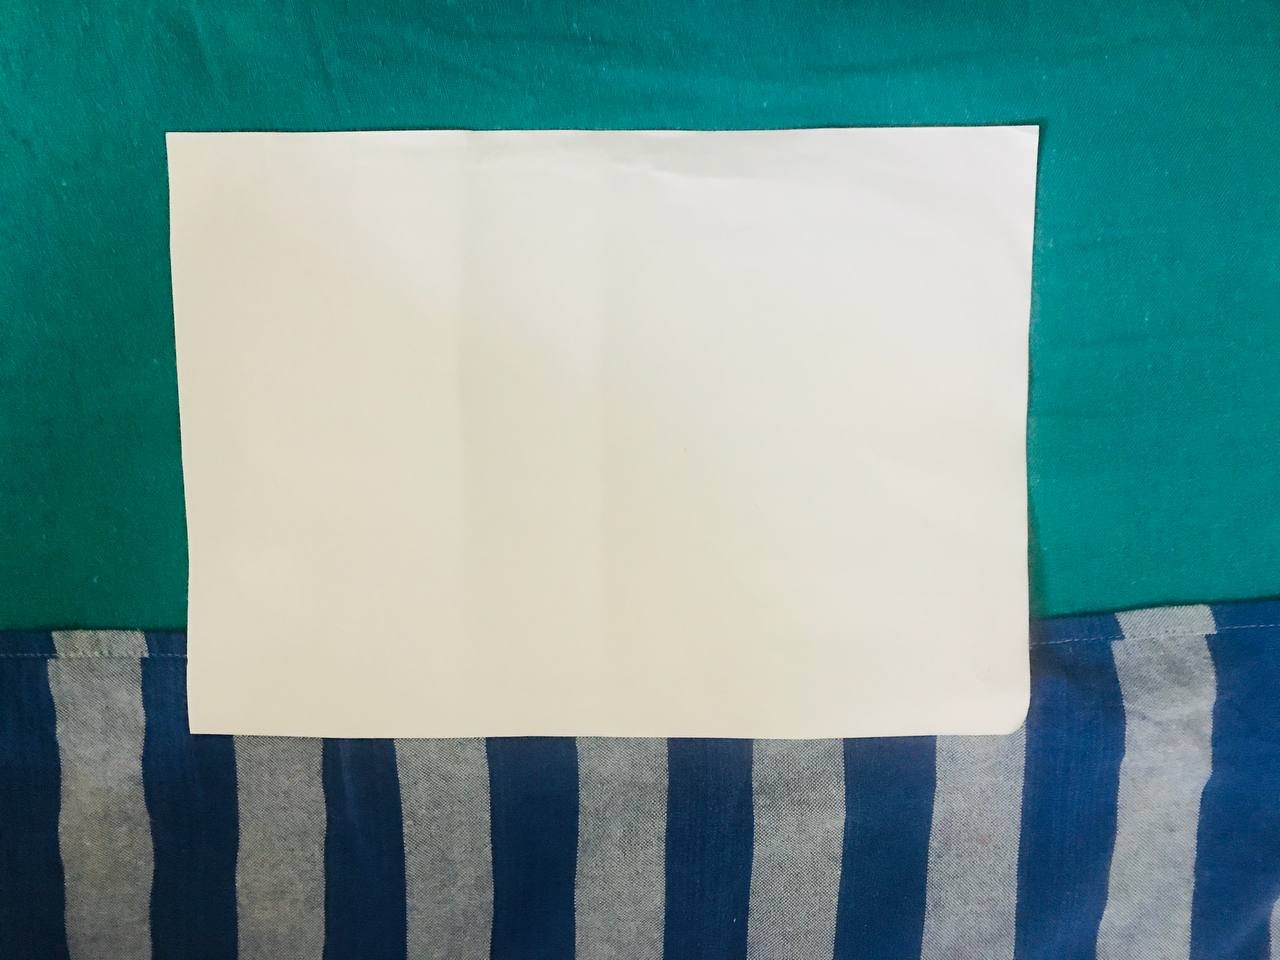
First of all, guys, we need to get an A4 sheet, which is the material required for this. It is better if it is clear. From here, I will show you step by step how to make this design, so let's go and see what the steps are.
Step 01
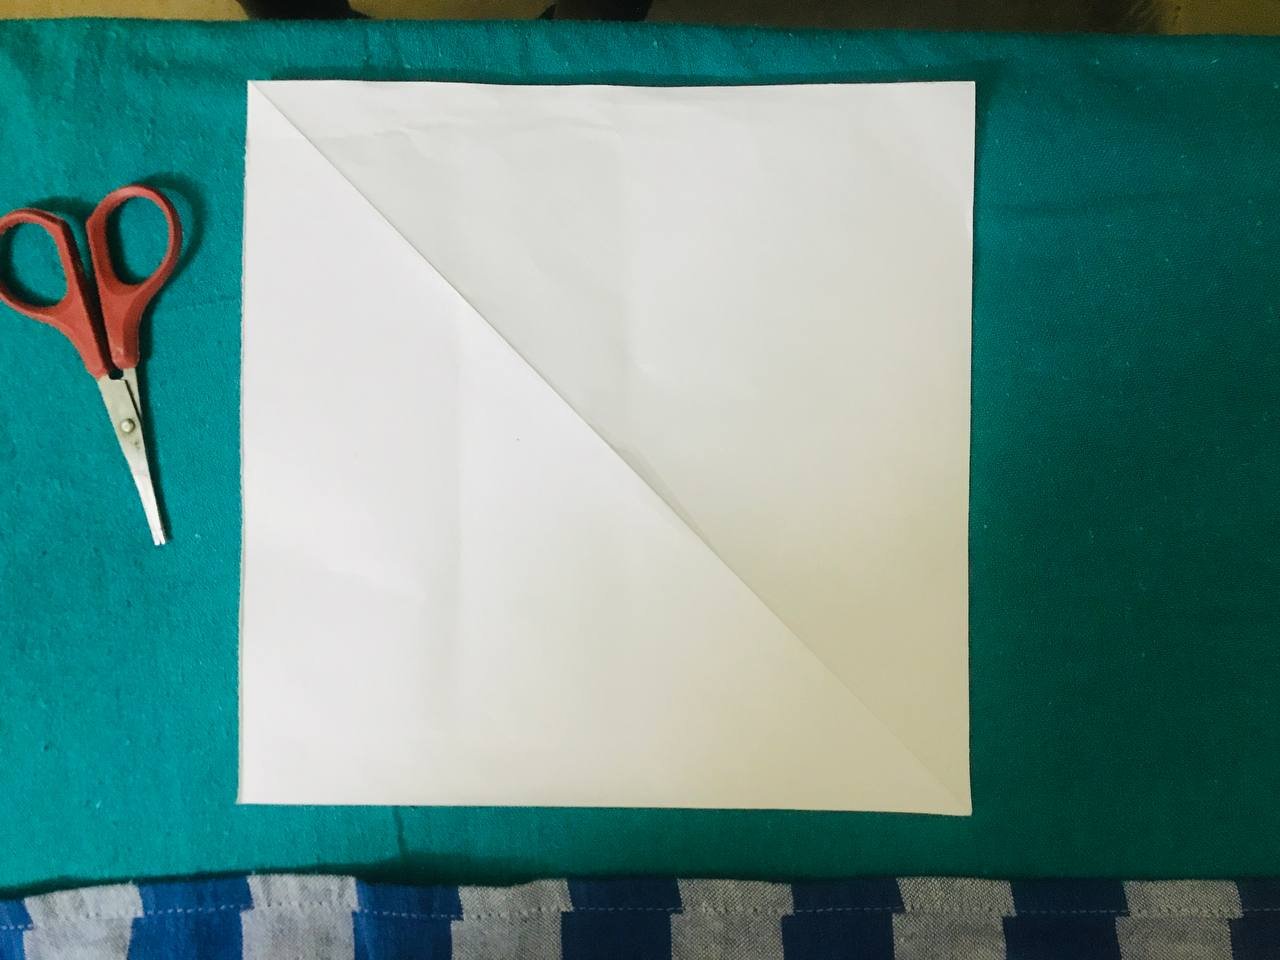
First of all, we need to cut the A4 paper in the form of a square with all four legs, then we need to fold the paper that we have cut to form an 'X' letter so that the corners of the square are together. When we fold it like that, we can find the center of that square. I have shown it to you below.
Step 02
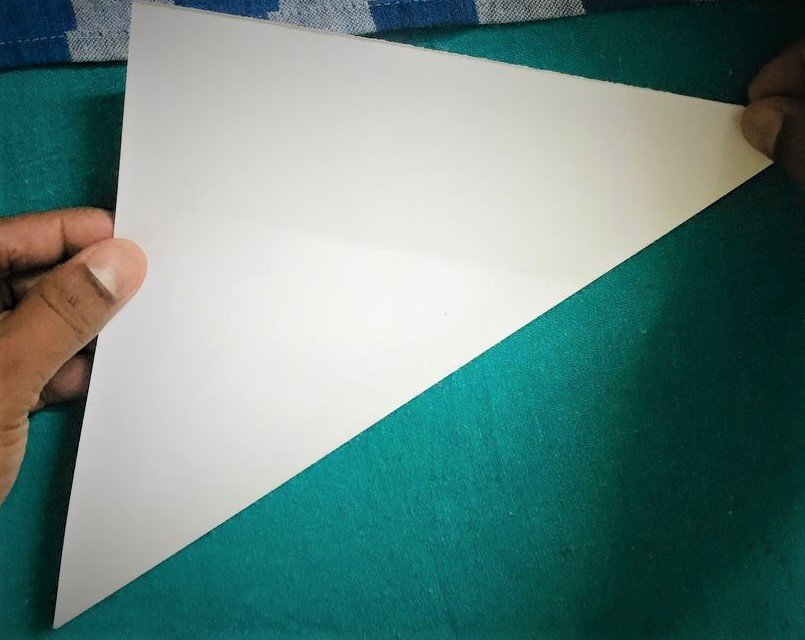
After that, guys, we need to fold the cut paper in such a way that it forms two triangles on top of each other. We know that a square is formed by connecting 4 triangles, so we fold it to form two triangle faces. Invisibly.
Step 03
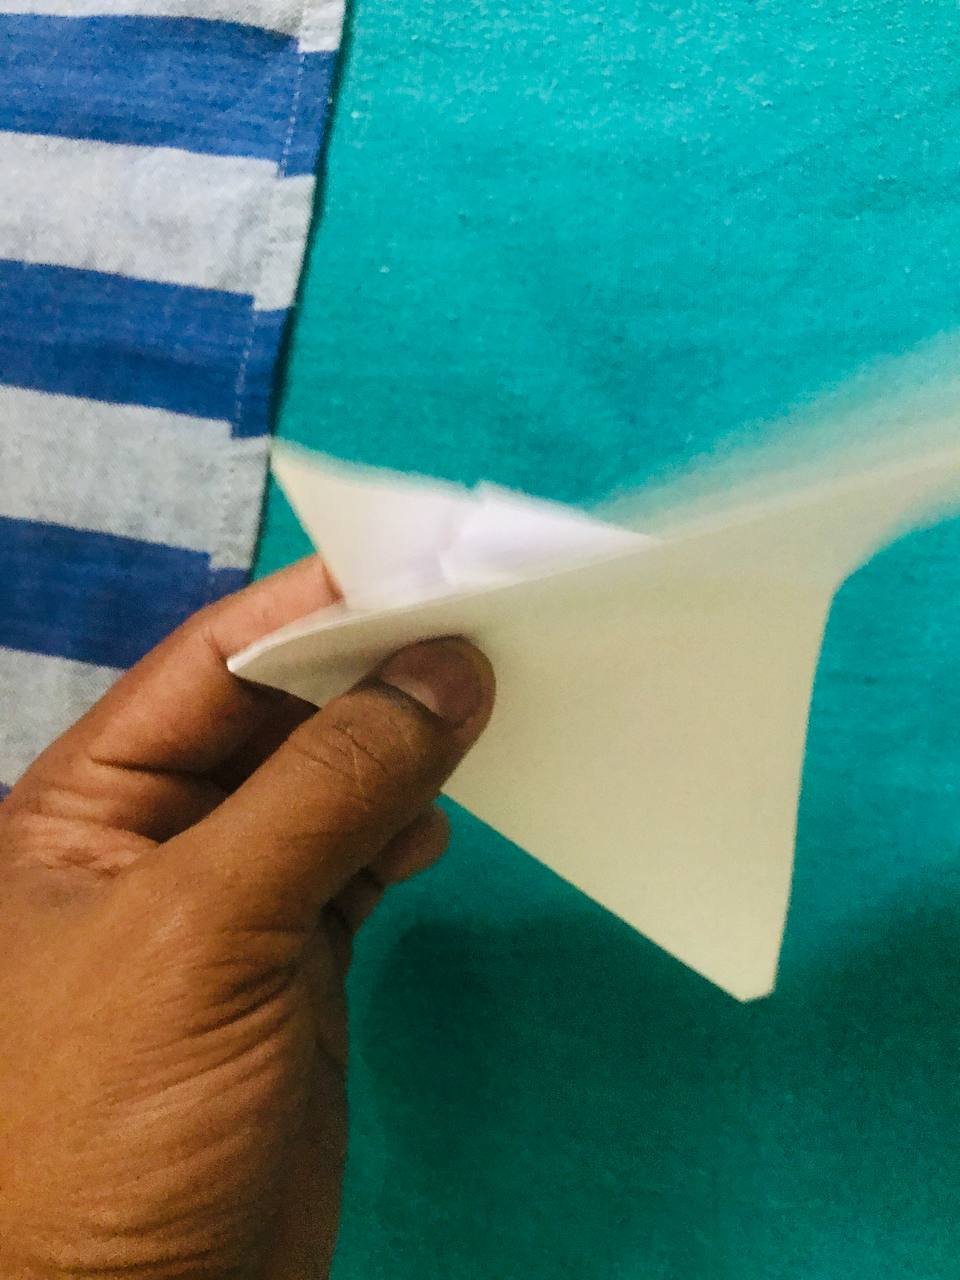
The object with the two faces of the triangle that we have made, turn one of its faces towards us and fold it once more so that the lower legs of the triangle touch each other in such a way that the face is divided into two again, as shown below.
Step 04
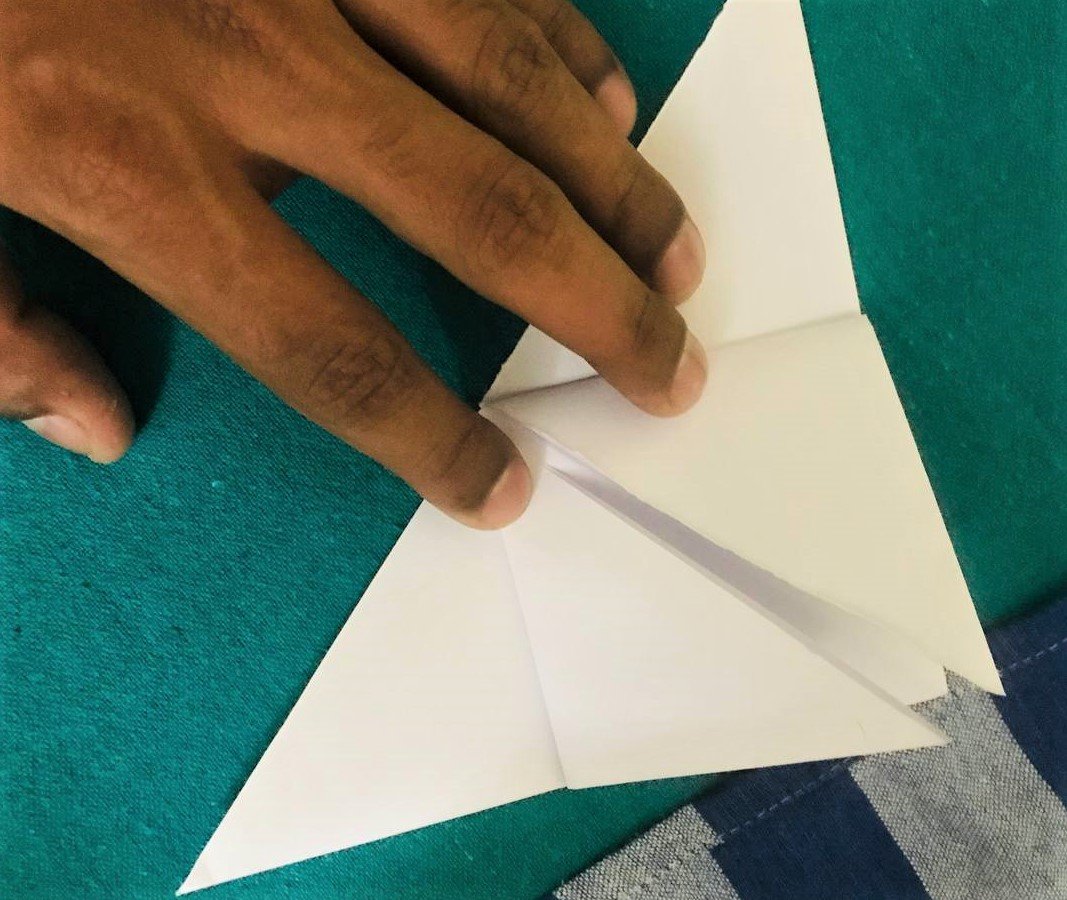
Now we can see that there is a small square on the top of the triangle. In this step, we will fold the two triangles that we have folded to form two small triangles, but we will fold it not as one, but we will fold it with a small space.
Step 05
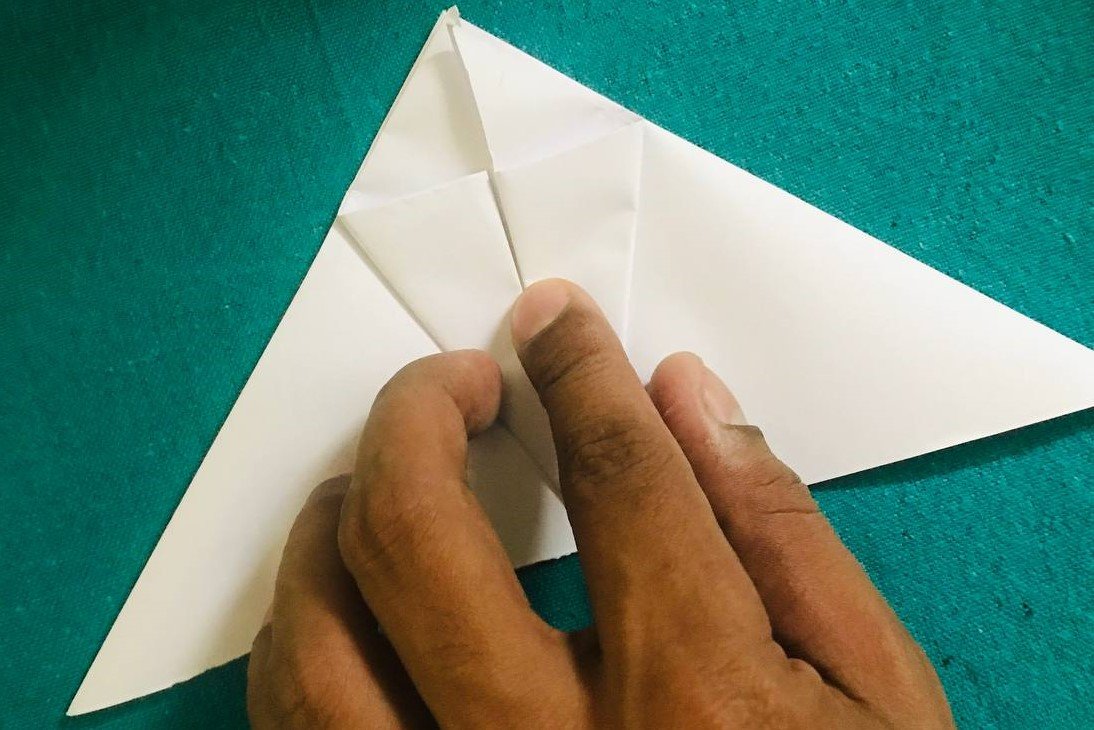
Now we hold the two folded sides and fold the two small triangles to opposite sides again to form two very small triangles it shown below
Step 06
In this step, there is a very small thing. As we talked about in the second step, we have folded one side so far. We still have a whole big side left. Now we turn it to our side.
Step 07
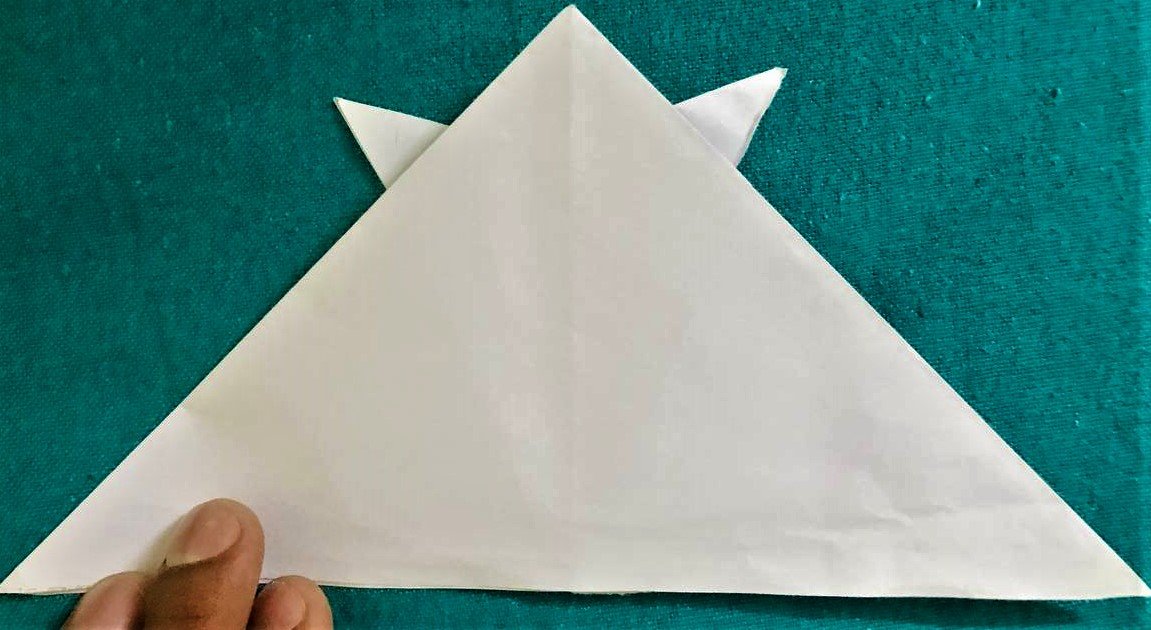
We take the side that we have cut and we fold that side in a way to make two normal little long triangles, but there is something special here, when we fold it, only the top two points of the triangles touch.
Step 08
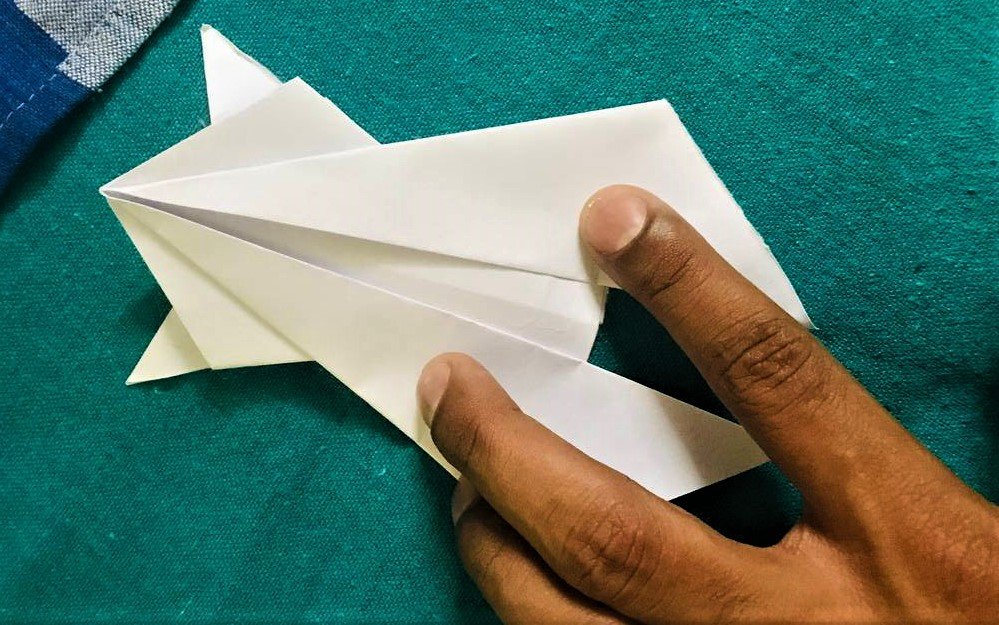
In this step, we are going to make the two lower legs of the frog. The two triangles of normal length that we folded before, in this step, we will fold them outwards now we will coming last steps our frog friend
Step 09
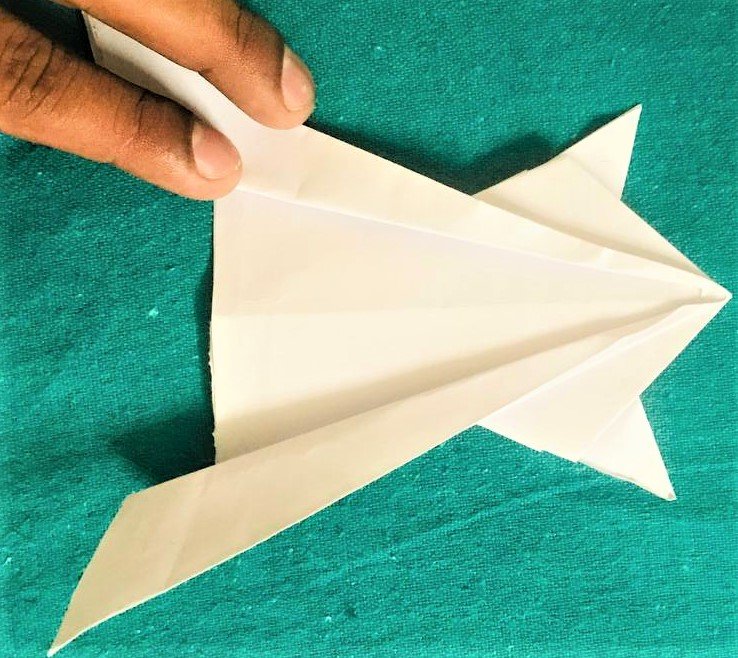
Now we turn the object to the same side as we folded it before and we fold it so that it is exactly on top of each other. We usually call it folding in two. That's we done in this step.
Step 10
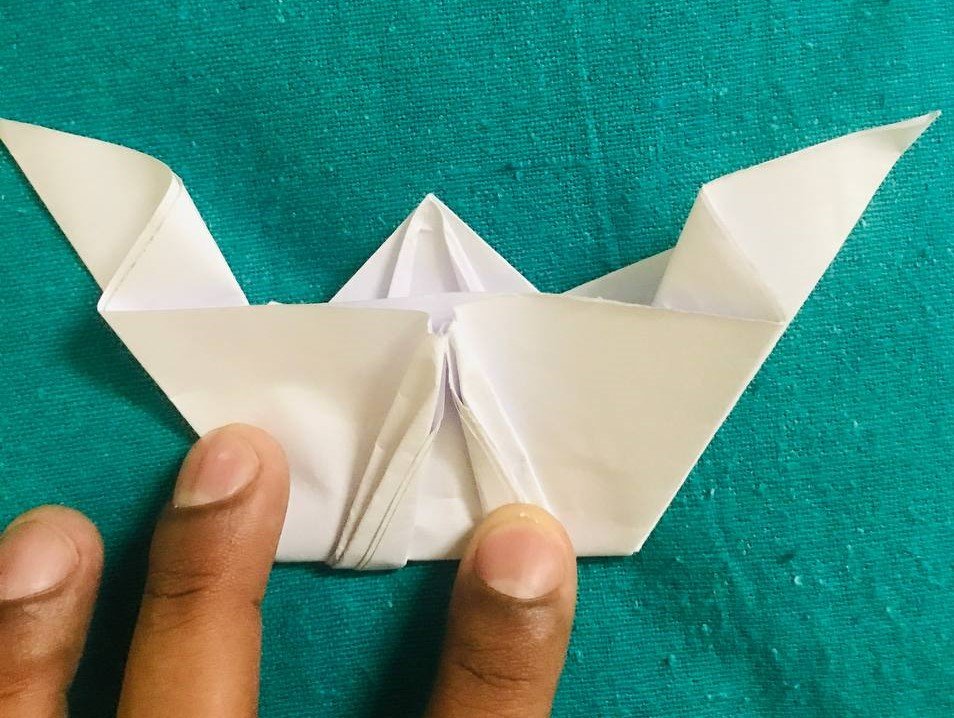
Now we just have a boat-like shape, so now we have our last step, now we are going to make a small bend in the new part that comes down a little like a step of a staircase, because then he can jump well.
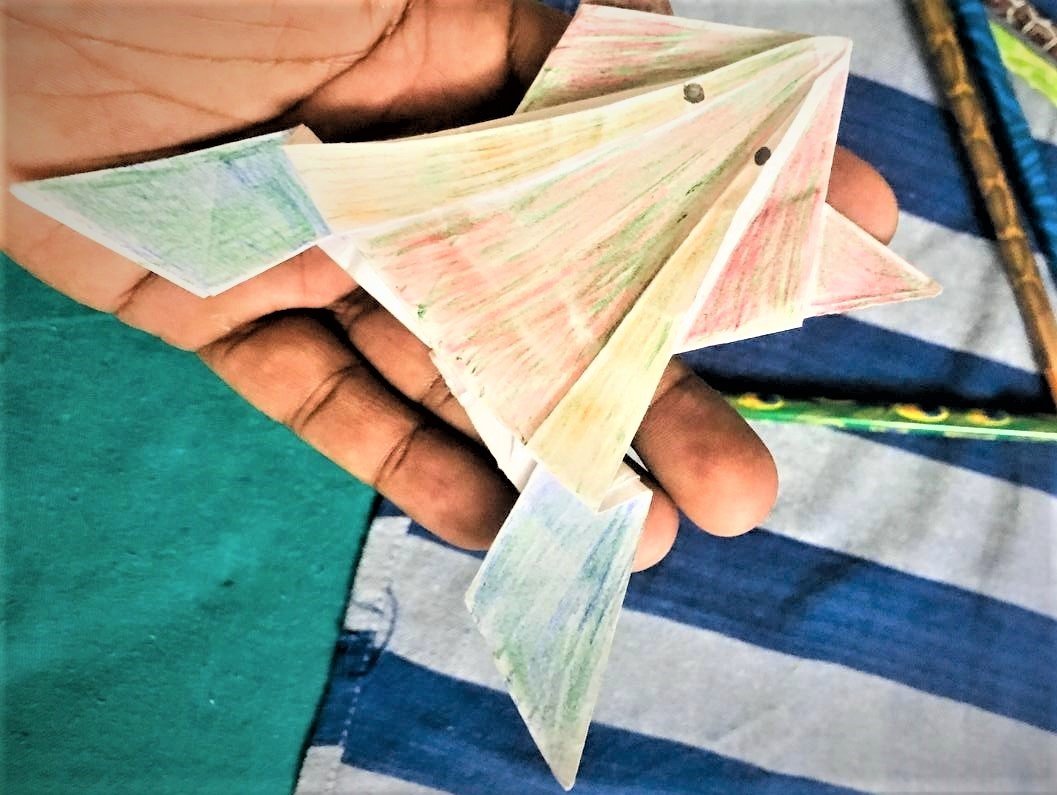
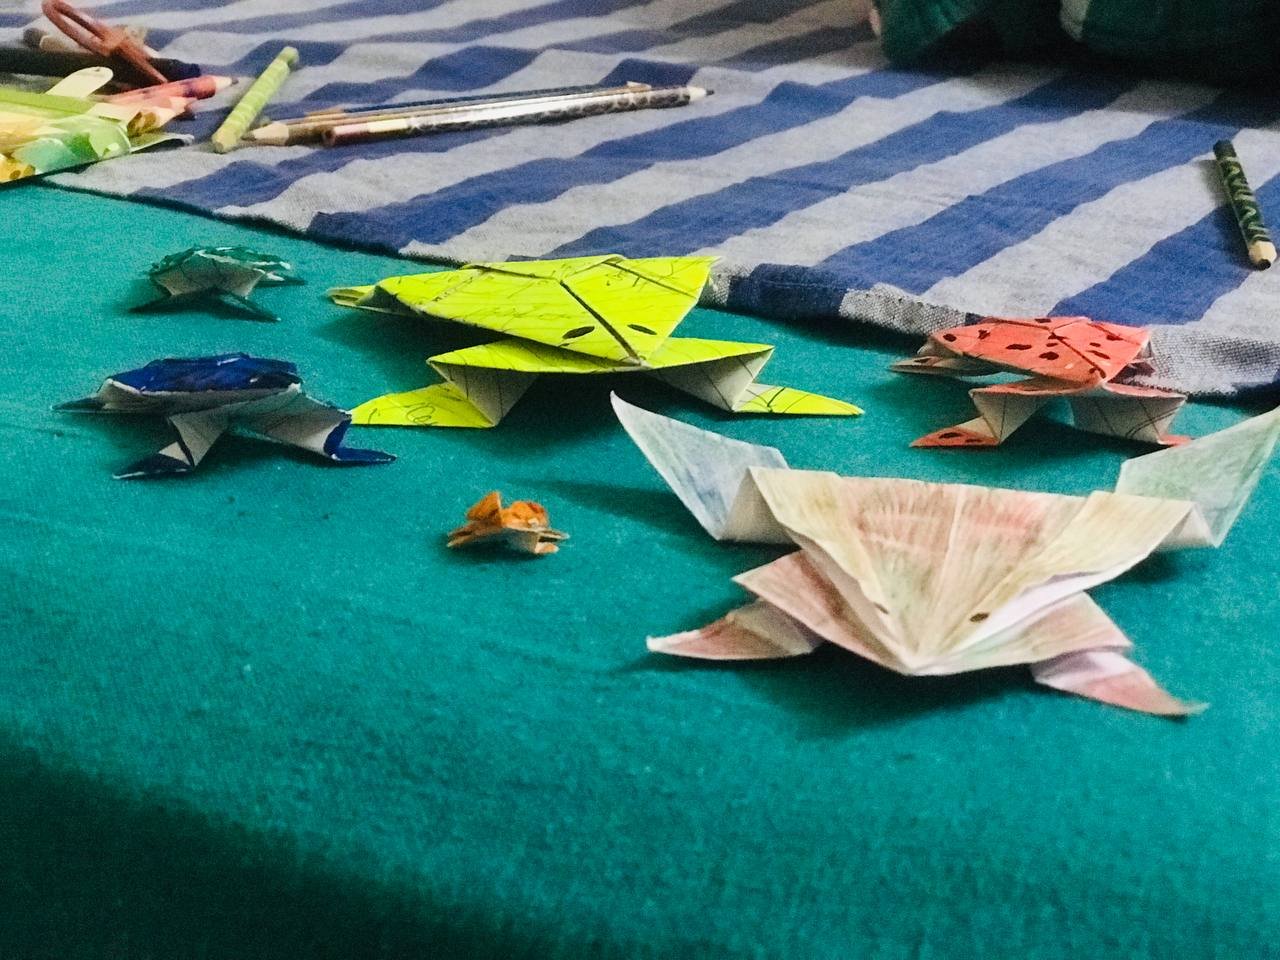
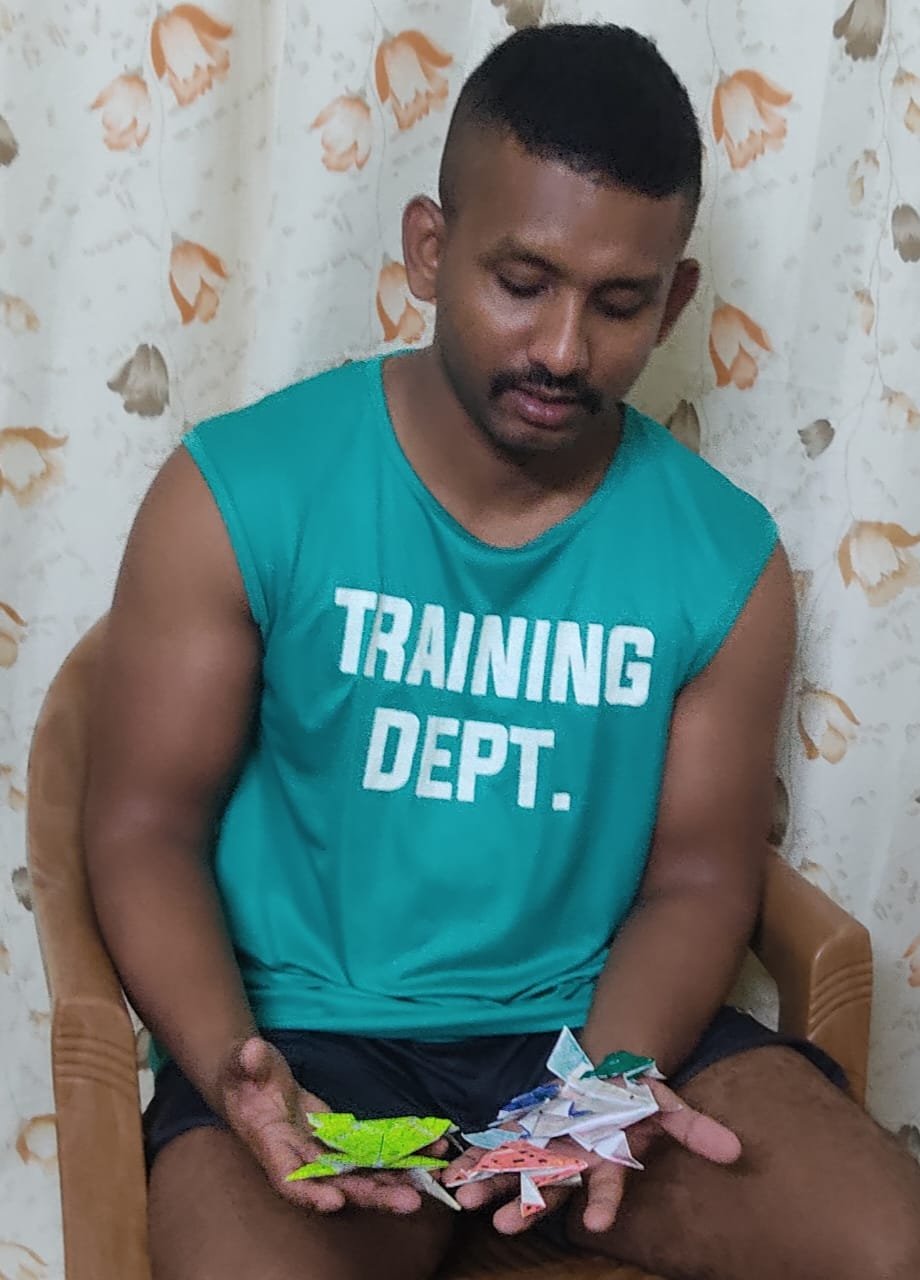
This is how our origami jumping frog is finished. I have uploaded photo of me with our friend below. I hope you will try it according to these steps.
How did I get the idea?
I actually got the information for this from my brother because he has a good knowledge about the design in this regard and I also looked for some details about this on youtube and that's how I found the necessary things for this.
How useful is what I have made?
I see different needs in this creation. First of all, we know that children love animals. I think this will be a good project to increase their creative skills from a young age and others can do it as a short job to earn money through creations.I see this creation as a great opportunity for anyone, young and old, to maintain their mental integrity.
Which kid did I inspire or do I intend to inspire and help develop the creativity?
We all know that these kinds of designs can bring happiness to little children, but I have not had such an opportunity to do so, but I hope to do it in the future. I did this as a contest for the steemit . It will be a great thing to bring smile for little children face.
This is the end of my craft. I would like to invite @saku49539, @dilums, @maneesha97 for this contest.
