BEFORE & AFTER! CONTEST - Week 2- Day 1: Design Steem Exclusive Things from Raw or Waste Materials - Reward Pool 50 STEEM
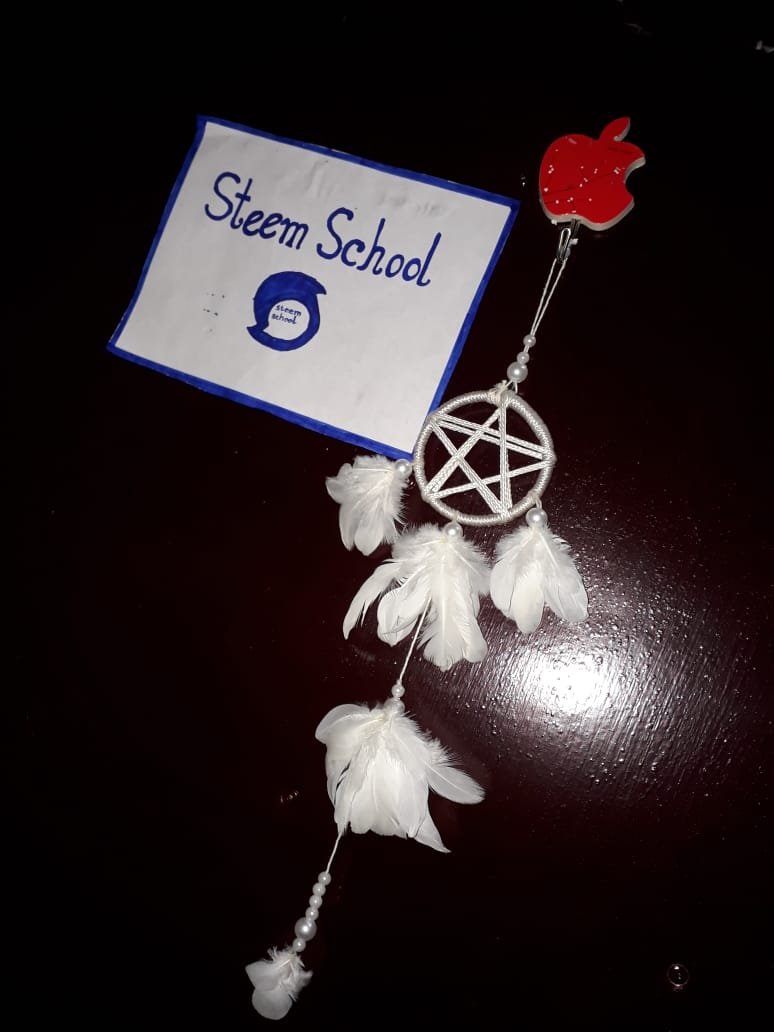
Today I came up with a very nice craft idea with some waste things. I made a craft to put in the door,It can be use as a wall hanging craft.
For this I used some waste things. I came to show you what things were before and what I made now. Then let's start the description of my work.
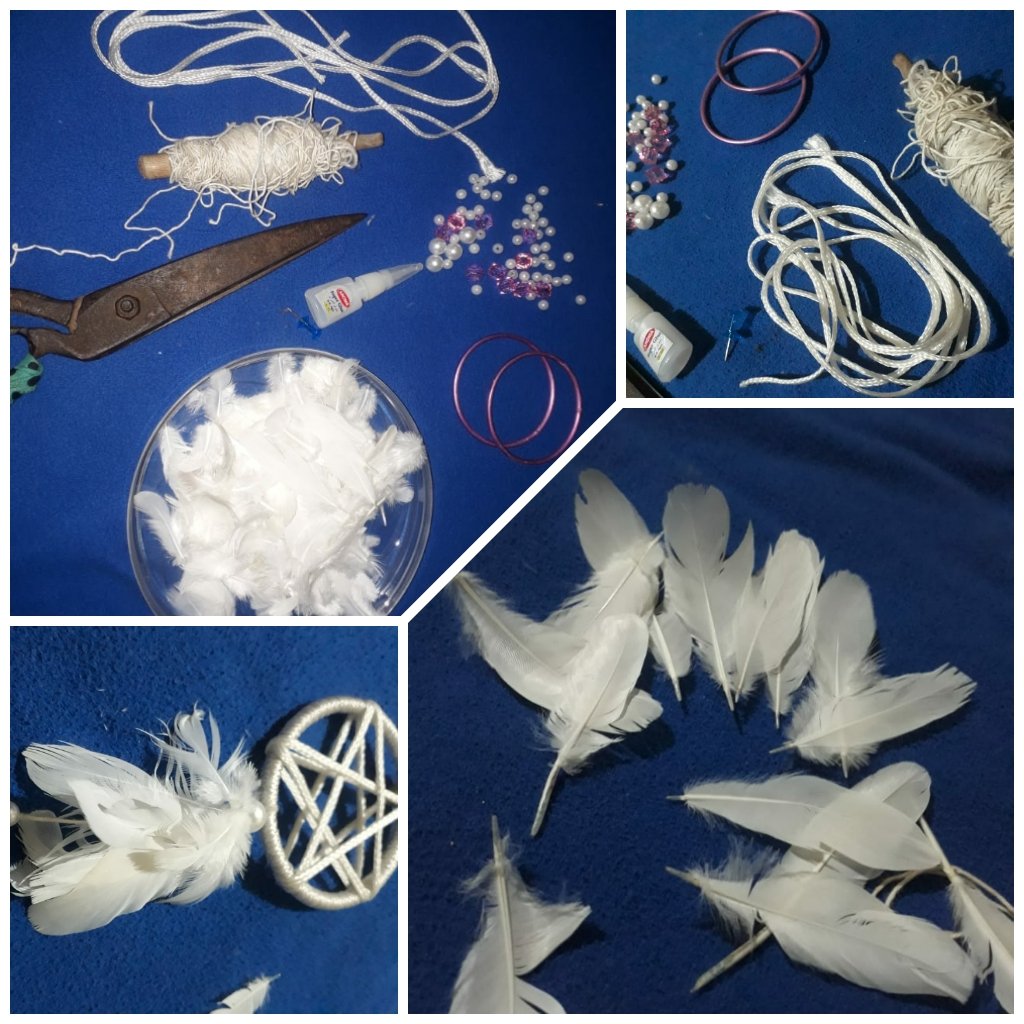
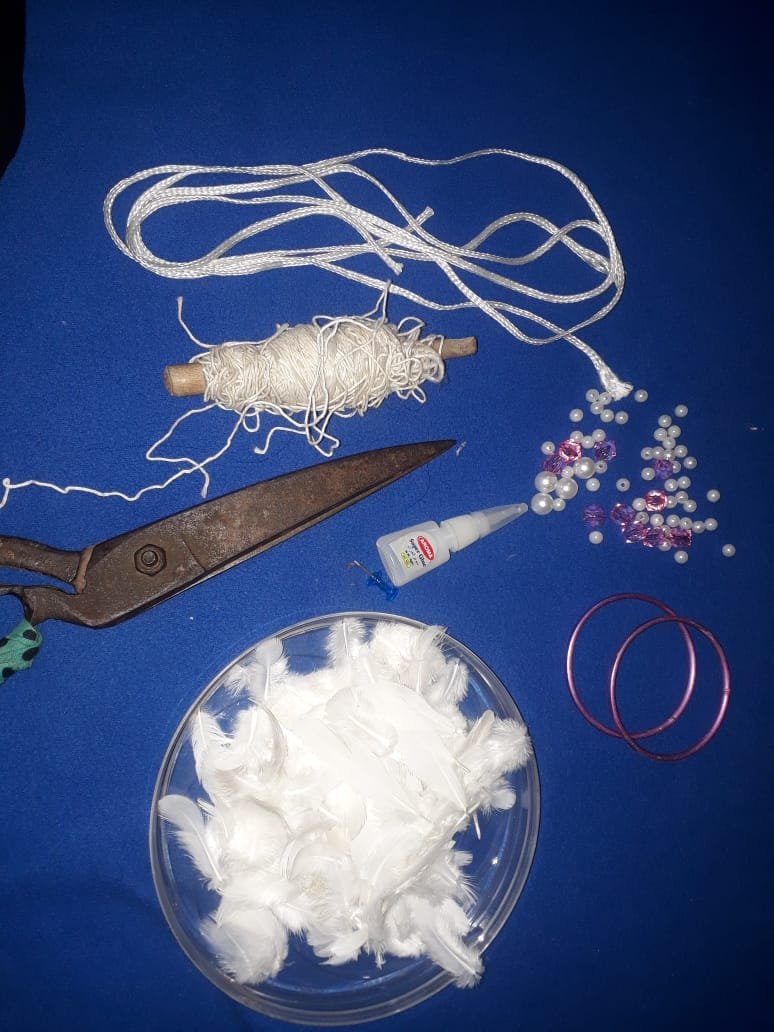
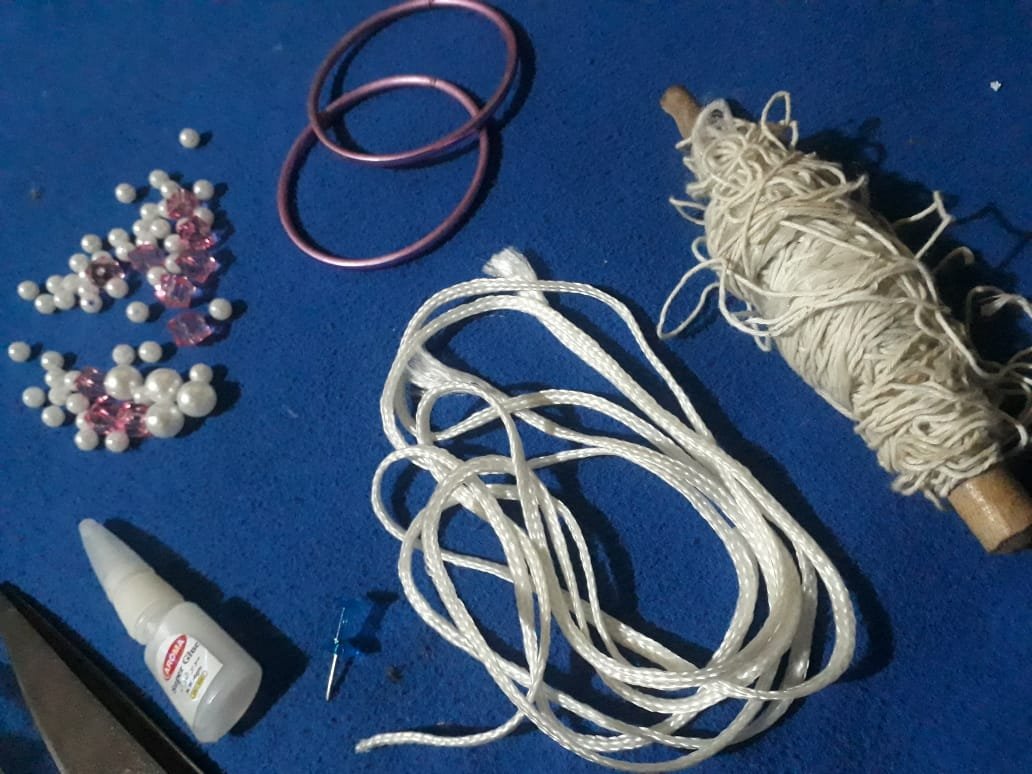
Materials I used for craft: -
- Pigeon feathers
- Glue
- Scissors
- White yarn and ribbon
- Bangles
- Beads
The materials that were there before - after slaughtering the pigeons, I collected the pigeon feathers and used them for craft work.
This white thread was used to tie some sacks, which I wrapped in a stick. And the white ribbons were a dress ribbon. I left the ribbons after it got old.
I had some old bangles, I took them. And the white beads are a few days ago, I took it for a craft work in a contest, so I took some beads from them.
I had the rest of the stuff, were used before, now I will use them again.
I started working. I took the things together. I sat down with everything I needed.
Step-1

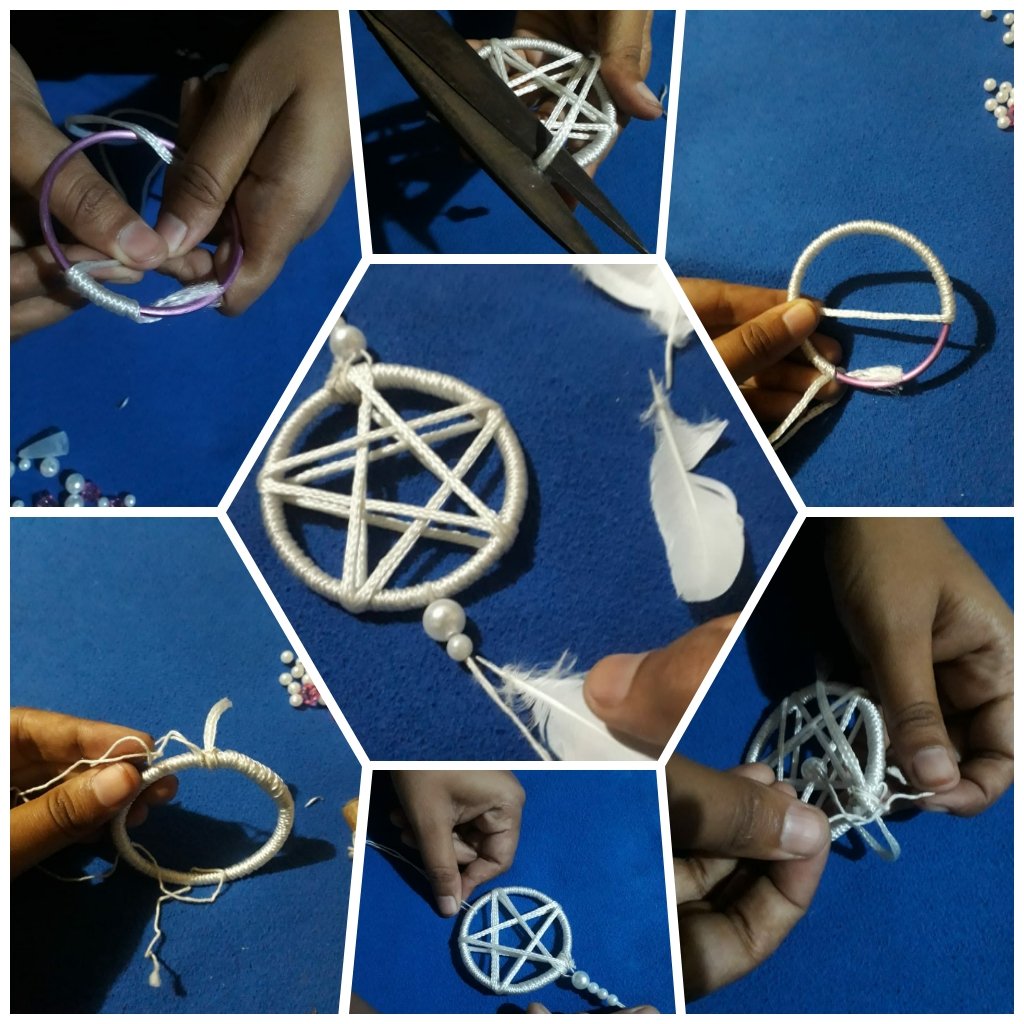
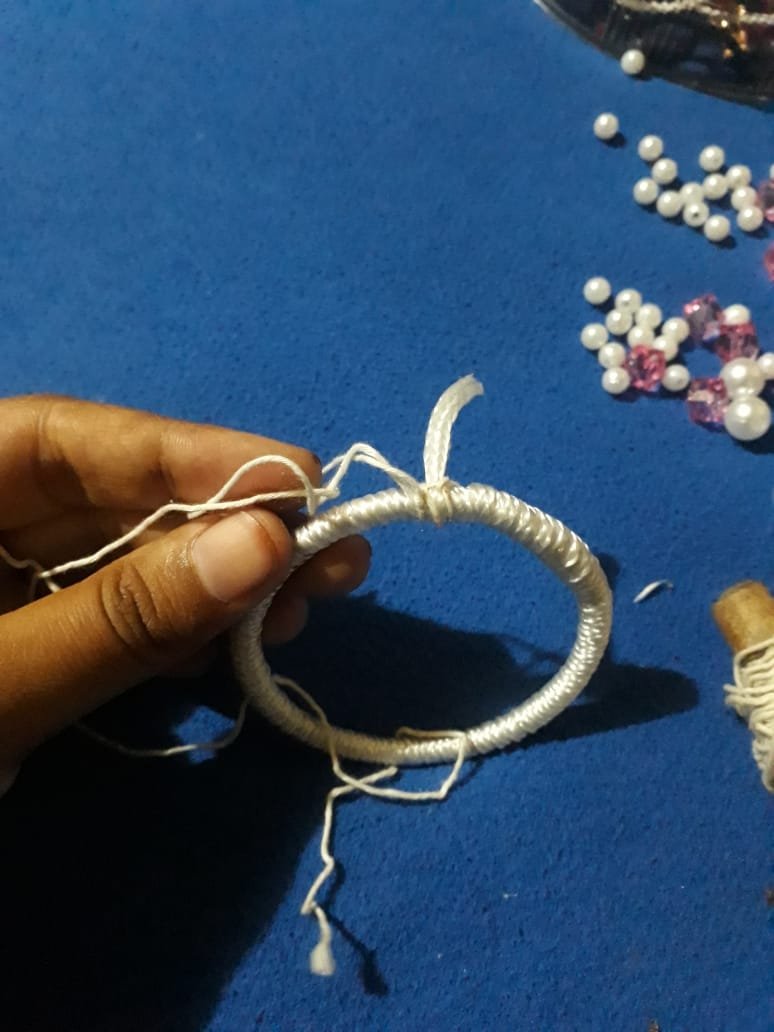
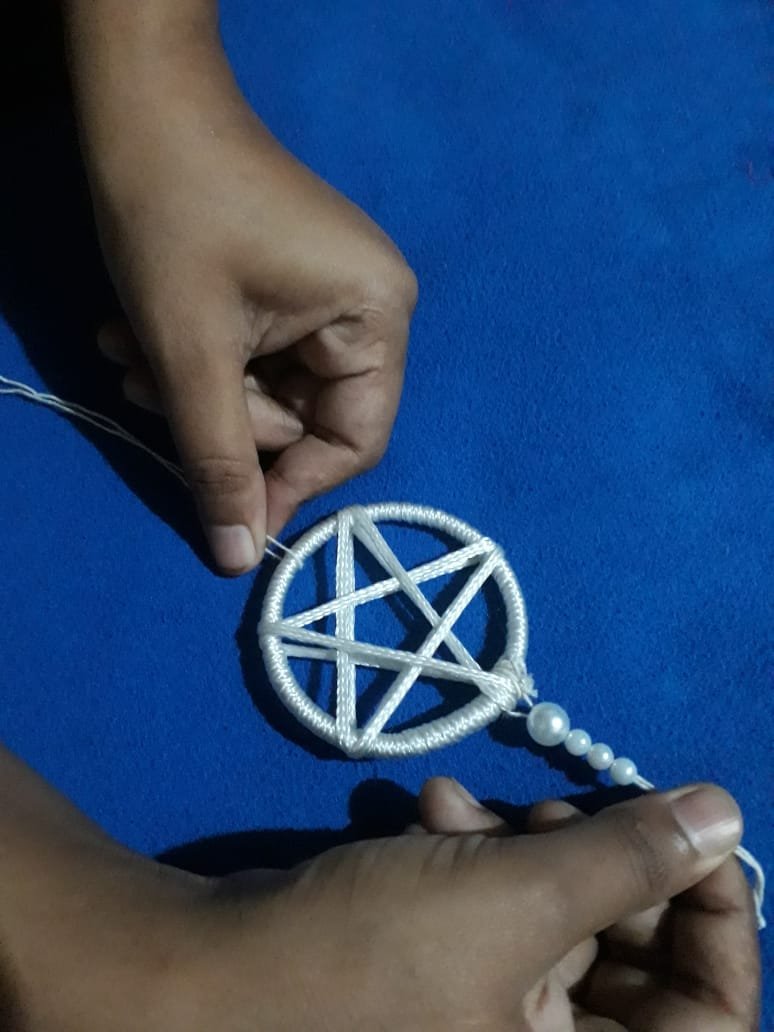
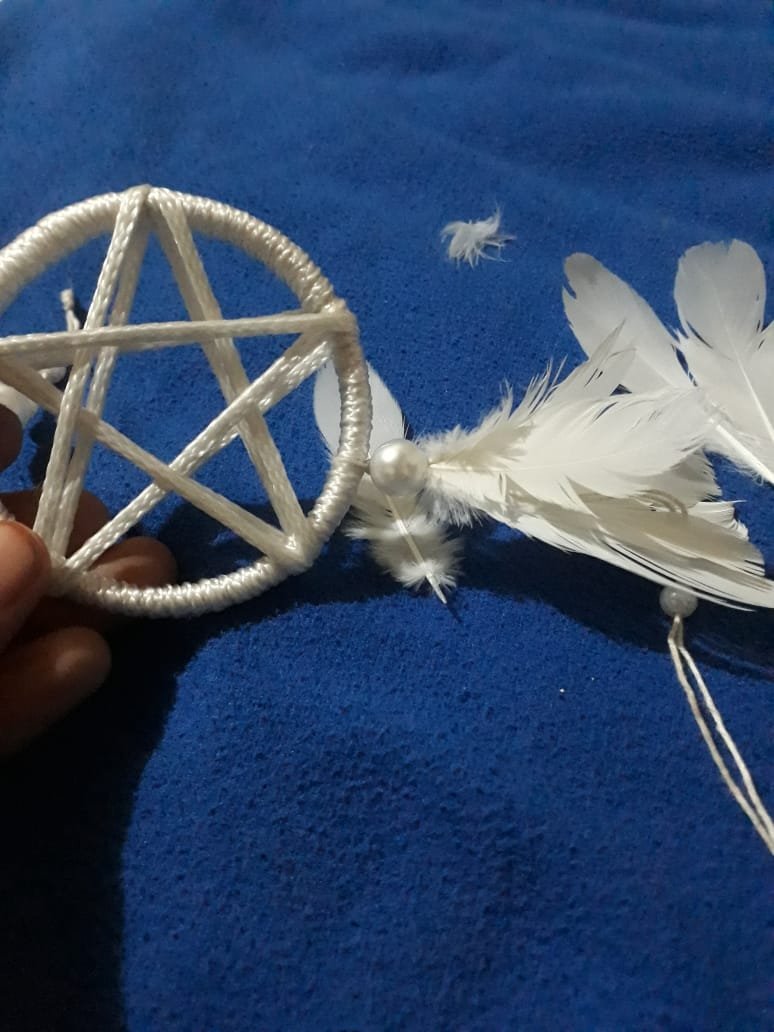
I first picked up a bangle and a white ribbon. Then I glued one end of the ribbon to the bangle to wrap the ribbon in the bangle. Then I twisted the ribbon and wrapped it in the bangle well.
I wrapped it in such a way that no part of the bangle could be seen. I wrapped the whole ribbon in the bangle, glued the last end again.Then I tied the end of the ribbon with thread to hang it on top. Then I took a large white bead and 3 small bead from the top of the yarn.
Then I took another ribbon and wrapped it in a bangle to make a star shape. I made them by twisting them from the middle. Then I cut the extra ribbon.
Step-2
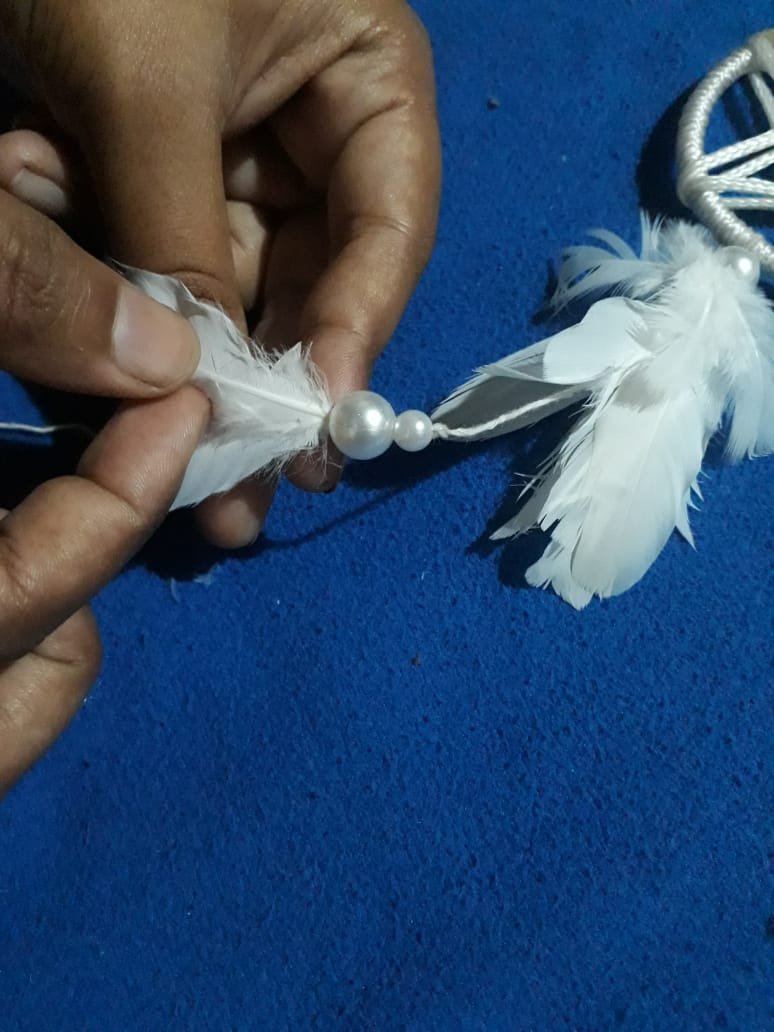
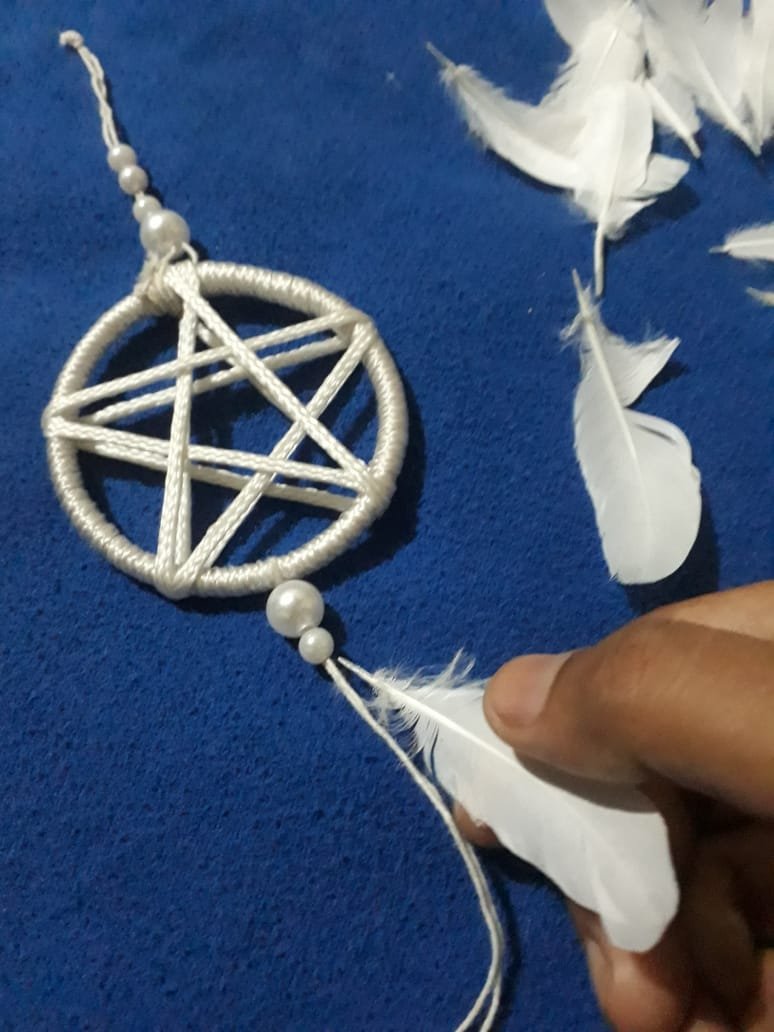
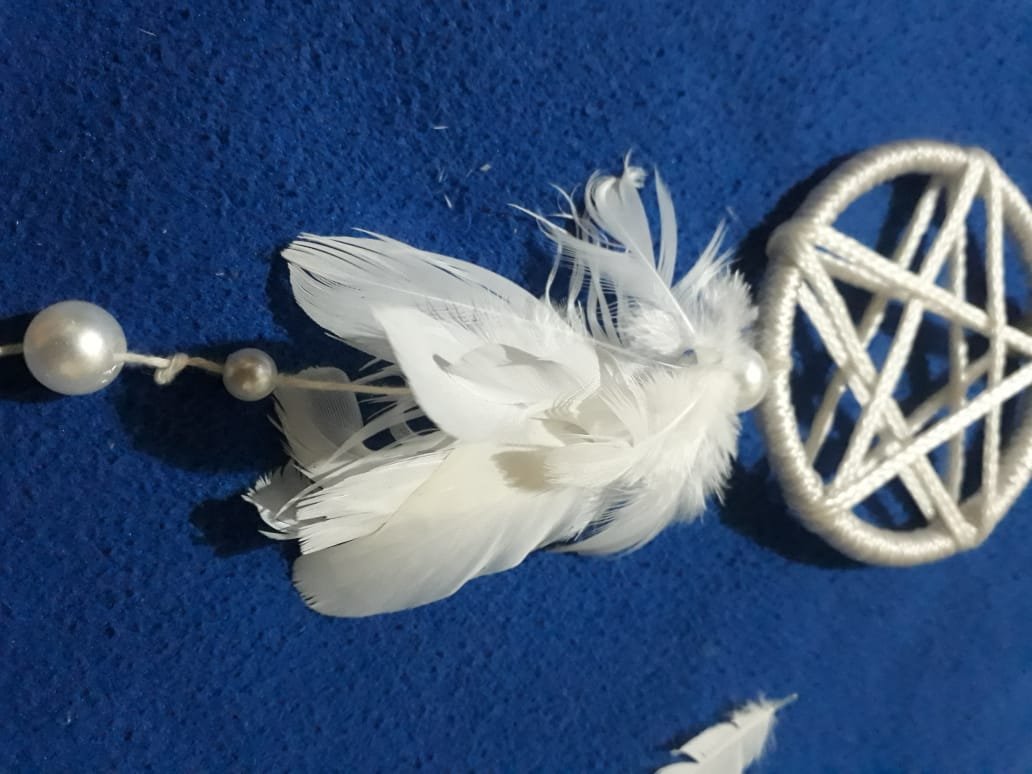
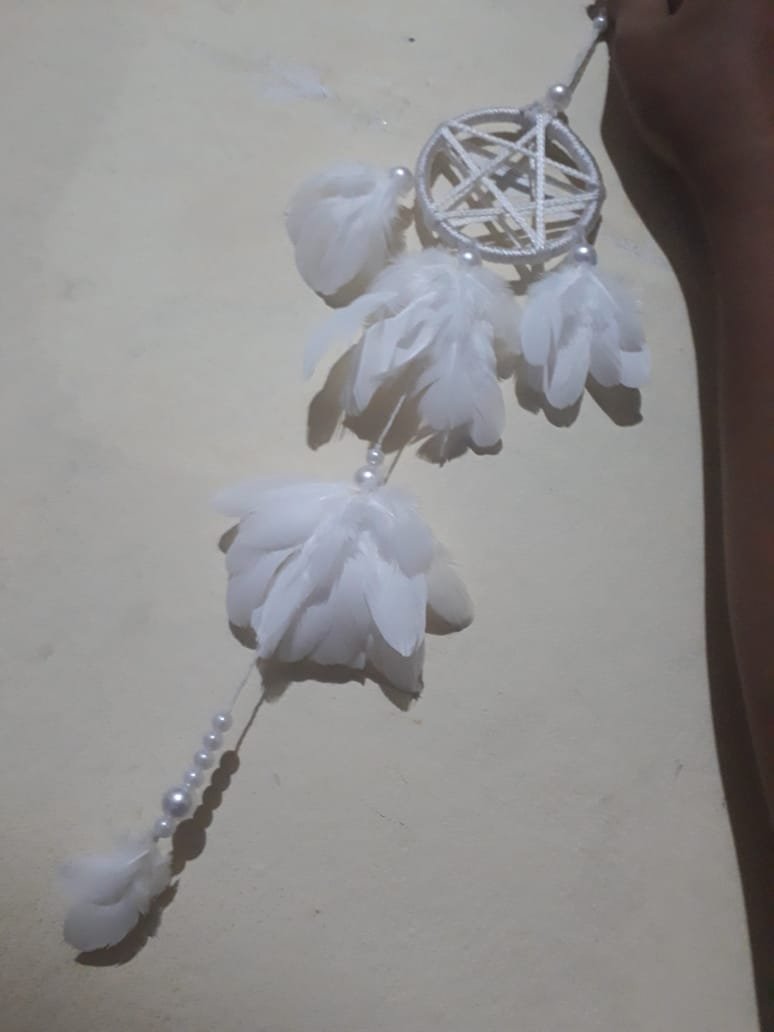
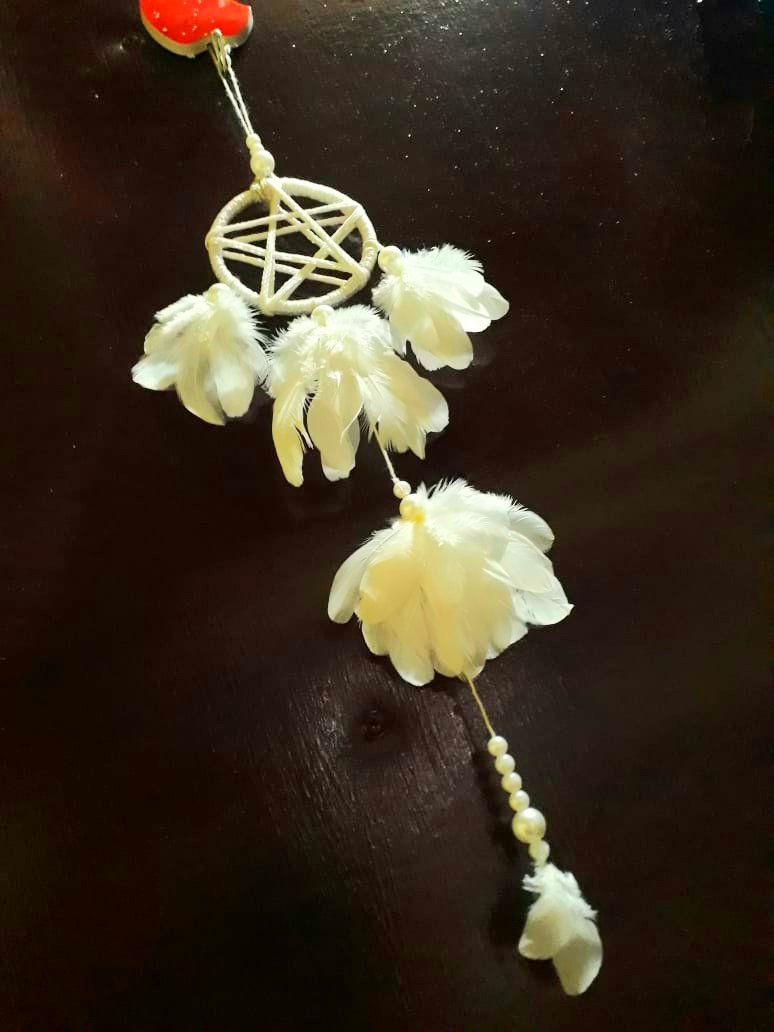
This time I took white yarn and put another big yarn opposite the yarn on the top of the bangle. Then I put a big white bead in that thread. I held the white bead with the bangle and hung the feathers one by one on the bottom. First I put the small feathers on top with the big feathers. Then I put a little space in the bottom thread and put another bead and put the feathers one by one again. I glued the feathers well.
Then again I left a little more space at the bottom of the yarn and gave 3 small bead then a big bead. I stuck a medium feather and 2 small feathers under the bead, cut off the extra yarn. I finished the middle part.
Step-3
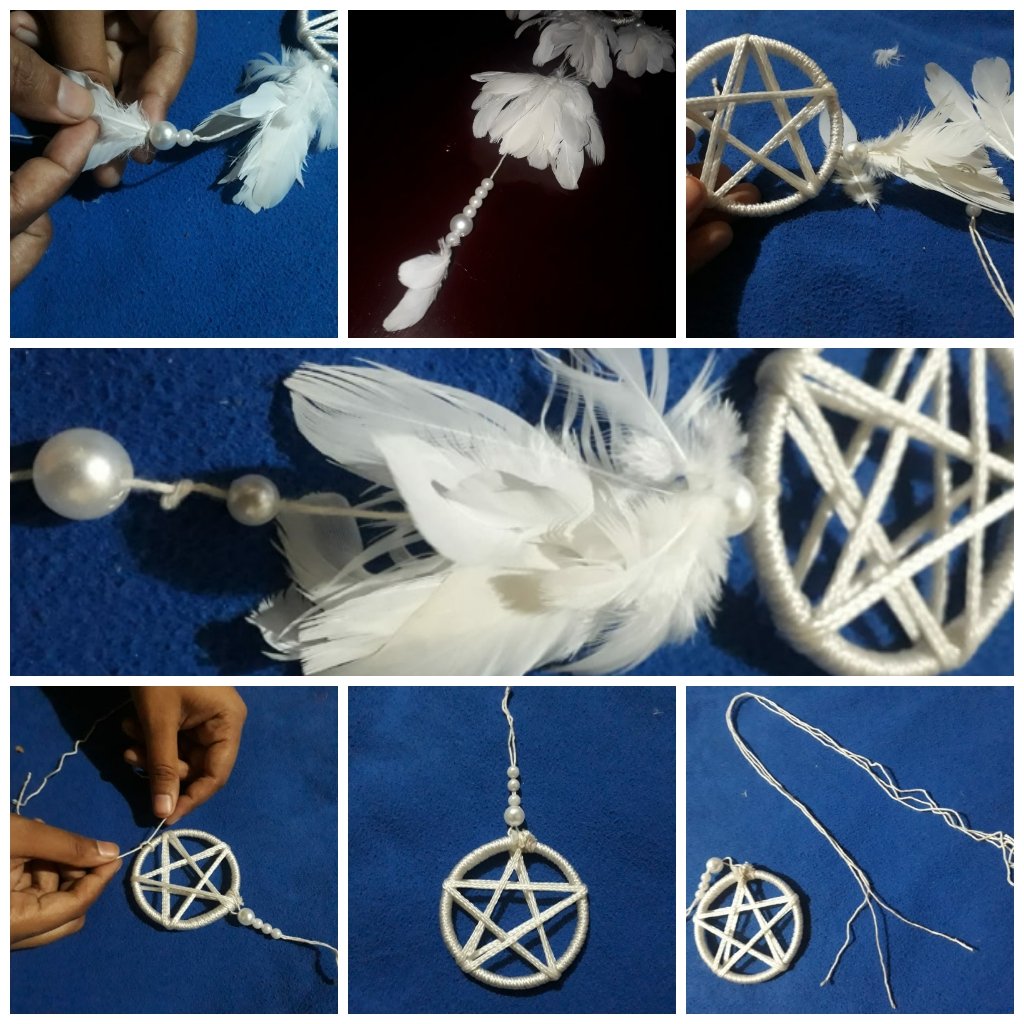
Then I put yarn on both sides and stuck the feathers one by one with white bead as before. I planted the feathers in big and small combinations. I glued it well so that it would not open again.
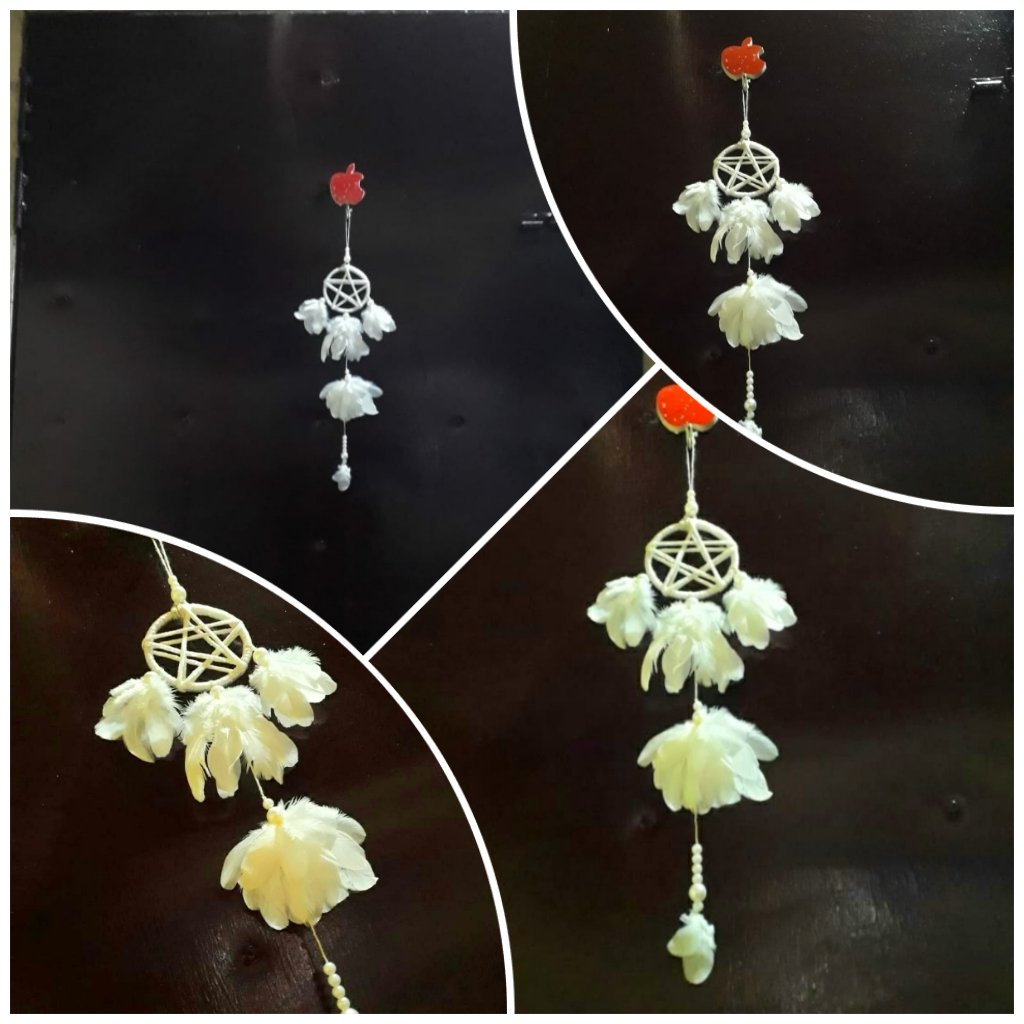
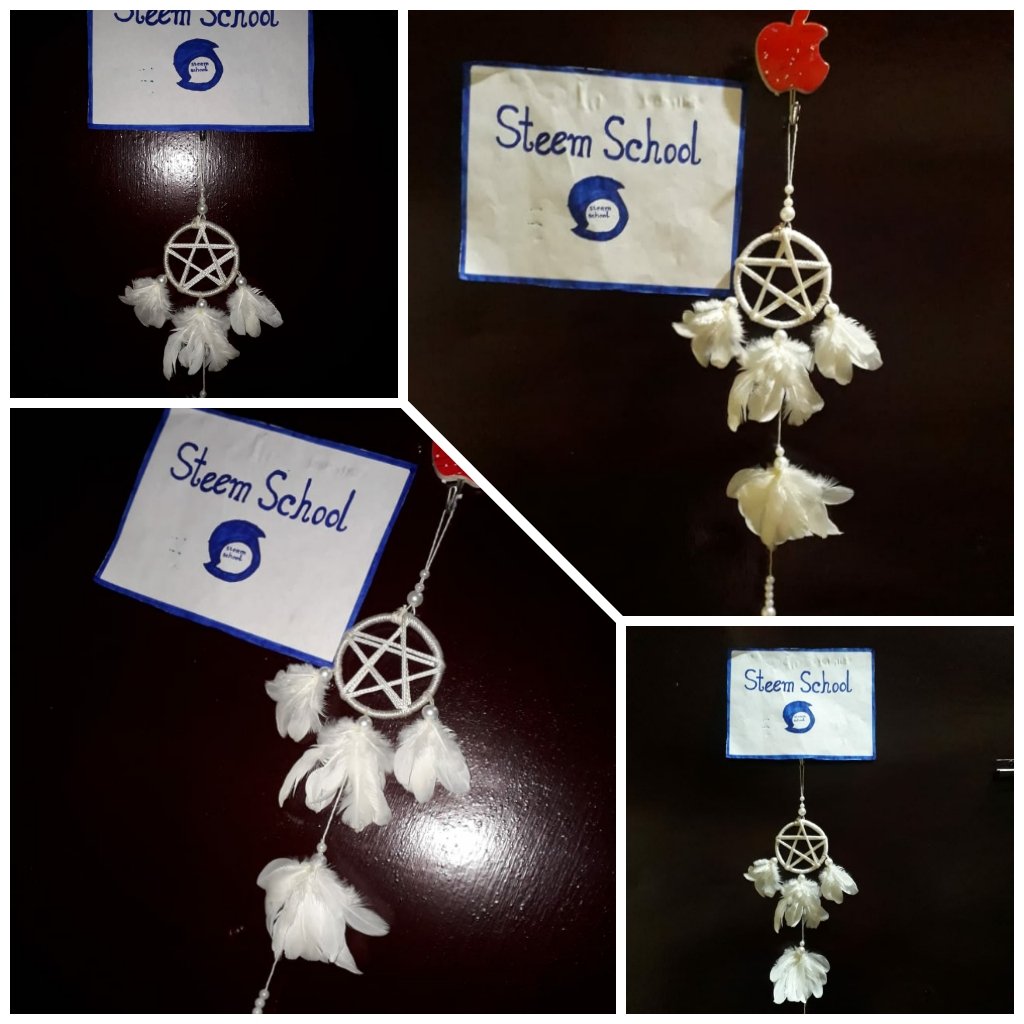
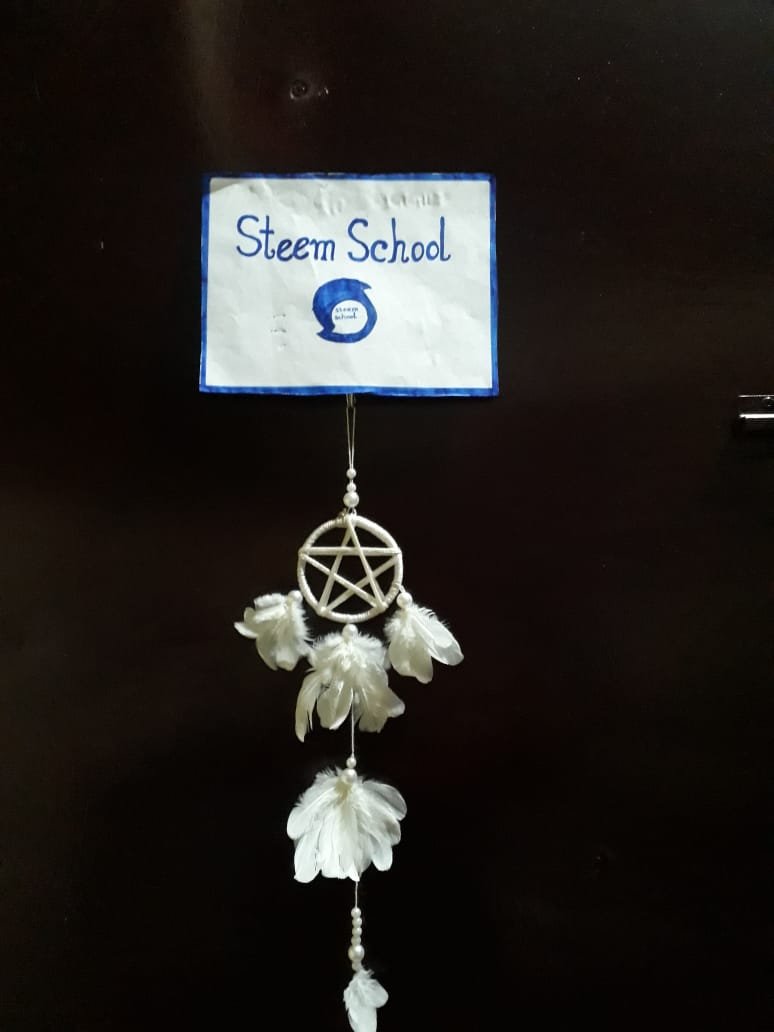
Then my craft work was finished. I made it very easily and I got the skill of decorating the walls with pigeon feathers.Now it is ready to hang on the wall. I hanged it in the back side of the door.
Some Step shoot when i made it:

Special thanks those people's who read my post.
💦
💦 BRISTY 💦
💦
