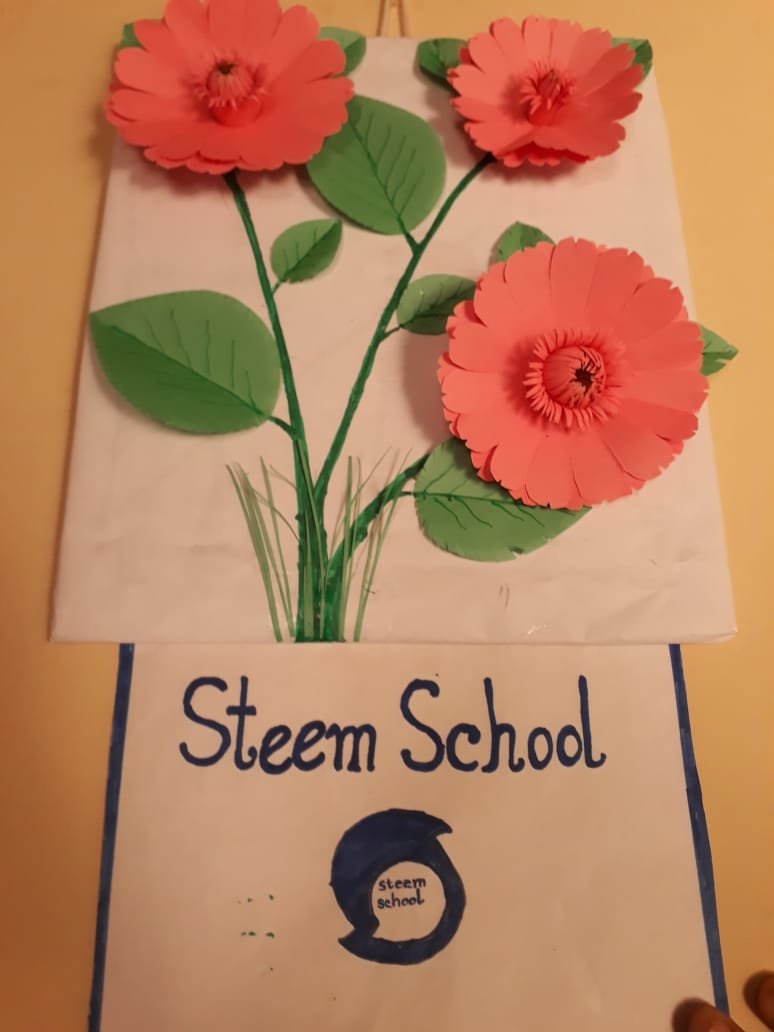
Hello friends, I hope you all are well. Today I come to share with all of you a work in the before and after contest organized by my friend @enveng. I like to do work like this. Today, I make a beautiful craft work with papper. I want share all of my activity about my today's work.
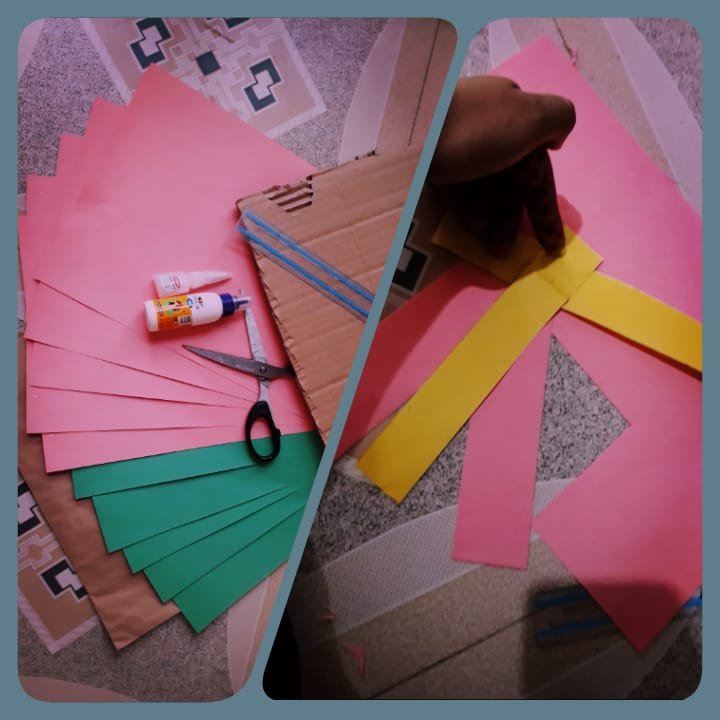
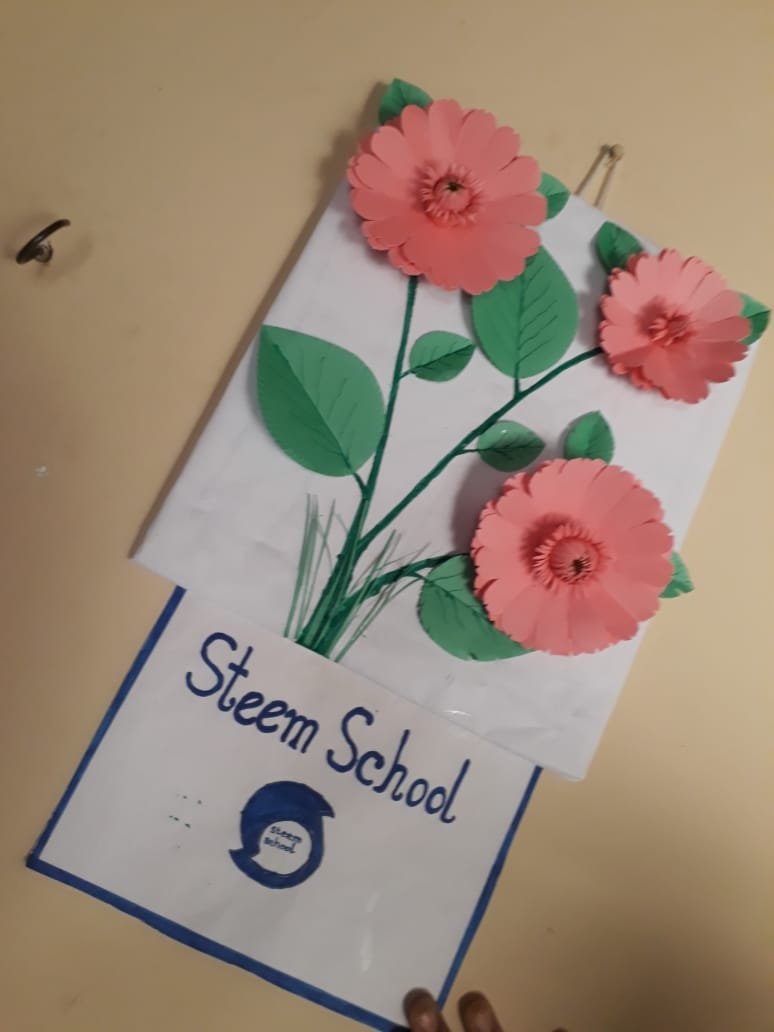
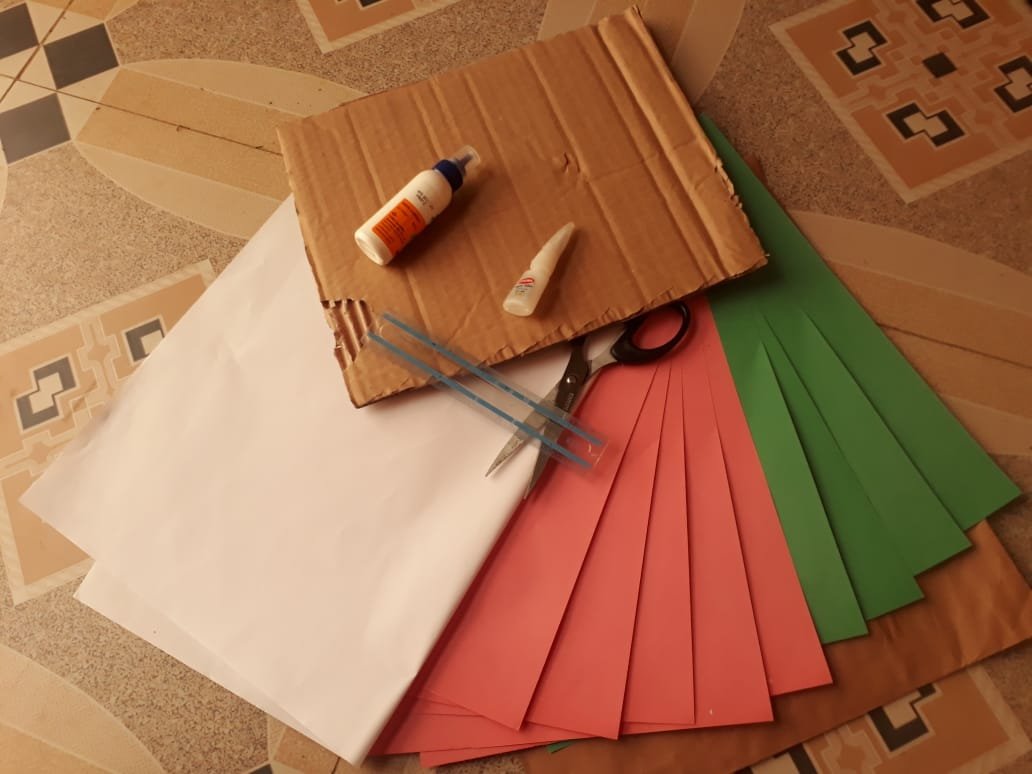
Below are the products needed to make Walmate
- Color paper
- White paper
- Glue
- Scissors
- Cardboard
- Scale
- Green watercolor pen
pic 1
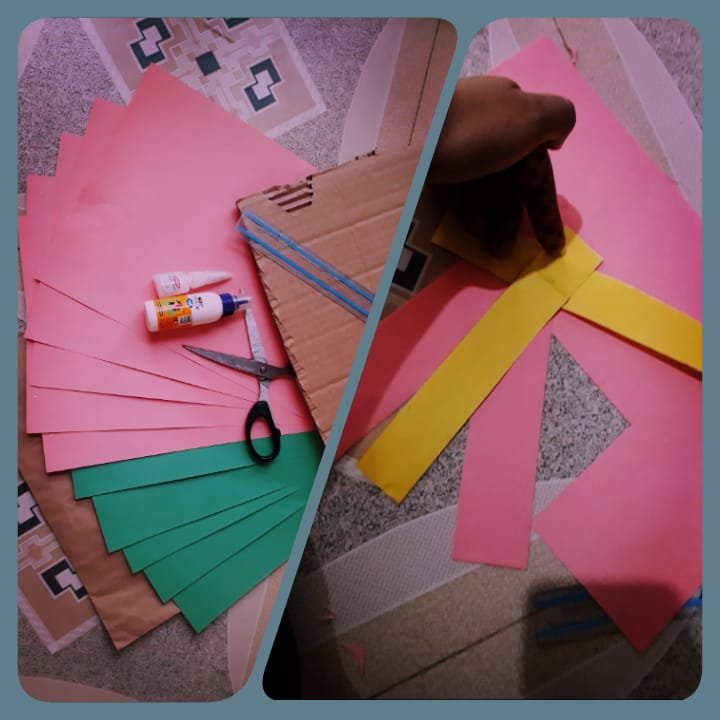
In the first step I did paper cutting to make Wallmet. Here is a sample of how I did it: -
To plant the flower in a large position, I cut 20×24 cm from a cardboard. I cut the card with the size.
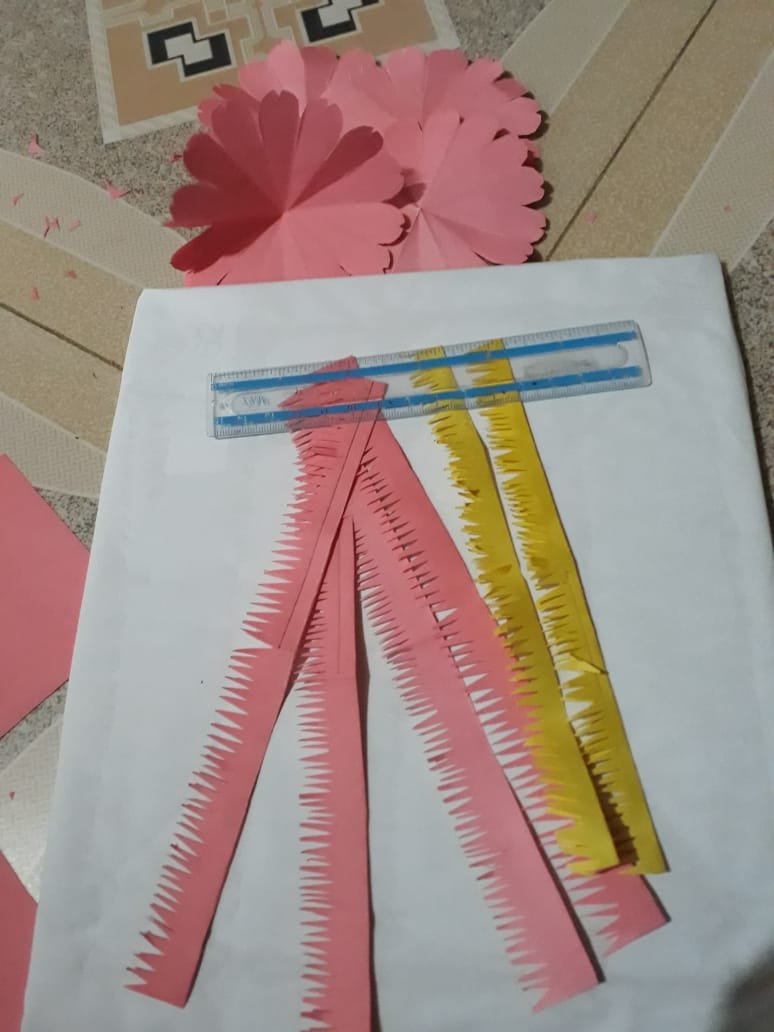
I took pink color for making flowers and yellow color for making flower buds.
10 × 10 cm with pink paper. I cut 4 squares of paper by size. 9 × 9 cm to make another small flower. I cut the paper to size. Then 4 × 21 cm. 3 and 3 × 21 cm. I cut 3 papers.
pic 2
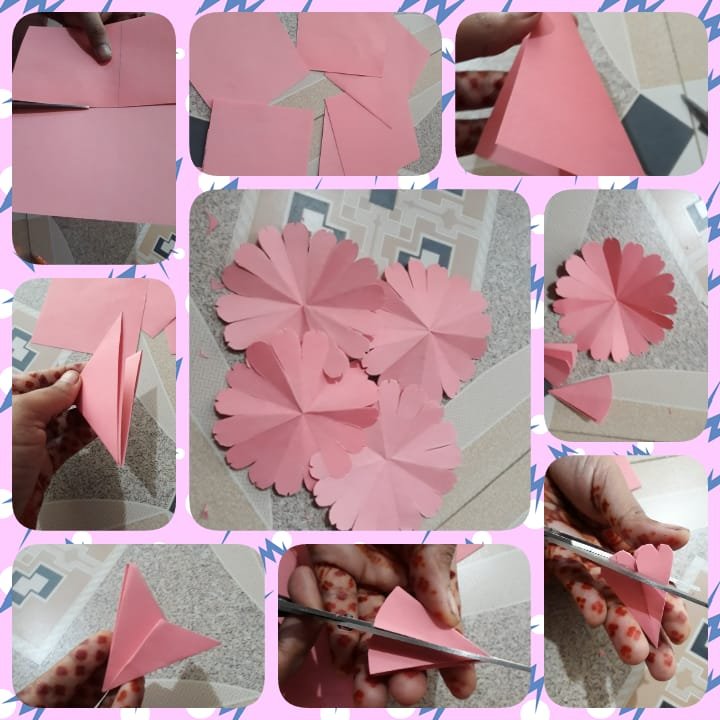
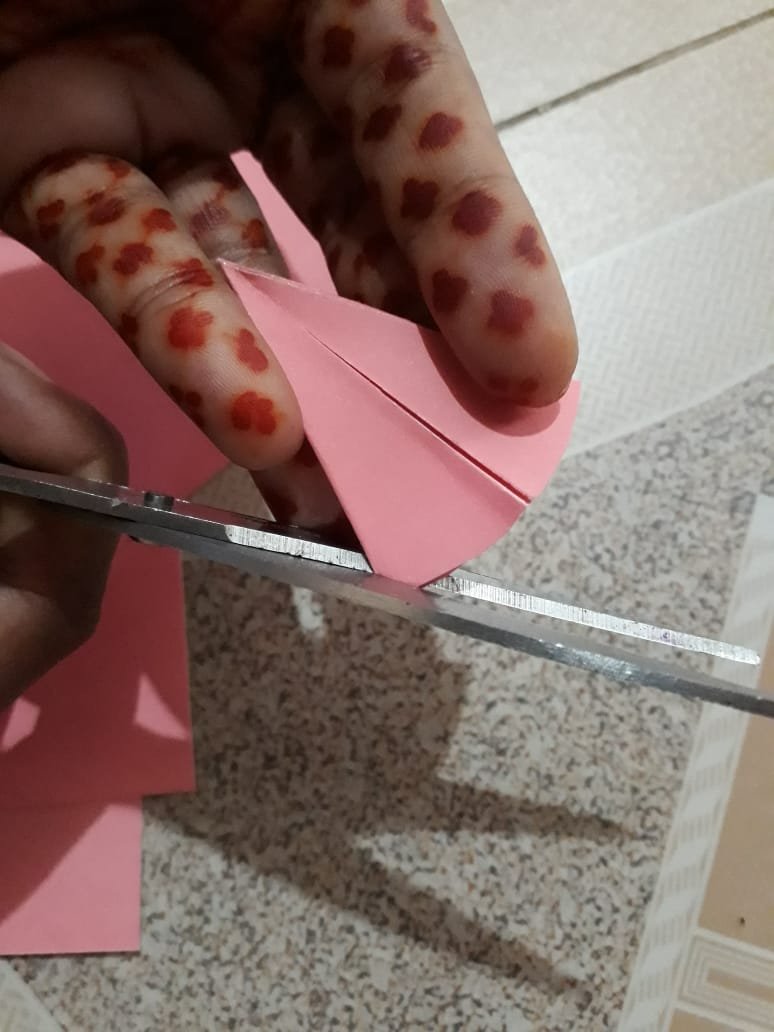
- To make a flower petal-like shape, I folded a square of paper, folded the paper first to cut it into a circle and shaped it into an angle. Then I cut it in the middle and made a shape. After cutting, I opened the fold again, then it became like a big petal.
pic 3
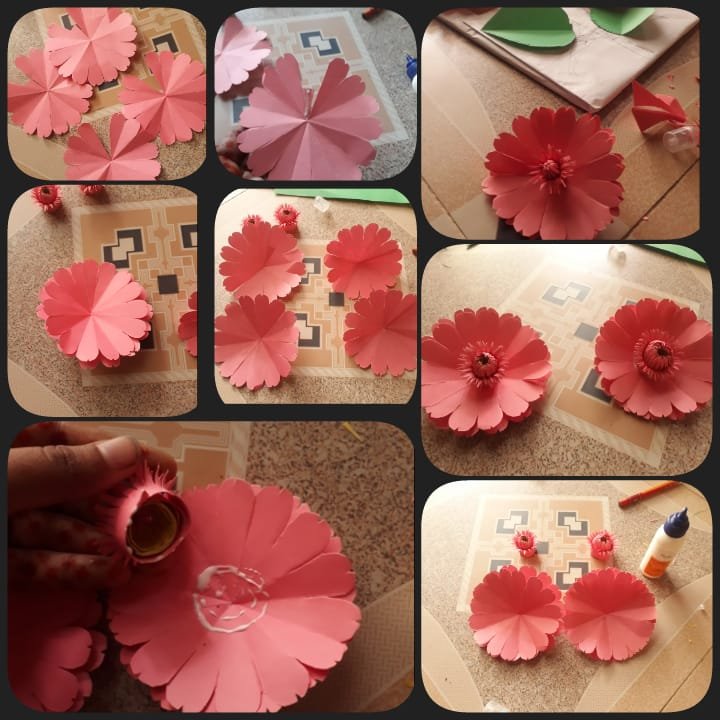
I cut a leaf of petals to attach the paper cut like petals.
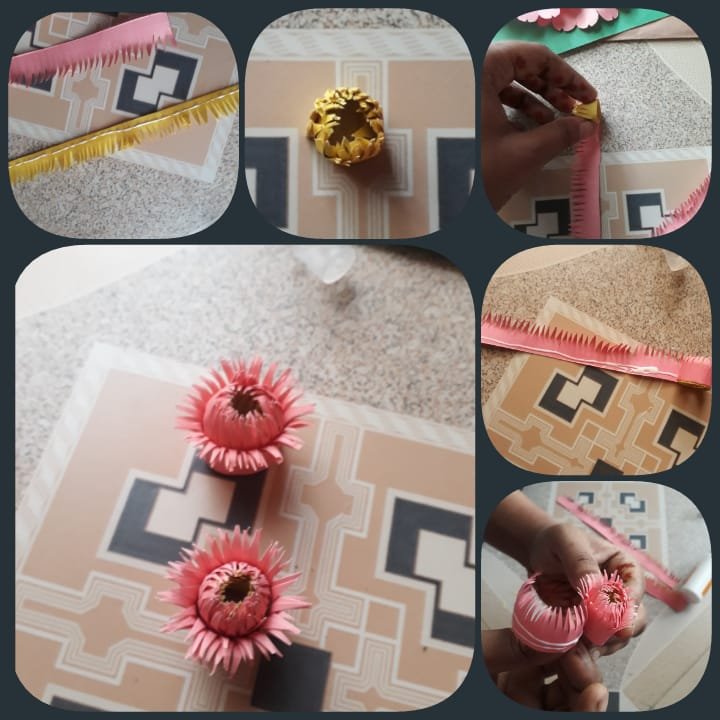
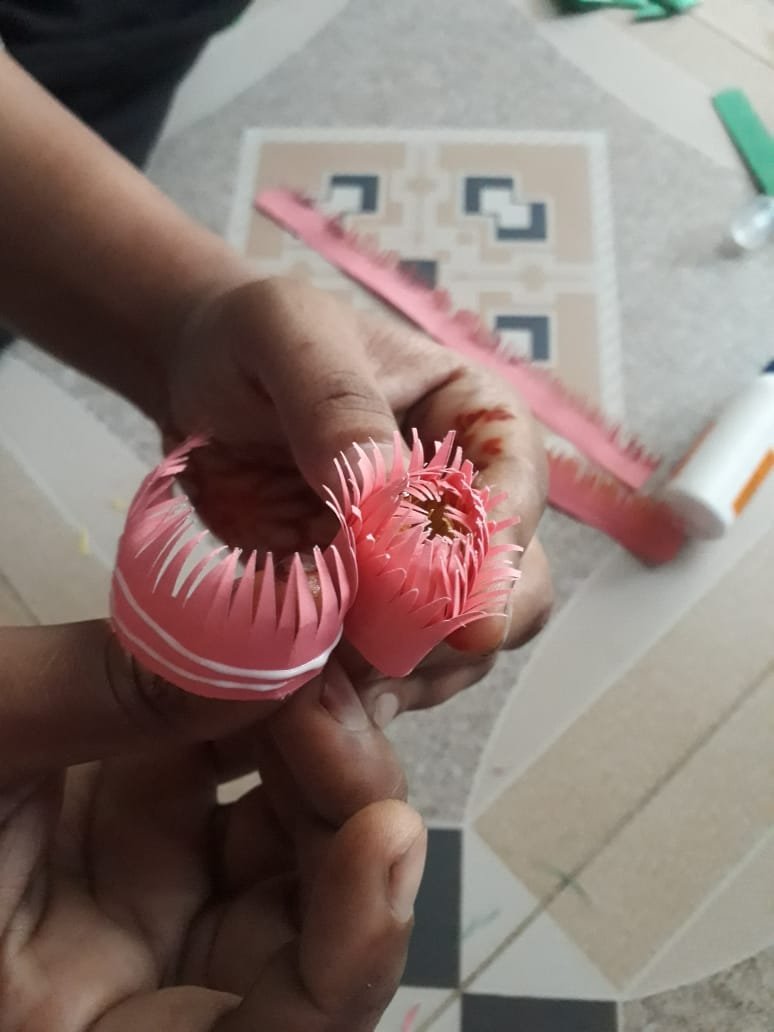
Then I cut 4 × 21 cm. And 3 × 21 cm. I folded the cut paper vertically along the middle. Then on the outside I cut it into small pieces with scissors. Then I cut along the middle of the pink paper. I cut the yellow papers in the same way, but did not open the folds.
I took green paper to make the leaves. 6×7 cm, 3 × 4 cm. I cut the paper, folded it and made small and big leaves. I cut the edges of the leaves. I cut some green paper like grass.
After finishing cutting, it is time to put the pair:
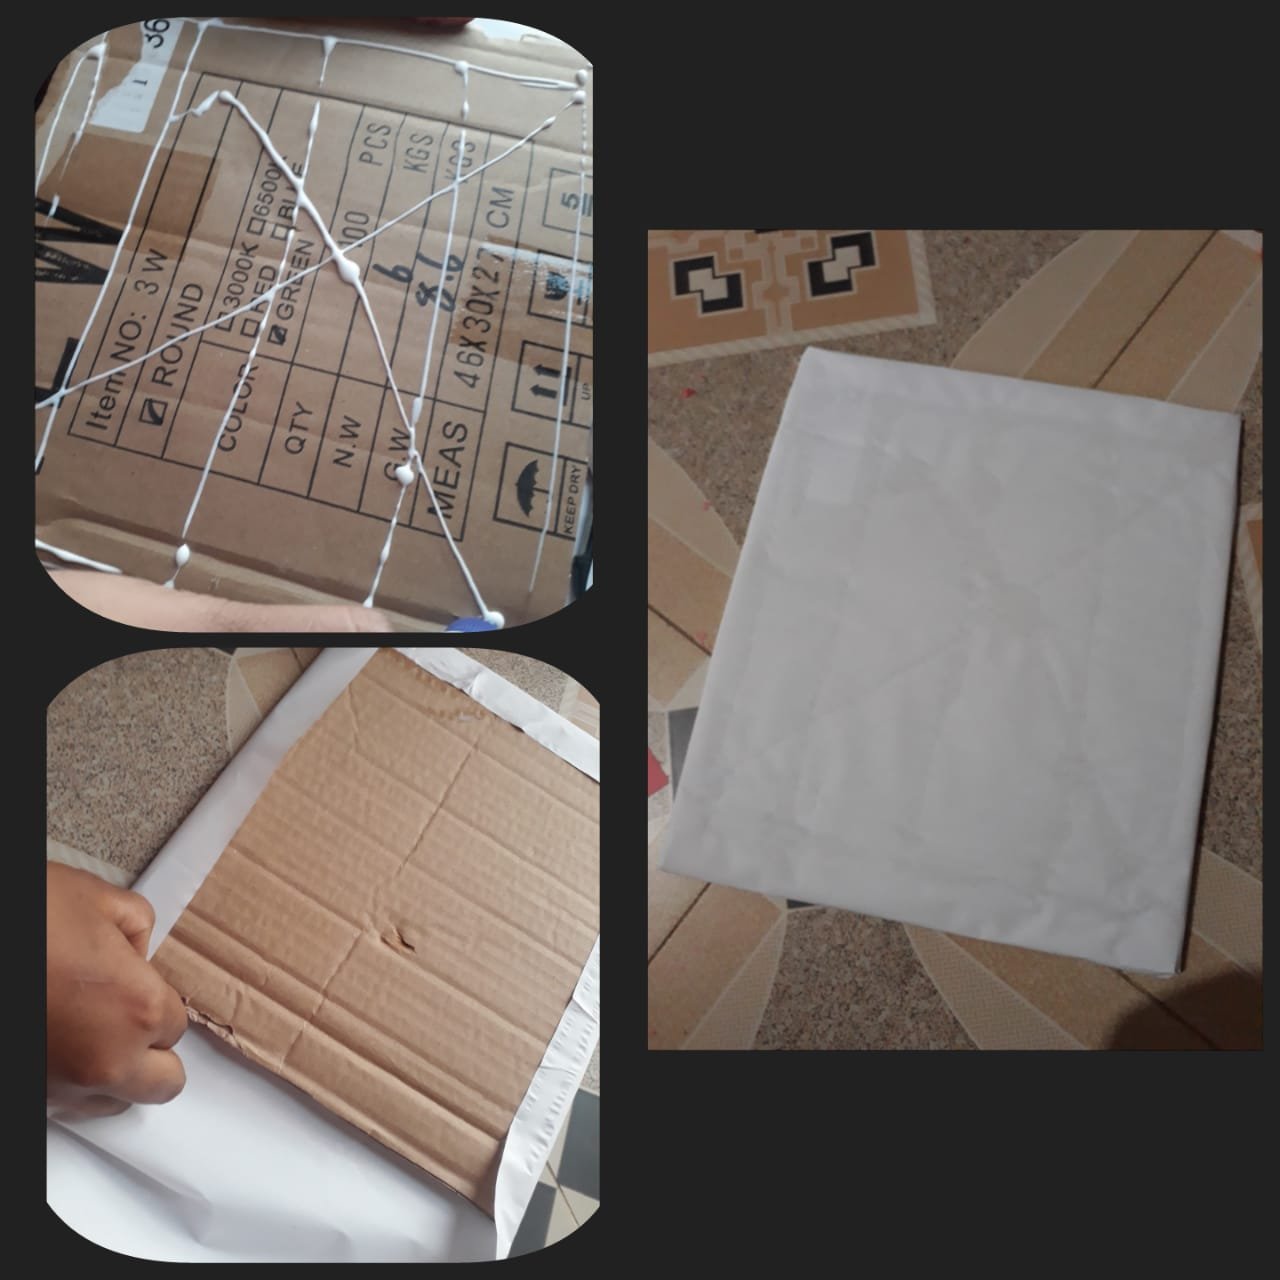
- First I took the cardboard. I sat the card in the middle of a large piece of paper. After taking the measurements, I glued one side of the card and then put it in the white paper. I wrapped the white paper around and covered it with glue and covered the cardboard. I covered one side completely with white paper.
pic 4
At the beginning of making flowers, I made flower buds, for this I took yellow cut paper and made a small flower bud by rounding it. I stuck the pink colored paper on top of it in the same way. I took another pink paper and wrapped it again with the cut part on the opposite side. It has completely become a flower bud. Thus I made one more buds. And I made another small bud.
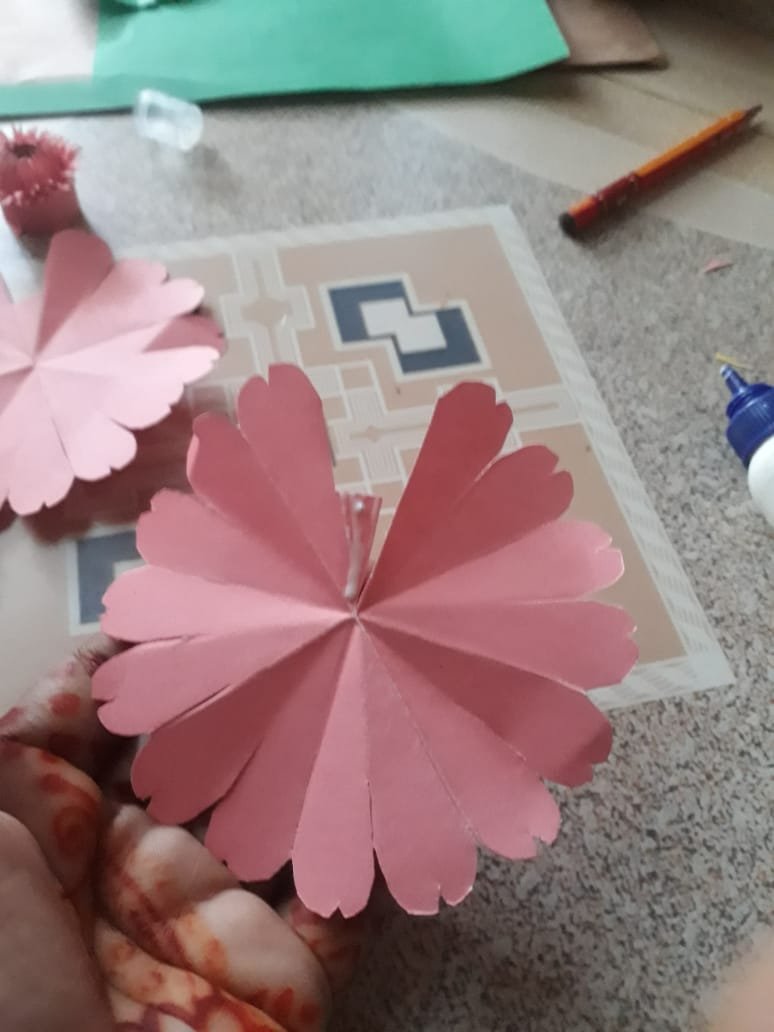
Then I made flower petals. For this I attached the cut petals. After attaching, I glued another petal on top of one petal. In this way I planted the remaining 2 petals. Then I put the calli that I made along the middle. This is how my flowers were made.
pic 5
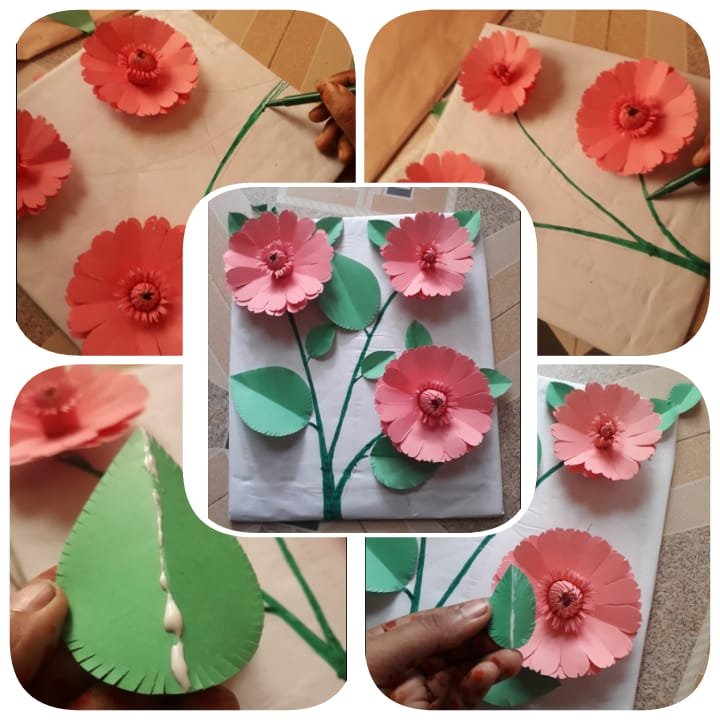
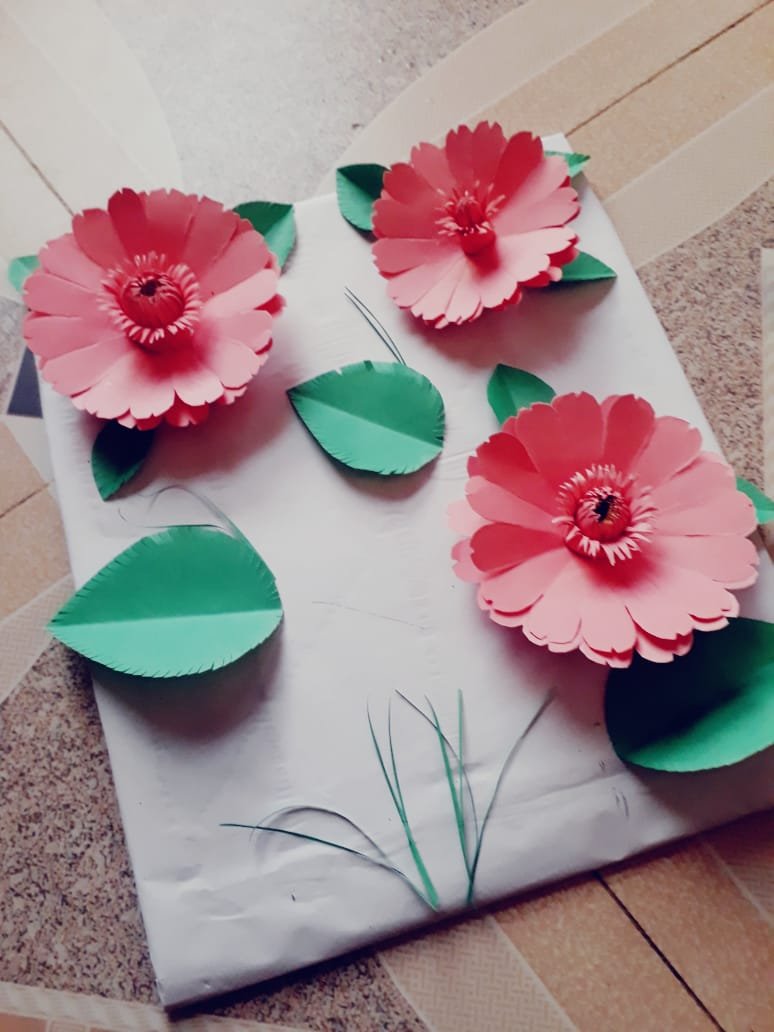
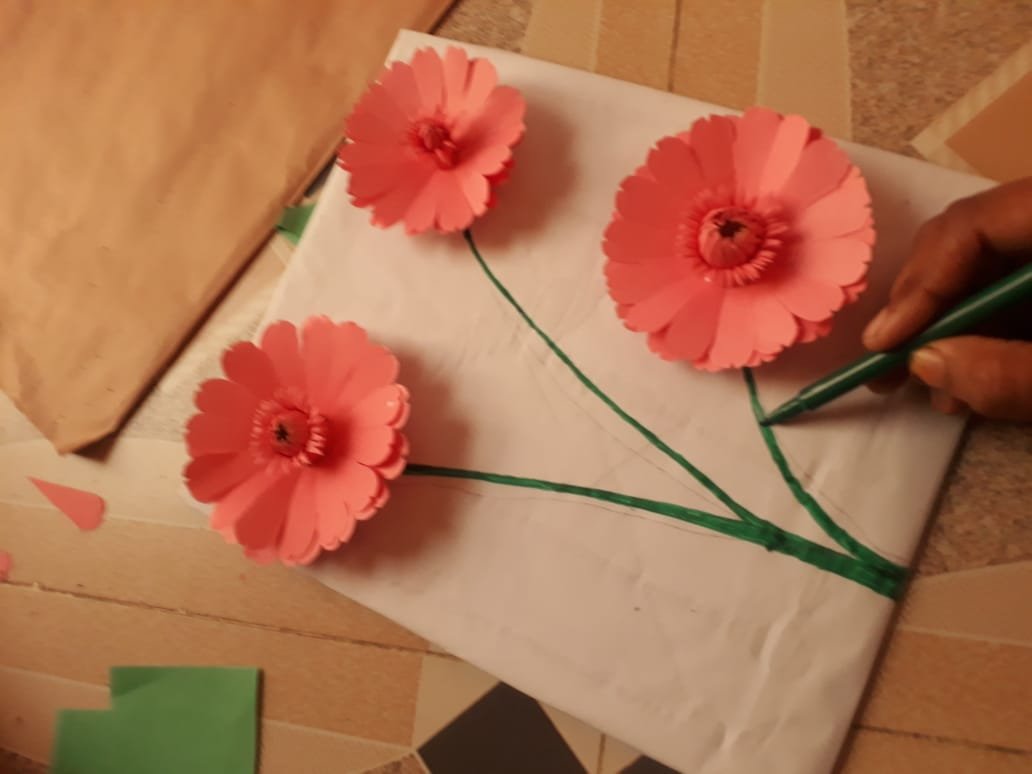
After making the flowers, my job is to attach them to the cardboard. For that I first put the flowers and leaves on the card. Then I glued the flowers first.
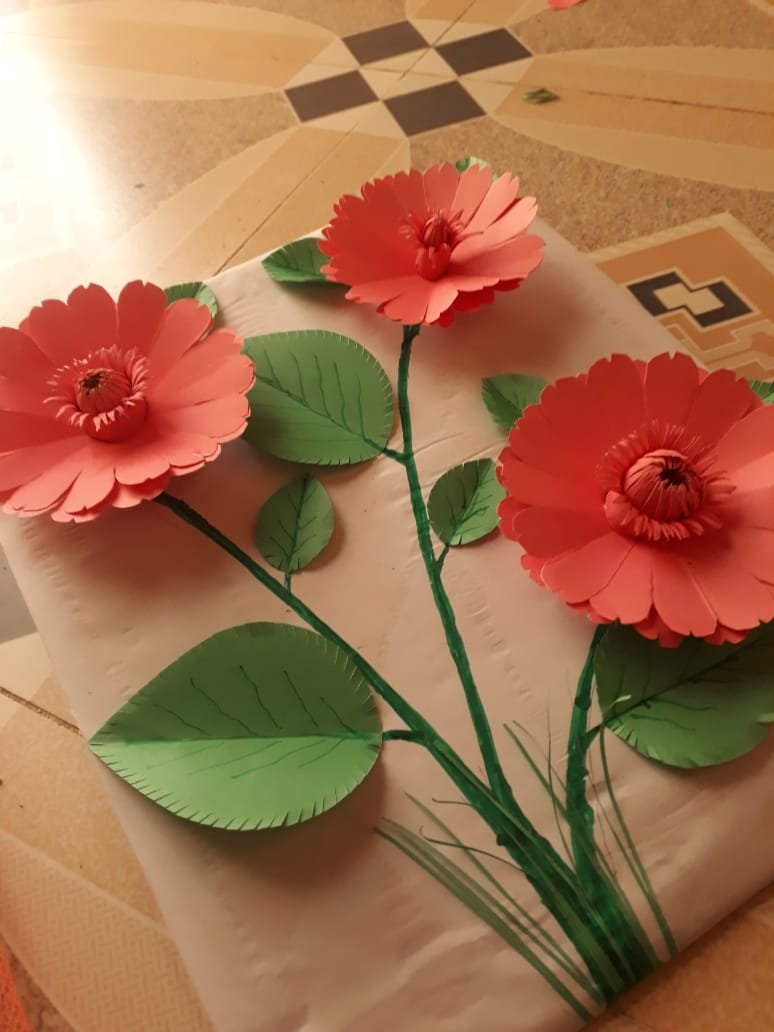
Then I took the flower stalk with the help of green water pen. Then I glued the leaves. I put the big leaves on the branches and the small leaves on the back of the flower. Then I put some grass cut paper on the bottom.
pic 6
This is how I made this paper Wallmet . It makes it very easy.
Step pictures of my crafts:

Special thanks those people's who read my post.
💦
💦 BRISTY 💦
💦
