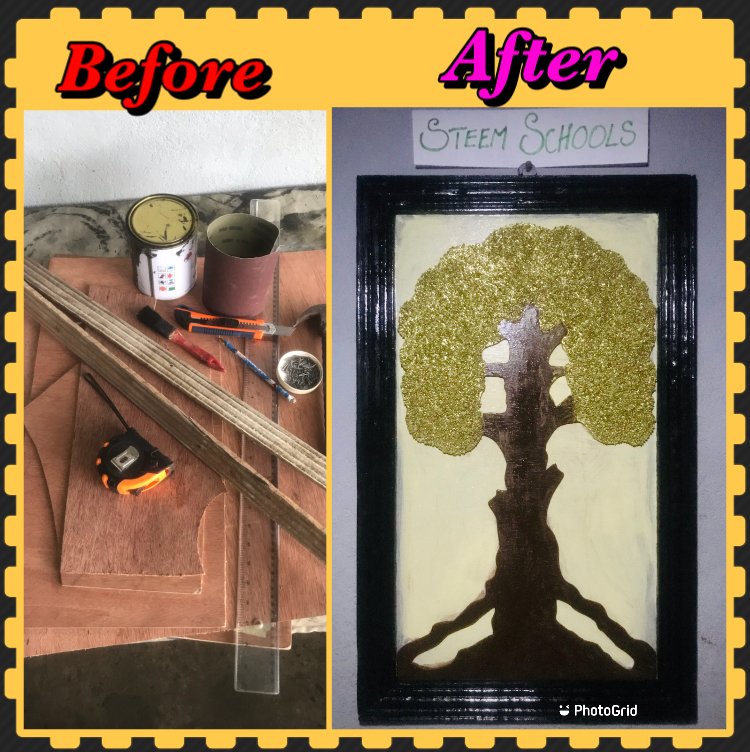
WALL PORTRAIT WITH PLYWOODS AND SAND PARTICLES

Hello and good day everyone!
Please permit me to use this medium and say; Thanks to the Moderator @enveng, and also to extend my profound gratitude to all the officials who spend their time resources and efforts ensuring the success of this Creative Contest and its Rewards God Bless you All Amen!

STEEM SCHOOLS @mcharmattan
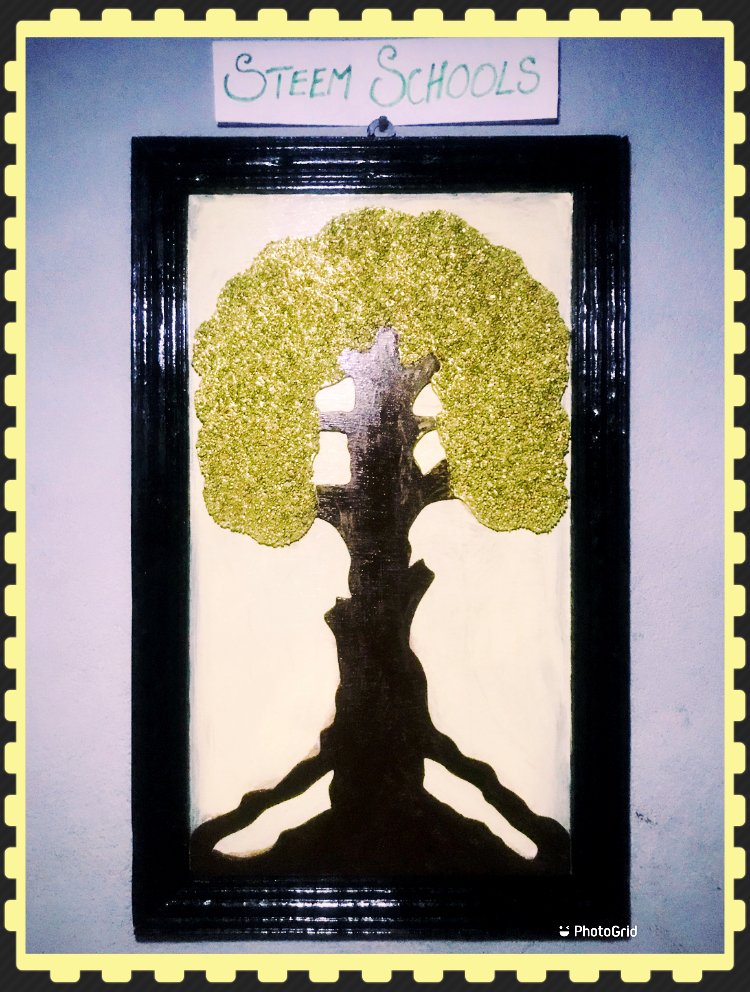
So this week I choose to create another portrait with a Tree design in it just to show us how to make our walls look more beautiful, and it’s a very simple one to do, so below I will show you all in details how to create this unique piece of Art Work.
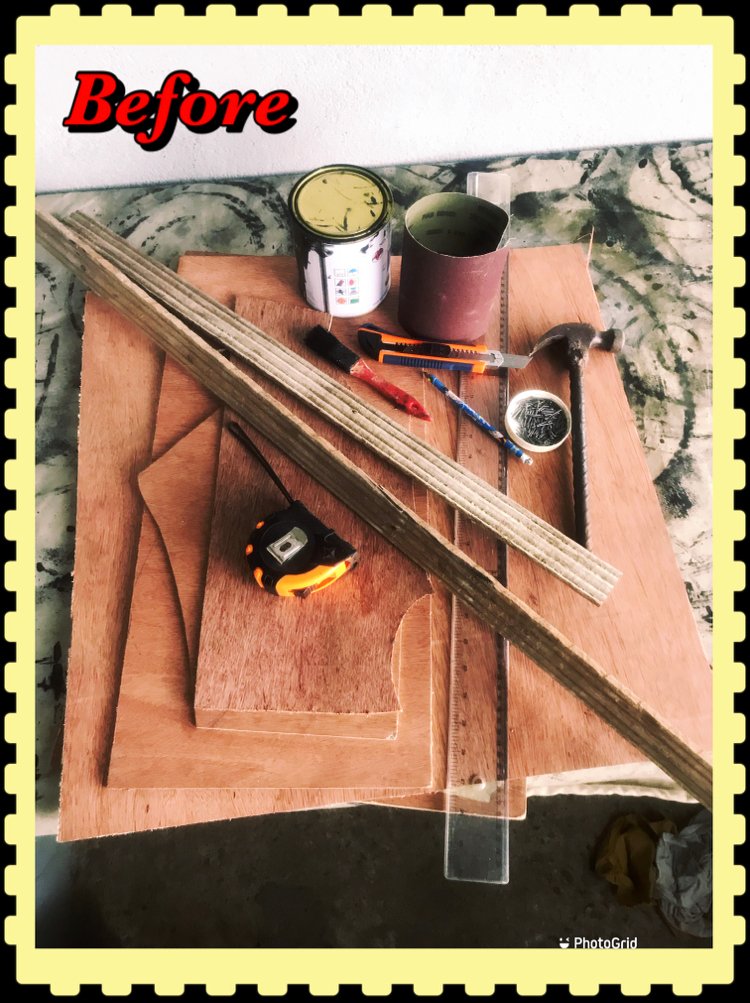
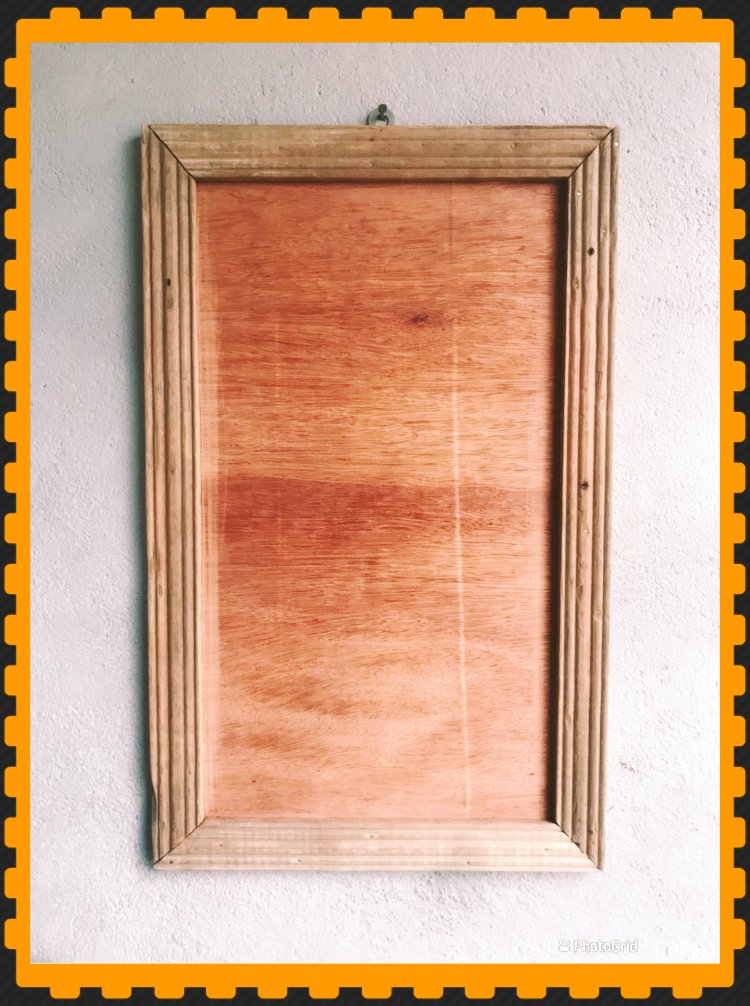
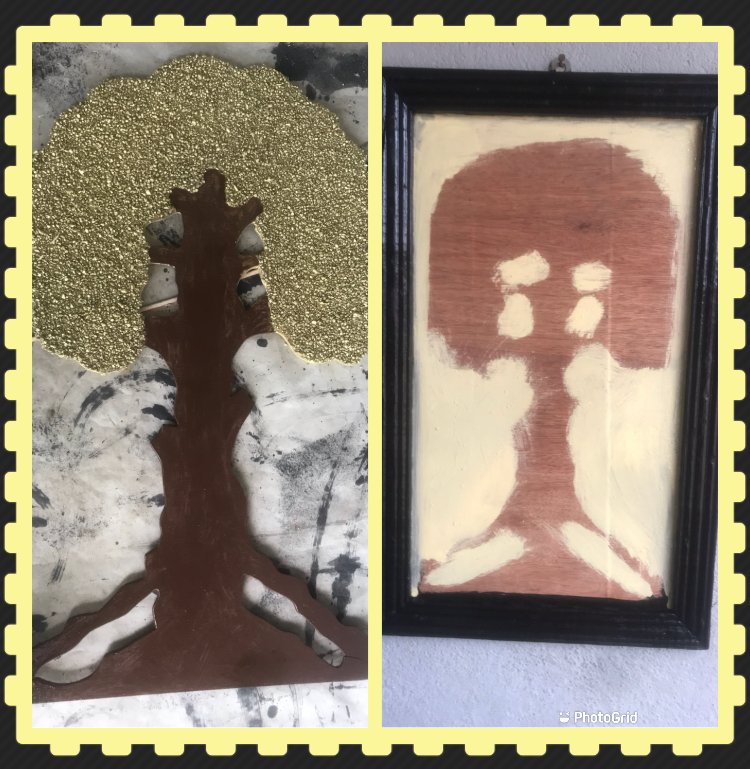
BEFORE

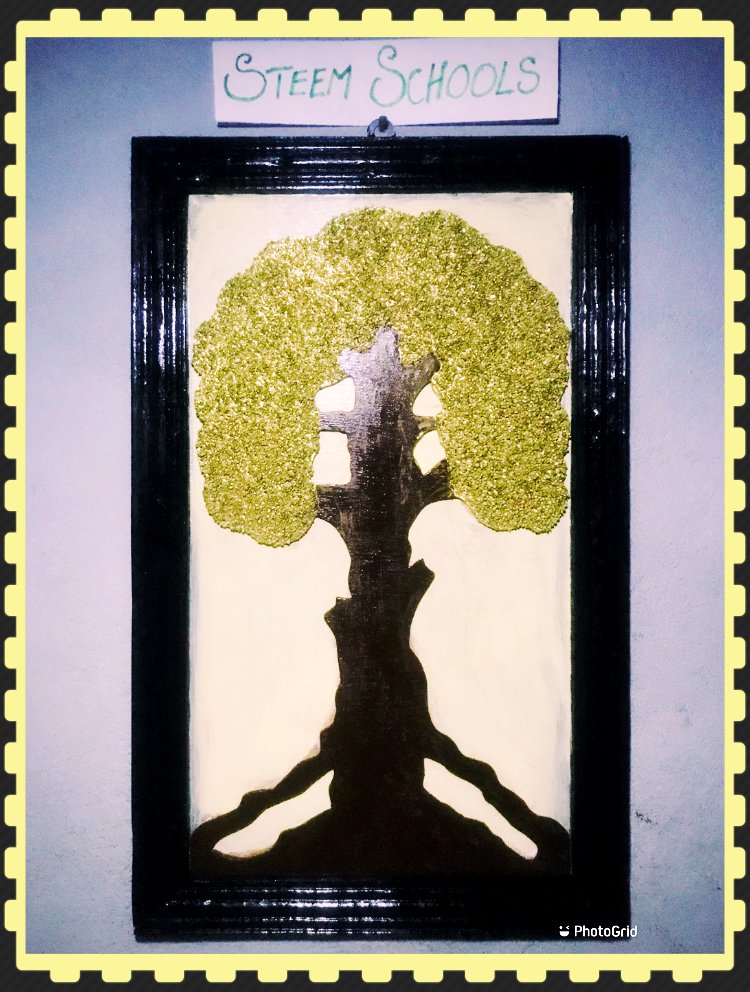
AFTER

MATERIALS:
Plywood
Sand Particles
Ceiling Pattern
Flex saw / sanding paper
Task nails / hammer
Measurement Tape
Ruler / Pencil / Eraser
Top-Burn Gum
Spray / Car Paint.

STEP 1.
The primary objective here is the size of the work; so I choose
24 X 15 inches for my board size
24 X 15 - 2 unit each for the ceiling pattern.
Then I will have to measure and cut them respectively to fit the work I want to do starting from the board to the patterns.
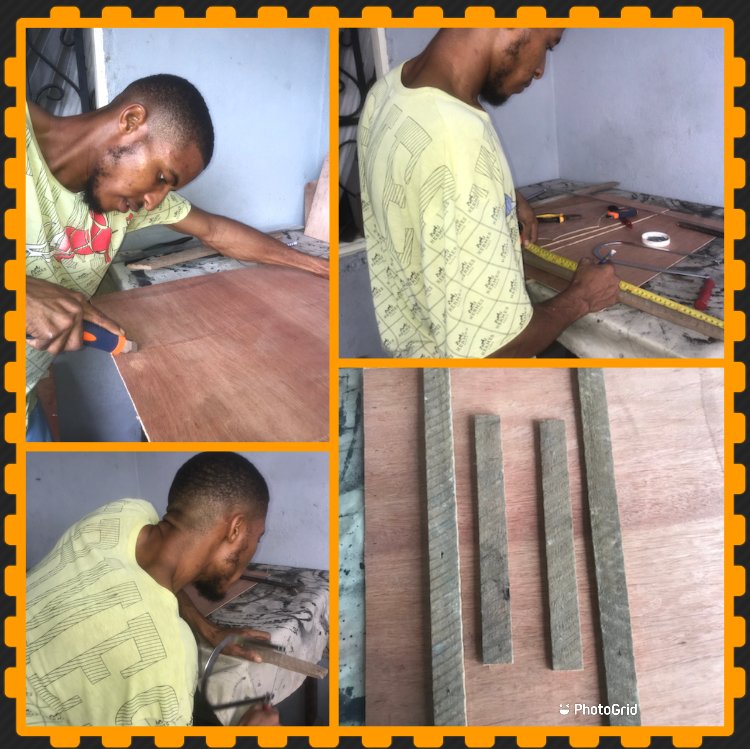

STEP 2.
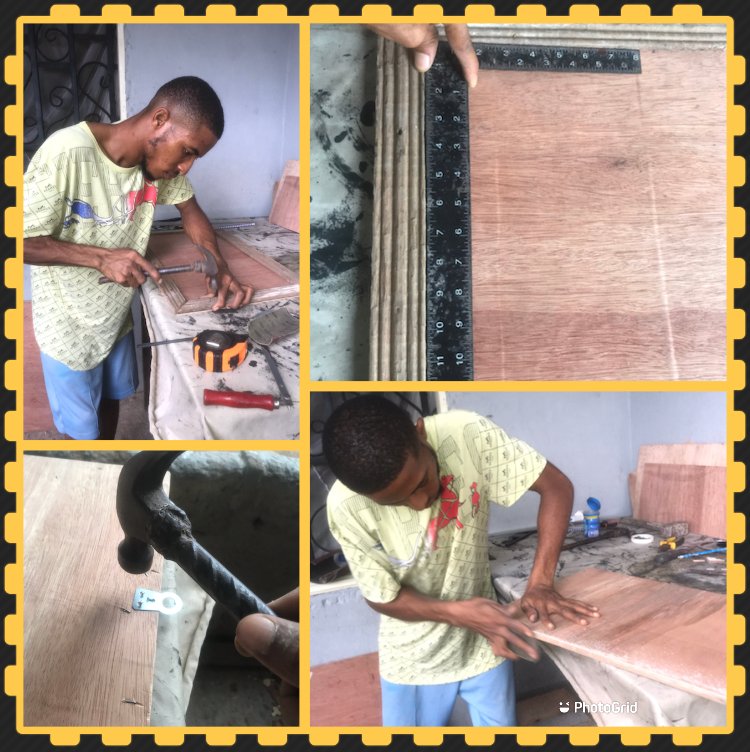
Here I will task the patterns on the edges of the board to make it a frame by using the task nails and the hammer. This can’t be achieved without the use of square ruler, so I square the work and then finally nailed everything firm.
I then installed the hook at the center of the frame at the 15 inches side precisely.
And finally I will have to use the sanding paper to make it smooth by sanding it all round.

STEP 3.
Test to see if the installed hook Works the way it’s expected and also the alignment of the frame with the hook.

STEP 4.
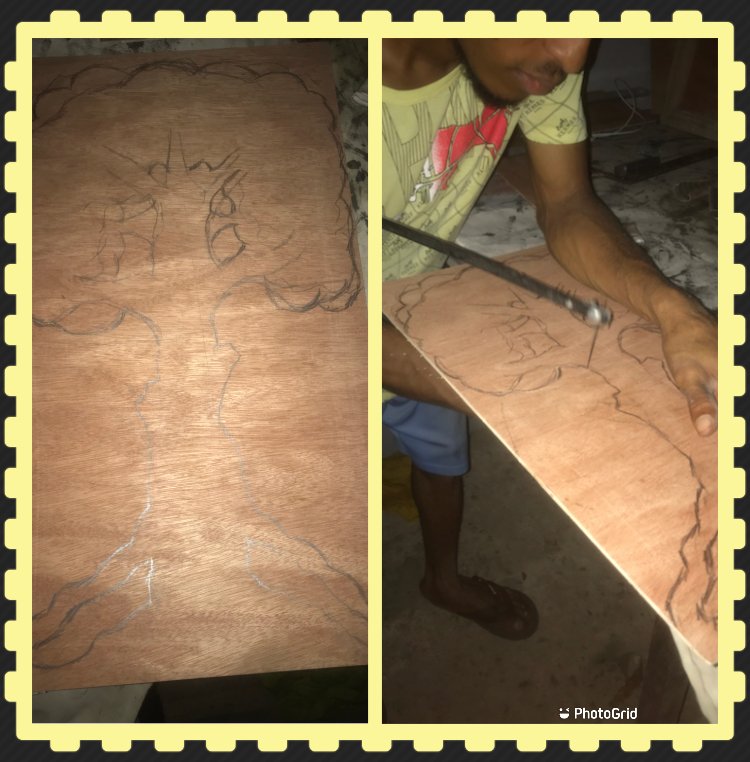
Here all I will do is draw the design of how the tree will be using 11X20 inches for the size of the tree so as to fit into my already made frame and then carve it respectively using my flex-saw following the drawn lines.
N/B; You have to be very careful with the flex-saw if you haven’t used it before it can injure or cause damage to your design so I strongly recommend you go through the users guide before using it.

STEP 5.
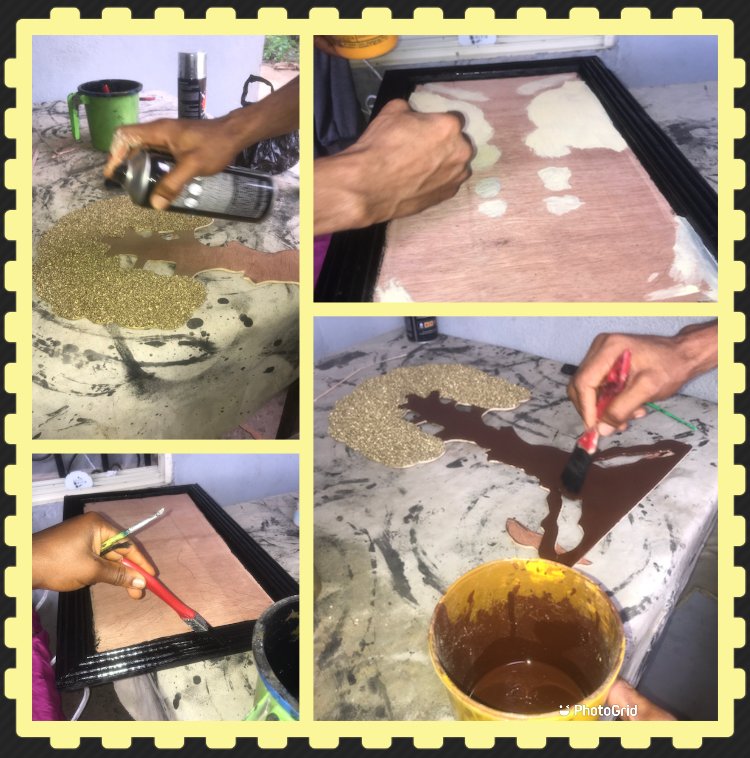
This stage of the production has to do will all the painting; paint all the parts that needs to be painted. You can start with the frame then move to the tree and also the inner board.
In my own case, I used black on the ceiling pattern, brown on the tree, gold spray on the leafs and finally milky on the inner board.

STEP 6.
Double check your ready tree and frame design to ensure that nothing is missing out before moving on with the next stage.

STEP 7.
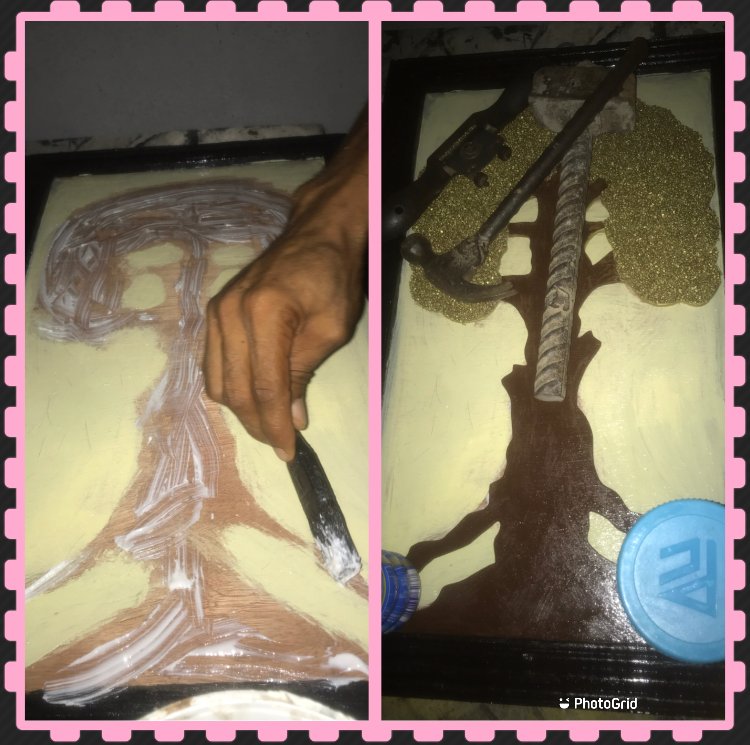
Apply gum to the space you kept for the tree and then mount the ready to use try to the space, ensure you give it a proportion for a proper scale balance. Press it with either stones or metal so the the tree will not pull off from the frame until it’s completely dry.

THIS IS THE FINAL LOOK


Thank You! @enveng (MOD)
I wish Myself Good-luck!
Made by @mcharmattan
