Hello friends,
I think you all are well. Today I am going to tell you how to make a beautiful wall hanging. This design is really easy to make. I thought of making this before and after contest organized by @enveng.
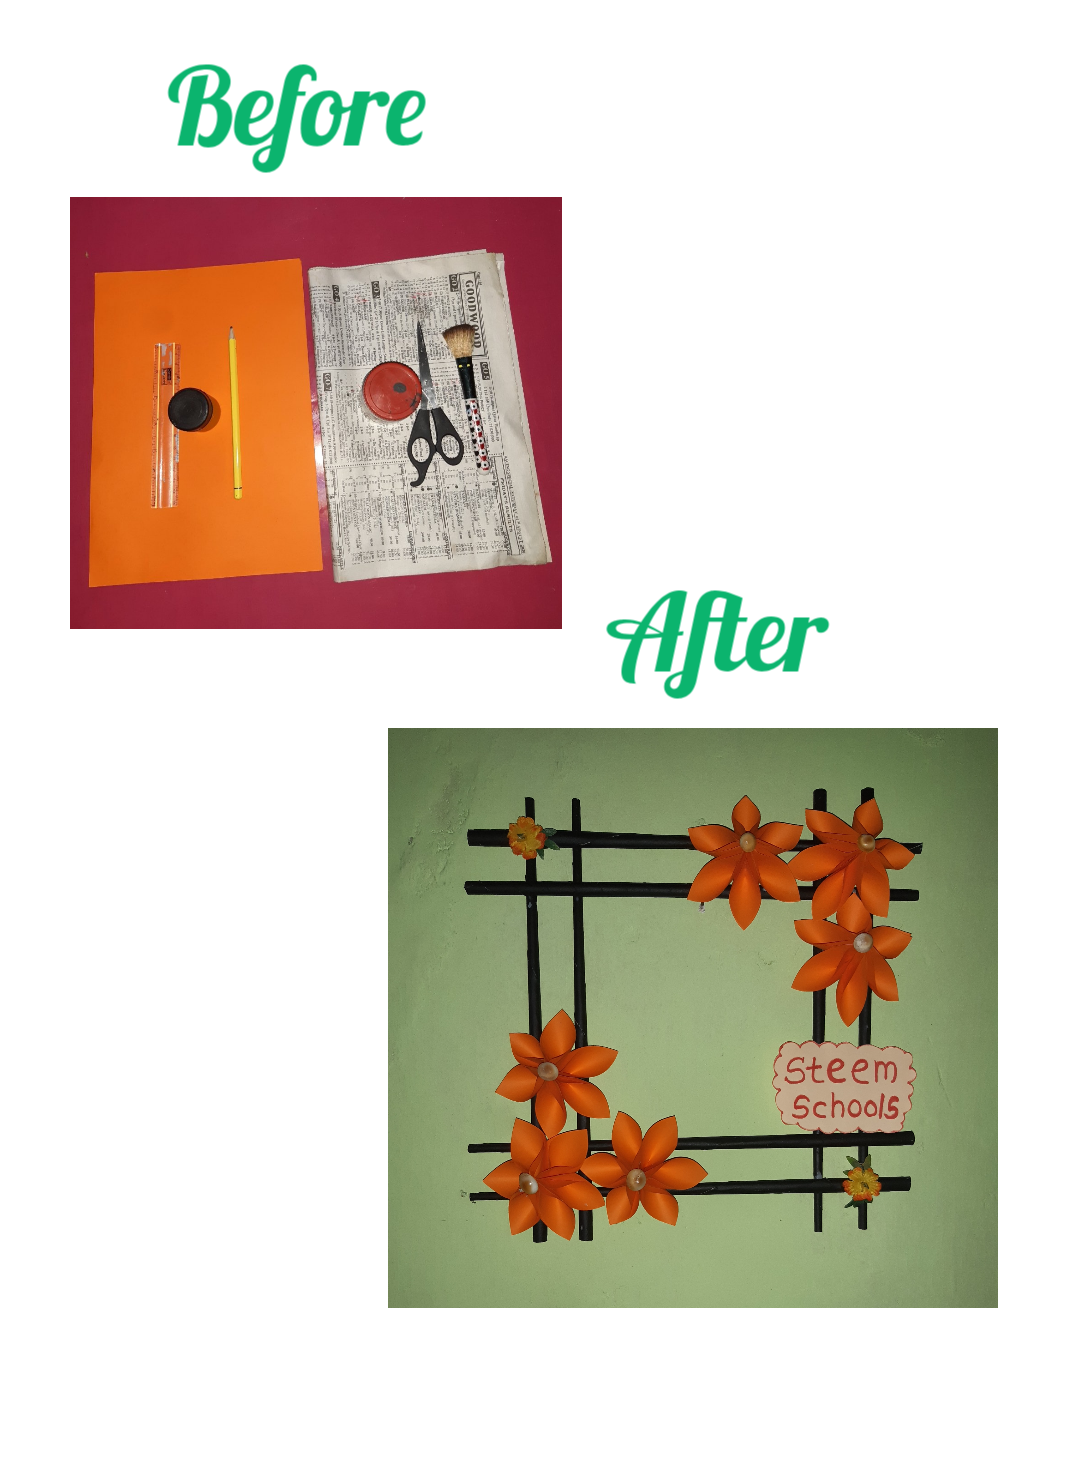
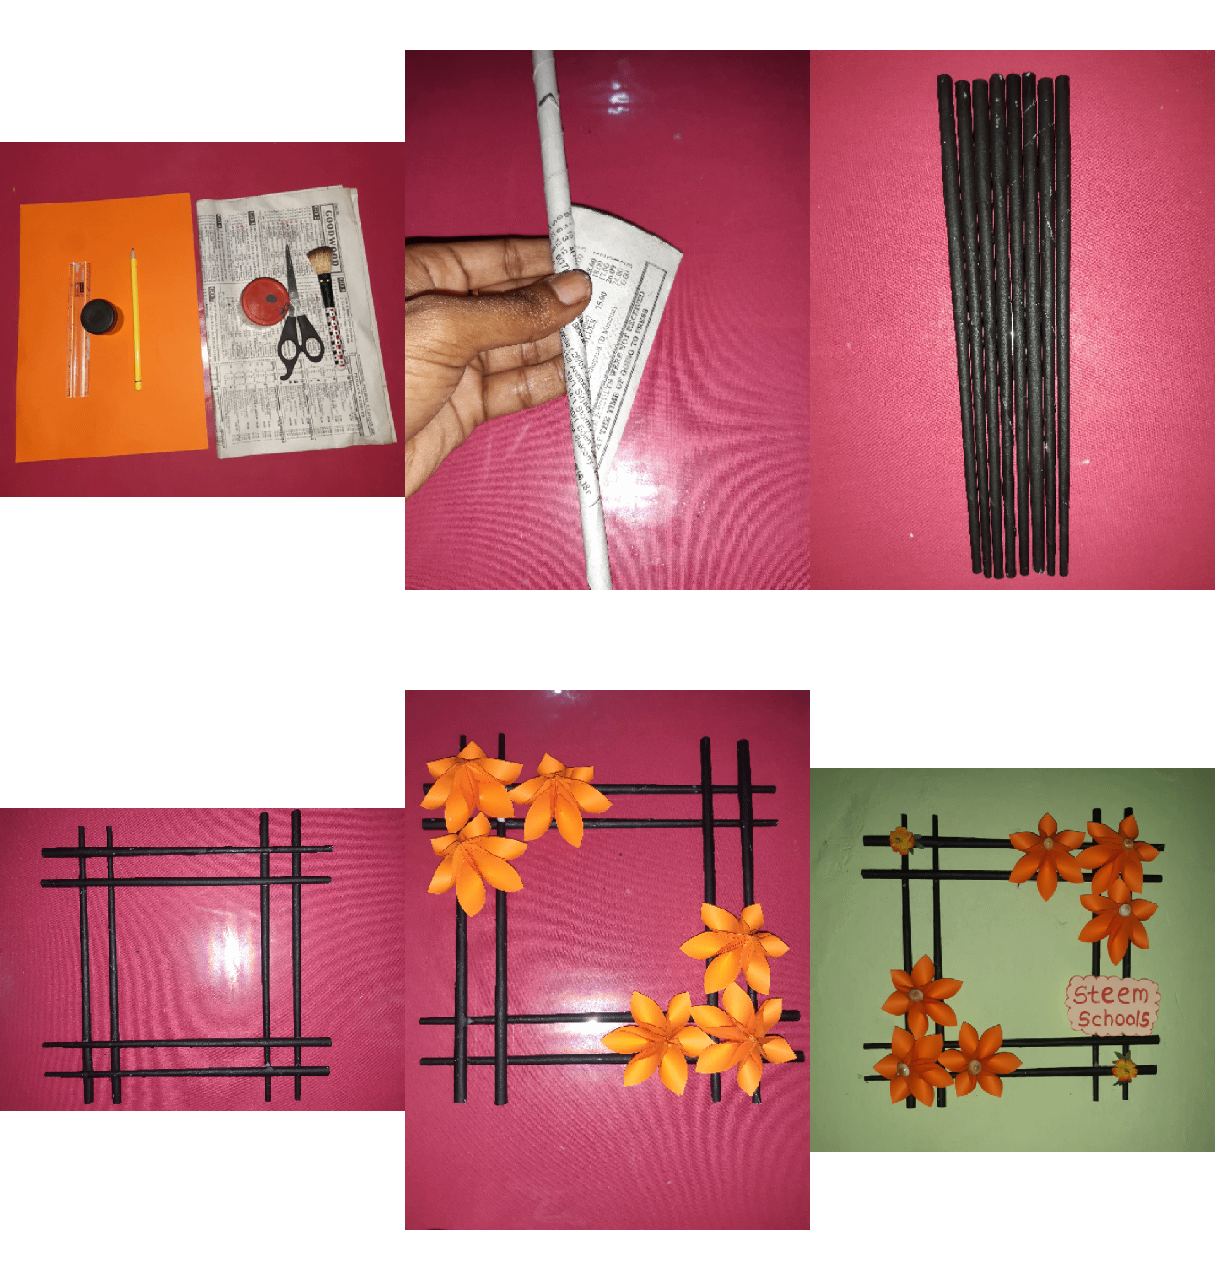
Now let's see what are the raw materials required for this
Materials:-
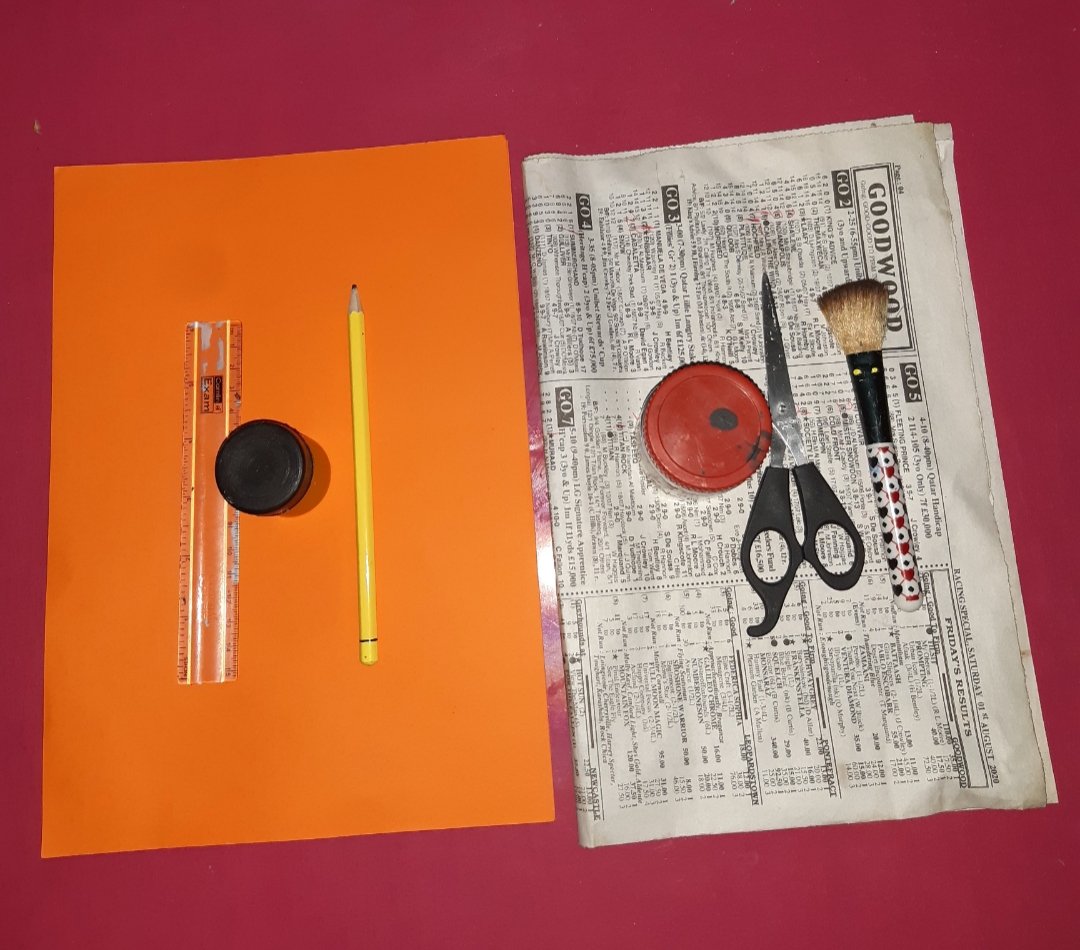
🔹A few newspaper pages
🔹Coloured A4 paper ( Orange )
🔹A scissor
🔹Bottle of gum
🔹A ruler and pencil
🔹A black paint
🔹A small brush
🔹Shells
Step 01 :-
First cut eight pieces of newspaper 30cm long and 20cm wide. Then roll the eight pieces of paper separately.
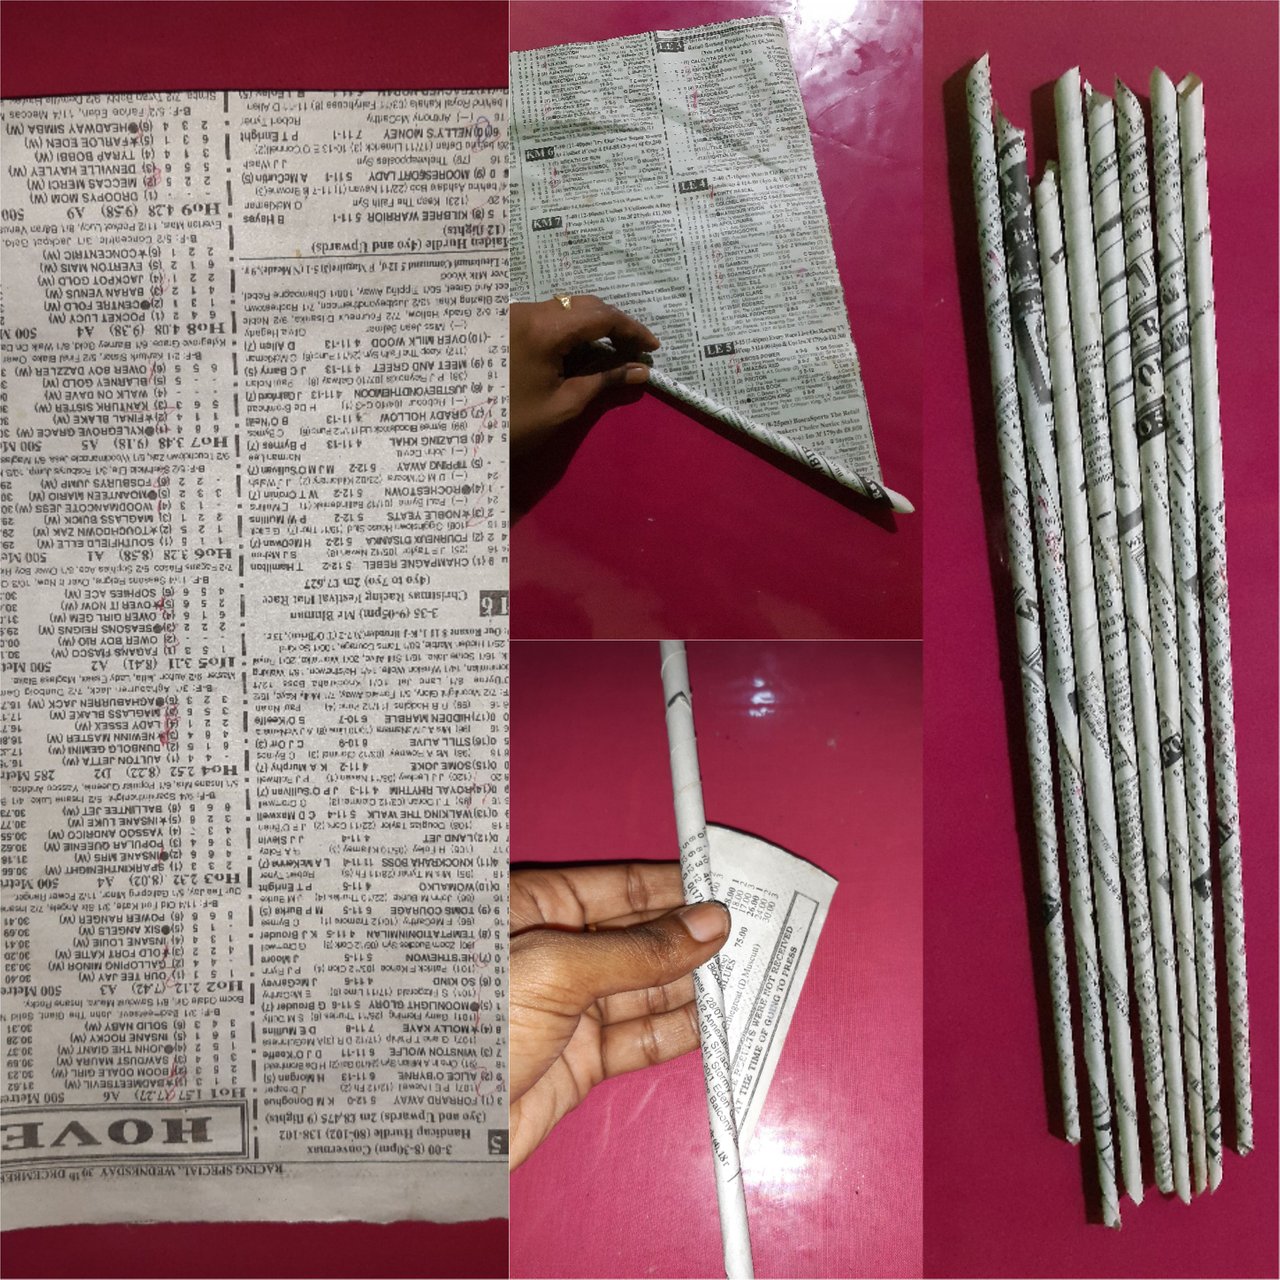
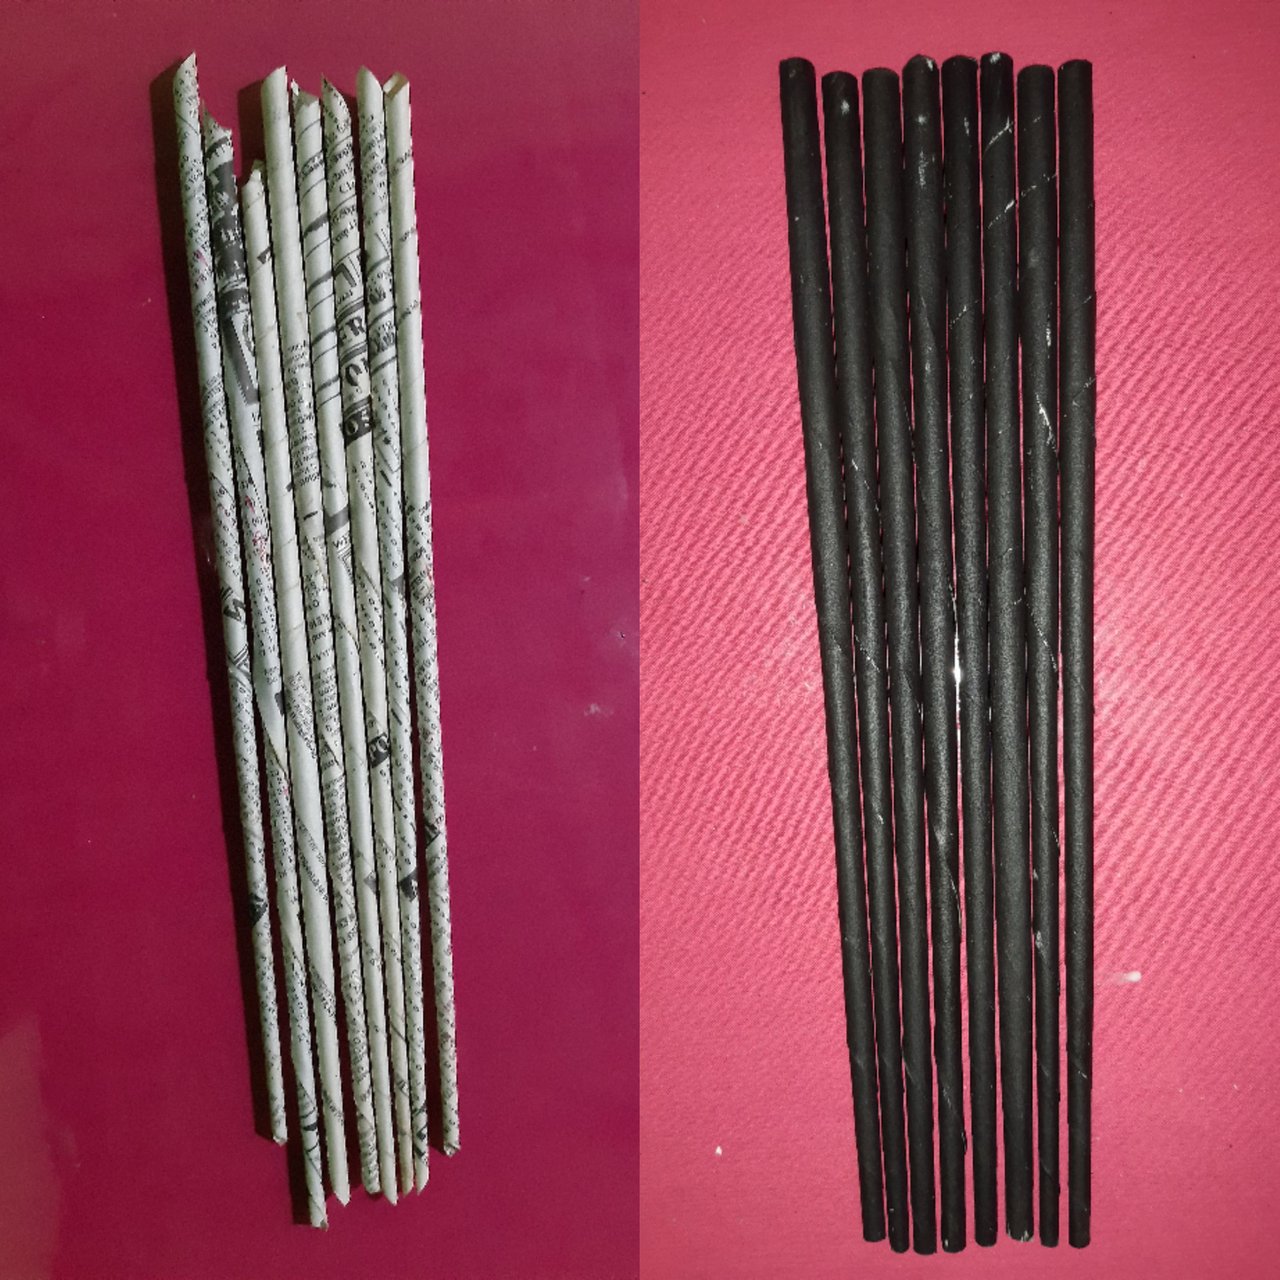
Leave these rolled paper pieces to dry after applying eight coats of black paint.
Step 02 :-
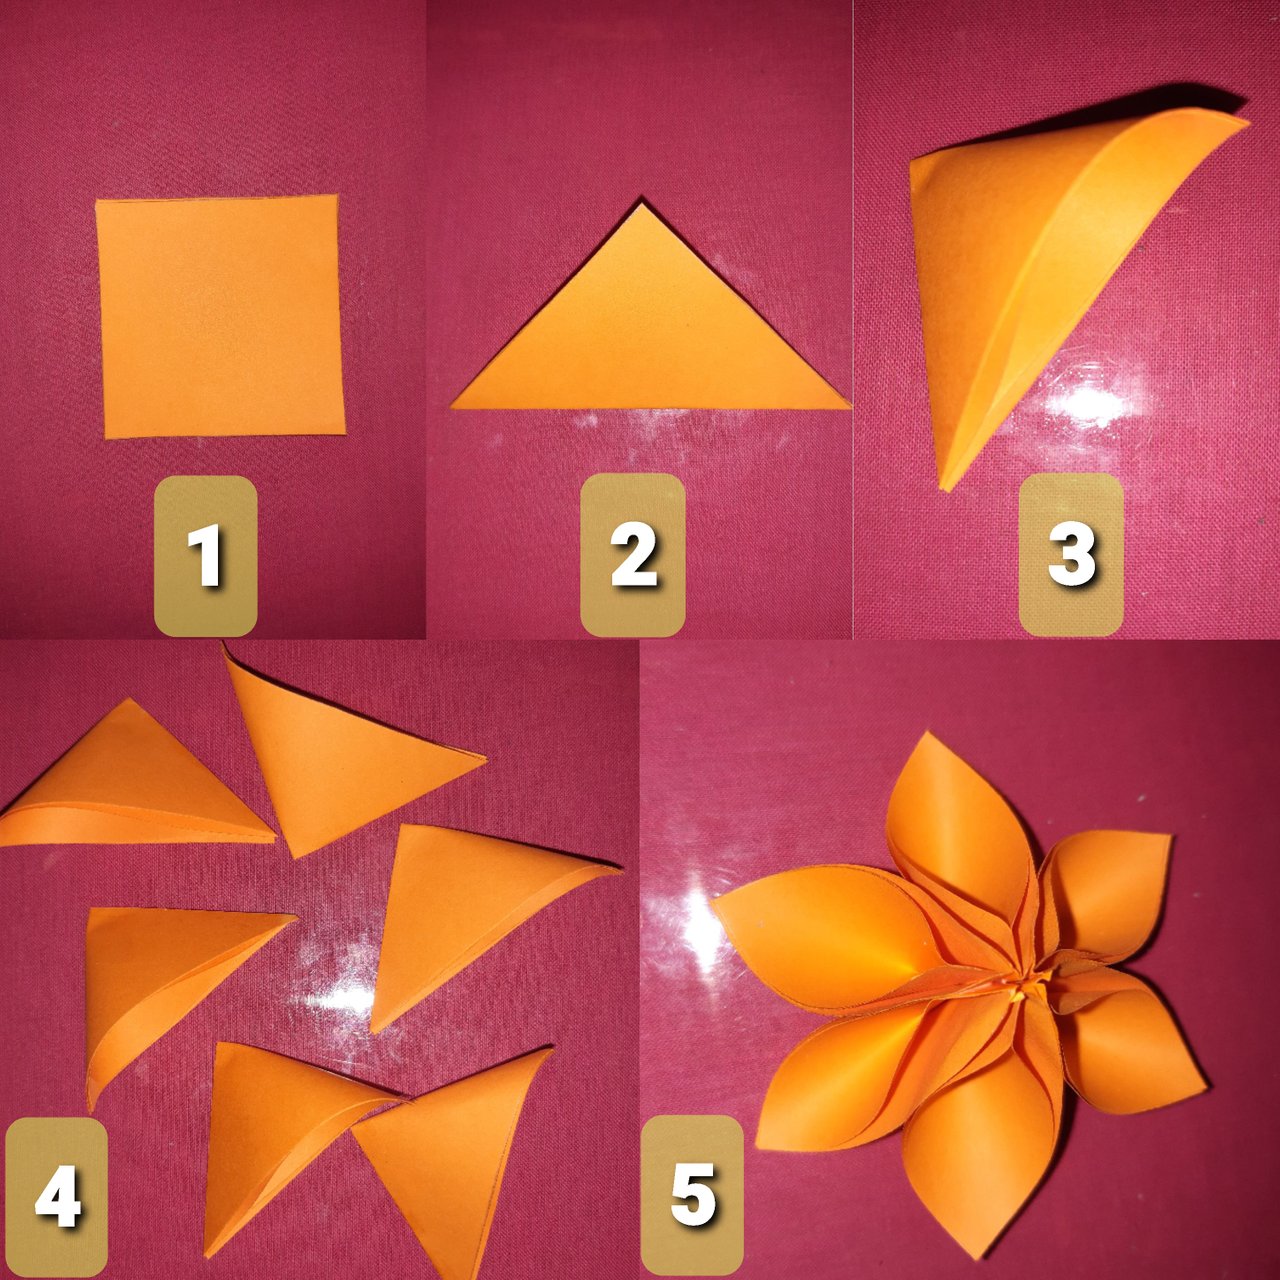
Make a few coloured flowers until the rolled paper pieces are dry. To do this, cut an orange A4 paper 6 cm long and 6 cm wide. You will need six colored paper flowers to make this wall hanging. One flower requires six pieces of paper 6 cm * 6 cm long. Therefore, all the required pieces of paper should be cut first.
After cutting 36 pieces of orange paper 6 cm * 6 cm long, the pieces should be folded separately and made into six flowers. The image below shows how the flowers are made.
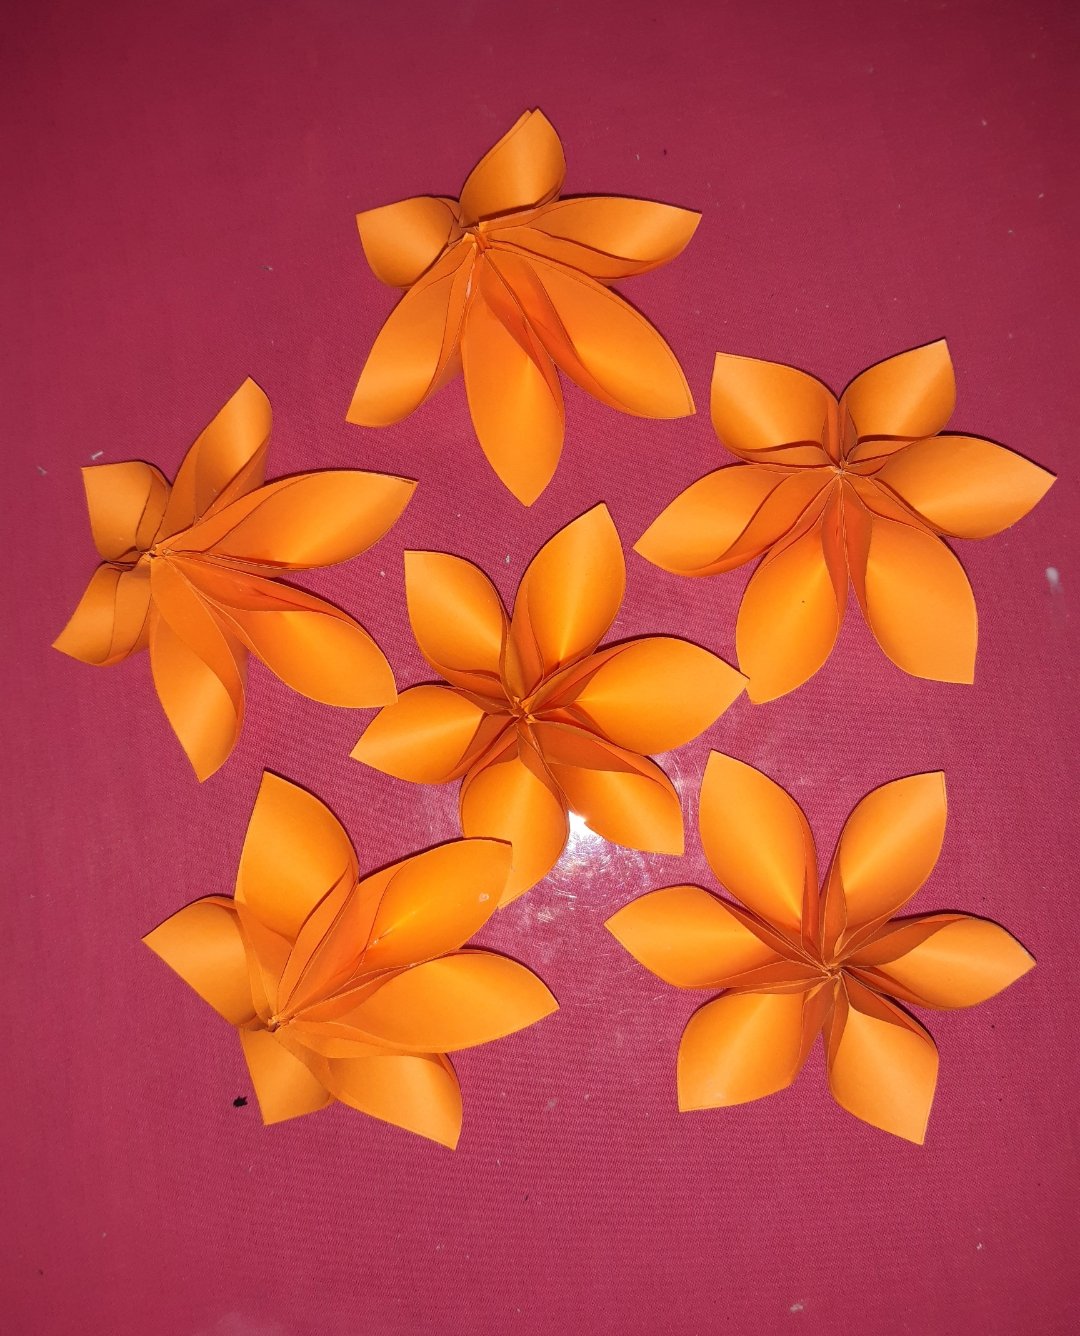
Here are six of flowers made.
Step 03 :-
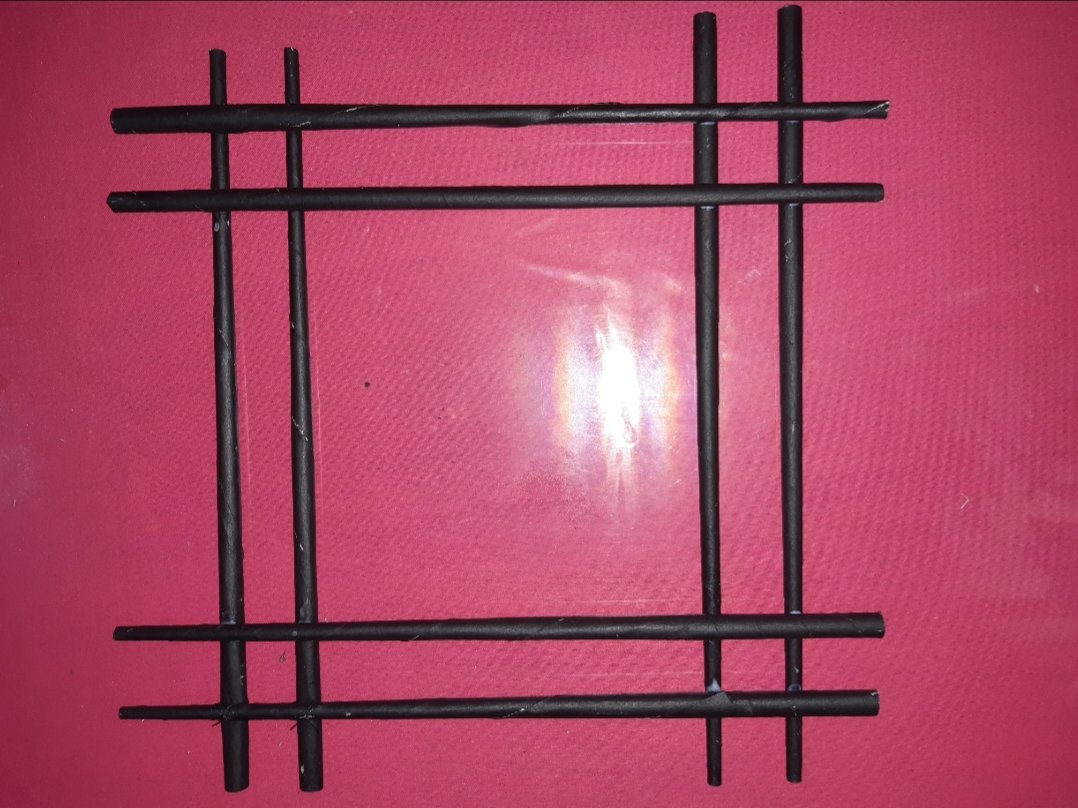
The third step is to glue the eight dried paper rolls into frame. Paste it as shown in this image.
Step 04 :-
The last step is to glue the six colored paper flowers that we have made to the two opposite corners with three flowers of the frame made above.
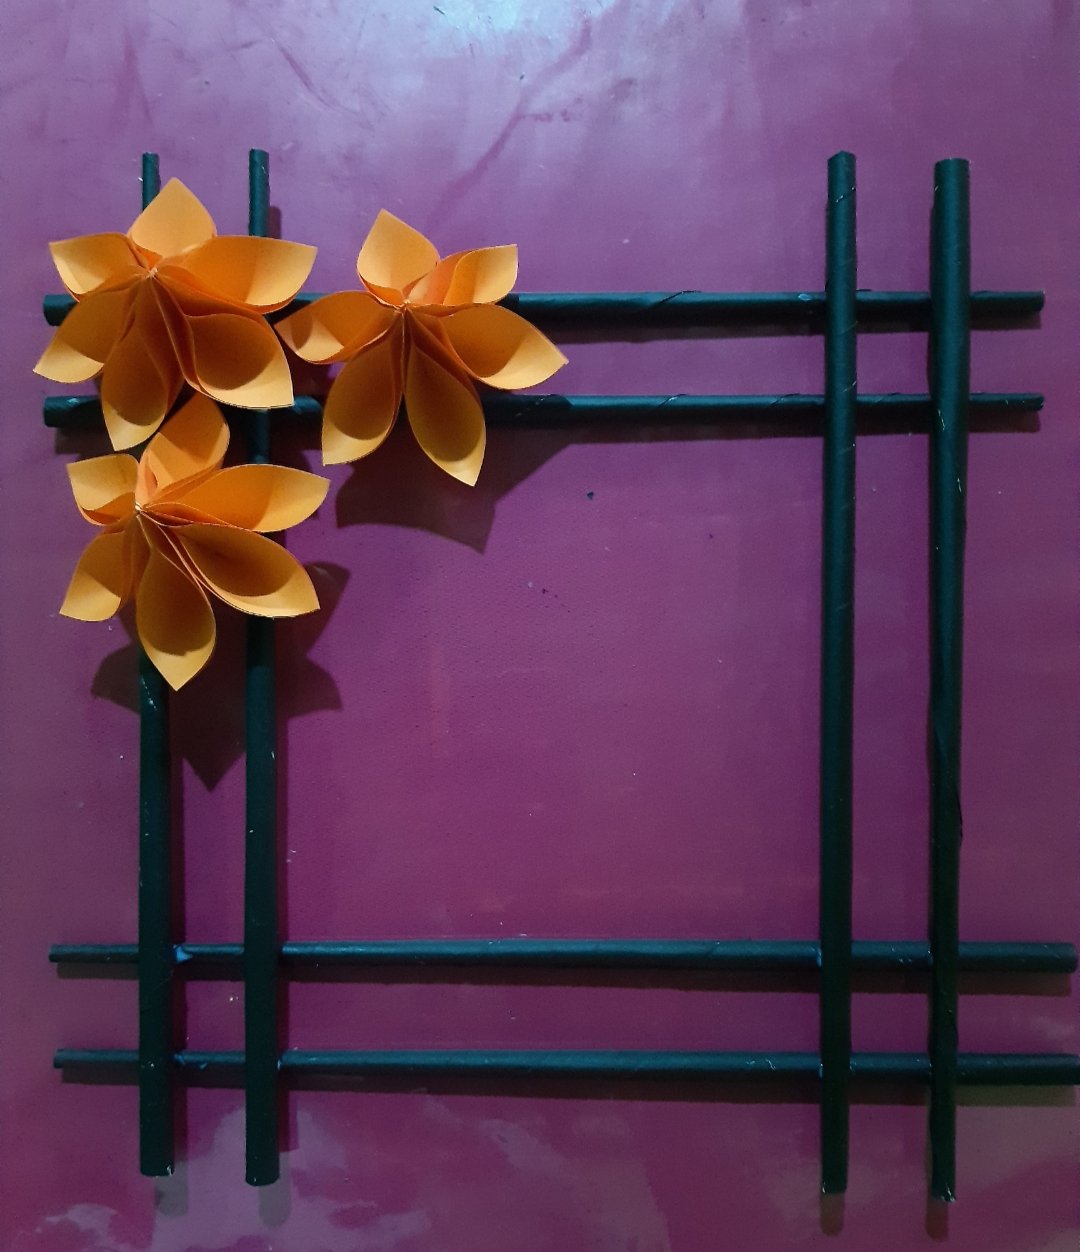
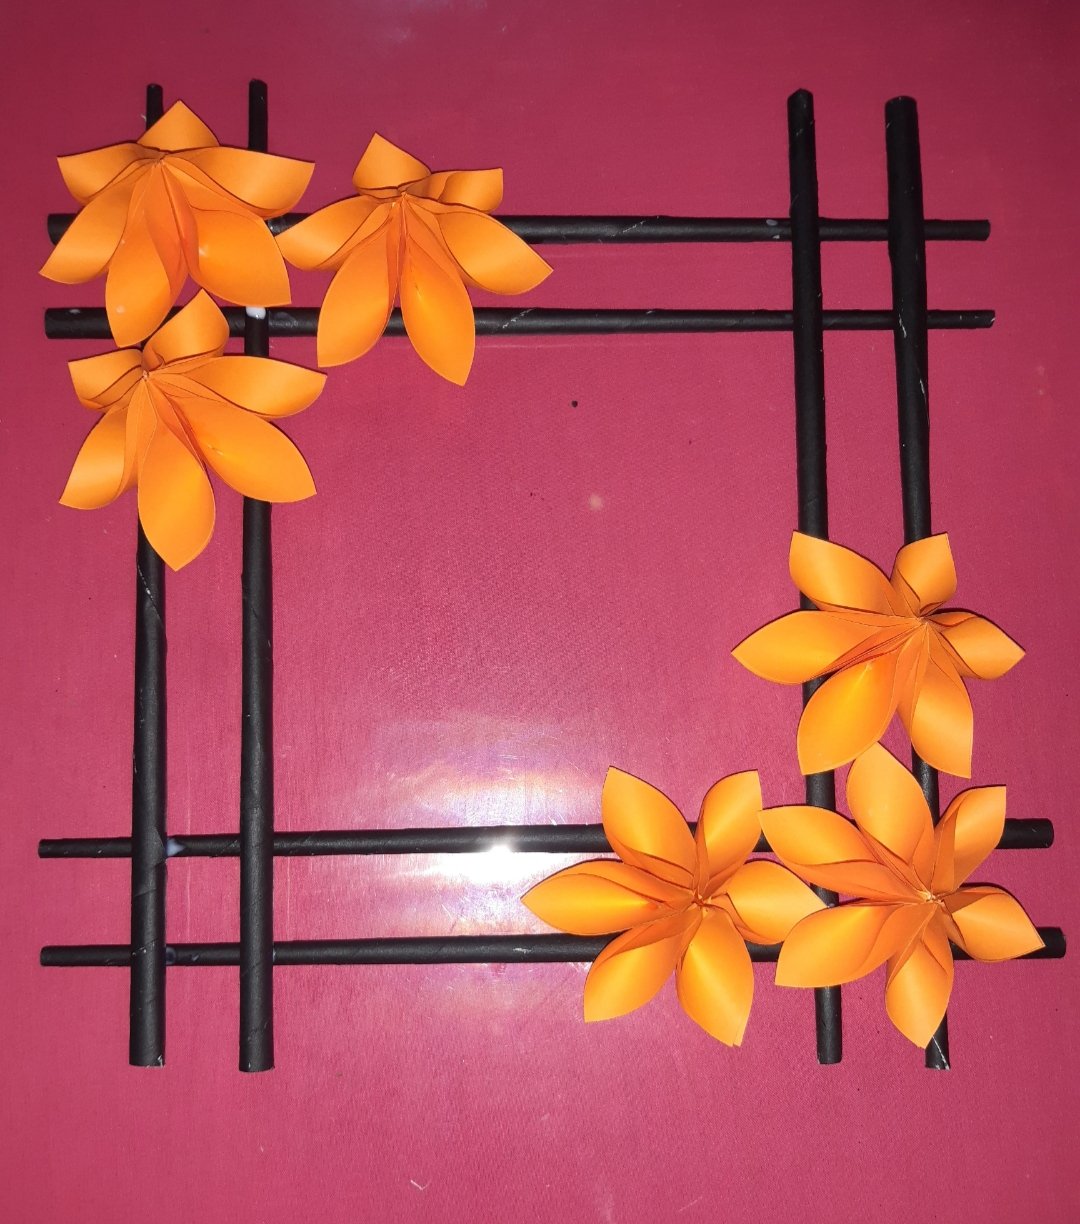
And you can add anything you like to make this beautiful.
Final look
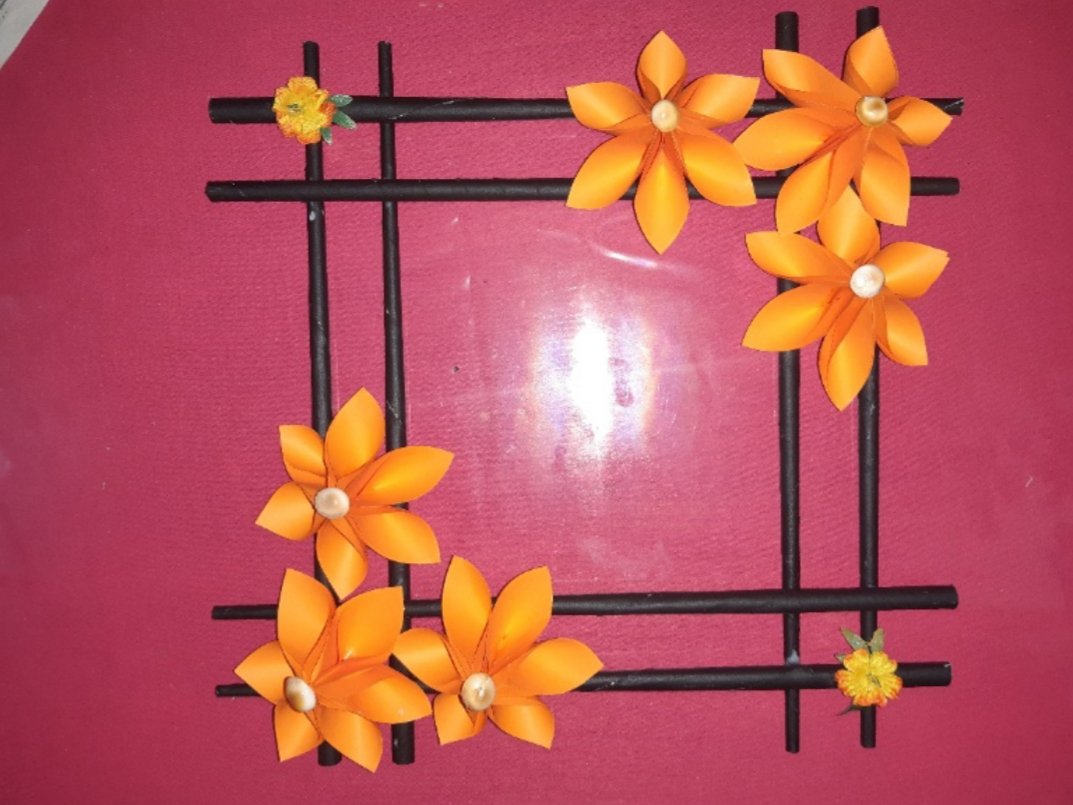

Thanks for reading 😊
Stay Safe ❤
