Today I am going to present you my renovation of the old table and chairs.
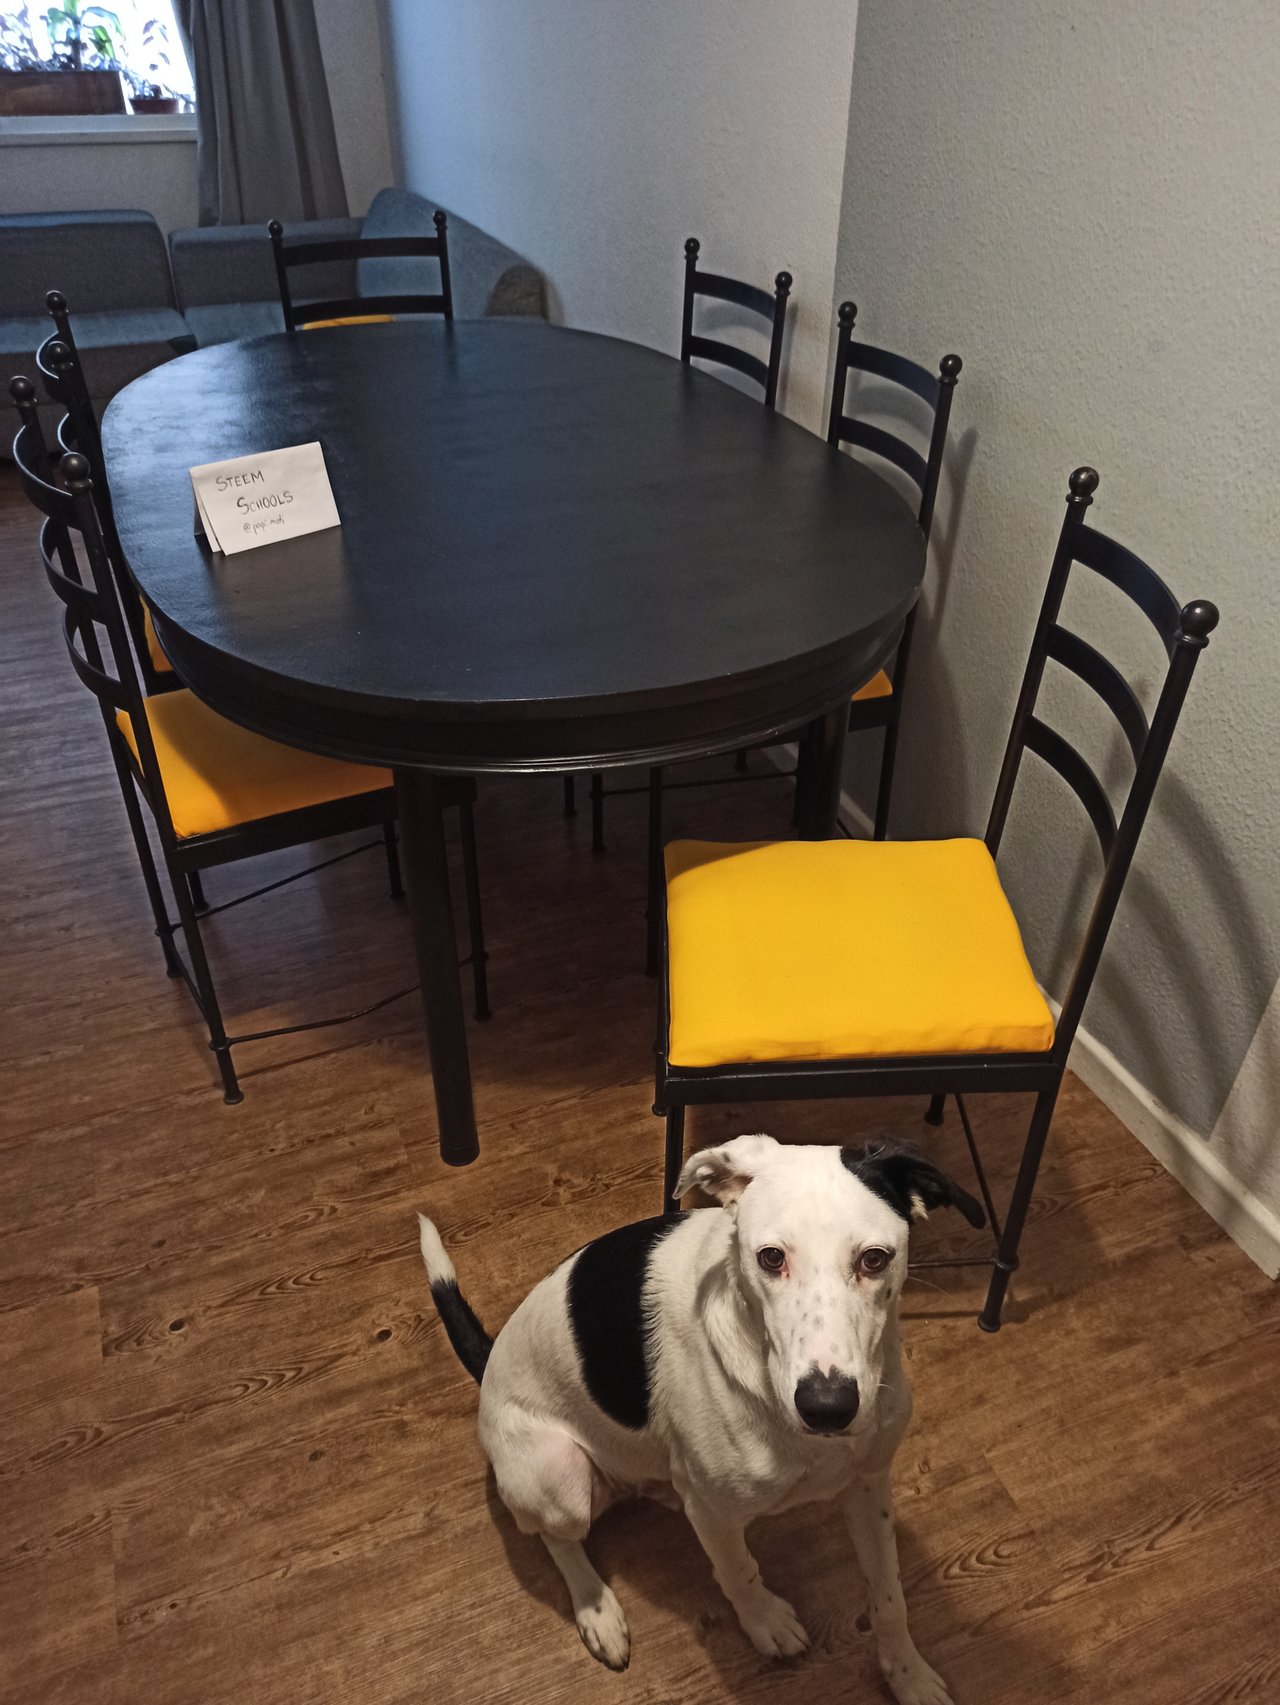
table and the chairs - final effect
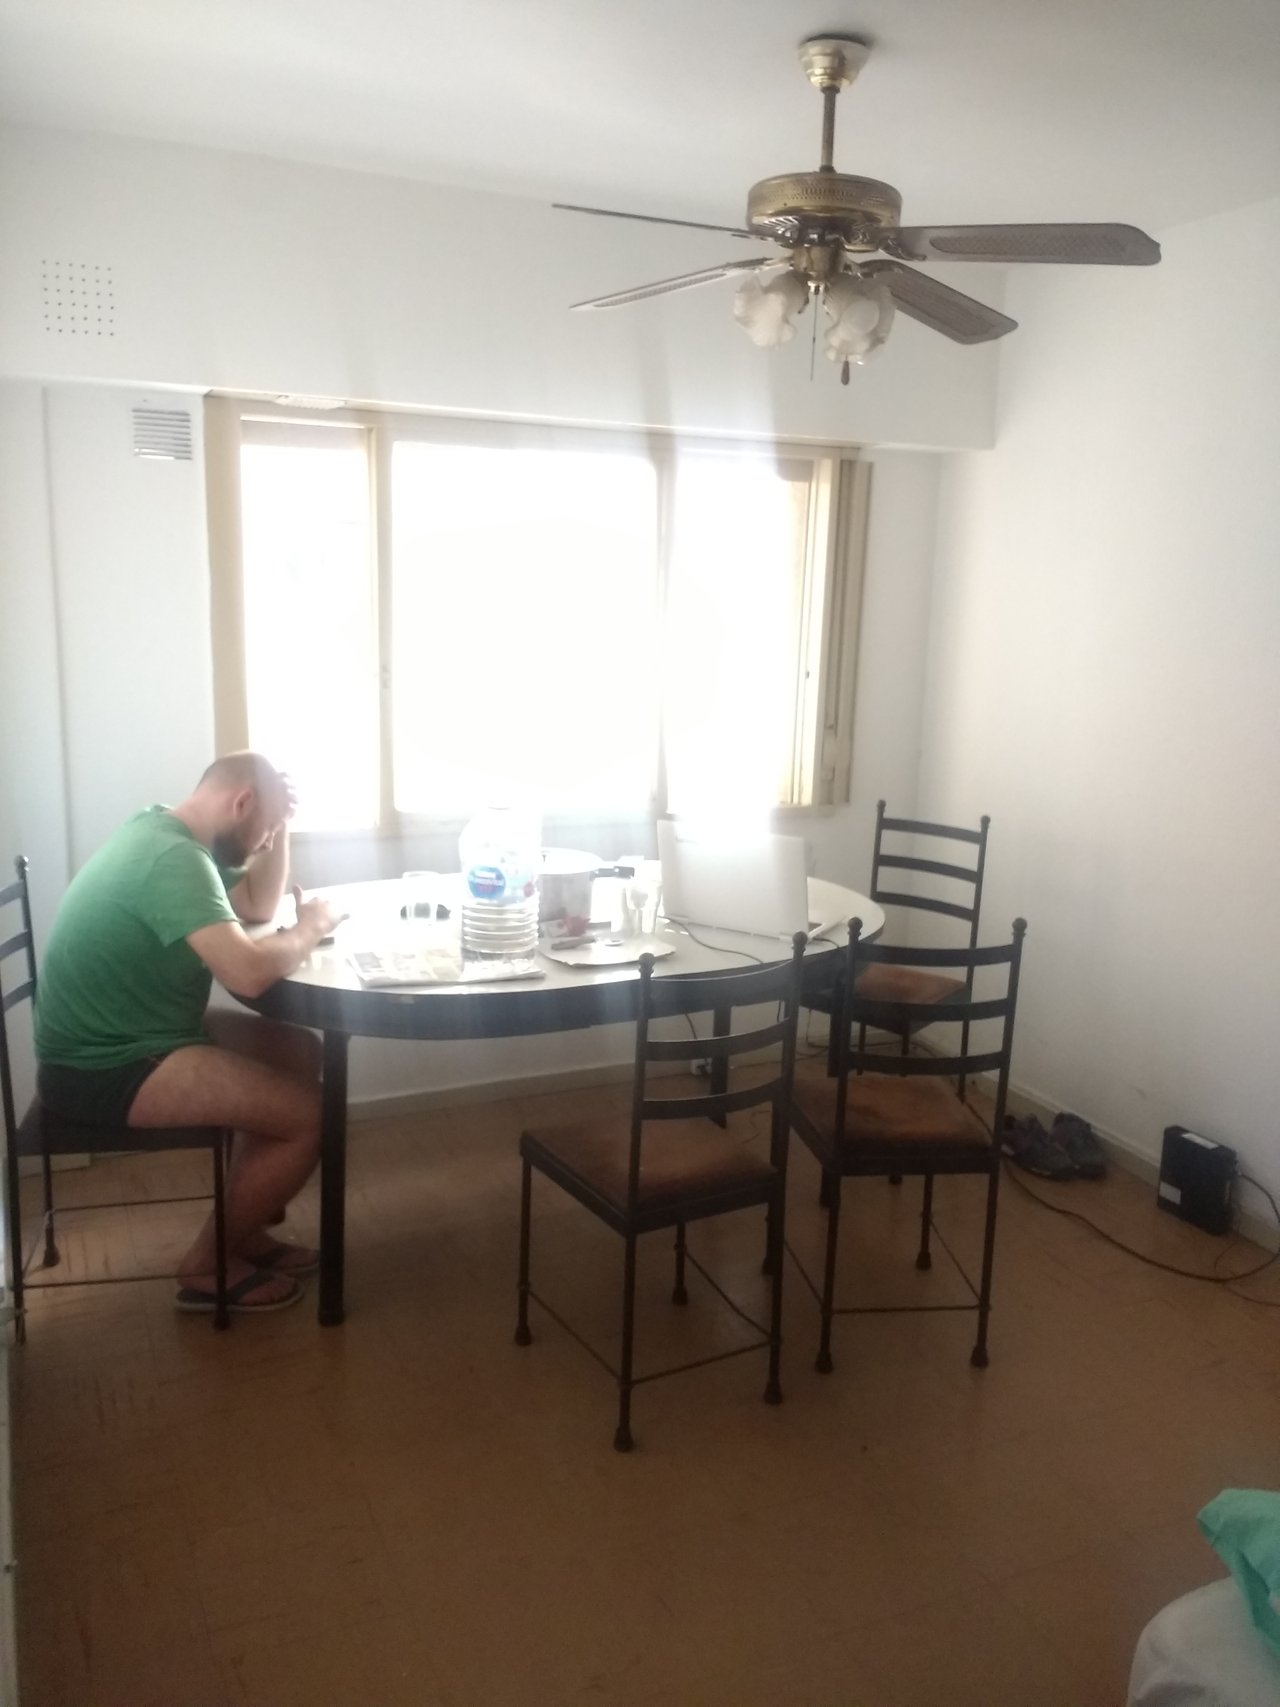
table and the chairs before
Table and the chairs were going to be thrown away by the previous owner of the apartment but when we moved in, I asked her to leave it and decided to renovate it a bit.
Chairs were with the black metal part but because it was old, some places were without the paint any more. Chair cushions were in disgusting, brown colour (I'm not sure if it was original colour or just the dirt). It was with the big holes. Sponges inside were basically smashed so much that sitting on them was like sitting on the desk. It was molded too.
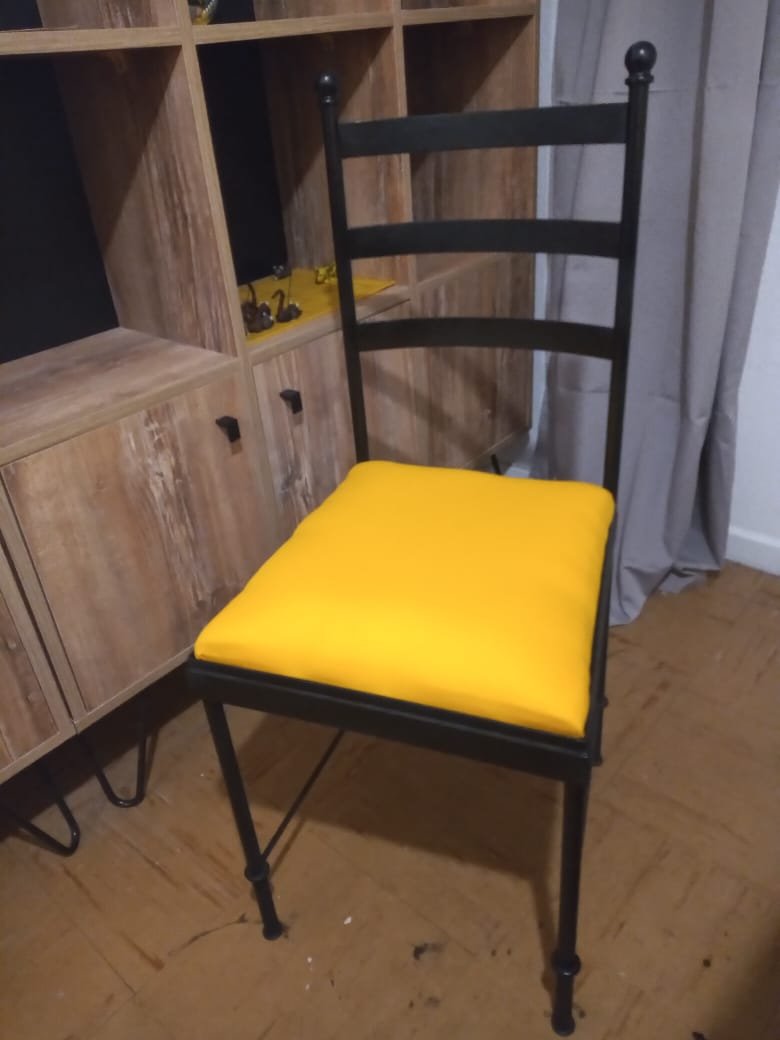
this is how chair looks after the renovation
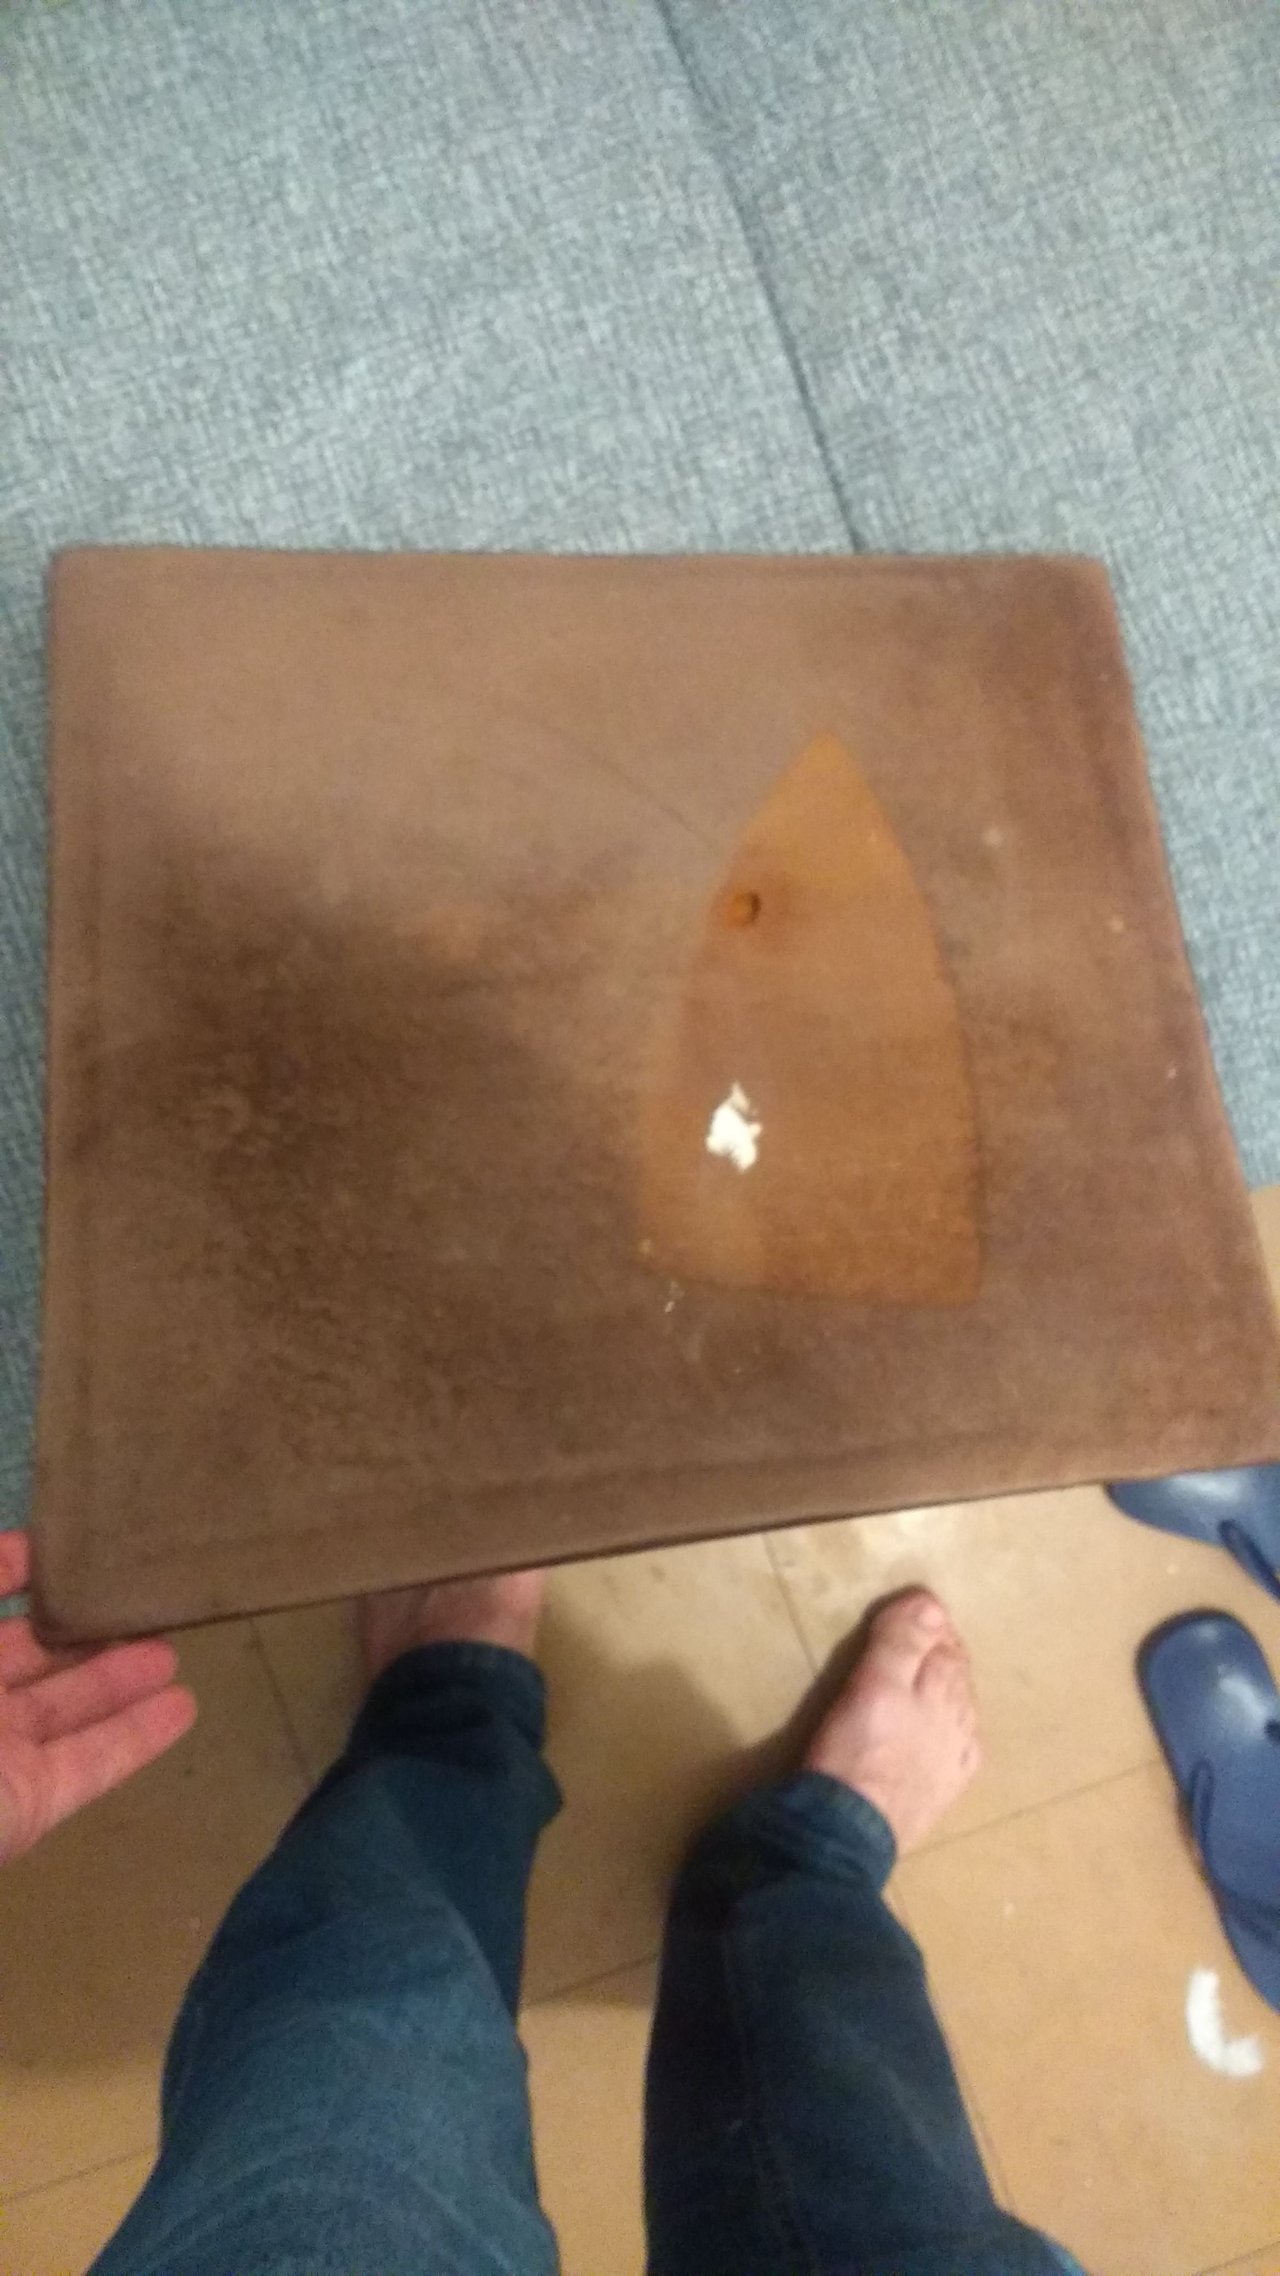
and this is one of the chair cushions before I've changed it. This one had additional iron burn
The table had black legs and black side part of the table top. In some places the paint was removed though so you could see the wood of the table top and metal of the legs.
Top was with some white lacquer but with several scratches and holes. There were also two spots with burned circles, probably caused by putting the hot pot directly on the table.
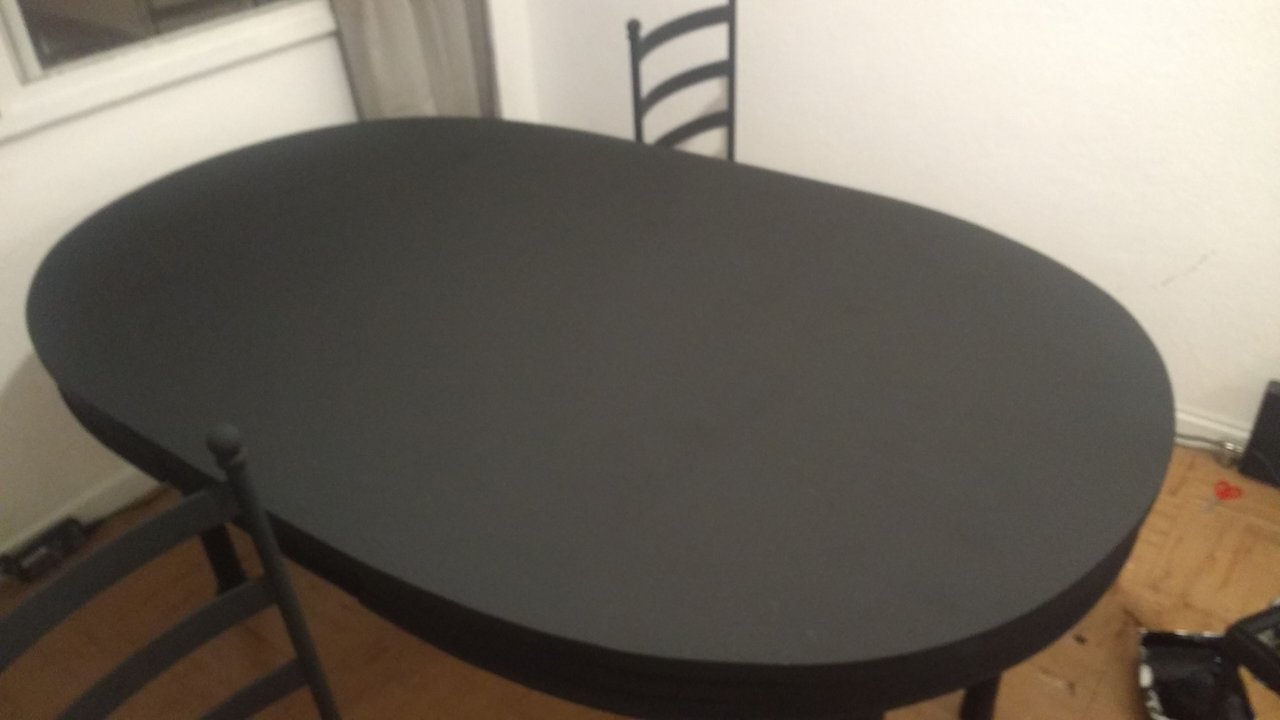
Table after painting it
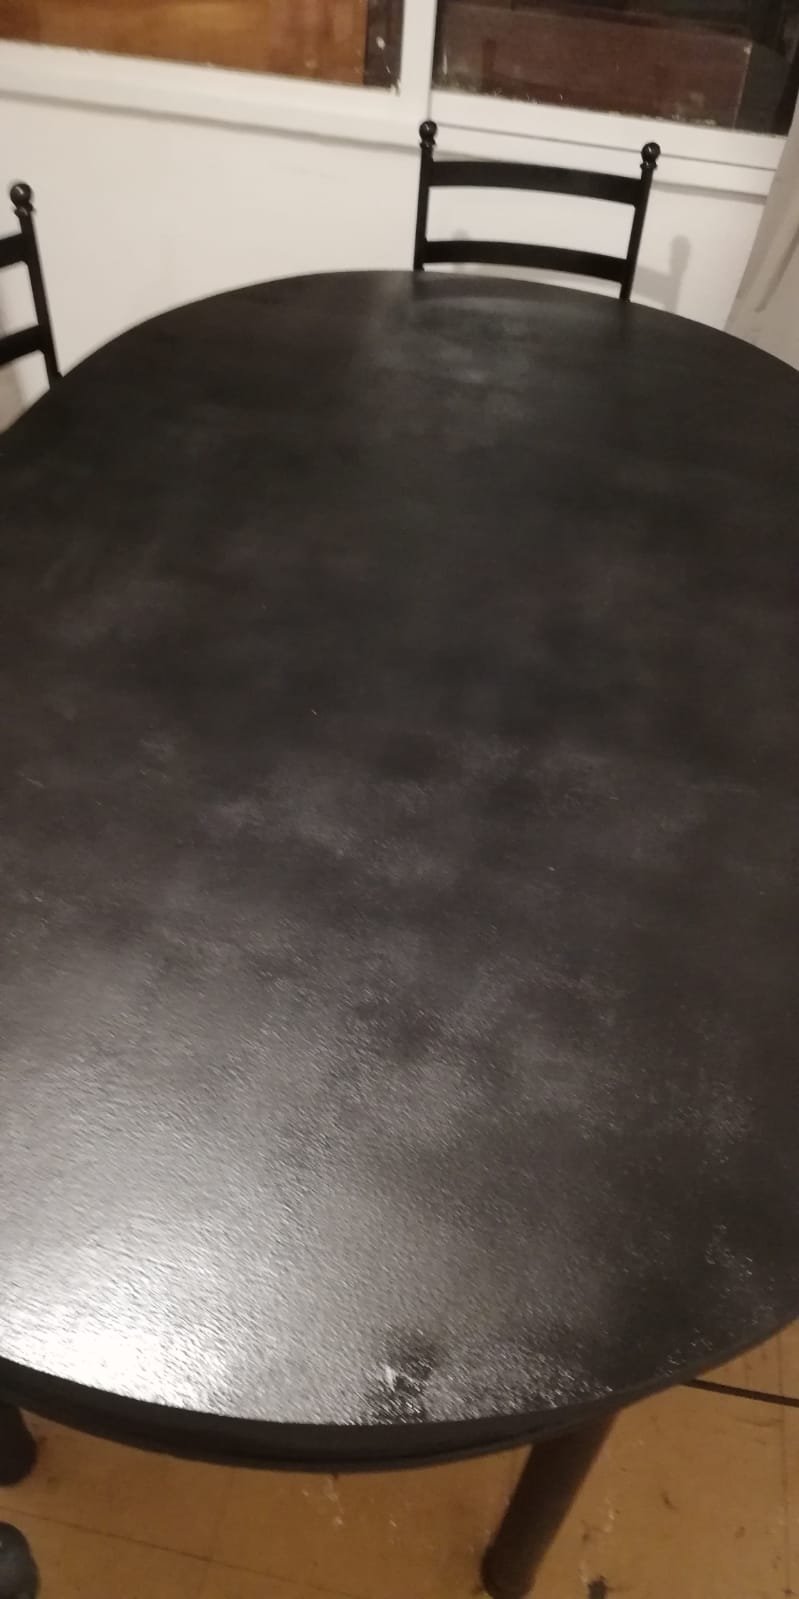
on this photo you can see that it's now more stone like
.jpeg)
table before painting with some damages
I painted the chairs and table with the black paint for metal. To paint te top, first I scratched the old lacquer, then painted it with three layers of the paint and in the end I used special lacquer to make sure that paint will last for longer. The final effect made the table look like it's made of stone - it has characteristic roughness caused by the paint I used.
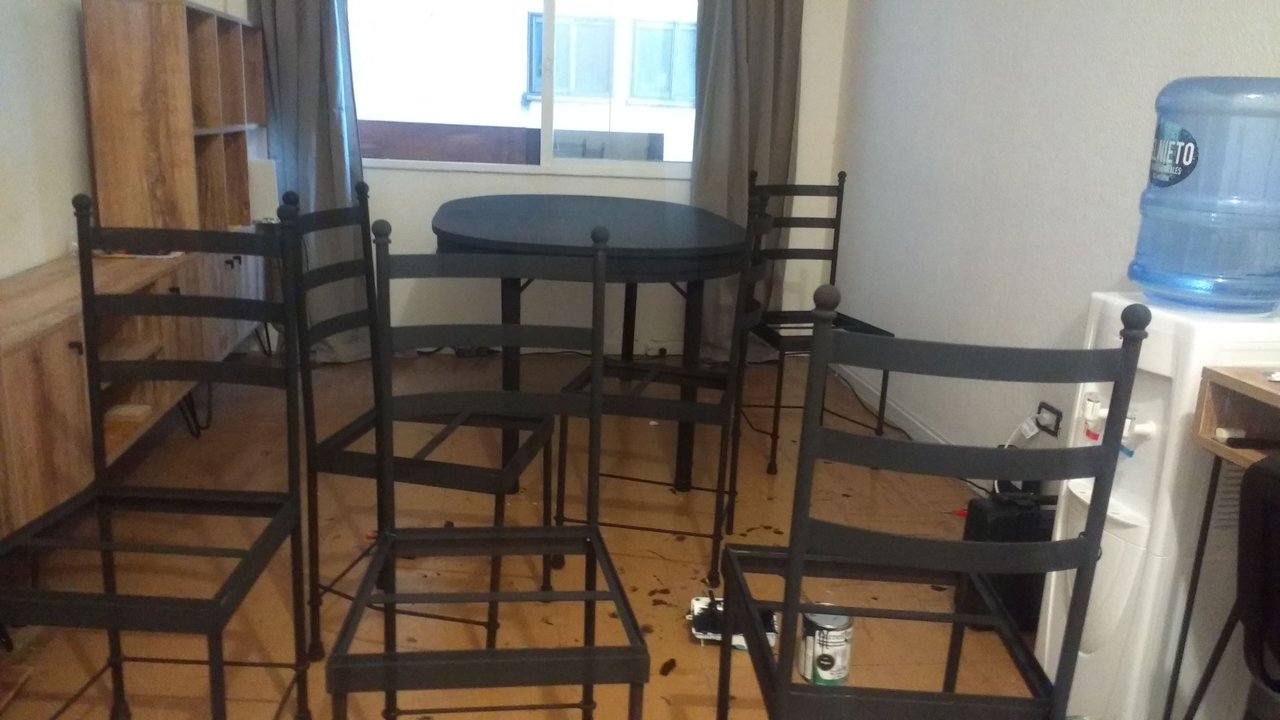
painting the chairs and the table in black
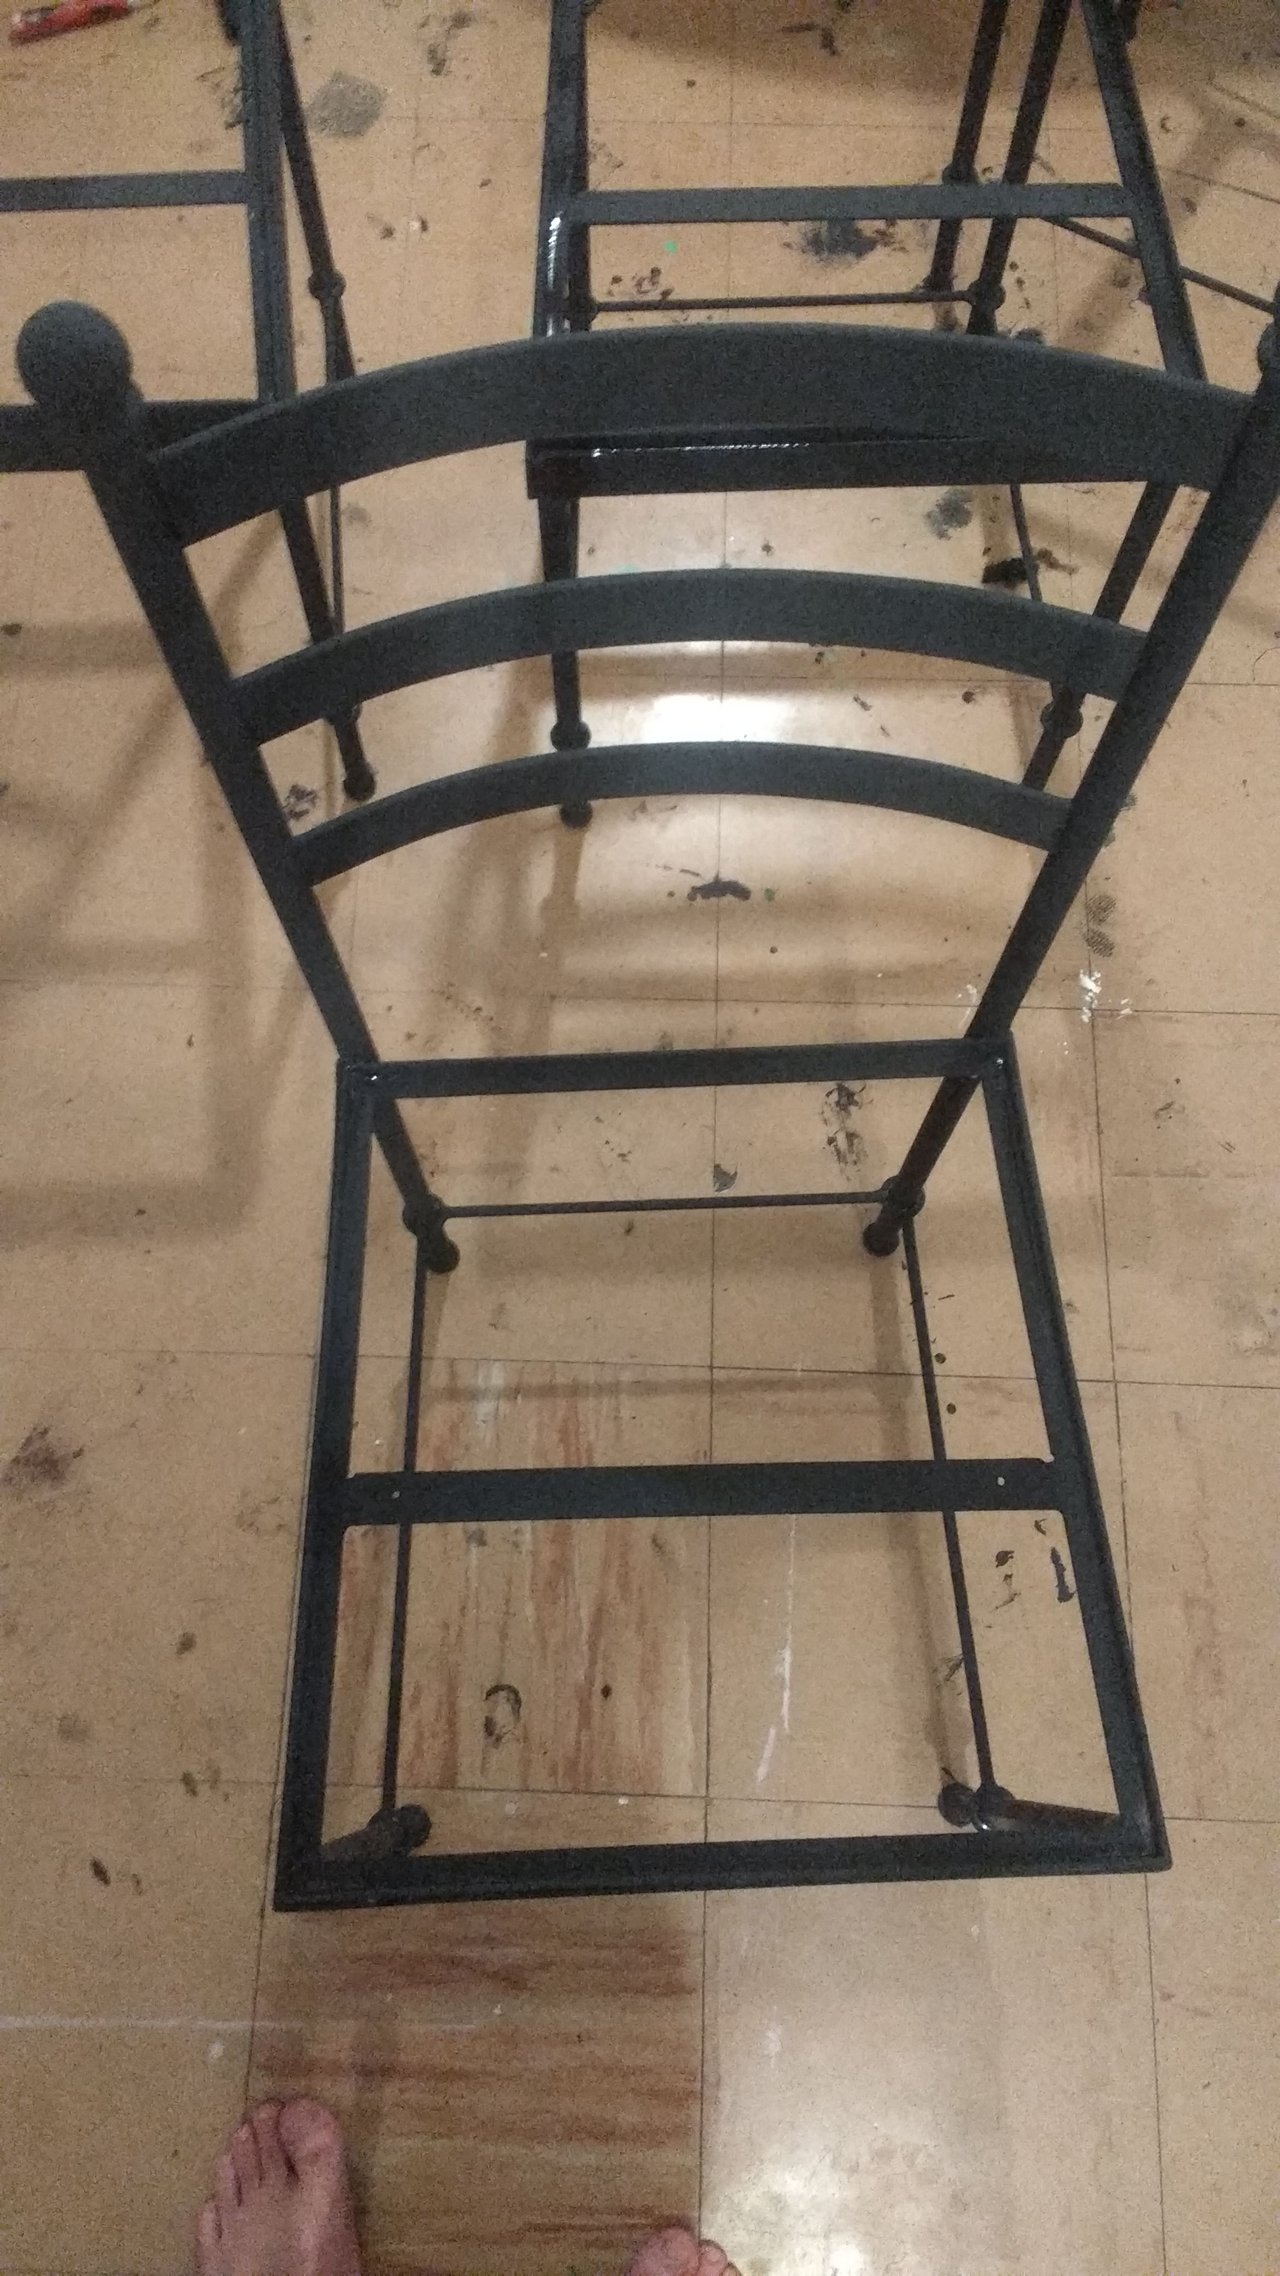
I didn't care about the floor as I knew I will be changing it right after
I removed old sponge and cushions from the chairs. I bought new sponge, cut it and glued to the desks. Then I sized and cut the fabric which I bought and attached it to the desk with the tucker.
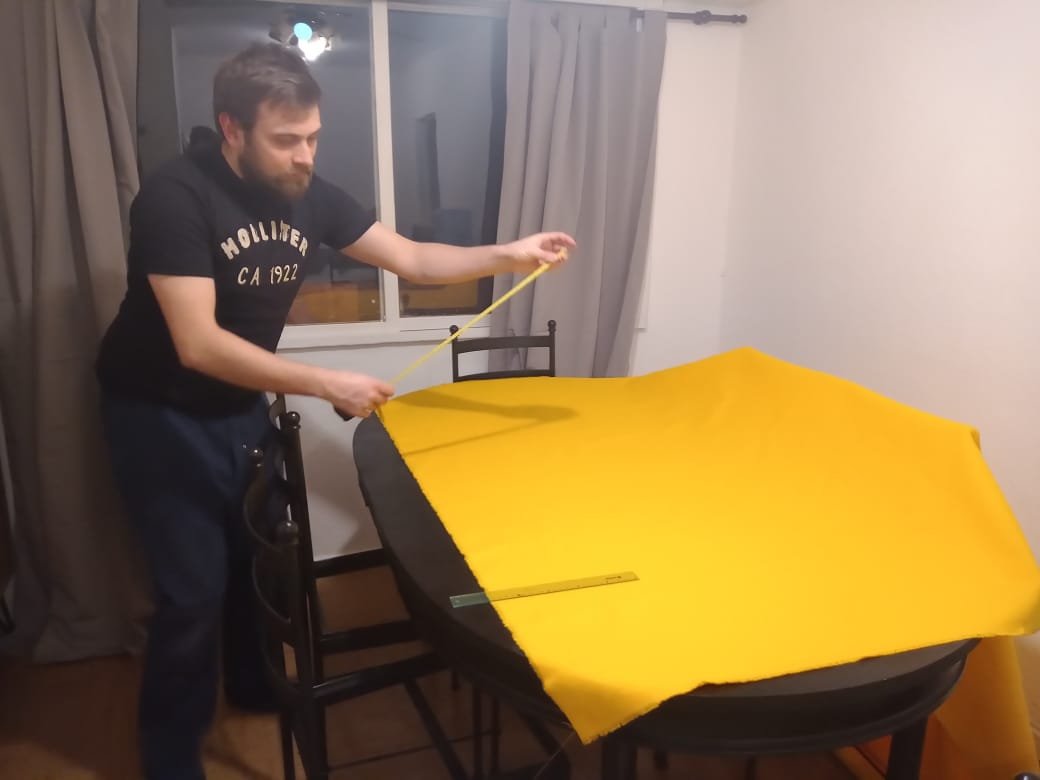
measuring the fabric
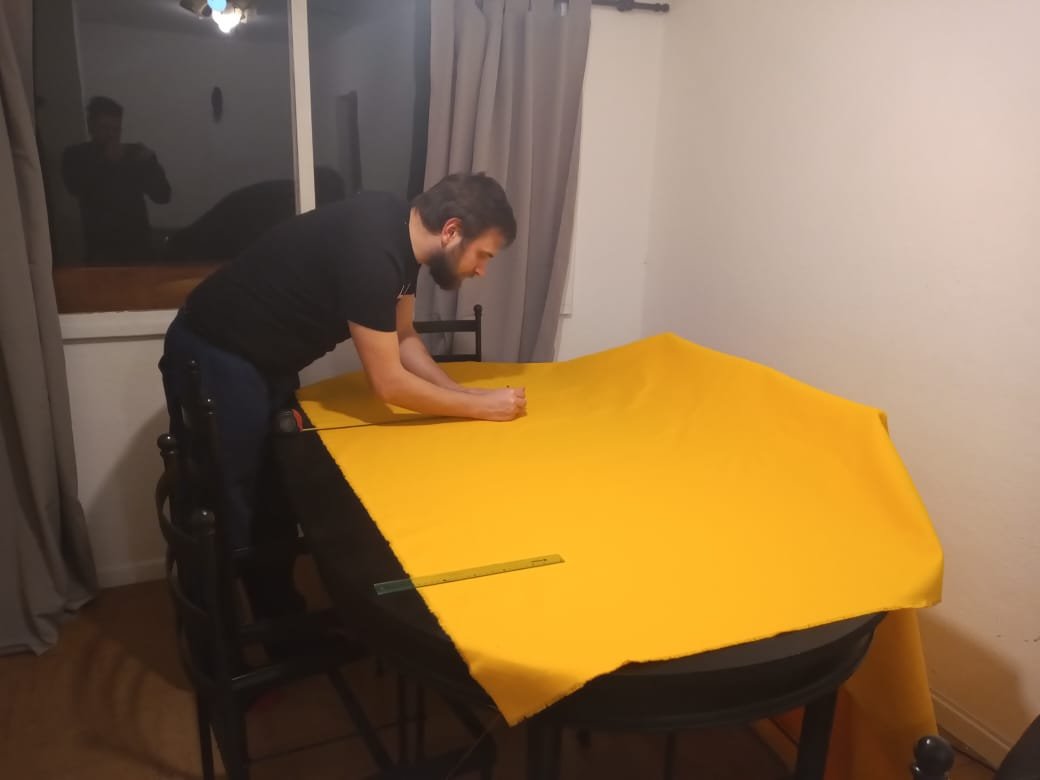
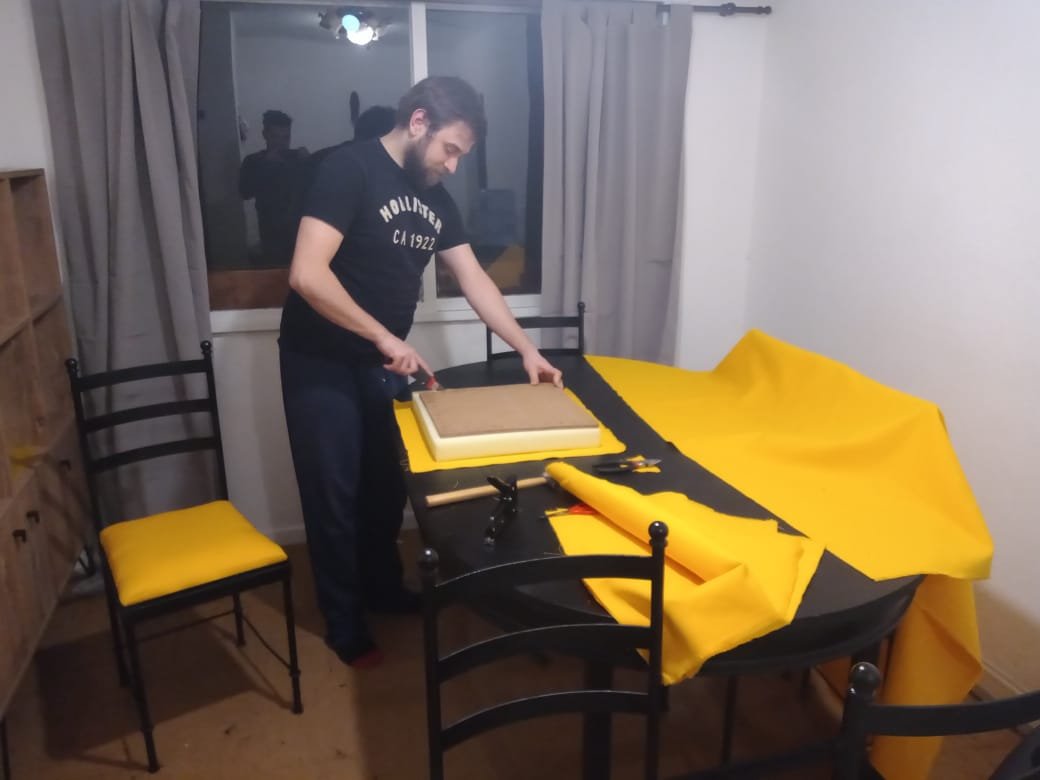
using the tucker to connect the fabric to the desk with glued new sponge
Finally, I glued small sponges to the legs of the chair to avoid damaging the floor when using it.
All the transformation took me three days (mostly because I had to wait for the paint to dry between putting another layers). The total cost was lower than the cost of buying one new chair in the shop.
All the photos included in the post belongs to me.
If you have any questions about this project, please ask using the comments. I will answer as soon as possible.
Thank you @envweng for making this competition. It's a lot of fun.
Thank you @dobartim and @tatjanastan for sponsoring the rewards. You two make the competition possible to happen.
