Tissue Holder From A shoe Box
Review after finished
Hello Steemian
How are you my dear friend in this great community?
Hopefully every one is in a good condition and also always keep fighting for a better life.
First, I want to greet @enveng as the originator of creative ideas for this contest. Warm greetings from me🤗😘. It is an idea that I really like because, the process of reuse, reduce and recycling is supposed to be applied and become a habit in our lives, to save the earth from a pile of garbage.
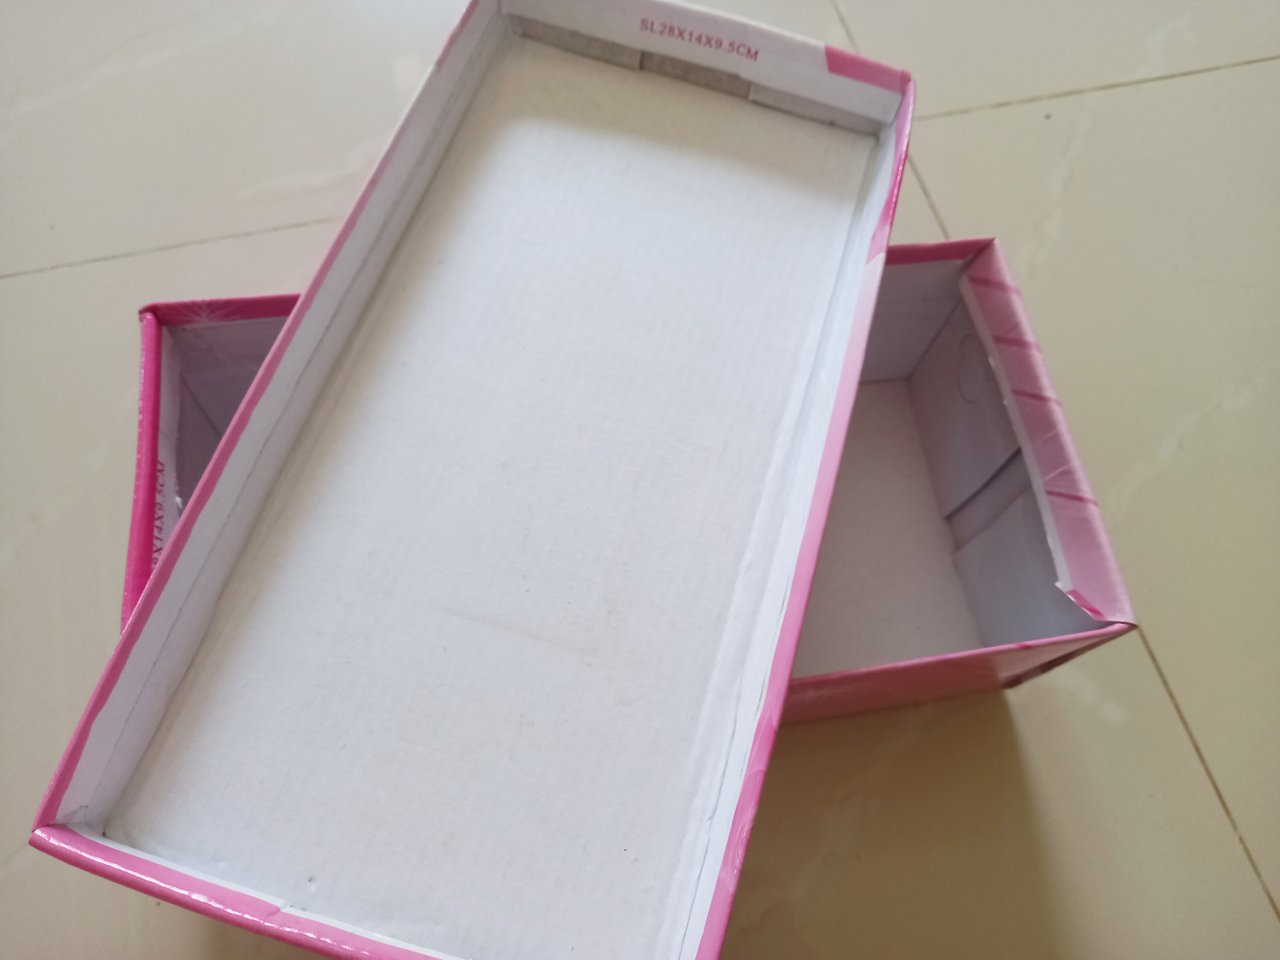
As for the before - After activity, which I will show you on this occasion, is the process of making tissue containers from used shoe boxes that are no longer used.
Materials
• used shoe boxes
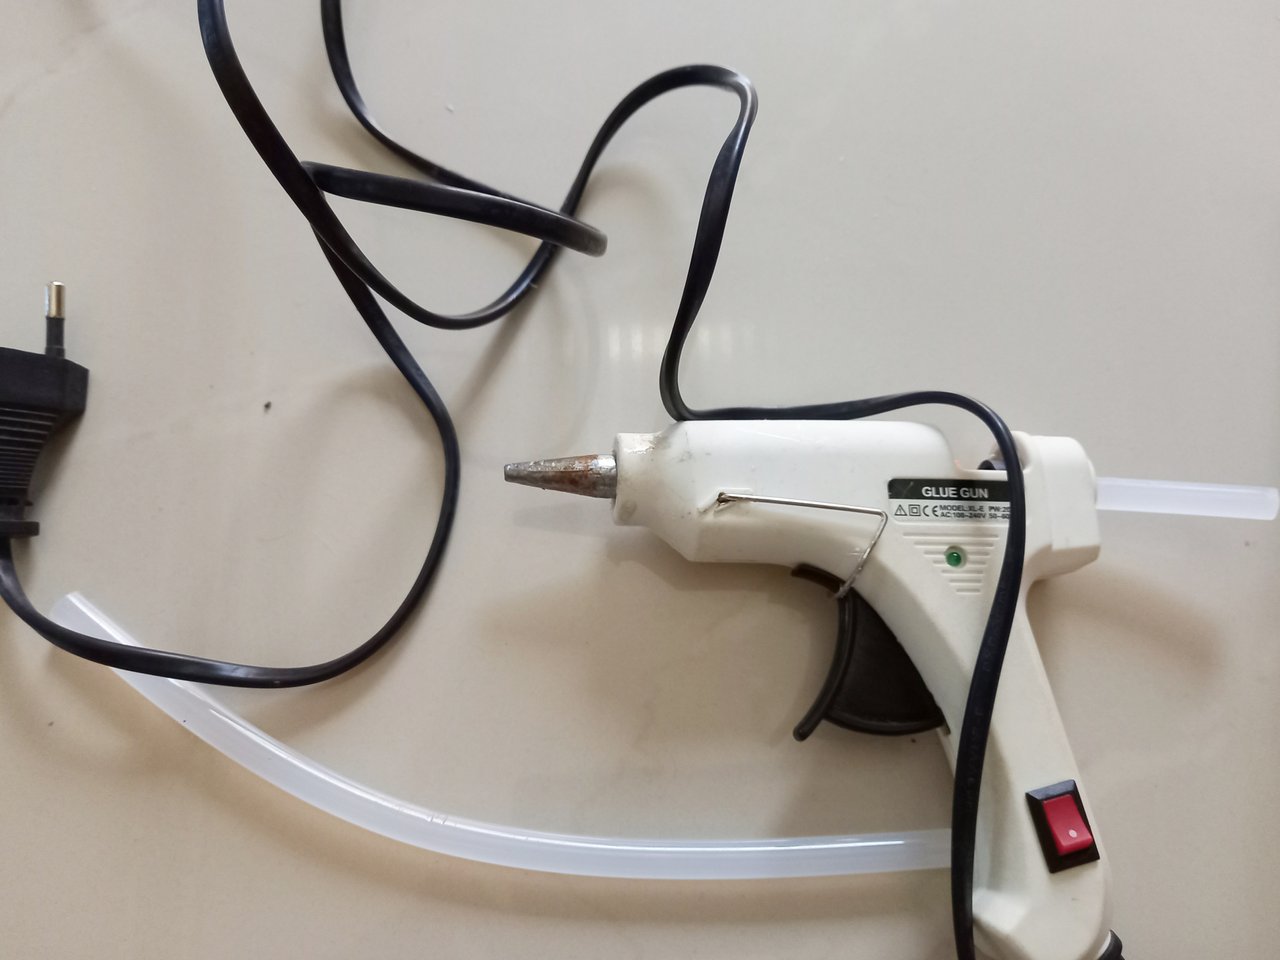
• glue and tools
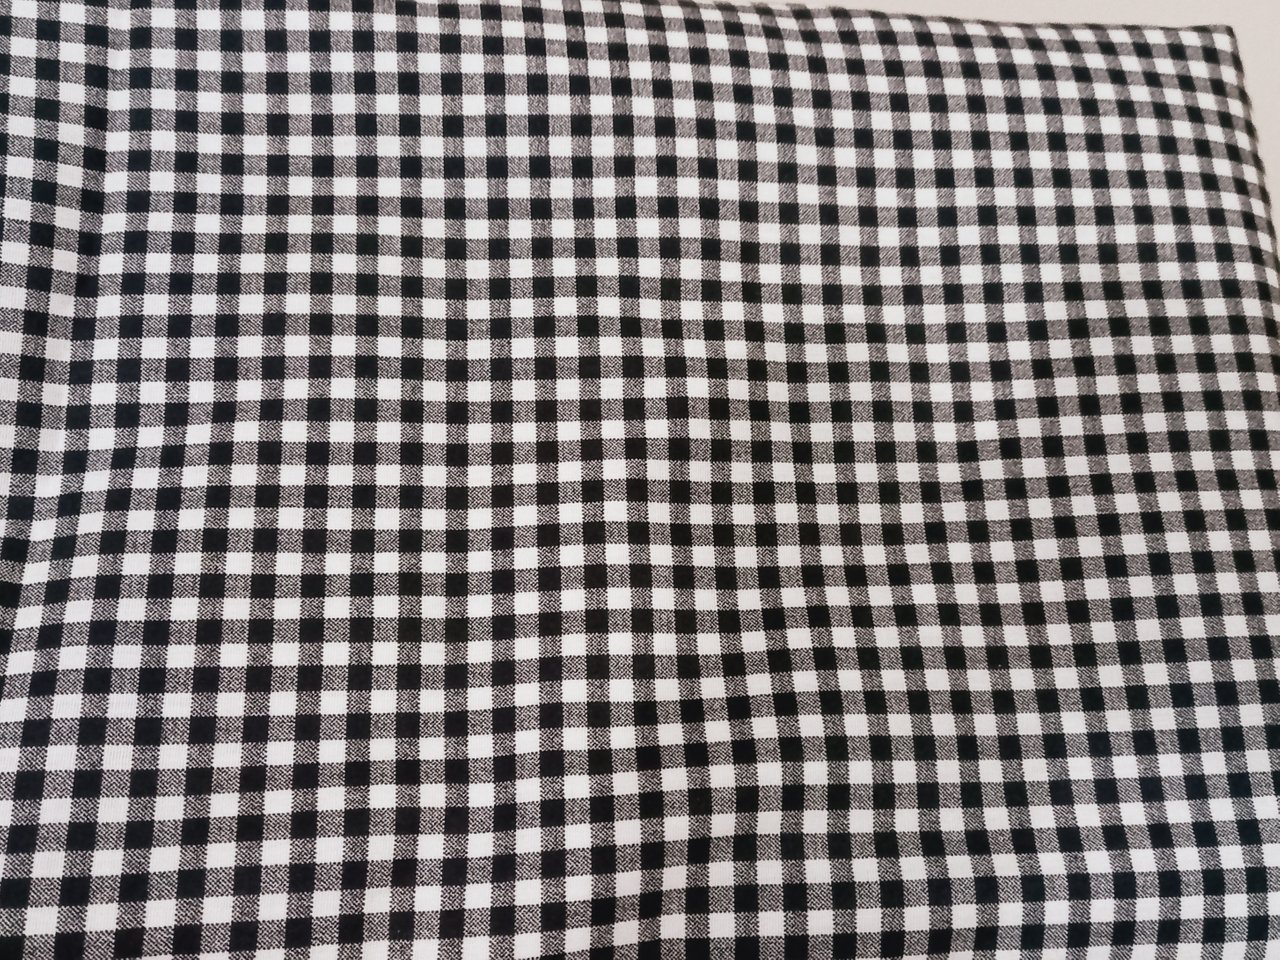
• Patchwork
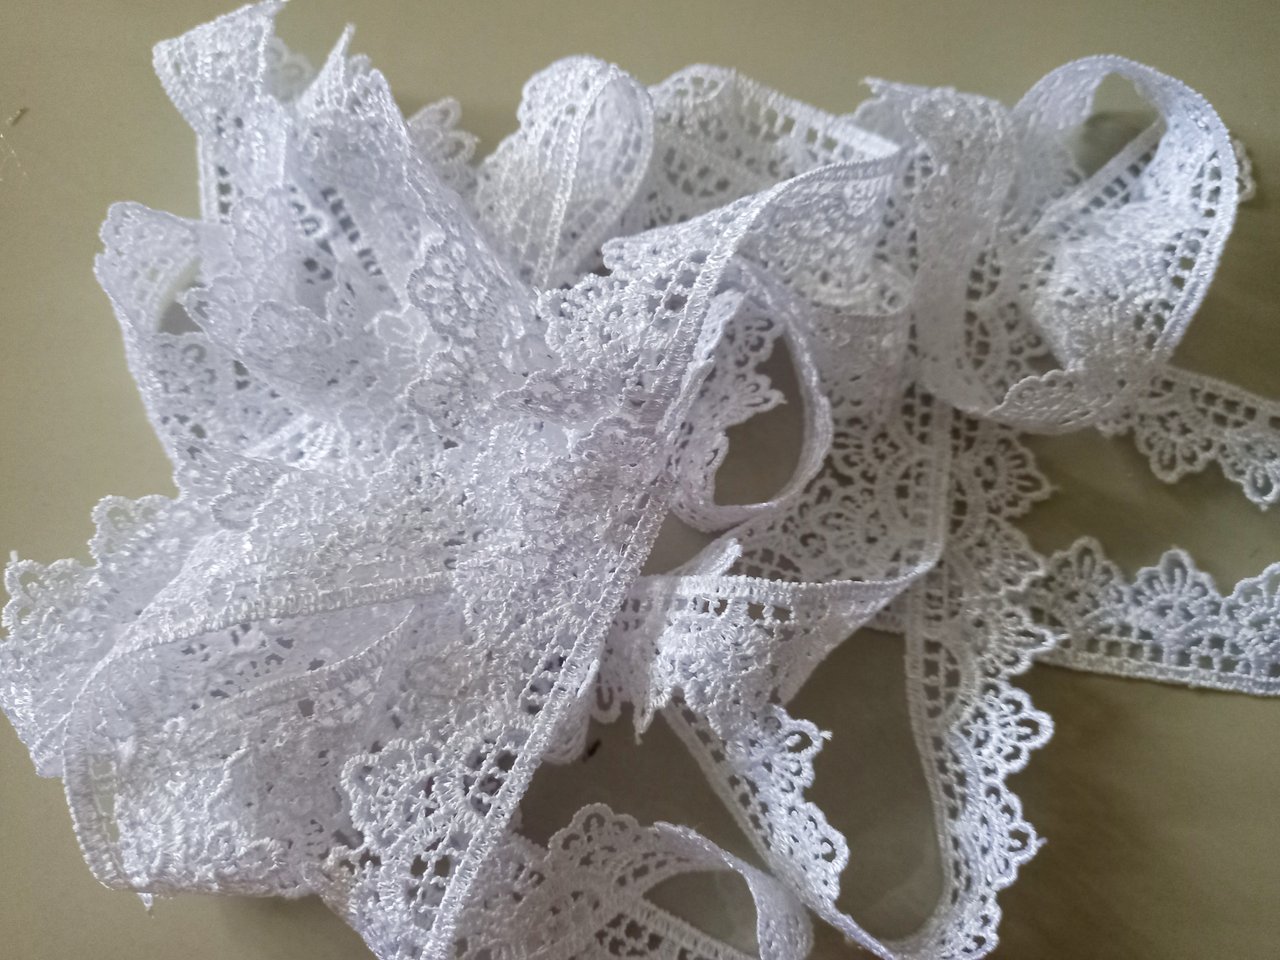
• Ribbons
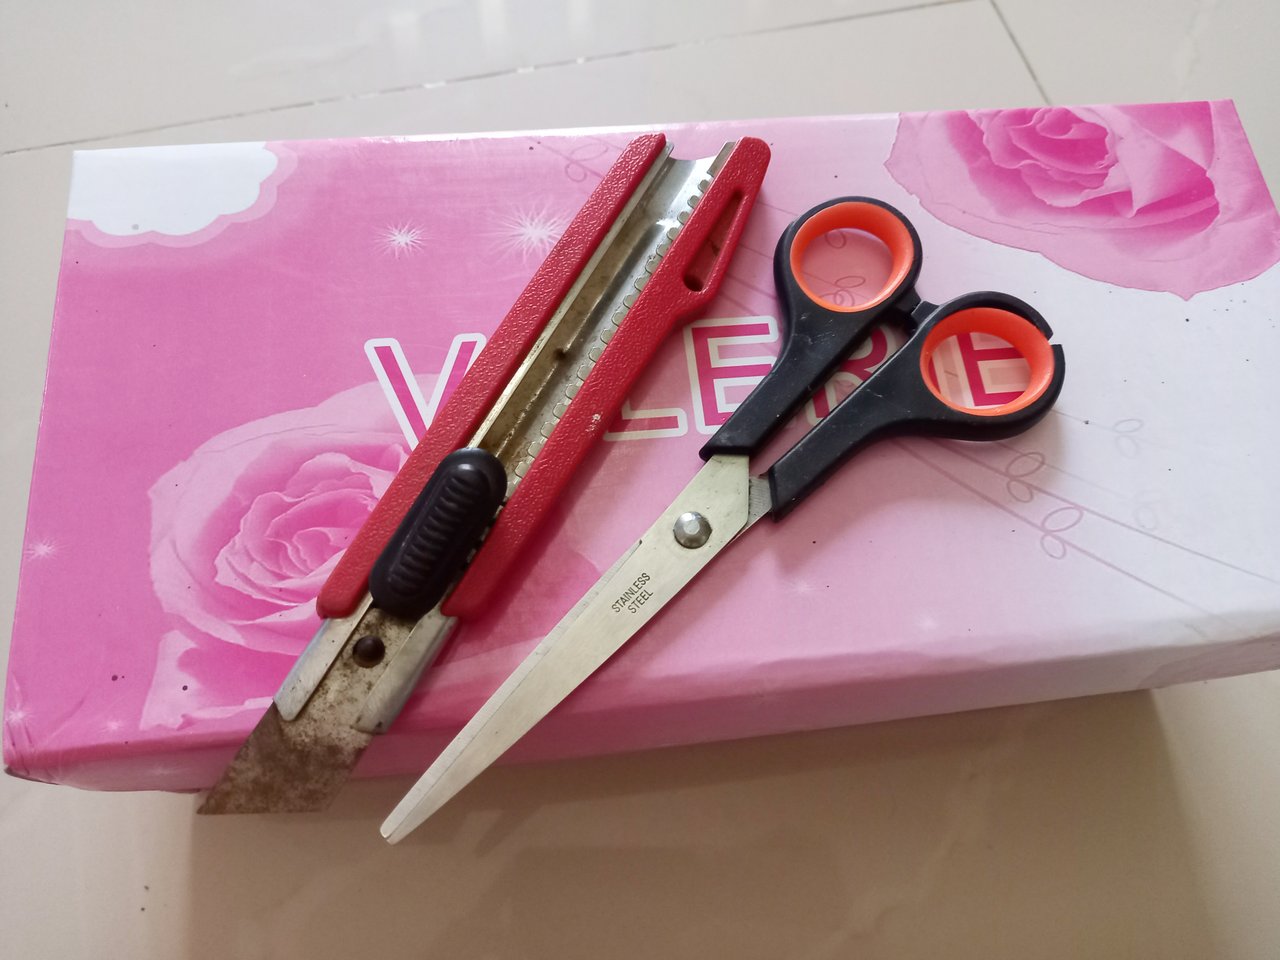
• Scissors, cutters, pens
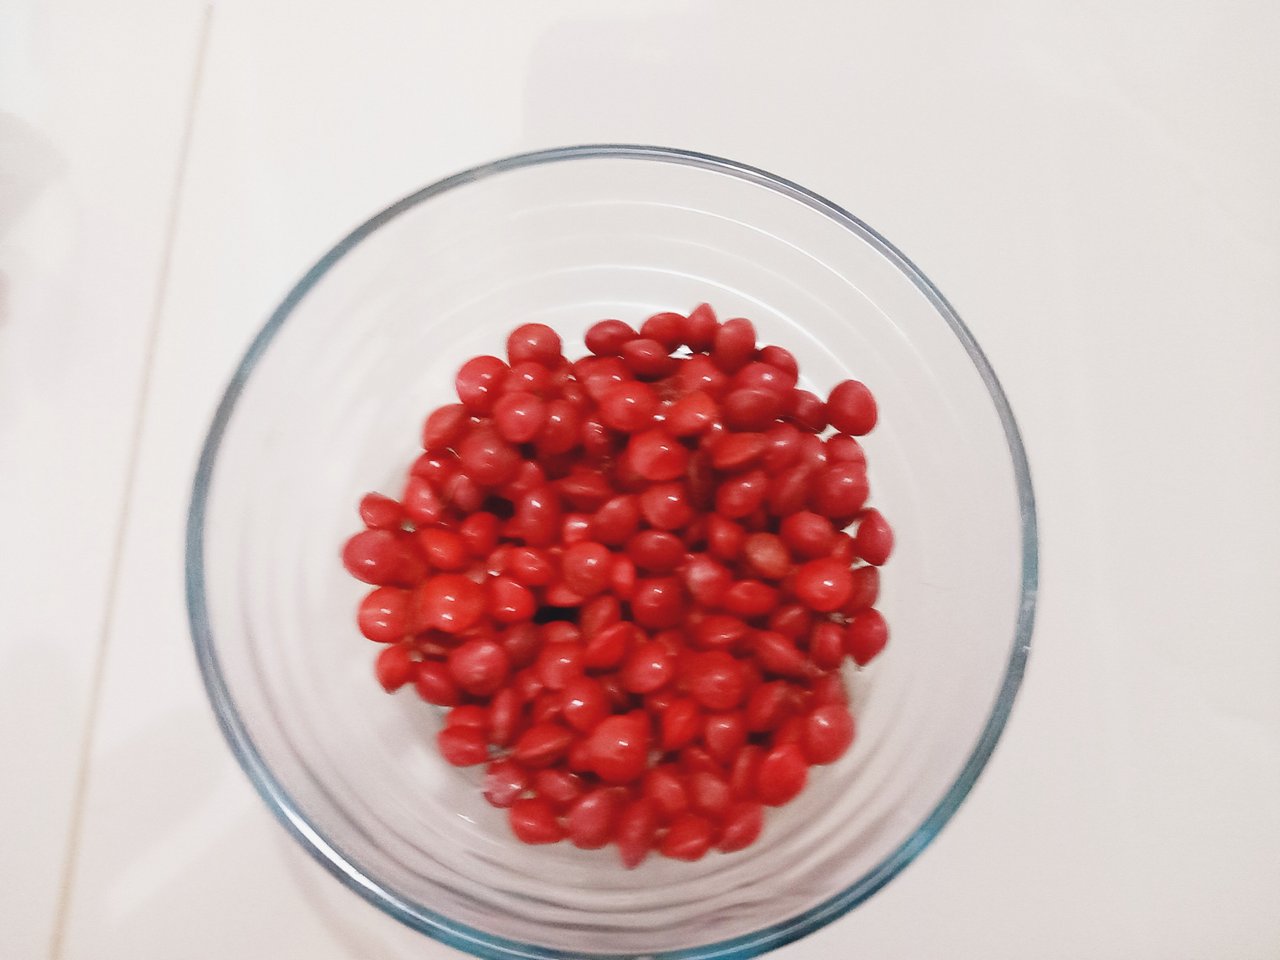
• Red saga seeds
Used shoe box and scissors, cutters
Glue and tools
Ribbon
Patchwork
Red saga seed
Making process
Step 1
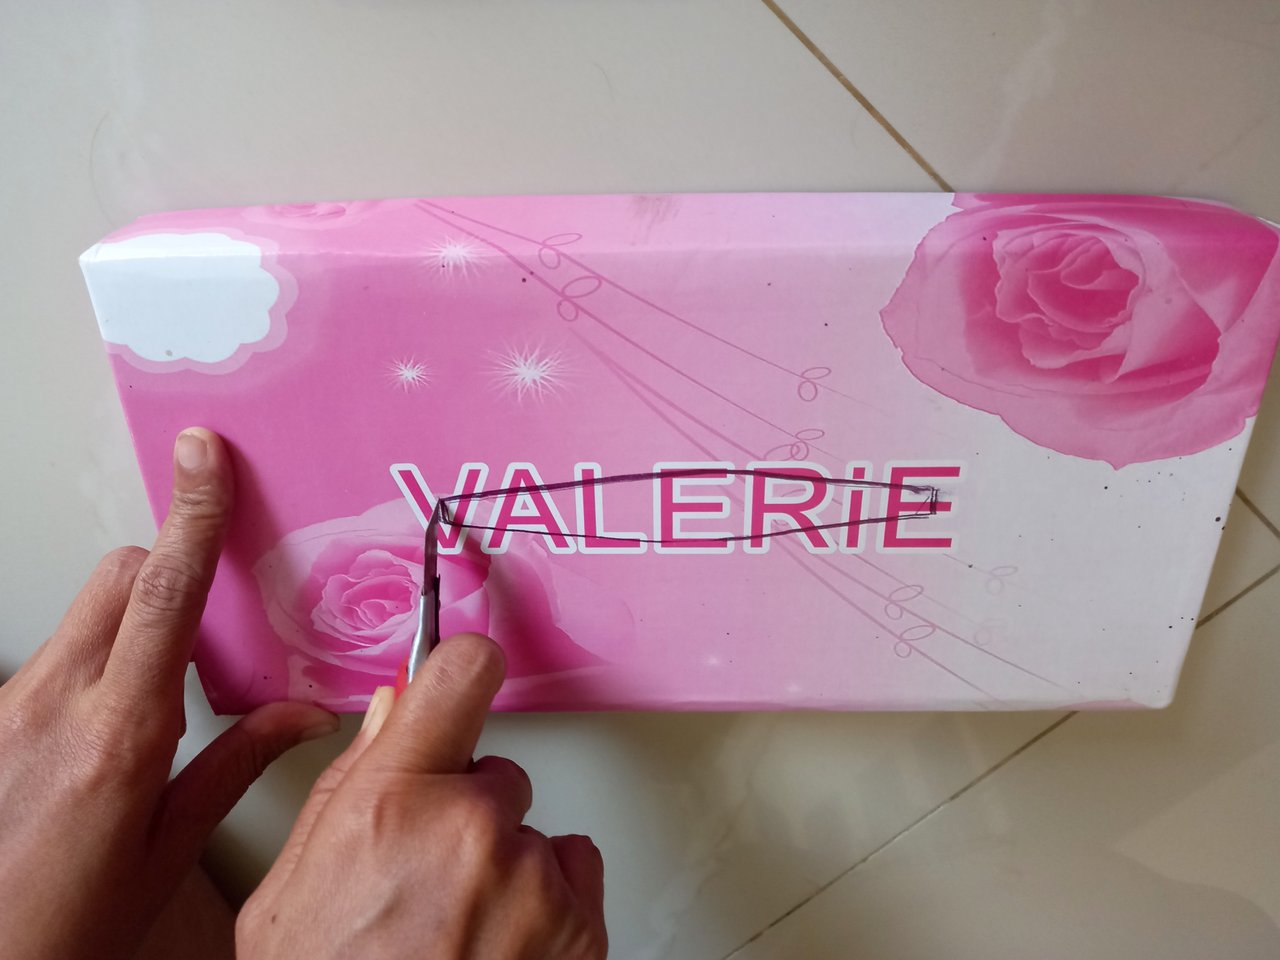
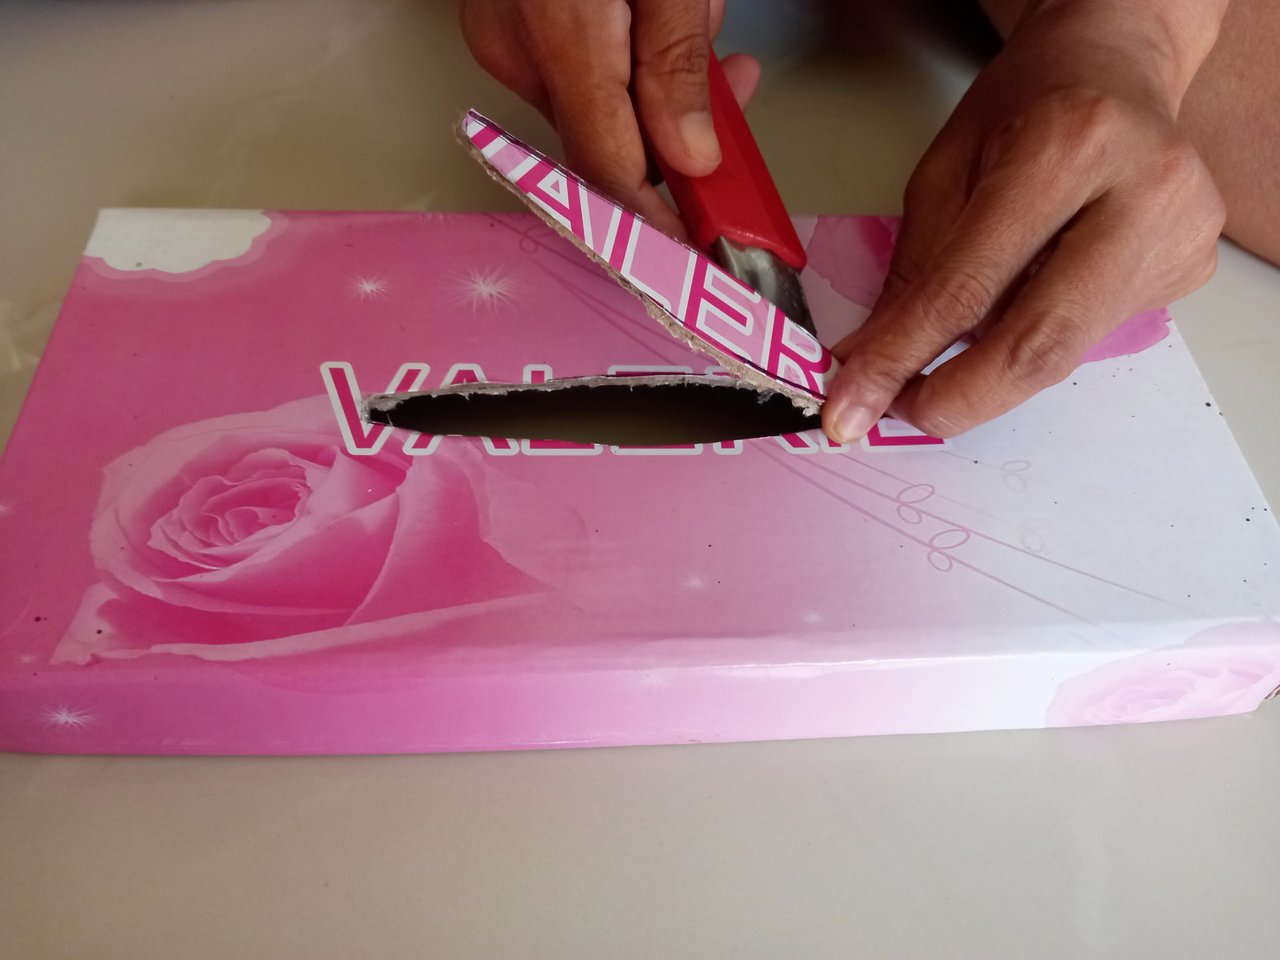
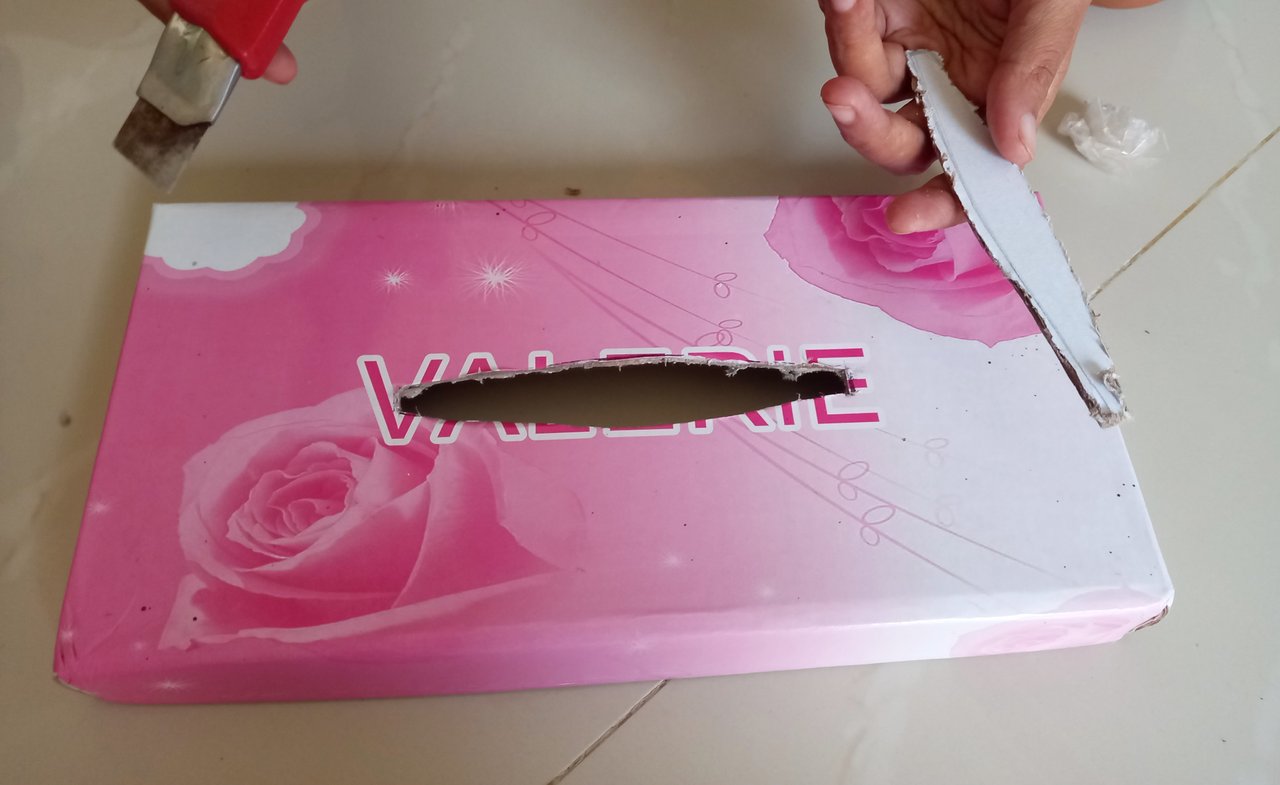
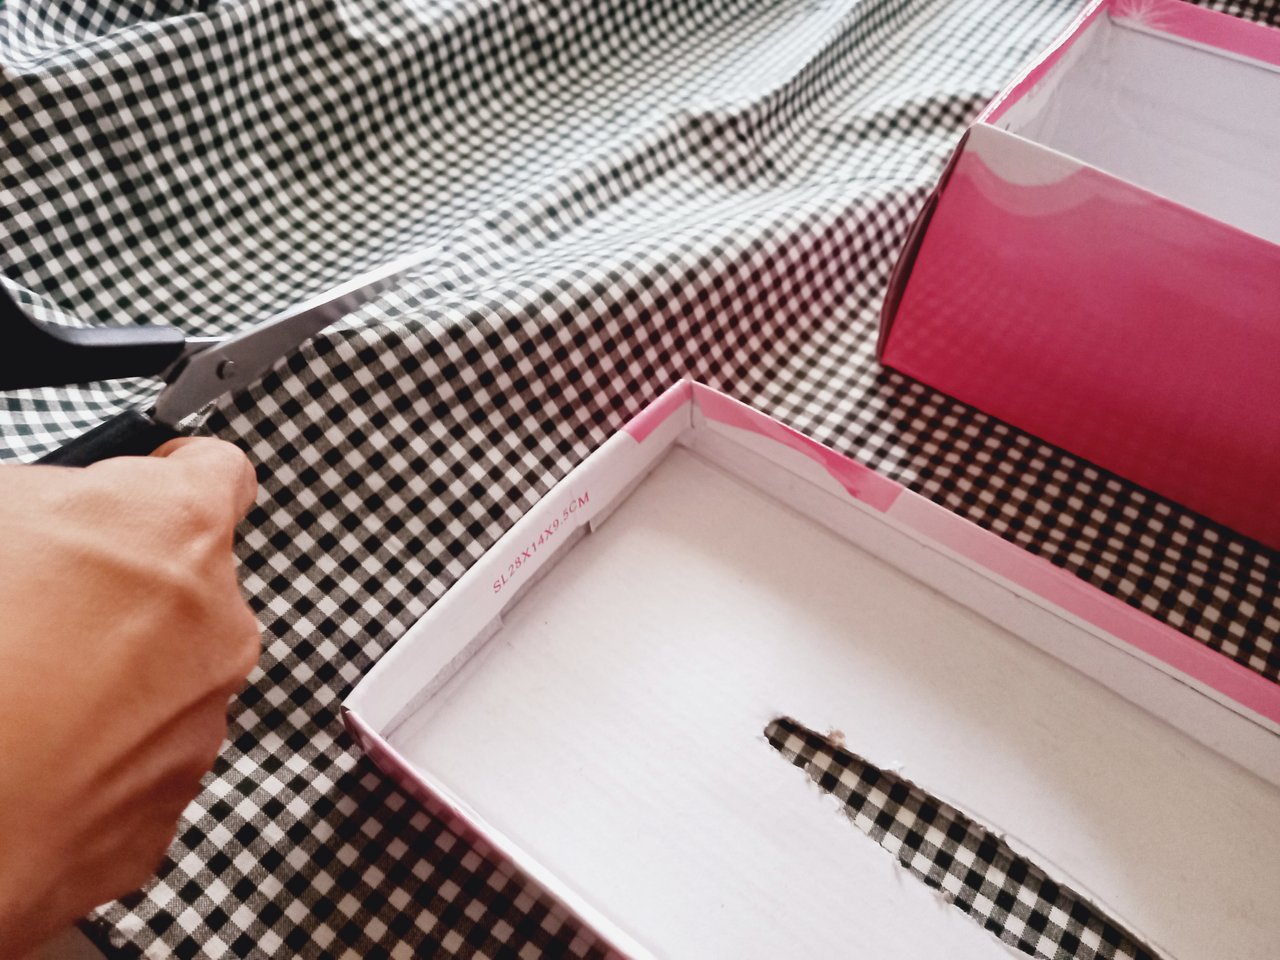
Prepare the used shoe box, then the lid of the box in a hole. First draw the pattern, then cut it with a cutter knife. The aim of the holes is later to be the place for the tissue to come out.
cut the pattern there is a part of the lid of the box
on process
process finished
Step 2
Cut the fabric to the size of the shoebox.
cutting the patchwork
Step 3
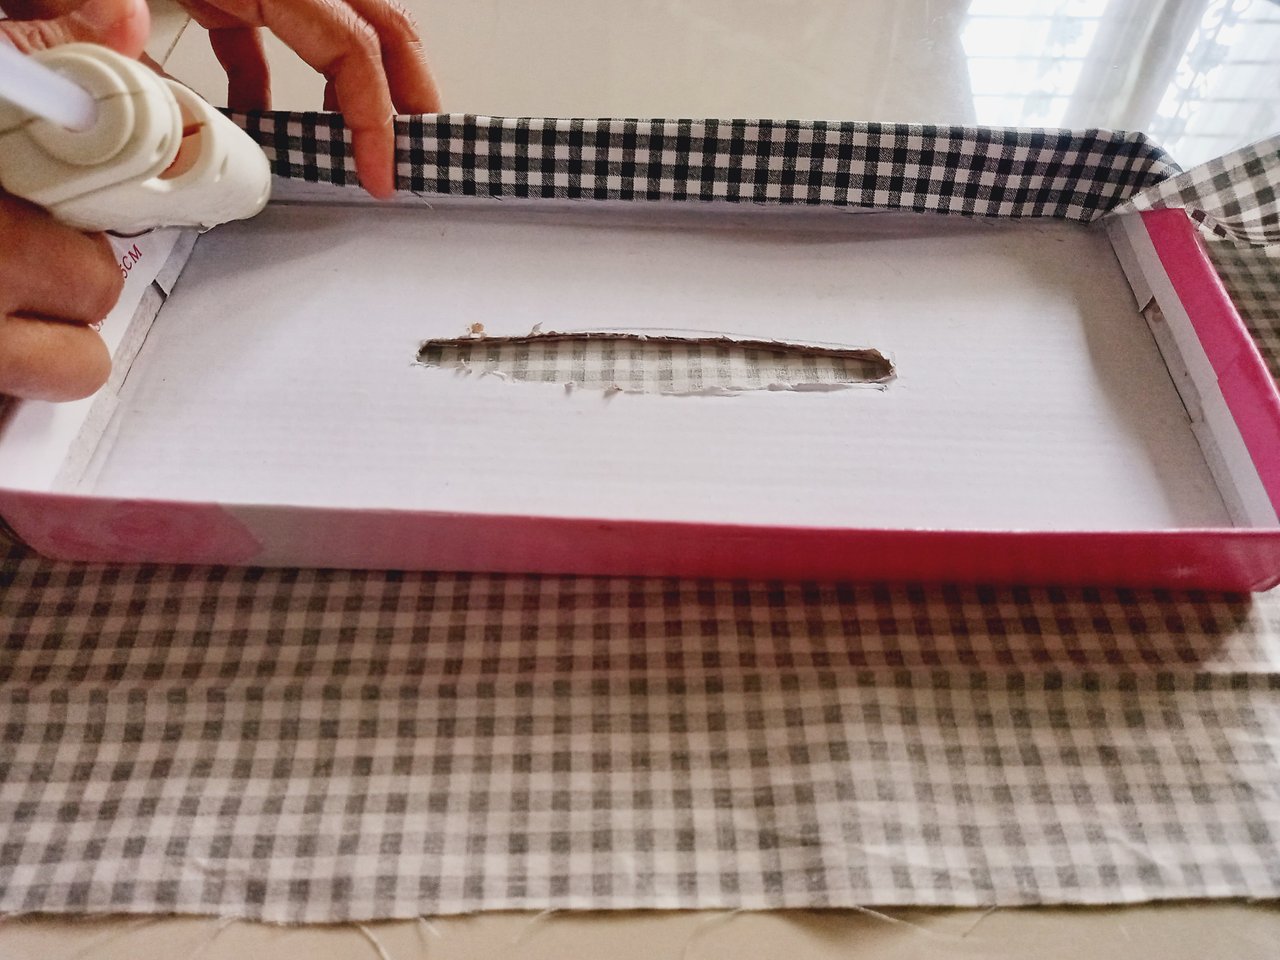
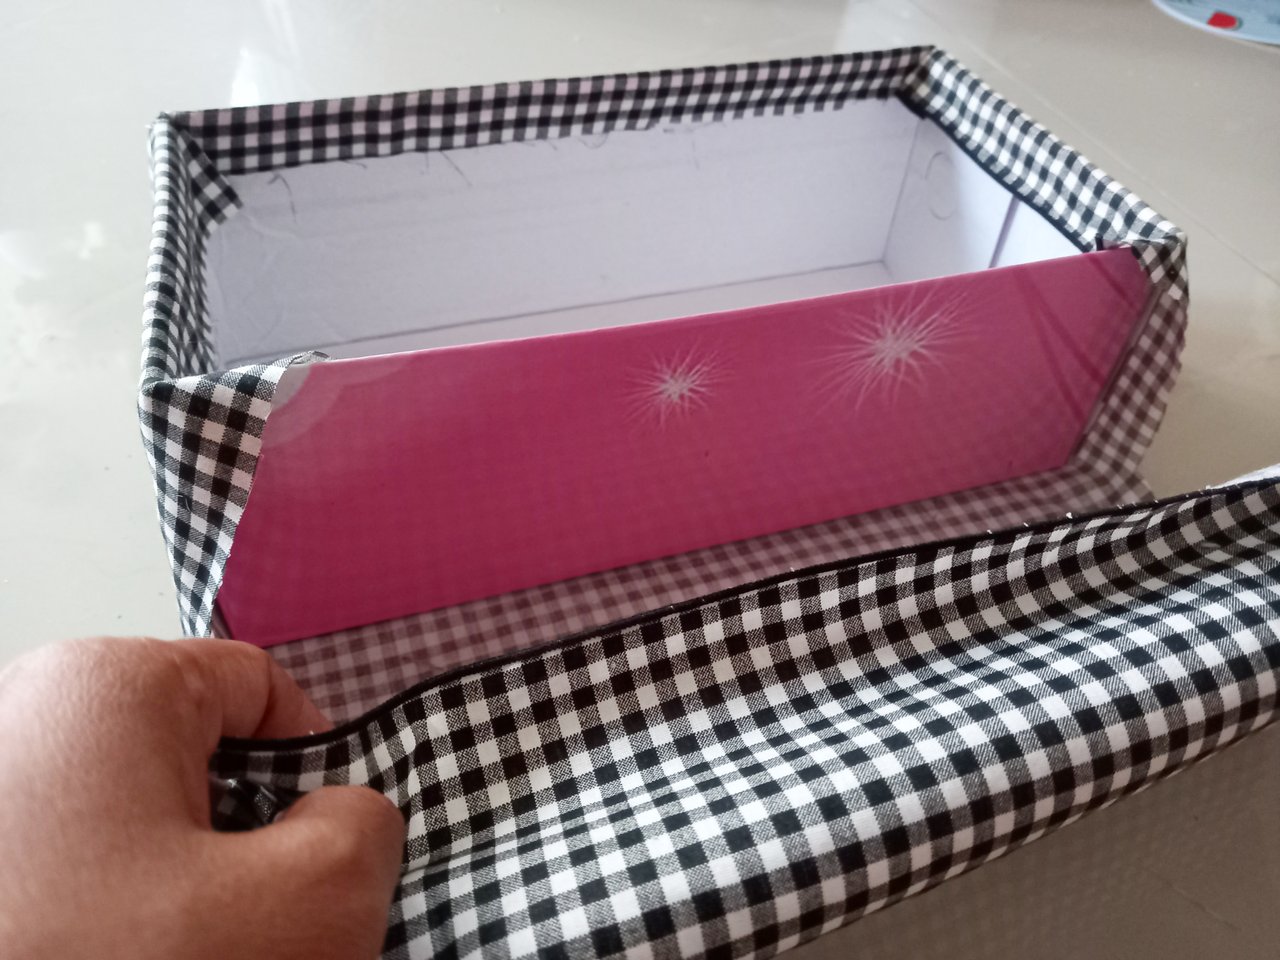
Wrap the shoe box and close the box using the cloth that has been cut earlier. Use glue as adhesive to wrap the box.
cut the pattern there is a part of the lid of the box
wrap around the body of the box
on process
Step 4
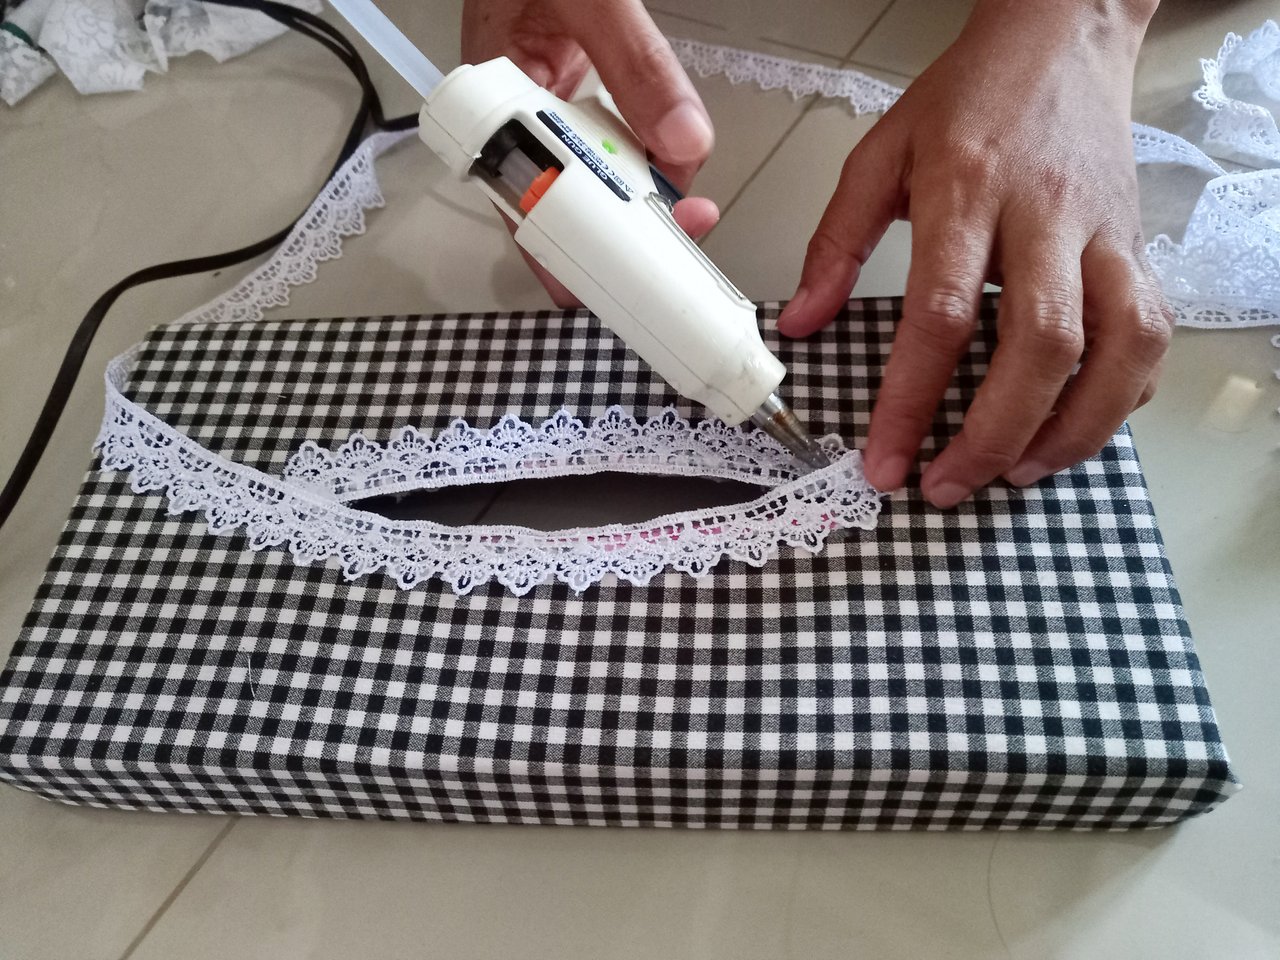
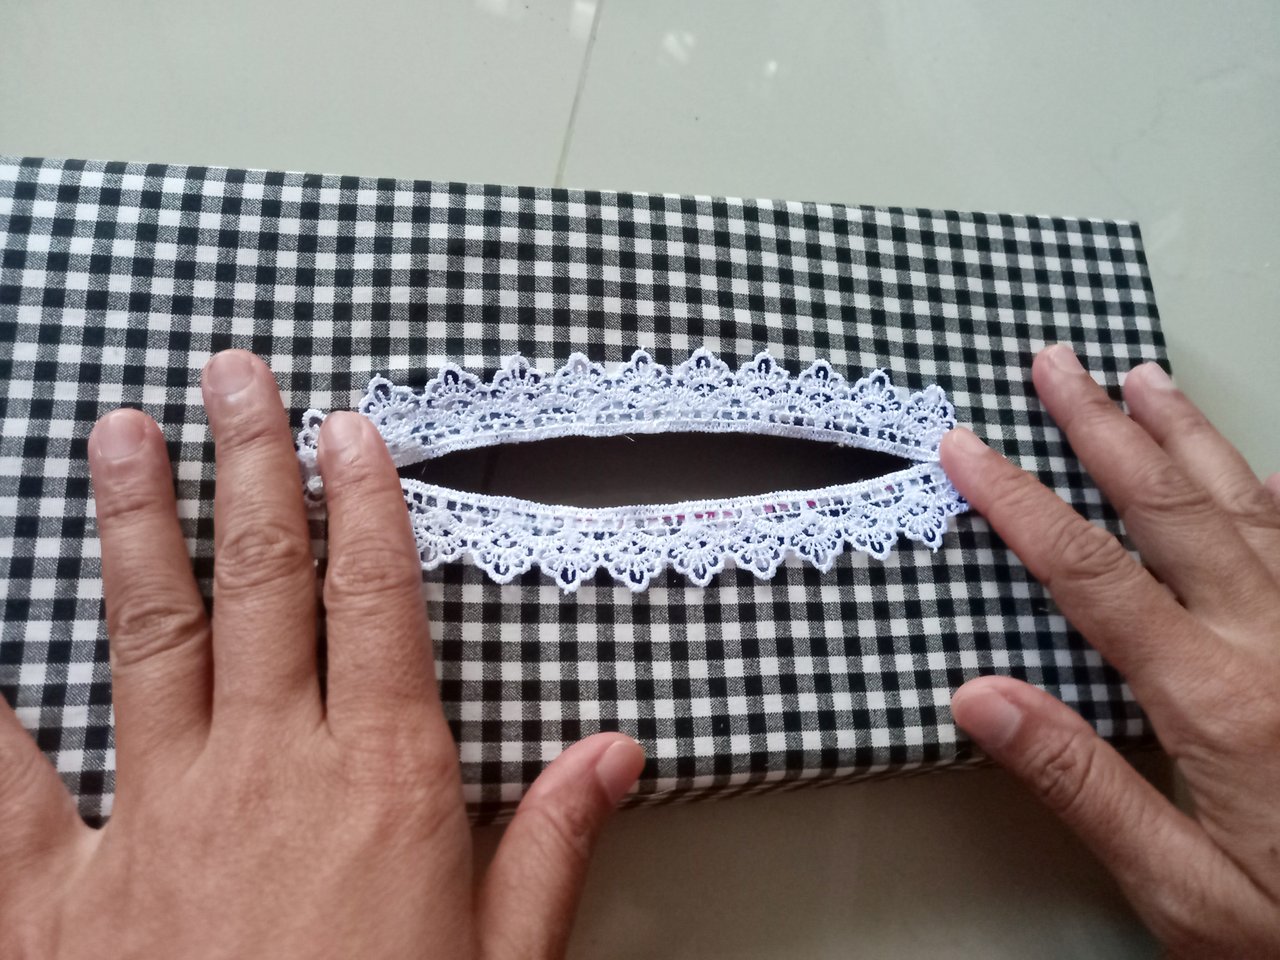
After all parts of the box are covered and neatly wrapped. Then add an accent ribbon in the hole on the lid to make it look prettier.
accent the ribbon
on process
process complete
Step 5
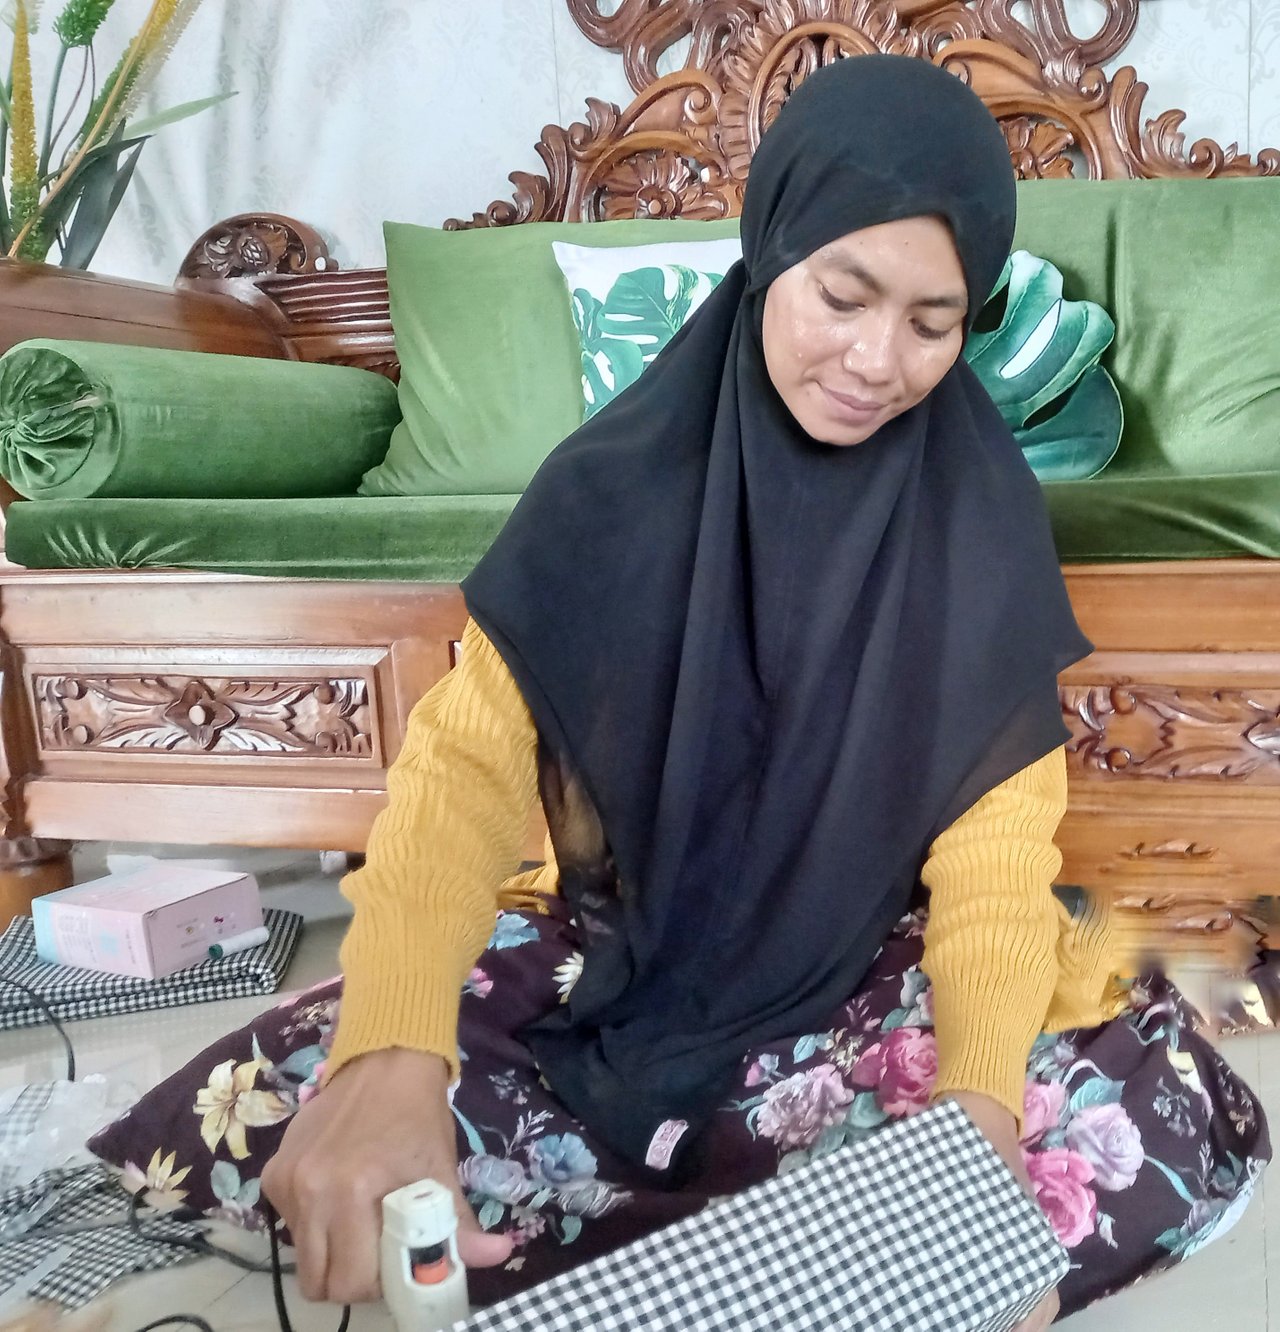
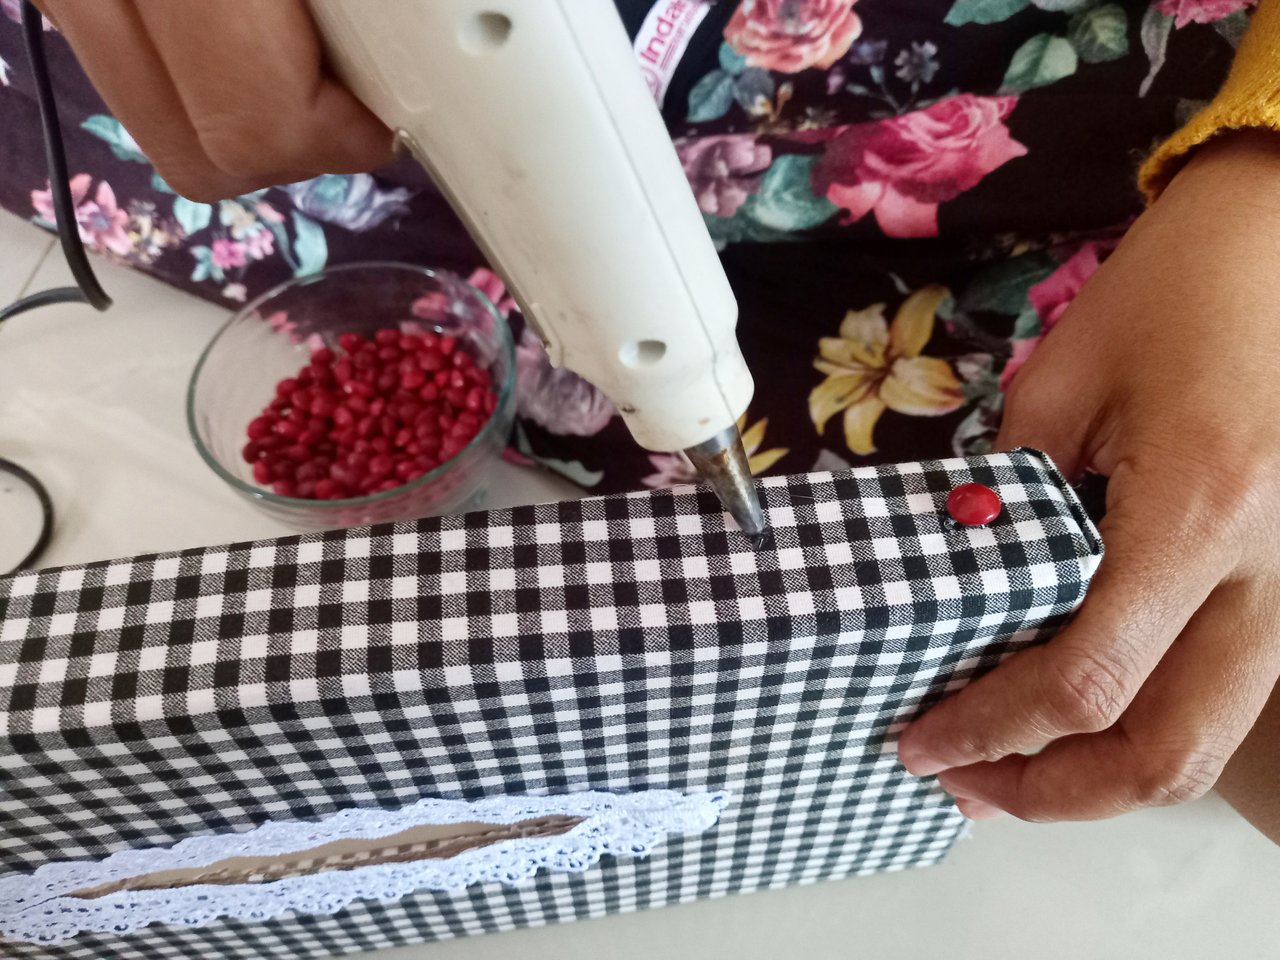
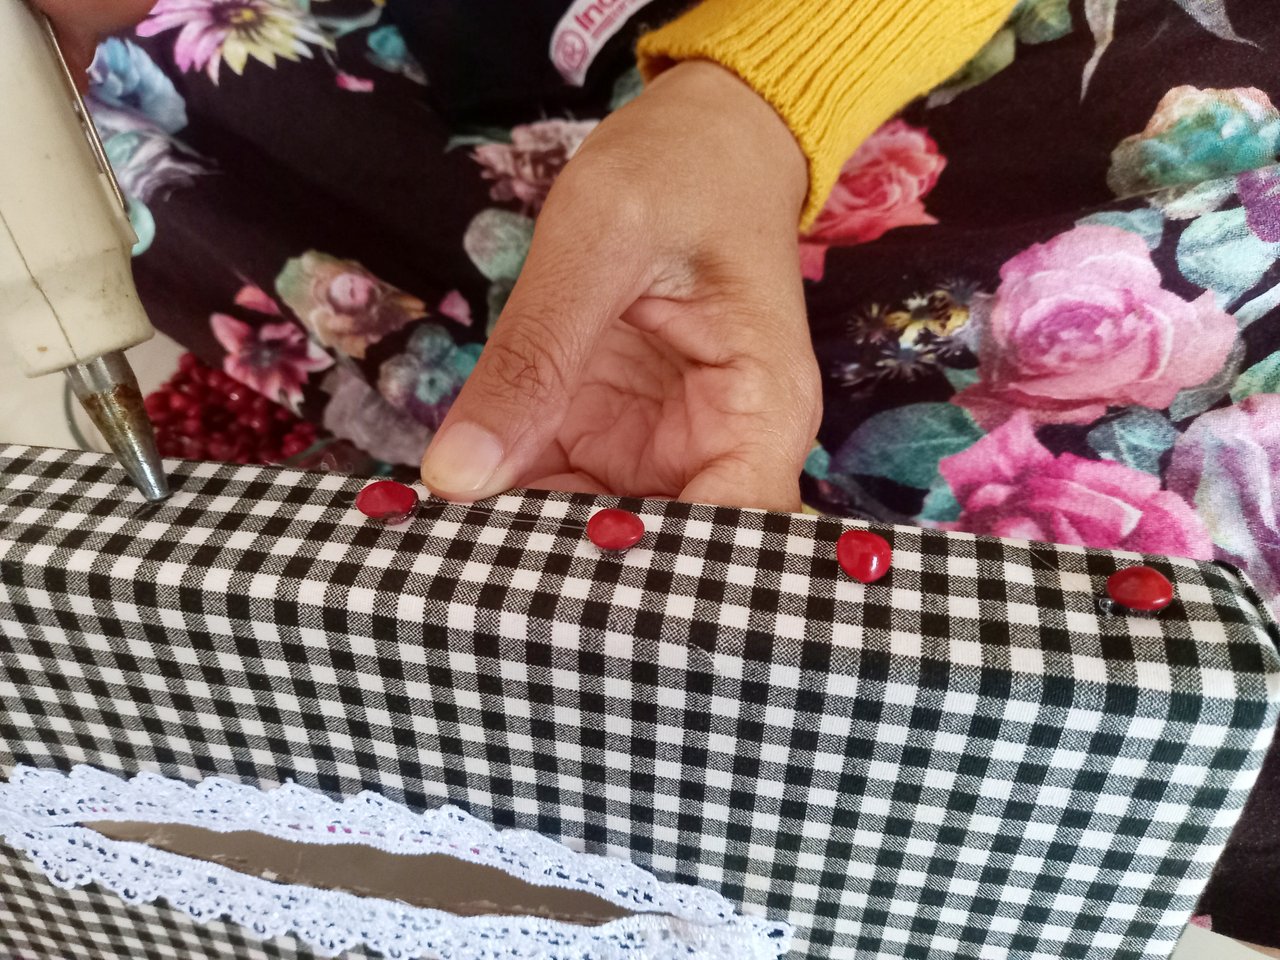
Finally, add saga seed accents on the edges and at the top of the container. Using adhesive, attach the seeds of the saga. so that the appearance of the tissue box becomes more aesthetic.
the process of gluing saga seeds to the box
still on process
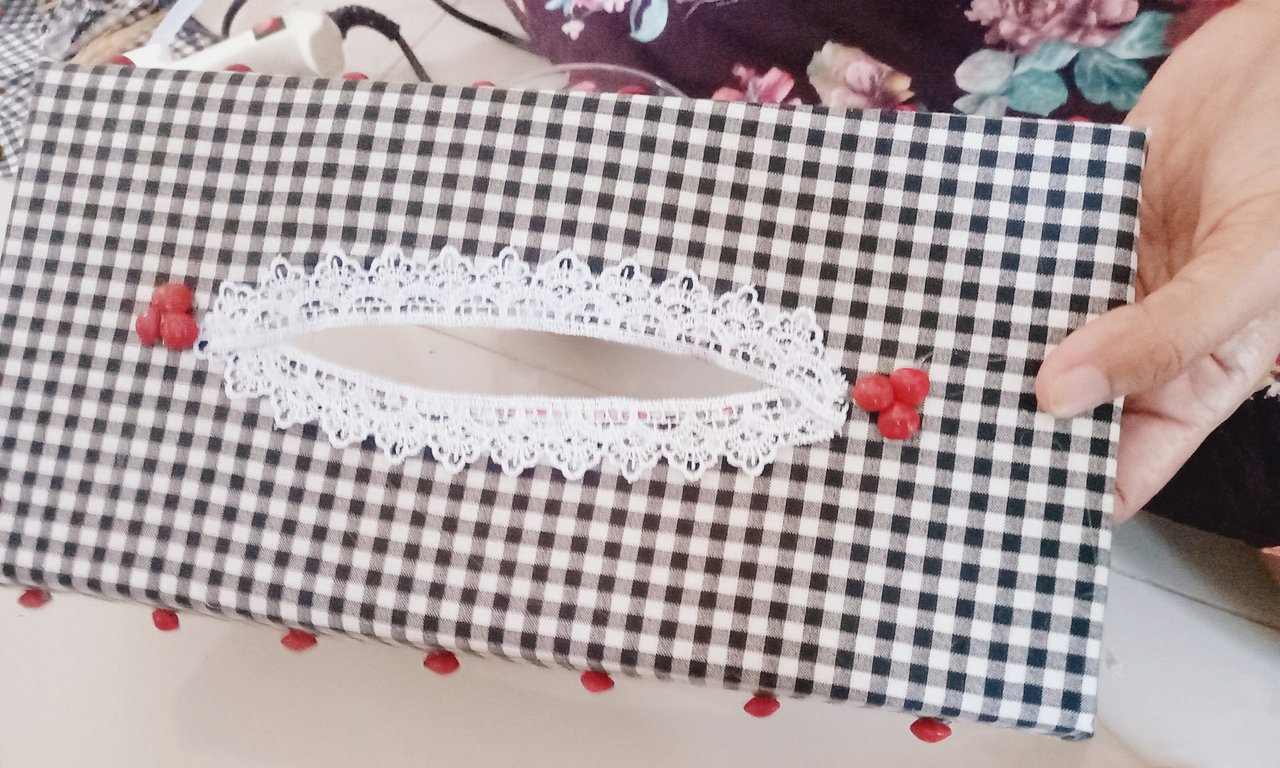
process complete
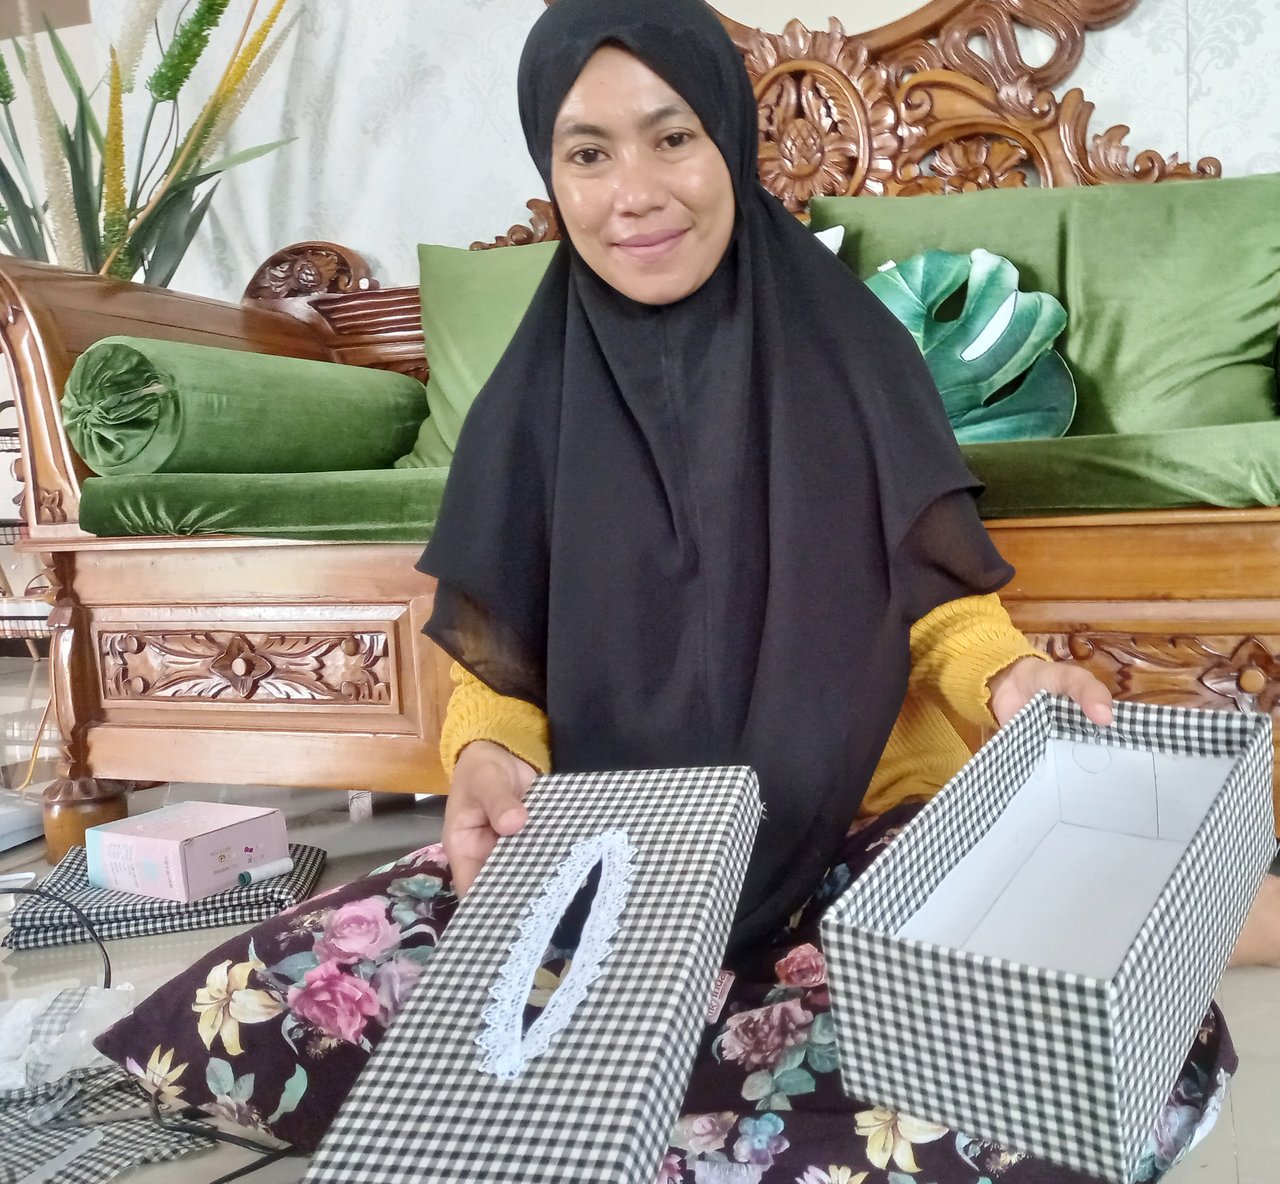
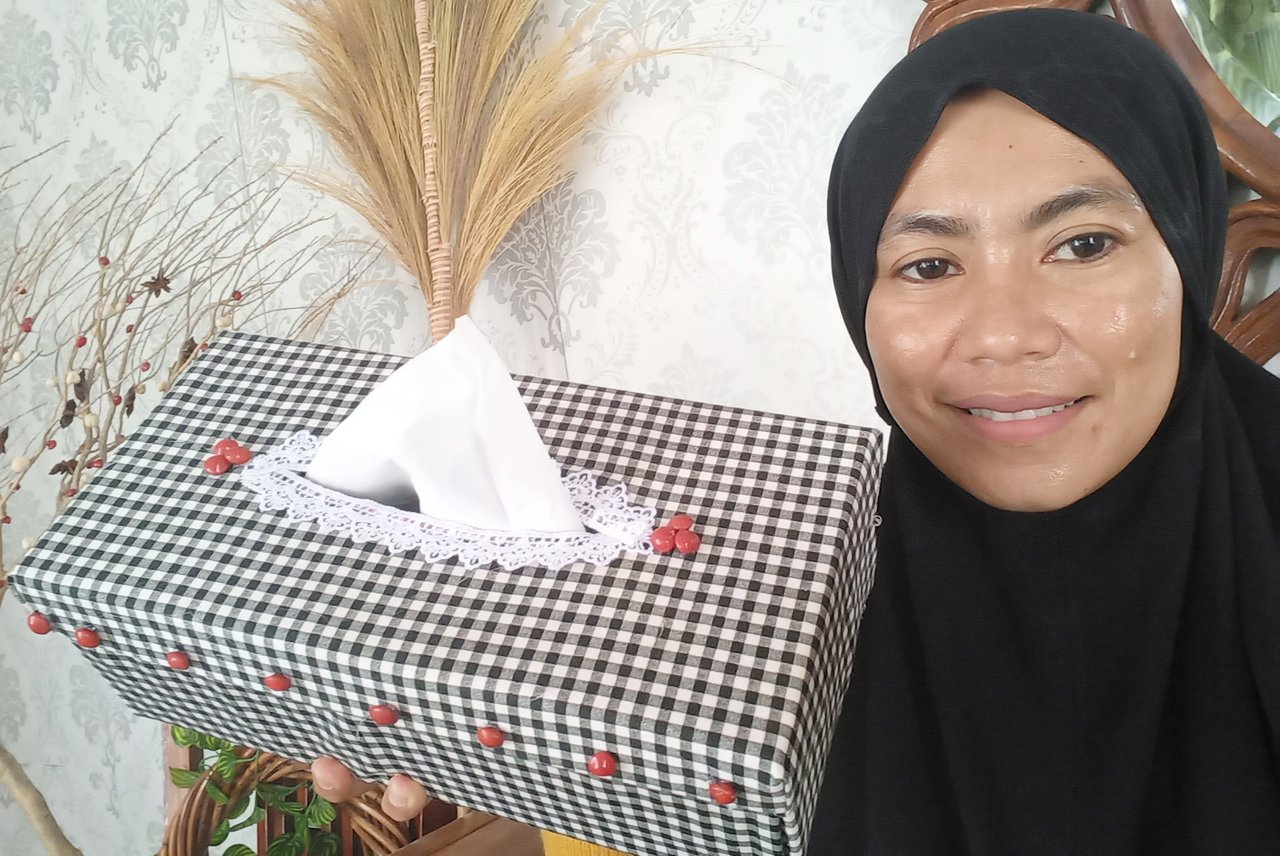
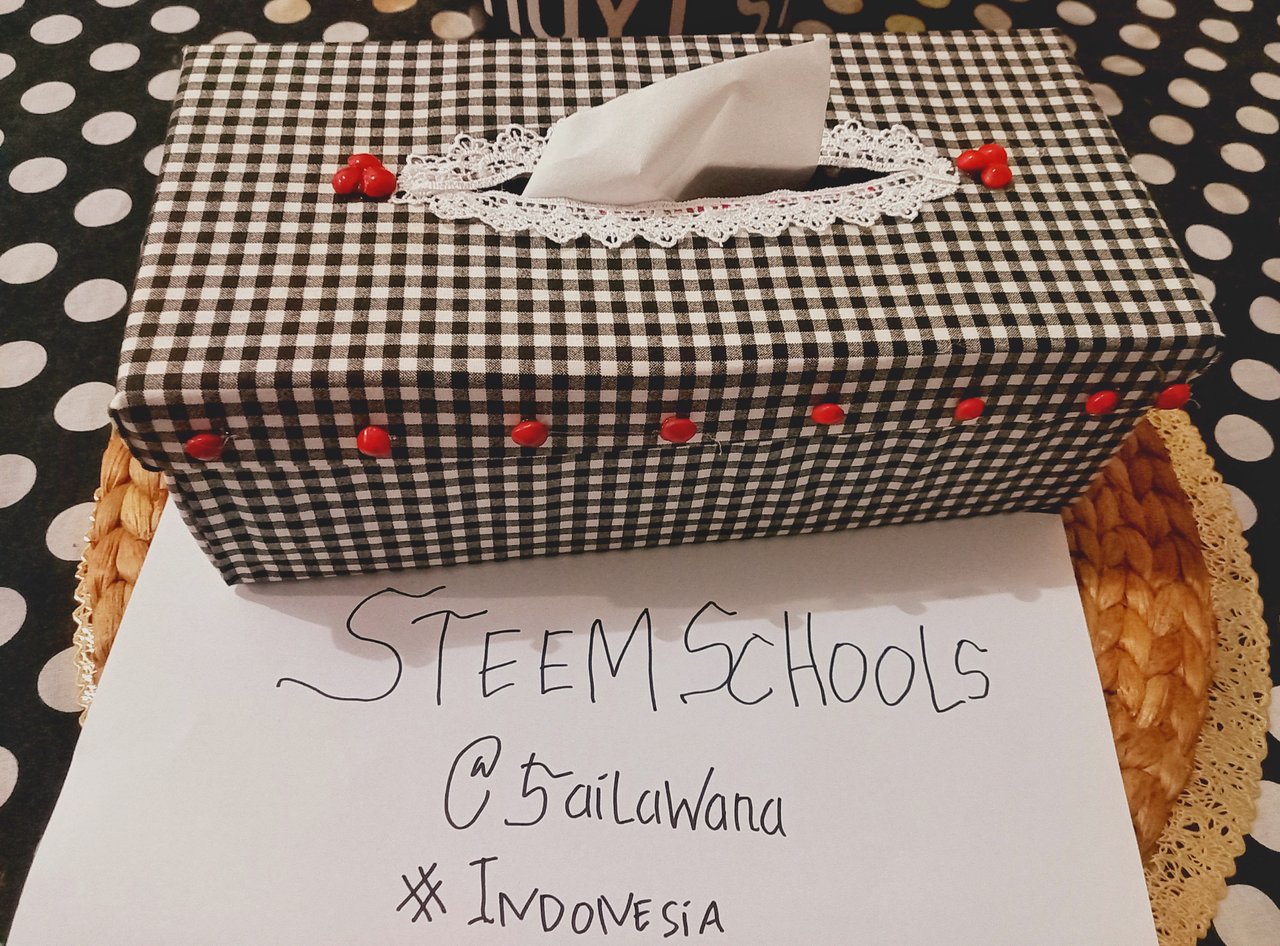
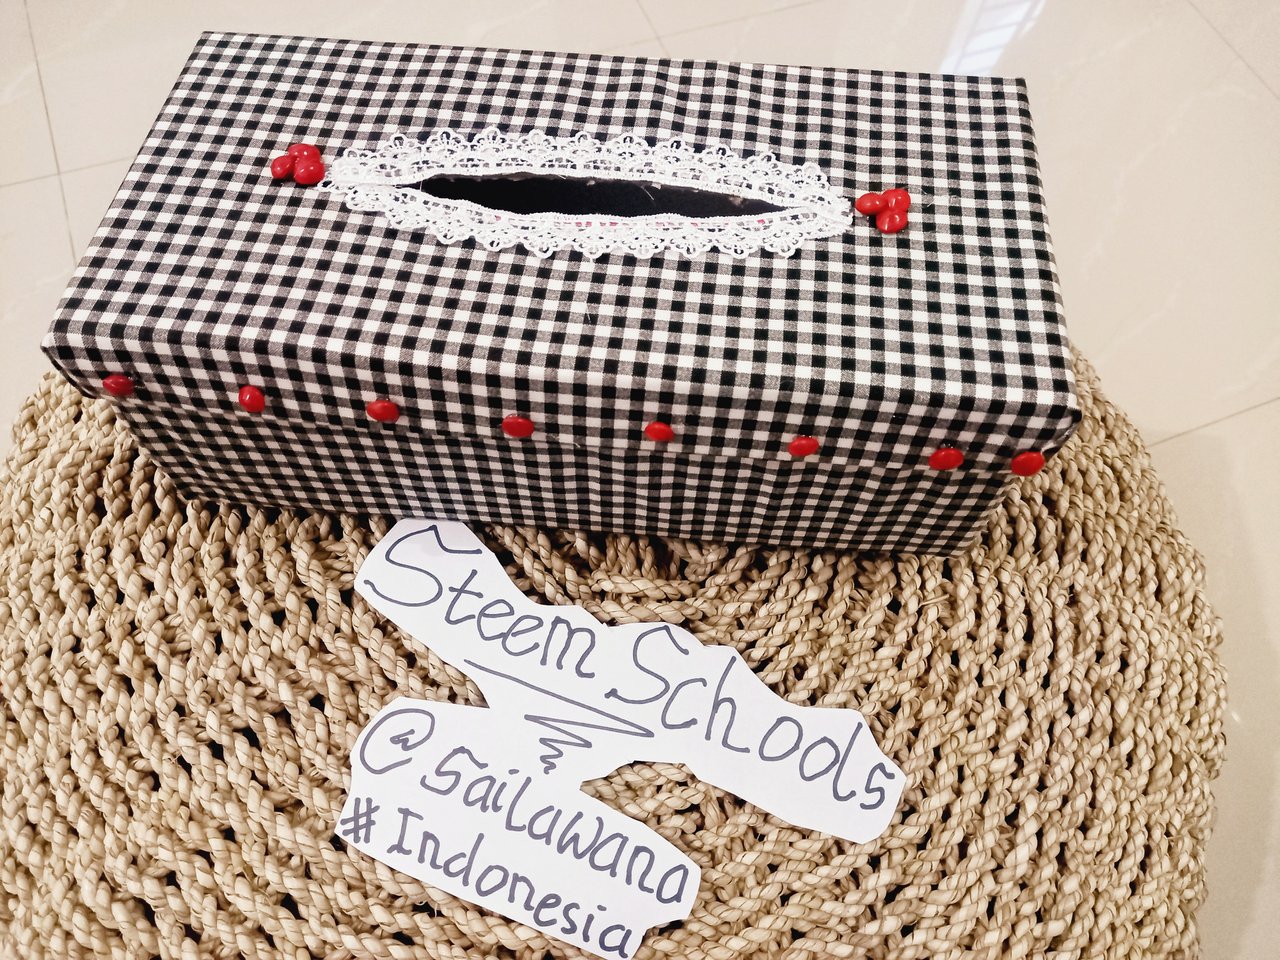
Taraa ... a used shoe box that was originally a useless object, has now turned into a functional item, useful as a tissue container as well as aesthetics to be placed in the room.
- a tissue holder from shoe box made by me*
after complete process
shoe box before design
Tissue box easthetic from shoe box after design
That was the simple before-after activity that I did on this occasion. Hopefully it will be beneficial and can be of benefit to those who read.
At last I.want to thank @dobartim @tatjanastan and my beloved friend @ernaerningsih. Also thank you for all the steemian friend who visit and read my post🤗😊


