Hello friends,
Today I will share with you how to sew a dress from a cloth. Before there was only cloth, then I cut the cloth and sewed it to make a shirt. So in this community I shared my sewn shirt with you. I hope you like it.
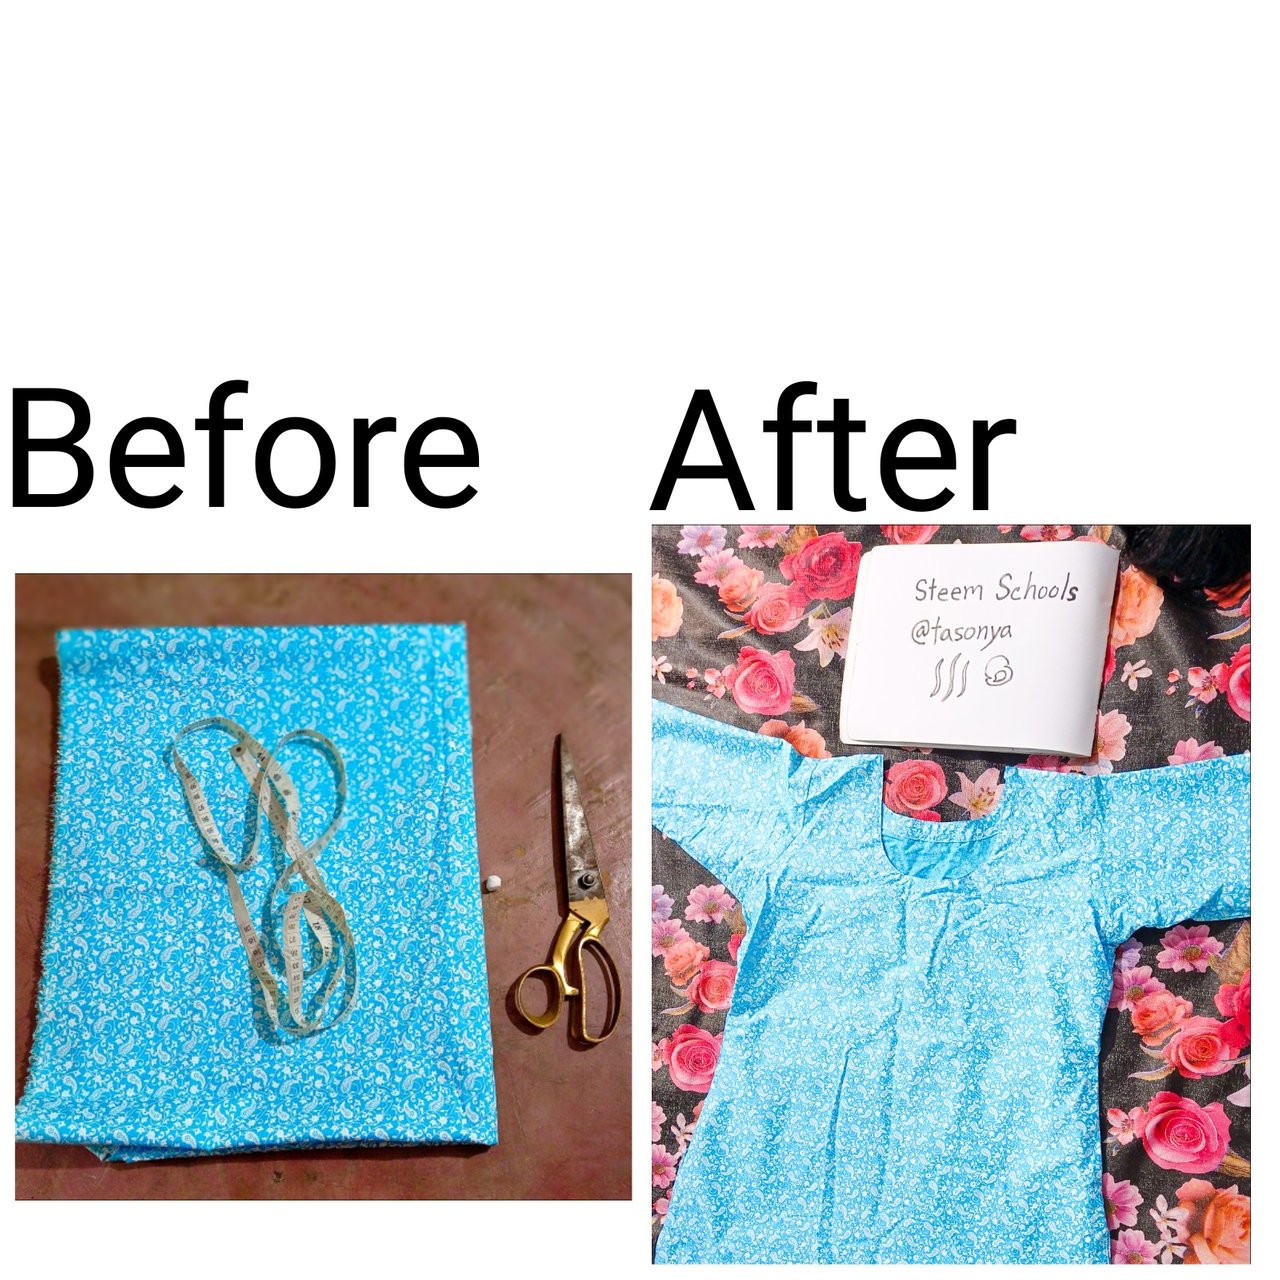
Ingredients:
• Clothes
• Scissors
• Chuck
• Tap
• Sewing machine
• Yarn
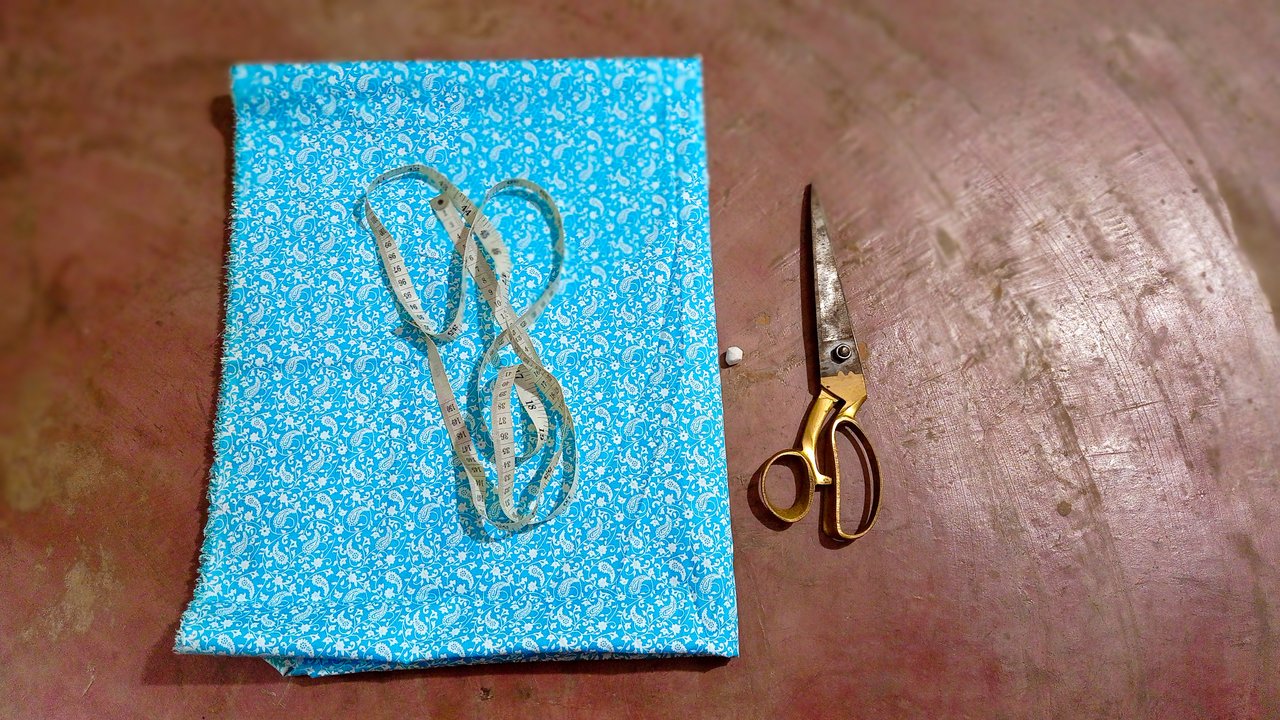
The size of the dress I sewed is given below.
measurement:
✓ Body 36 inches
✓ Waist 30 inches
✓ The sleeves are 18 inches long
✓ The sleeve face is 5 inches
✓ 48 inches long
✓ Mud 16 inches
Cutting clothes:
I will first cut the cloth with four folds.
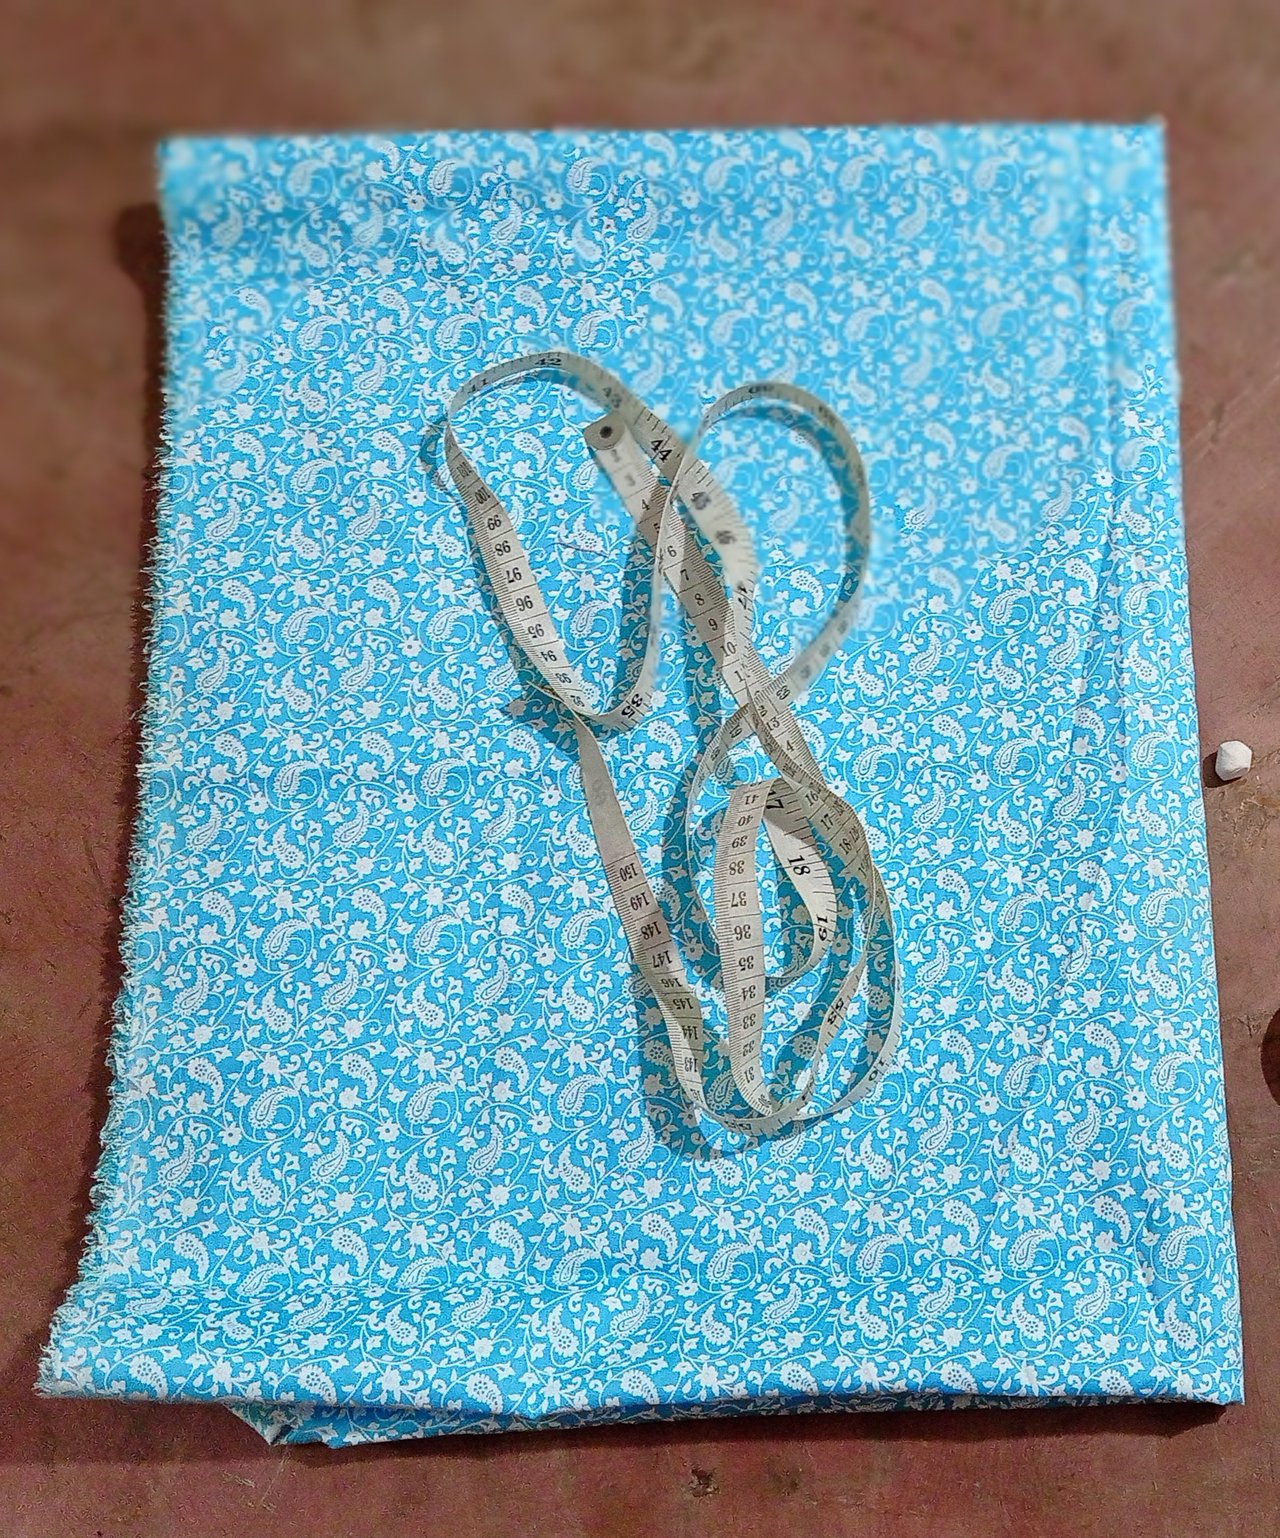
Then measure the length of the neck at the top of the neck at 5 inches and at the side two and a half inches. Then I will measure the size of Kader by 4 inches and mark it with chalk. Then measure 7 inches long on the sleeves and mark. Then take the size of the body and sew one and a half inches more than the size. Then I will measure and straighten the stain. Then I will mark the waist according to the size of the waist. Then I will measure one and a half inches more than the size of the lower circle.
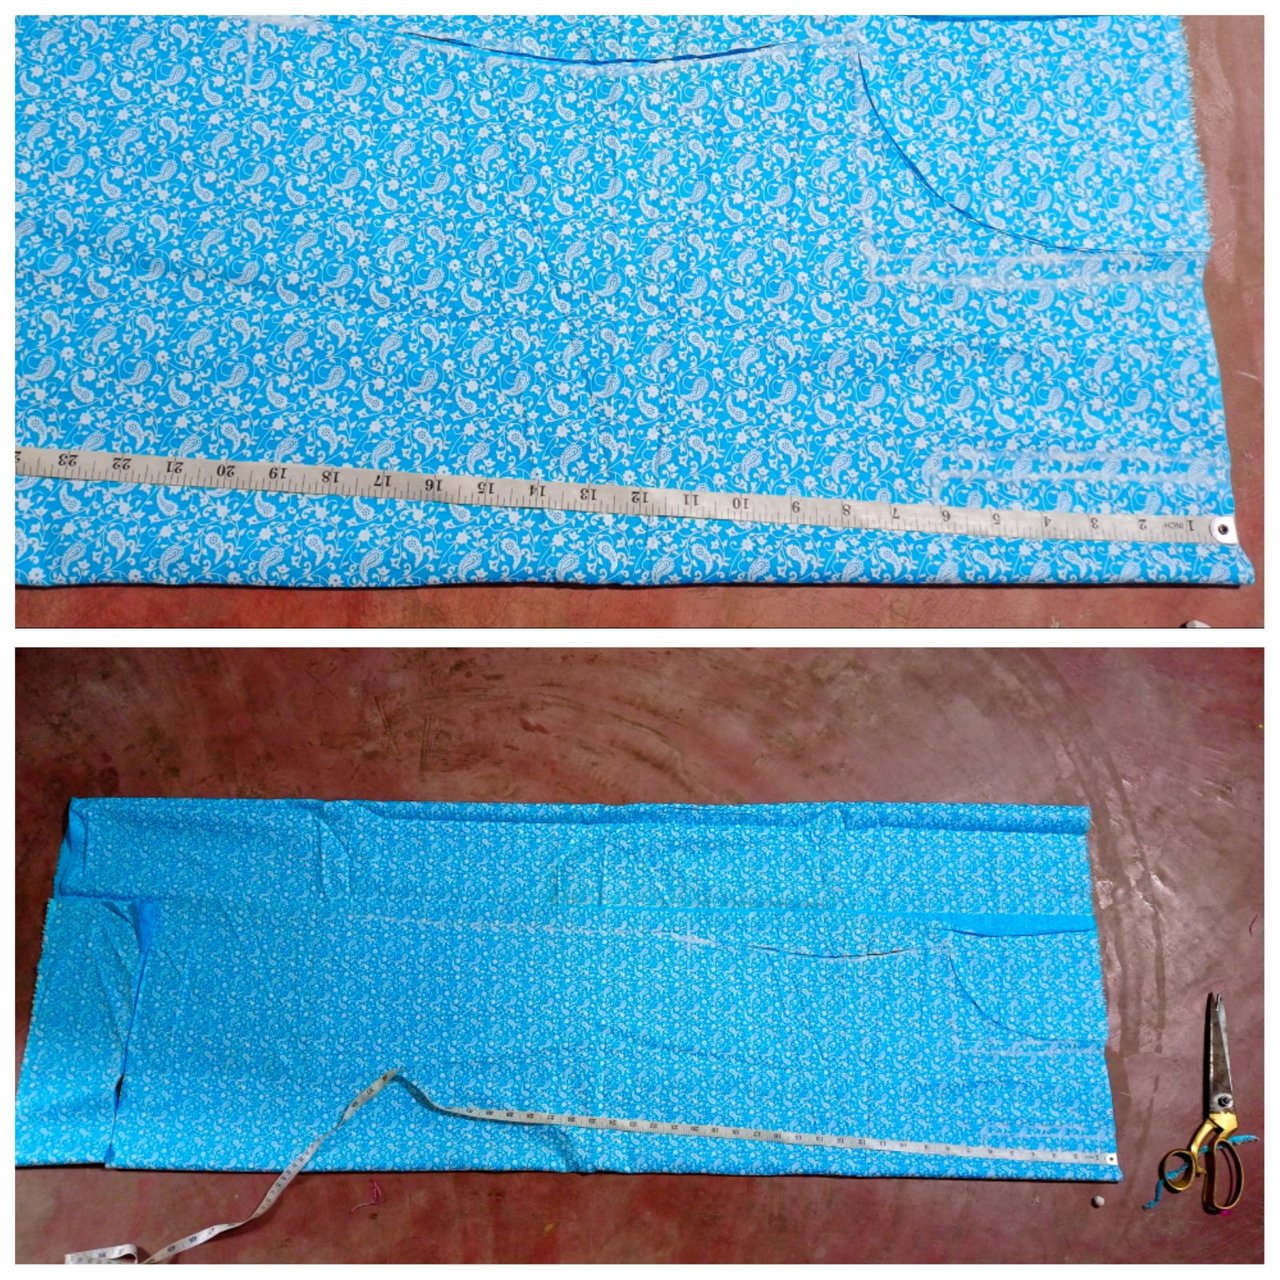
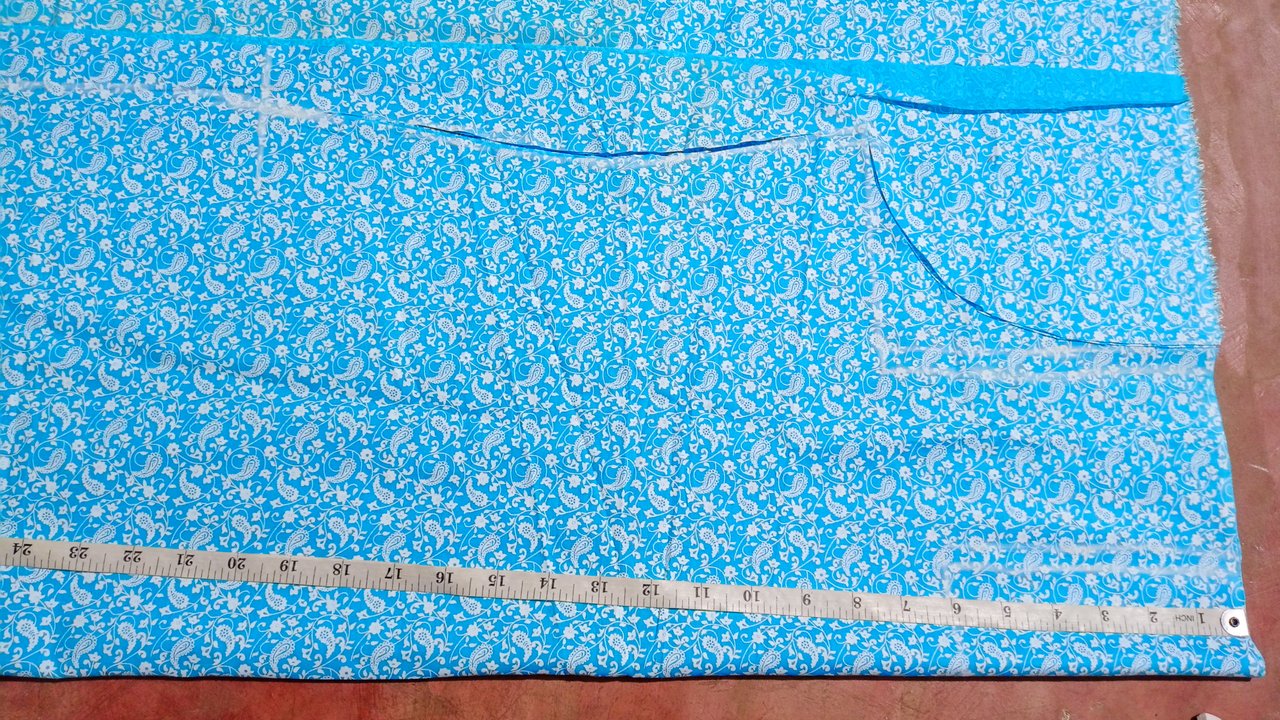
I will take all of them together and cut them according to the spots.
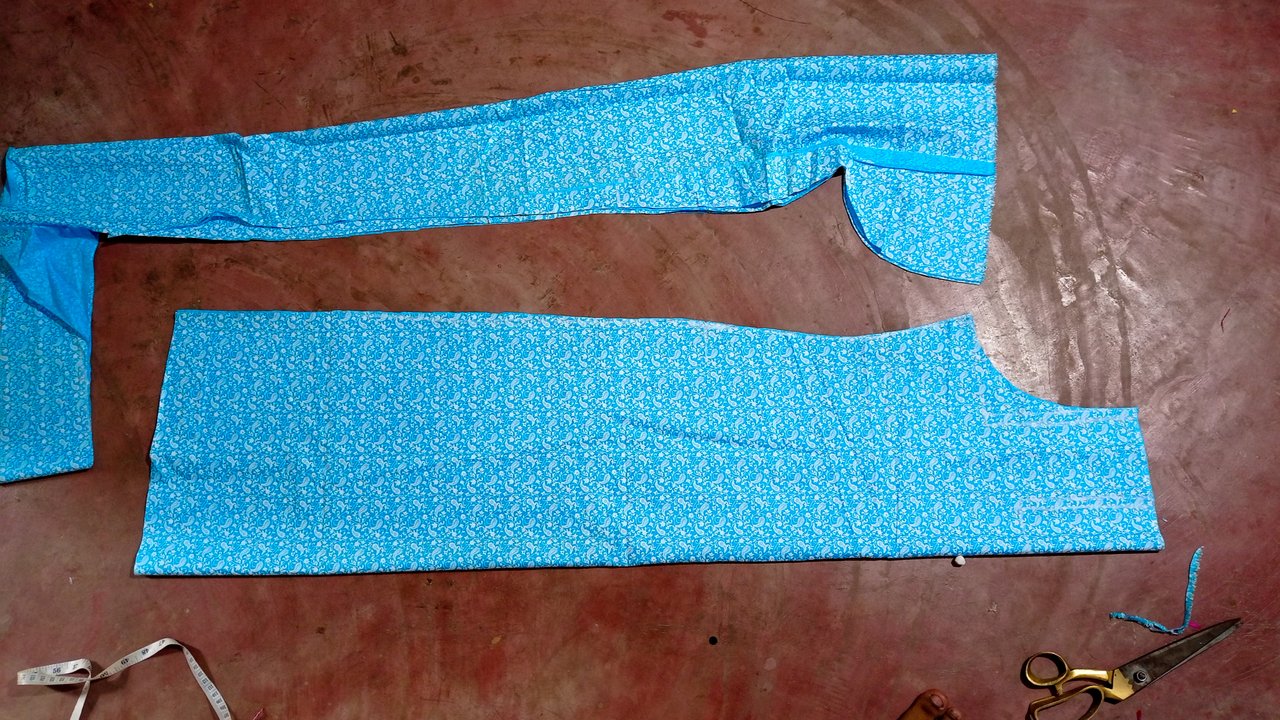
Then I will separate the front lesson and cut the front neck round.
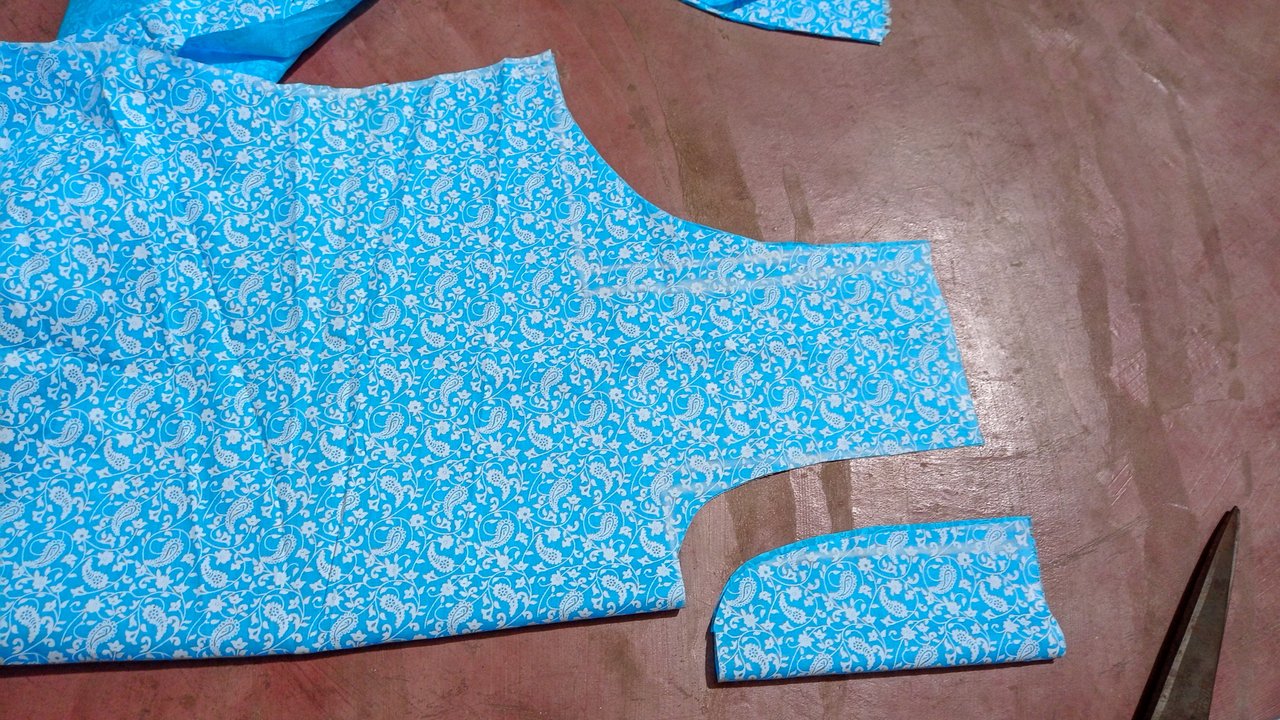
Then in the back lesson, the size of the neck will be 3 inches in length and two and a half inches in the side.
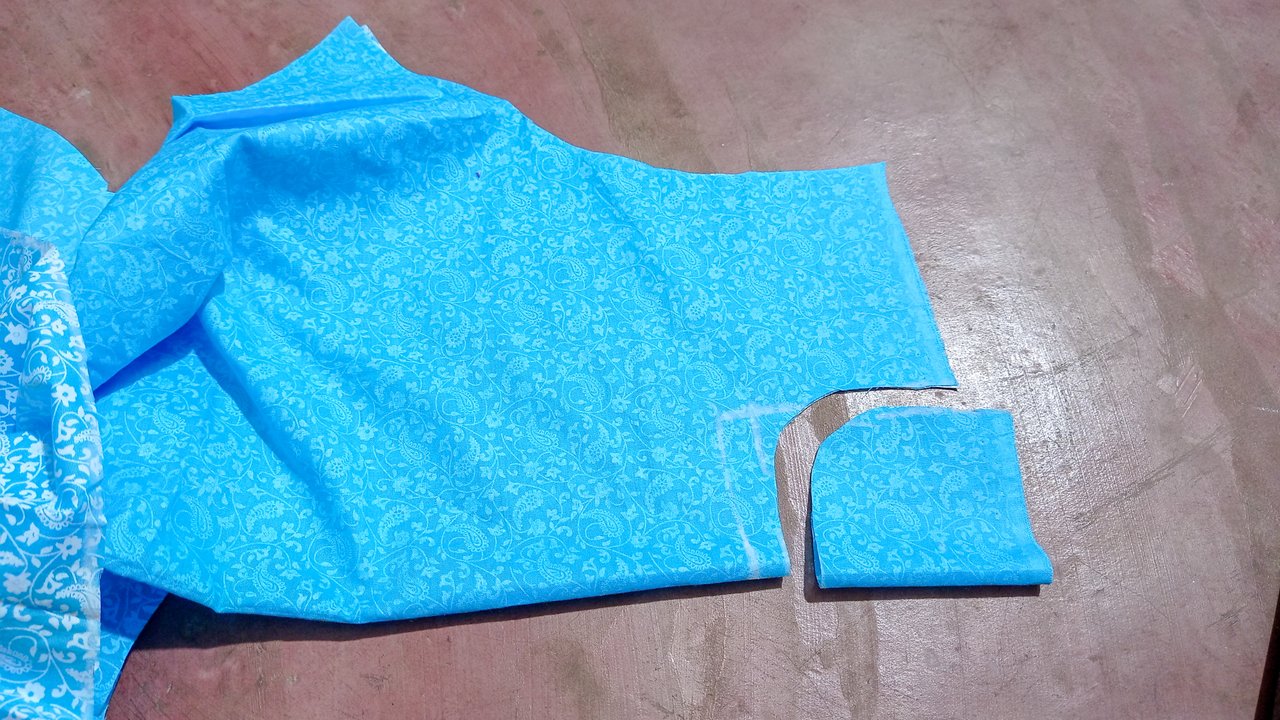
Then I will take the lightning with the cloth for the sleeves. Then I will mark 18 inches long and 6 inches on the side. I will make a round mark with 2 inches on the top. Then I will cut the sleeve according to the stain.
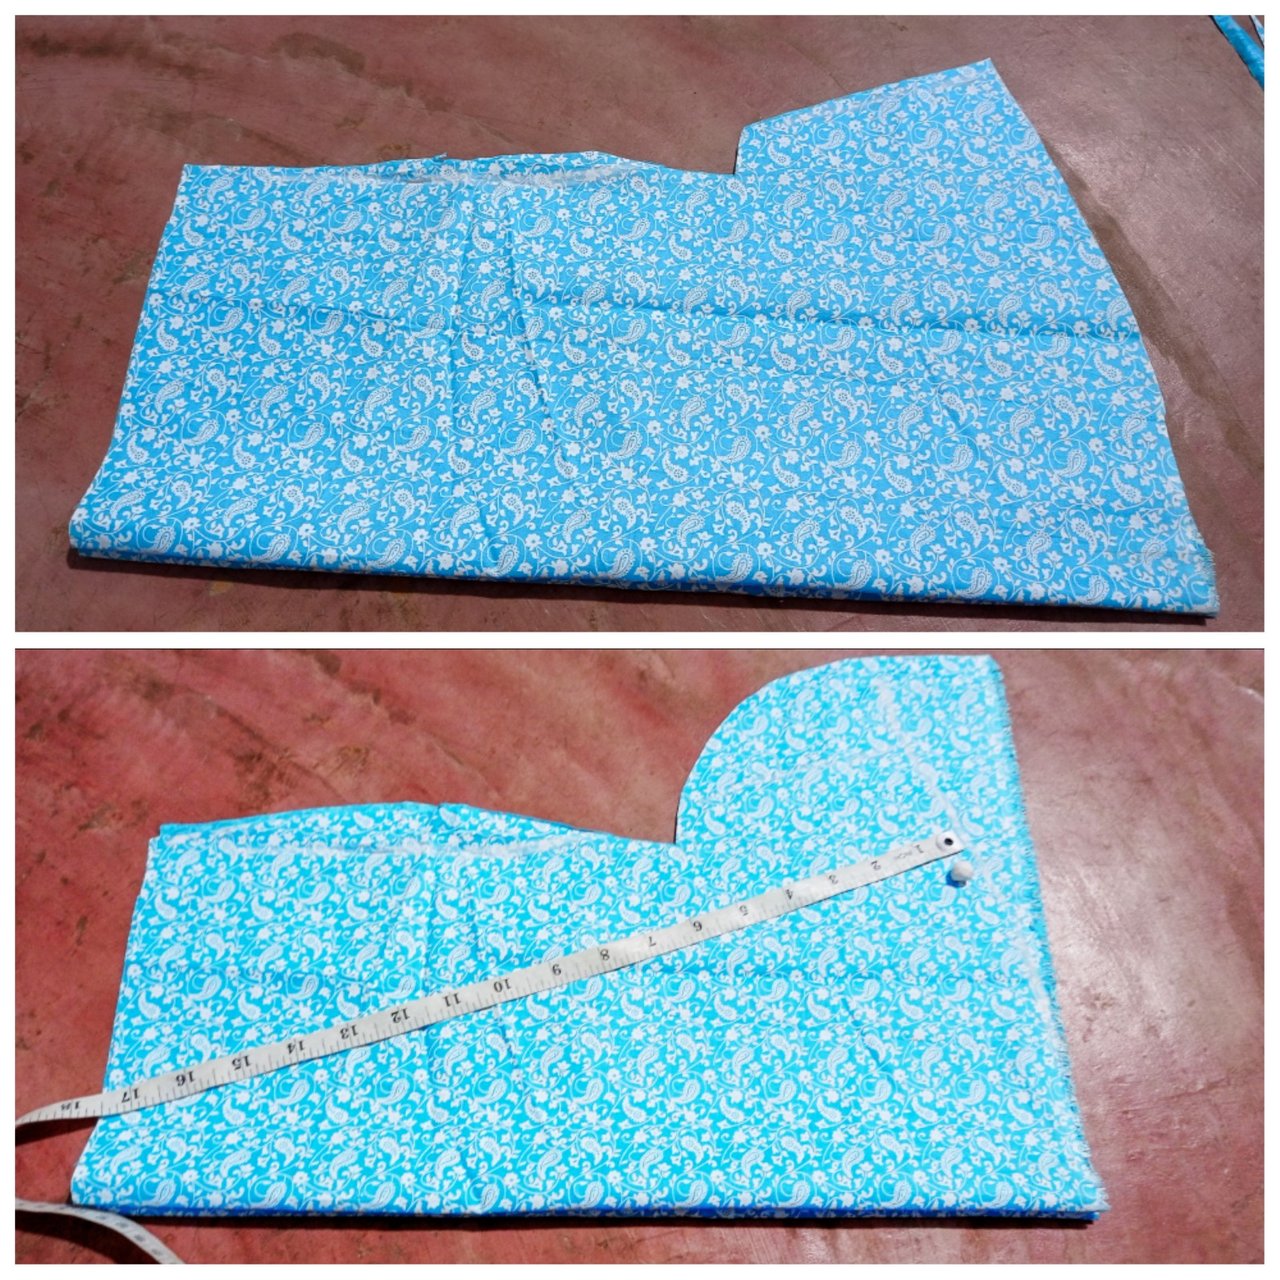
Then I cut the neck for the neck cloth. I will cut two cloths for the neck with the size of them.
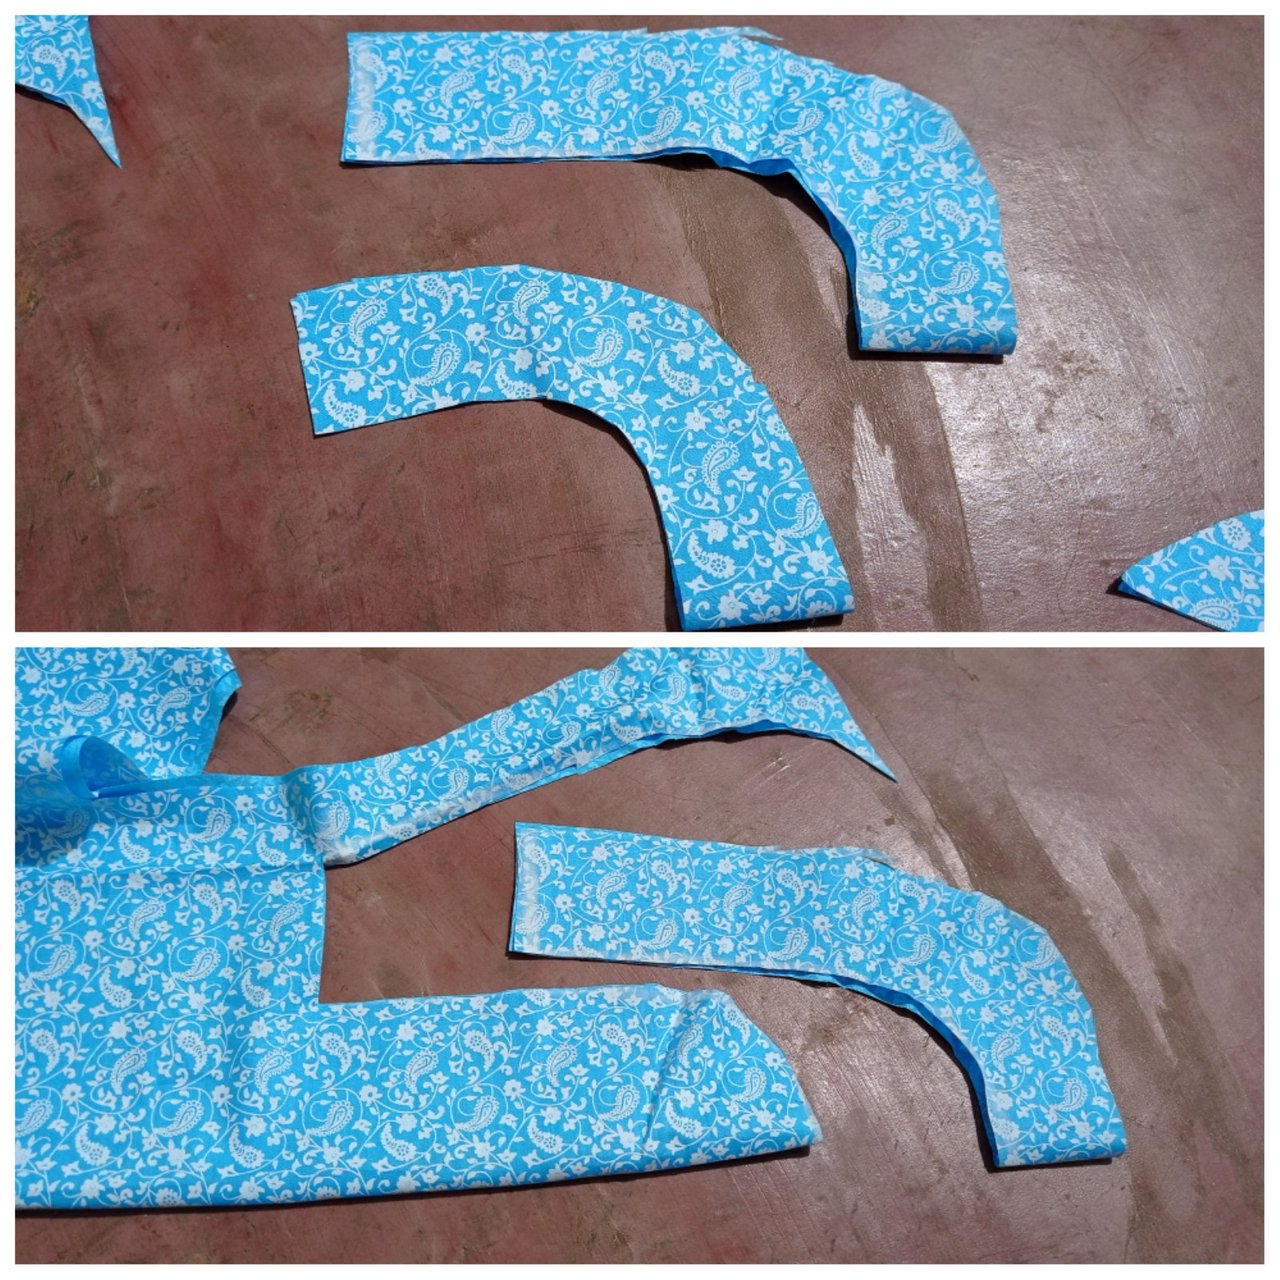
Then I finished cutting my clothes.
stitching clothes:
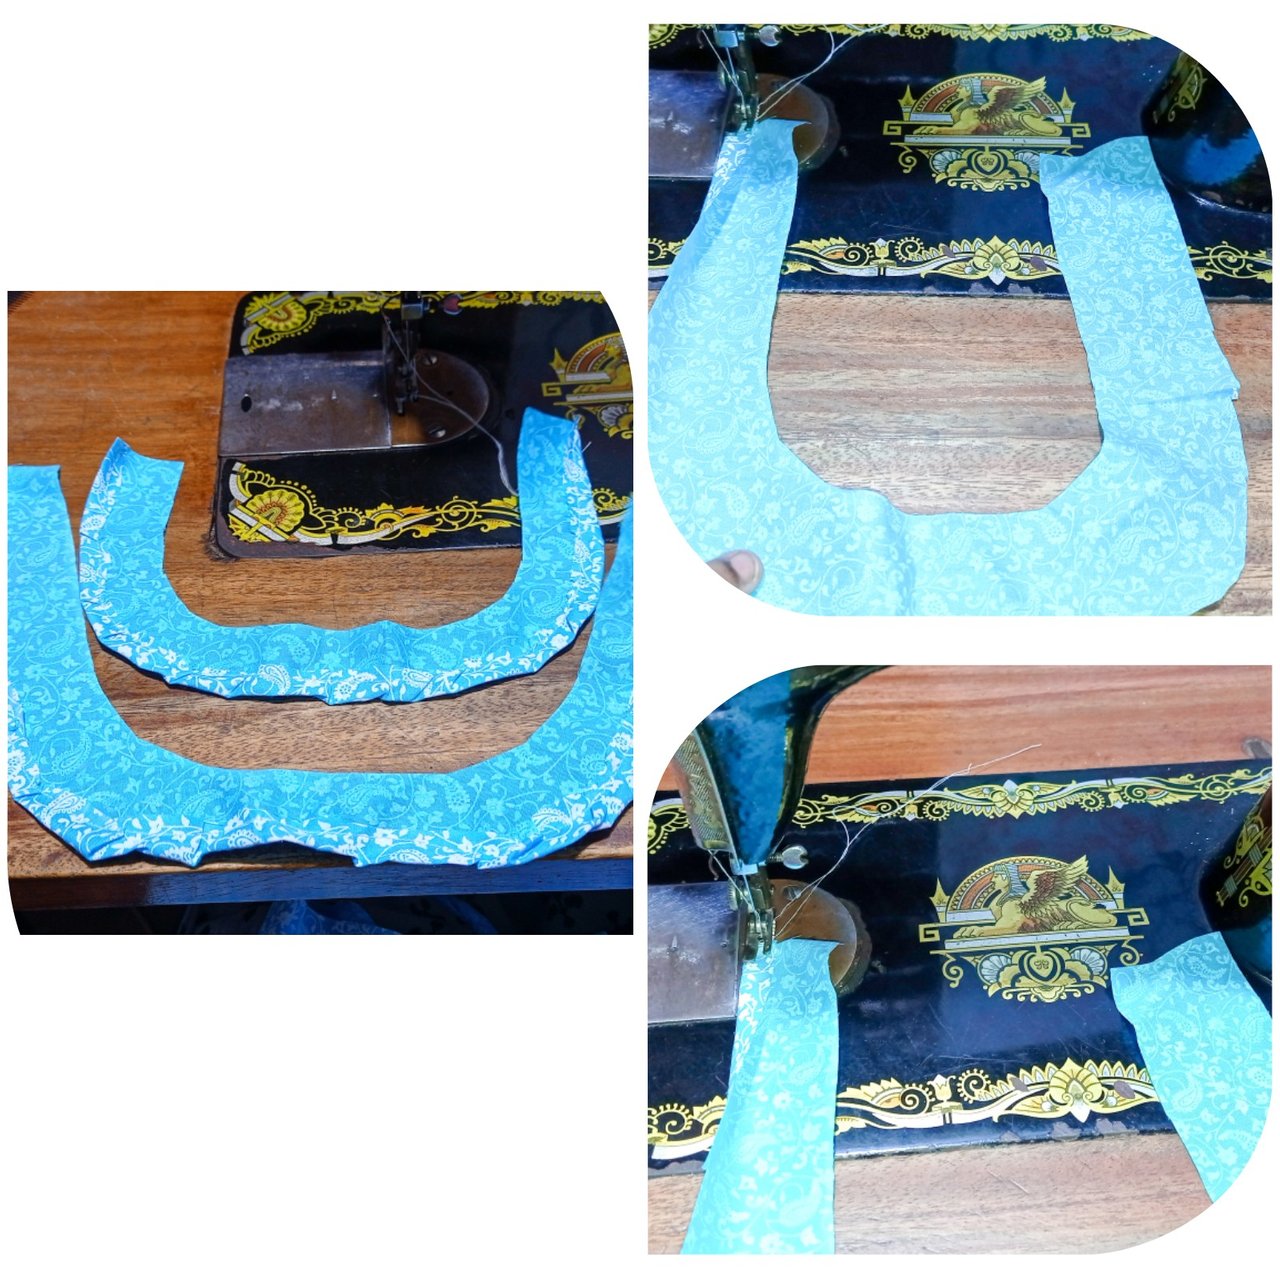
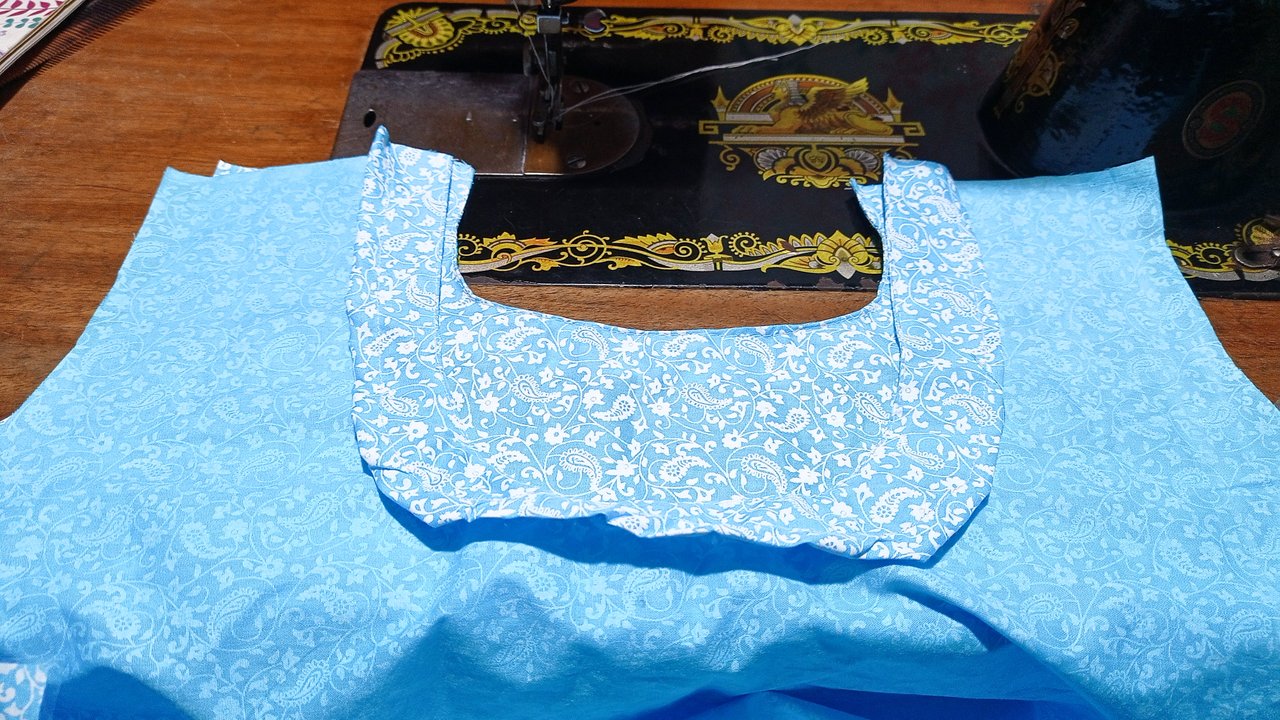
First of all, I will take the two pieces of cloth that I have cut for the neck and sew it on the side and sew it whole. In this way I will sew both the neck cloths.
.jpg)
.jpg)
Then I will take the pill of the shirt and put the same cloth that I sewed on the neck for the neck. Then I will sew it thin. Then I will sew an impression on the back of the neck cloth. In this way I will sew 2 side necks.
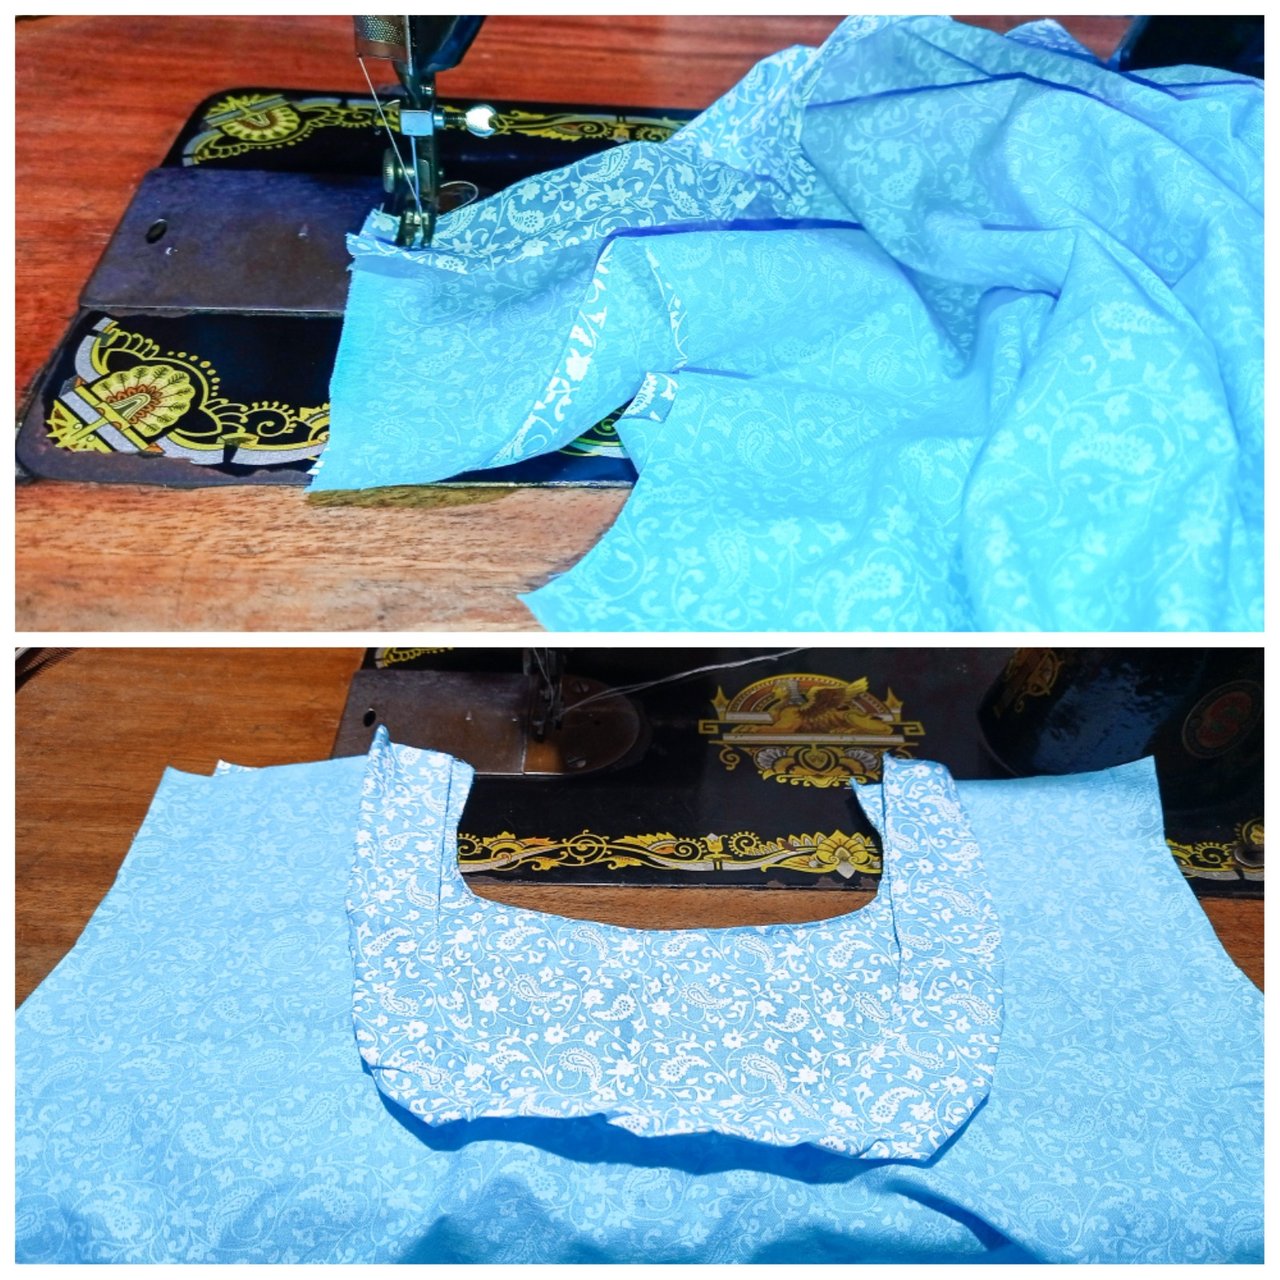
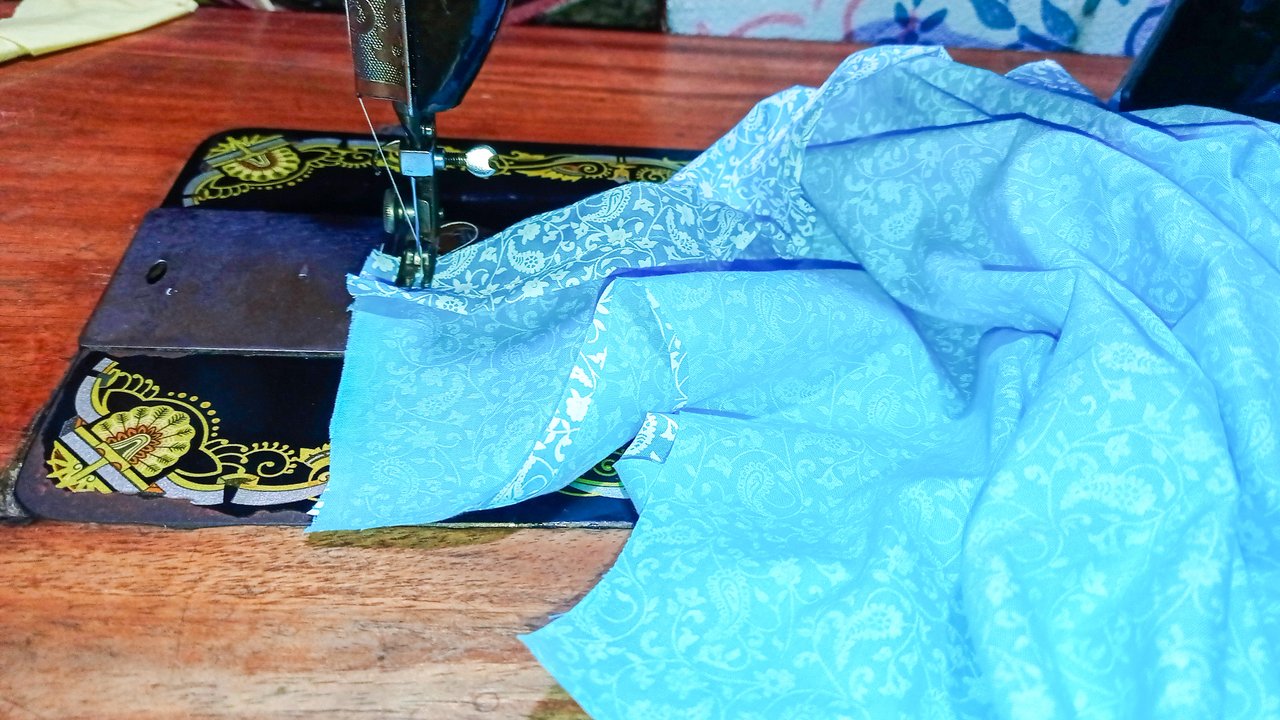
Then I will put the front lesson on top of the back lesson and sew it by joining the mud on both sides.
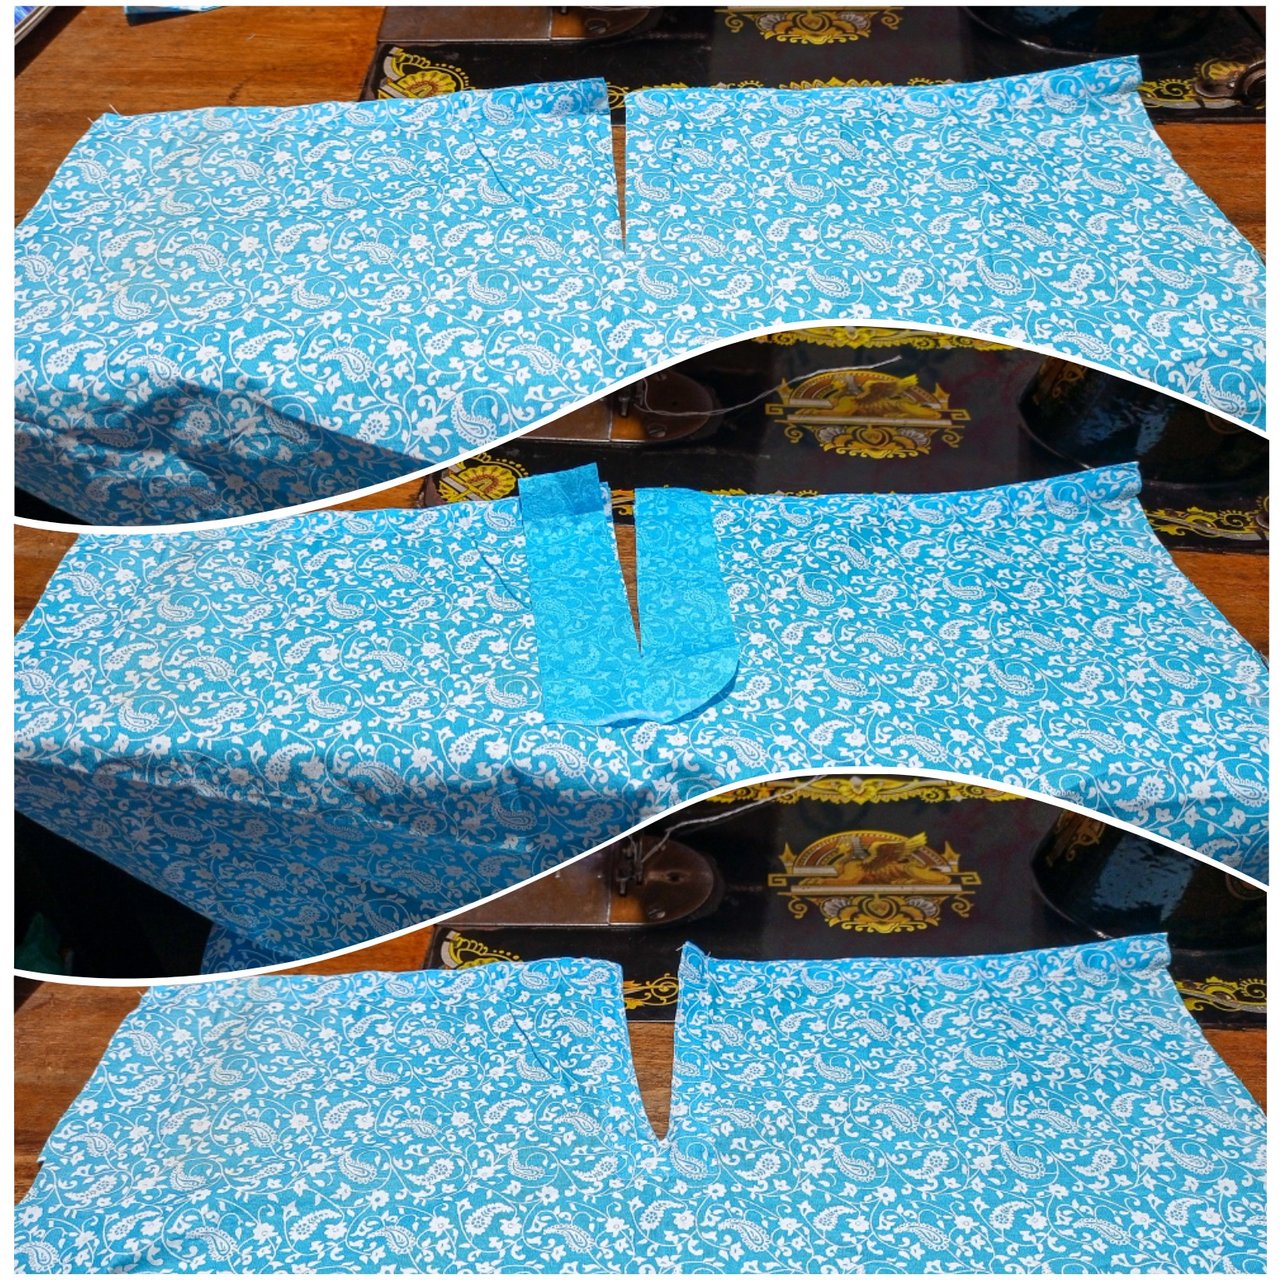
.jpg)
I will then cut the sleeves to the size of 4 inches along the bottom to sew. Because I'll cut the hand and the top a little. Then I will sew a cloth on top of it to sew it. Then I will reverse it and sew the impression.
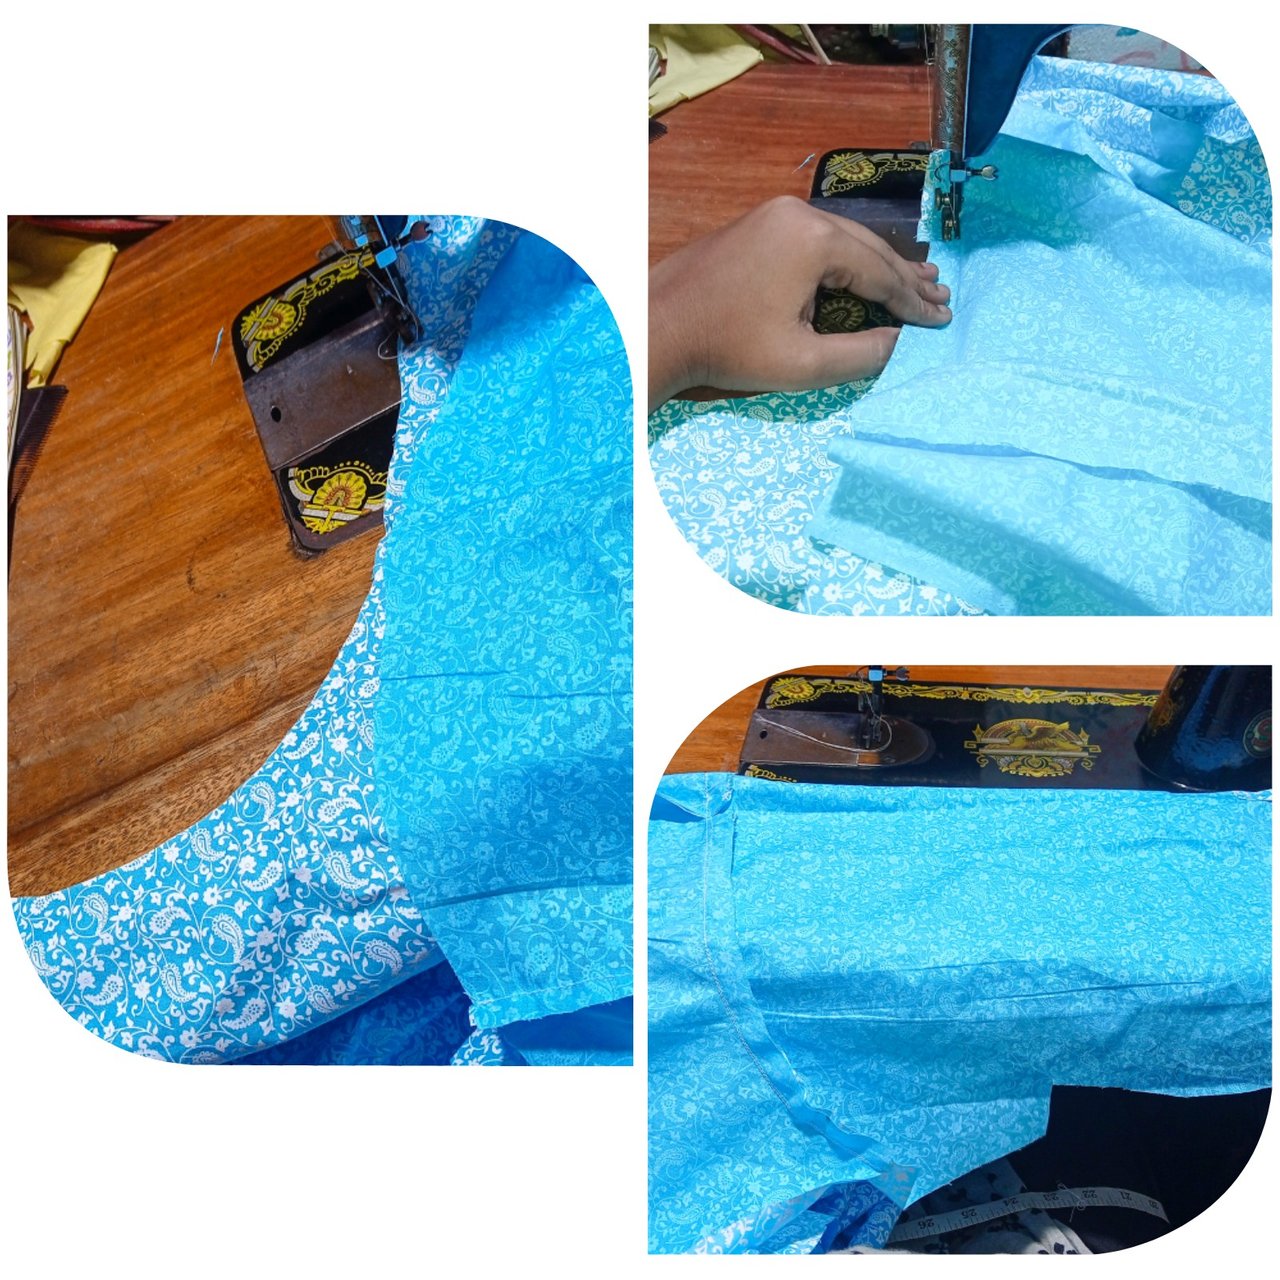
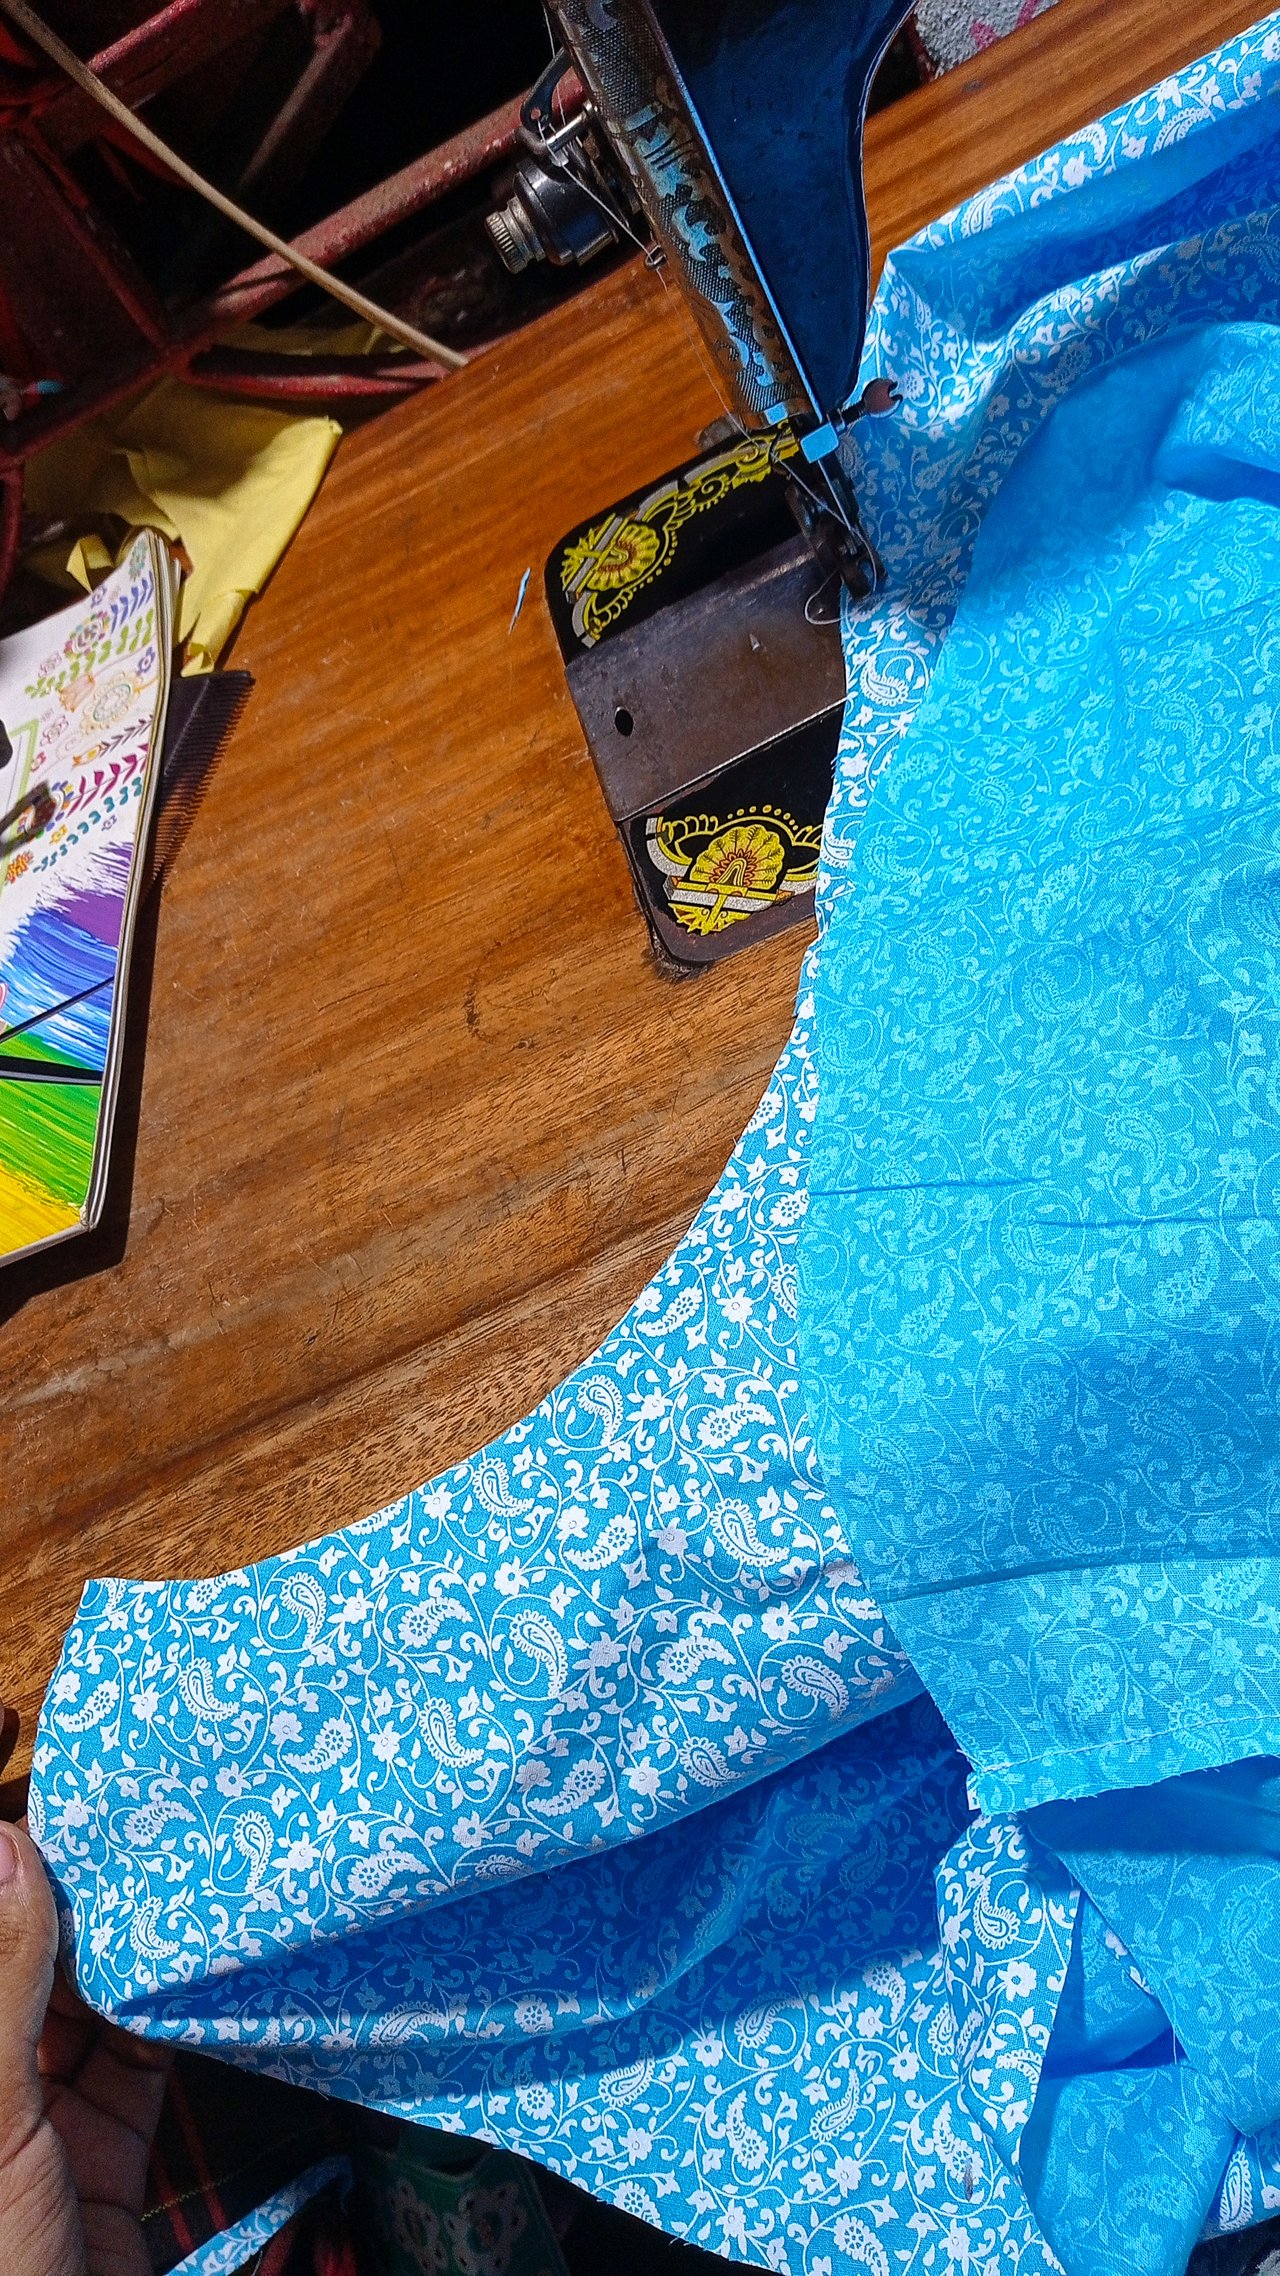
Then I will join the sleeve. I will sew the sleeves with the marks along the middle in the top towards the side and sew in this way. I will see that the sleeve has joined.
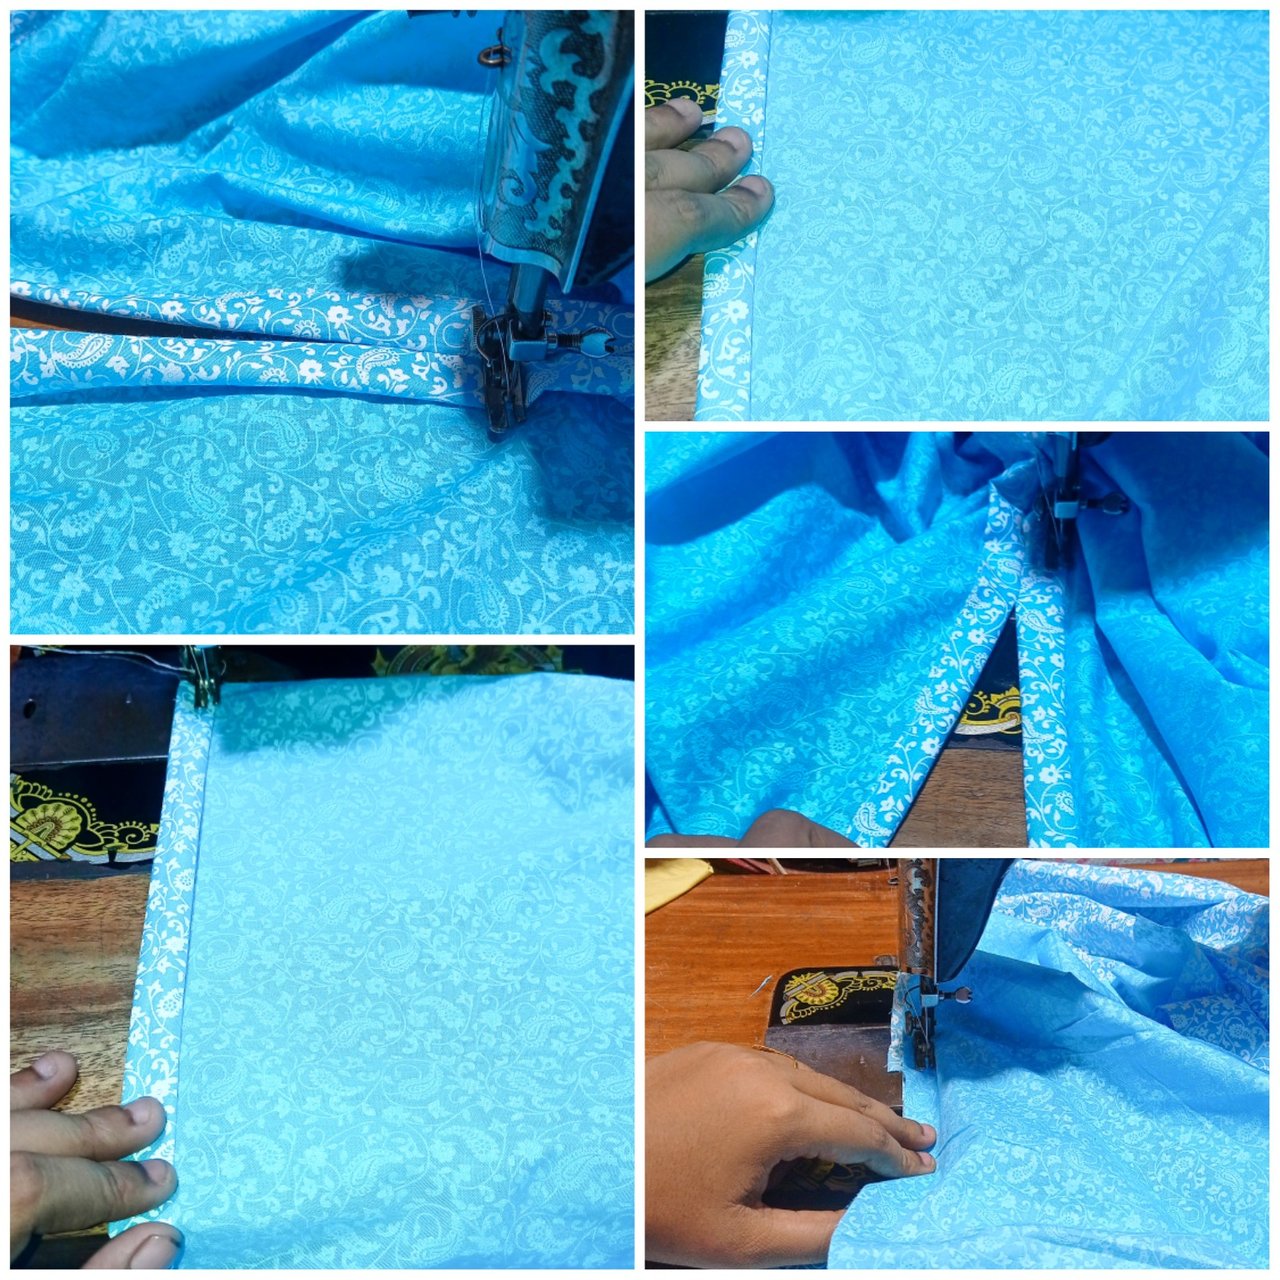
.jpg)
.jpg)
.jpg)
Then I will sew the size of the body from the mouth to the waist with the size of the sleeves. In this way I will join the two sides. Then I will sew the following site. For this, I will sew it from the bottom to the top by folding it in half an inch. Then I will fold it again and go down to the back fold and sew the whole site in this way.
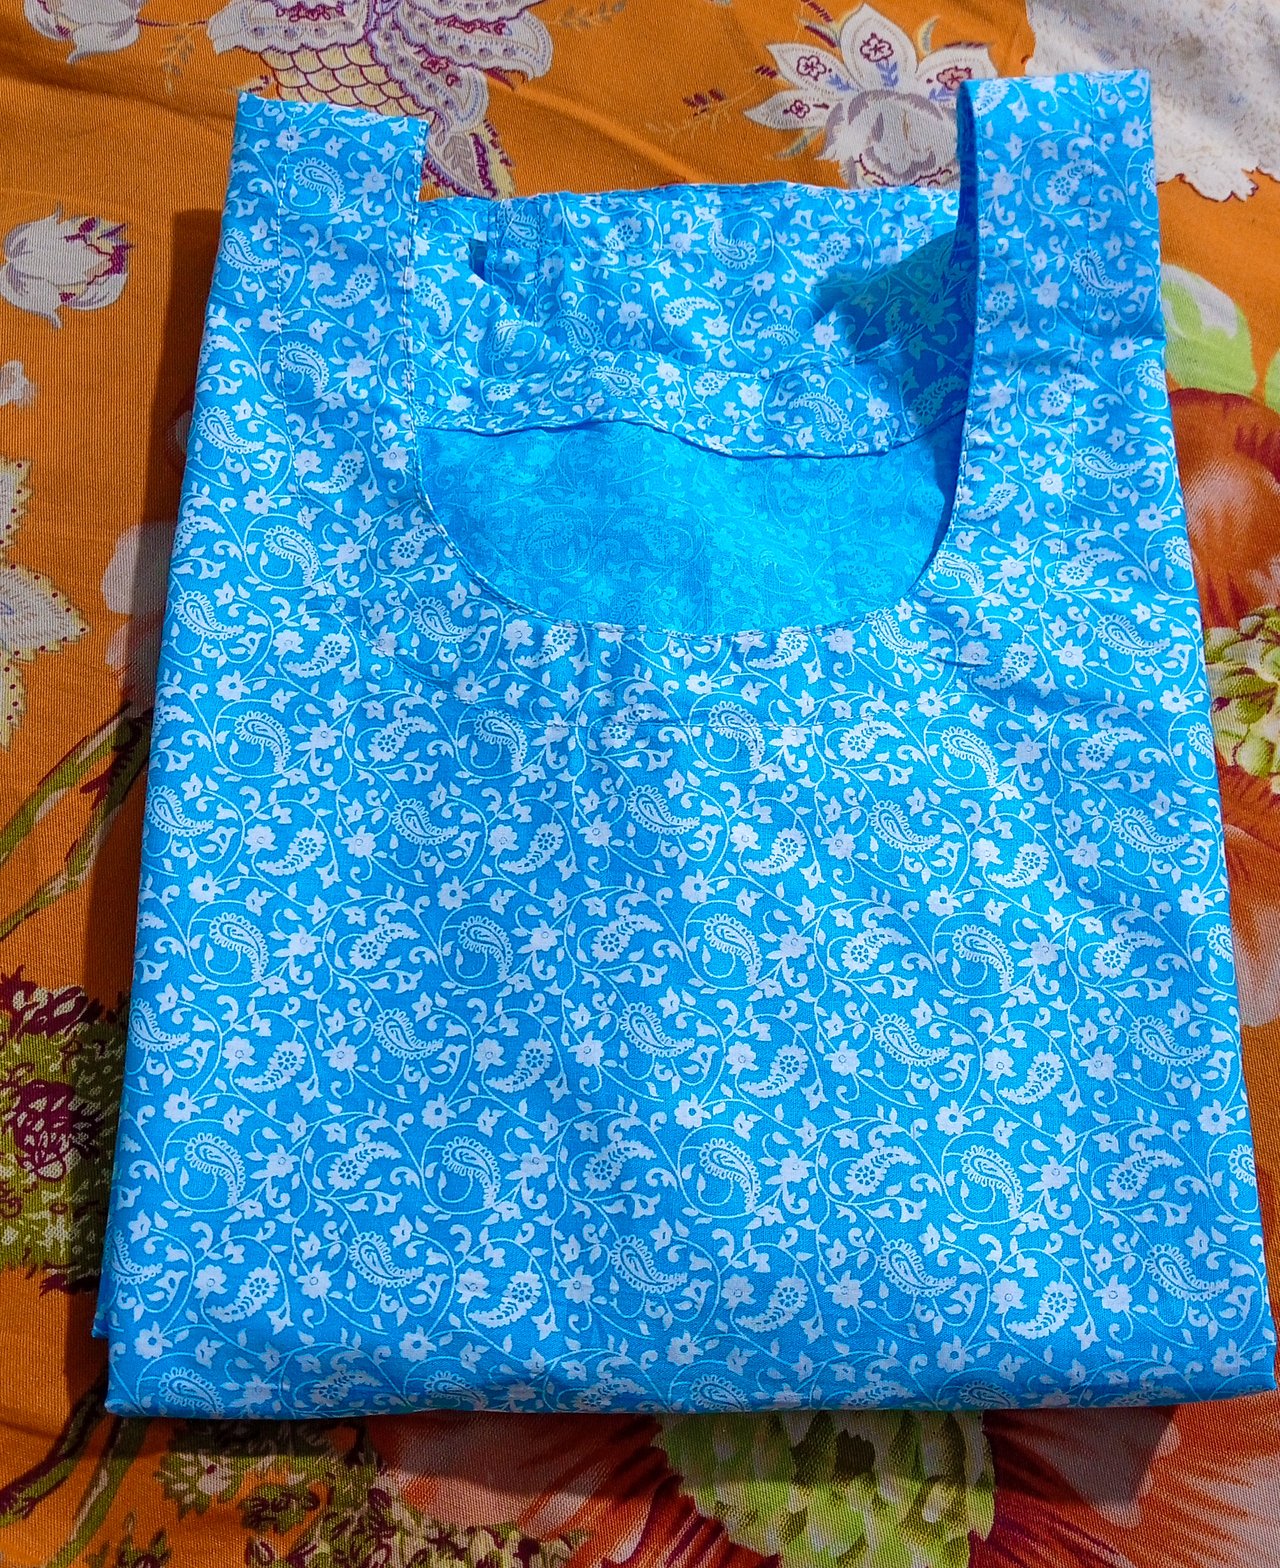
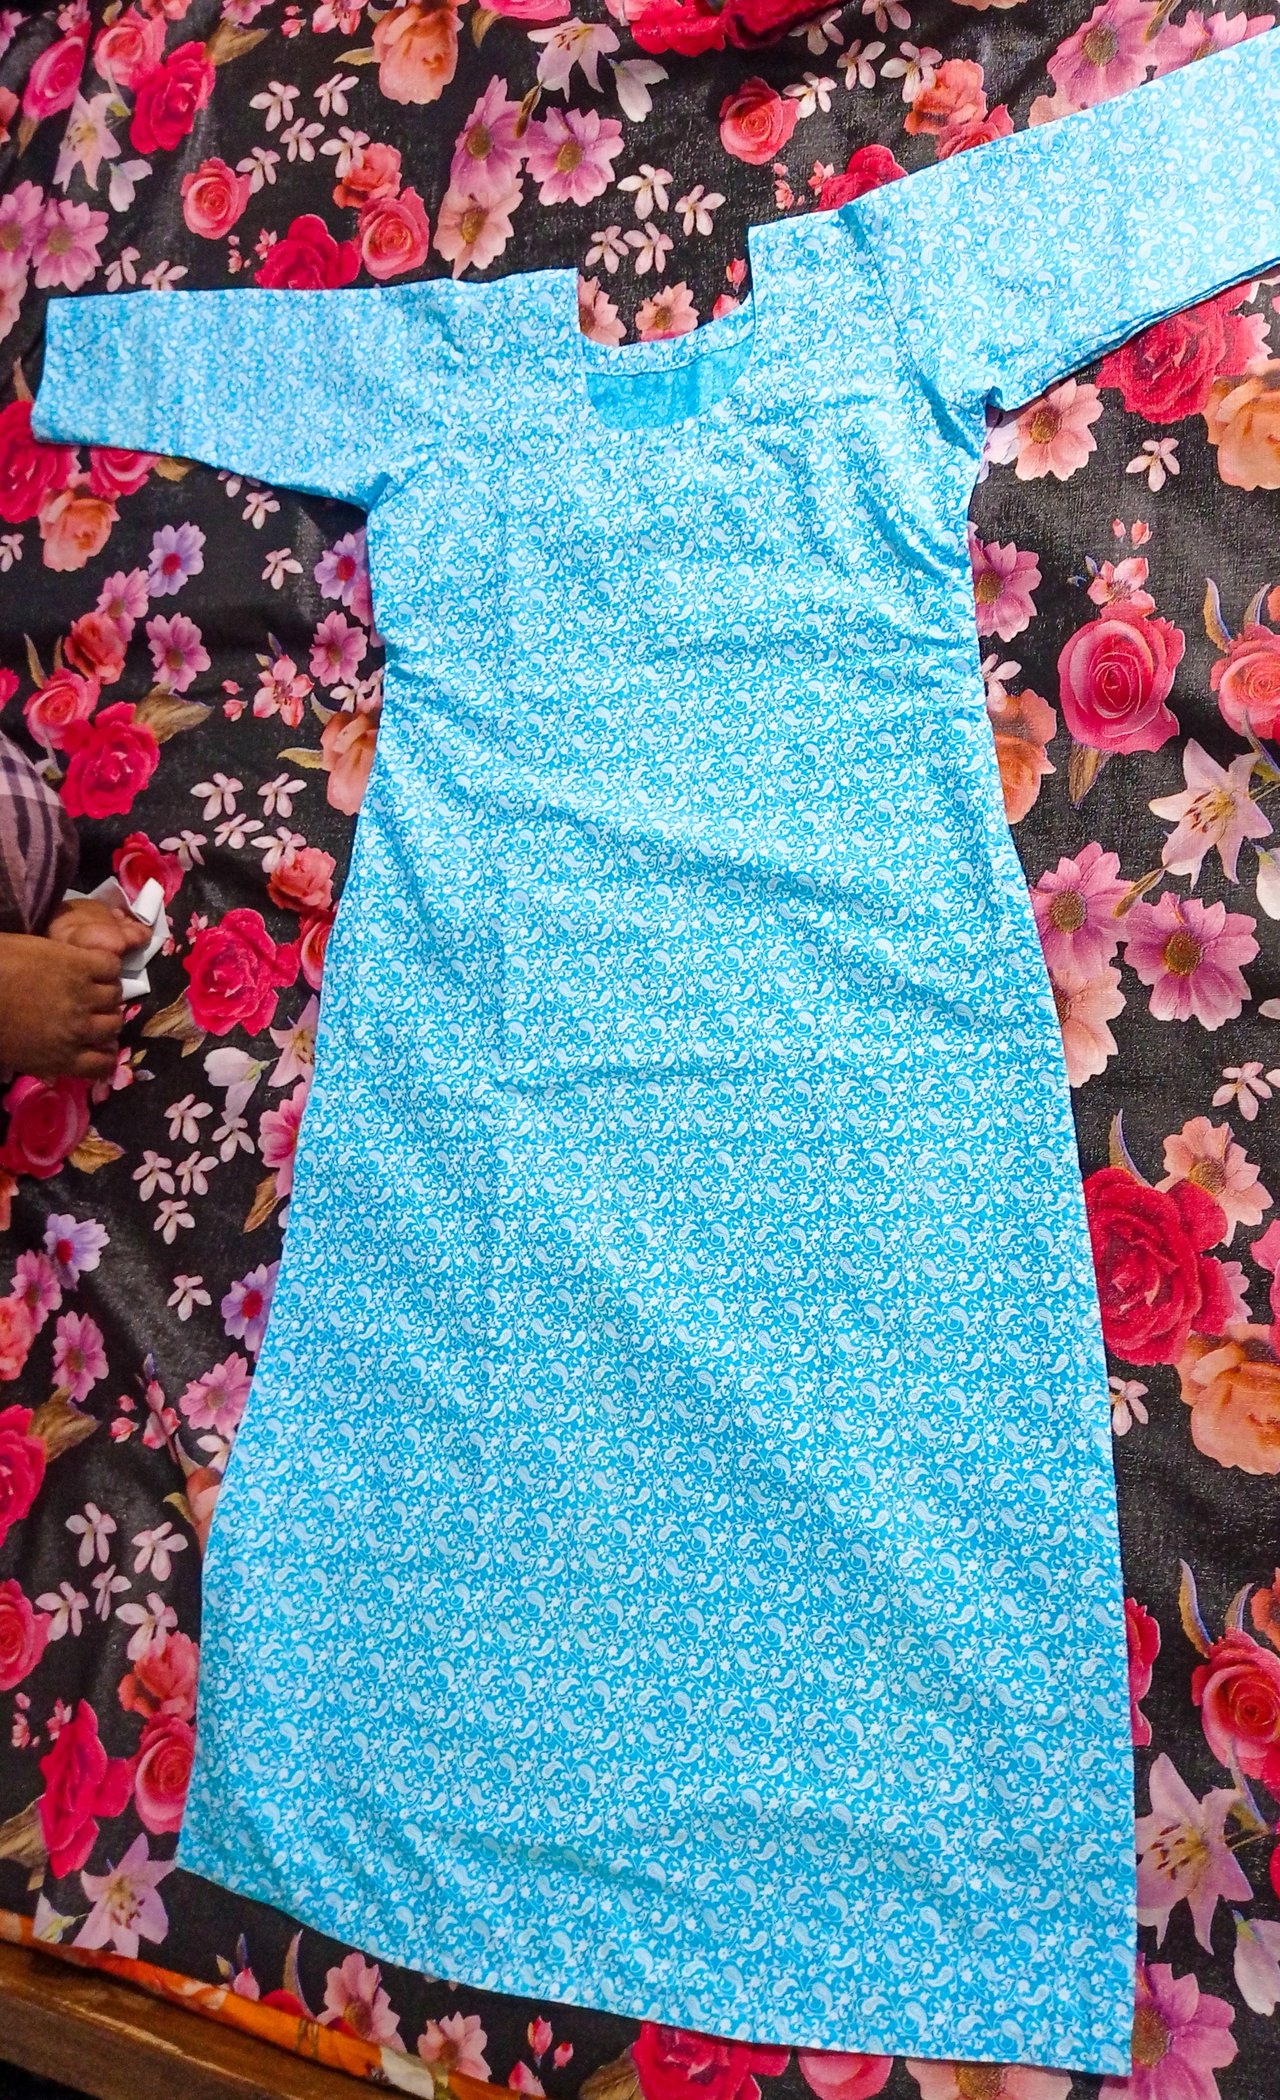
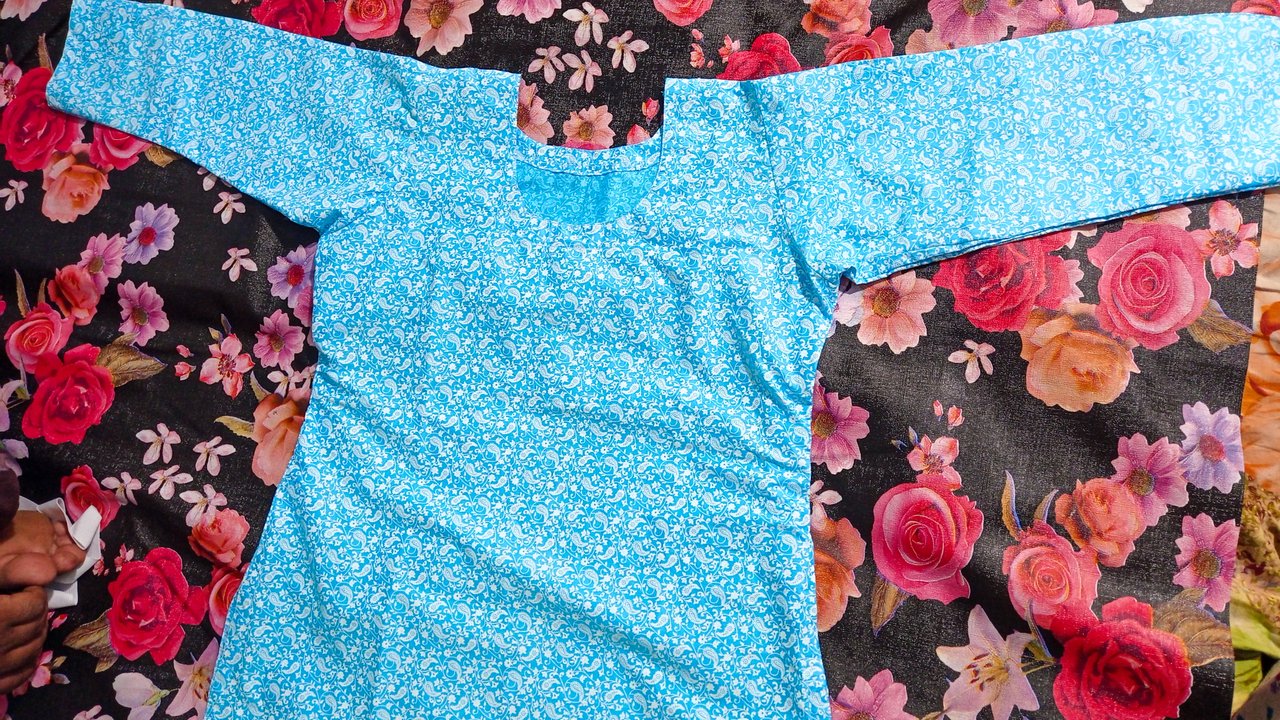
Then my clothes will be sewn. Then I will iron and fold the shirt.
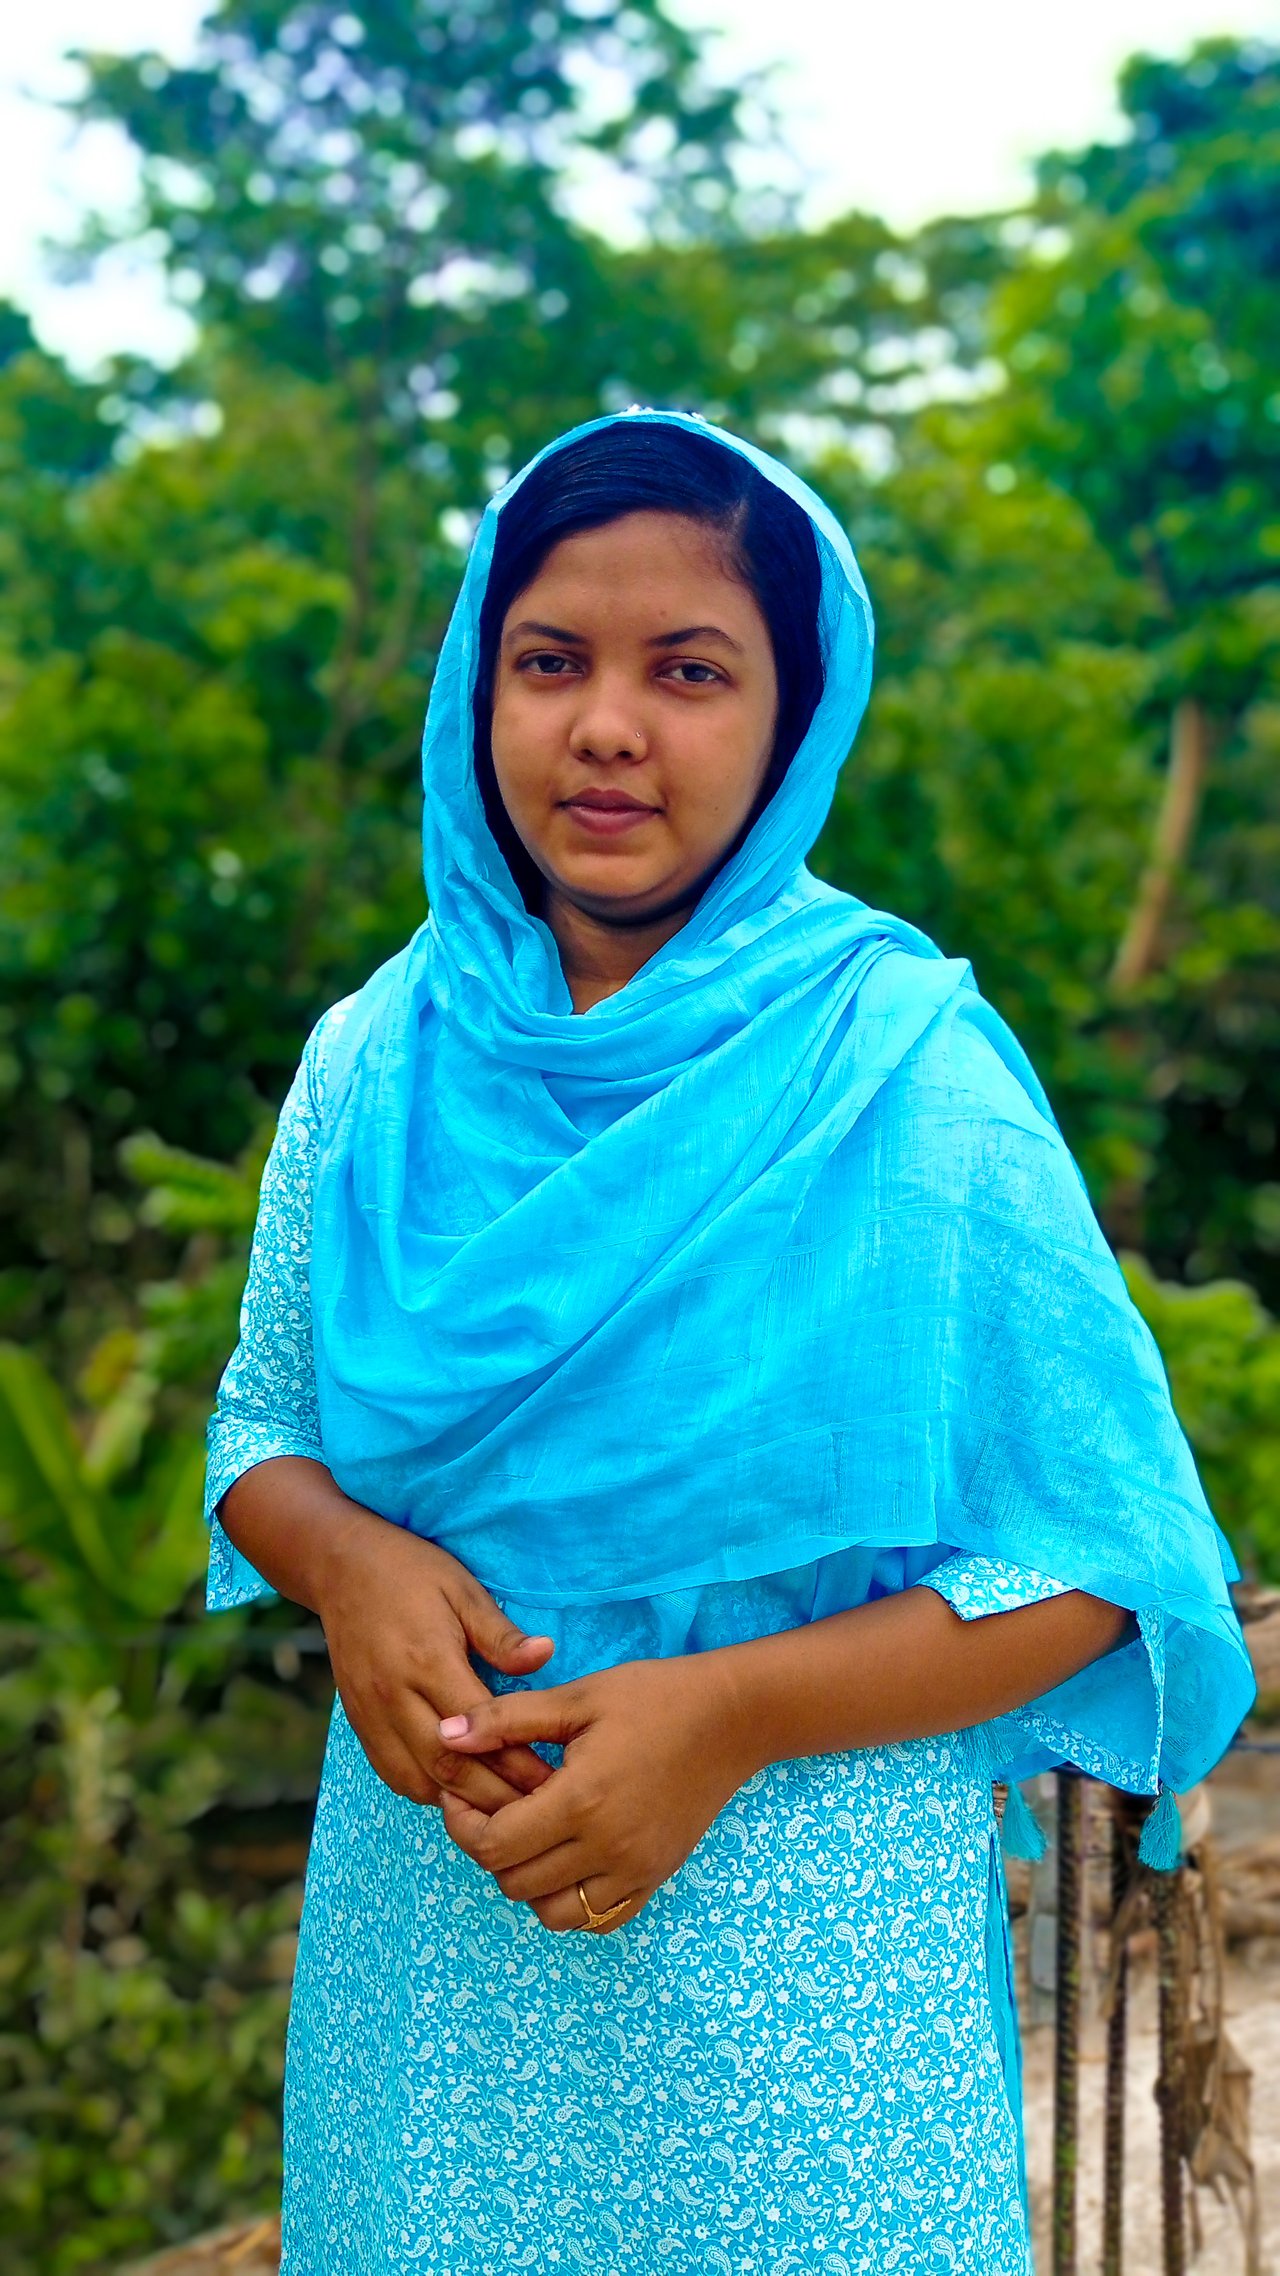
Then I took the shirt later.
