@arjinarahman ©
#Bangladesh 🇧🇩
As-salamu Alaikum.
Hello Steemians!
Hope you all are doing well. Today, I am participating in an amazing contest in the "Steem For Ladies" community, organized by @ngoenyi ma'am .
Here is: Contest Link .
Let’s get started!
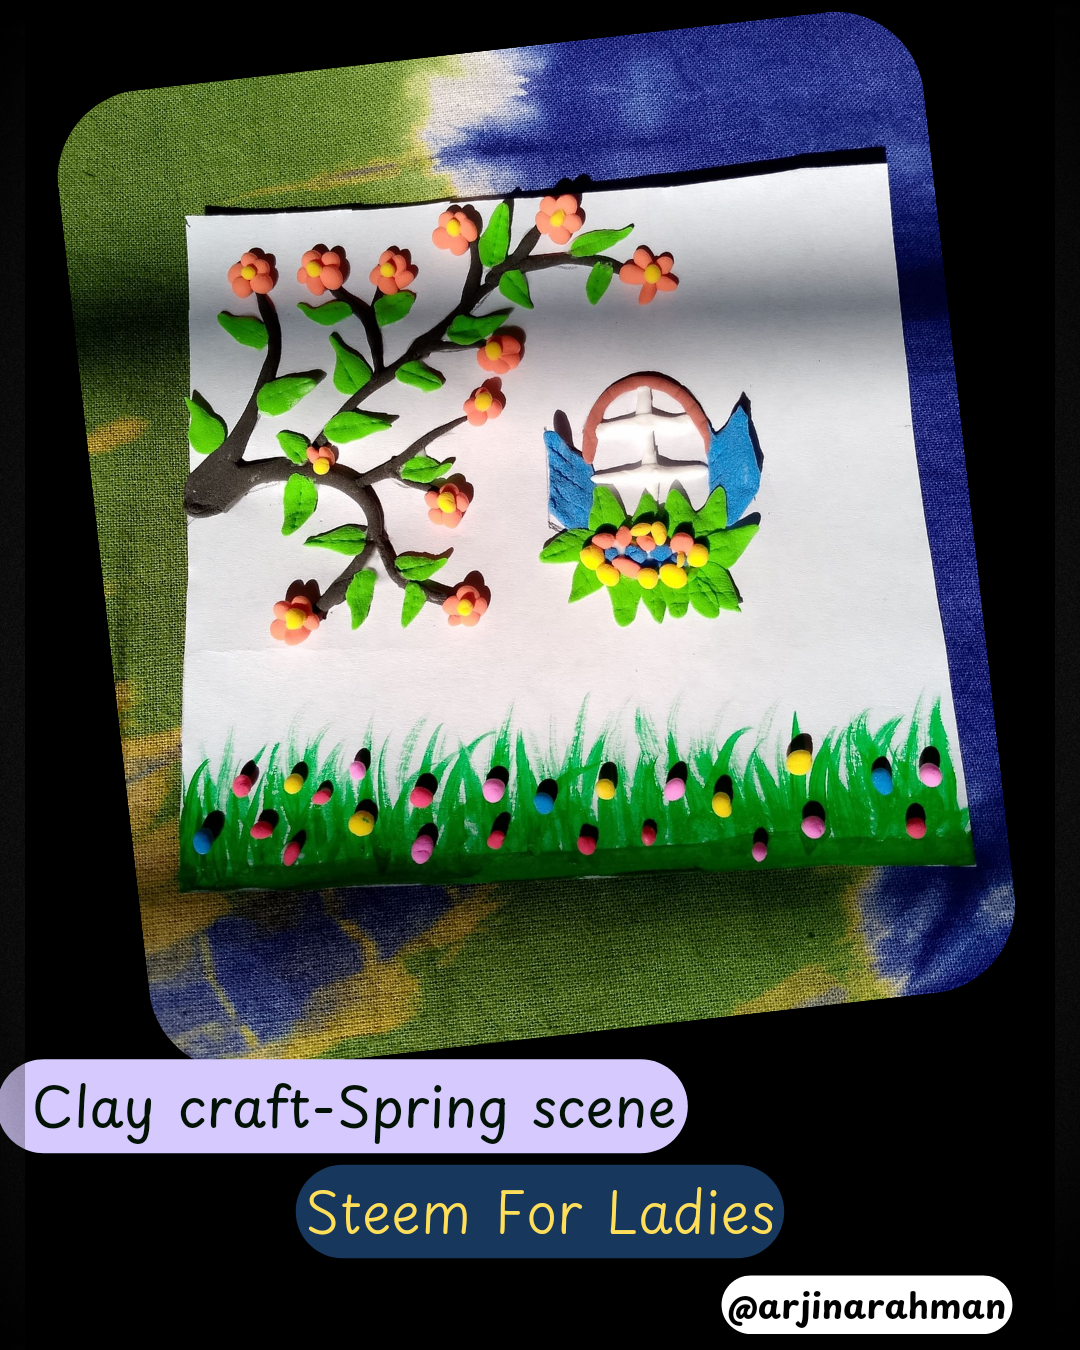
Crafting of a Spring Scene |
|---|
 |
|---|
Designed with Canva Pro

 |
|---|
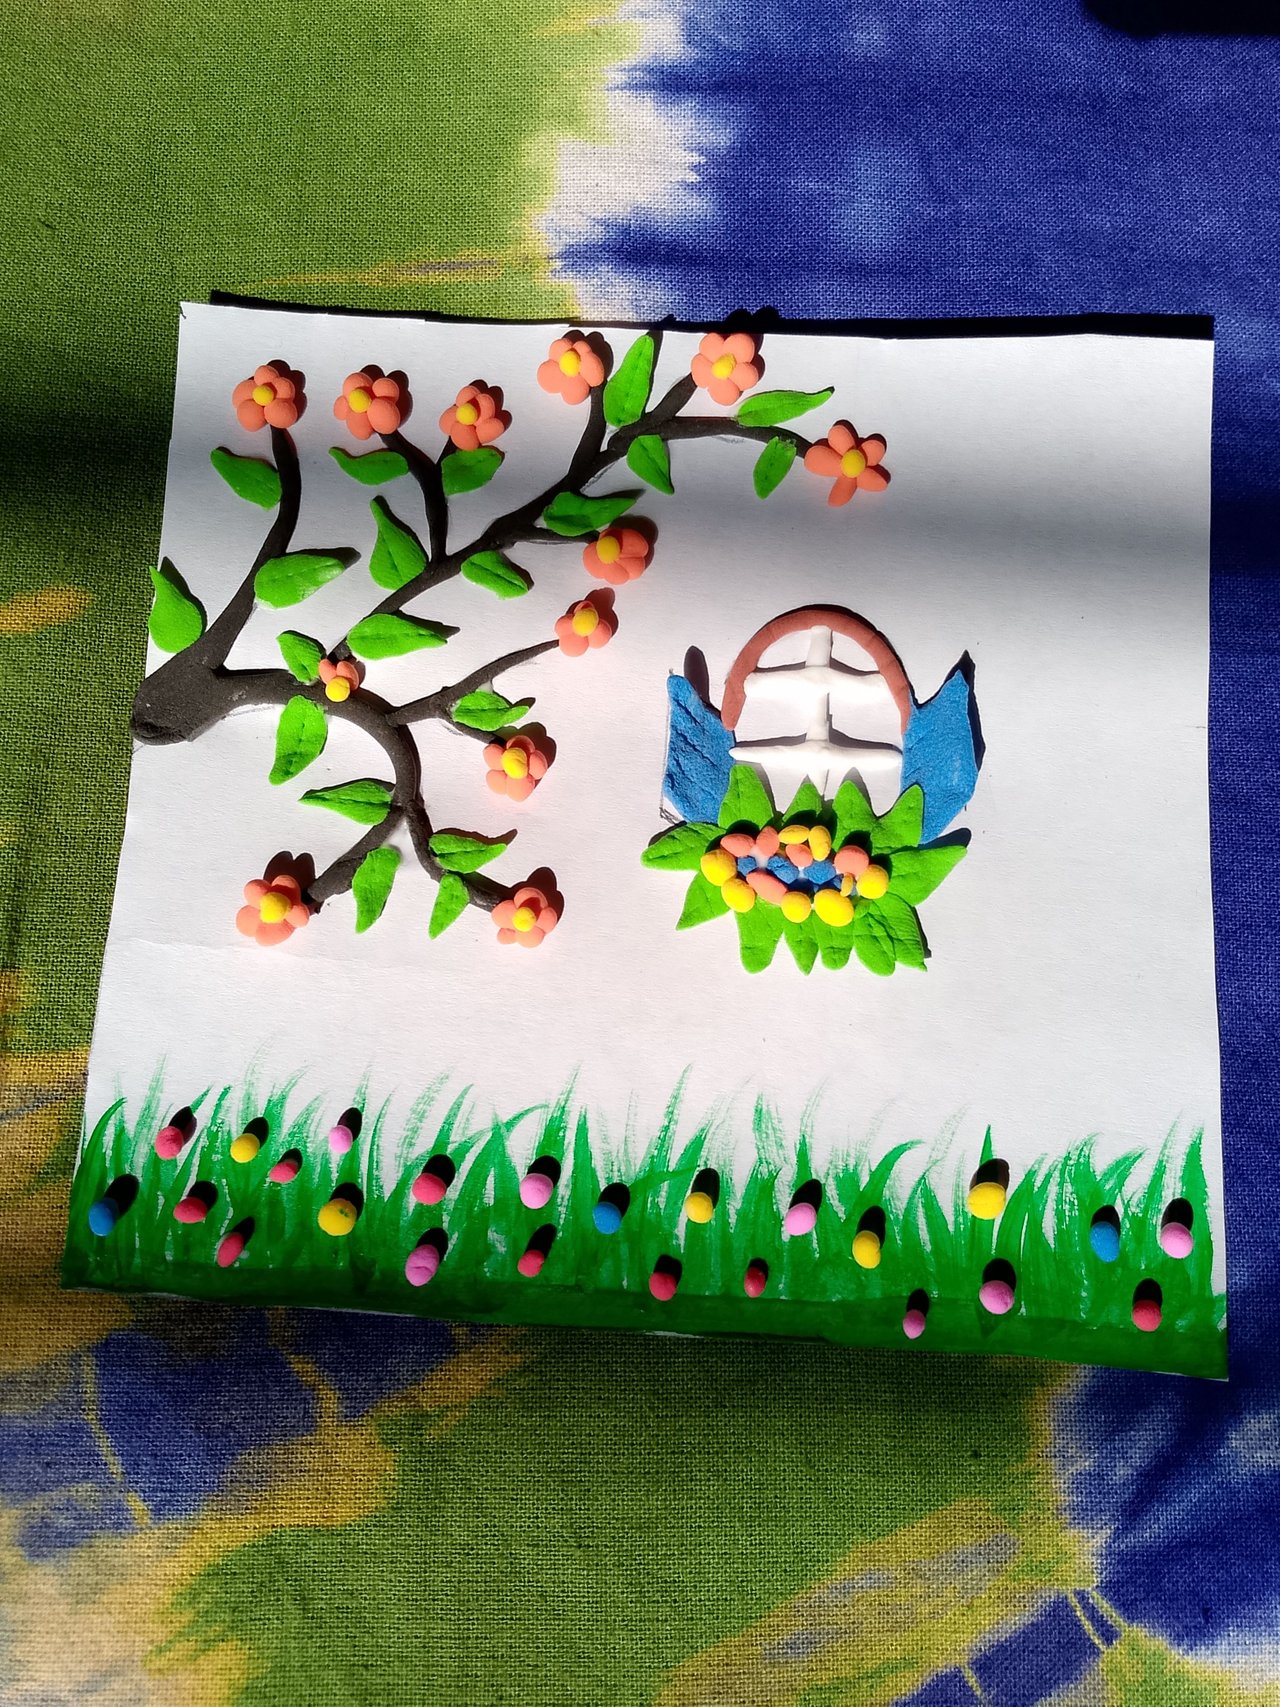
 | A Glimpse of My Craft |
|---|

Crafting Tools
🟥 Clay
🟦 Clay Cutters
🟪 Sculpting Tools
🟨 Rolling Pin
⬛ Adhesive-Glue

Today, I am going to share a clay craft of a spring scene with you all. Without further delay, let’s get started!
Step 01
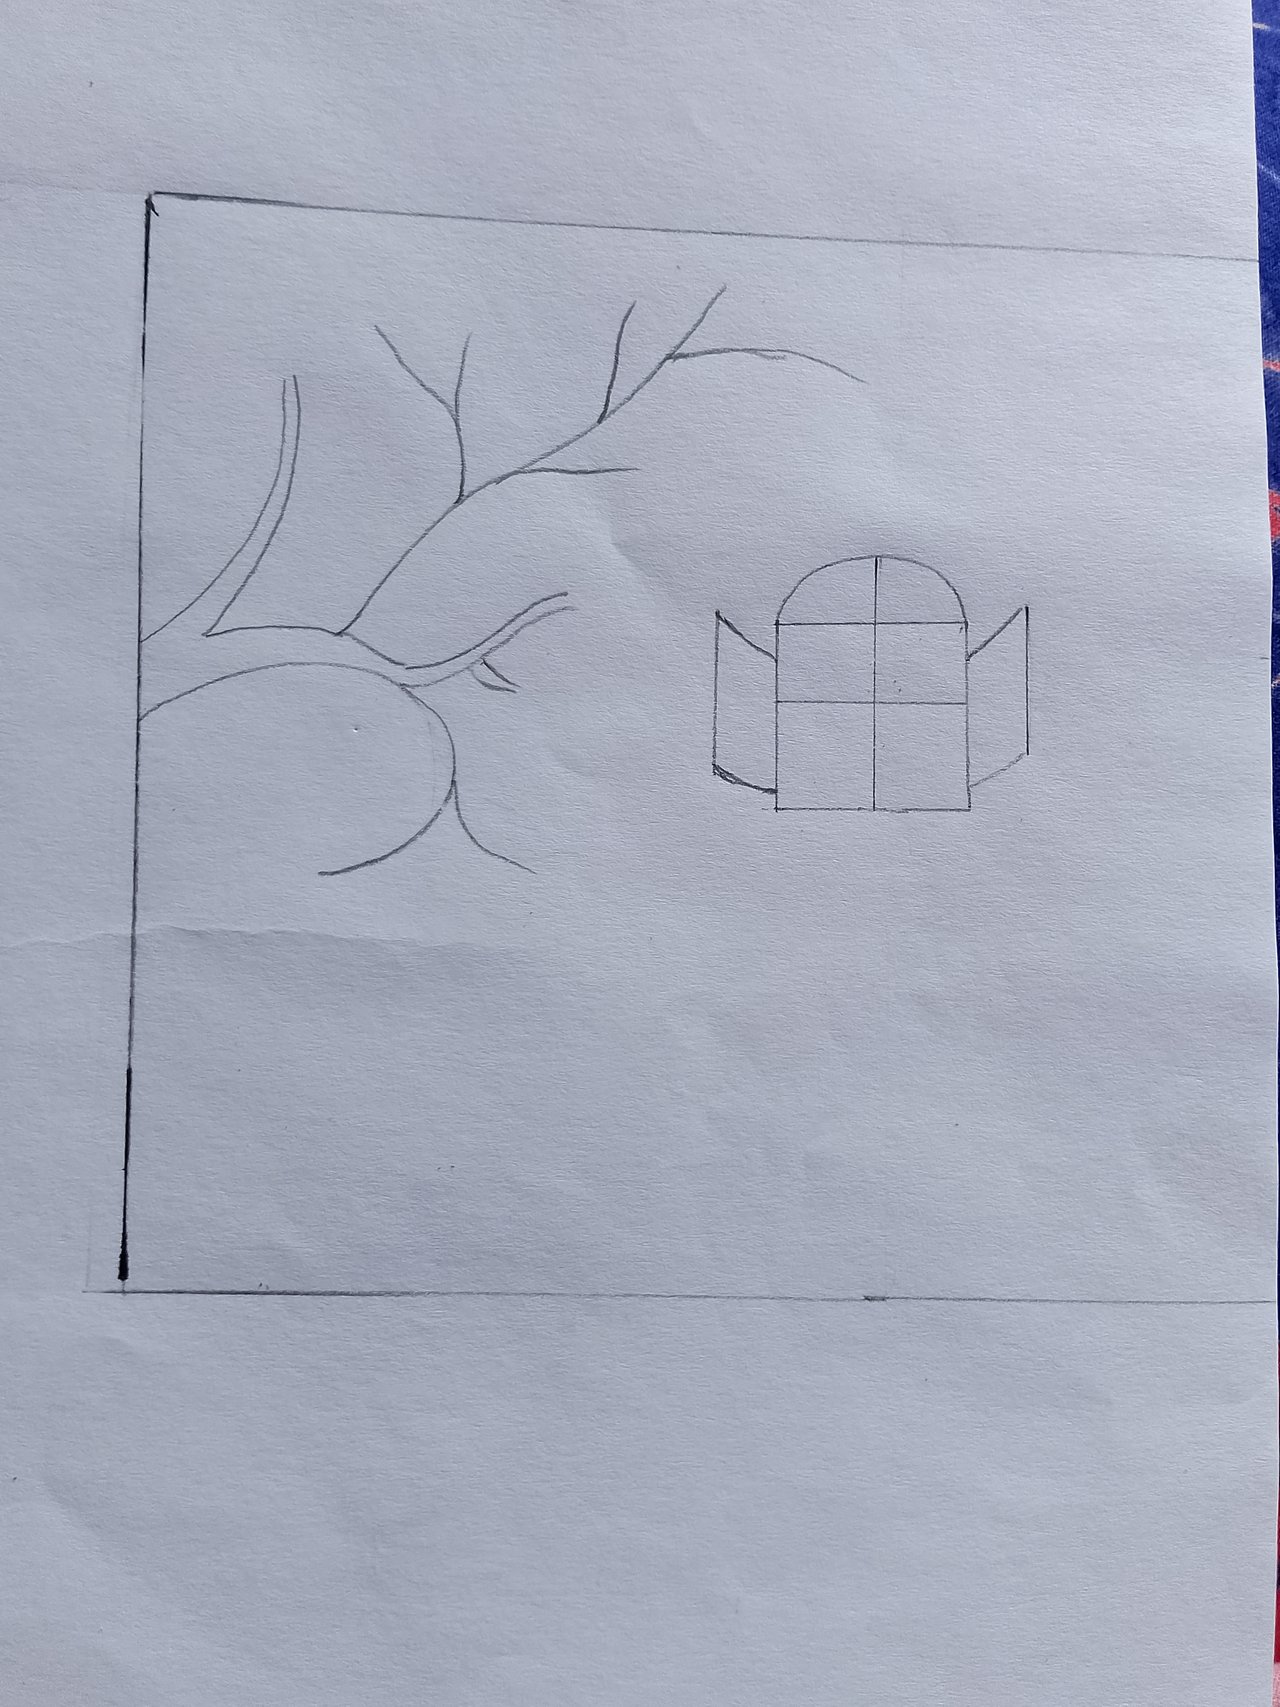 | Drawing |
|---|
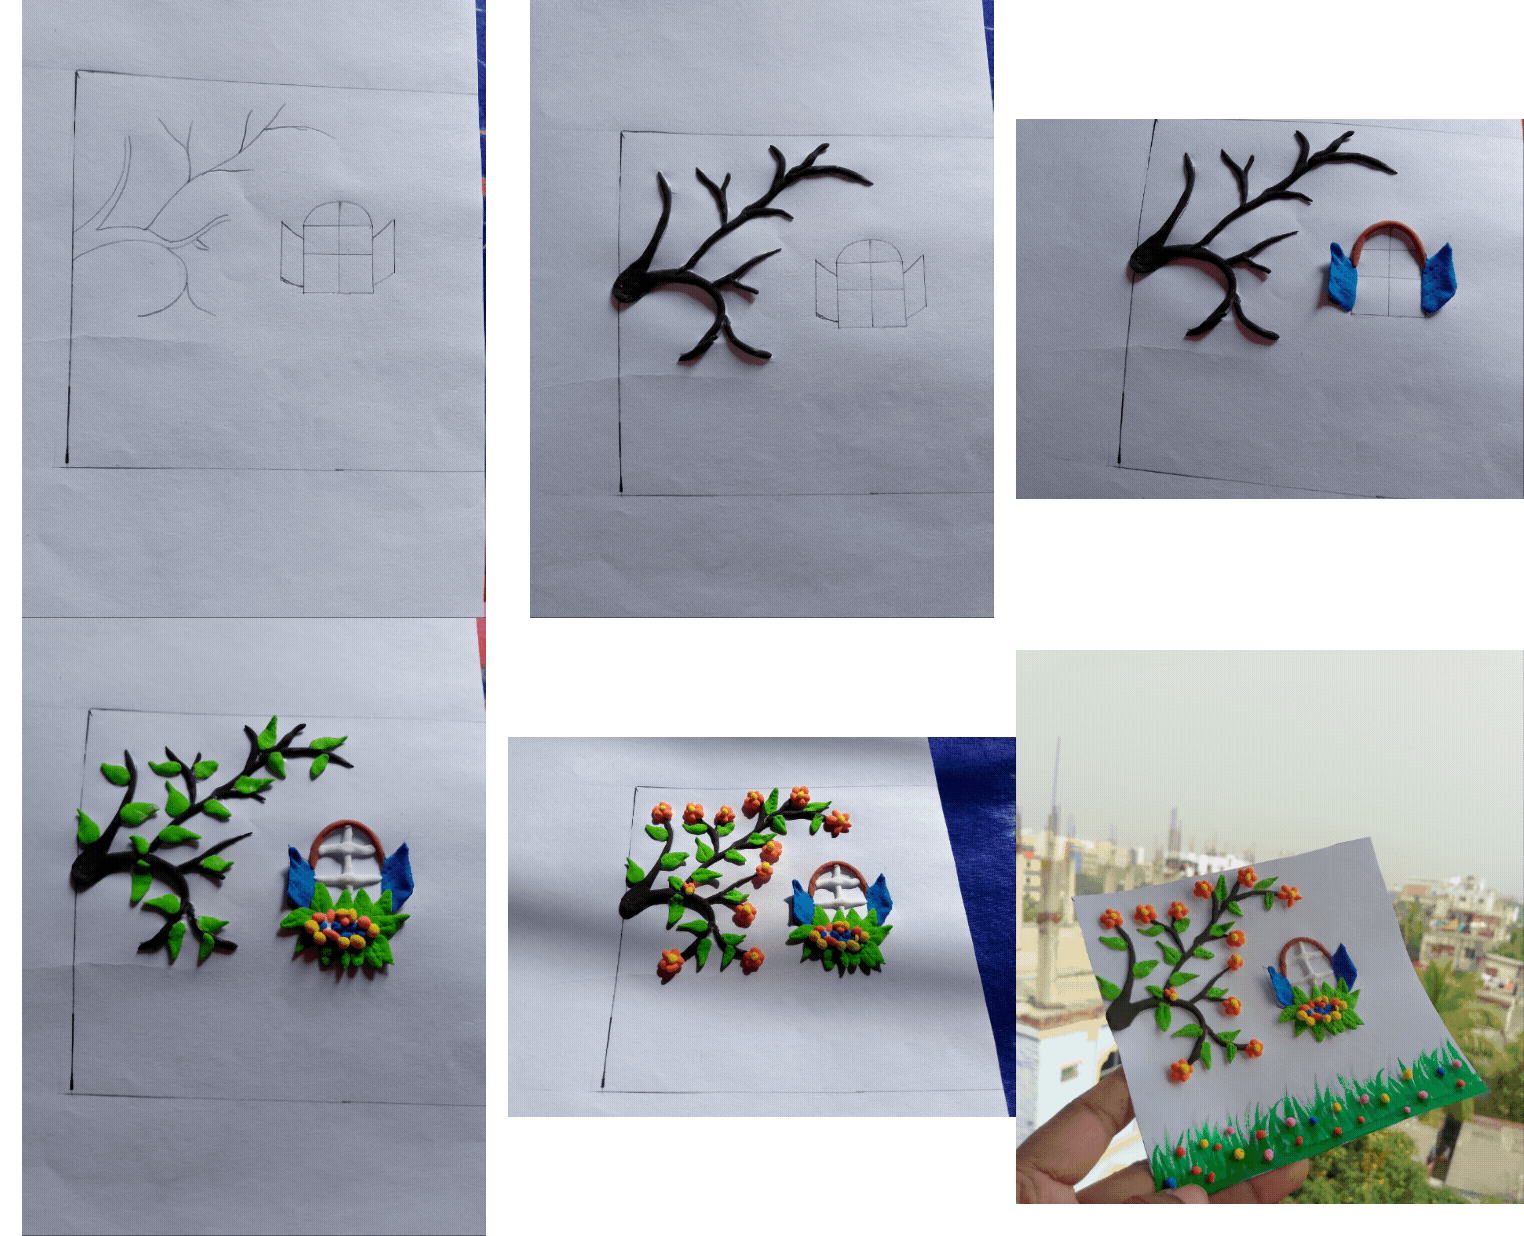
First, I gather all the necessary materials needed for the clay craft. Then, using a pencil and a scale, I draw on a white paper. Here, I have drawn the shape of a tree and a window.
Step 02
 |  |
|---|
 |  |
|---|
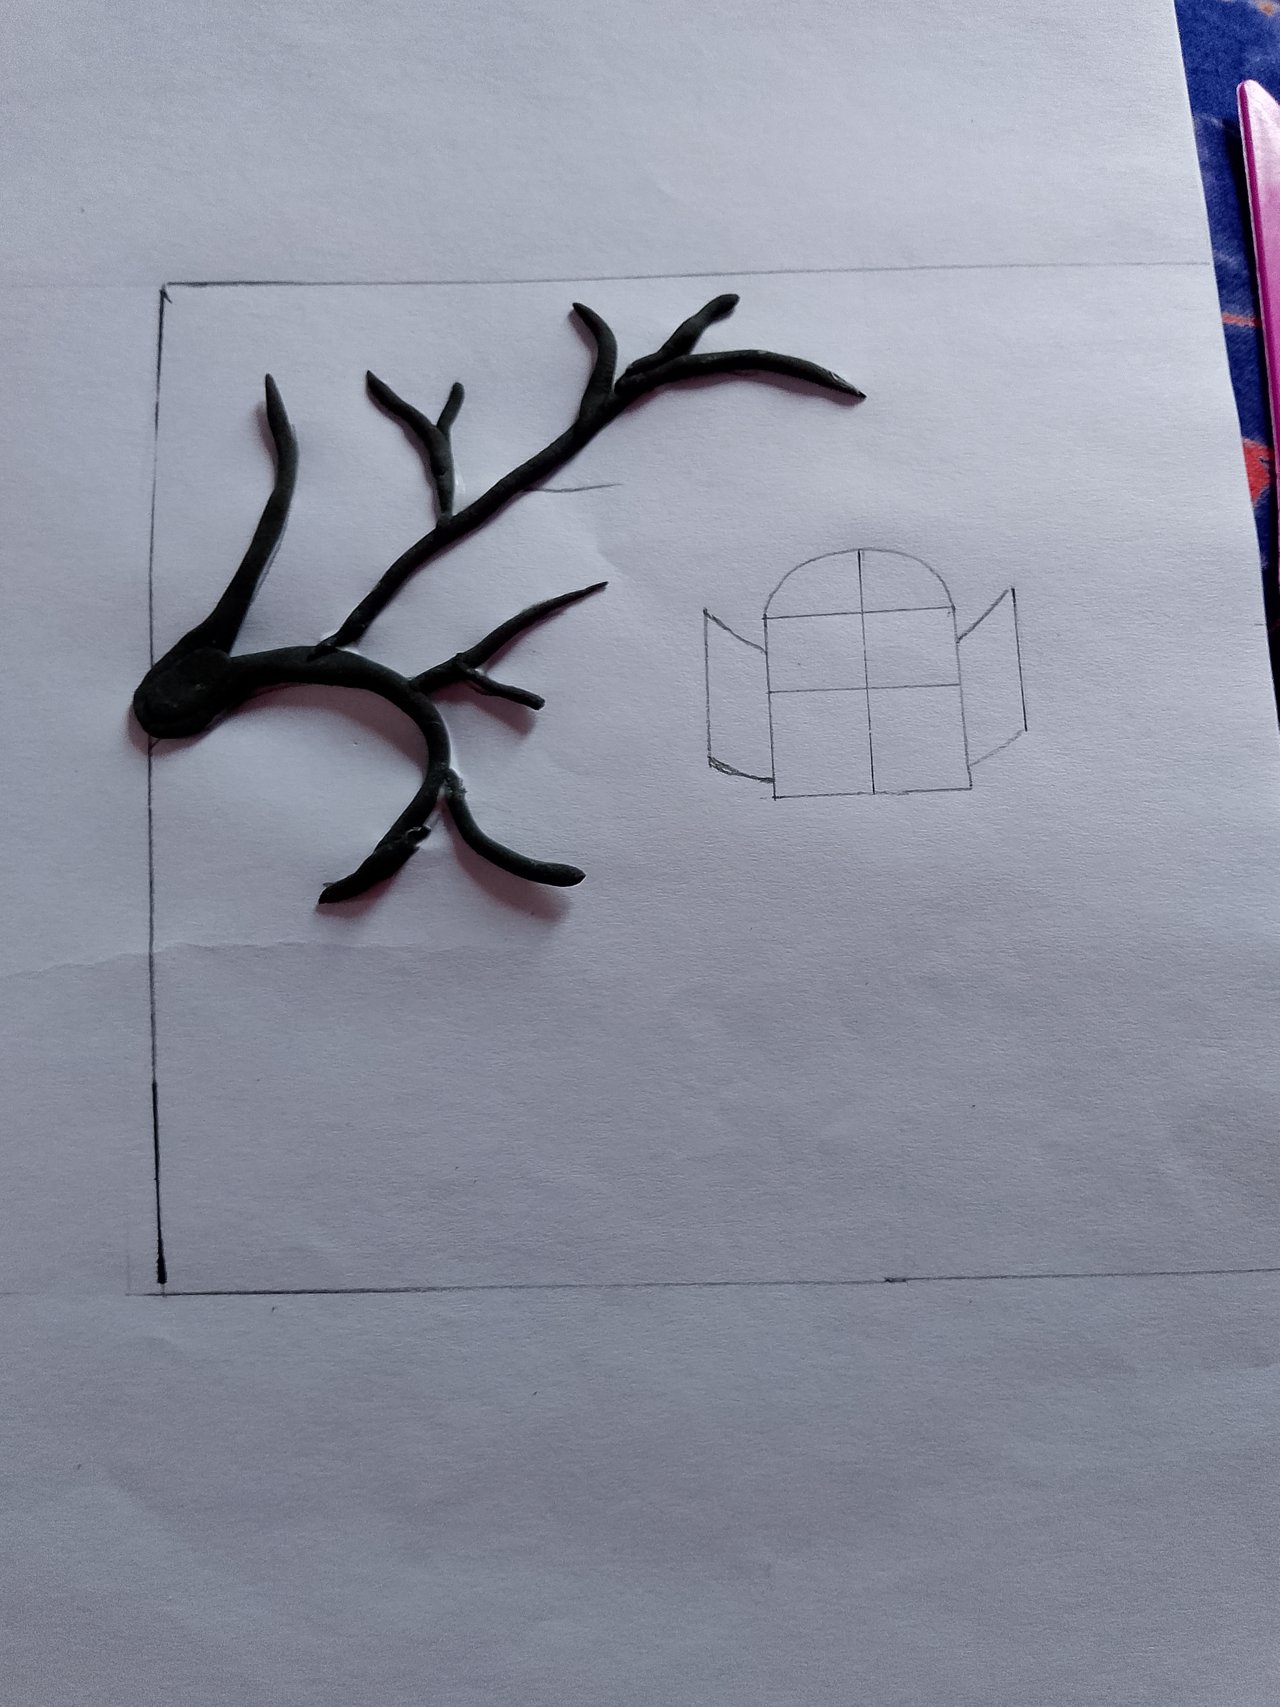 | Tree shape |
|---|
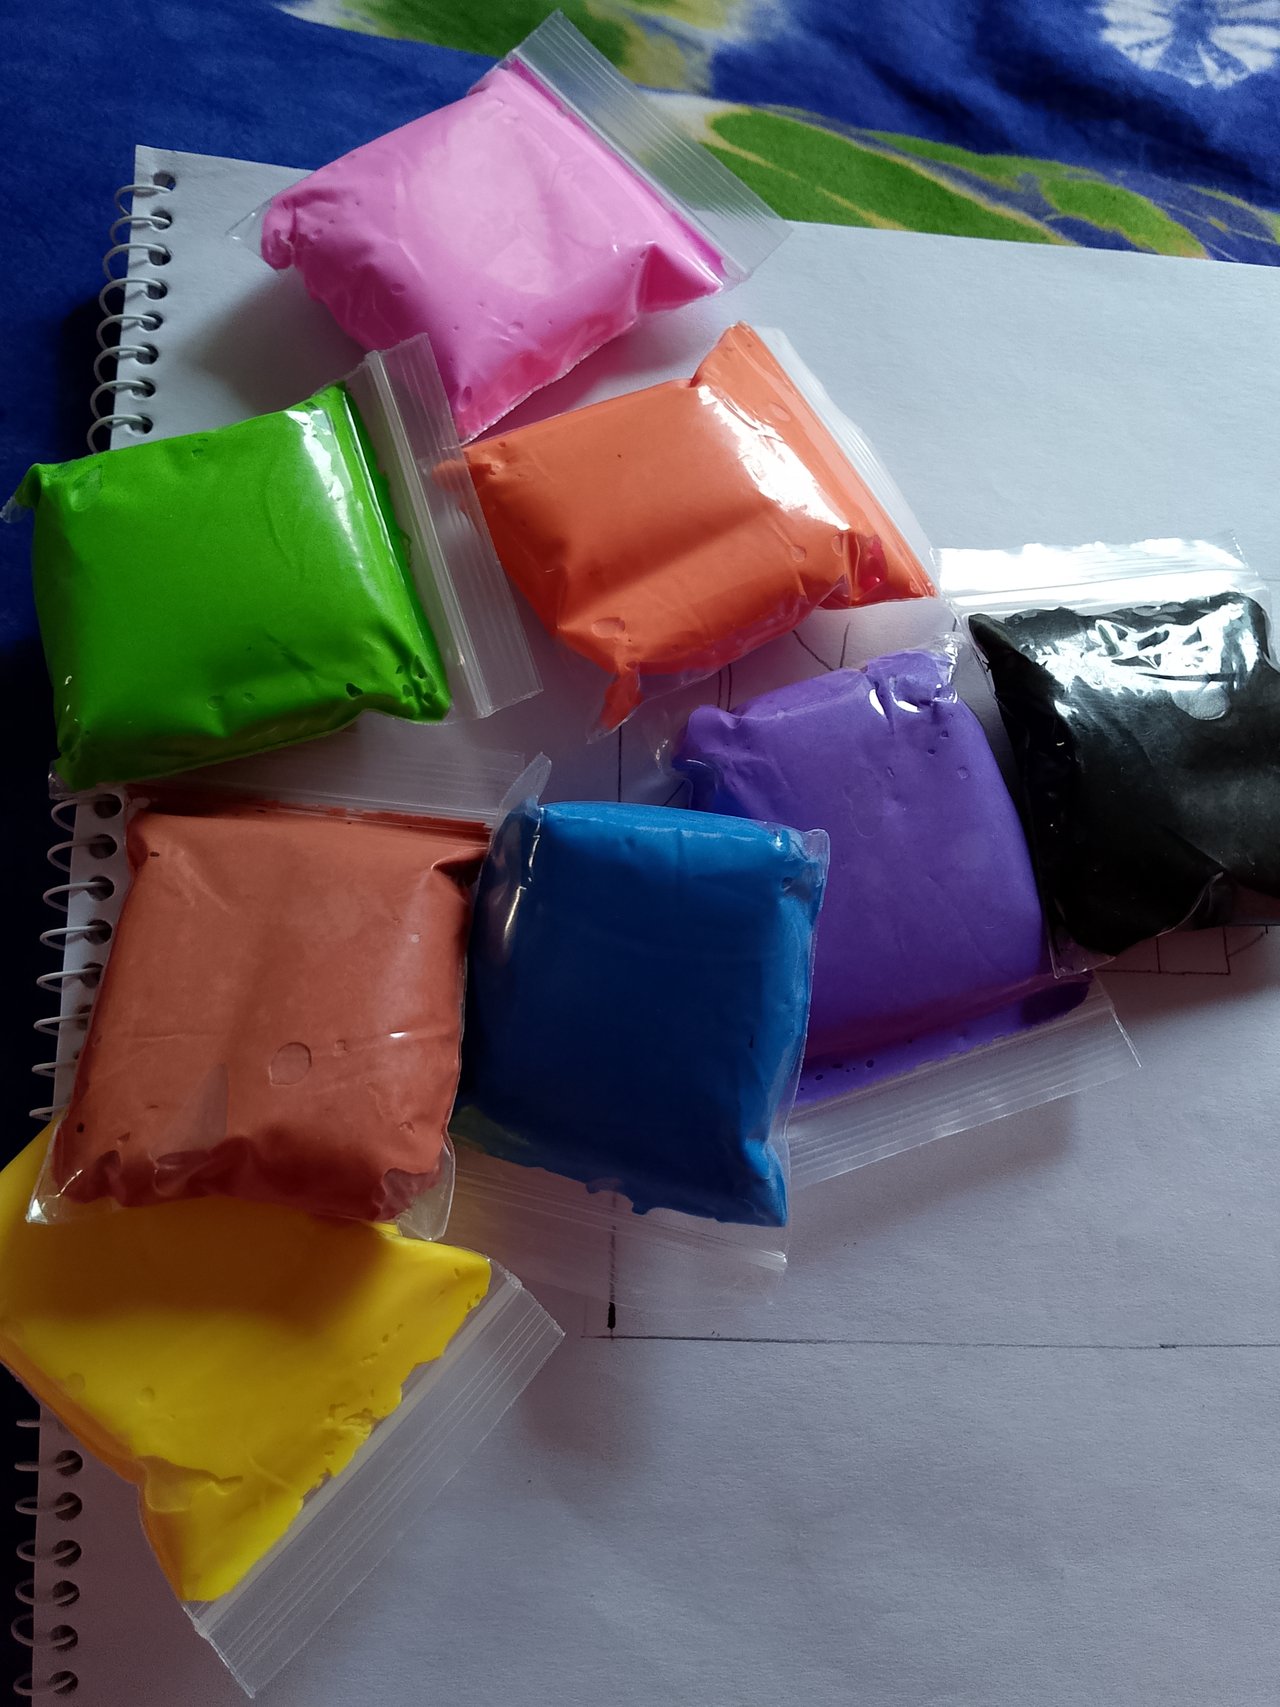
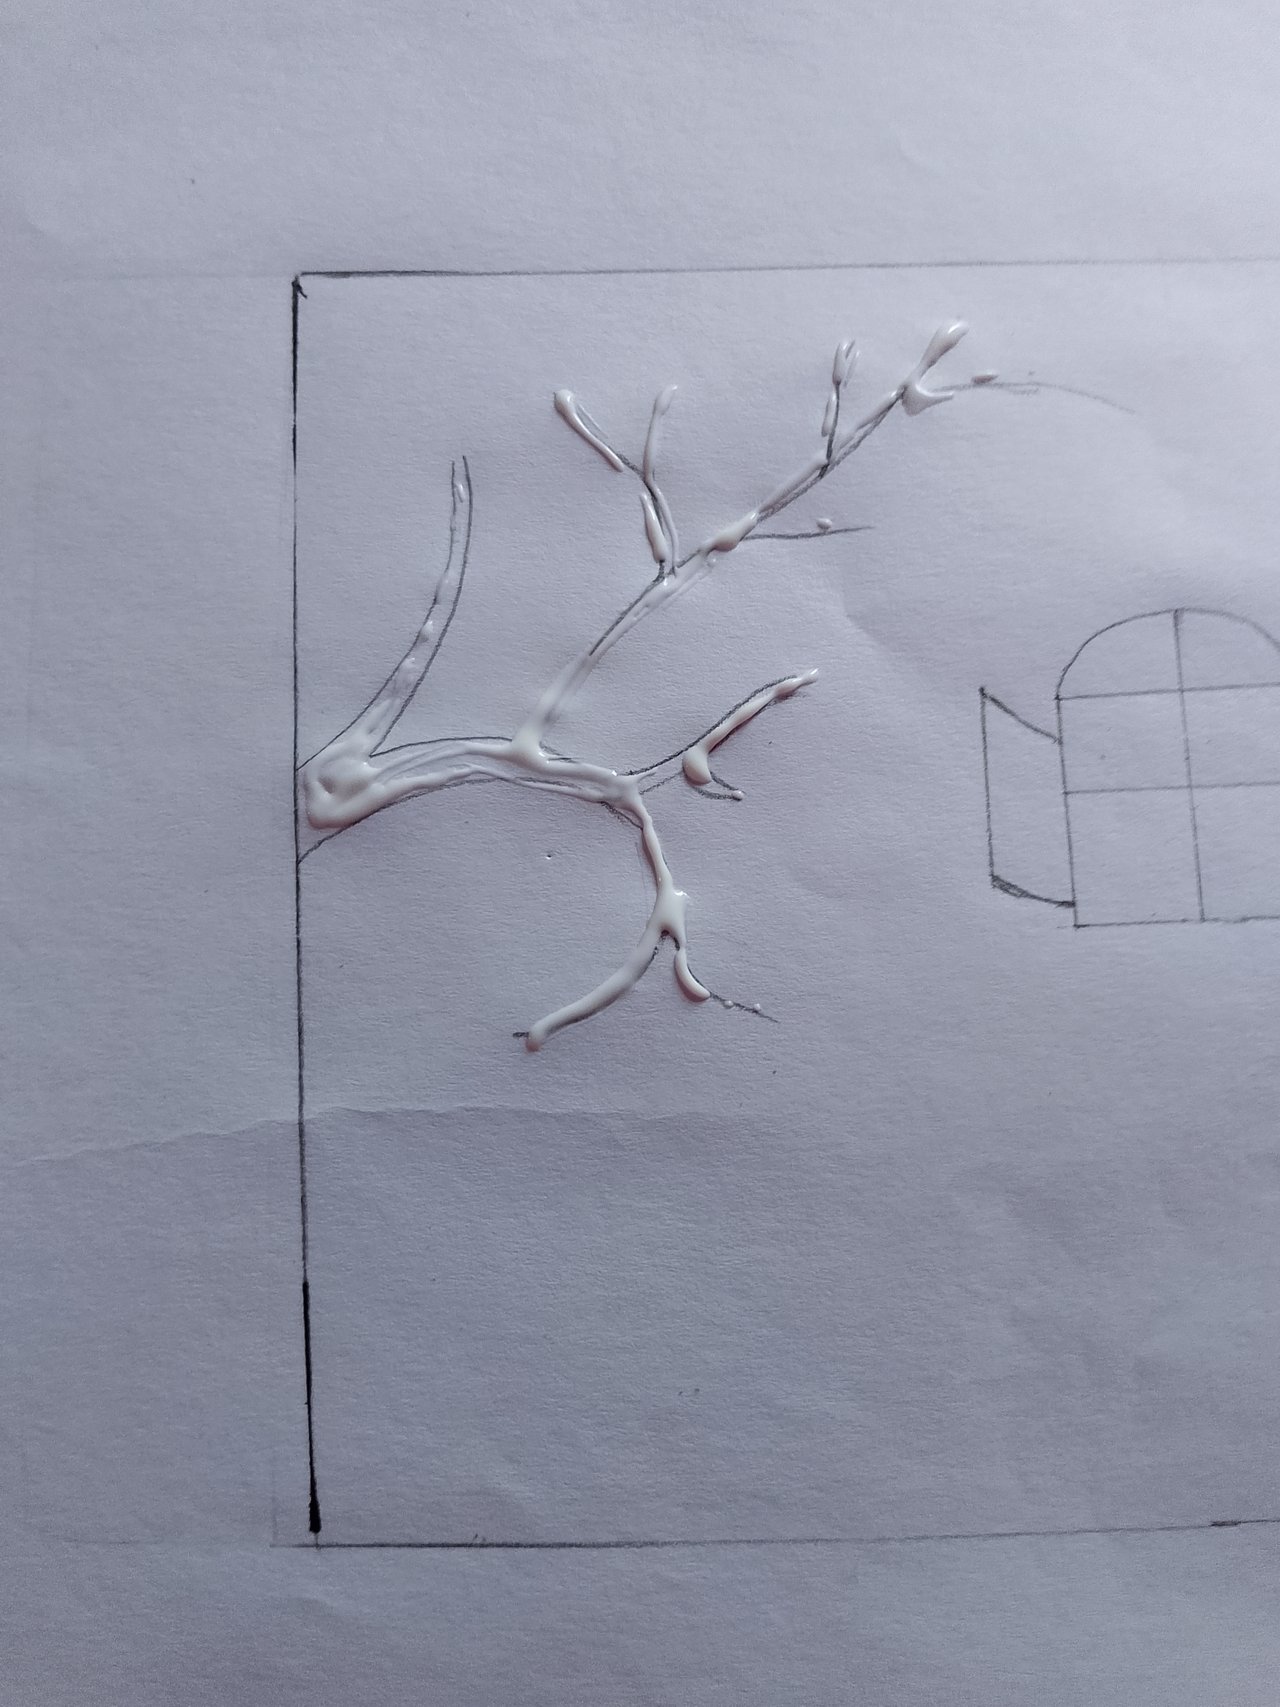
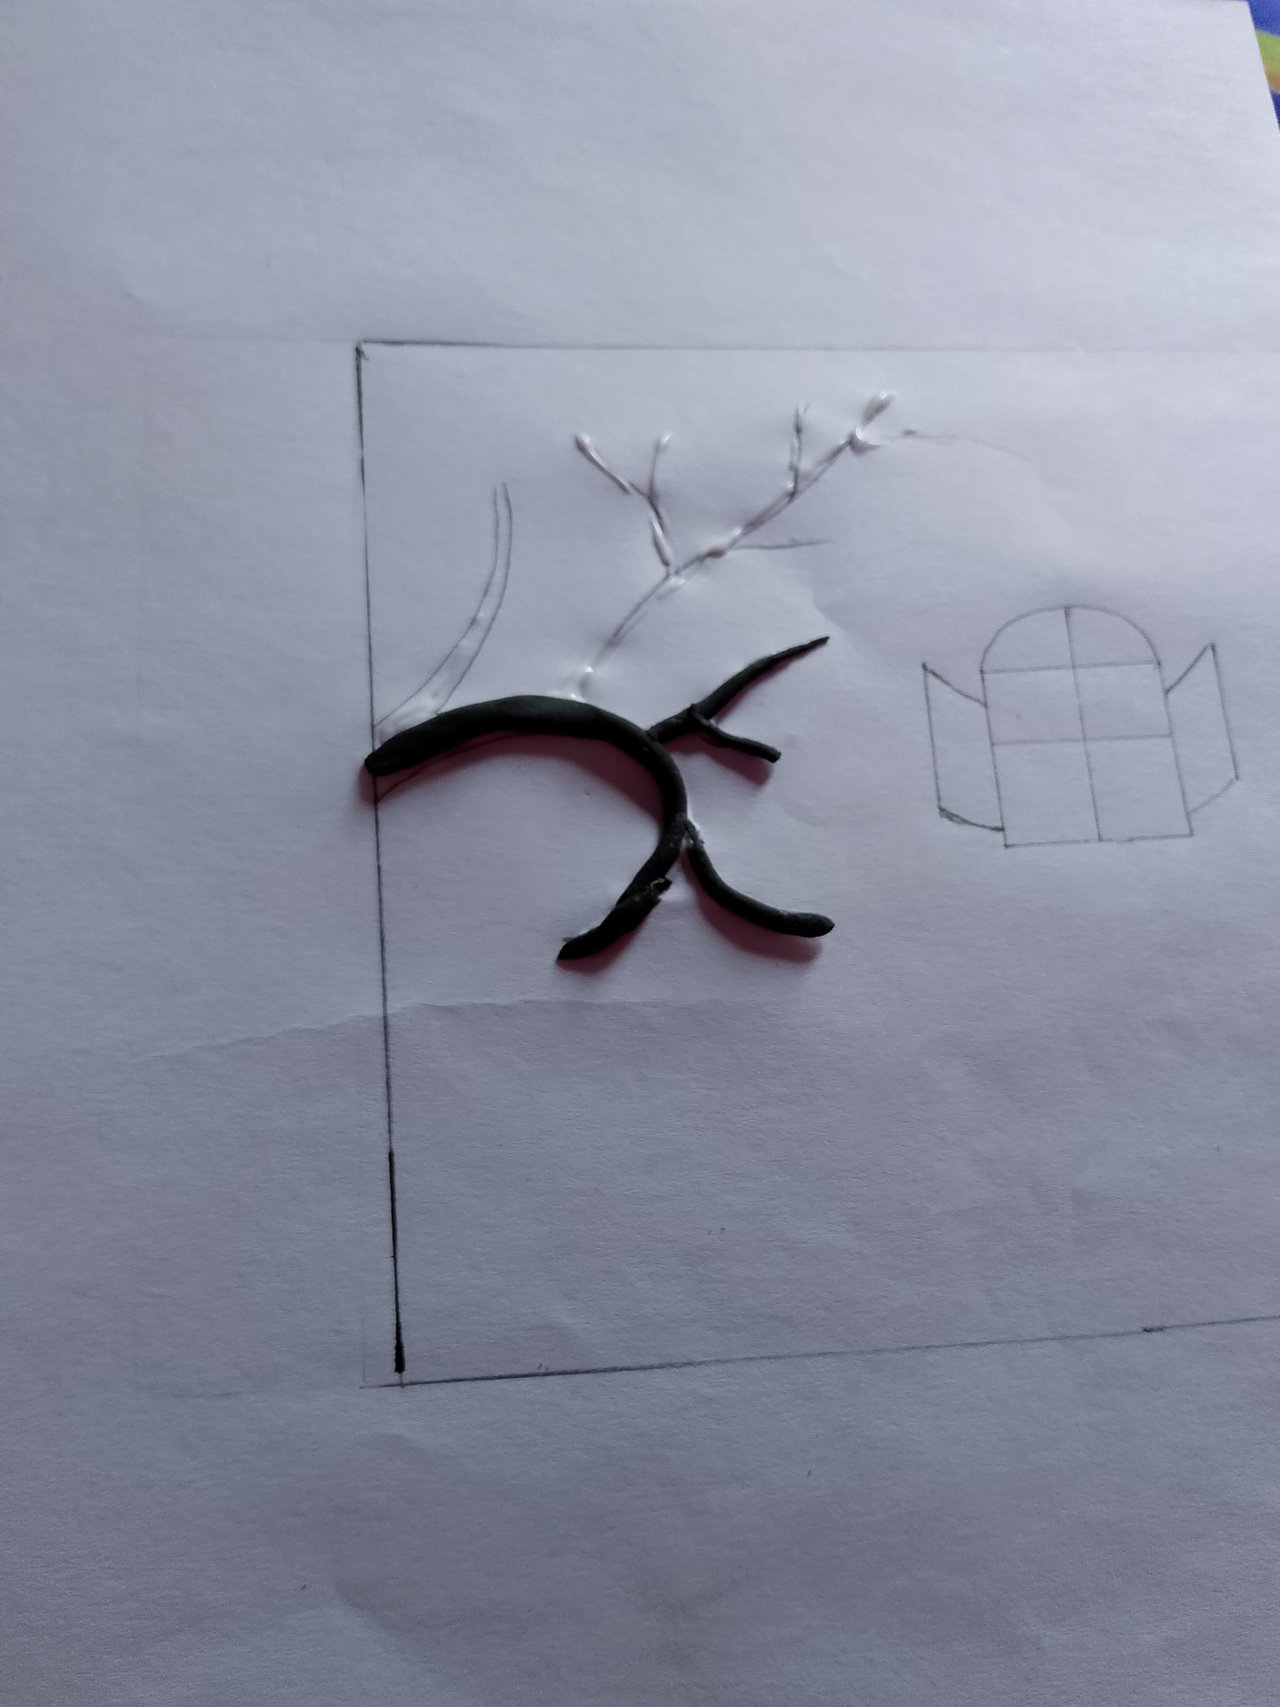
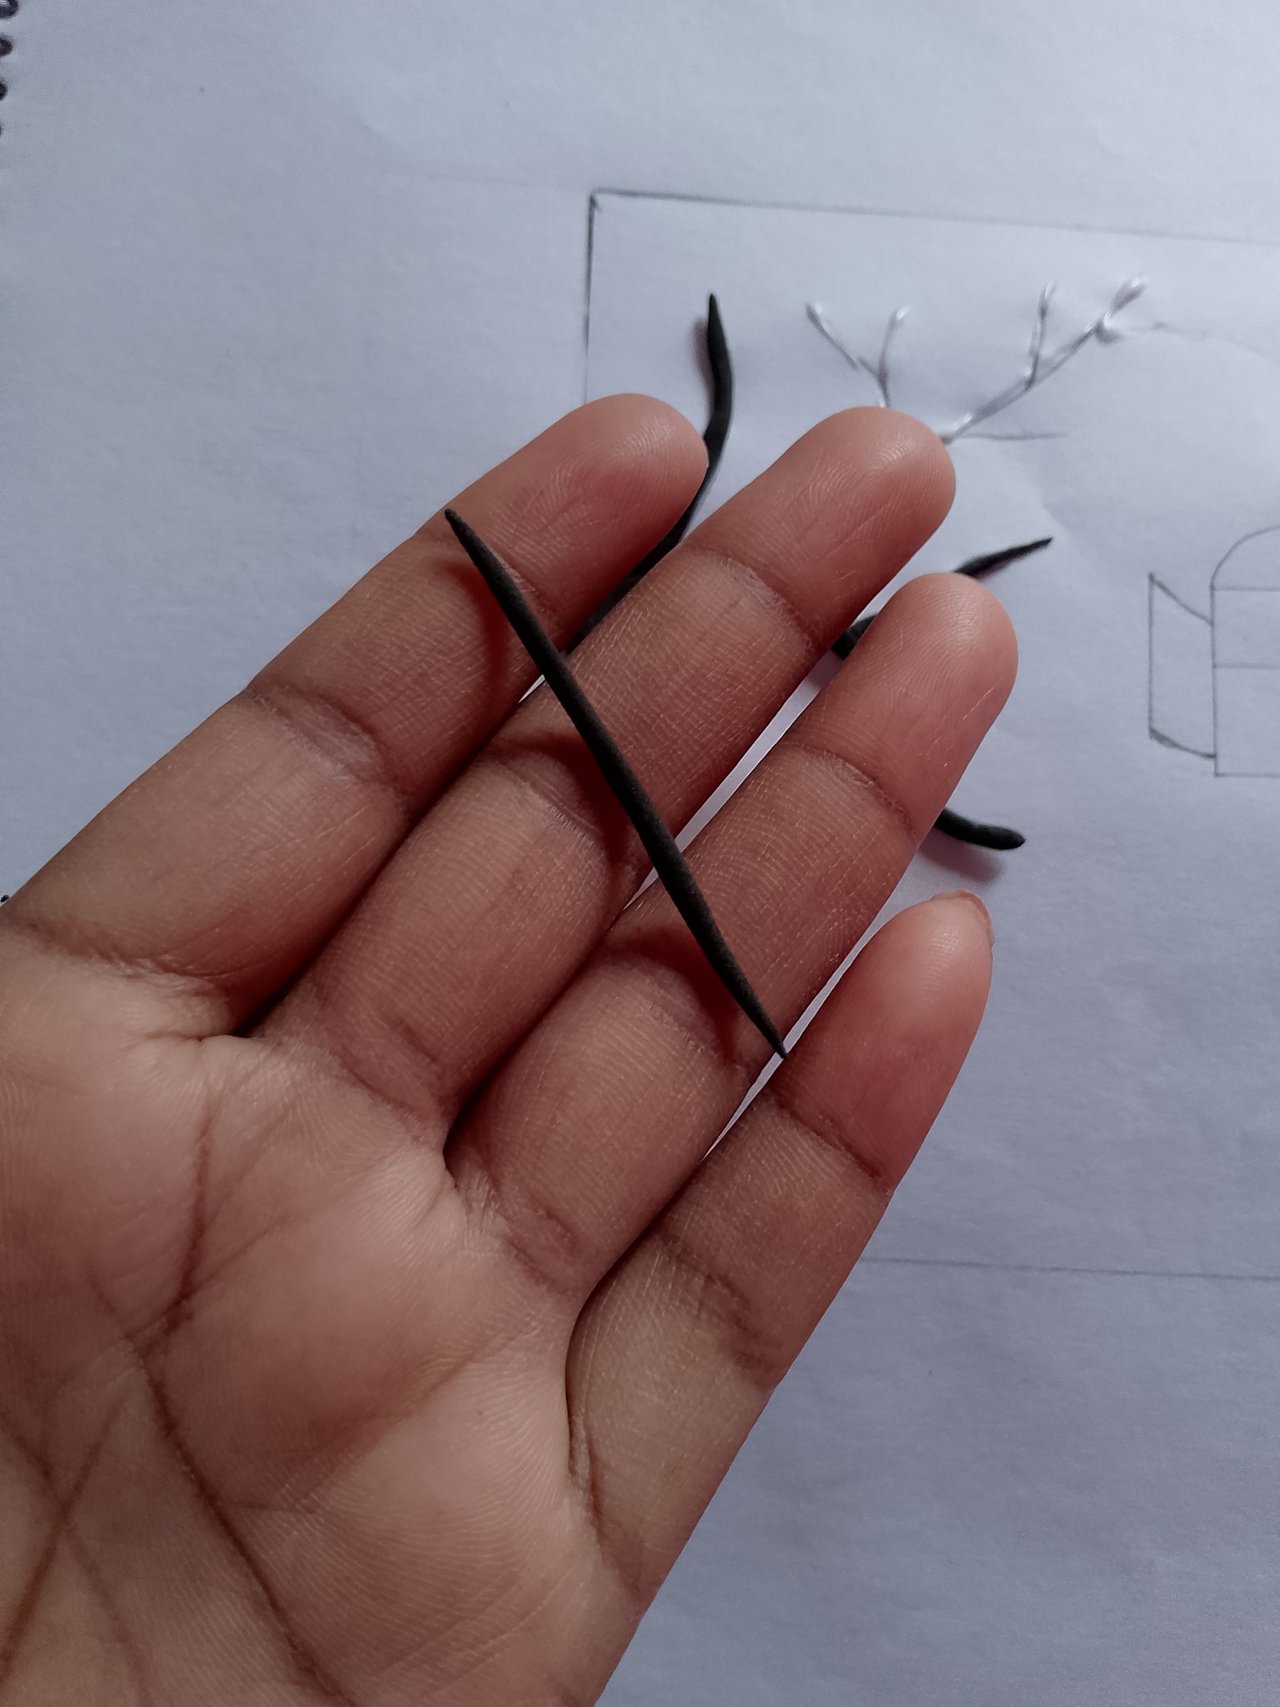
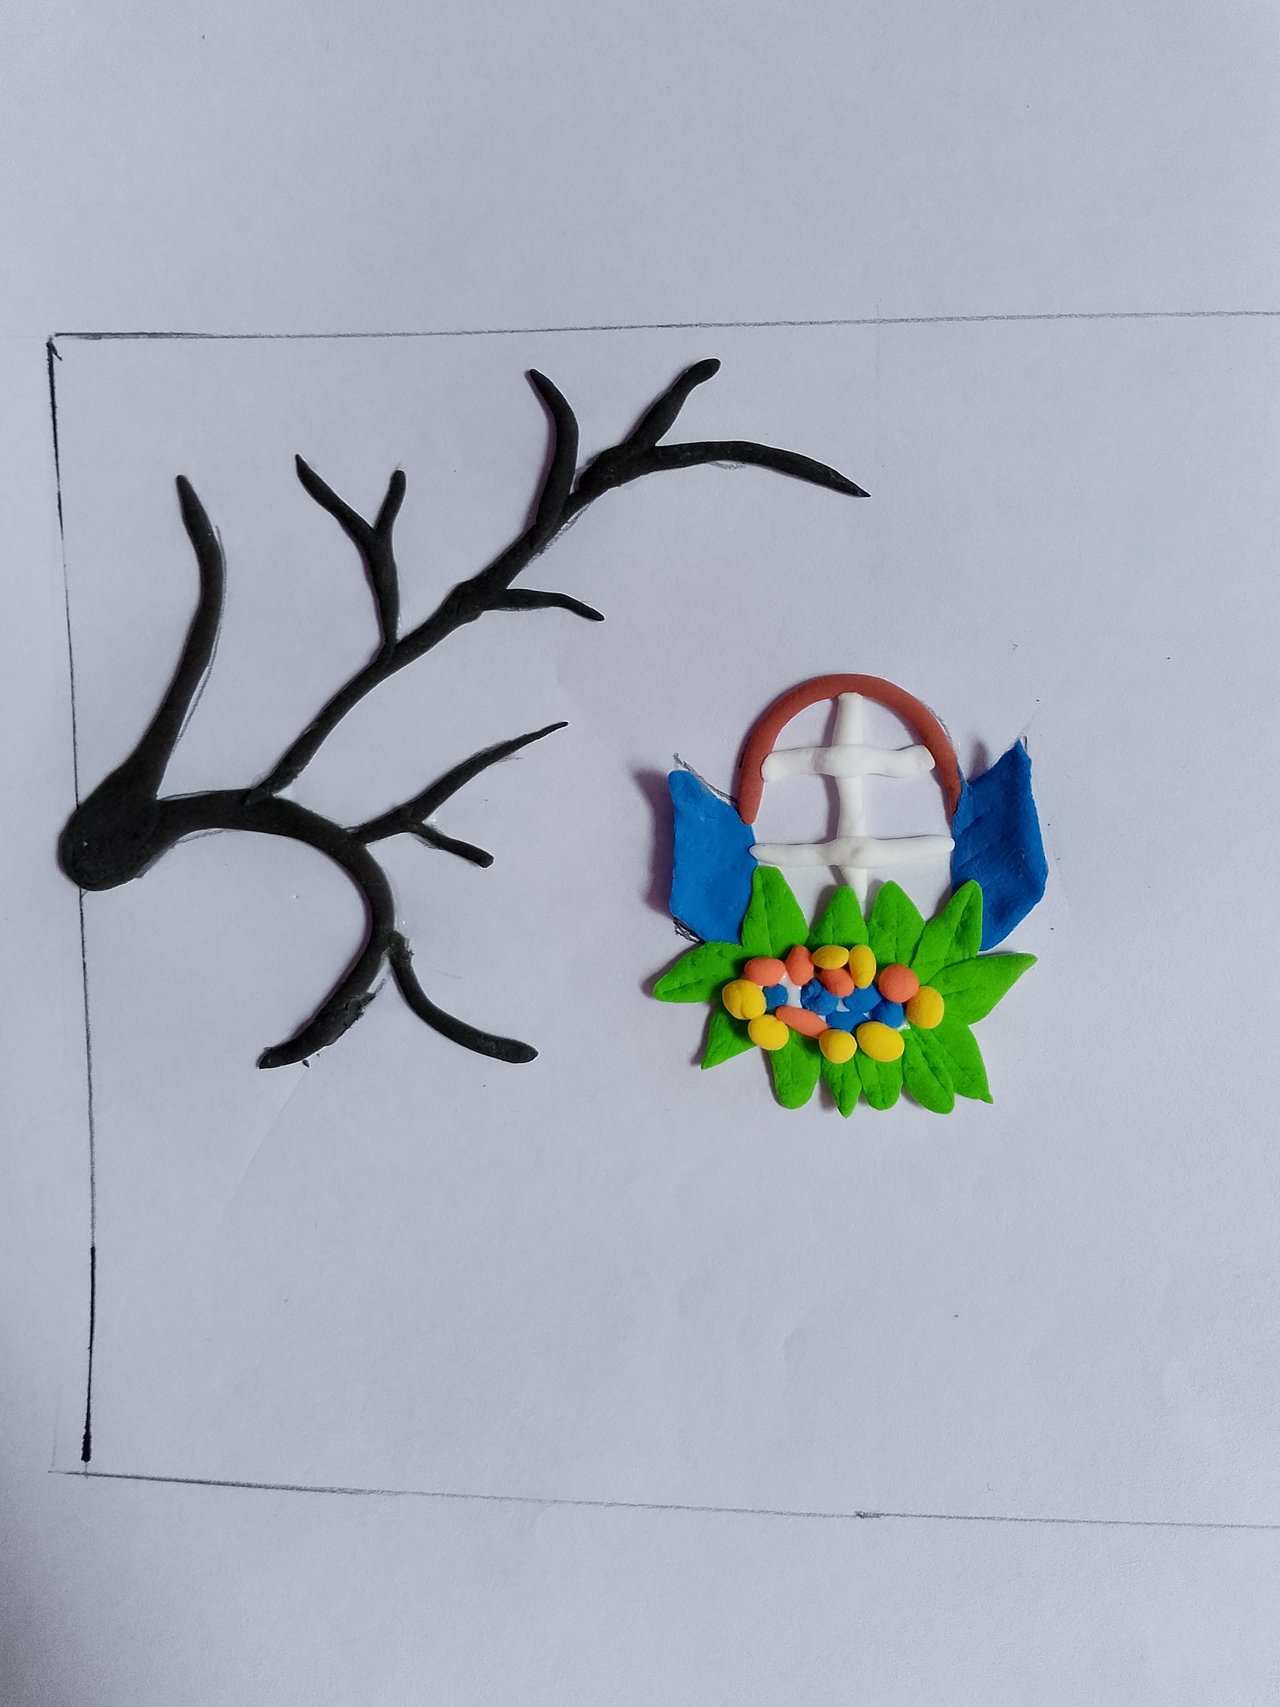
Since today’s project involves using clay, I collect the necessary colors. Next, I apply glue lightly over the drawn tree so that the clay sticks properly to the paper. I take black-colored clay, roll it thinly with my hands, and carefully set it onto the paper following the shape of the tree. Gradually, I add the black clay to the entire tree and create its branches.
Step 03
 |  |
|---|
 |  |  |
|---|
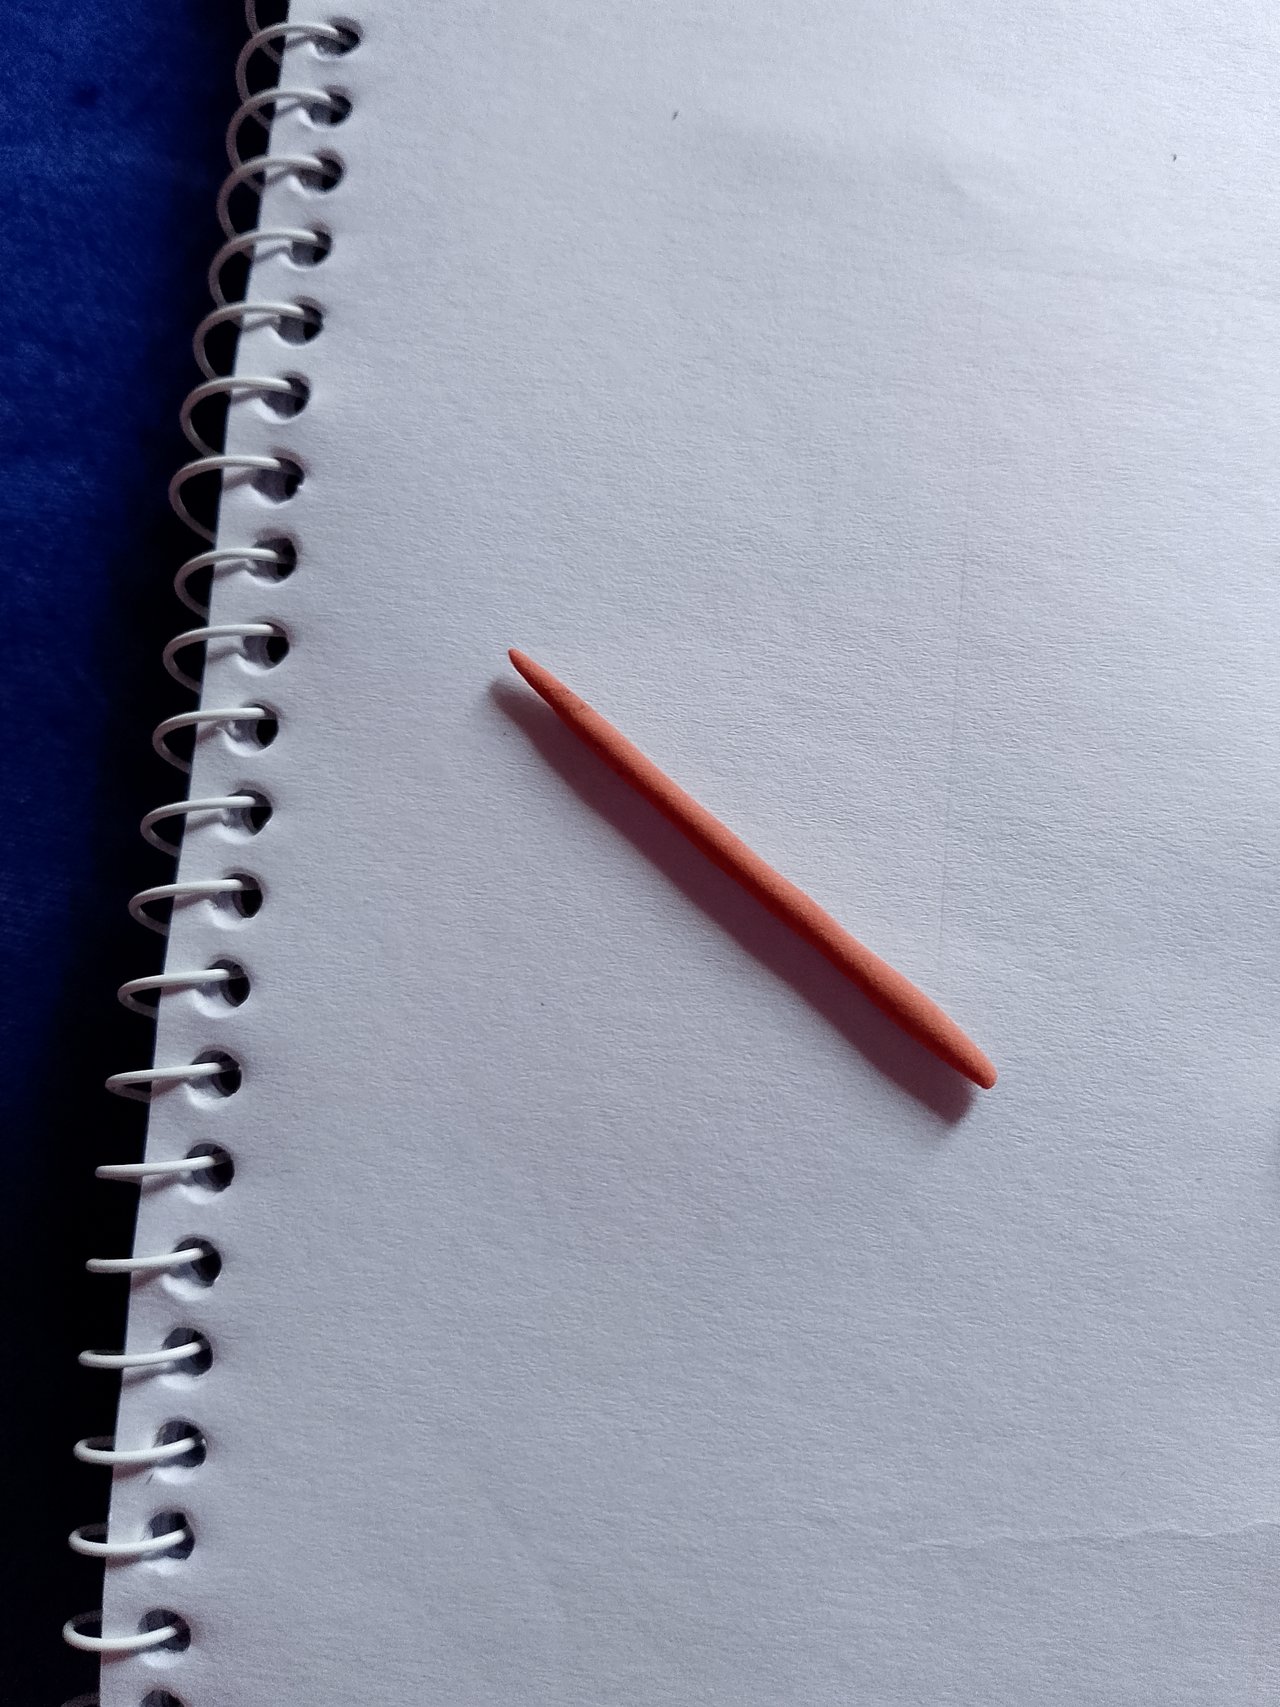
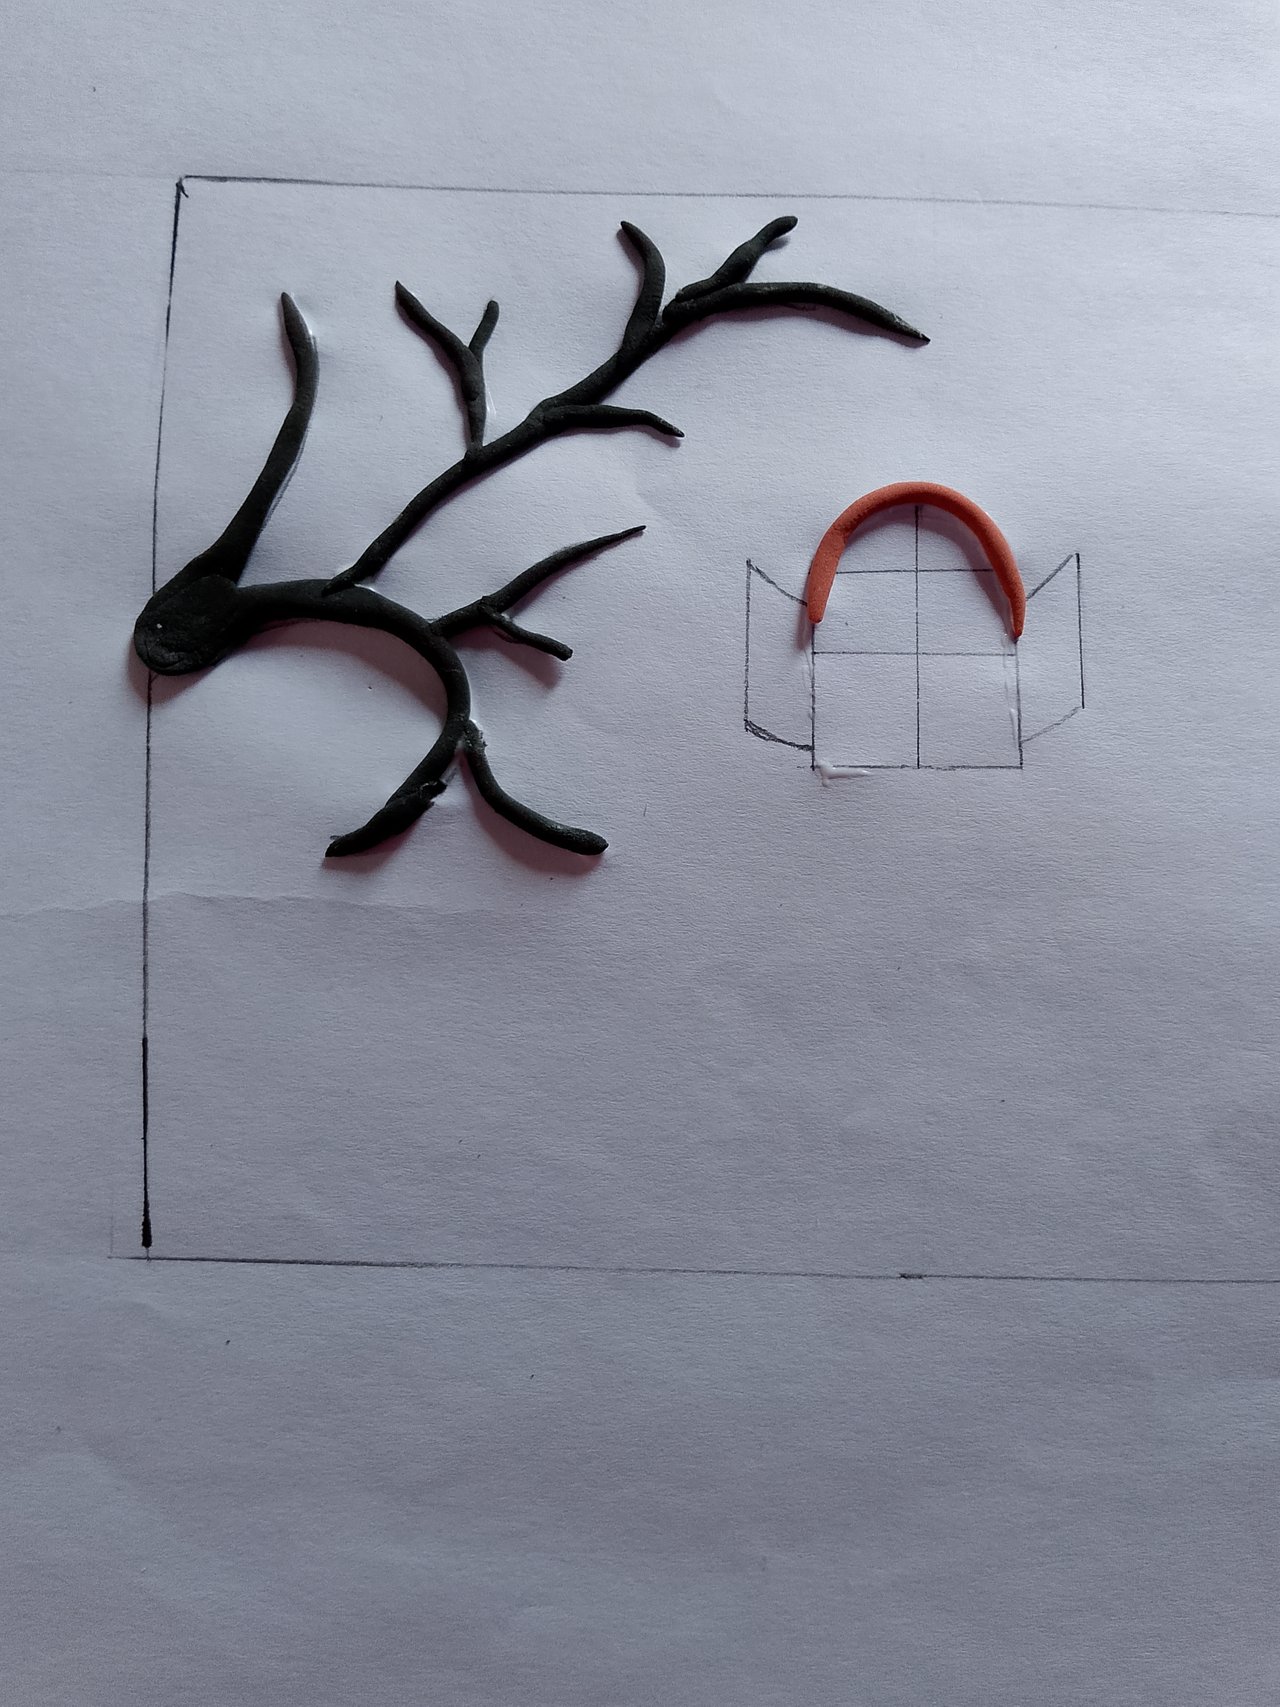
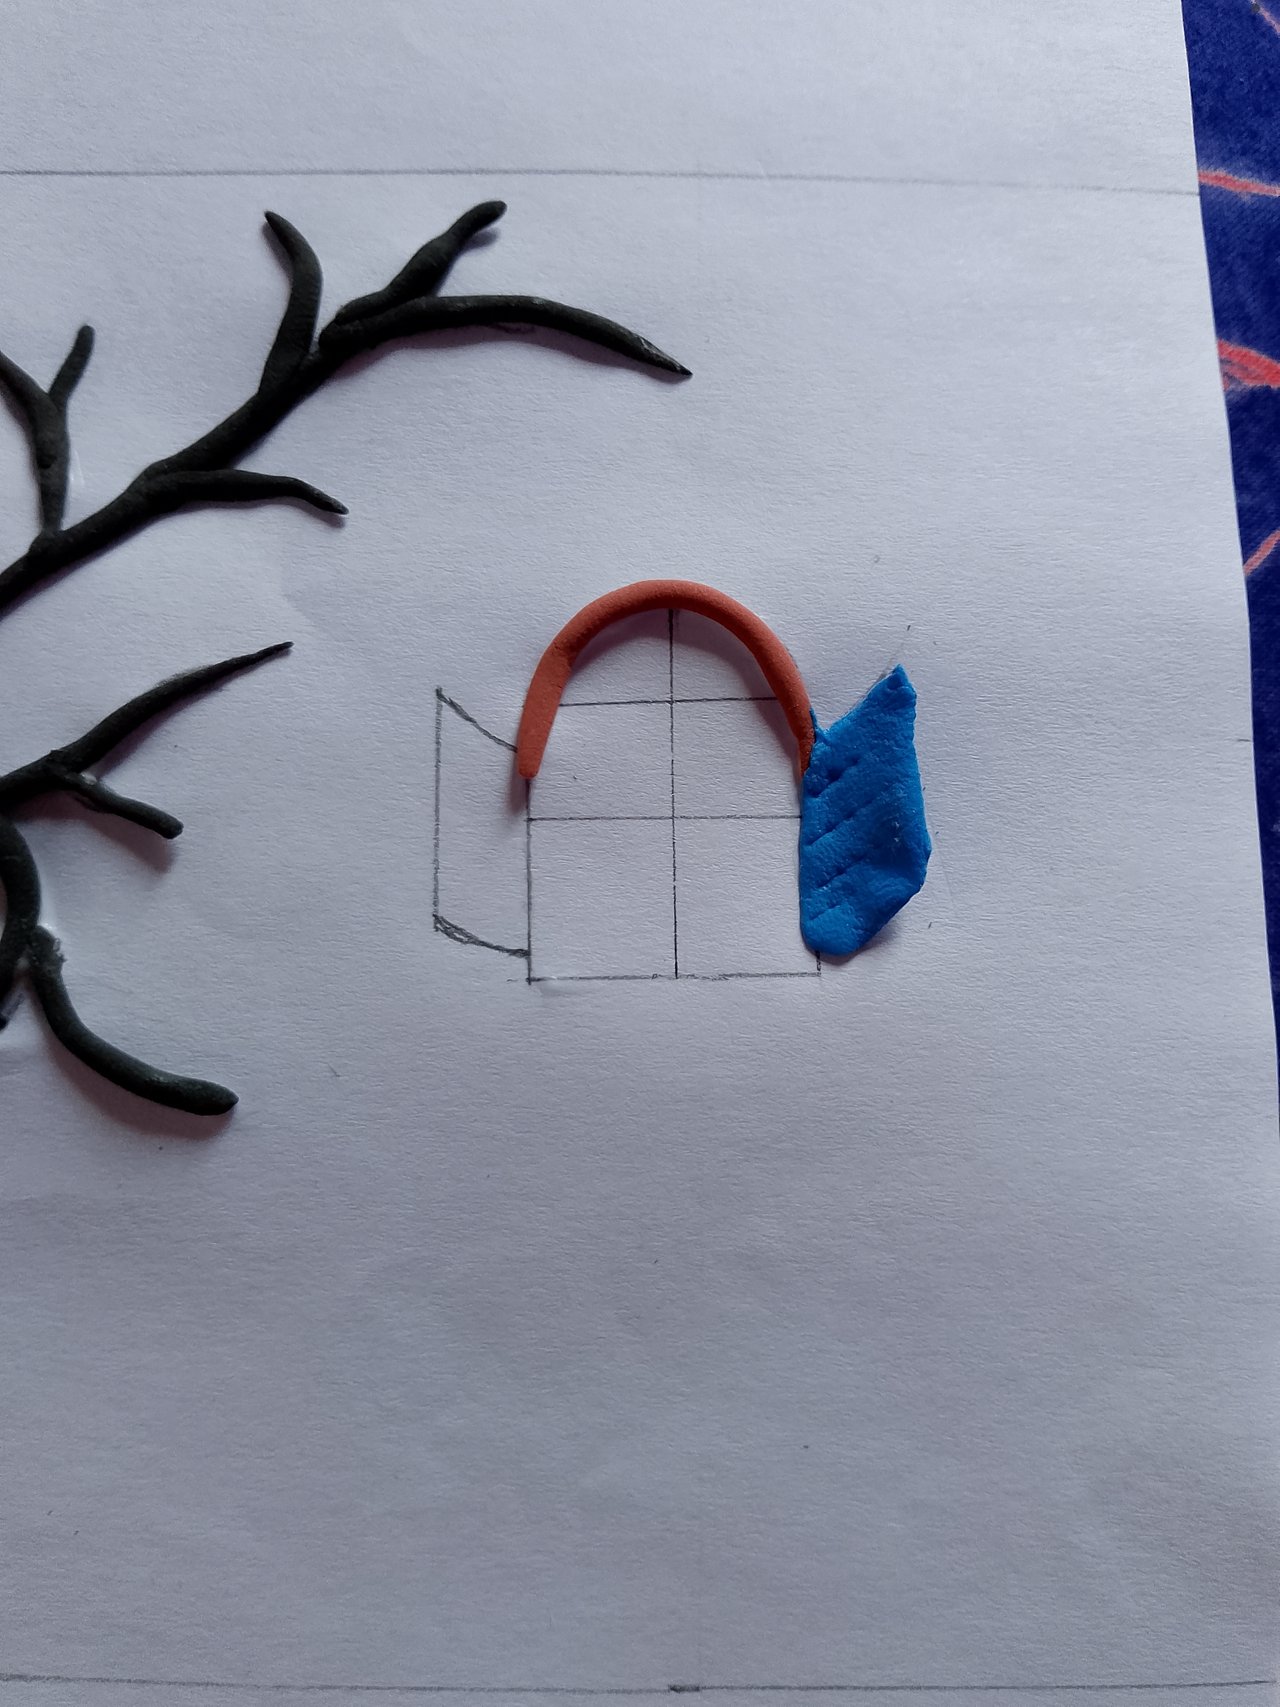
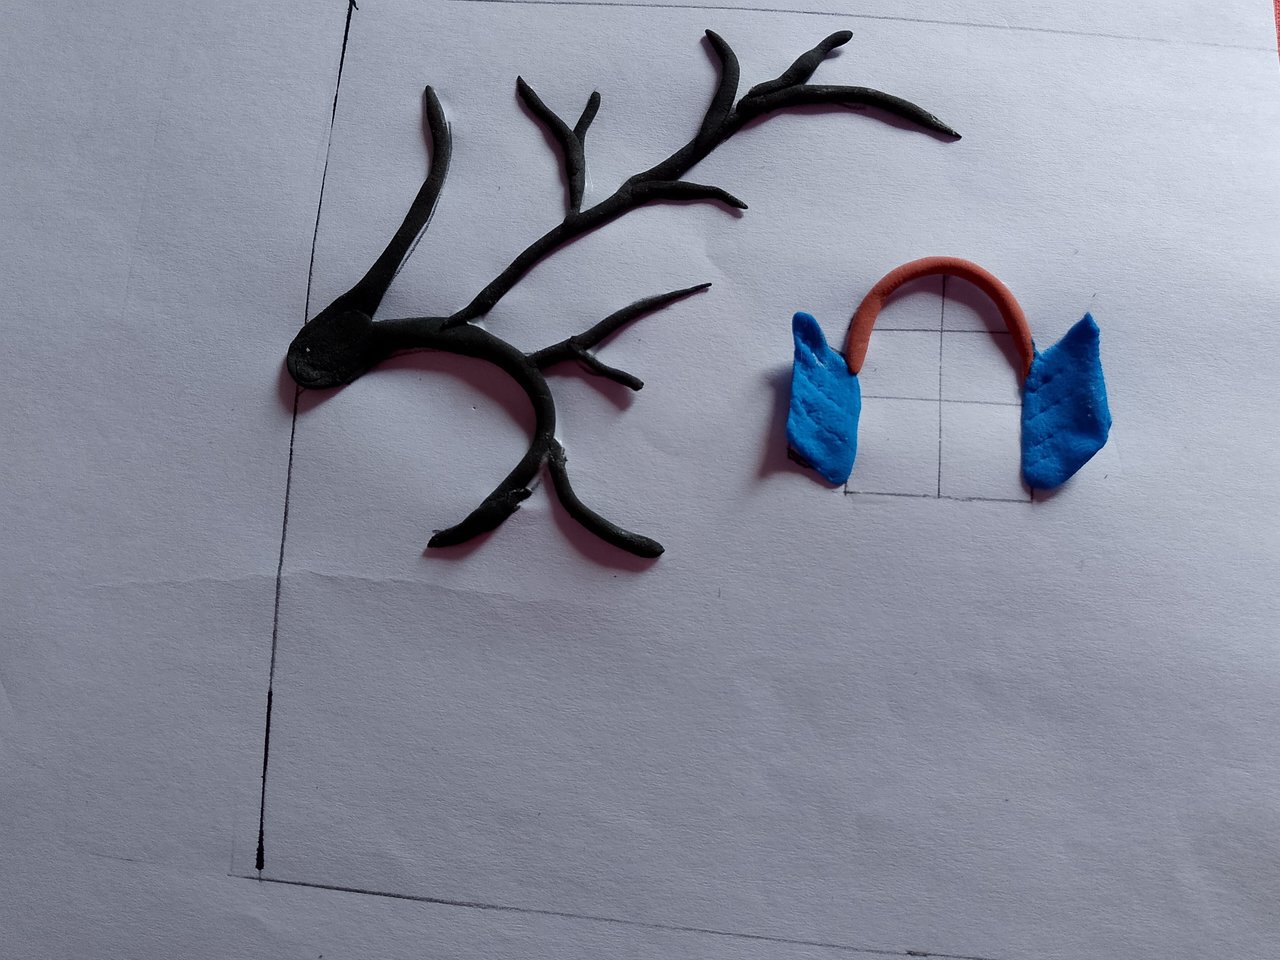
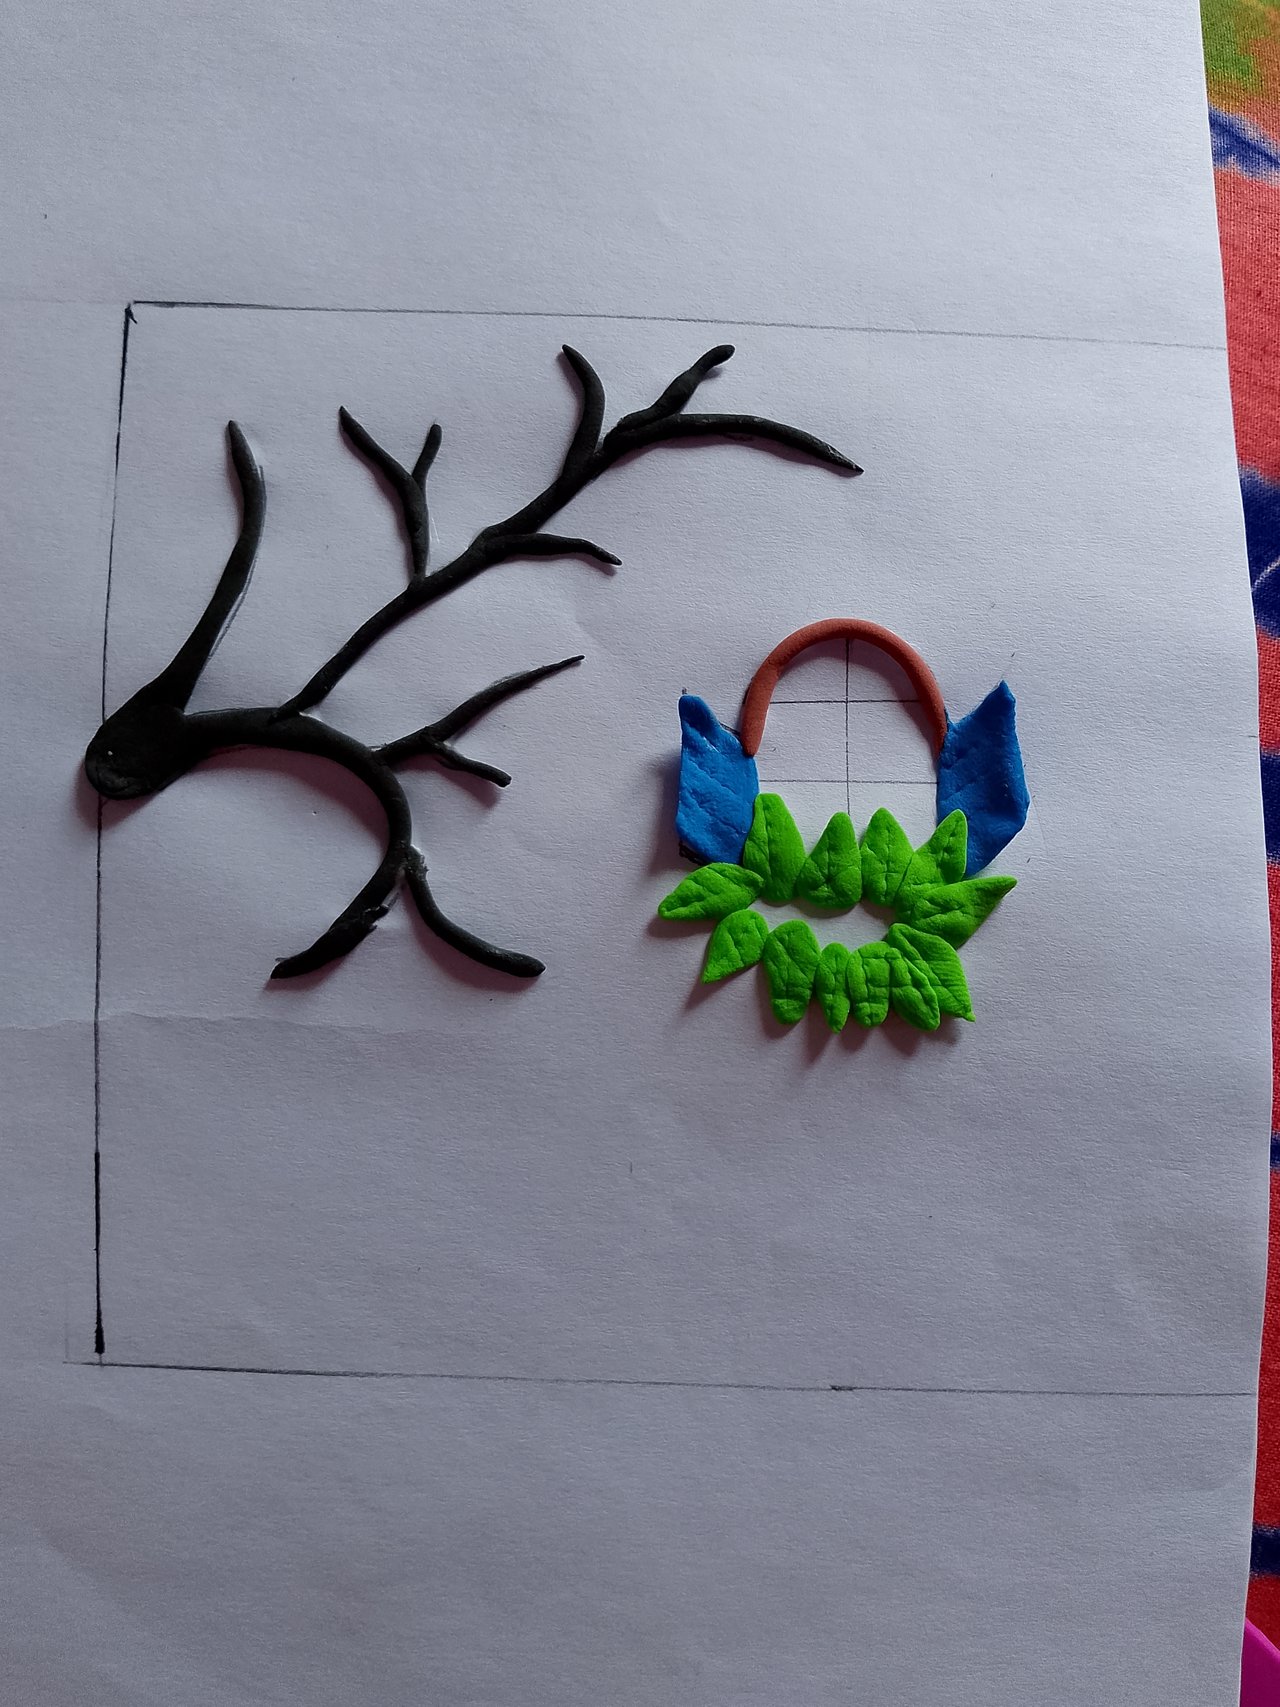
Now, I take brown clay, roll it into a thin shape with my hands, and set it at the top of the window. Then, I design both sides of the window. First, I create the right-side window panel using blue-colored clay, and then I set the left-side window panel. Next, I take green-colored clay, form small leaf shapes, and set them below the window. I add designs to the leaves and apply glue in the center of each leaf.
Step 04
 |  |
|---|
 |  |
|---|
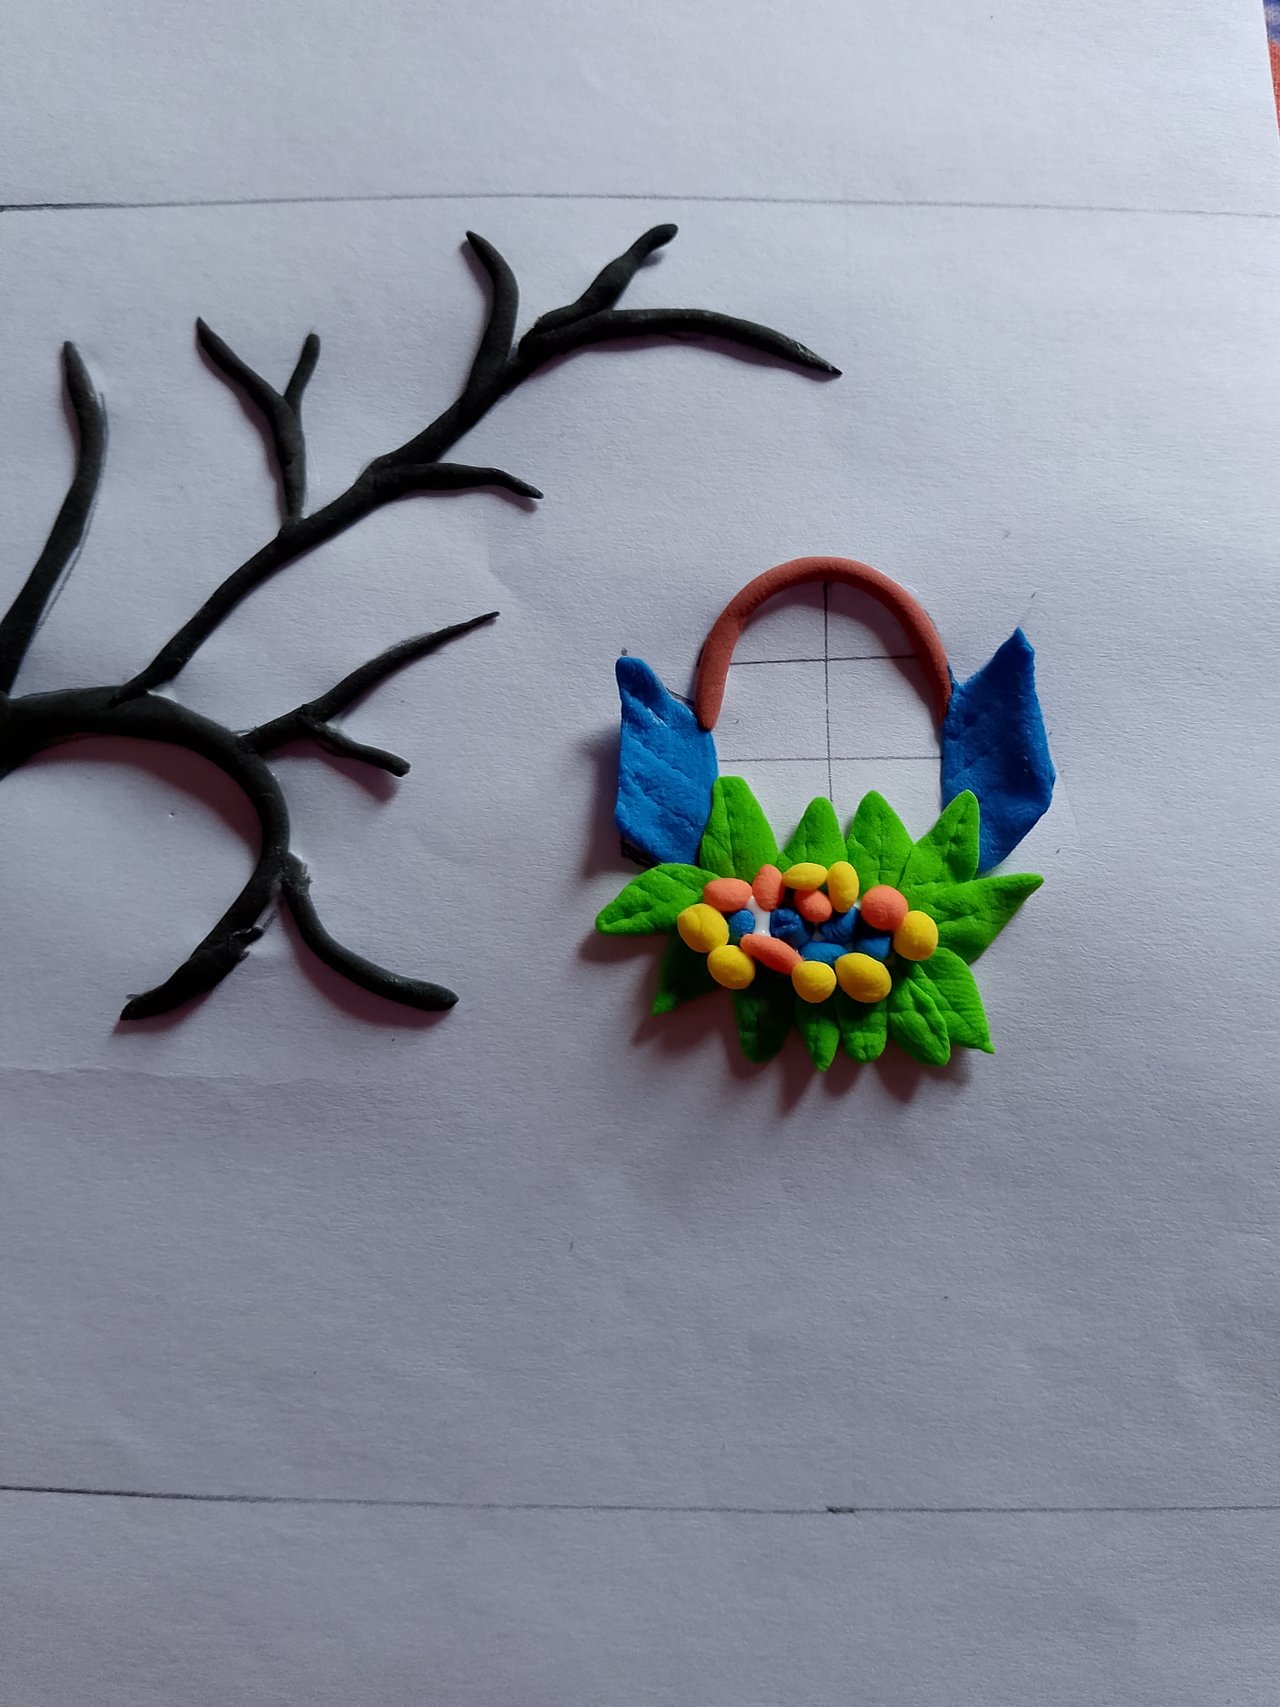
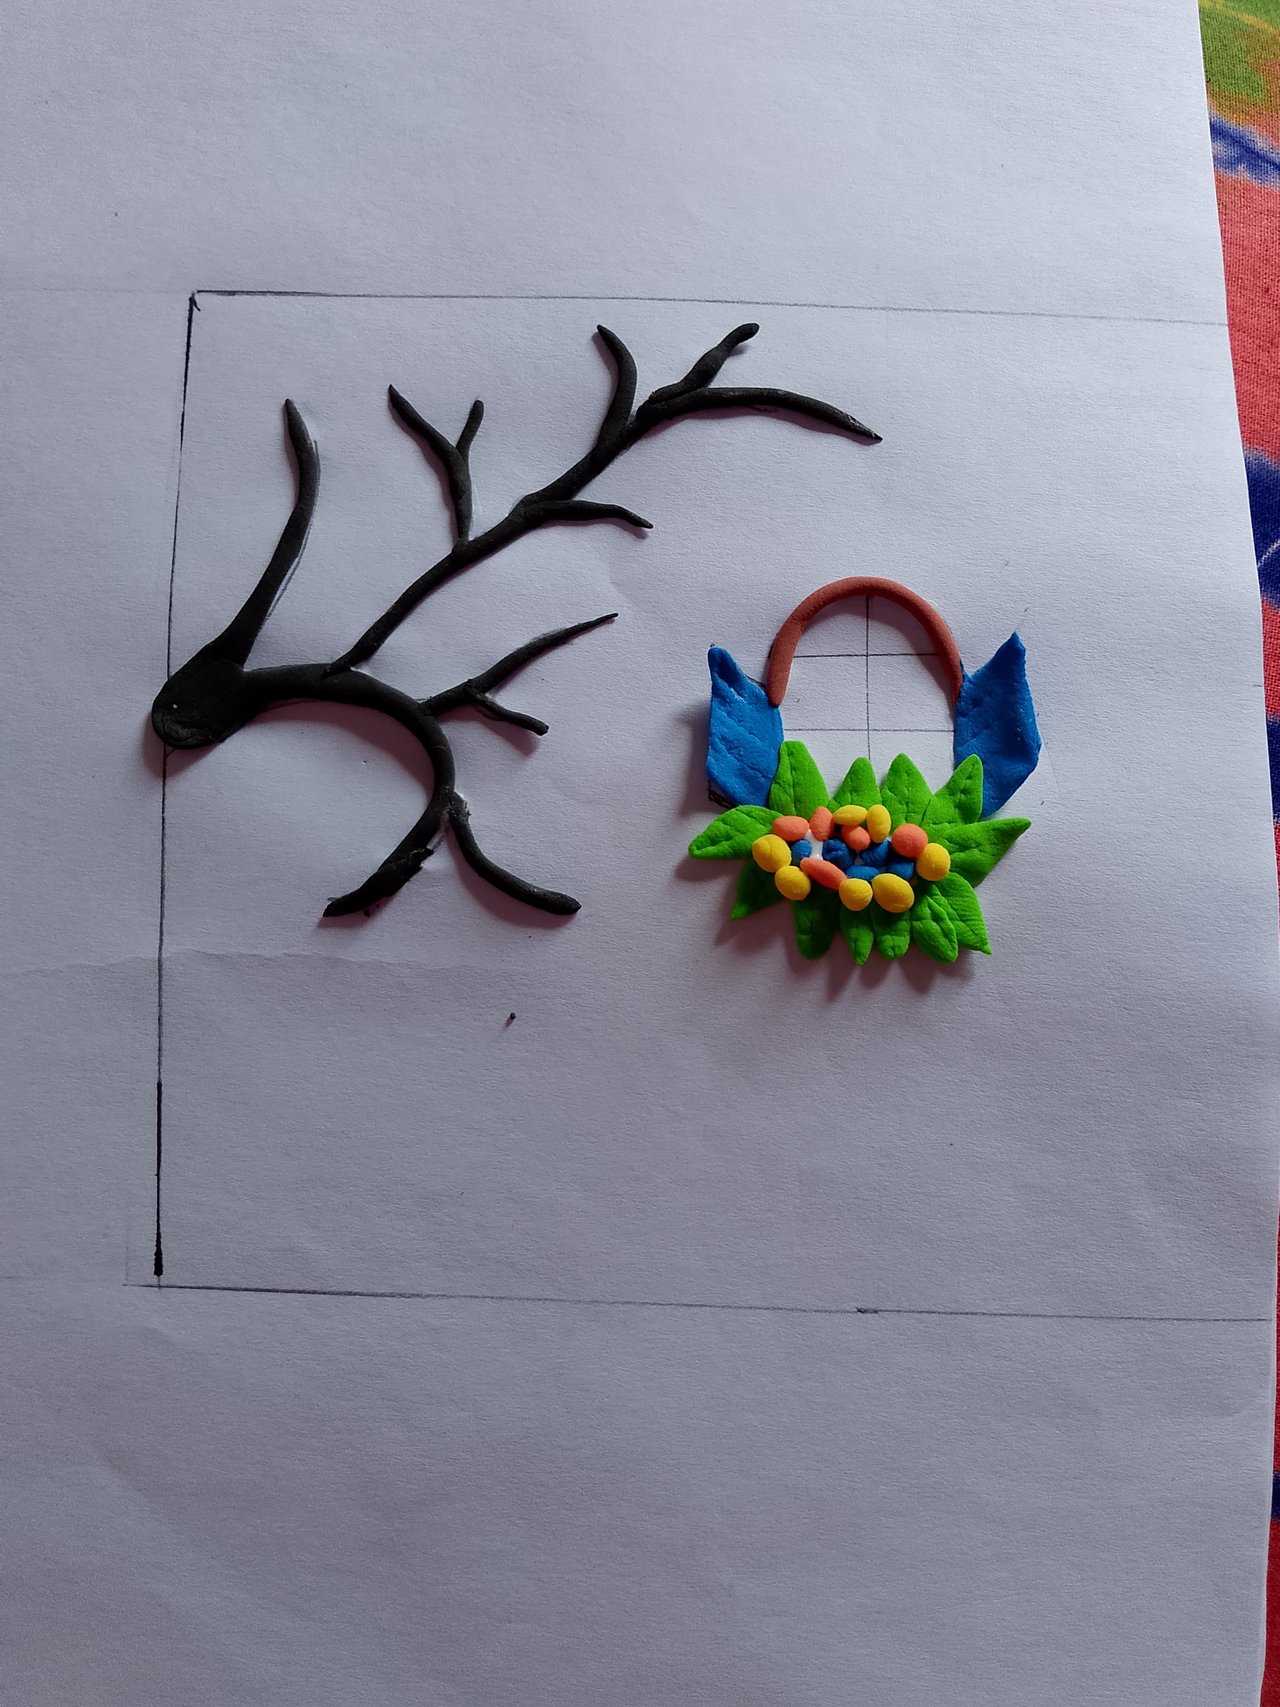
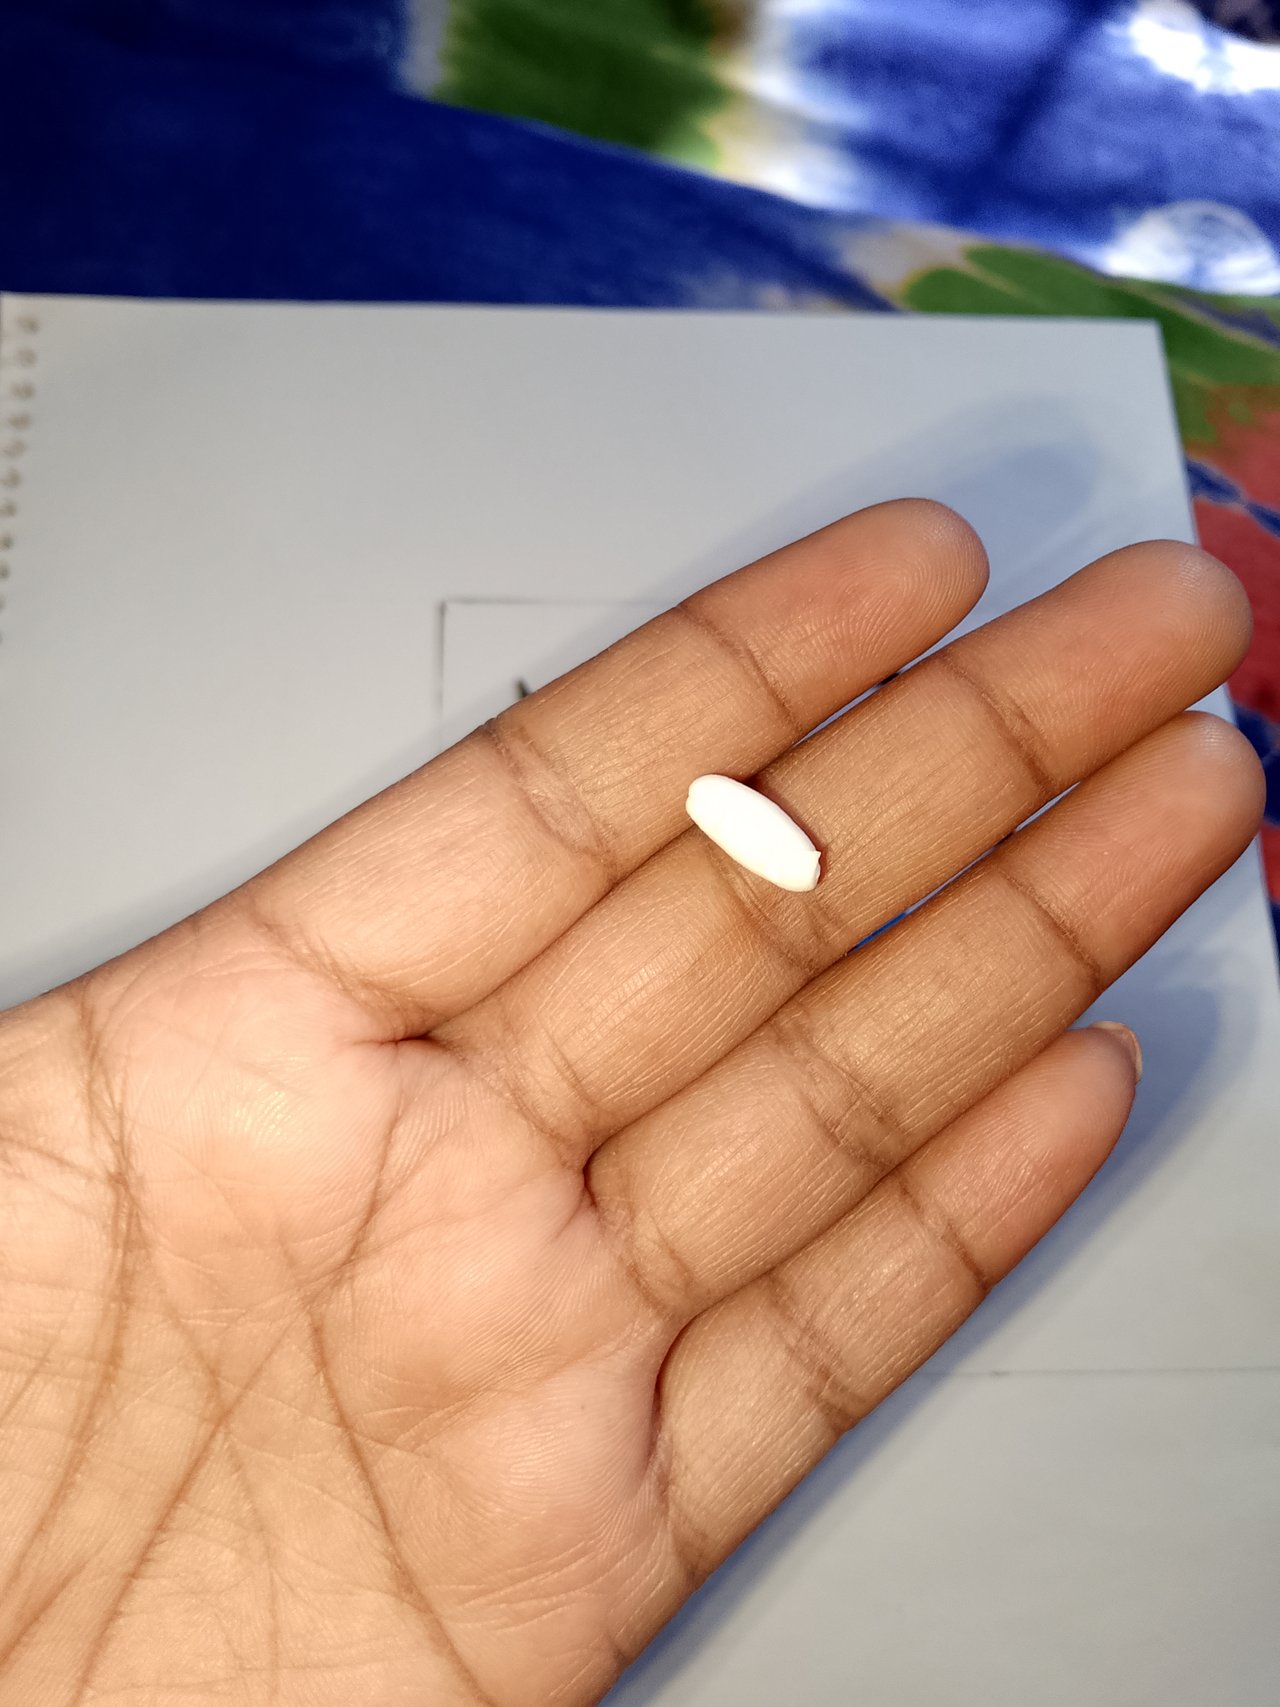
Using different-colored clay, I make small balls and place them in the center of the leaves. Then, I take a small amount of white clay and set it in the middle of the window. You can probably tell from the picture that the window is now complete.
Step 05
 | Green leaf |
|---|
 |  |
|---|
 |
|---|
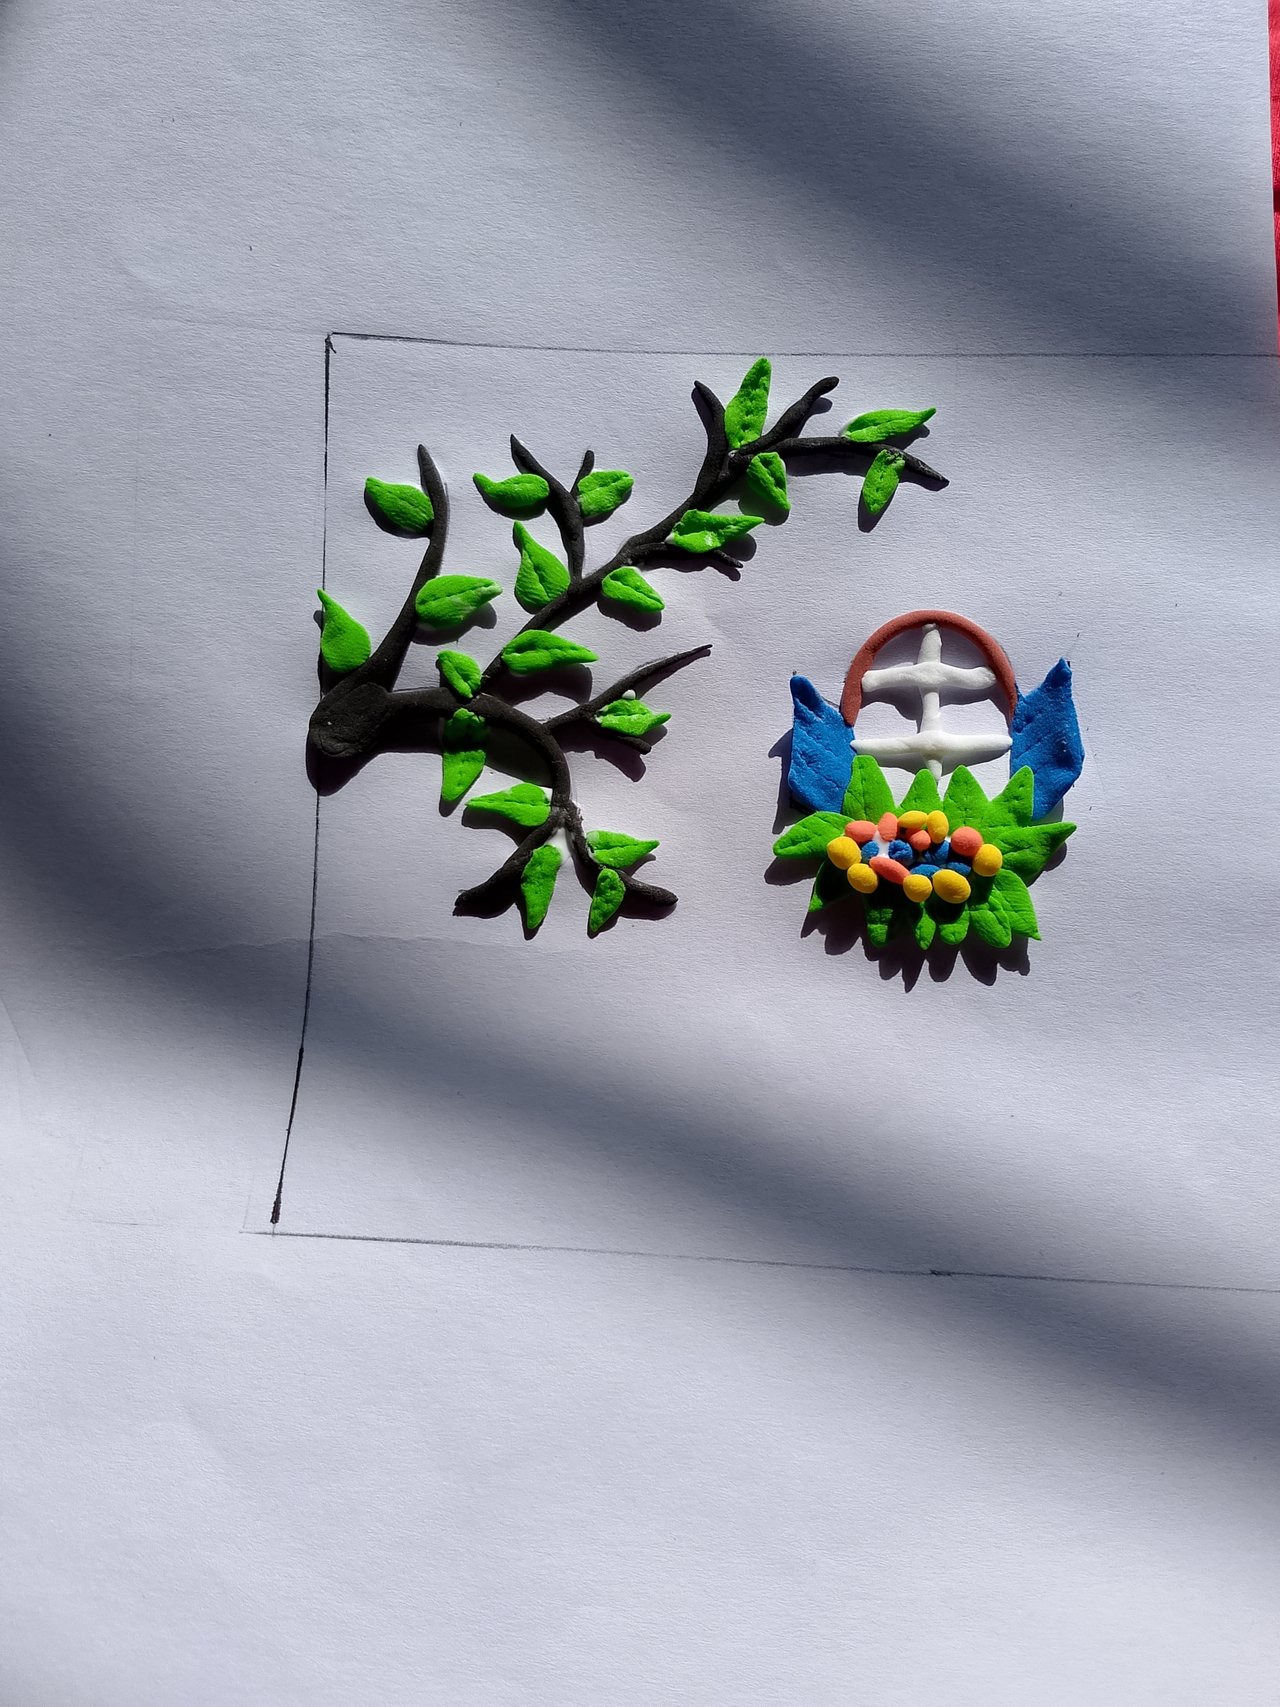
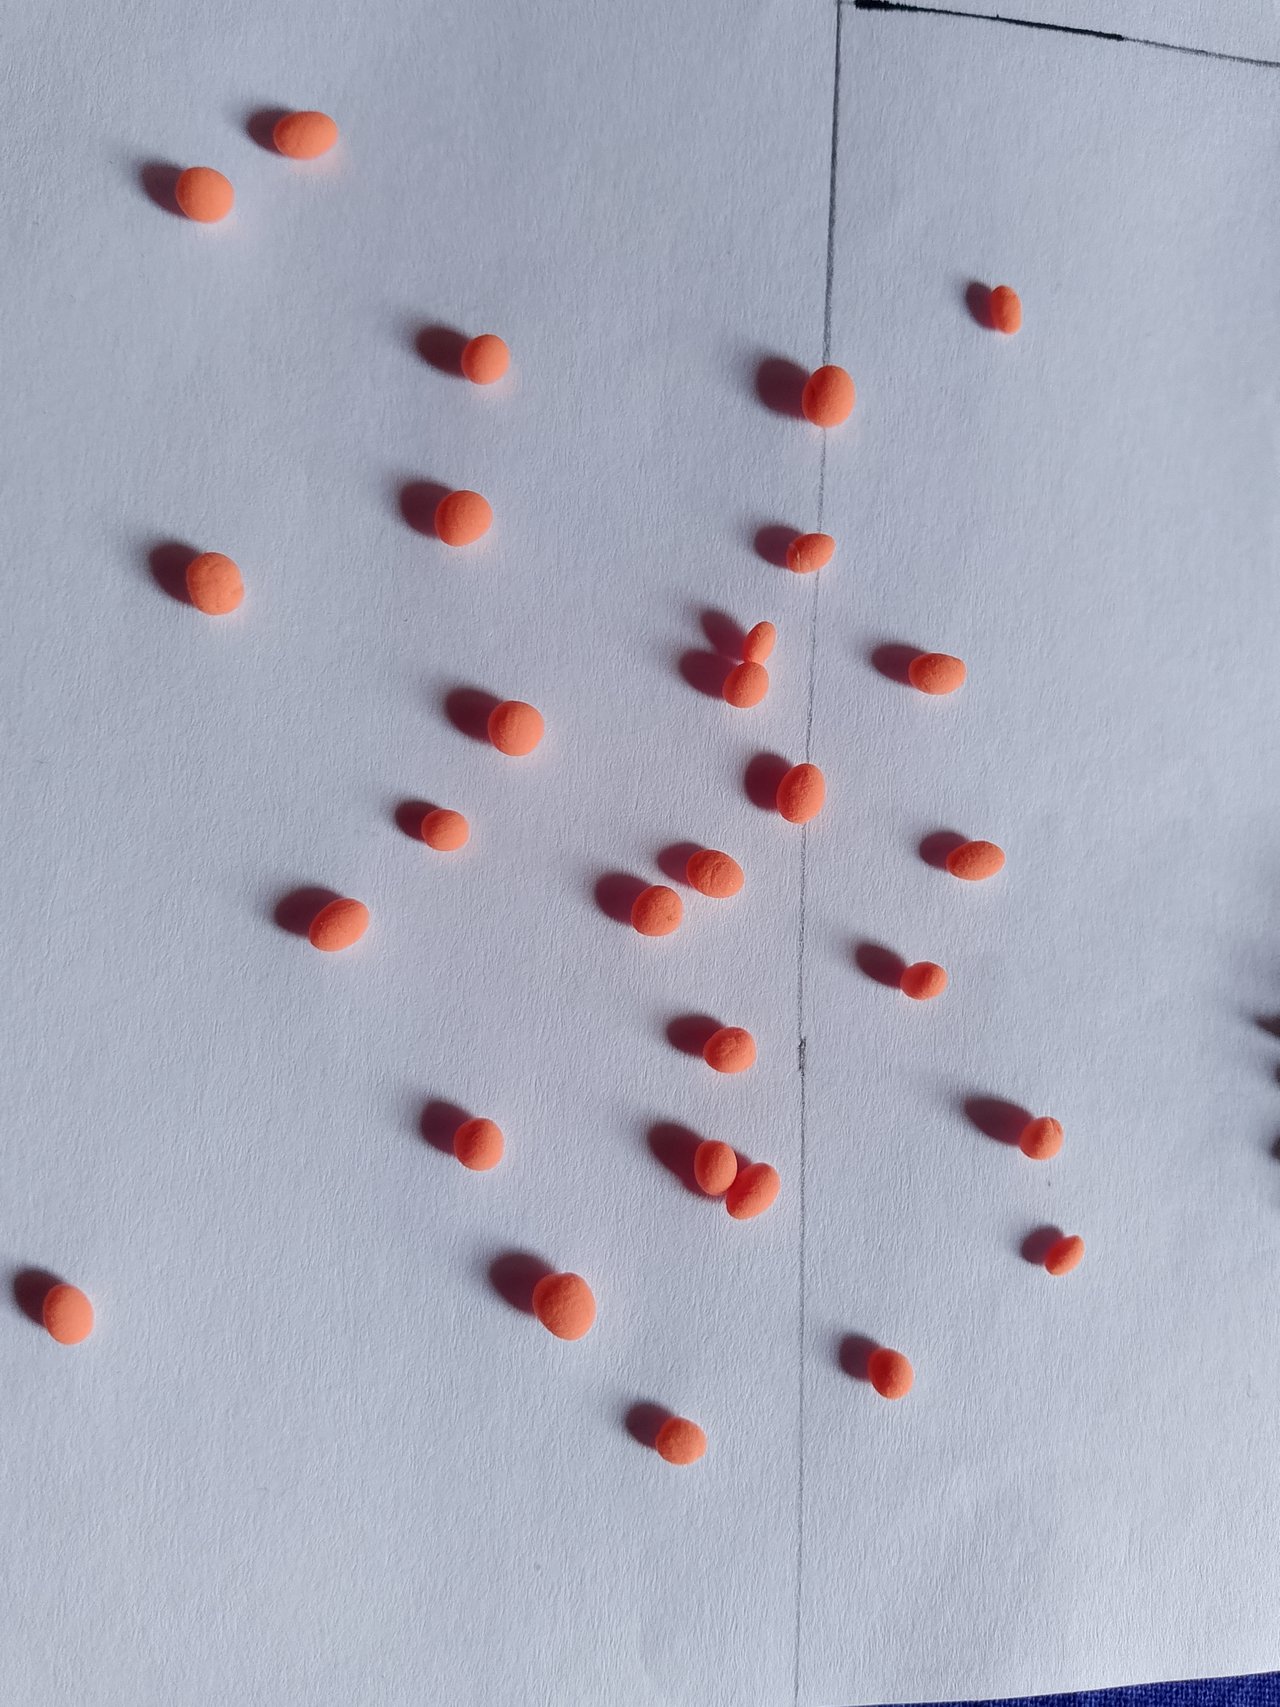
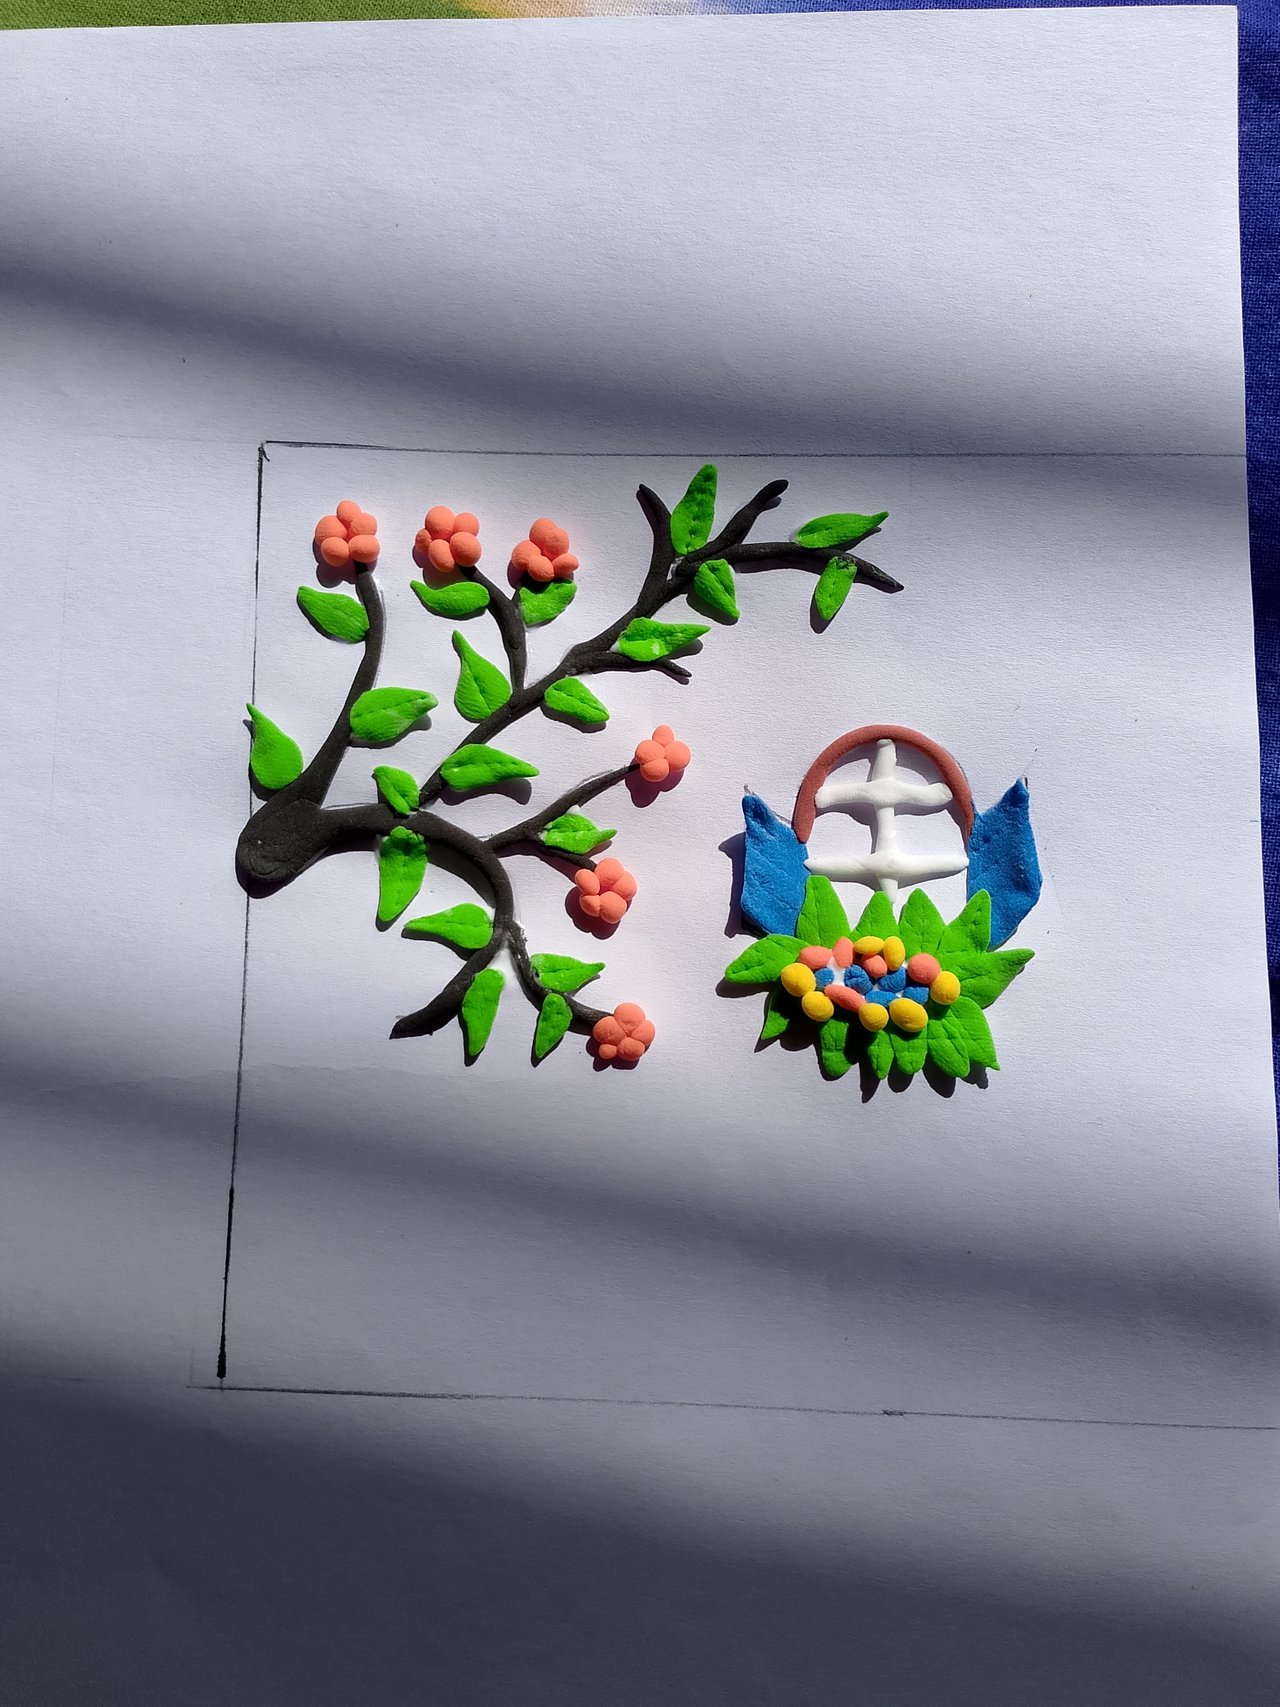
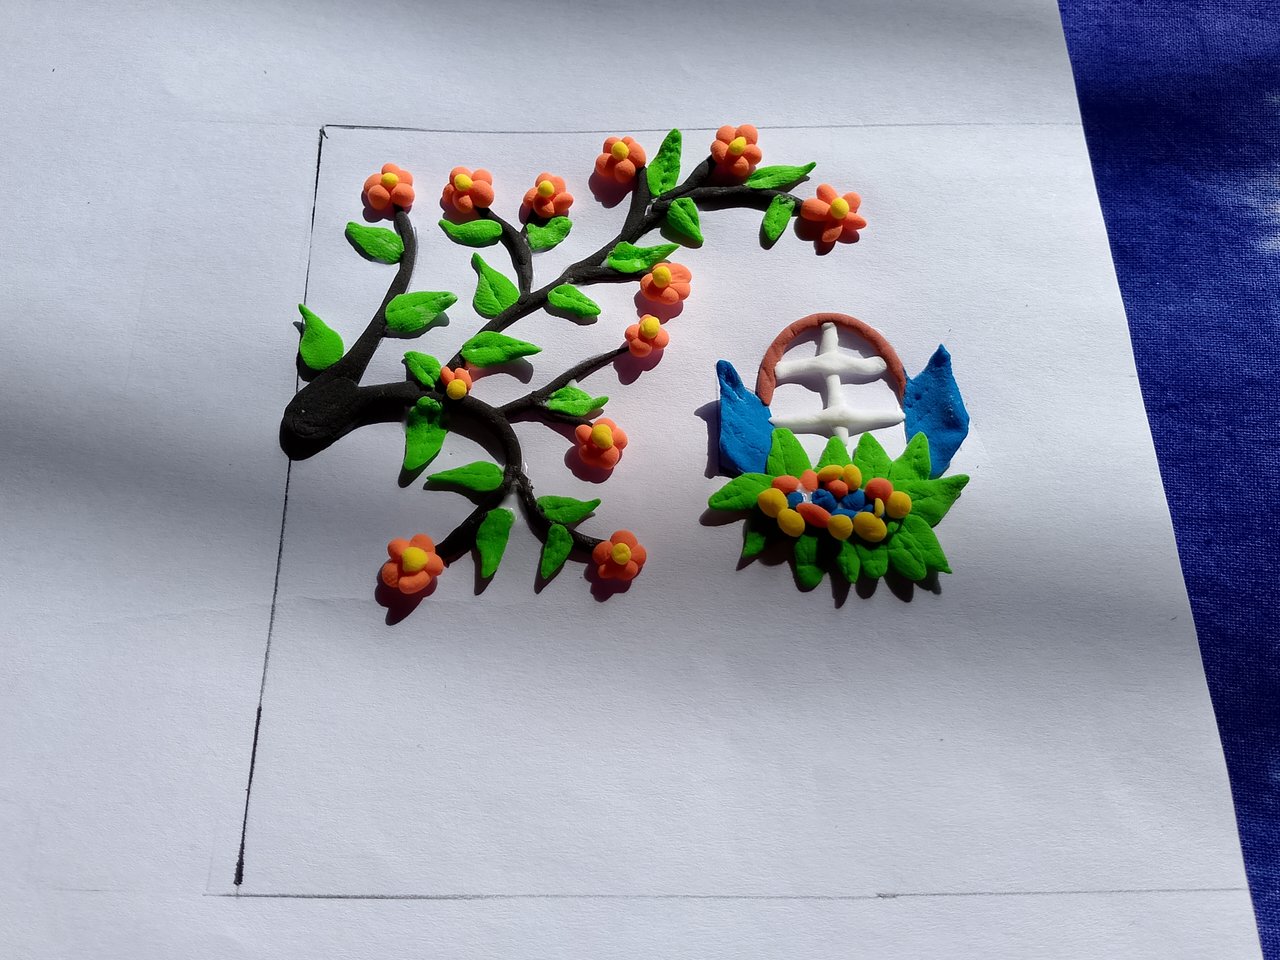
To add leaves to the tree, I use green-colored clay to make many small leaf shapes and set them on different branches of the tree. Then, I take orange-colored clay, form small round shapes, and create flowers that I place on the tree’s branches. Using yellow-colored clay, I create small bubbles and set them in the middle of each flower.
Step 06
 |  |
|---|
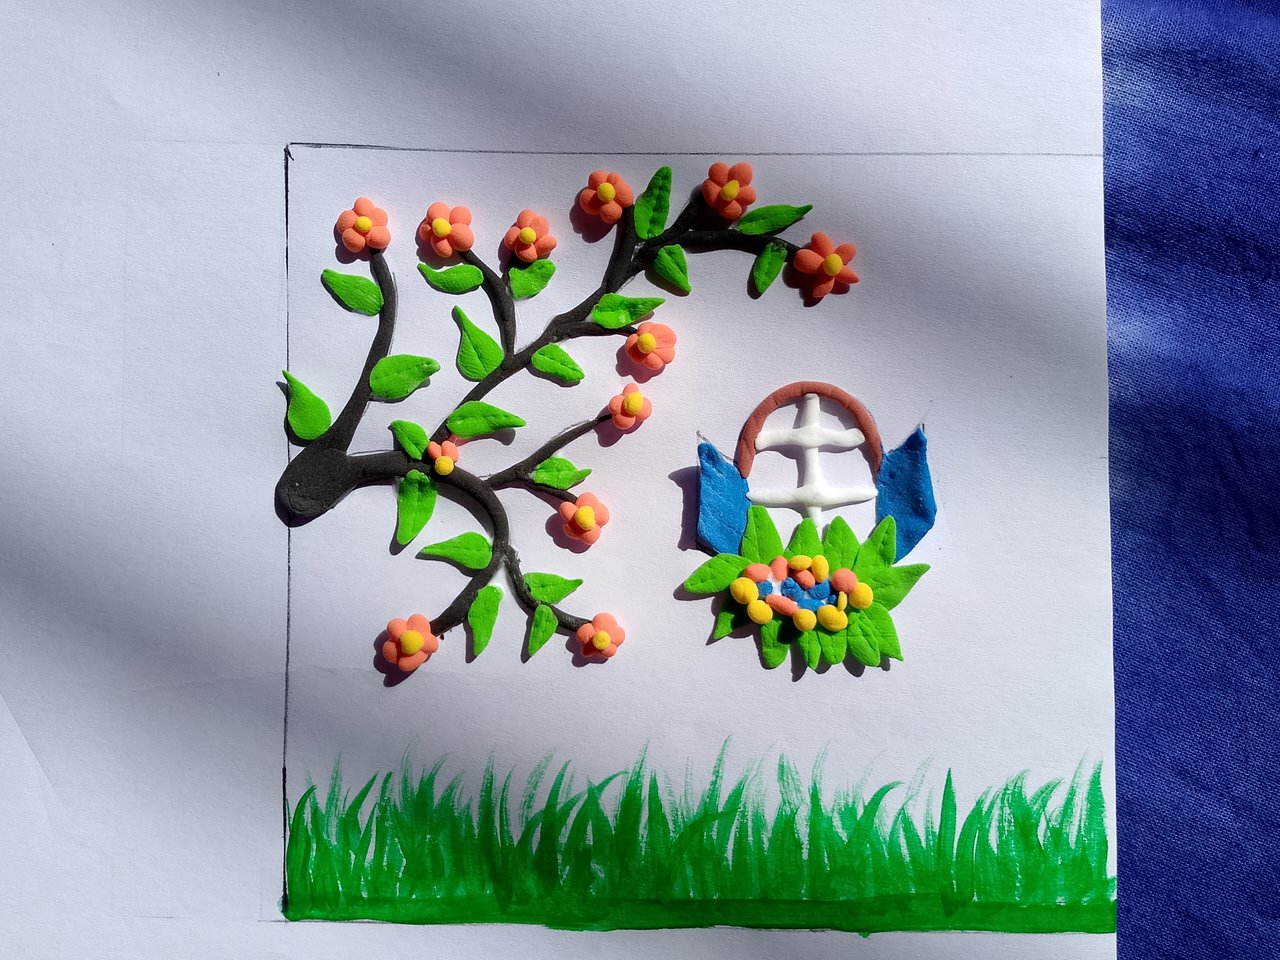
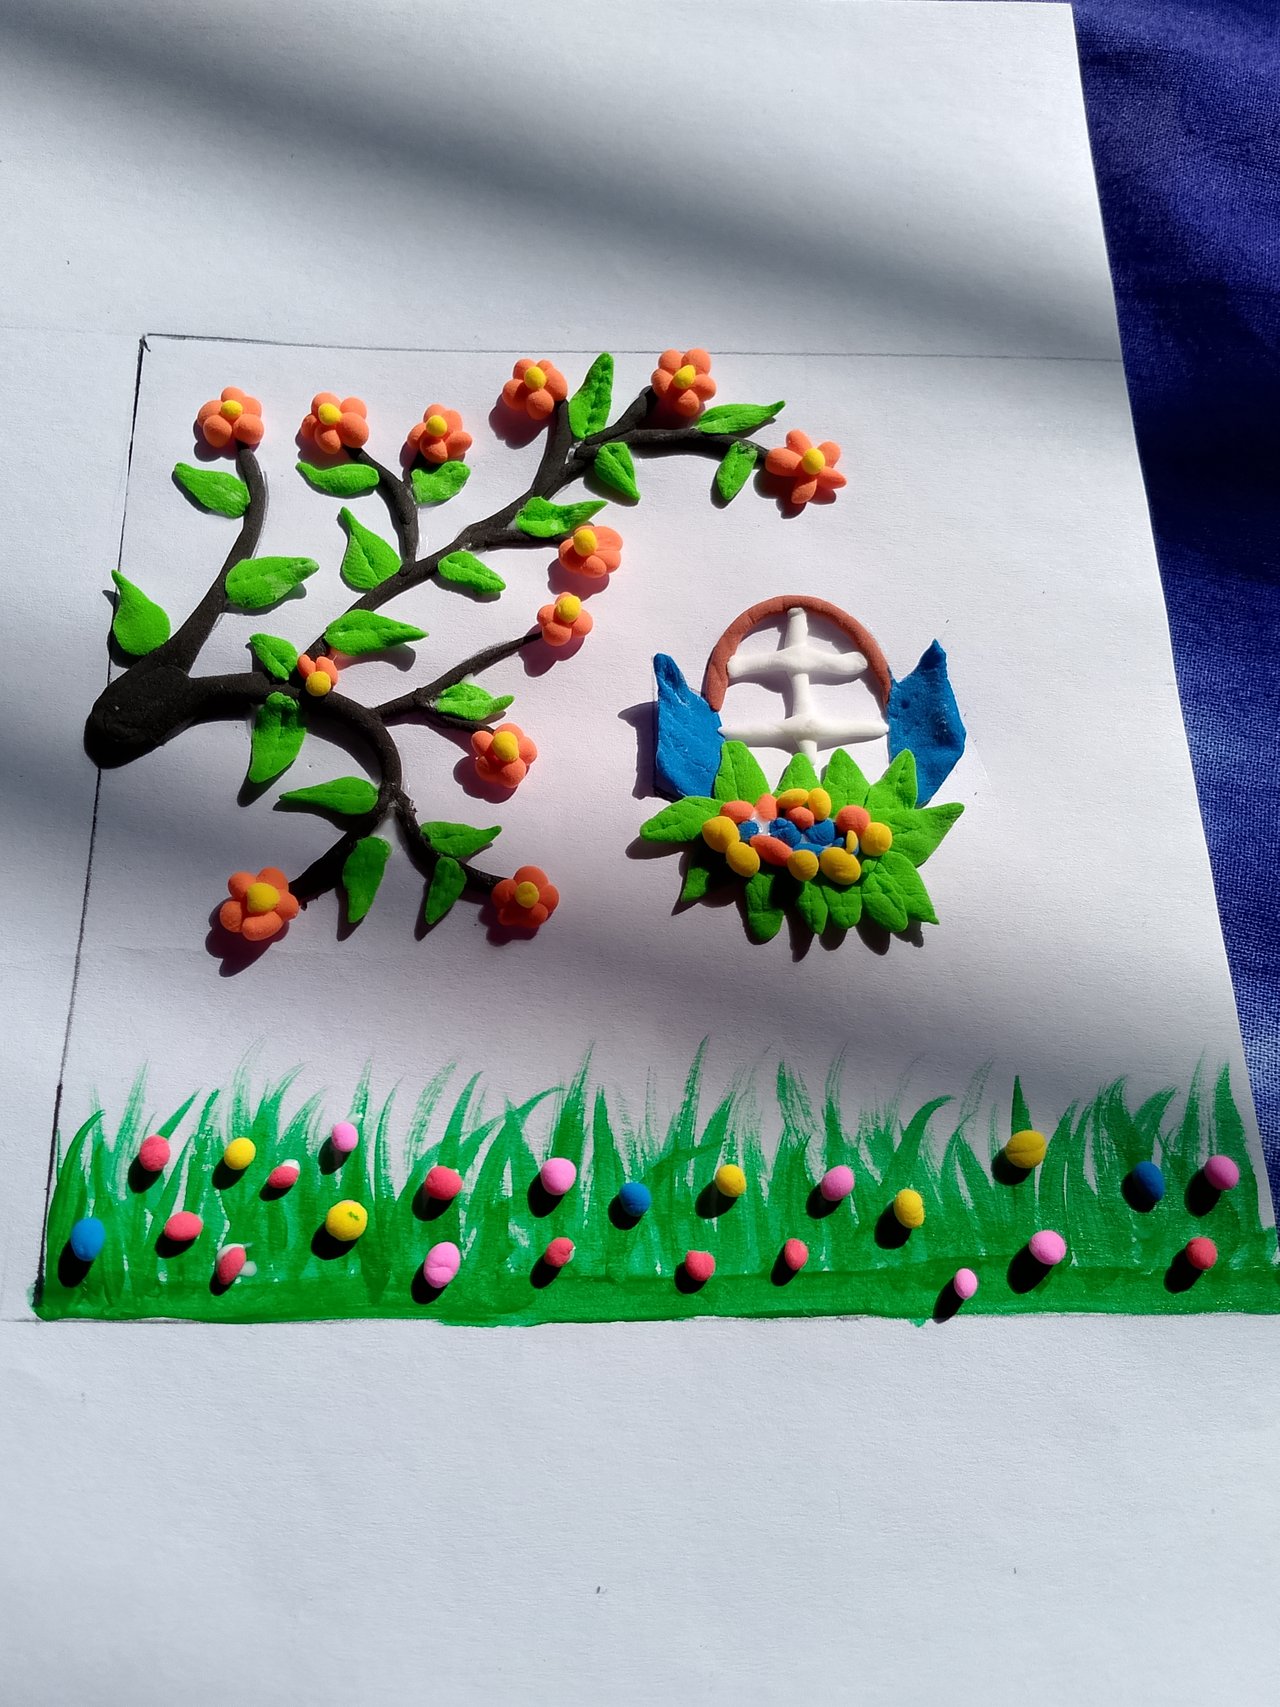
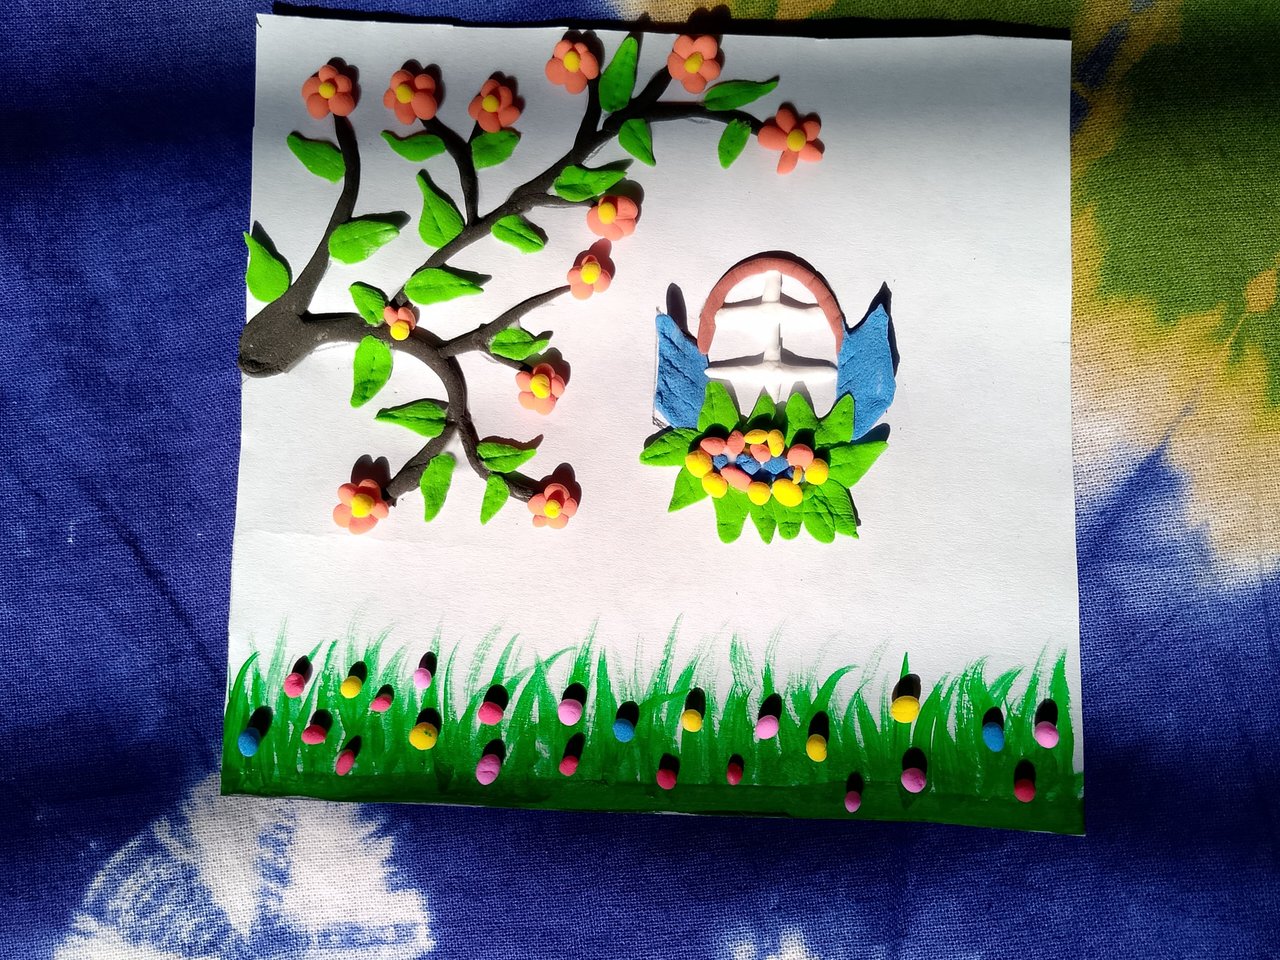
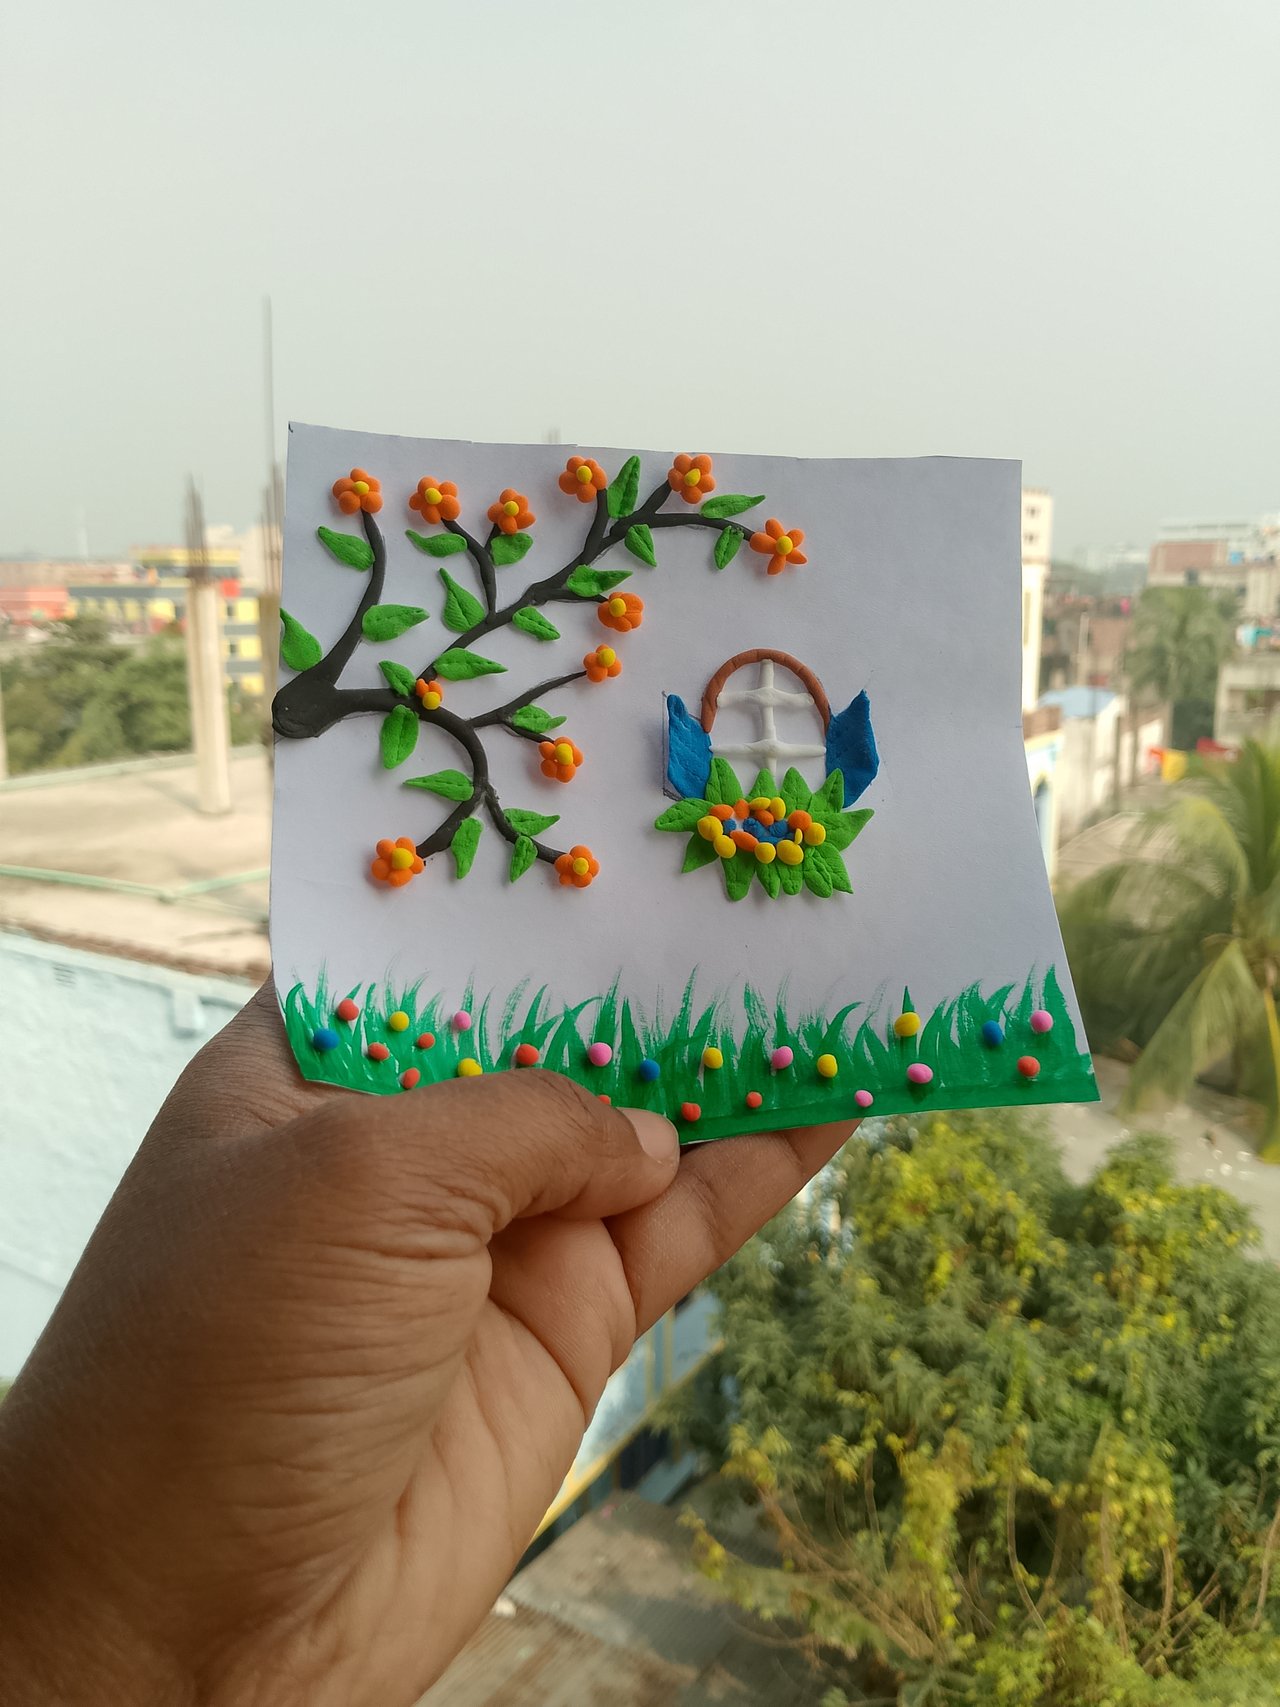
Now, using simple acrylic paint and a brush, I create grass shapes below the window. Then, I use different-colored clay to make small bubbles and place them at various spots on the grass. From the picture, you can see that the spring scene clay craft is complete.
Step 07
 |
|---|
| Using tag | 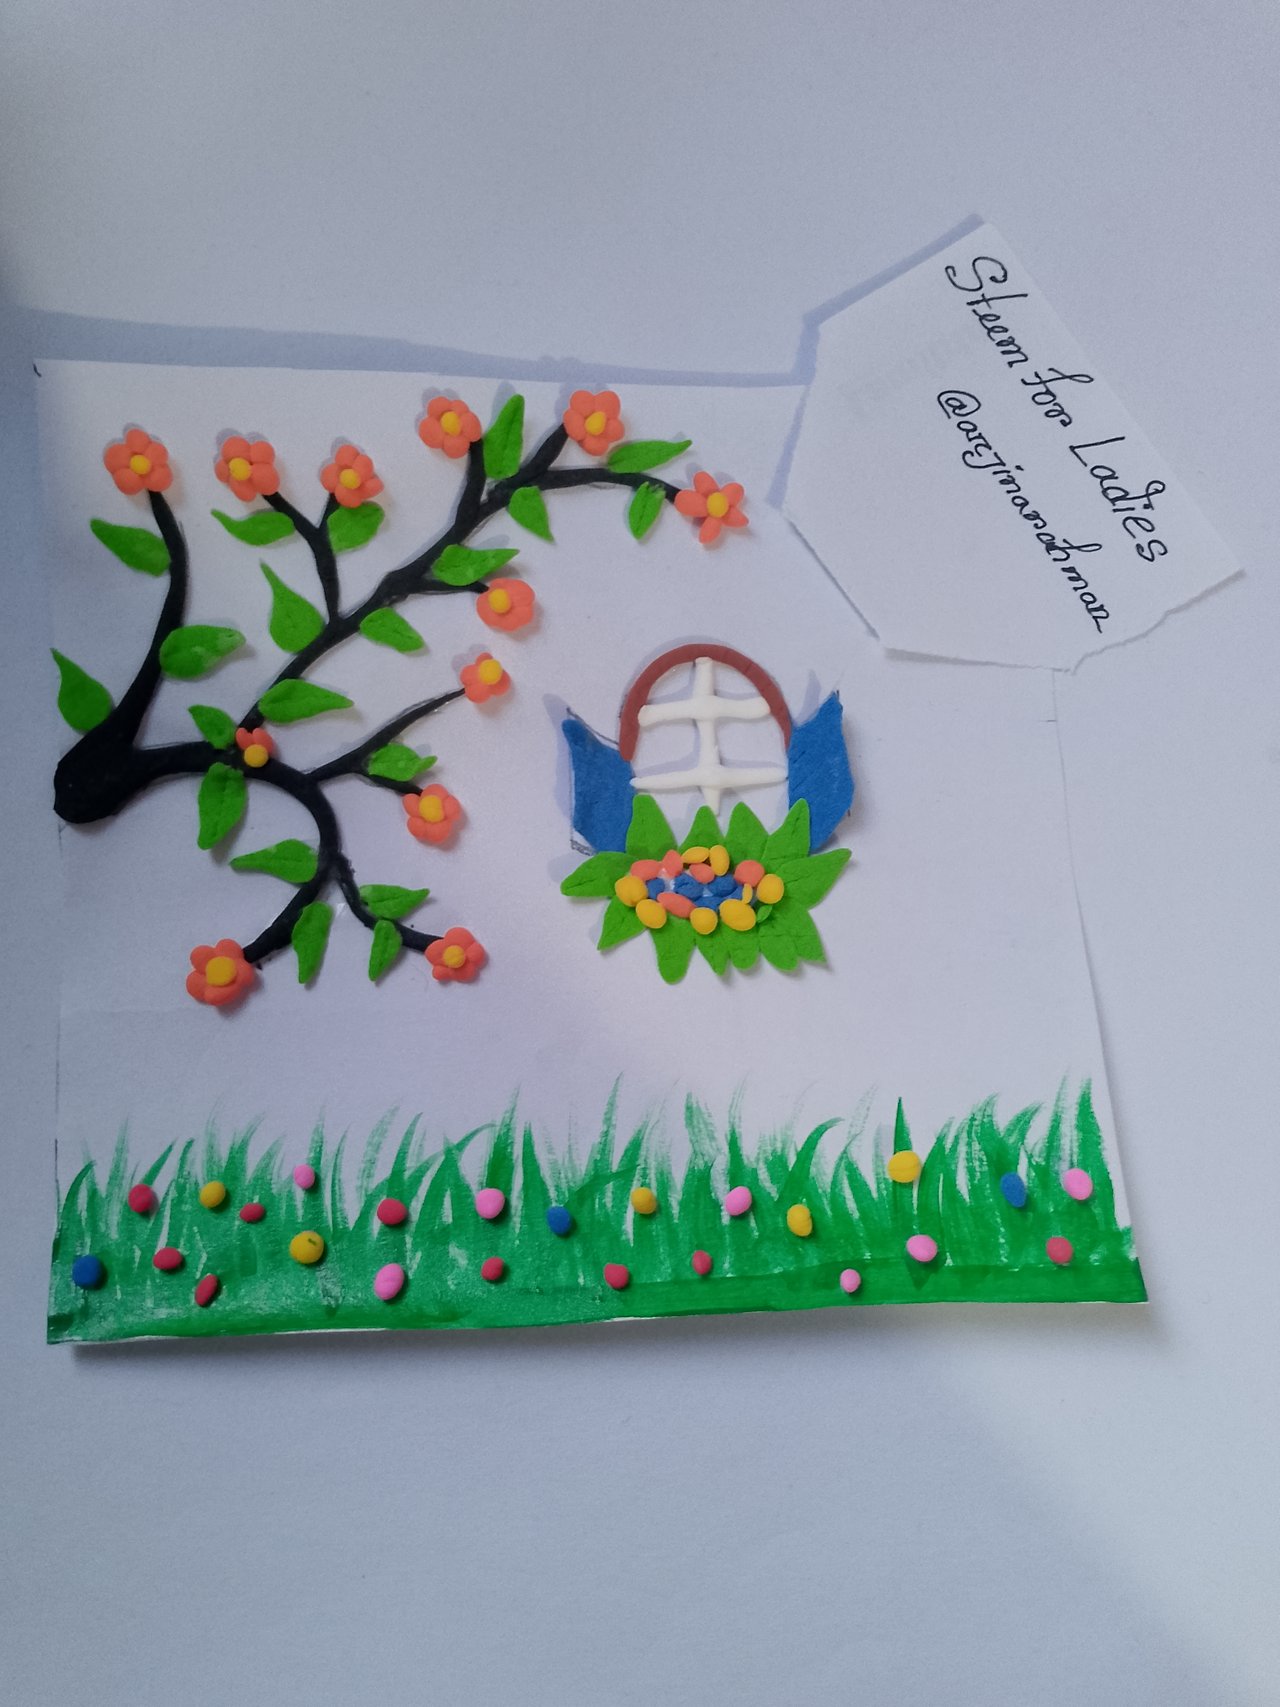 |
|---|
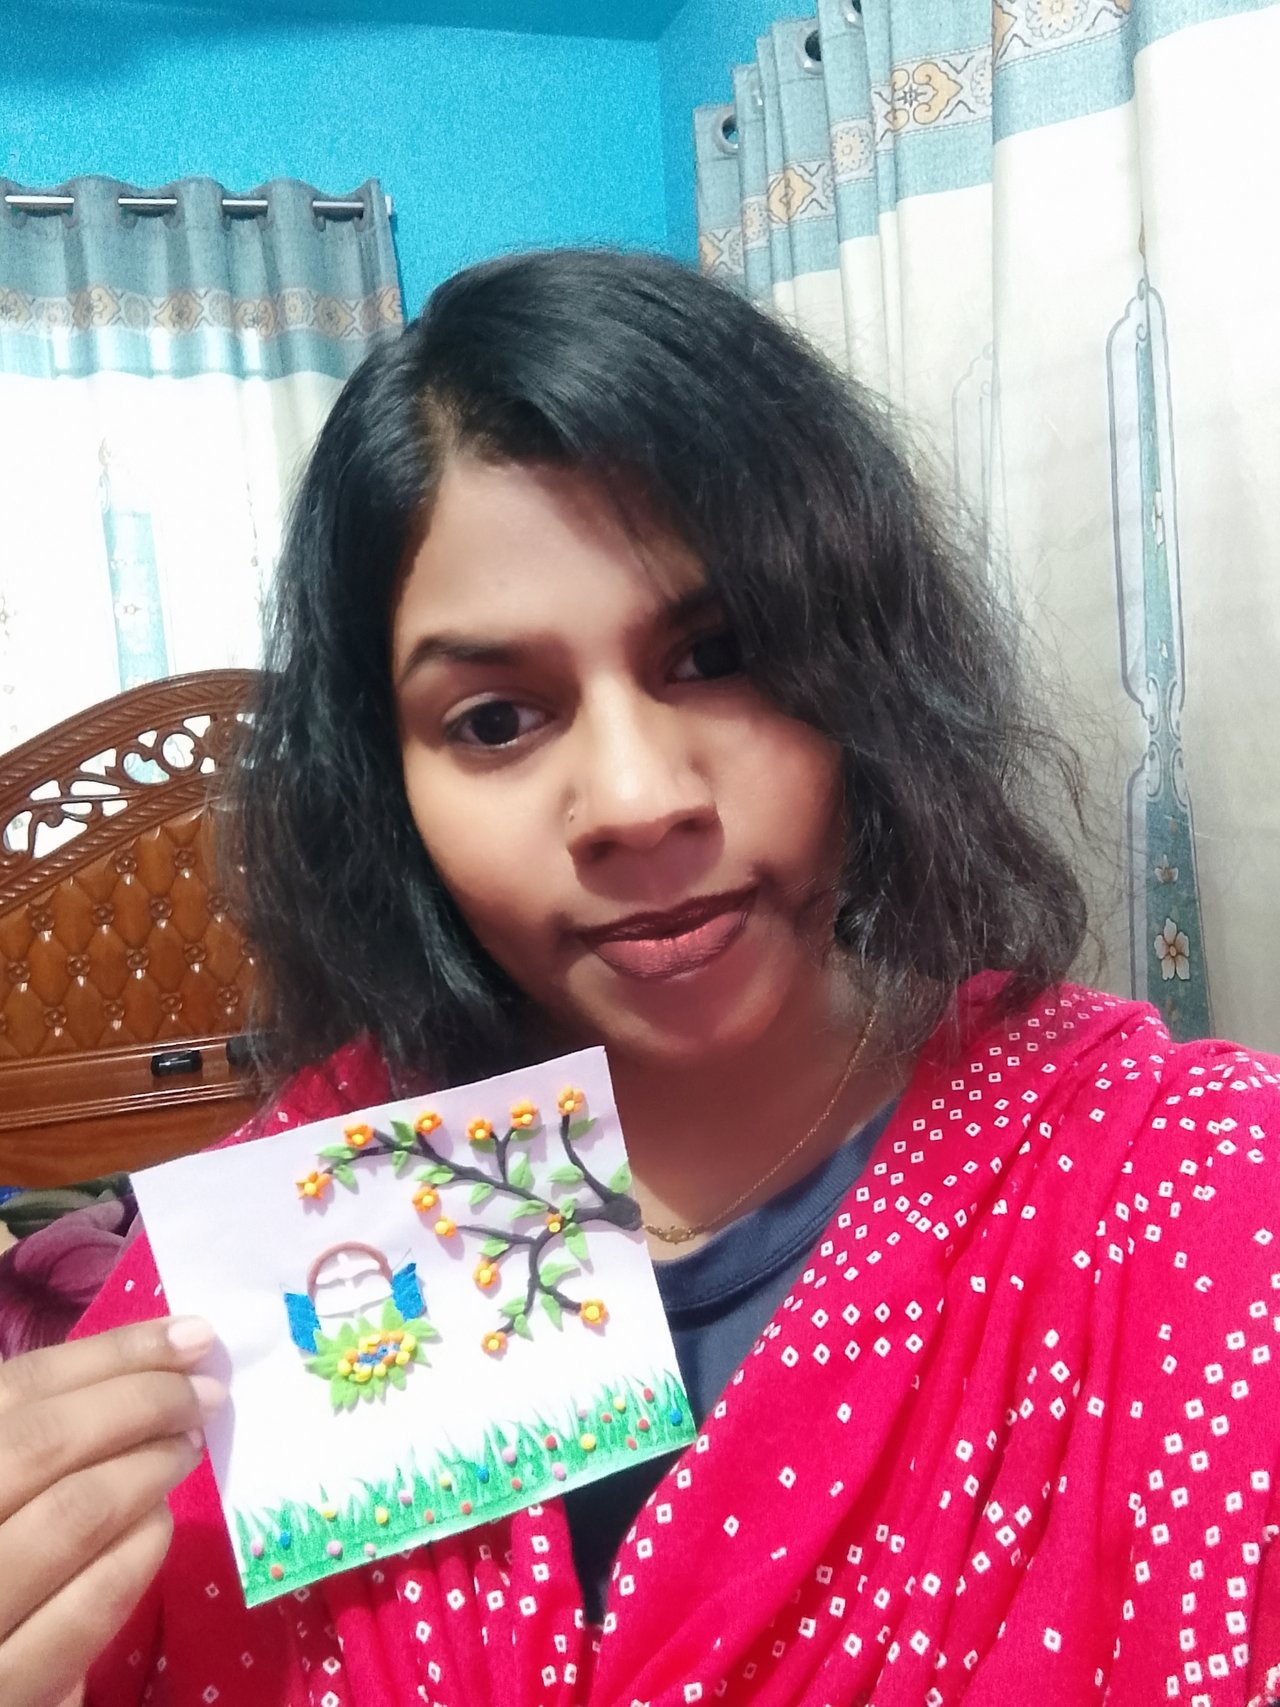 | Selfie with my craft |
|---|
 |
|---|
 |  |
|---|
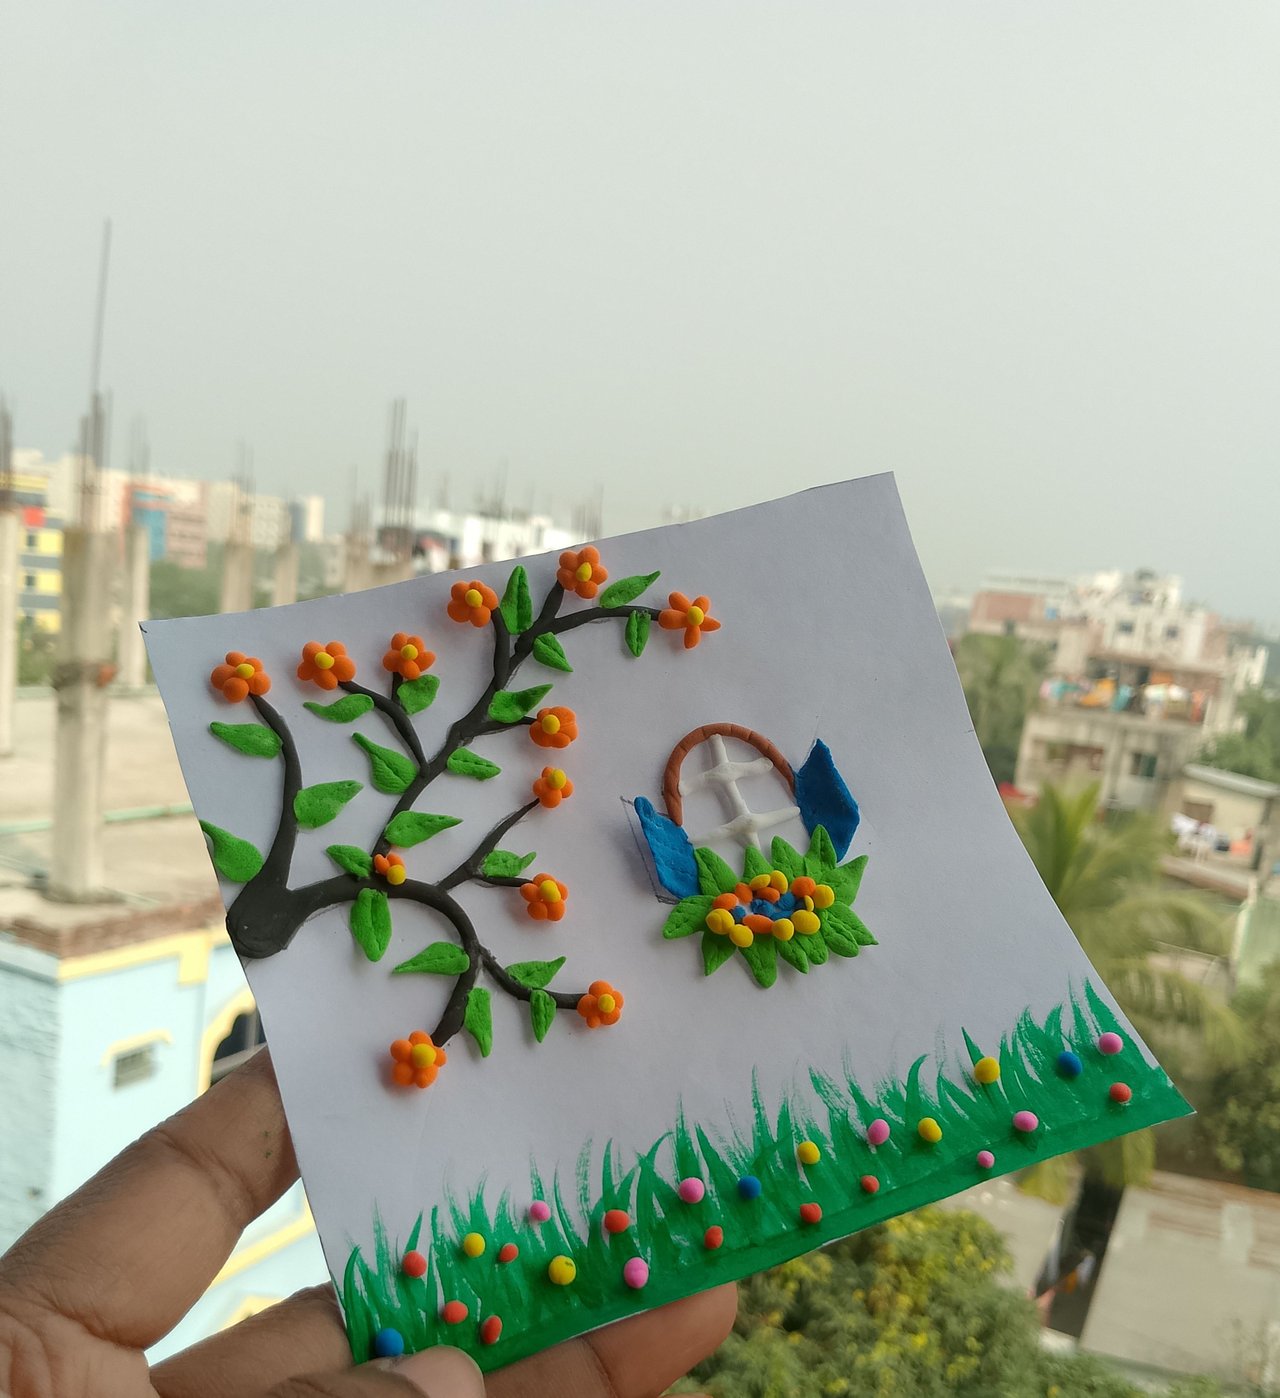
Next, I take scissors and cut my craft into the desired size. I tag it, capture a photo, and also take a selfie with my clay craft. Finally, I do a short photo session with my completed spring scene clay craft.

| Device Name | infinix |
|---|---|
| Captured by | @arjinarahman |
| Crafted by | @arjinarahman |
| Location | Narayanganj, Bangladesh |

I invite following users for the contest
@vishwara
@jes88
@wuddi


