My respect and love to every admin and moderator of my beloved " Steem For Ladies". Dear friends, how are you all? I hope everyone is doing well,,, I love to participate in any creative contest on Steemit, and in that good place, I came today to participate in the contest organized by @ngoenyi Mam.
 |
|---|
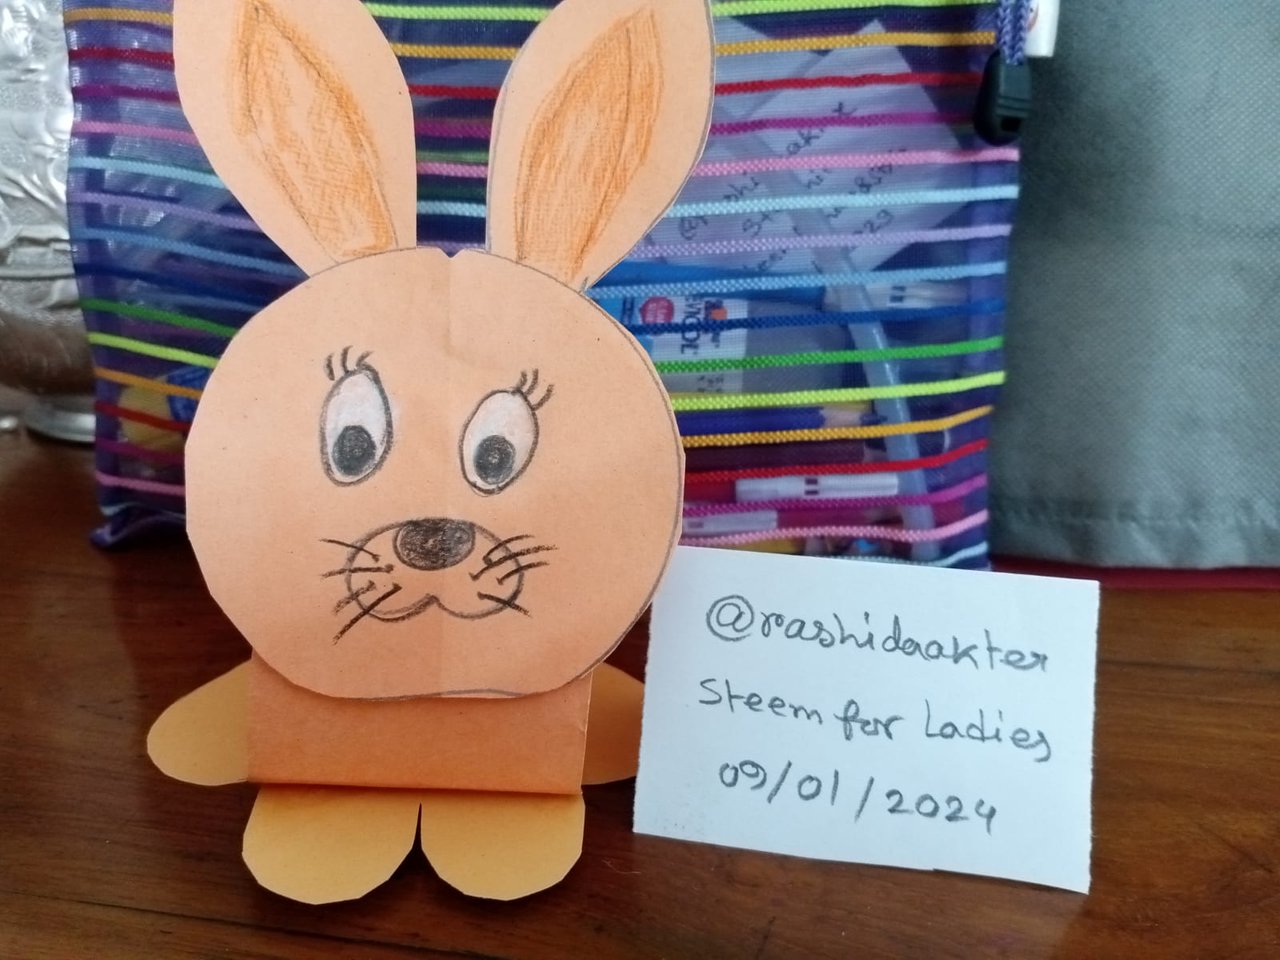
Papercraft is a form of art through which a person can present himself to others. In keeping with today's topic I will try to make a paper craft Rabbit. Hope you will like this little presentation of mine.
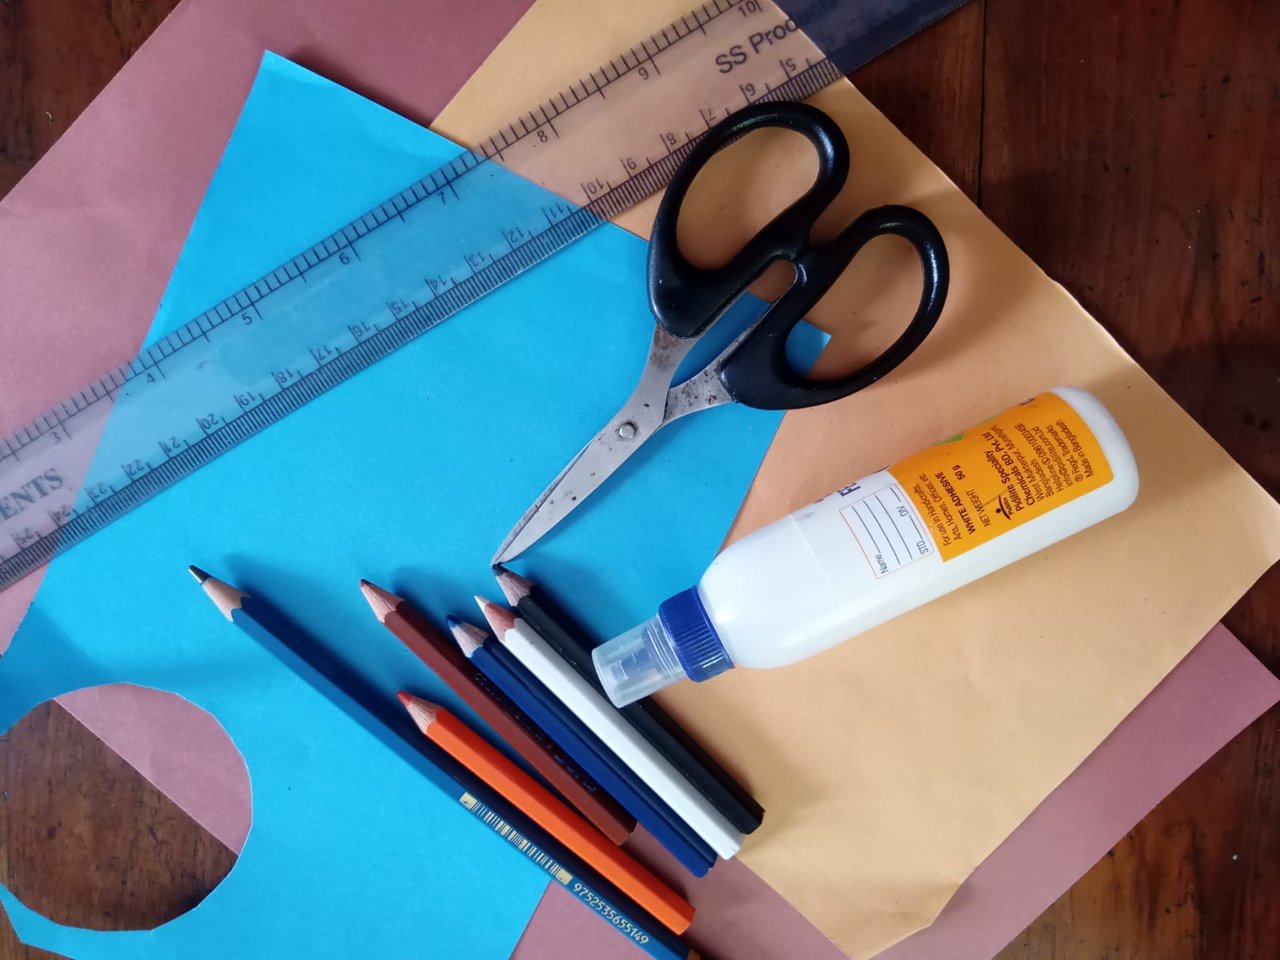
Craftig materials 👇🏾
⭐️ Color paper
⭐️ Scale
⭐️ Pencil
⭐️ Gum
⭐️Scissor
⭐️color pencil
 |
|---|
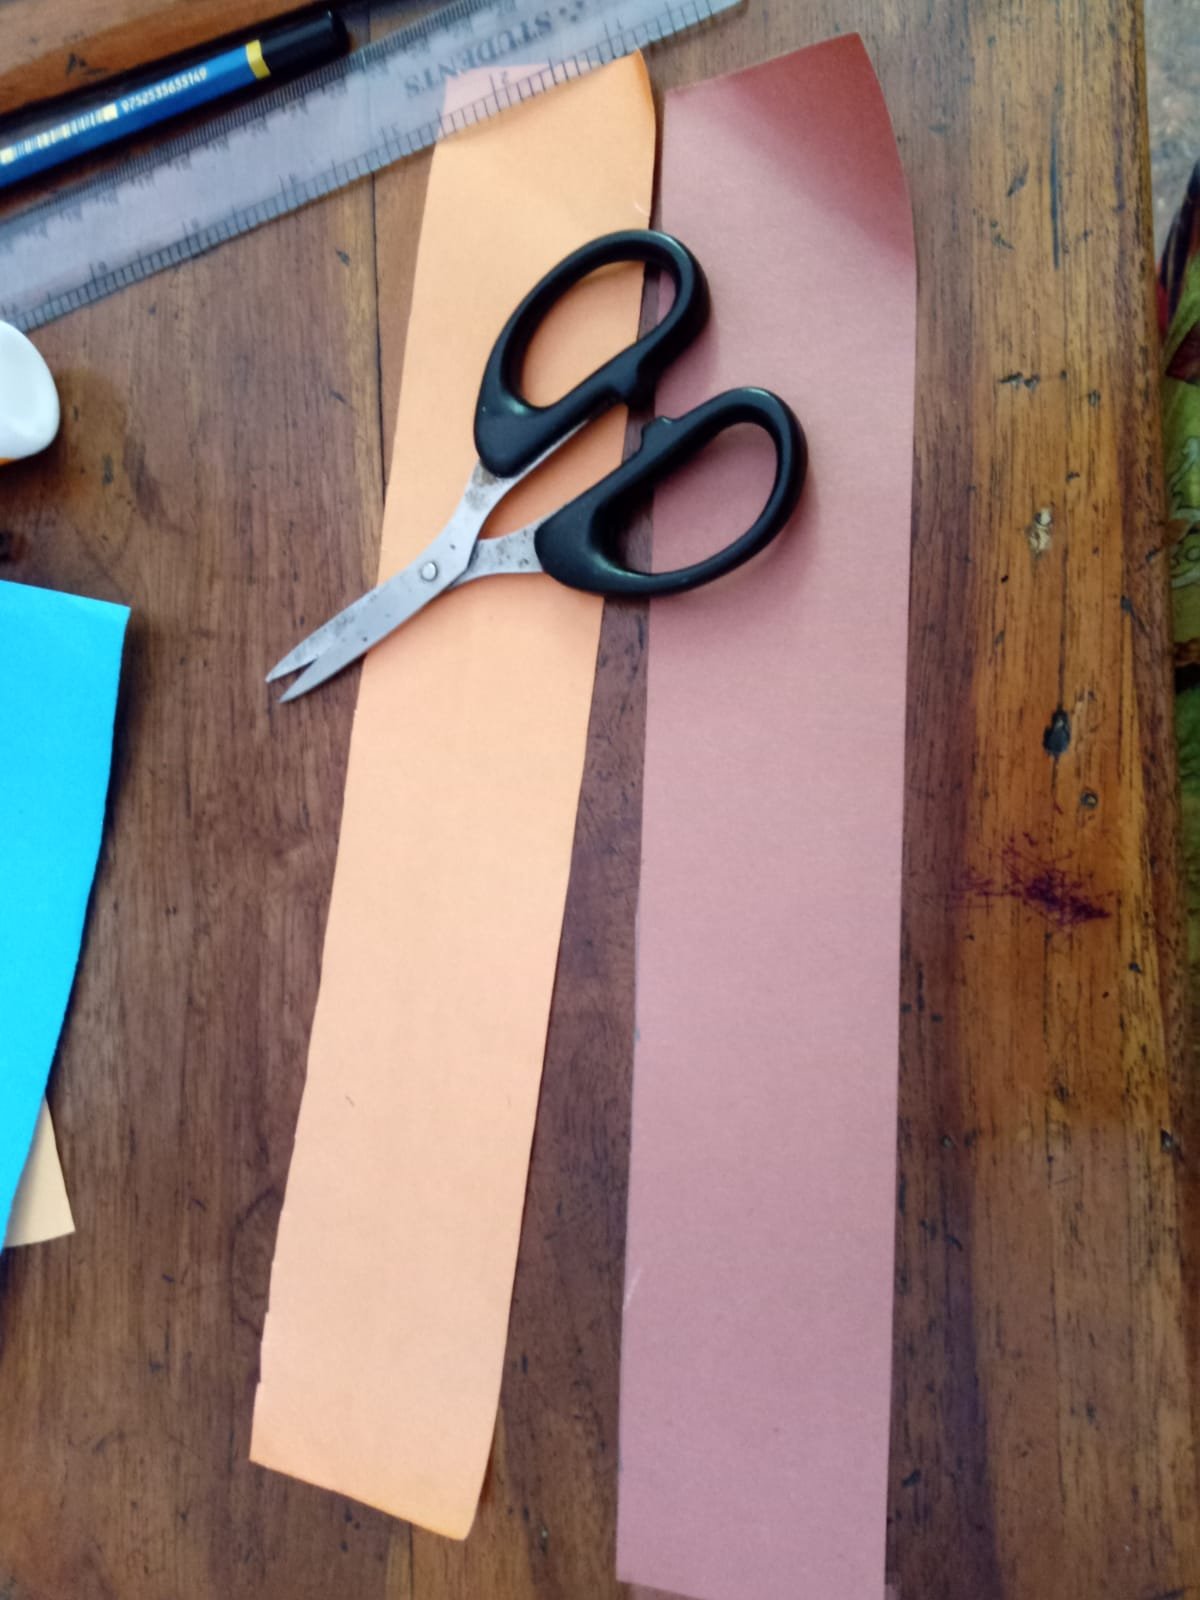
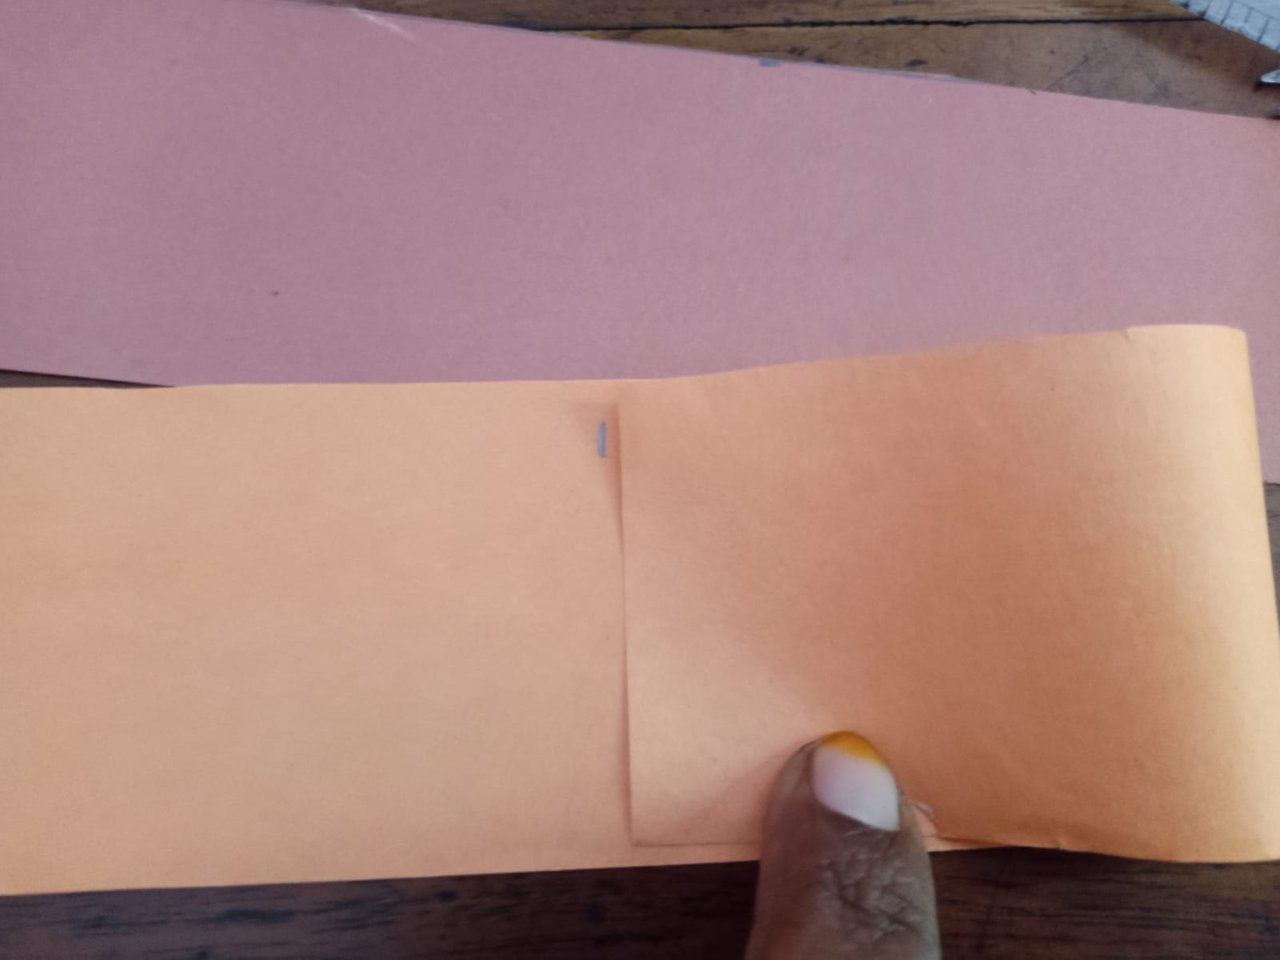
🌸 Step 01
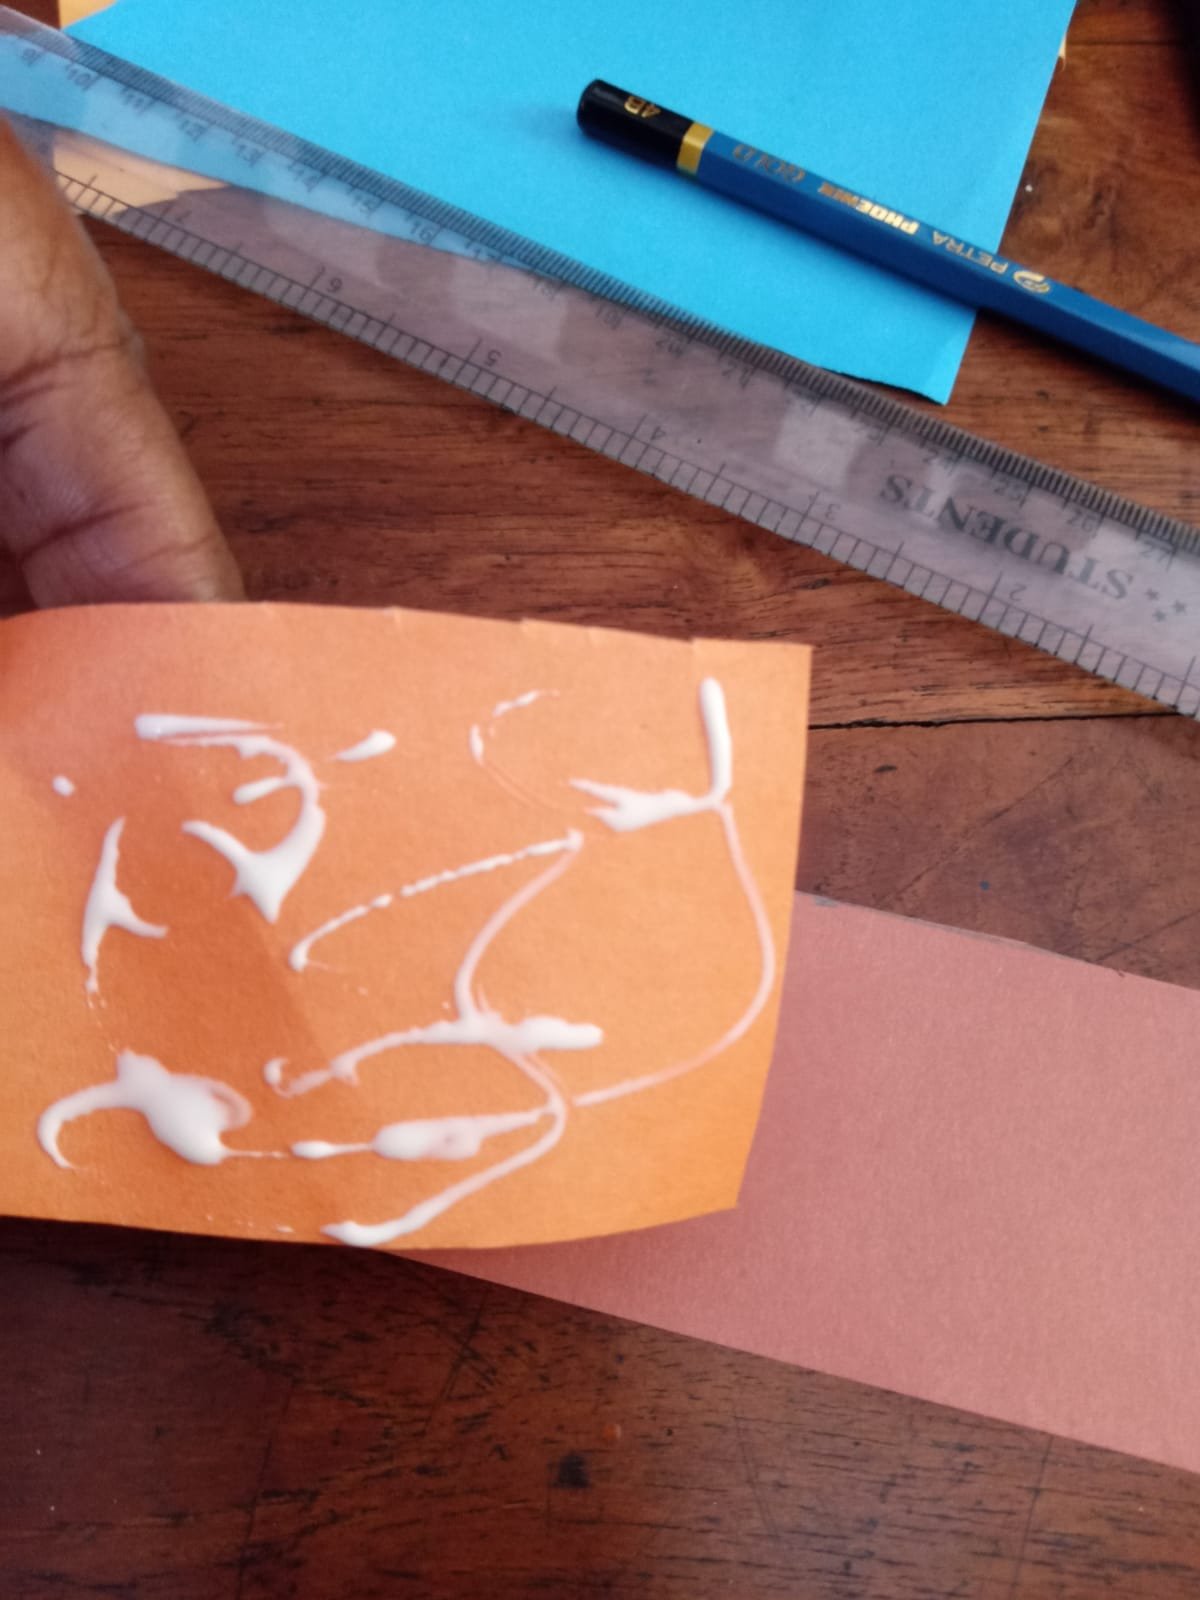
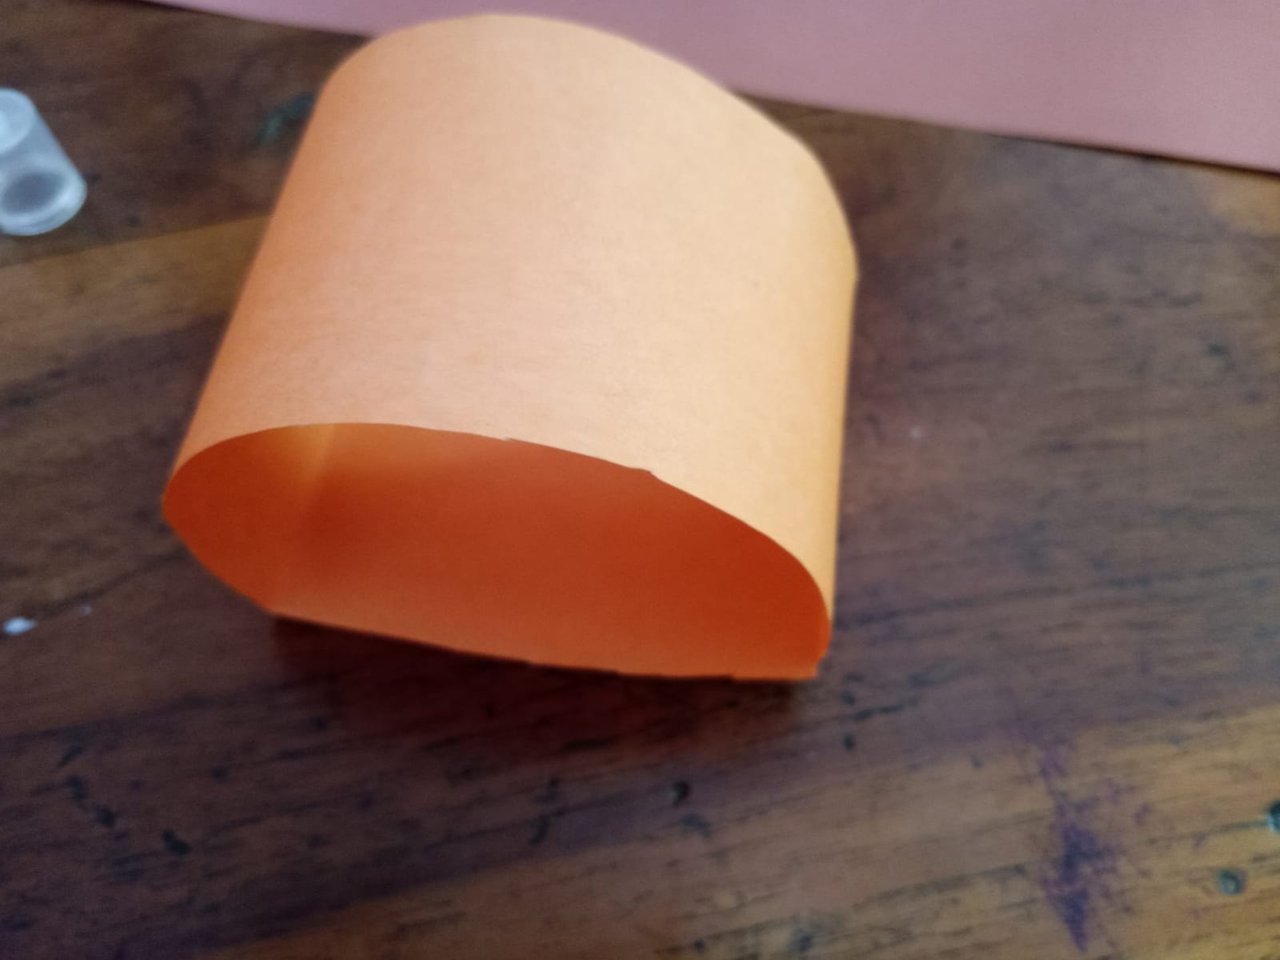
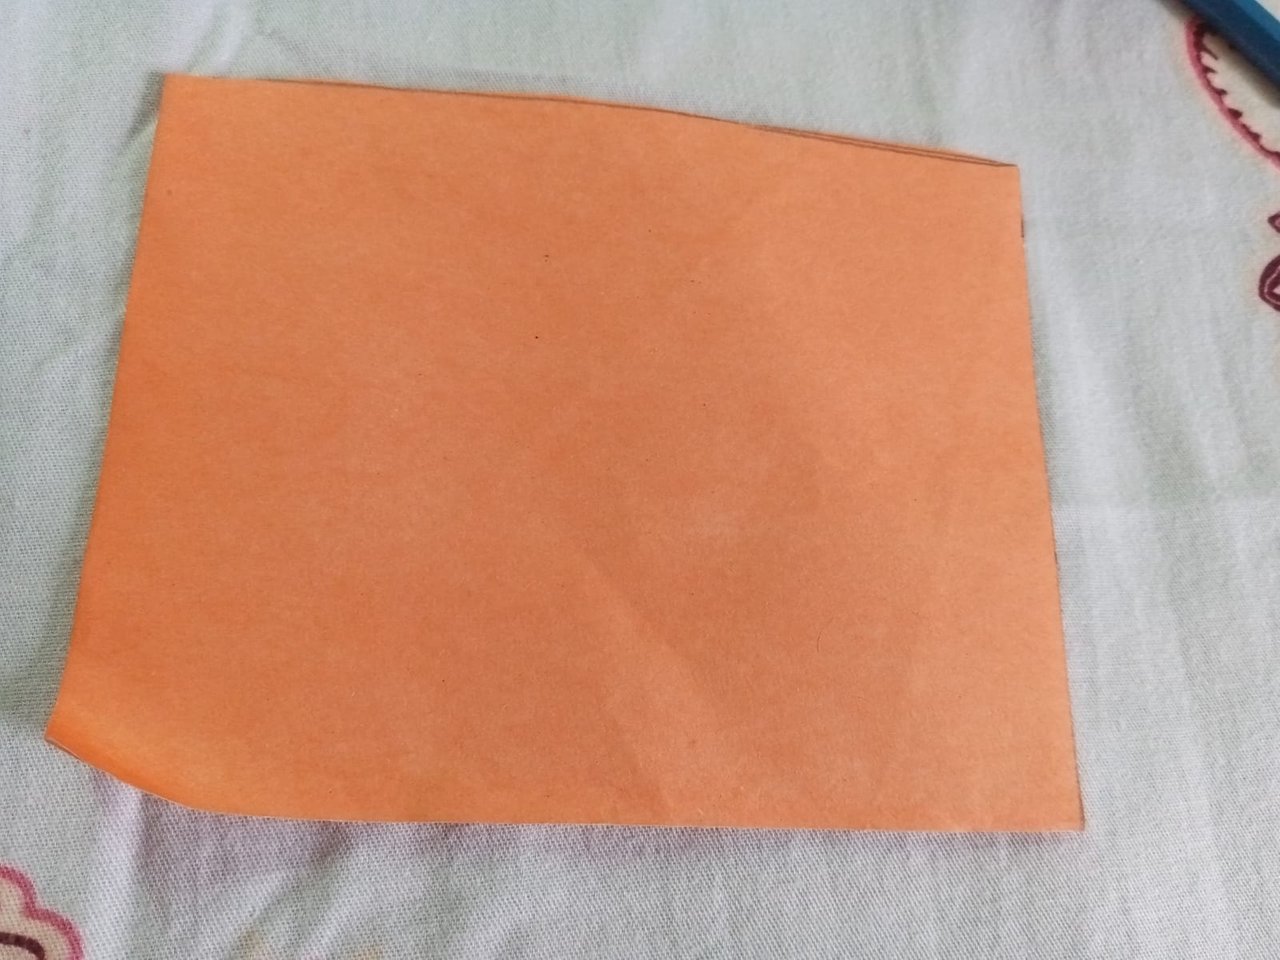
First I cut a piece of paper 28 x 5 cm long. Half of that 28 cm paper was marked as 14 cm. Now fold the paper from both sides along this mark as shown in the image and stick it with glue.
 |  |
|---|
 |  |
|---|
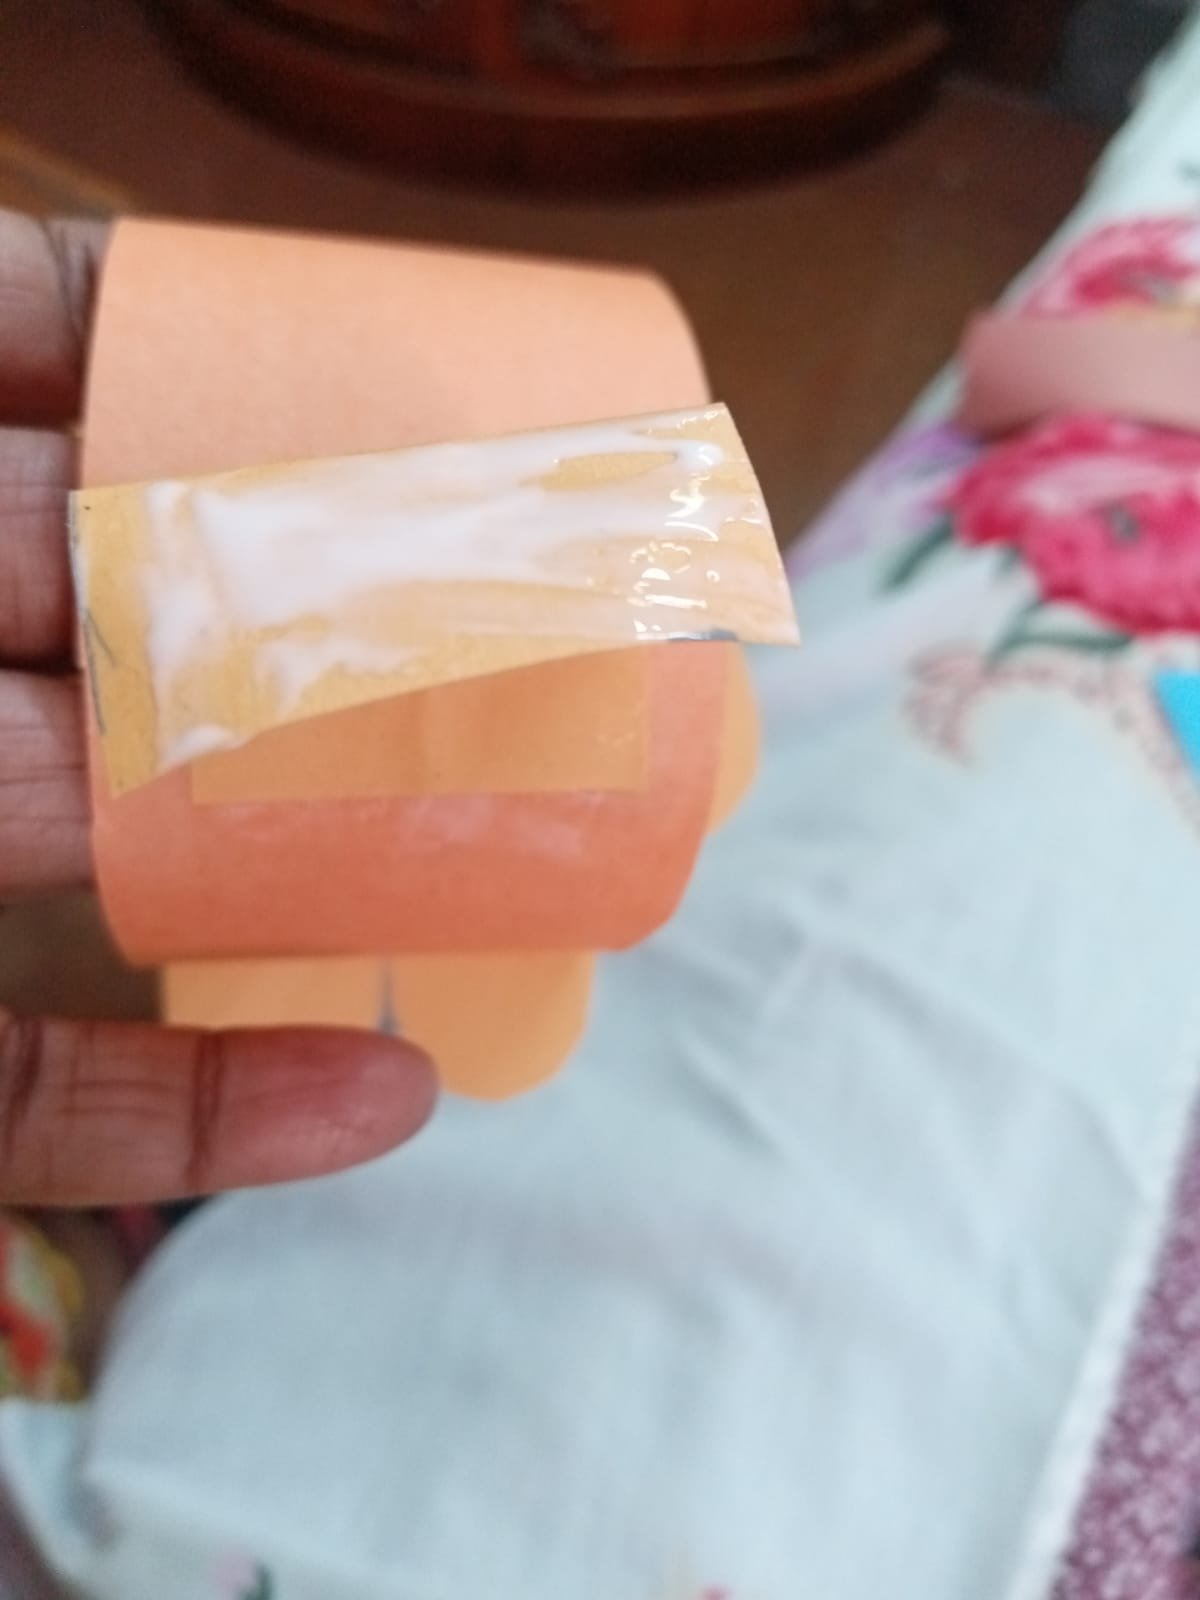
🌸 Step 02
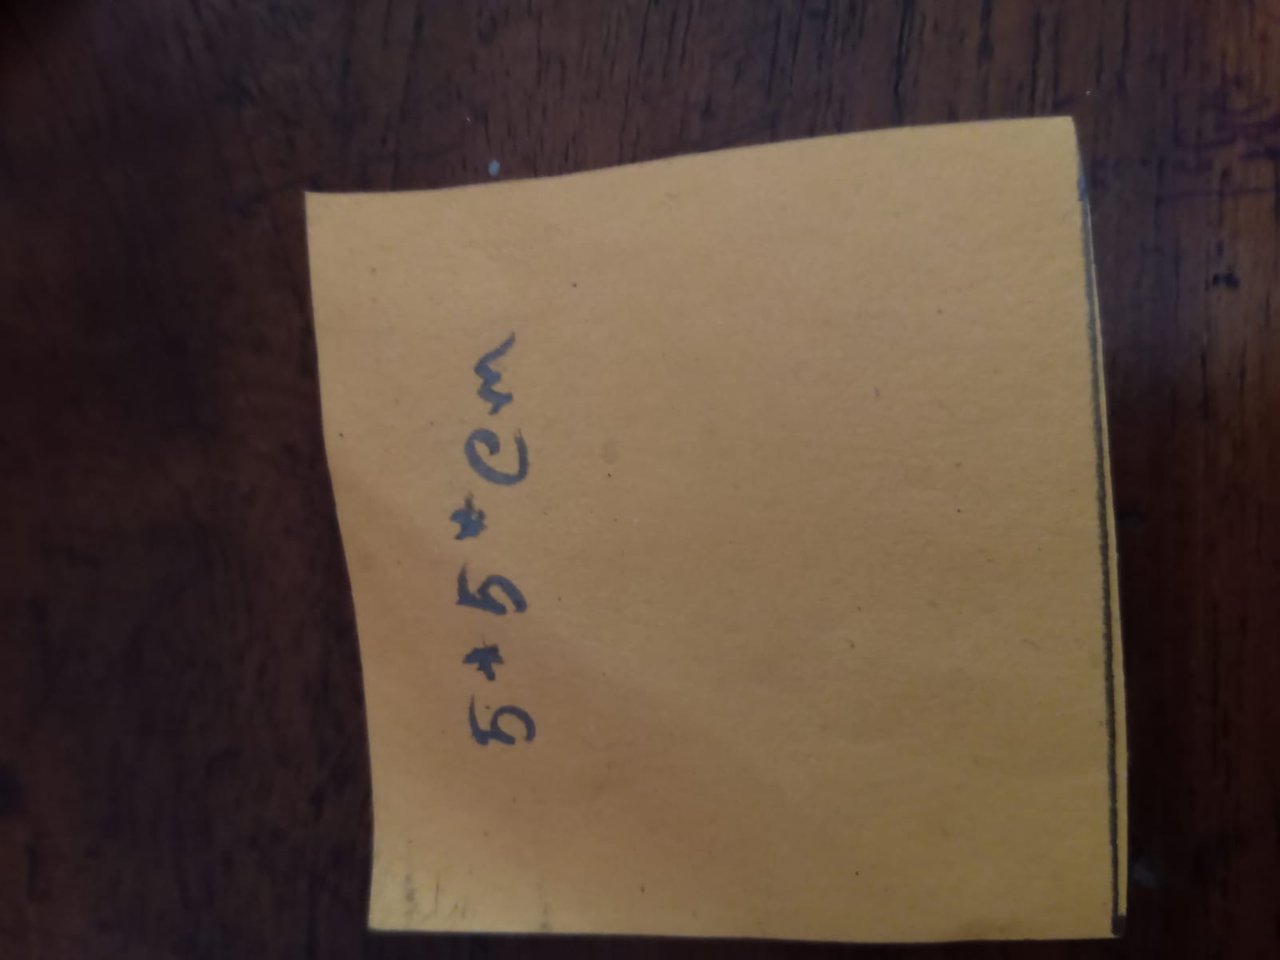
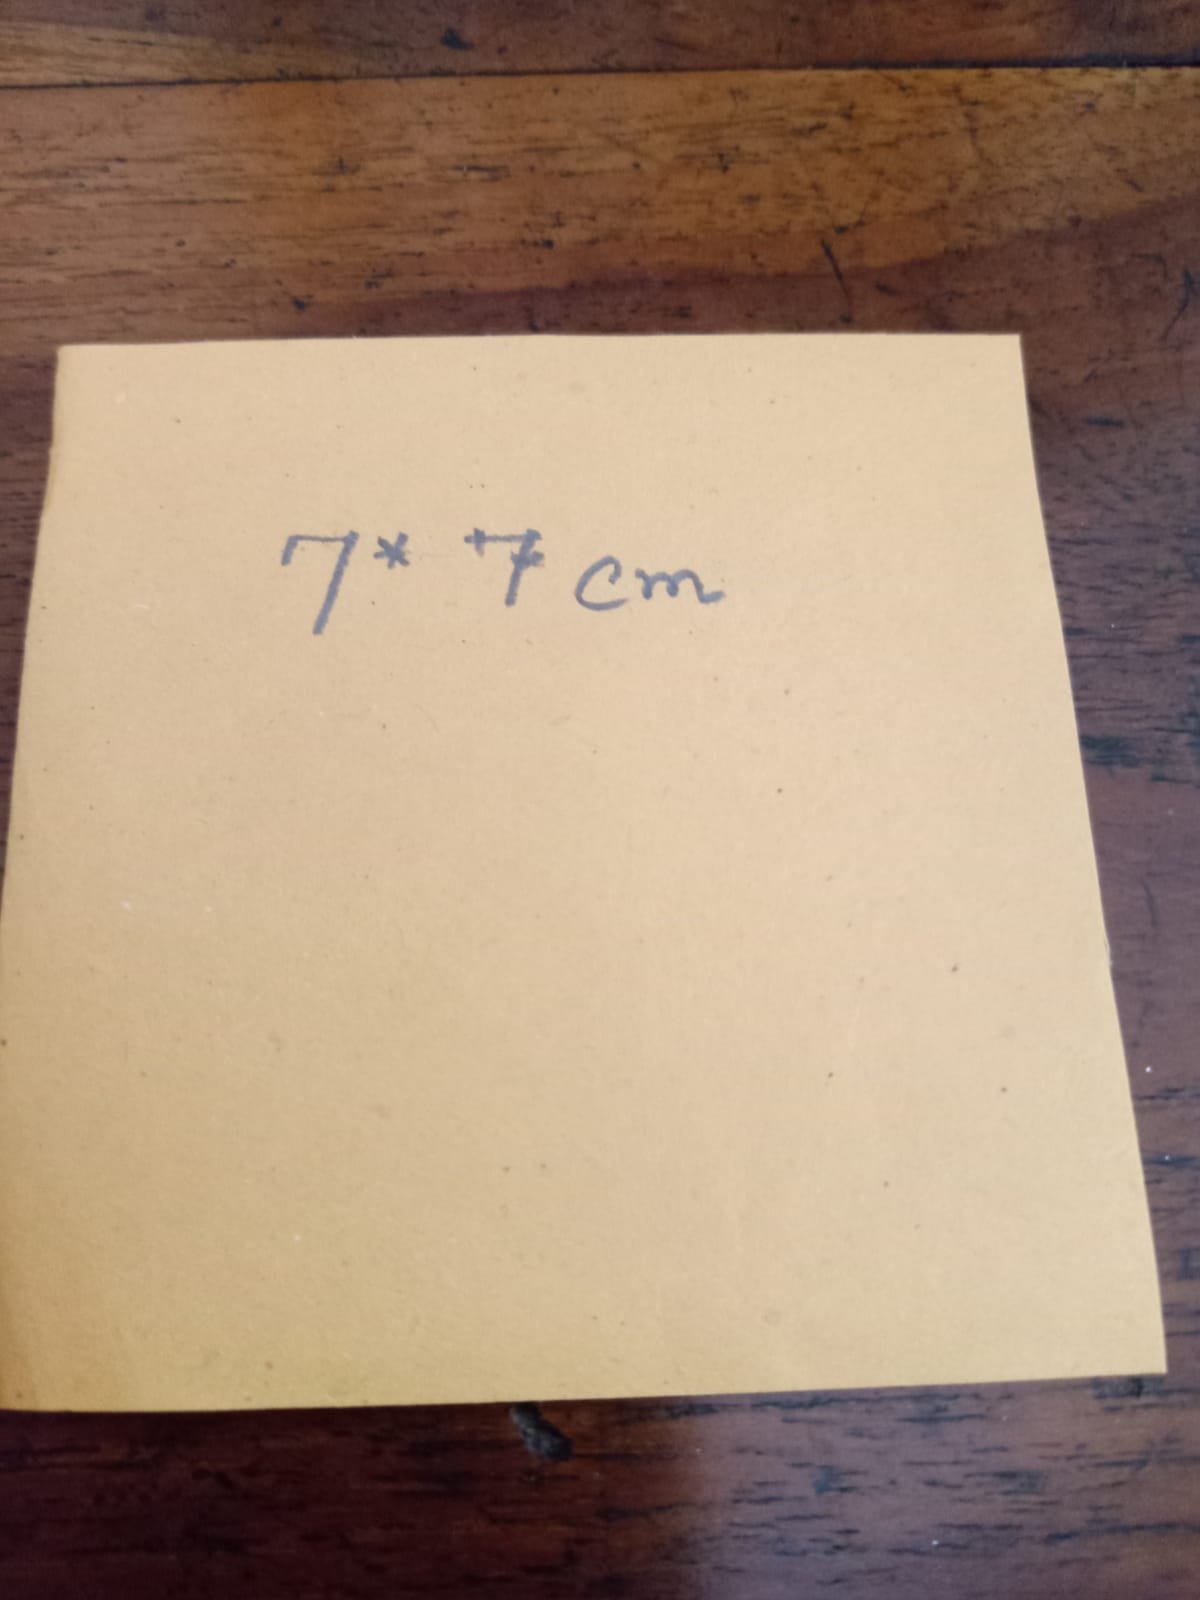
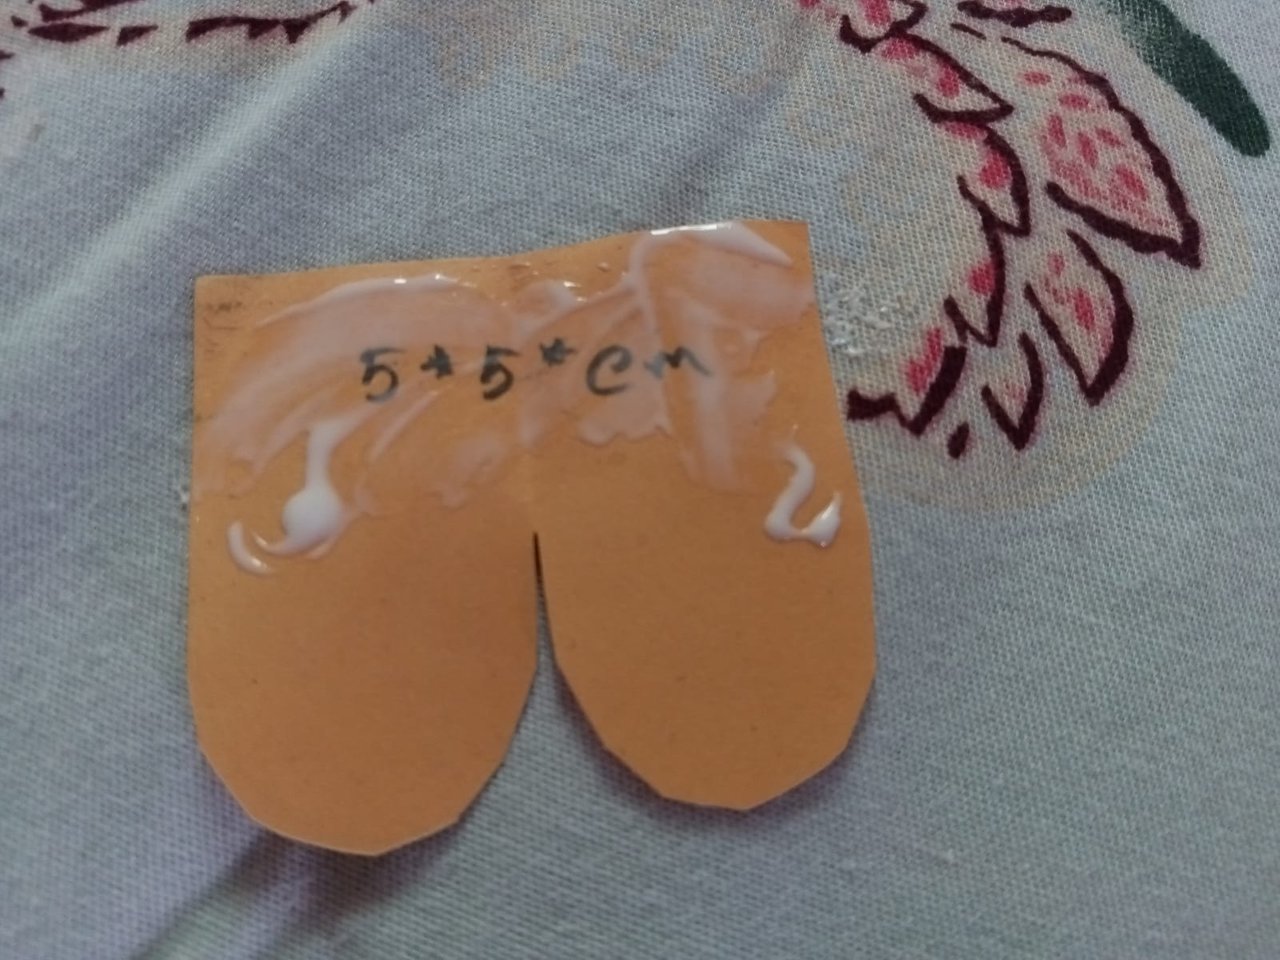
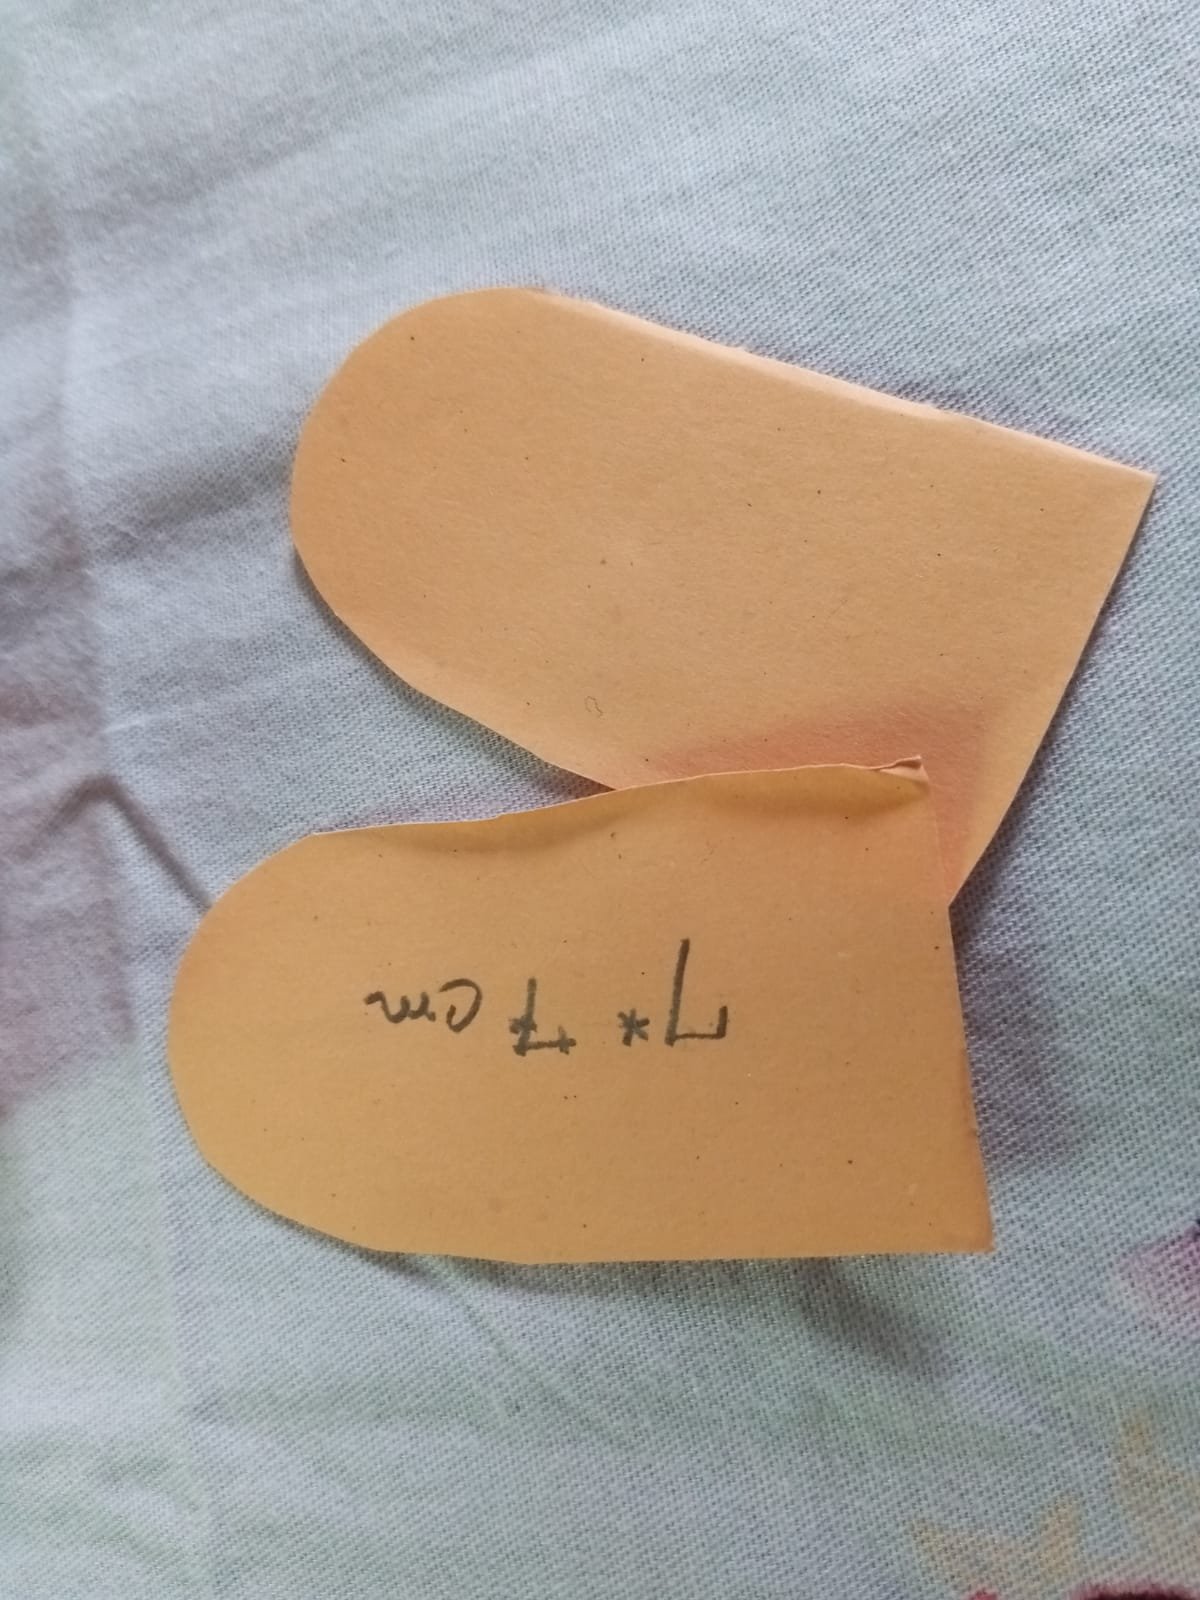
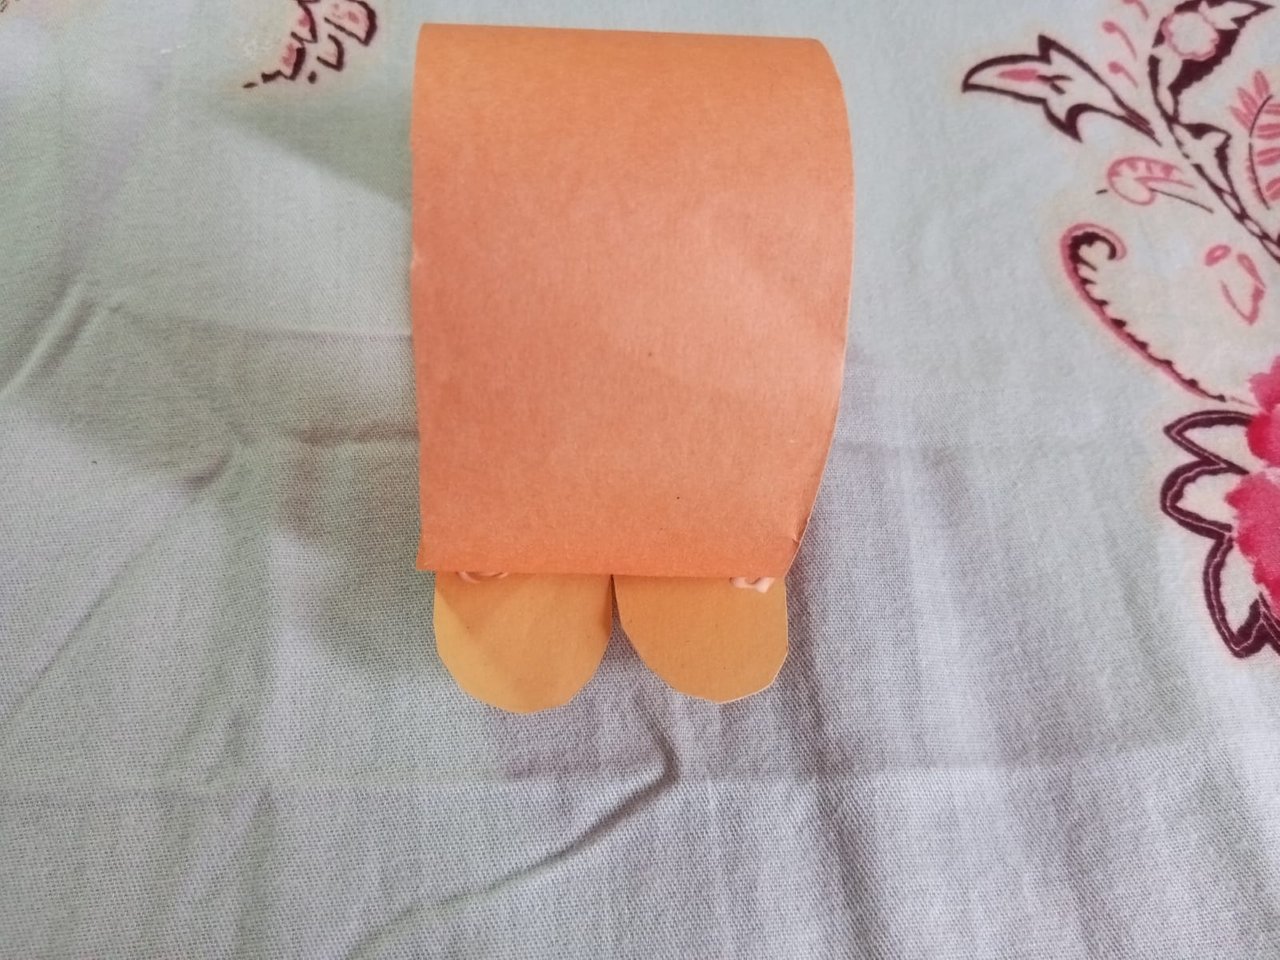
Then I cut two pieces of paper 55 cm and 77 cm for the rabbit's feet. Fold the piece of paper in two and cut it with a saw. 7*7 cm pieces of paper should be cut separately. Then, with the help of glue, the bottom of the rabbit's body should be glued to the front and back as shown in the image
 |  |  |
|---|
 |  |  |
|---|
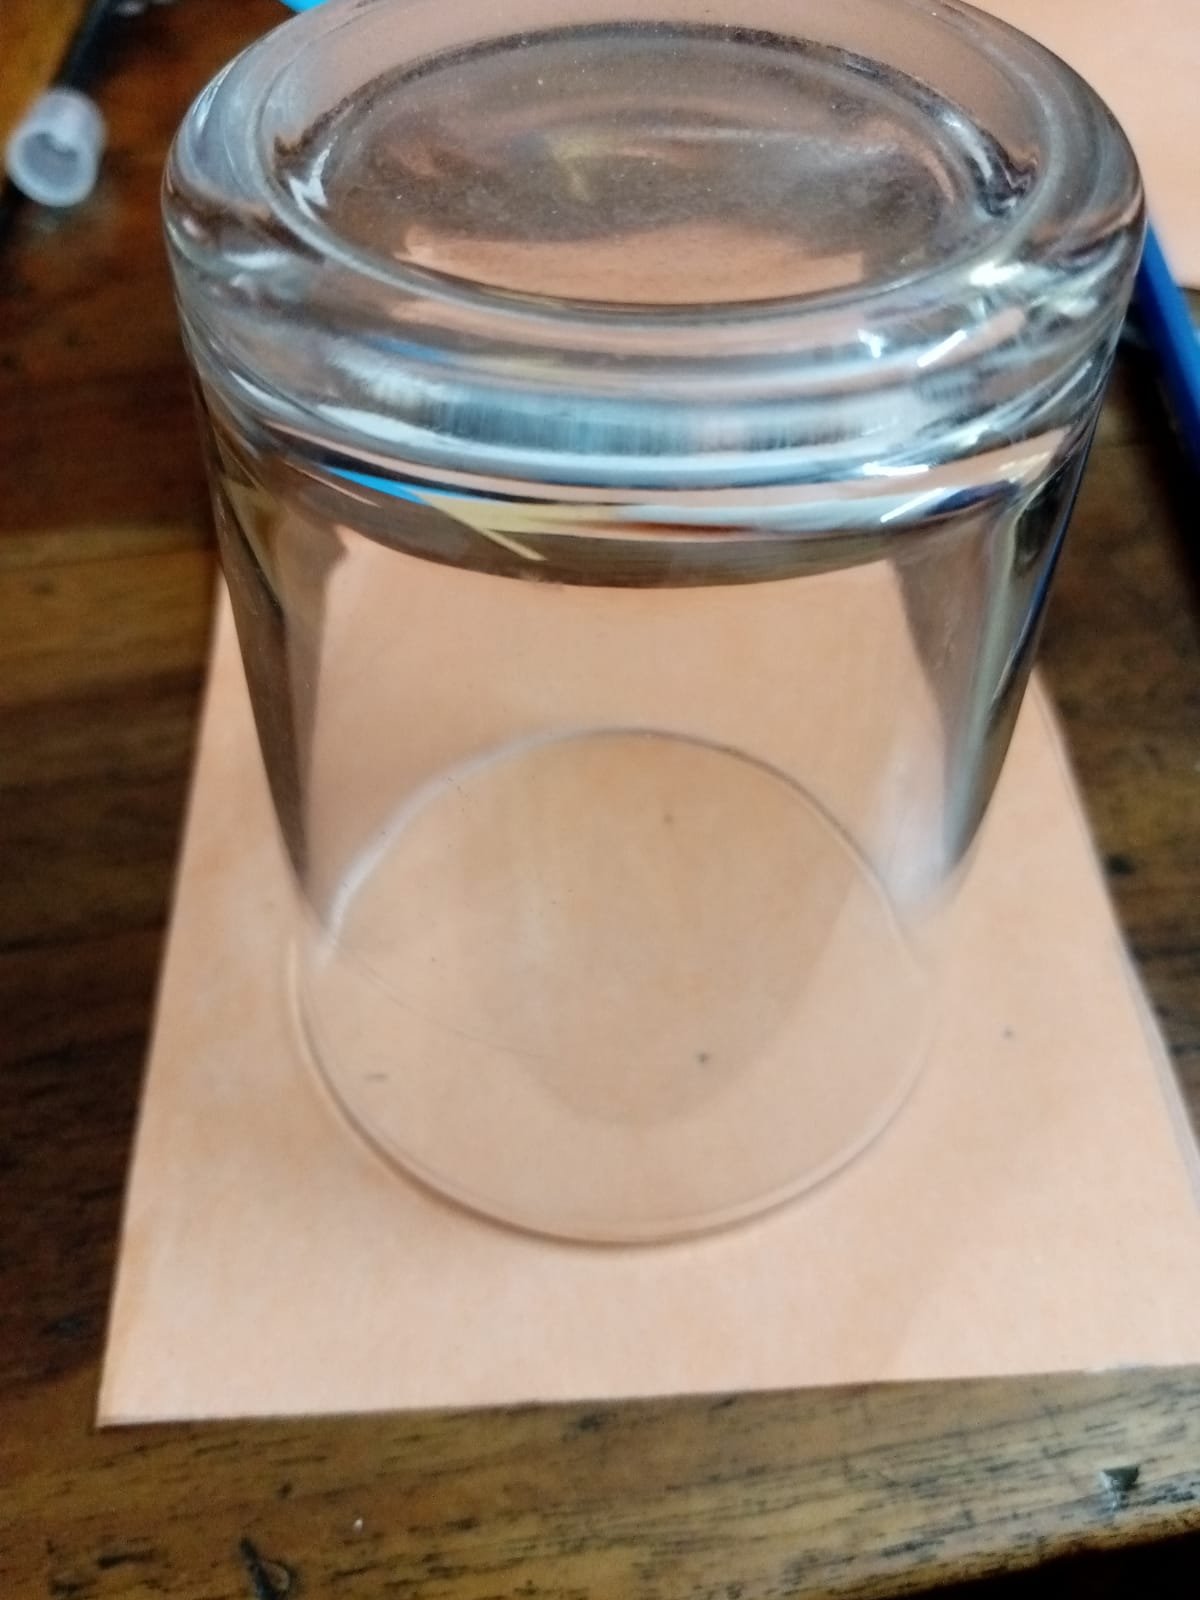
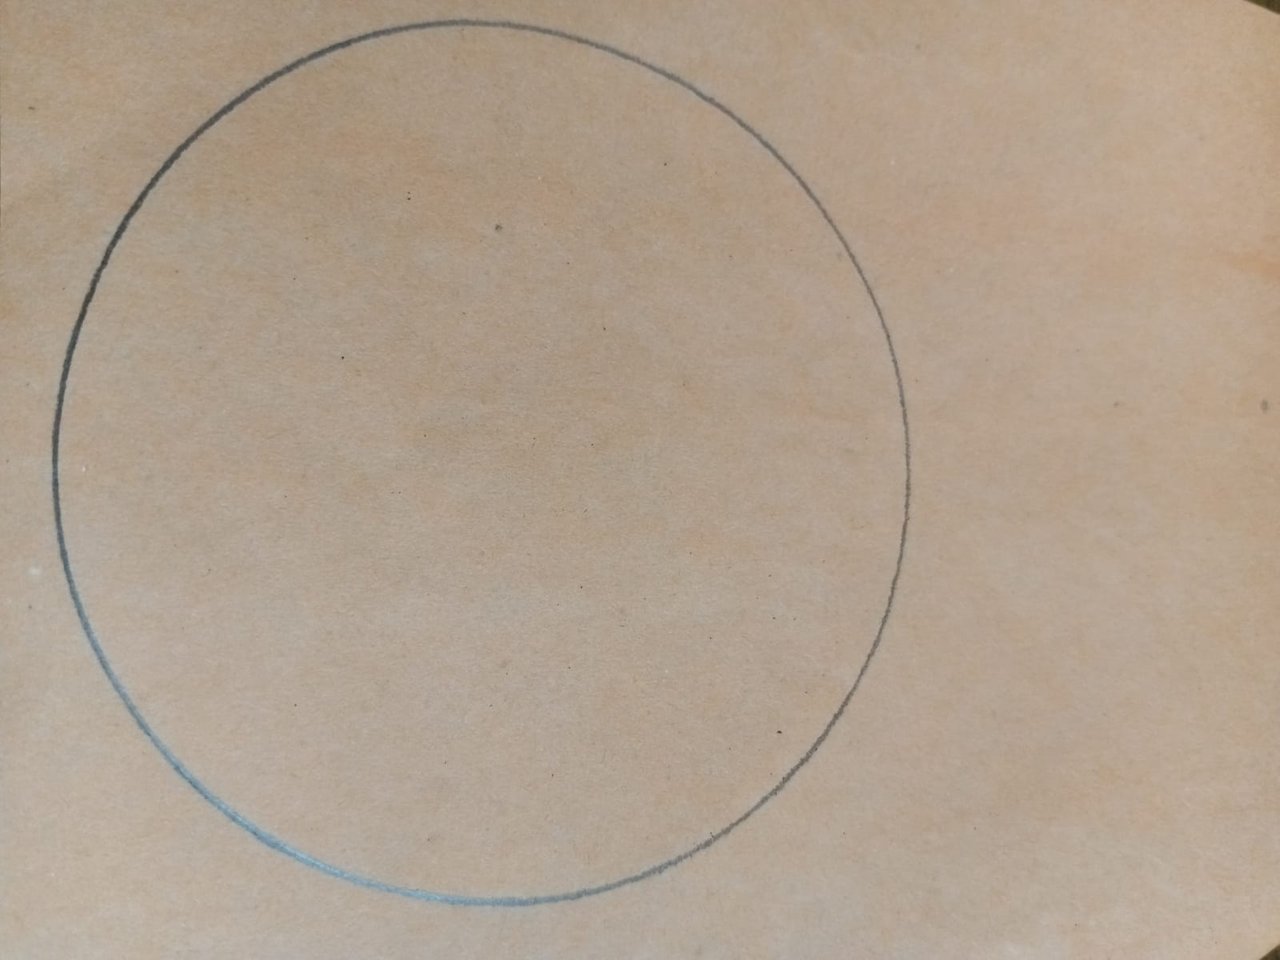
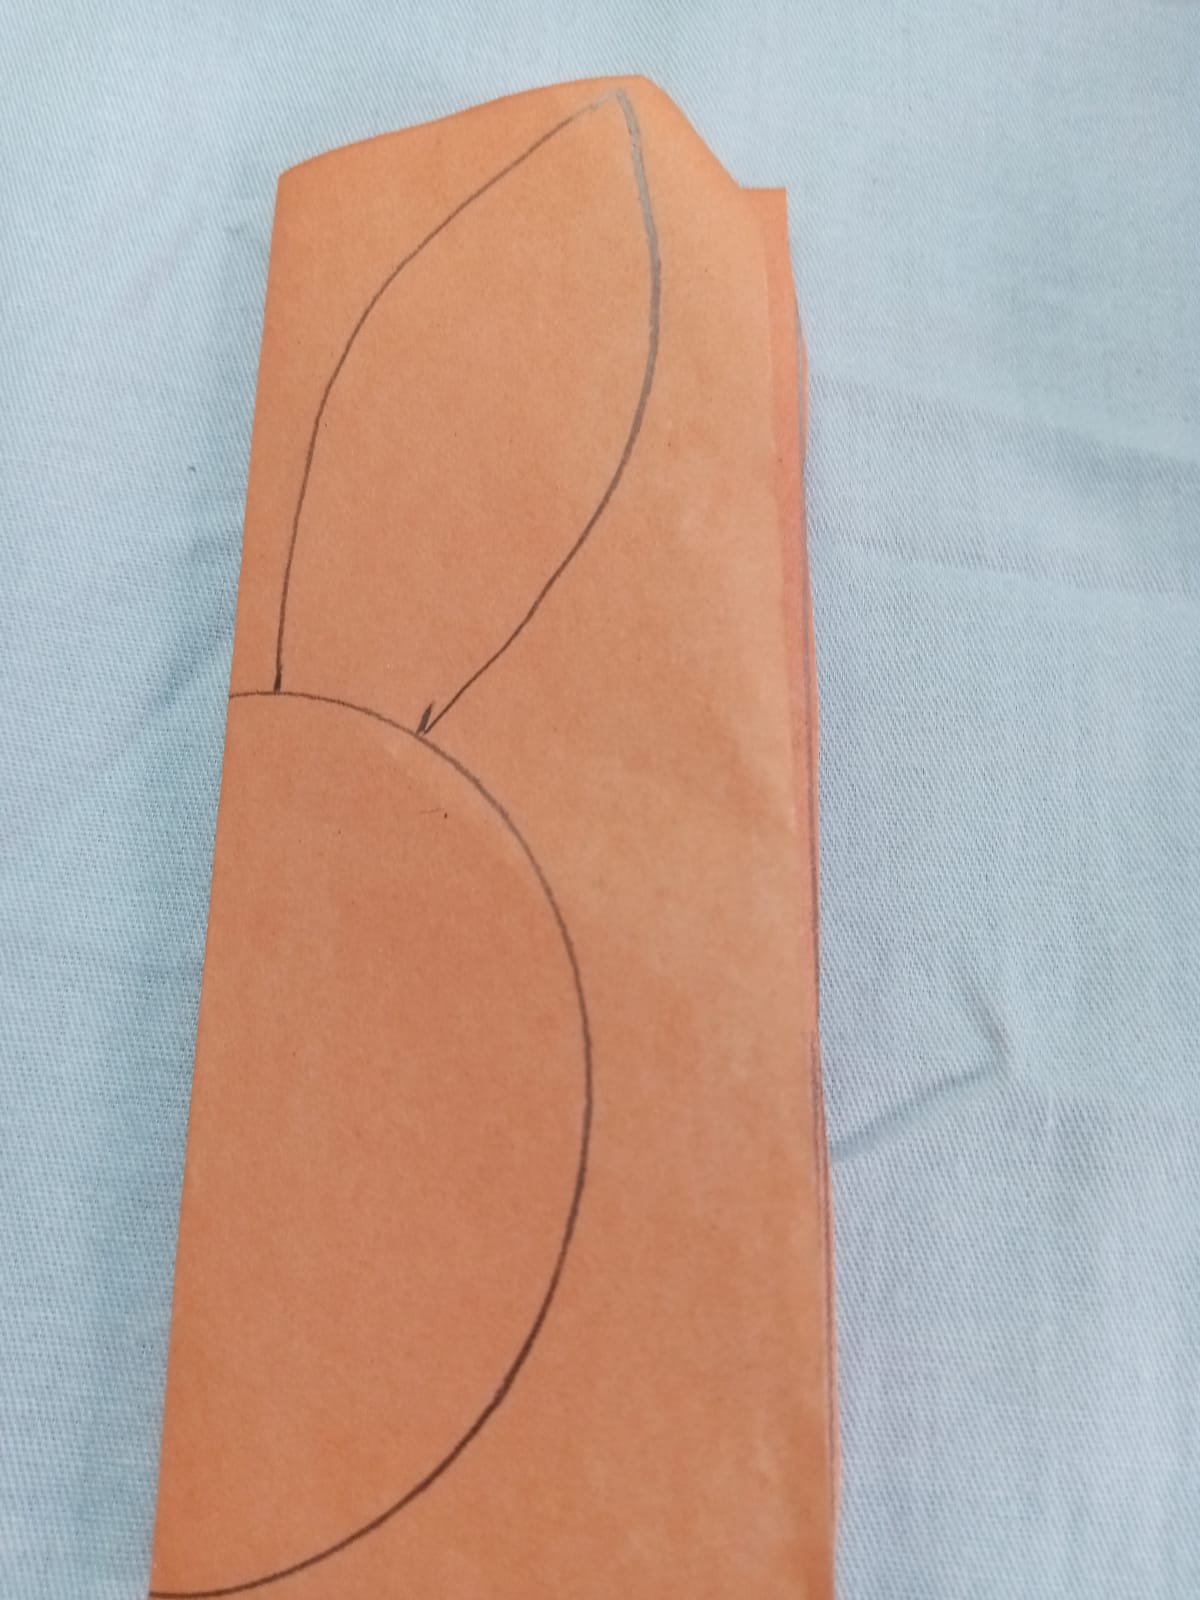
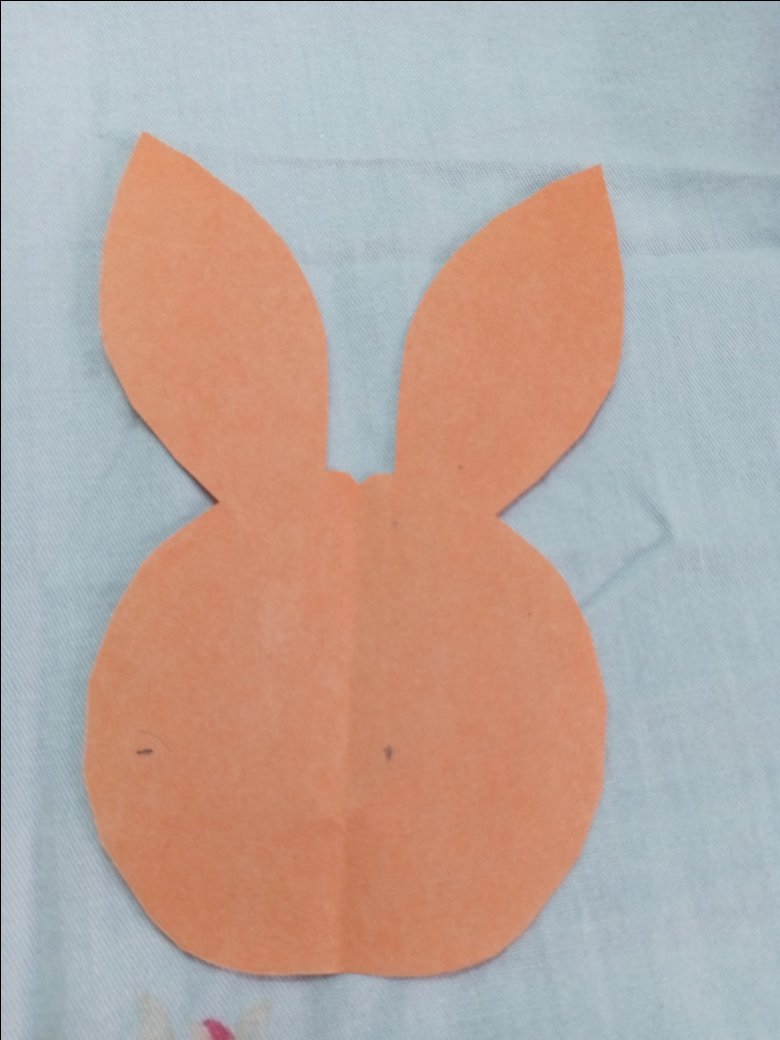
🌸 Step 03
Then cut an 11*14 cm paper and draw a circle on that paper with a 7 cm round glass. And like the image I drew an ear folded the paper in two and cut it.
 |  |  |
|---|
 |  |  |
|---|
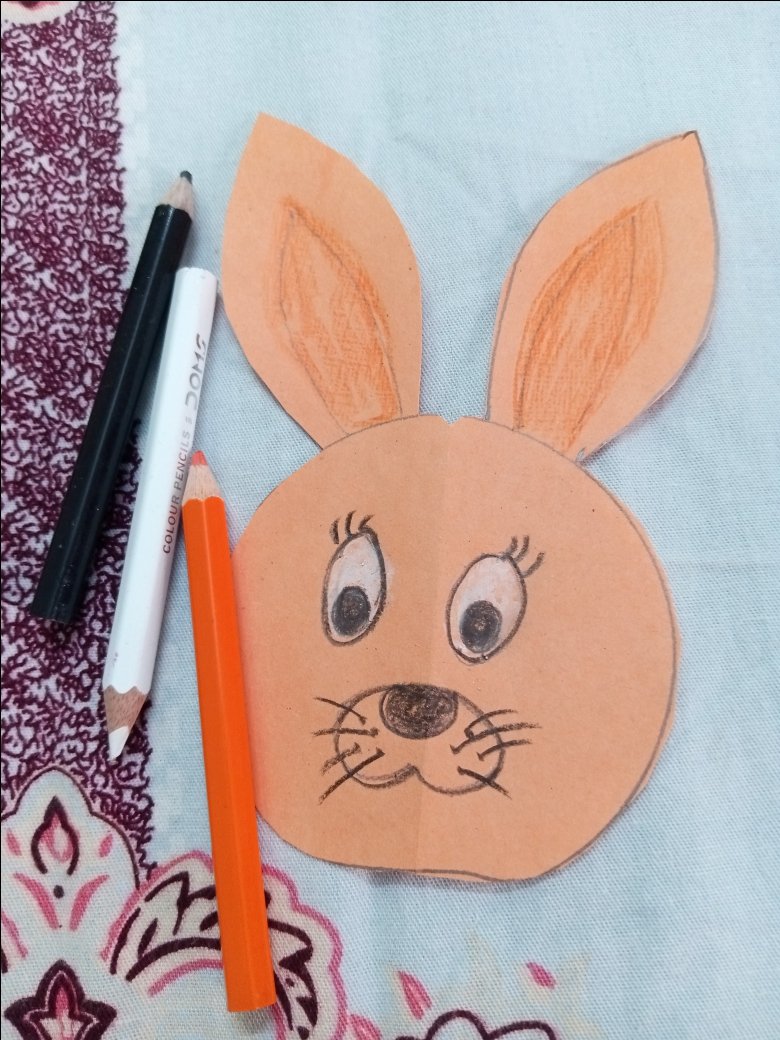
🌸 Step 03
Then draw the eyes, face and ears of the rabbit and color them with white and black colors and draw the mustache with a black pencil as shown in the image. Then I will highlight the ears with orange color. Then I glue the bunny face on like in the picture.
 |  |
|---|
 |  |
|---|
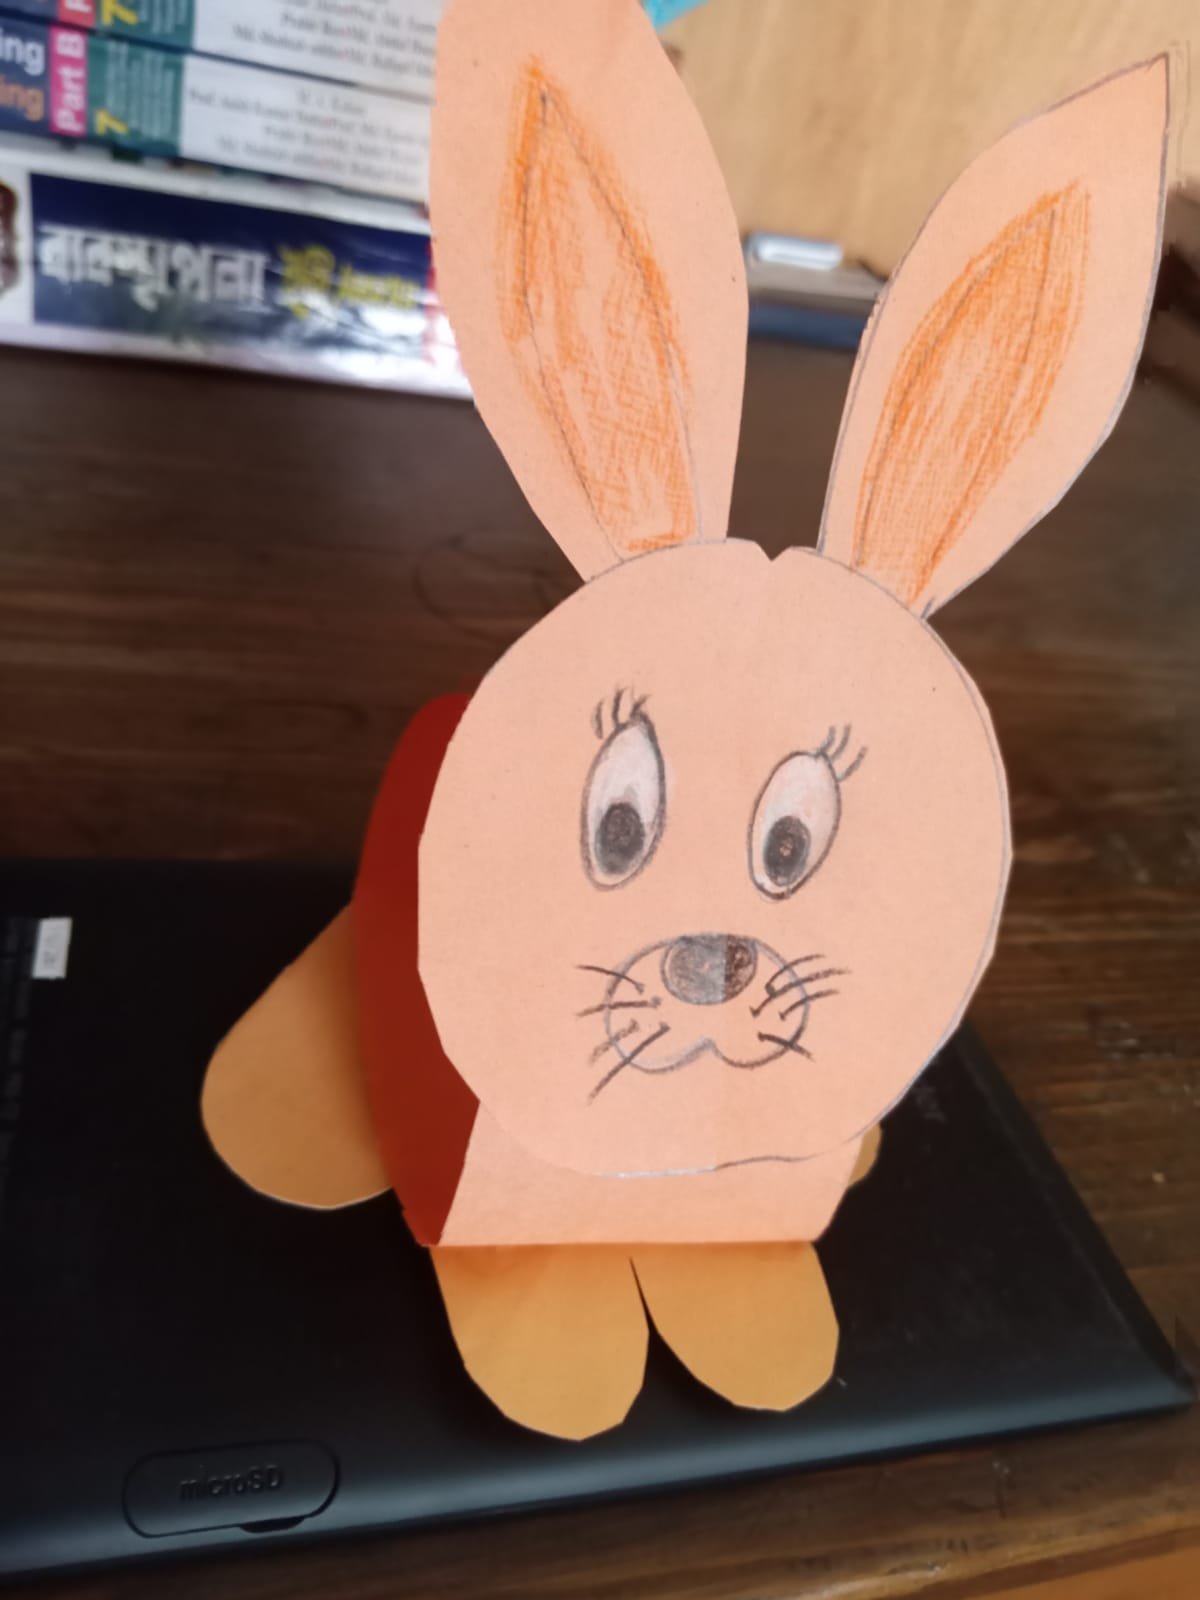
This is my paper bunny entry in this wonderful contest. I hope you all like my work. In a very simple way, I was able to do this easily using paper cutting and a few steps. Very happy to see the final step of my papercraft Rabbit today. It is a pleasure to participate in such competitions to improve our skills. Thank you very much.
I invite my friends @sinthiyadisha, @abdul-rakib, @pink-ring and @peggybaby to participate in this contest.
