Origami Hummingbird
For this contest, I will be making an origami hummingbird while explaining and the various steps I took in making it.
Items needed in making an origami hummingbird. |
|---|
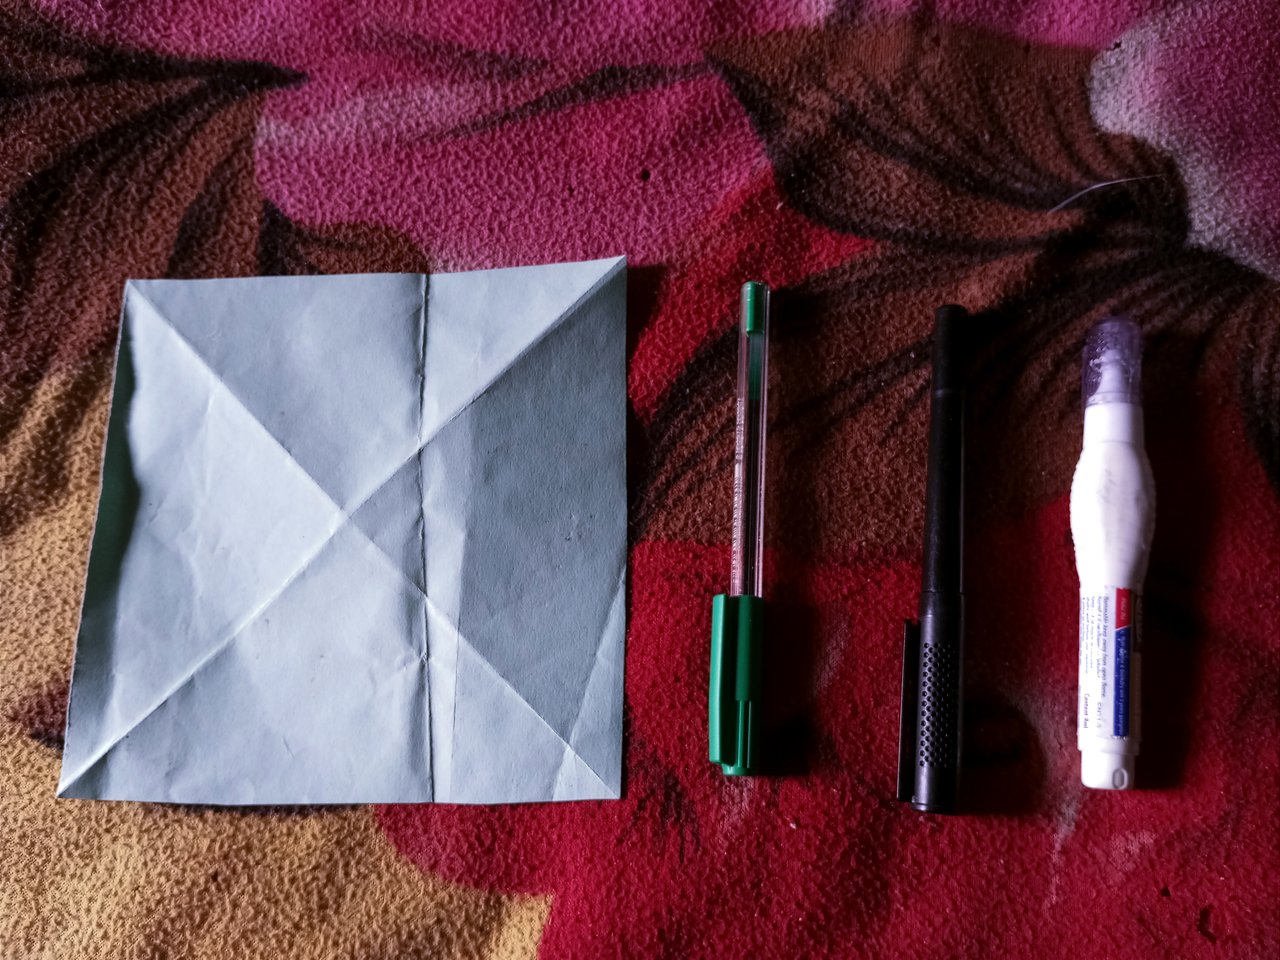
- A piece of cardboard paper.
- Preferred coloured pen.
- Black colouring pen for the bird's eye.
- Correction fluid (tippex) for the sclera of the eye.
Steps |
|---|
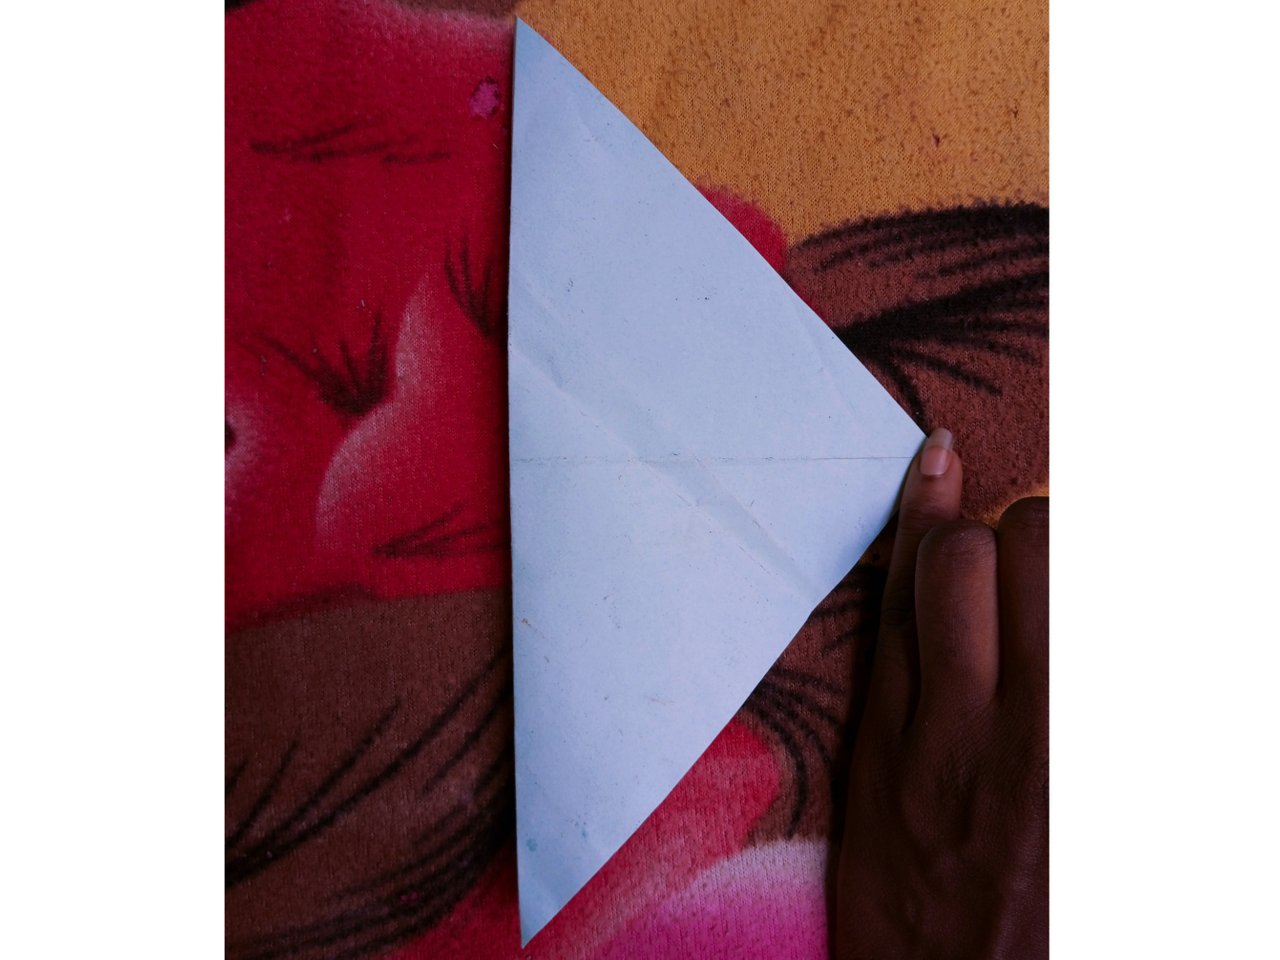
The first step is to fold your square-shaped cardboard paper from above into a triangle as shown below.
Fold one side of the two tip backwards.
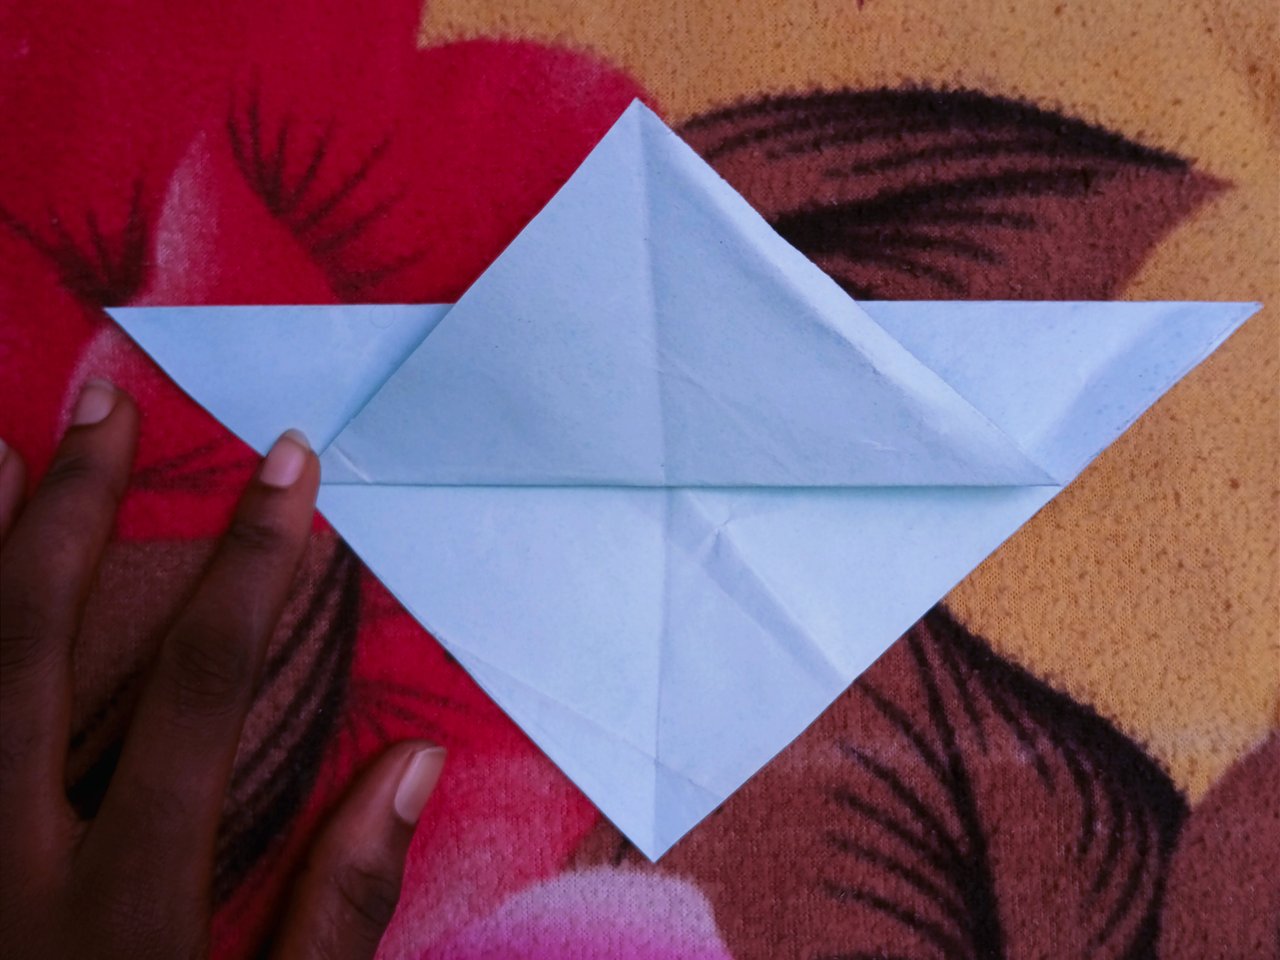
Now, fold into two as shown in 3a to get the product in 3b.
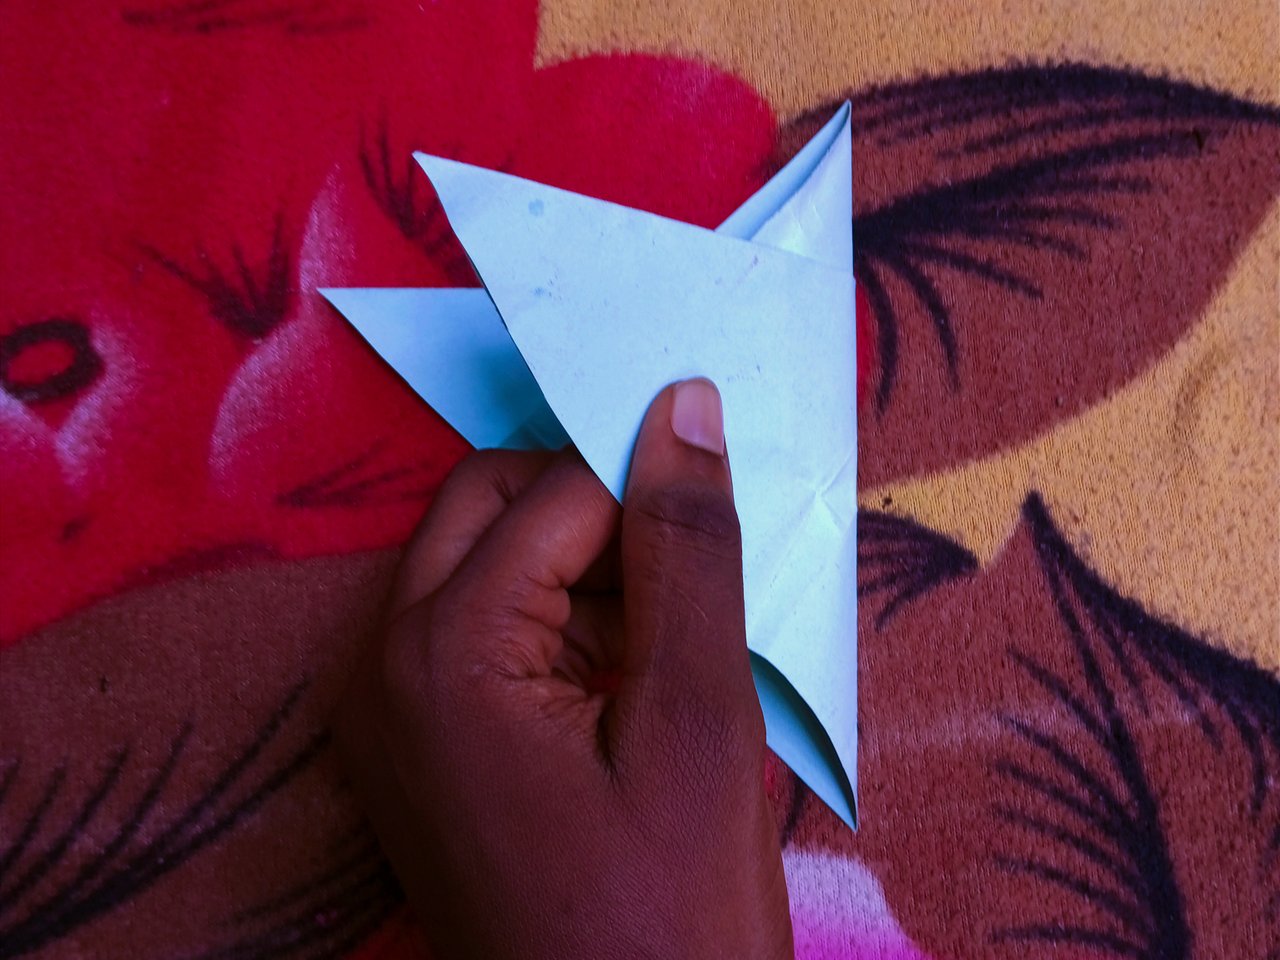 3a 3a | 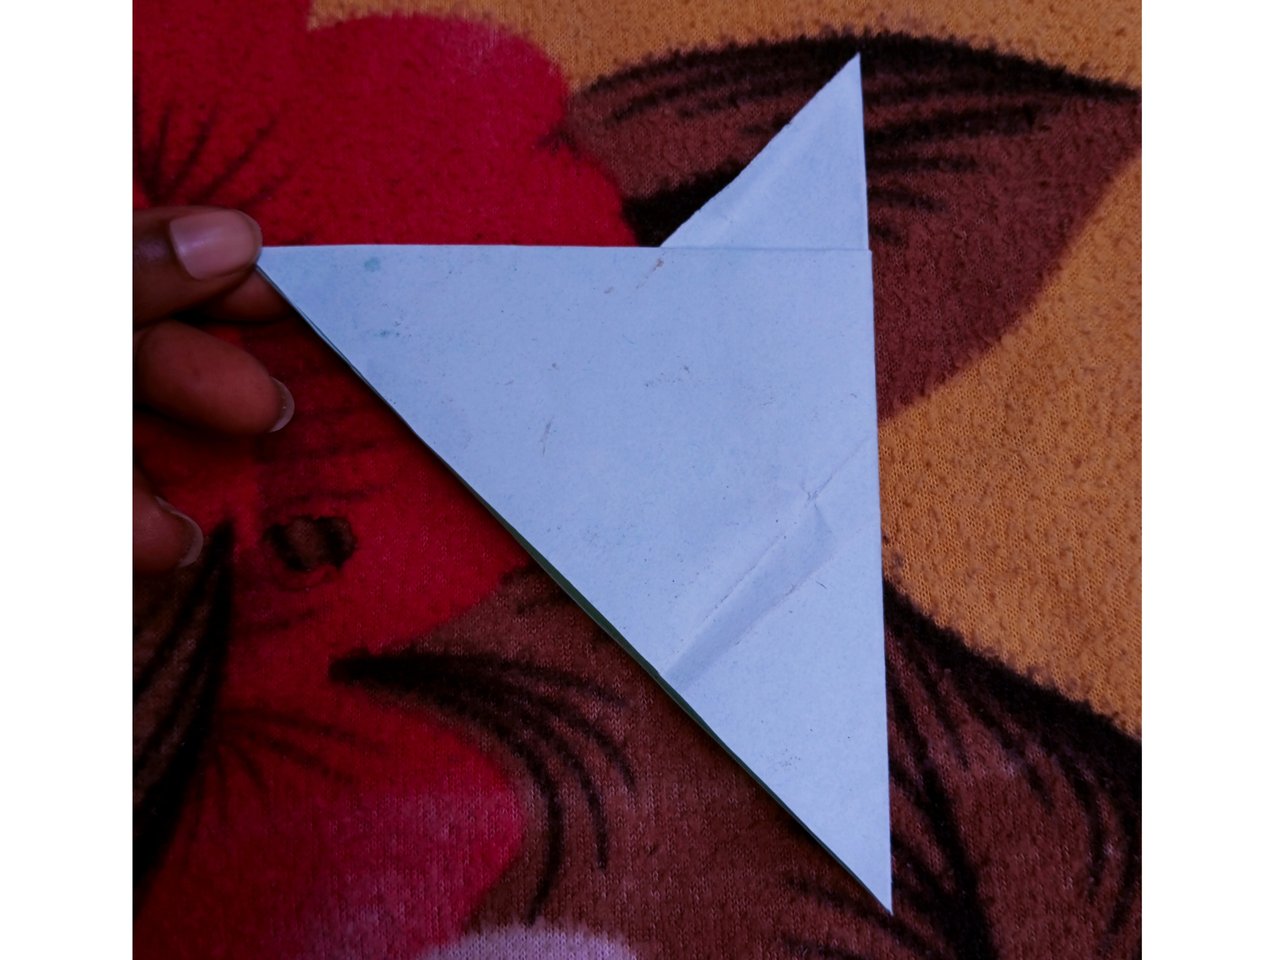 3b 3b |
|---|
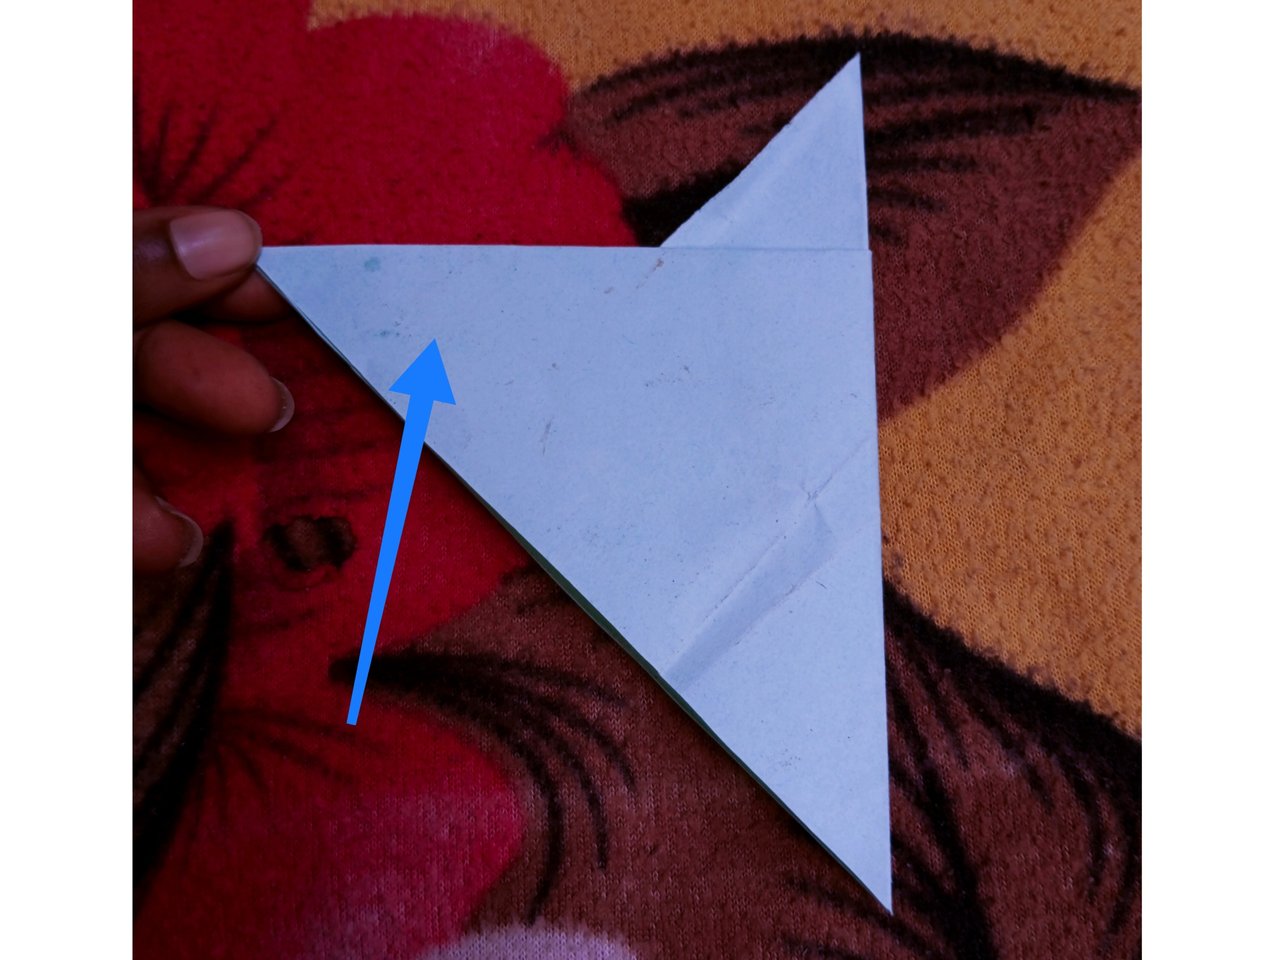
. 4. Next is folding our the sides indicated in 4b to form something like a triangle as shown in 4b and 4c.
4a
 4b 4b | 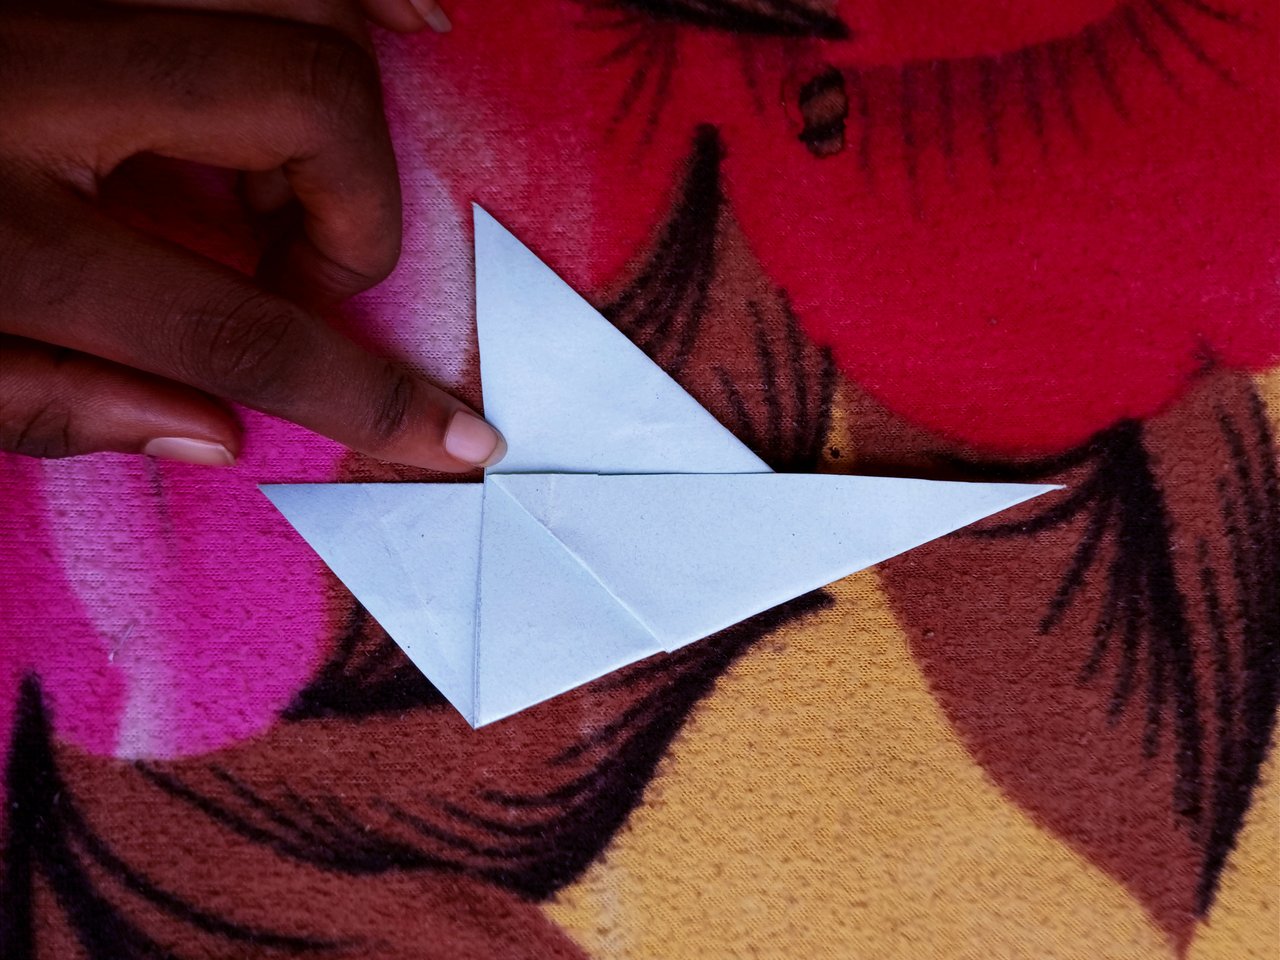 4c (After folding out both sides) 4c (After folding out both sides) |
|---|
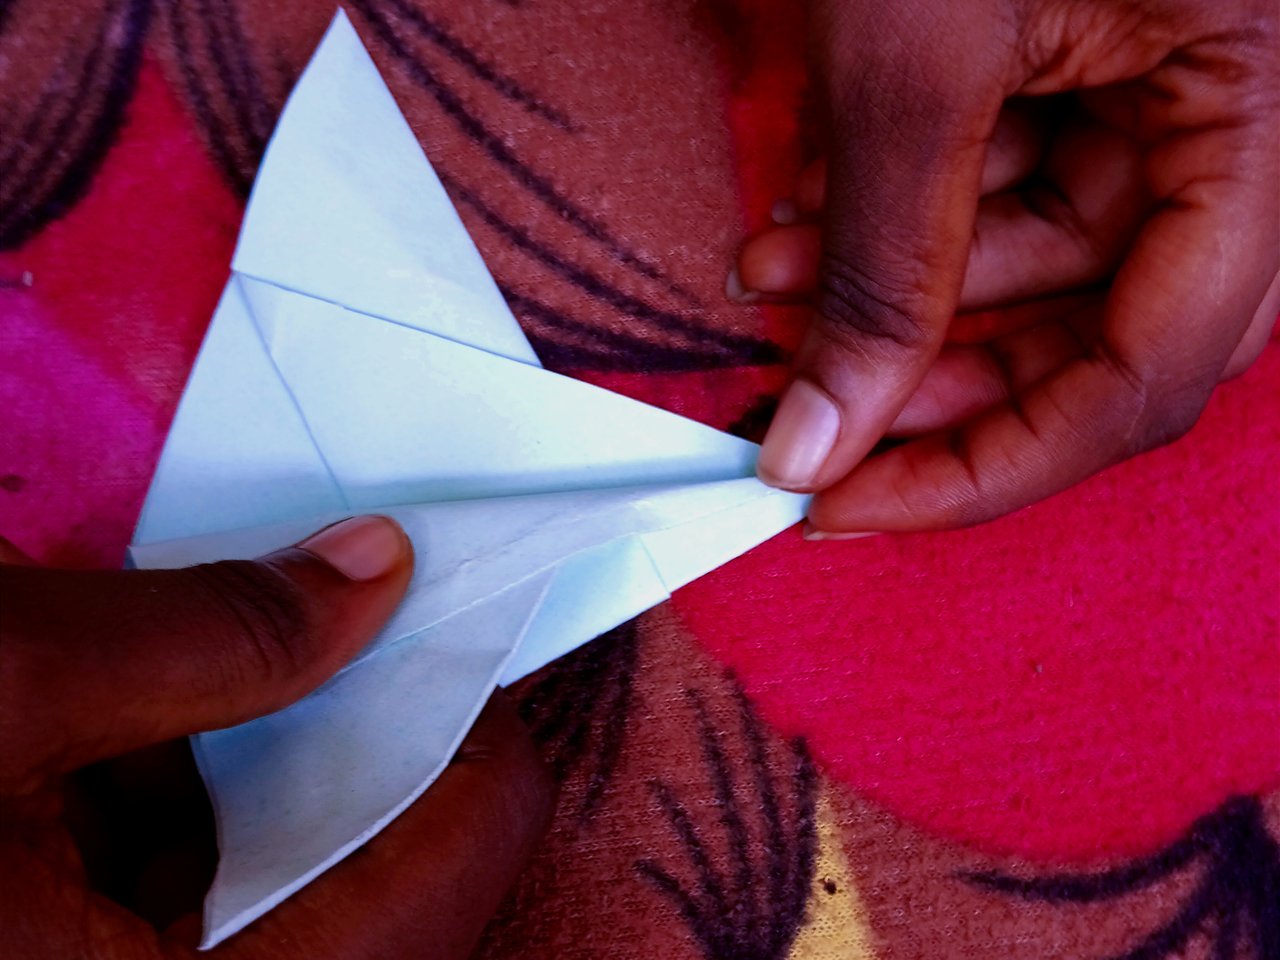
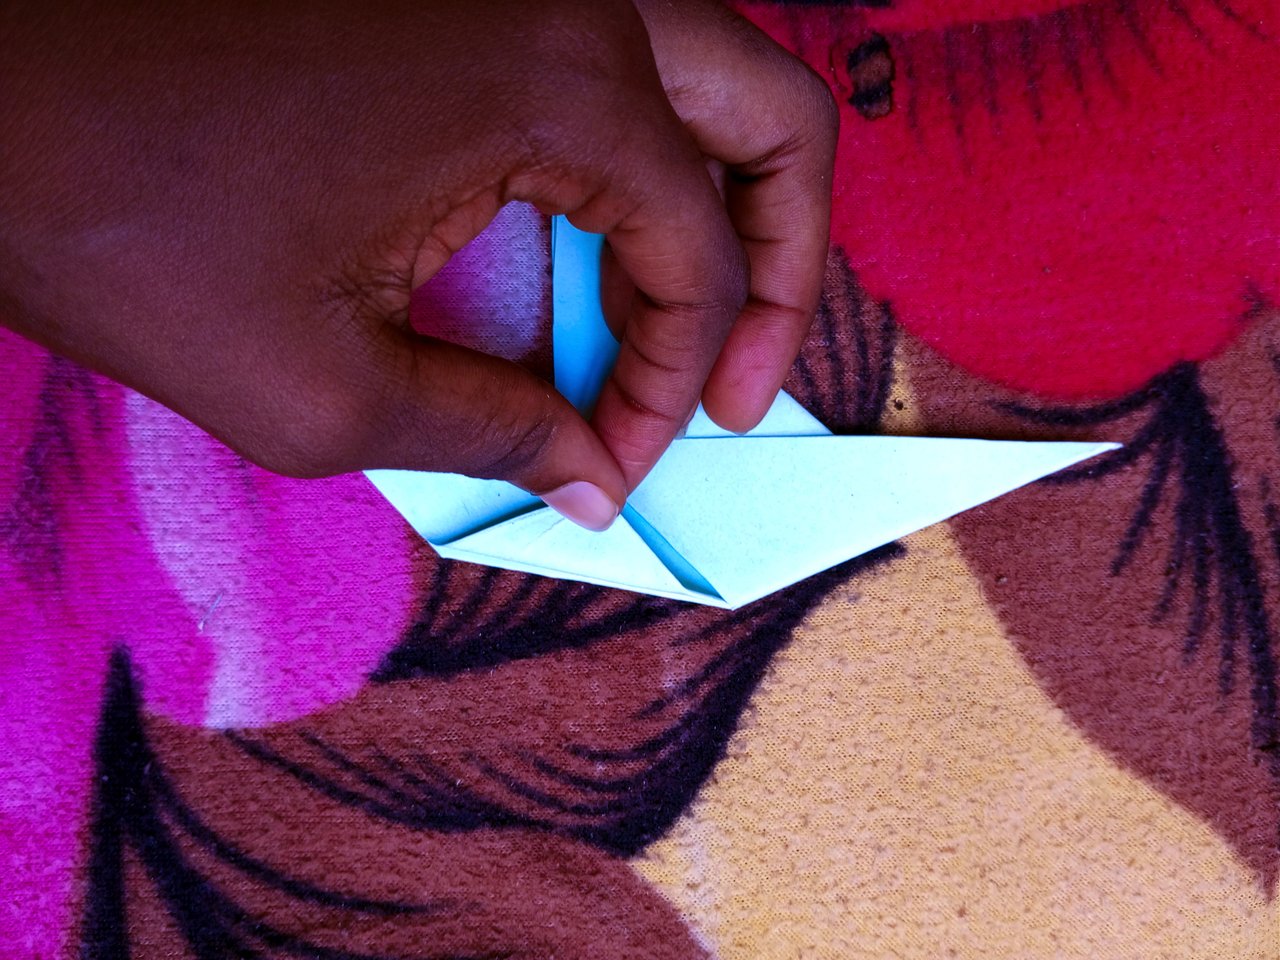
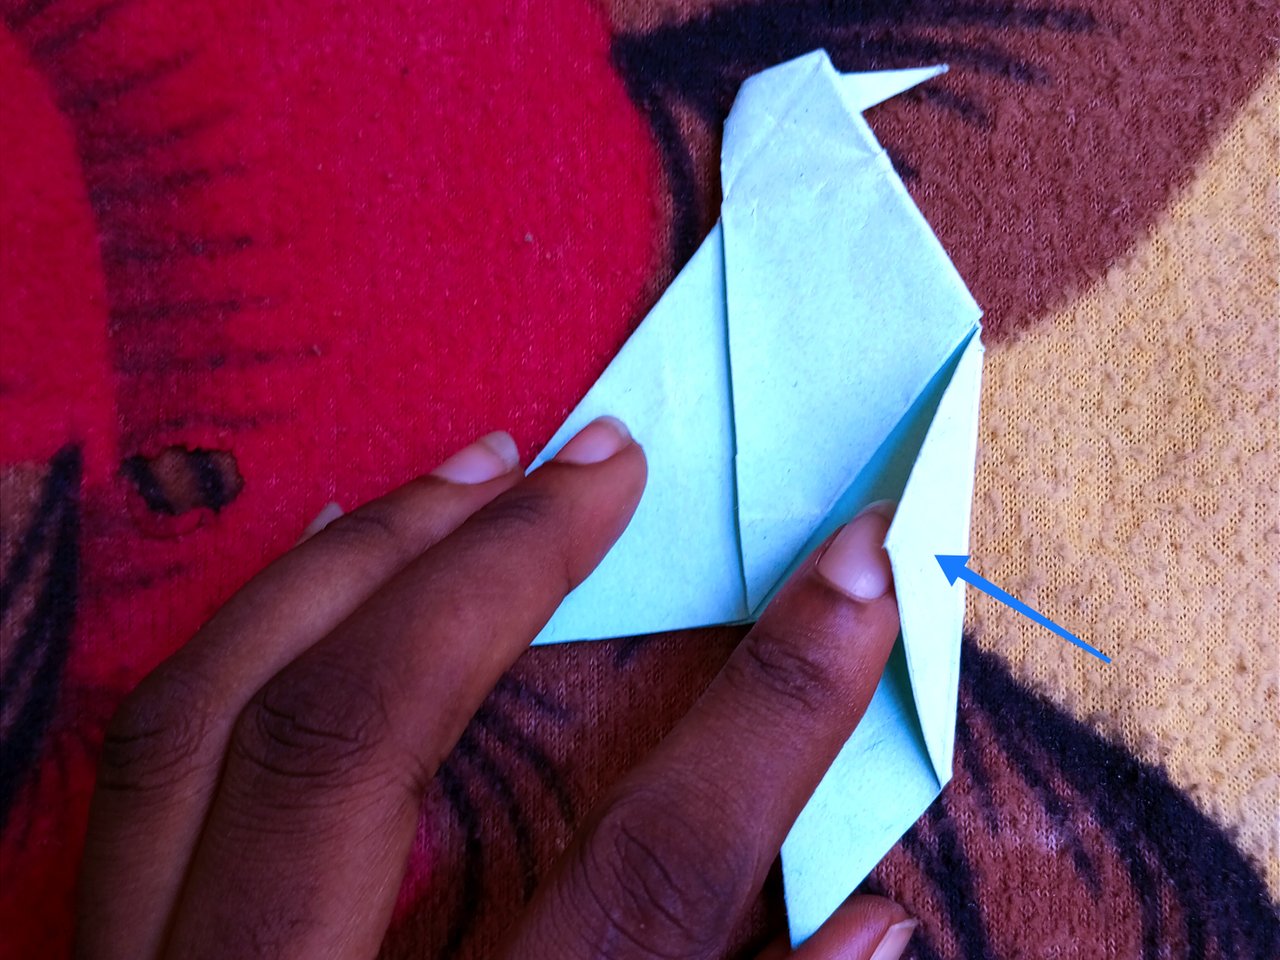
.5. Next, I folded out the little sides as demonstrated in the picture below.
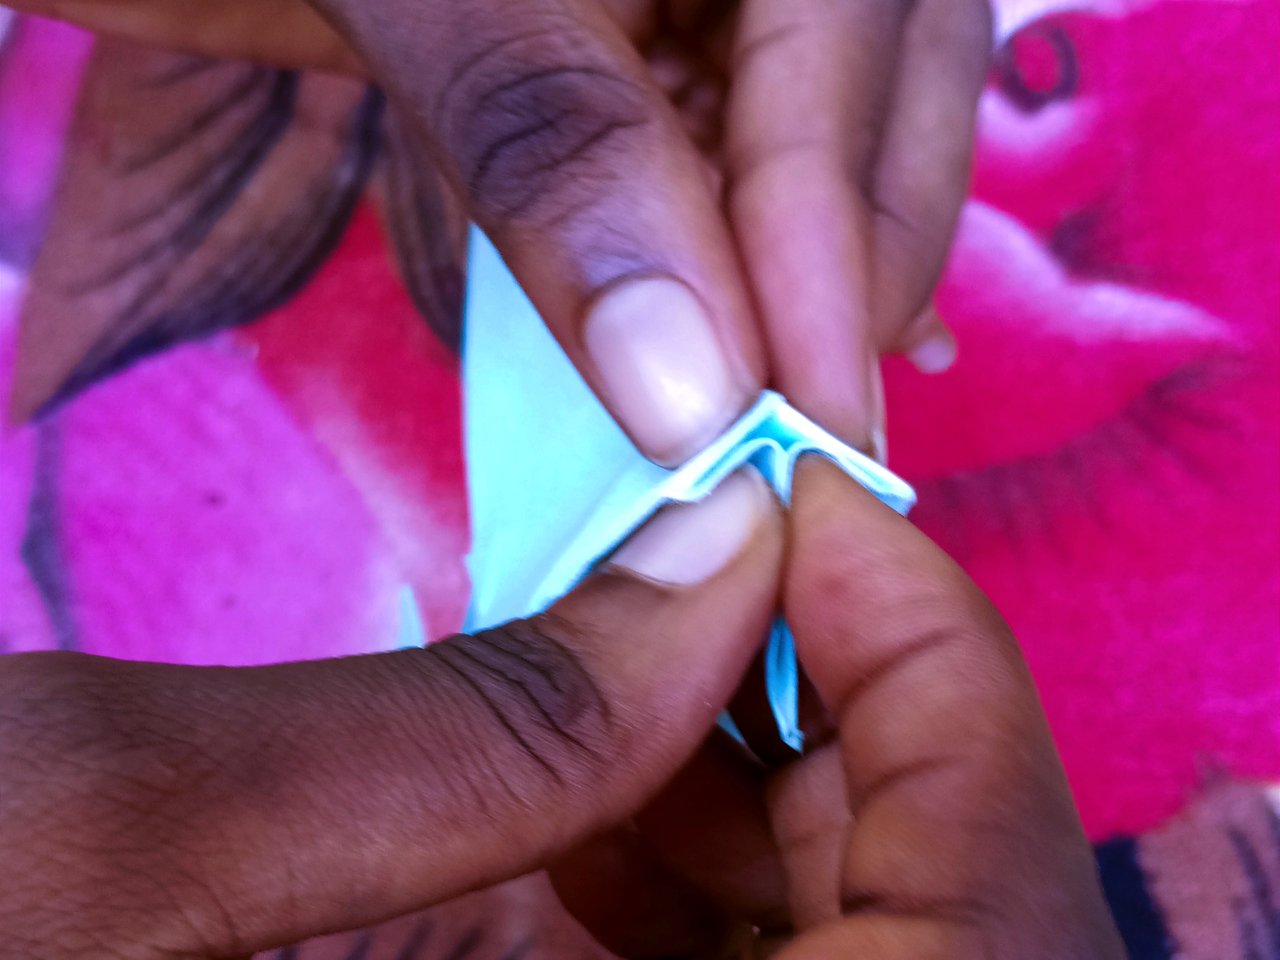
.6. When I was done with that, I turned the back and bent the pointed end in and out again to make it flexible enough.
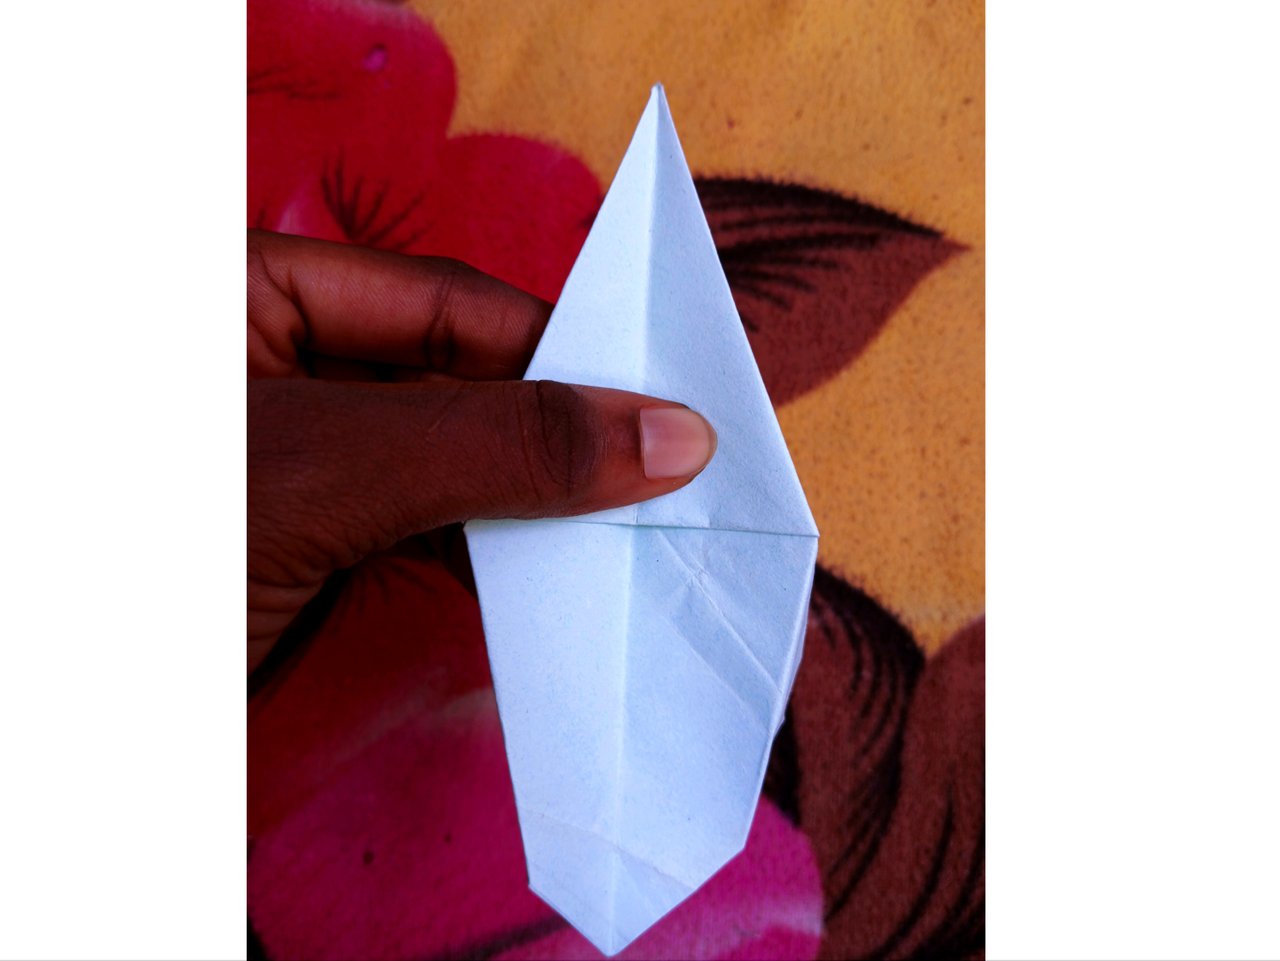 Turned the back...
 bent in.. bent in.. | 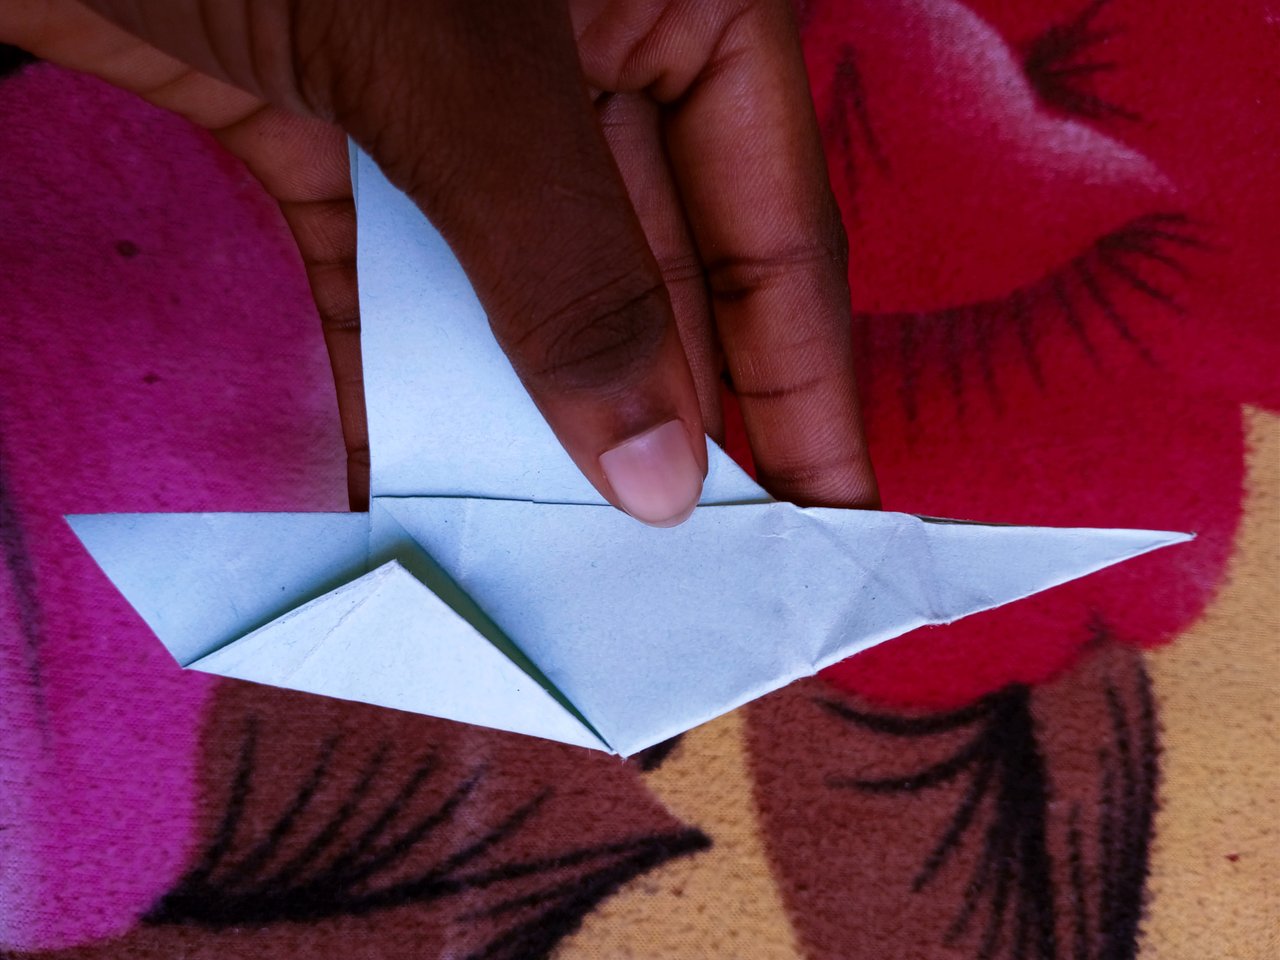 and out again. and out again. |
|---|
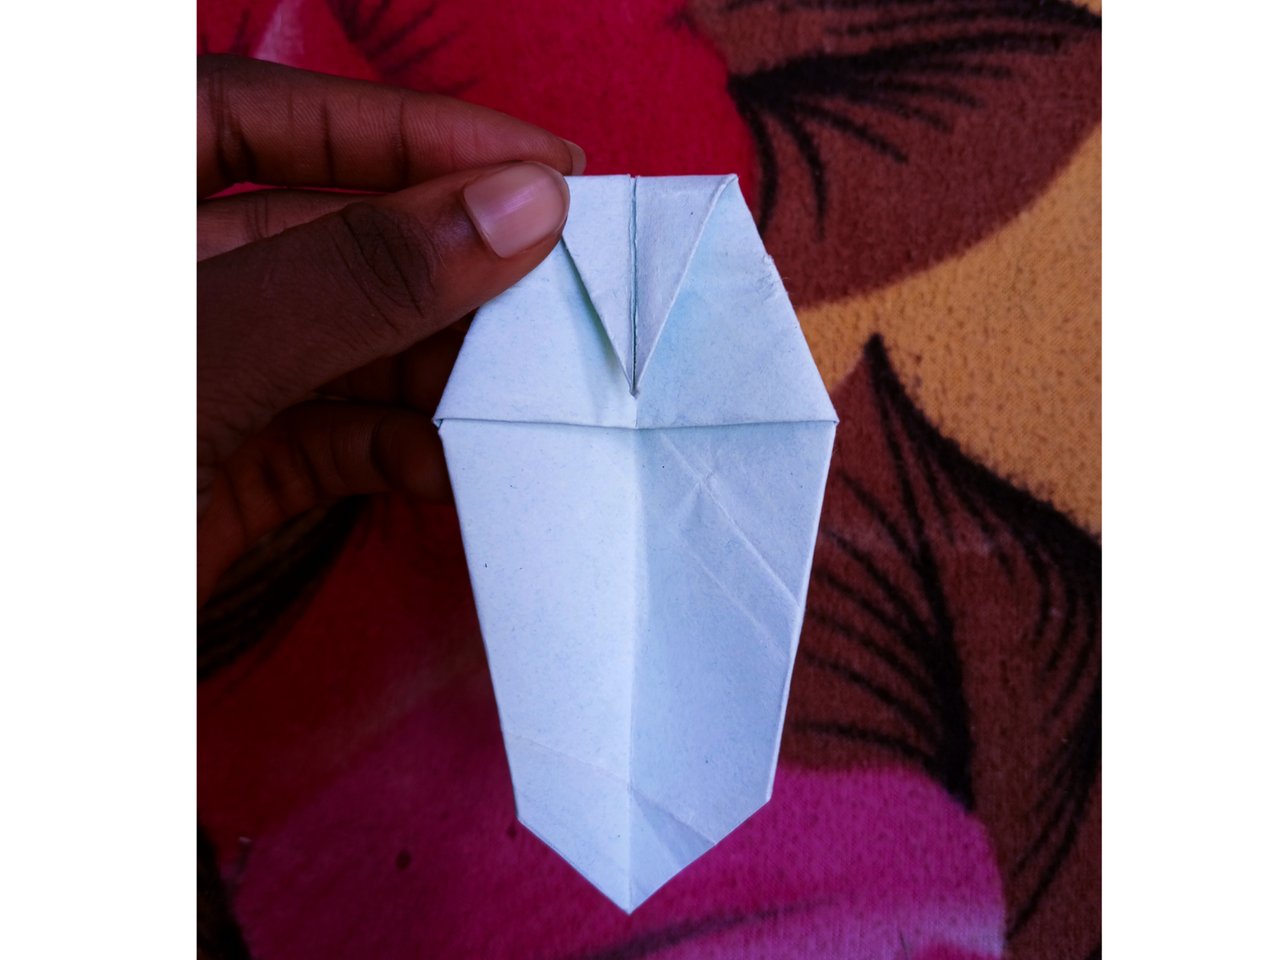
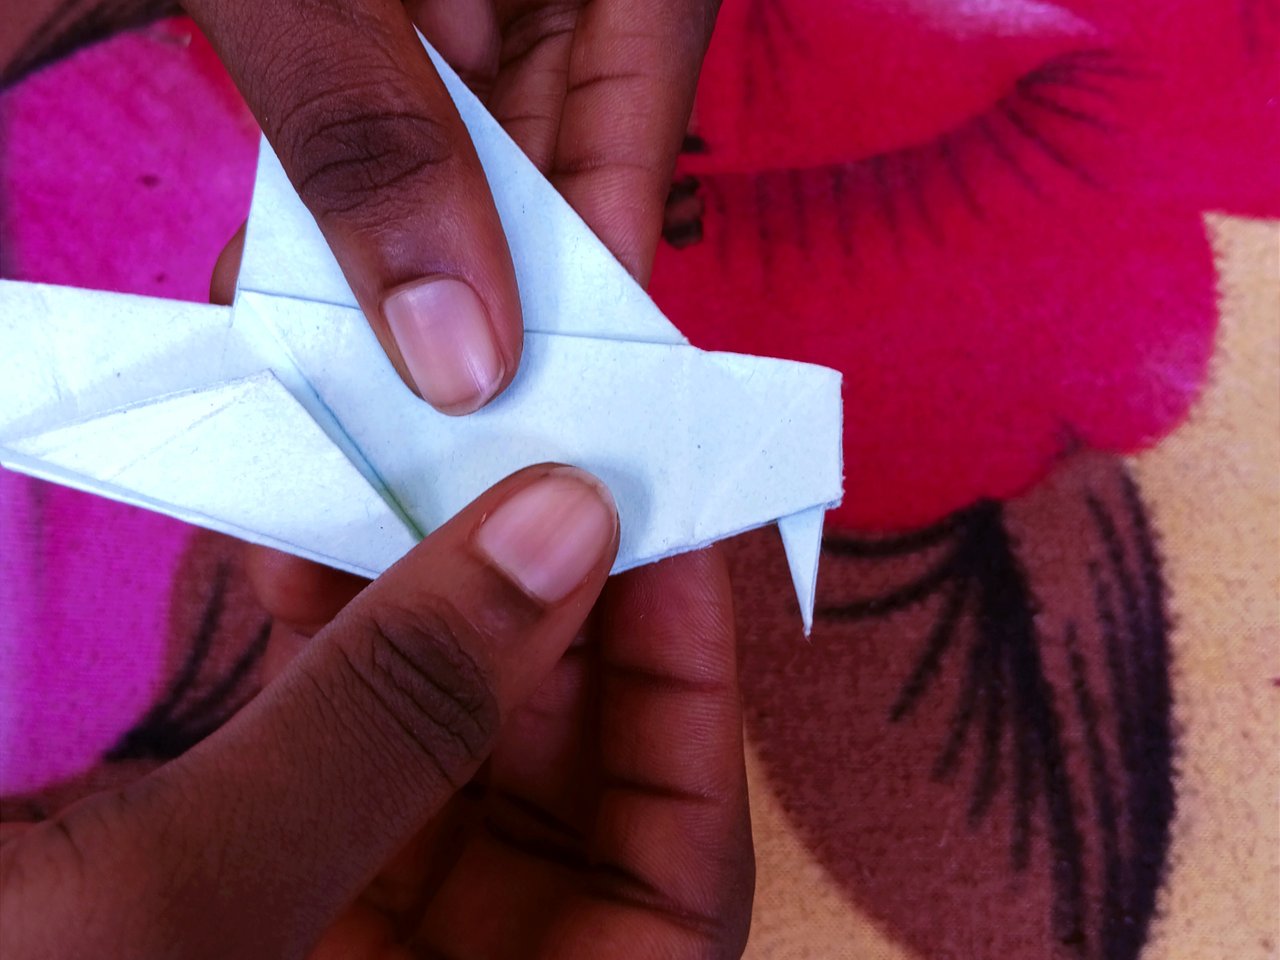
.7. Next, I folded it in a little as shown in the picture below to make a perfect mouth part.
 |  |
|---|
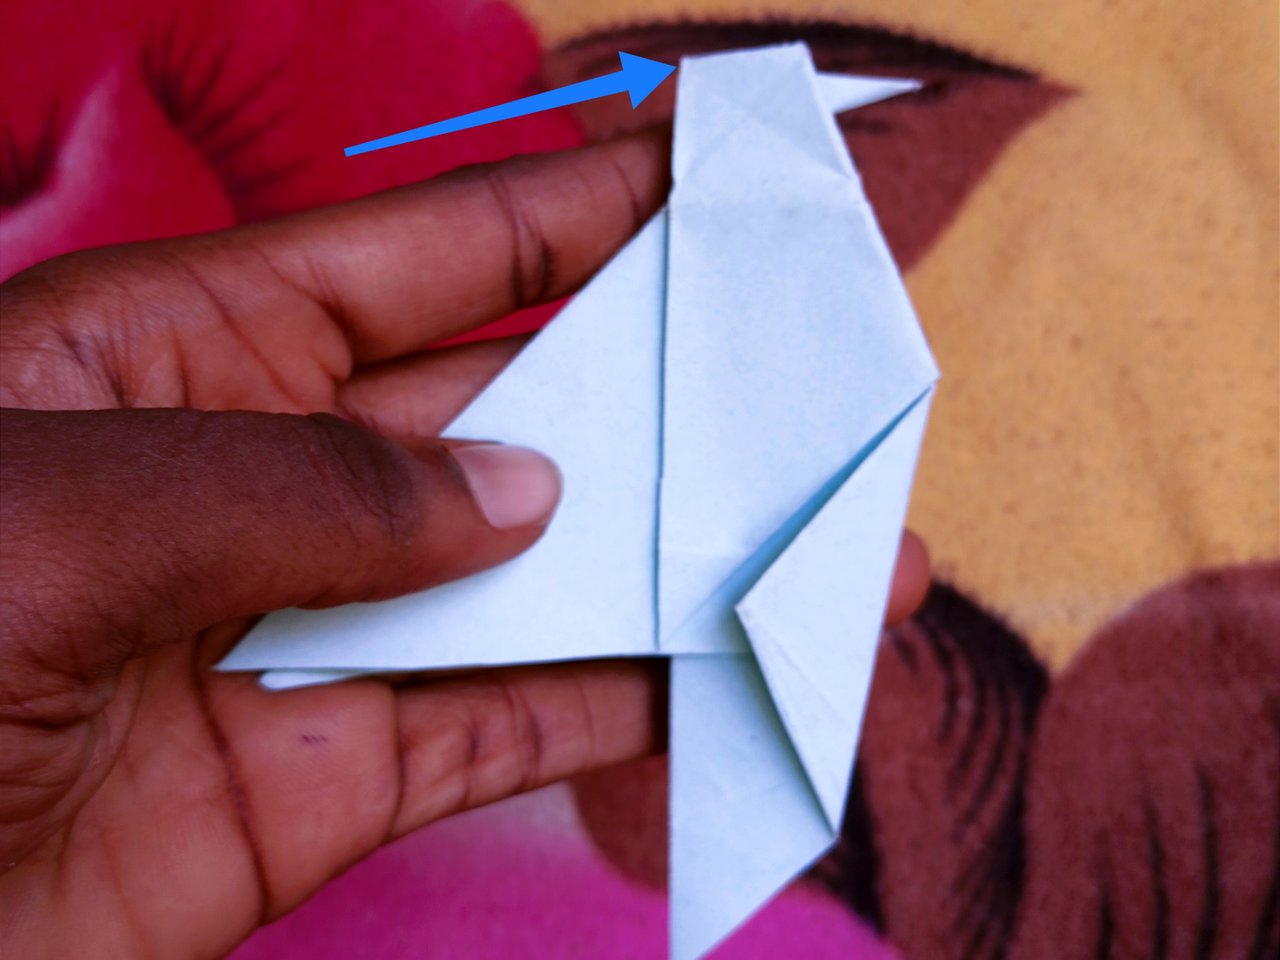
.8. At this point, I was almost done. To get a good head shape I bent the edge indicated in the picture backwards, so it doesn't look too sharp.
.9. When I was through with the step above, I further folded in the open sides to give it a perfect look and that was all for the folding needed.
 The open sides... The open sides... | 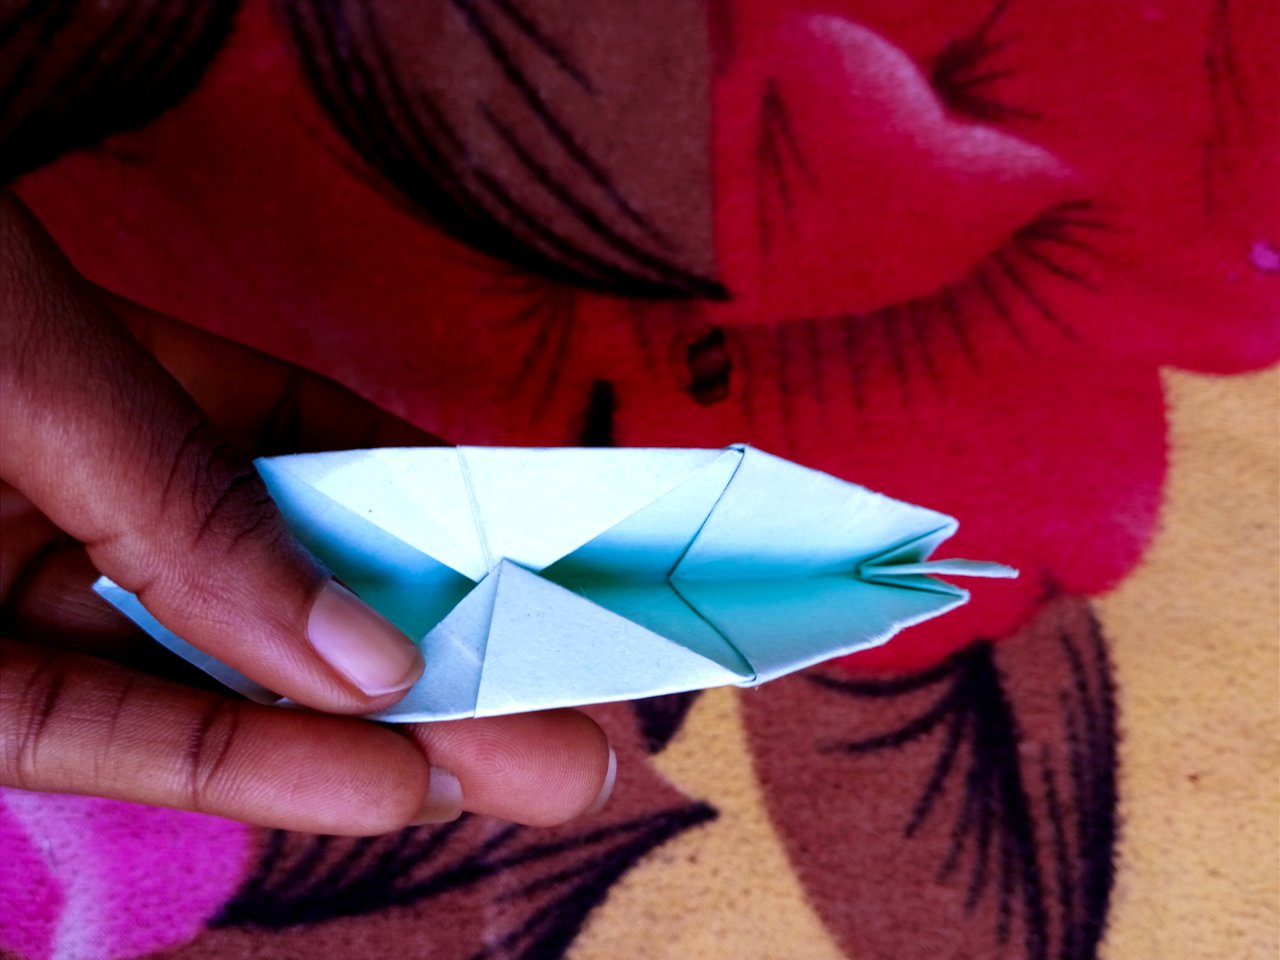 Folded in. Folded in. |
|---|
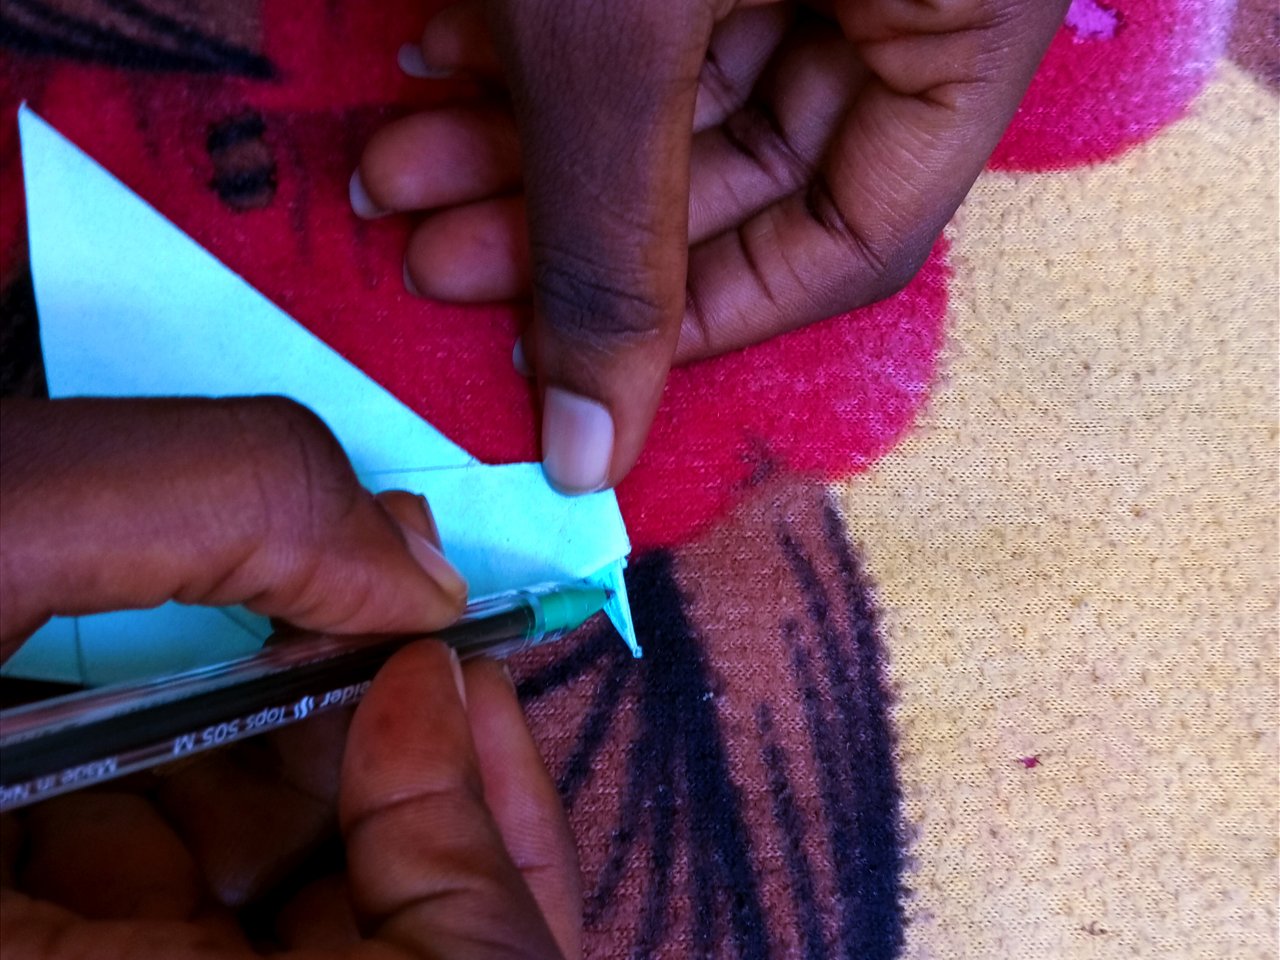
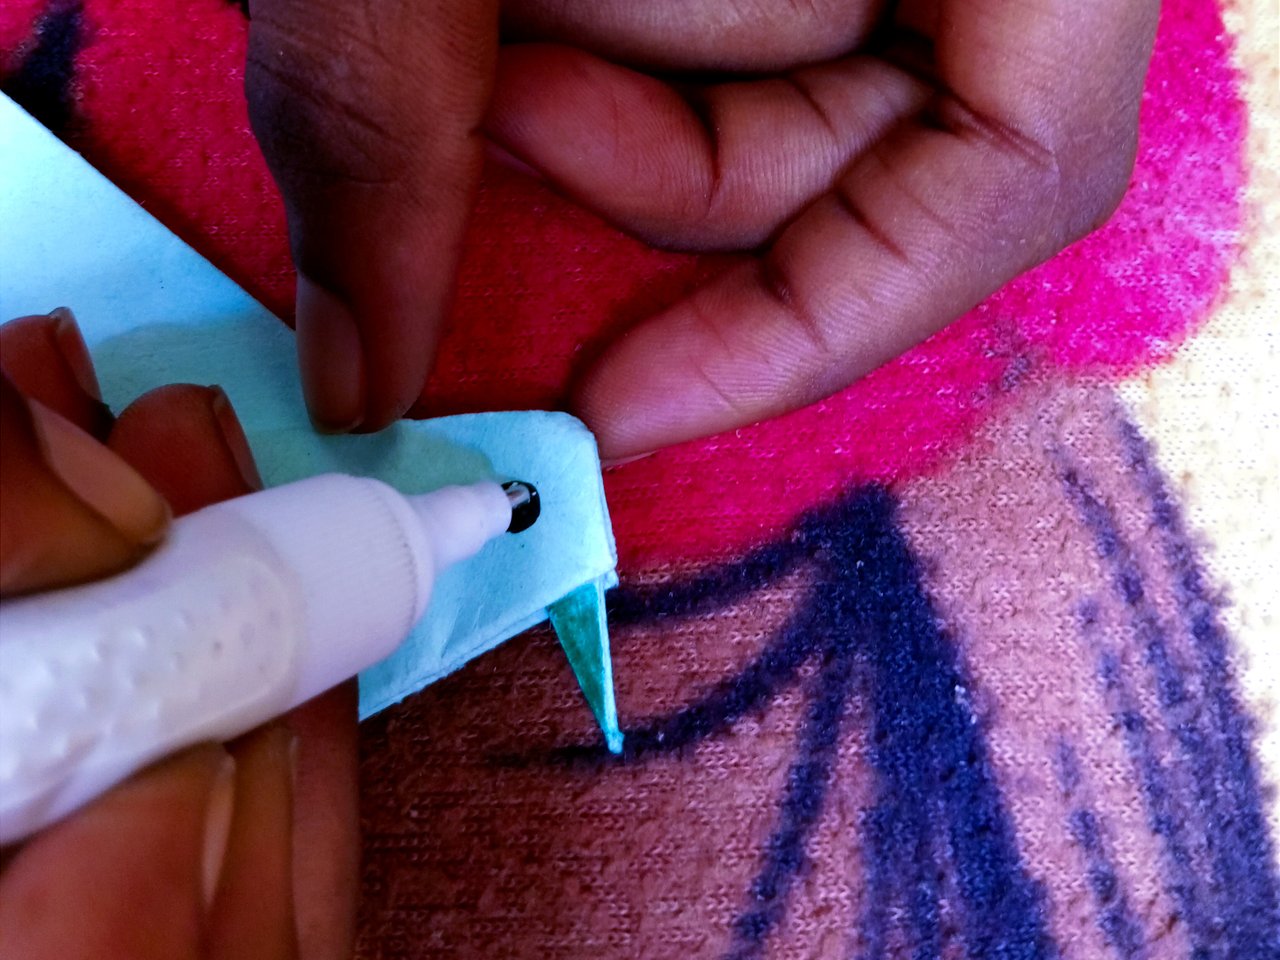
.10. Though I was done folding, I had to give it a better look using my green coloured pen.
 |  |
|---|
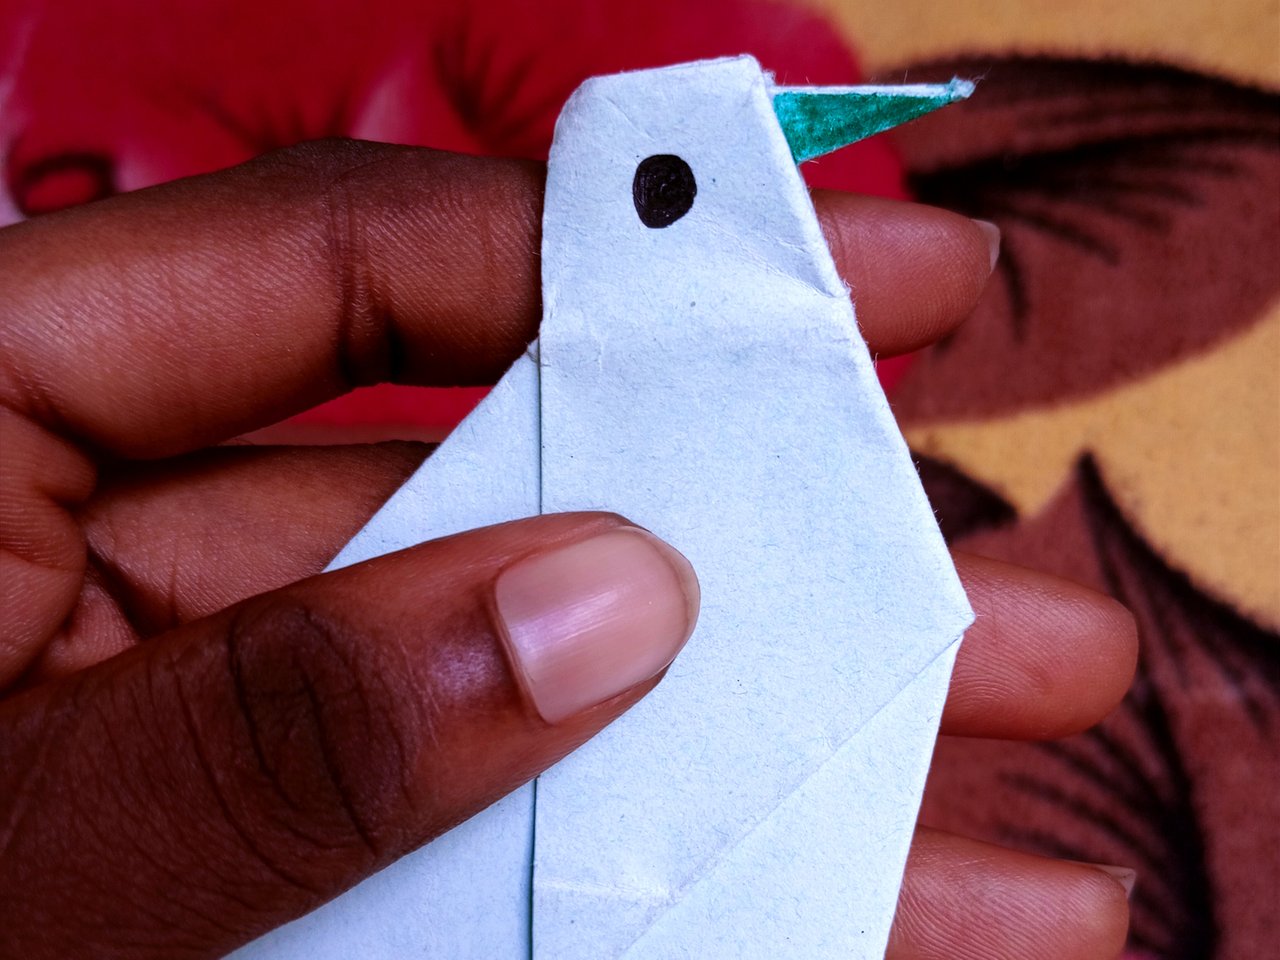
.11. Now the eyes. I used the black pen to make a small round black circle and then the correction fluid, to give the eye the white feature.
 |  |
|---|
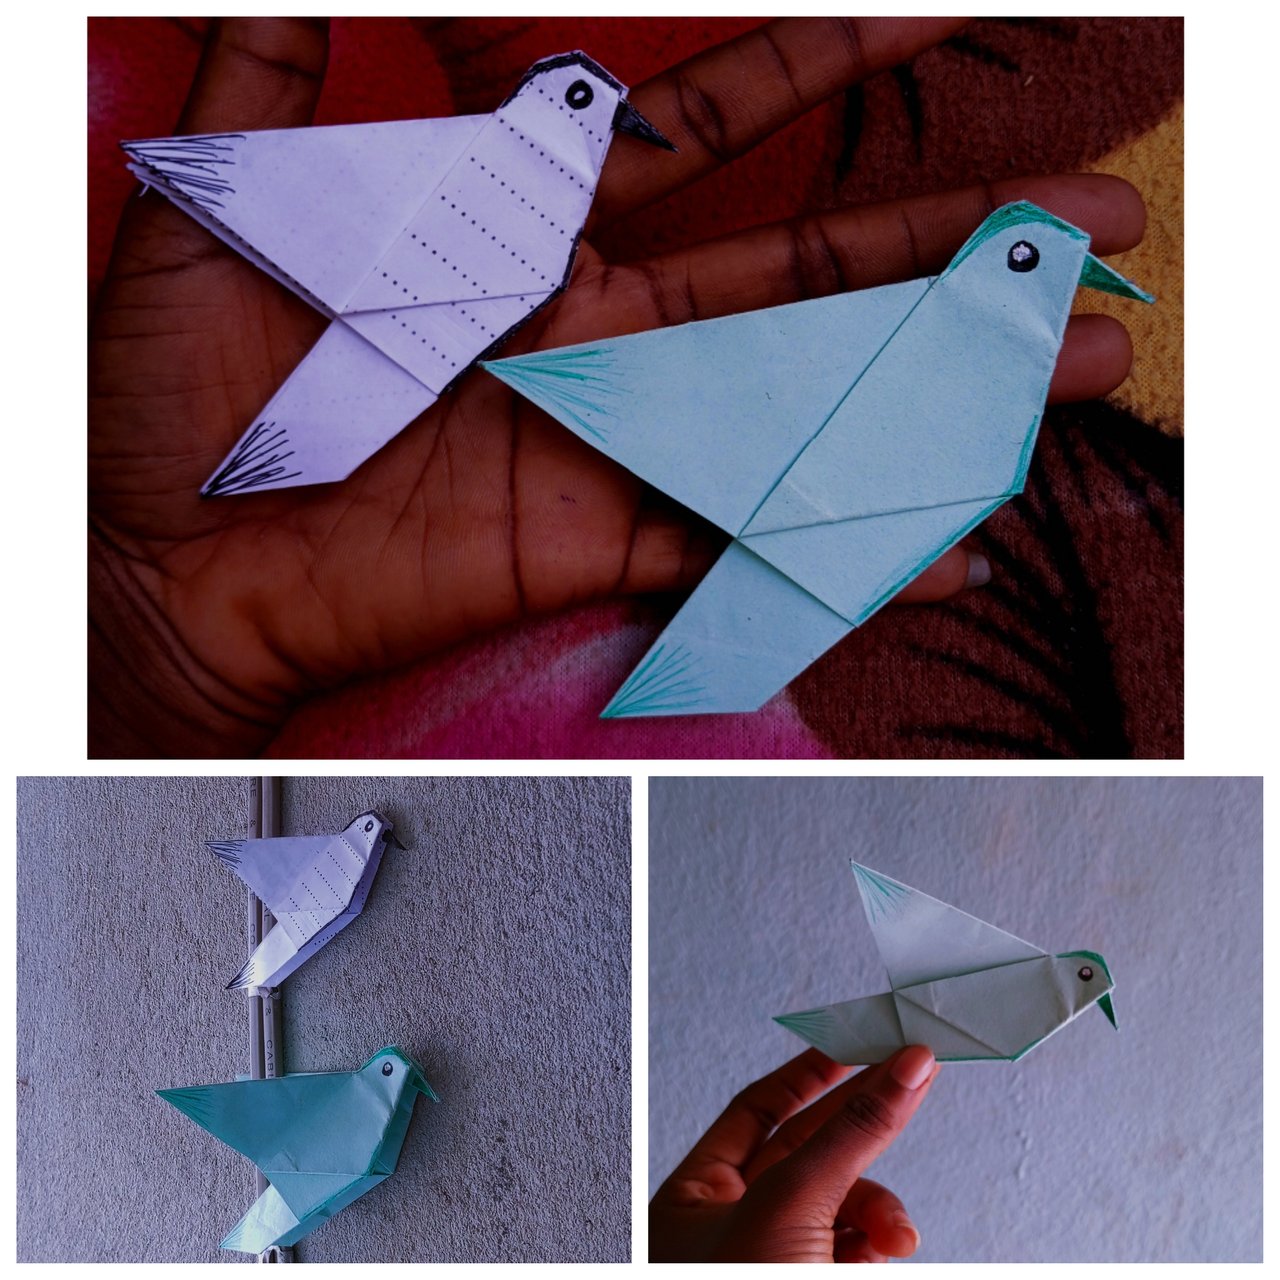
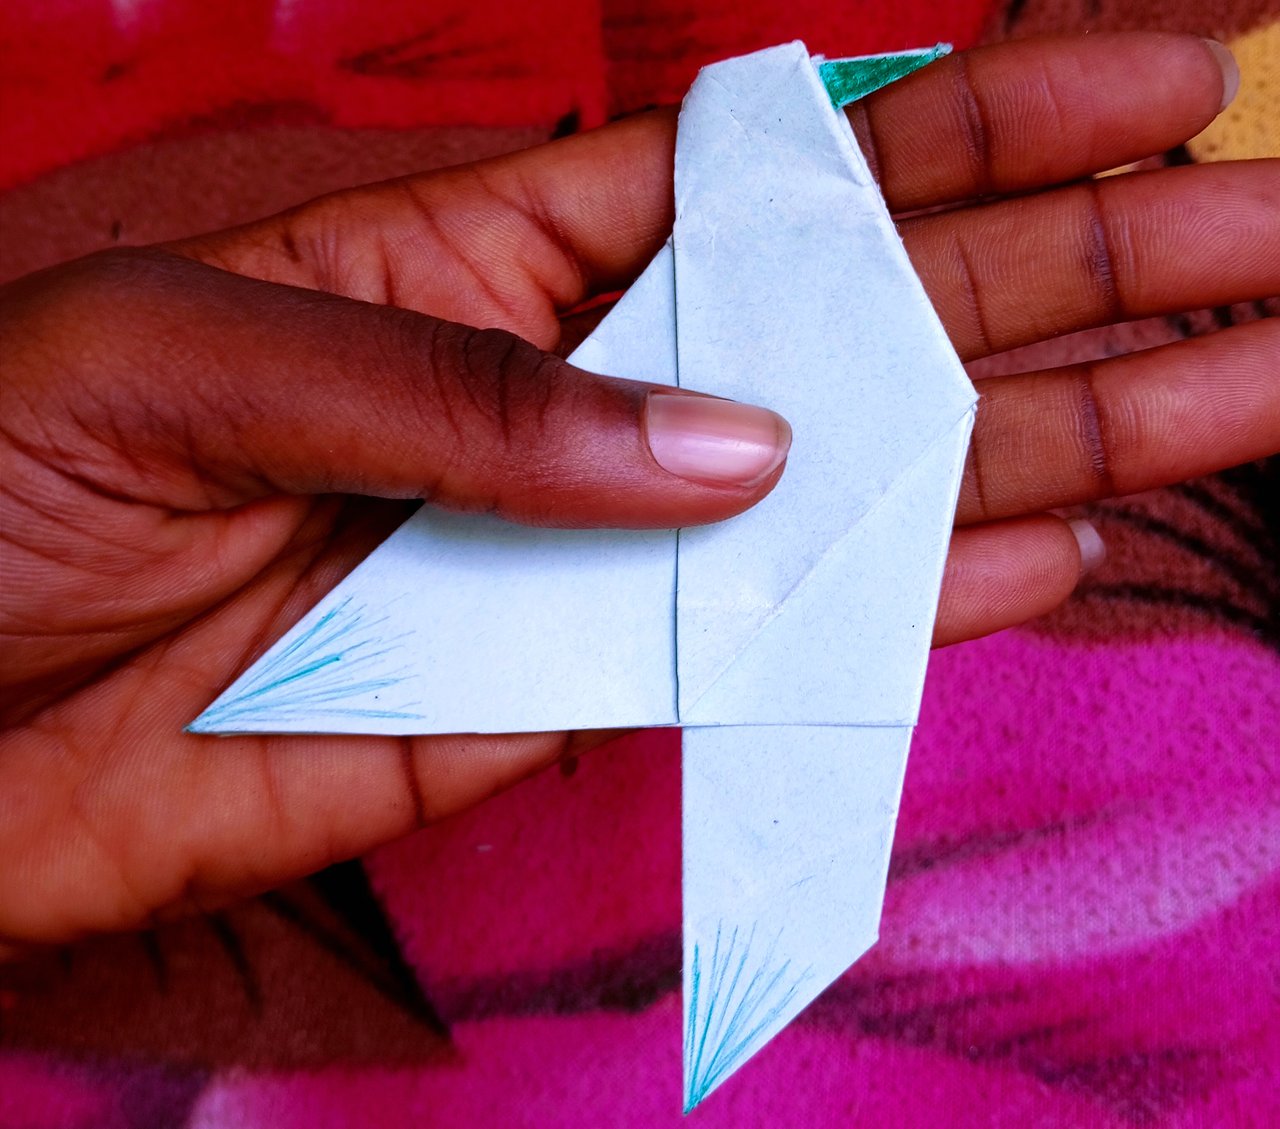
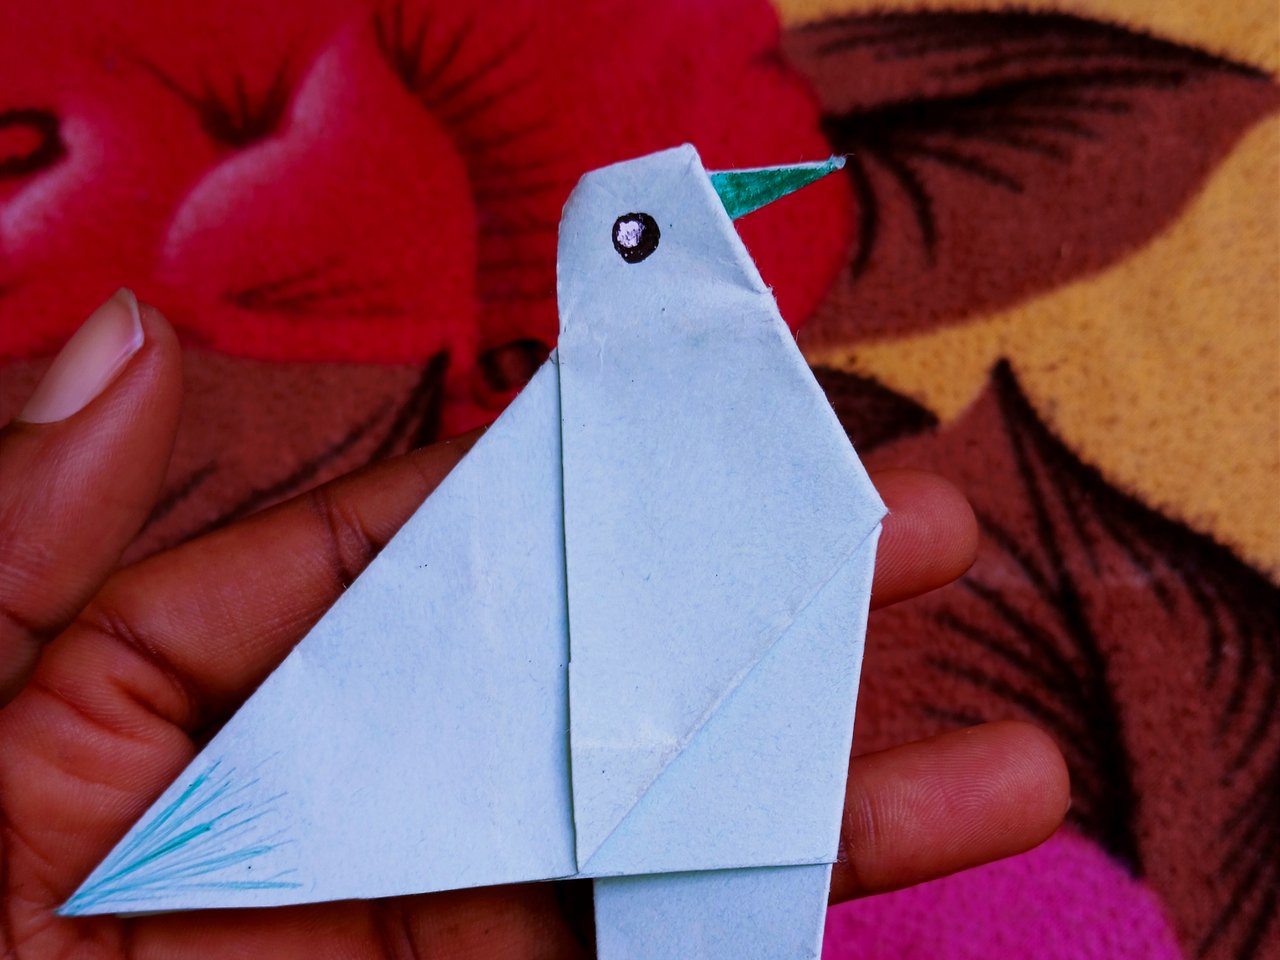
.12. Lastly, I did some finishing touches on the edges with the green pen and my origami hummingbird was ready!
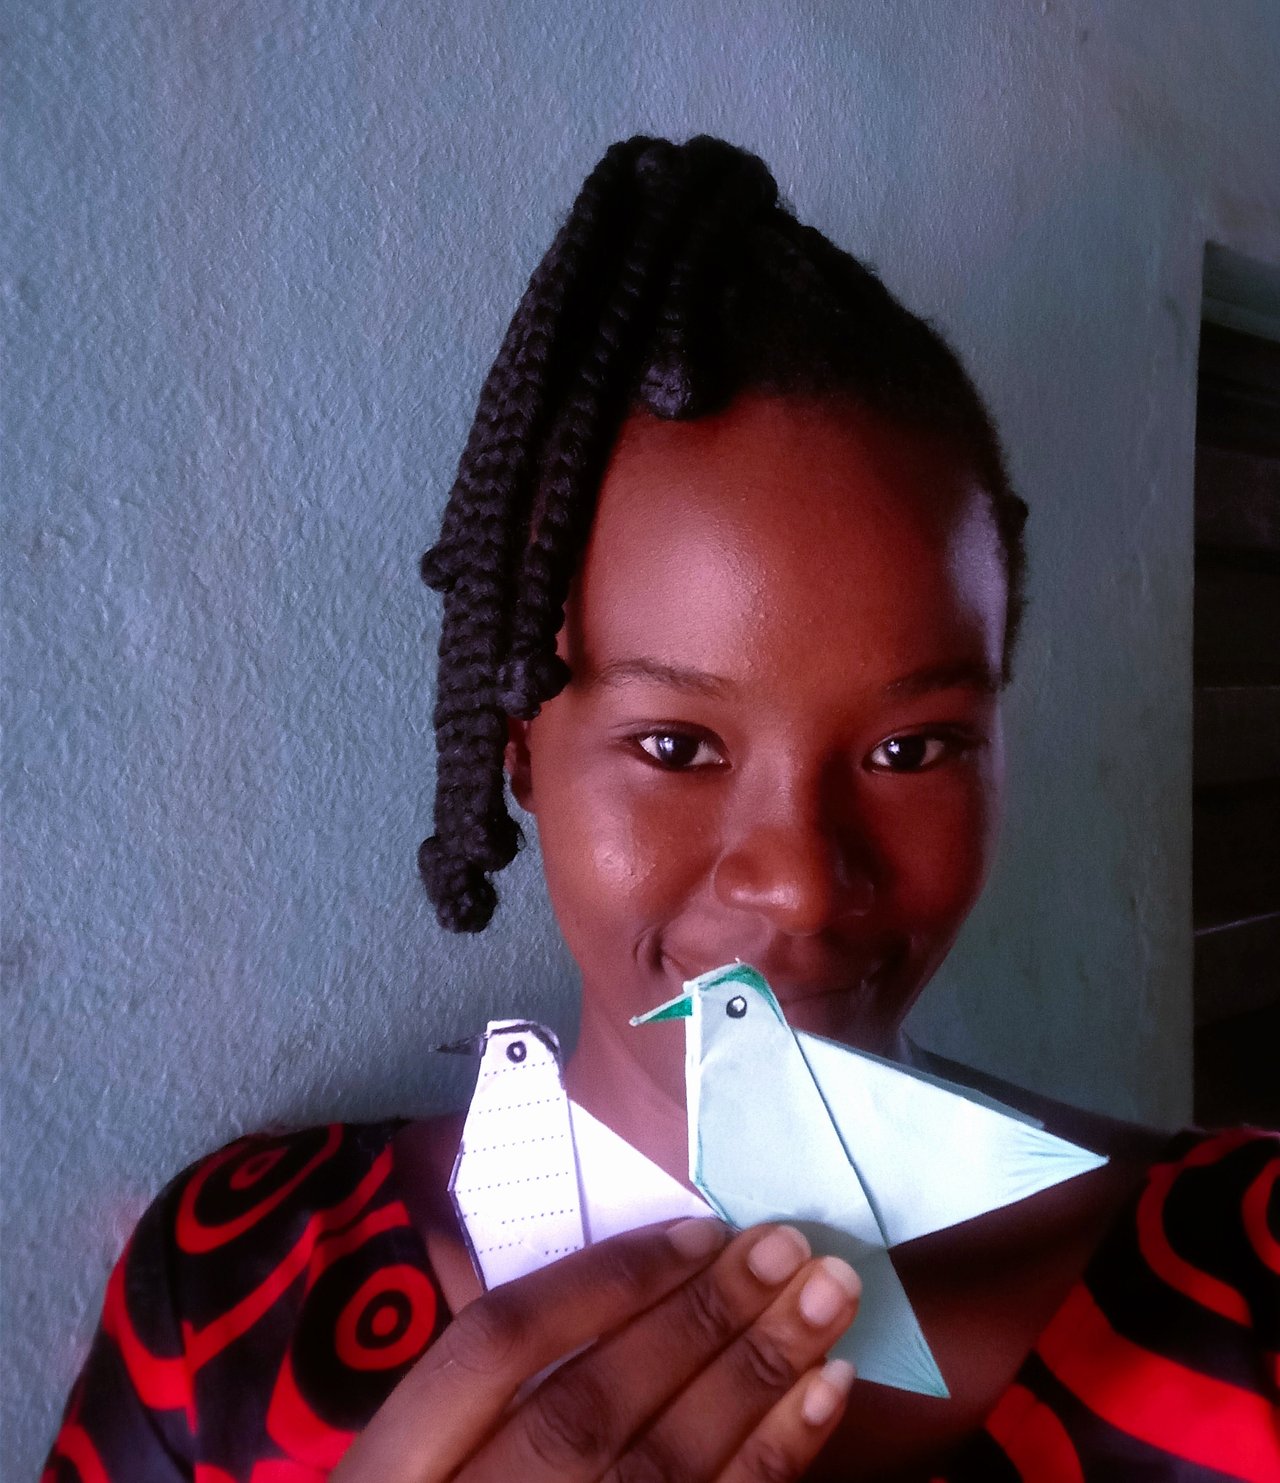
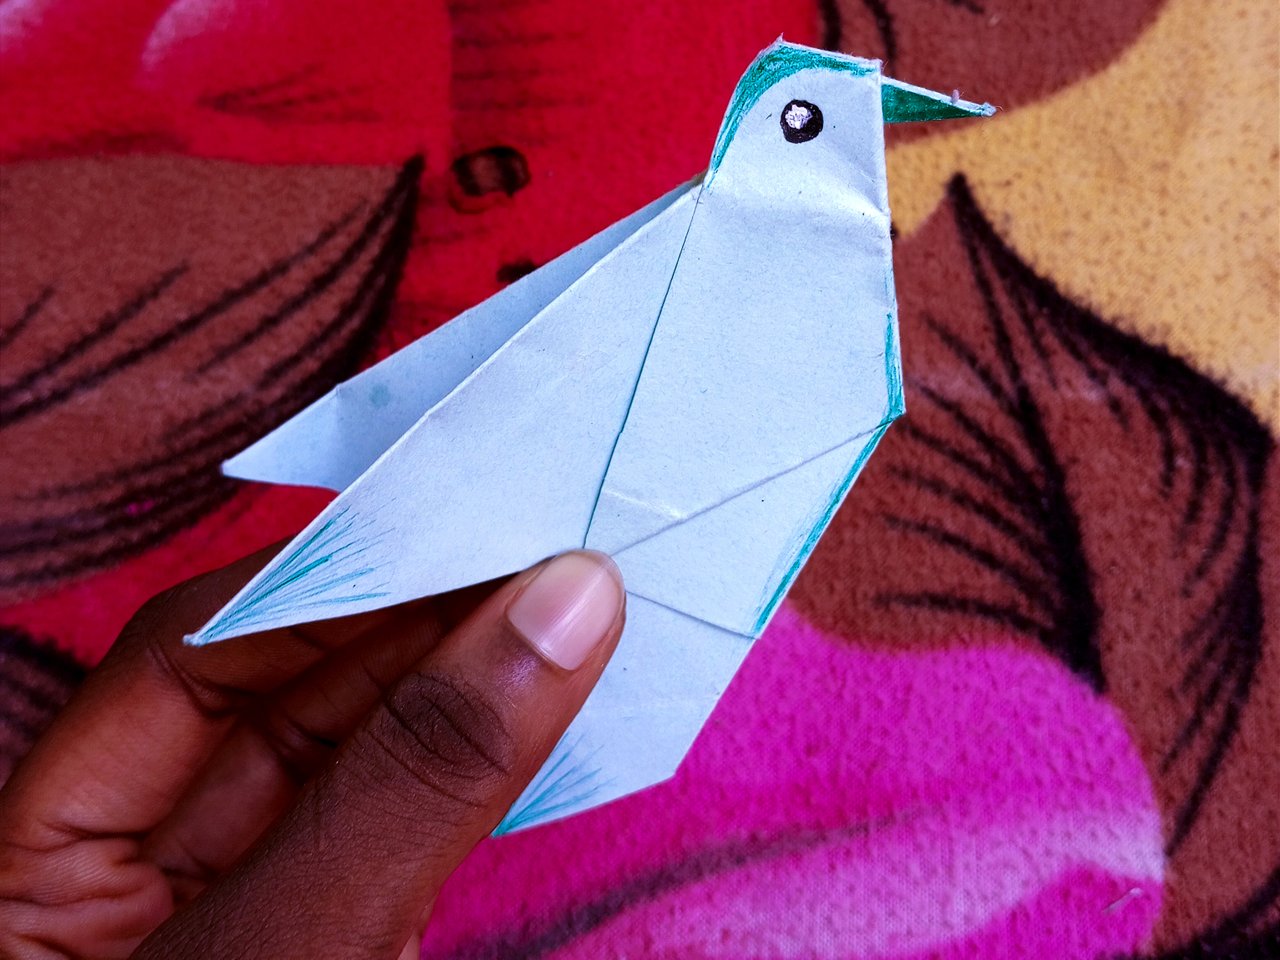 Final outcome. Final outcome. | 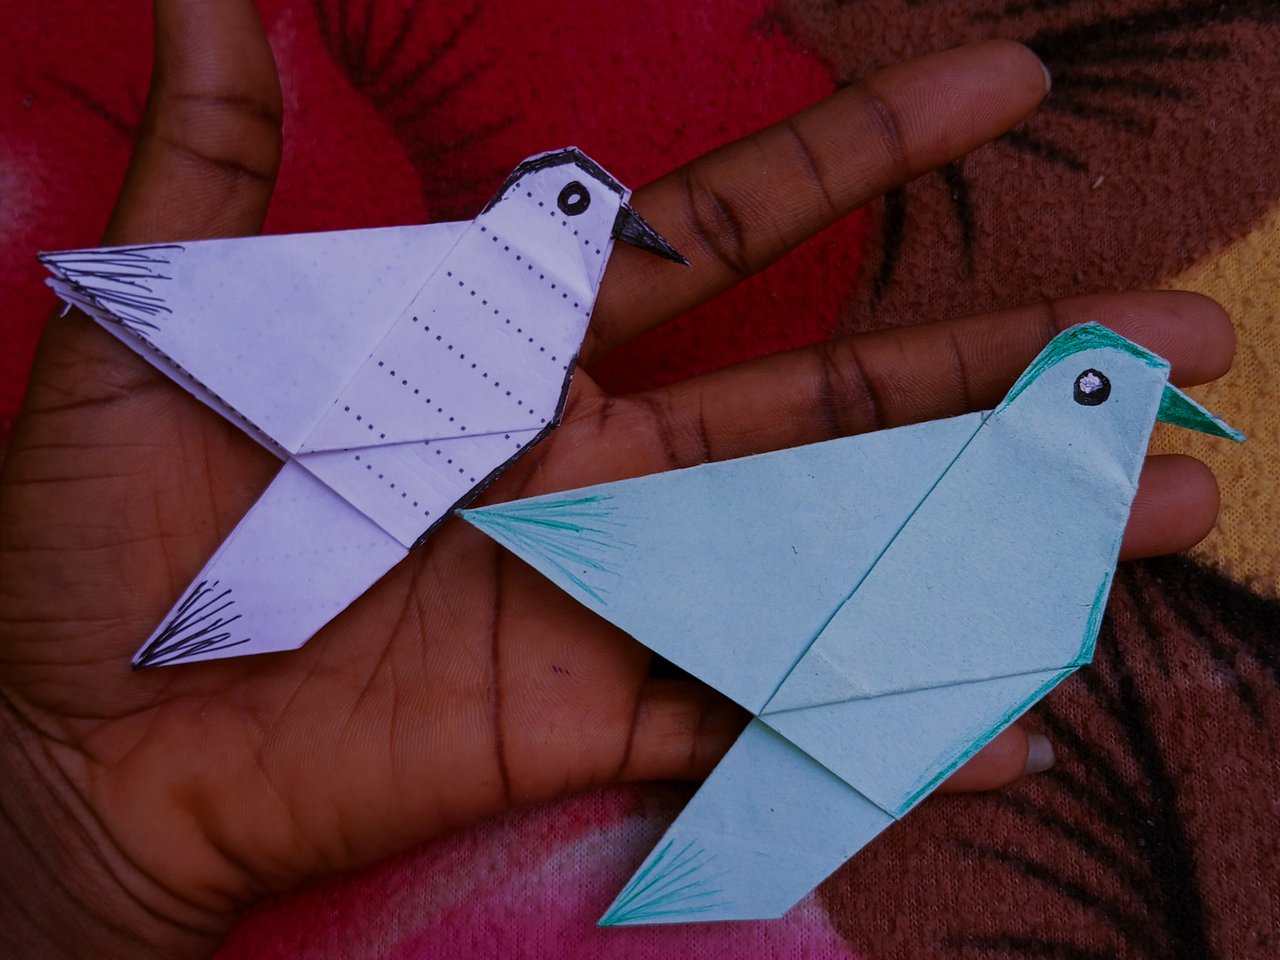 Made two. Made two. |
|---|
Importance of this origami hummingbird |
|---|
Origami hummingbird, though just a folded paper, has some very good importance which are;
The process of making an origami hummingbird allows you to express your creative and artistic nature. This can be seen in choosing different colours or making different unique variations.
The process of folding paper to make the hummingbird helps to reduce stress and anxiety while also promoting mindfulness and concentration.
This process greatly improves critical thinking.
It is also a very fun and accessible activity which requires less complicated and minimal materials. This makes it a great activity to carry out with friends and families.
Conclusion
From the above importance, it is evident that the process of making this origami hummingbird is not just about folding papers but involves certain great benefits we might not recognize at first without trying.
Having made and explained the steps bit by bit, I hope we all try it out and also enjoy while doing that.
Thank you @ngoenyi for this educative contest idea. I'm inviting my female friends; @uduak01, @vudeme123 and @queenella1 to participate.
Thank for reading through.