Good day and happy new week Steemians. For this creative contest, I will be making an origami heart corner bookmark.
A bookmark as the name implies is any piece of material used to mark a particular page in a book.
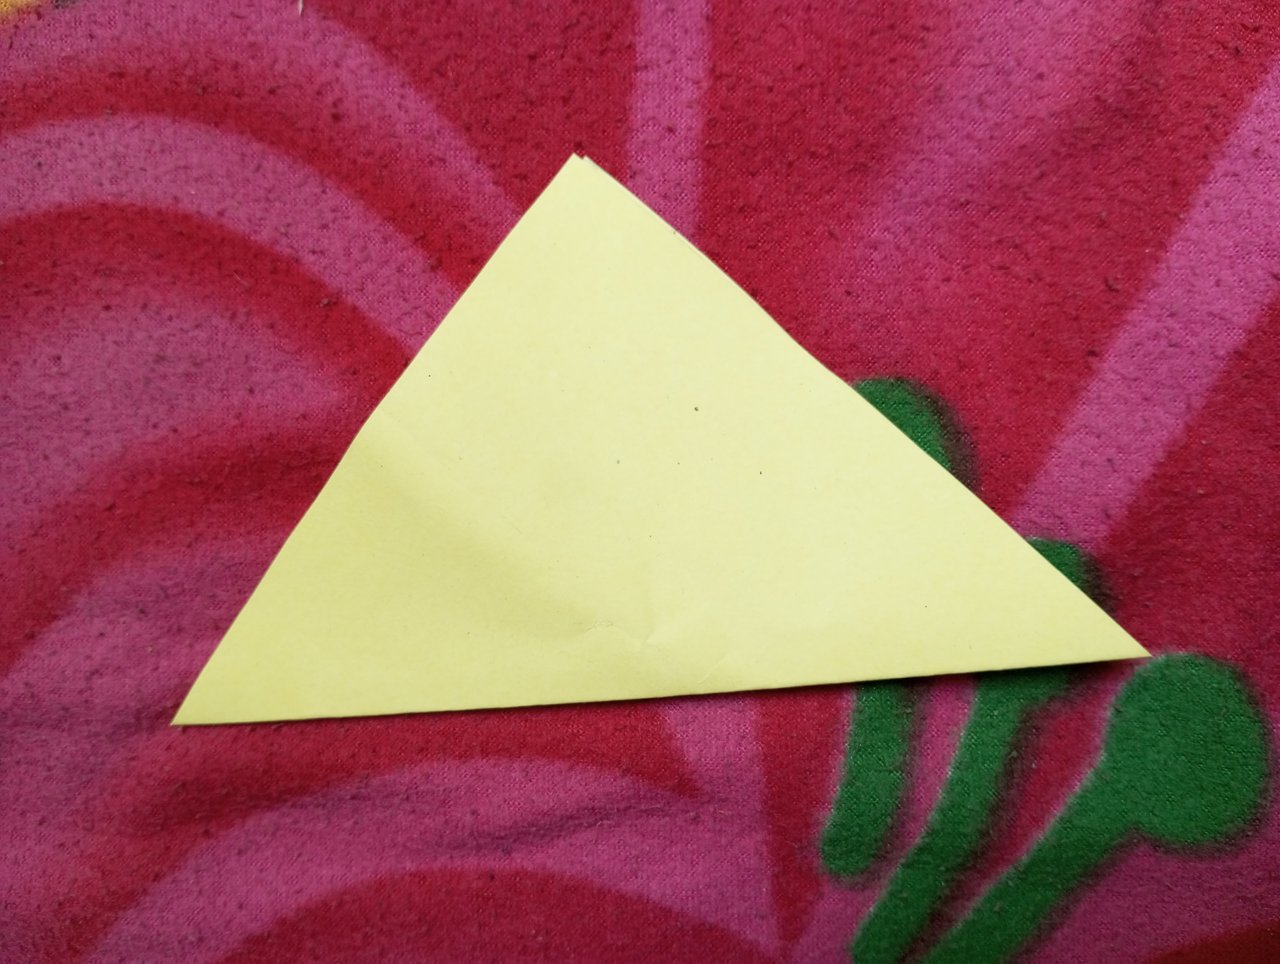
Items needed in making the origami heart corner bookmark |
|---|
From the picture above, the items needed are;
- pen (any preferred colour or type).
- Glue.
- A piece of cardboard paper.
Steps involved. |
|---|
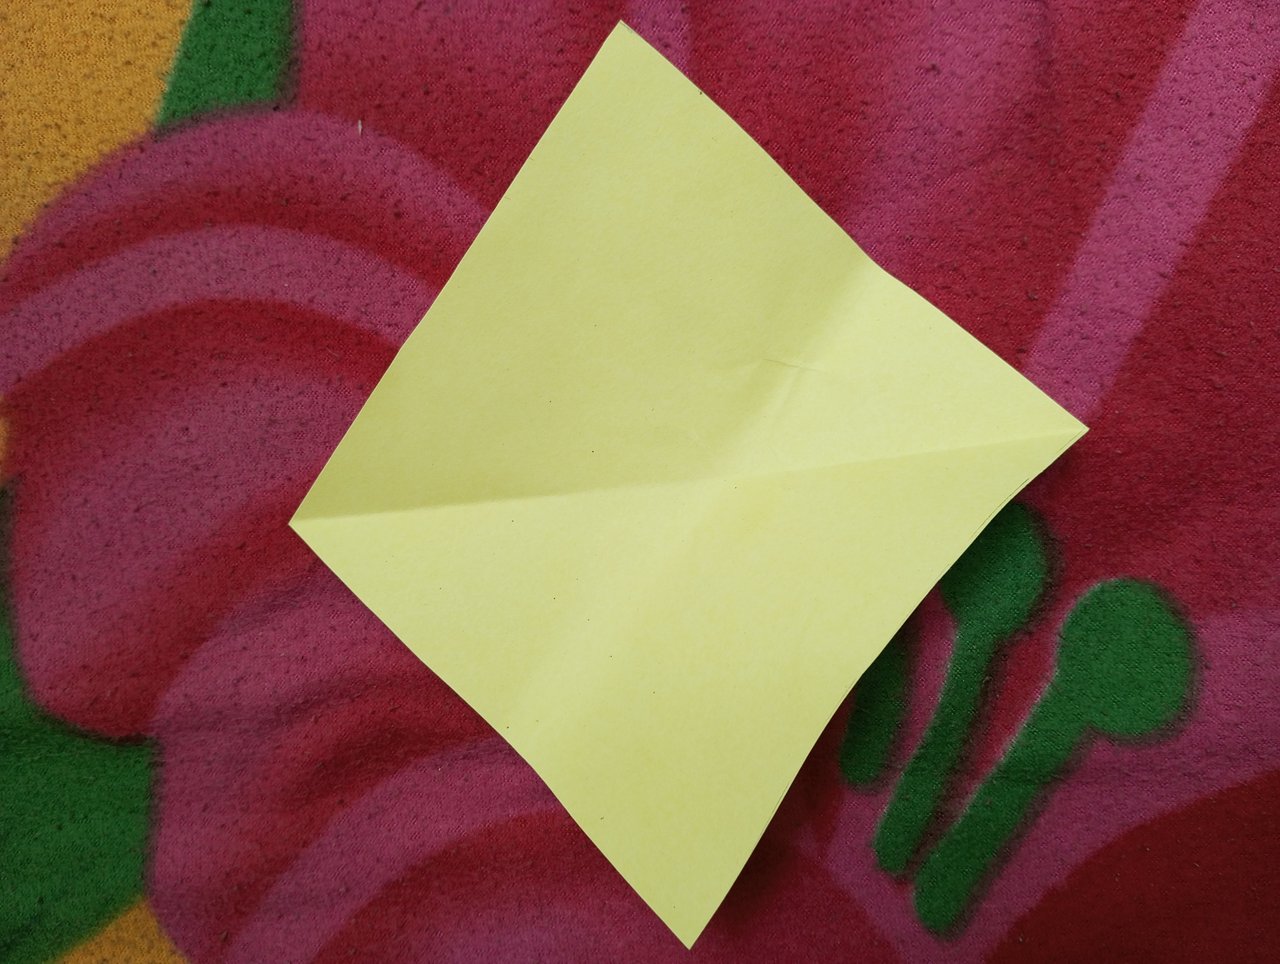
- First you fold your paper in two like a triangle as demonstrated below;
 Picture 1
- Next, you open it up and fold it the other way to give another triangle.
 Picture 2 Picture 2 | 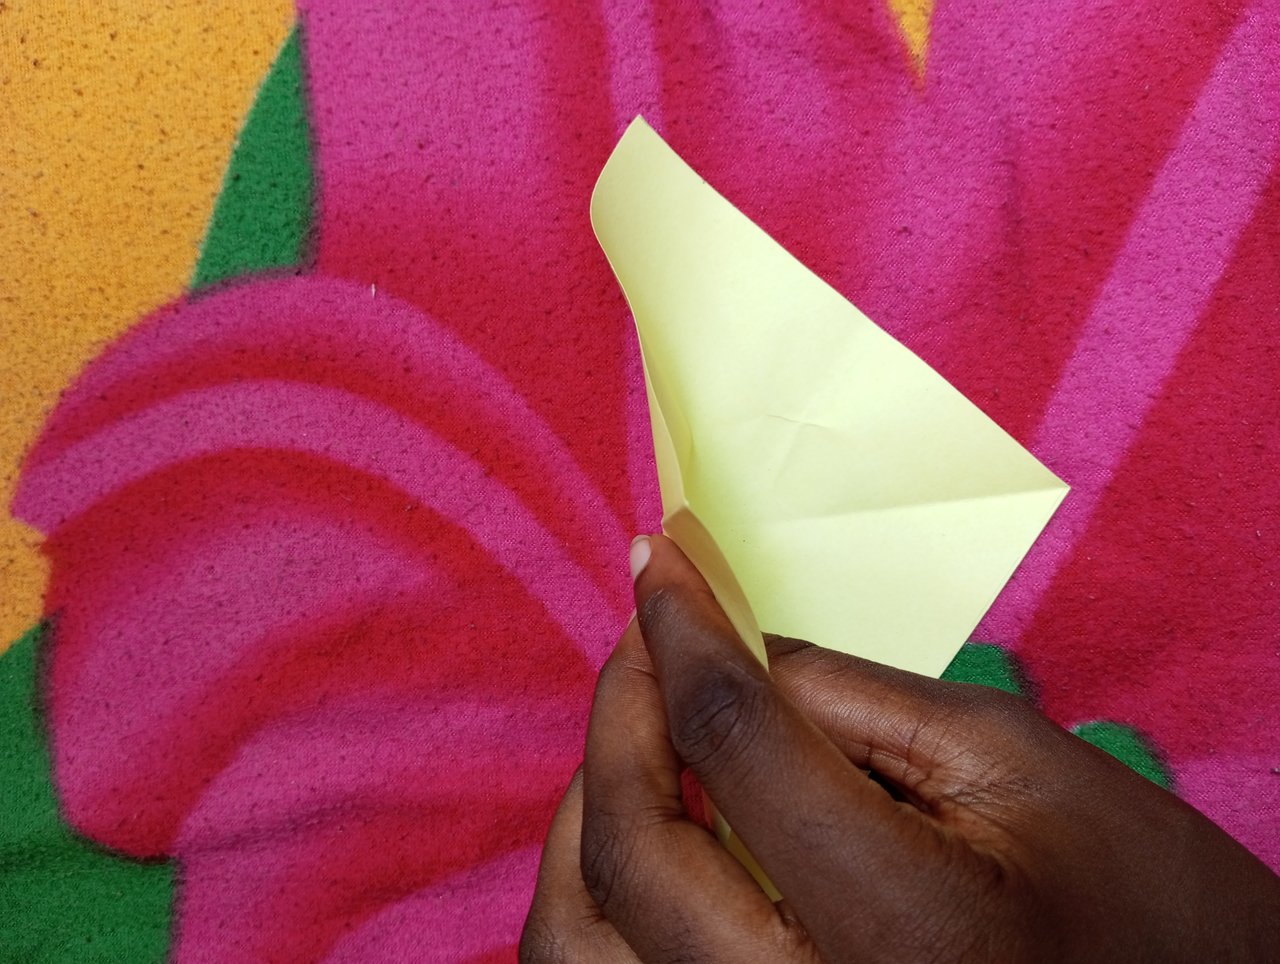 Picture 3 Picture 3 |
|---|
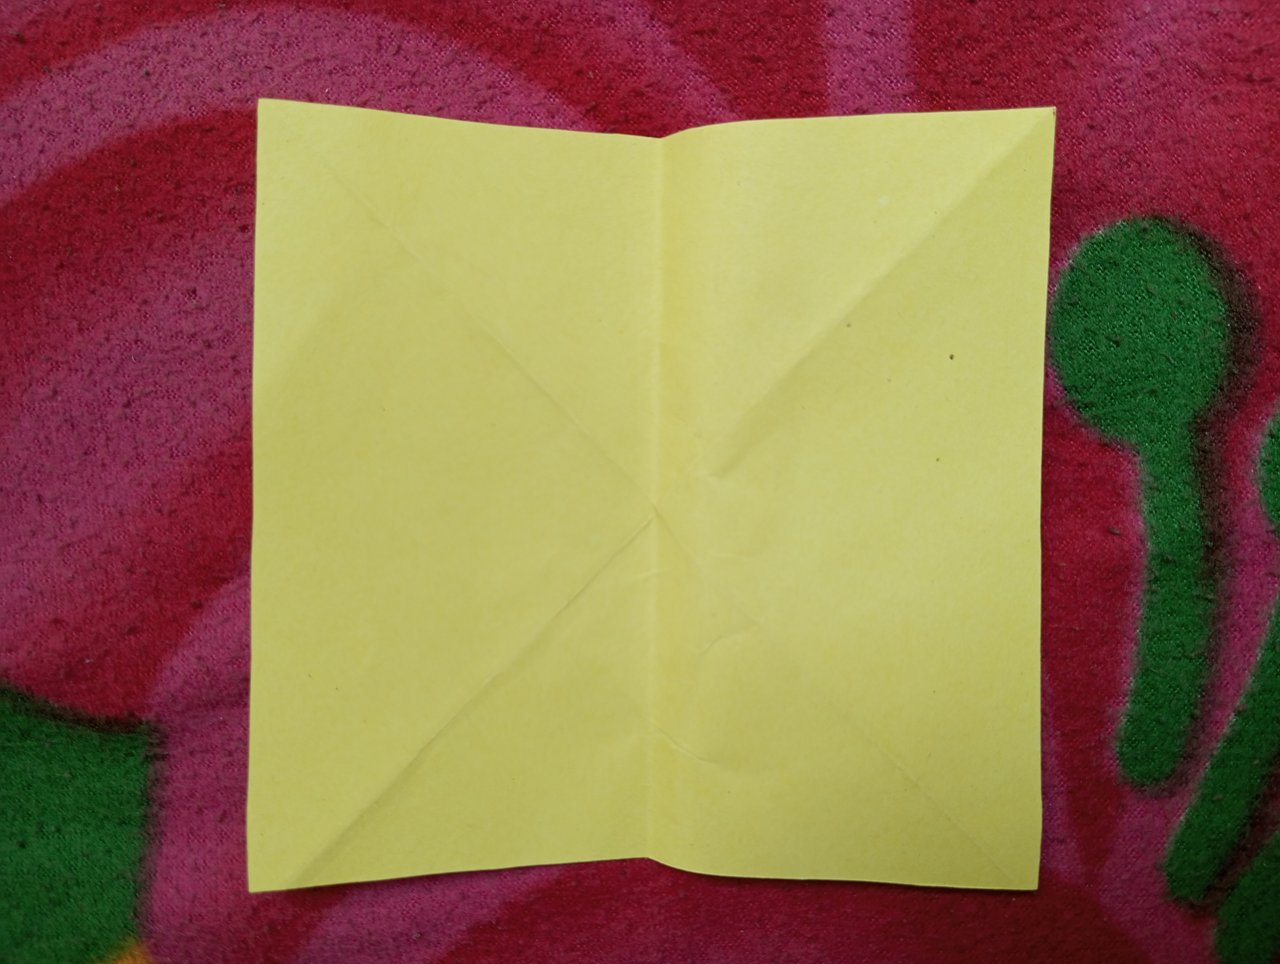
- Next, you open it up and fold it into two as seen below.
All these lines made by the fold makes the paper flexible and easy to work with.
 Picture 4 Picture 4 | 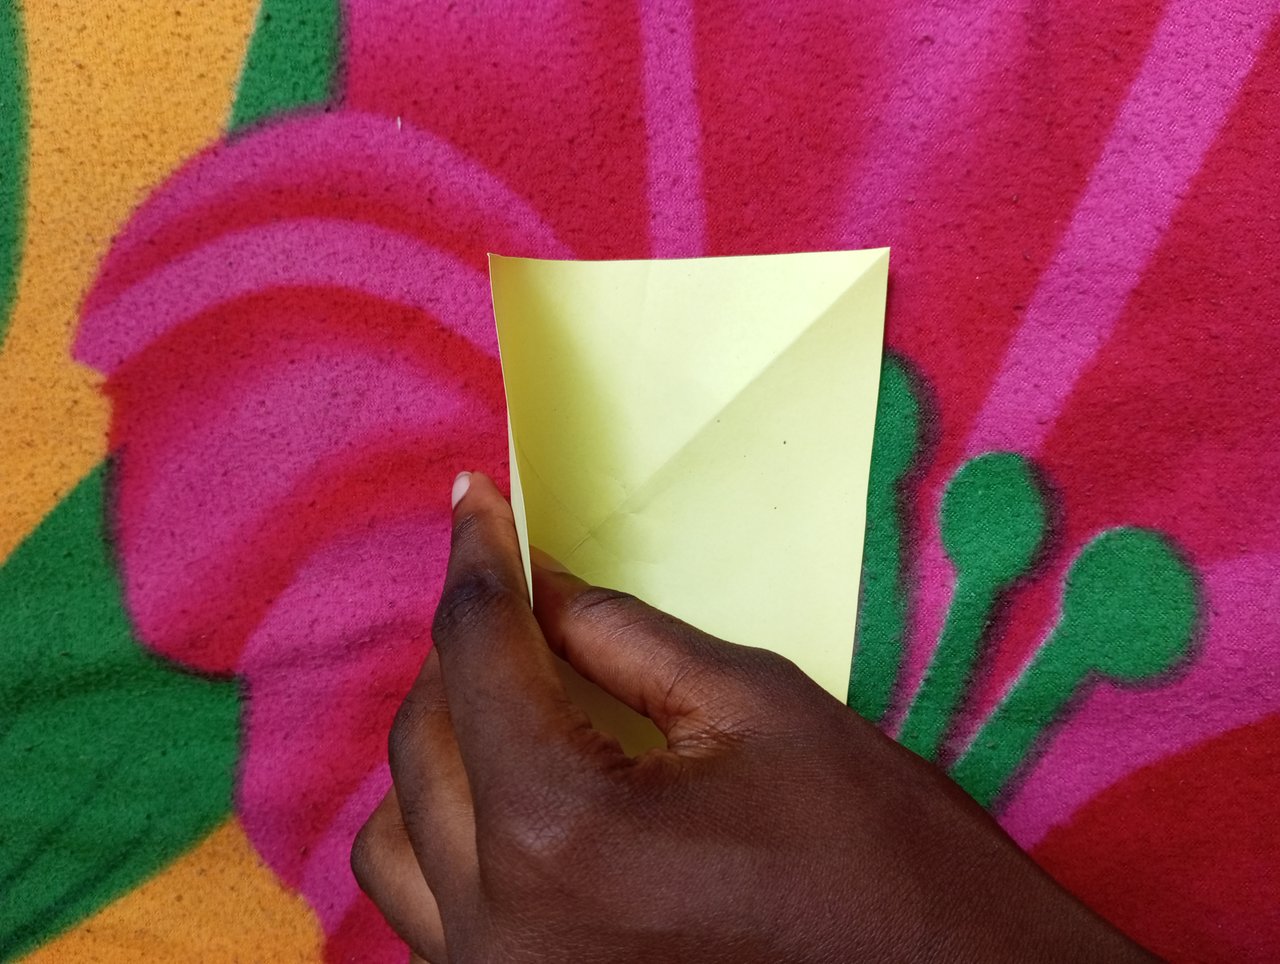 Picture 5 Picture 5 |
|---|
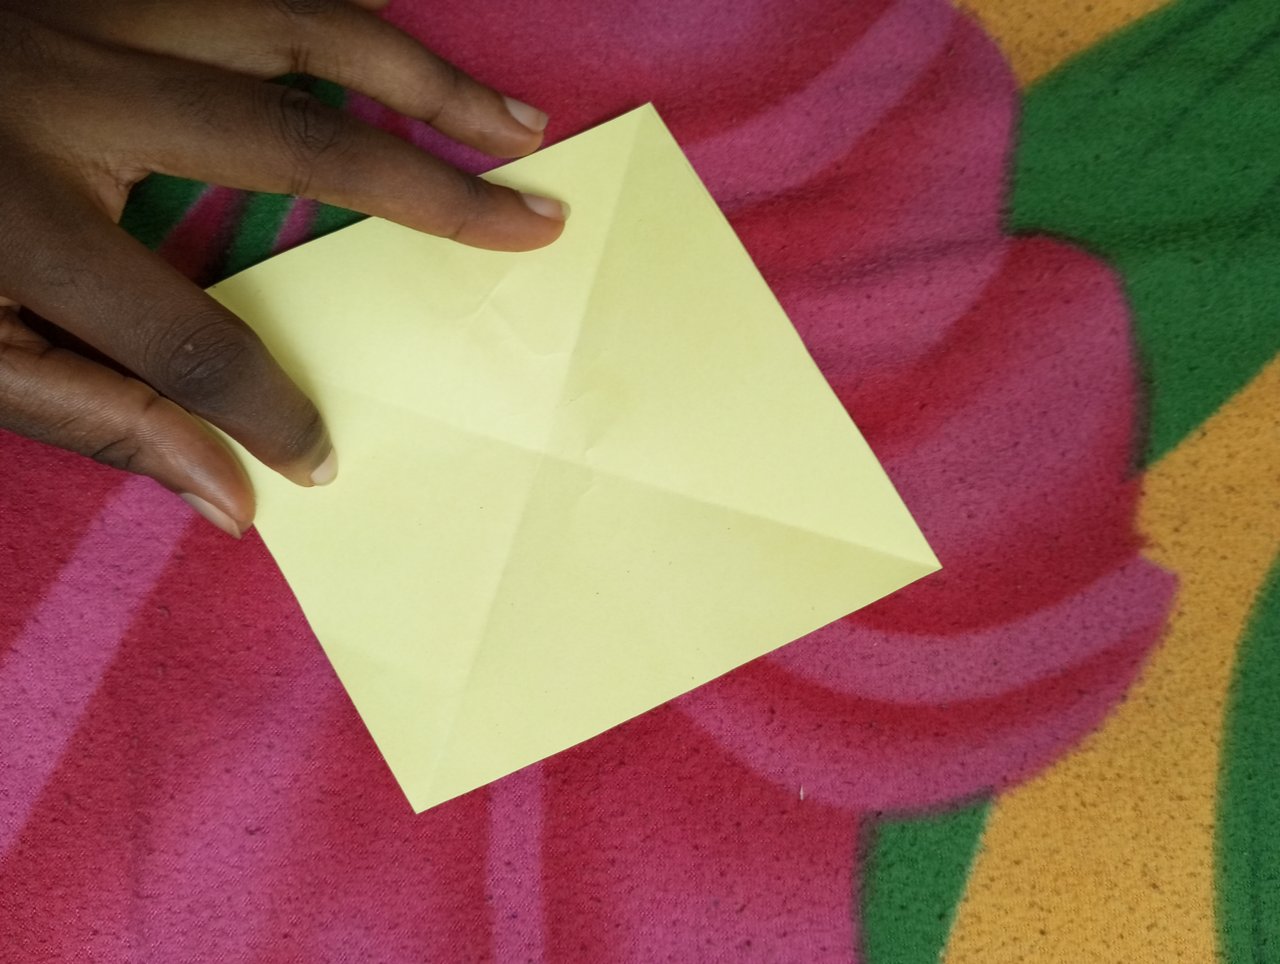
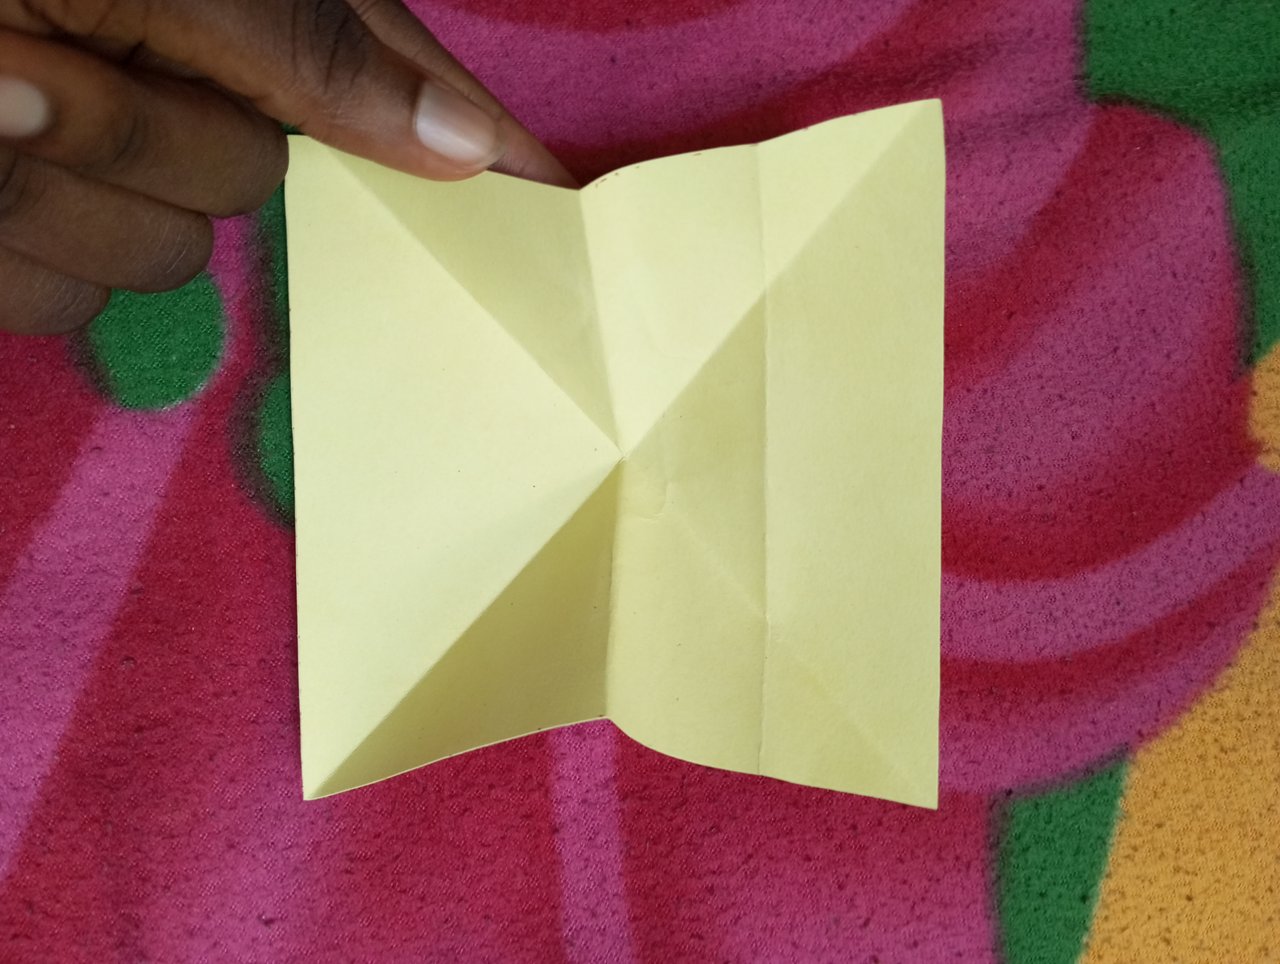
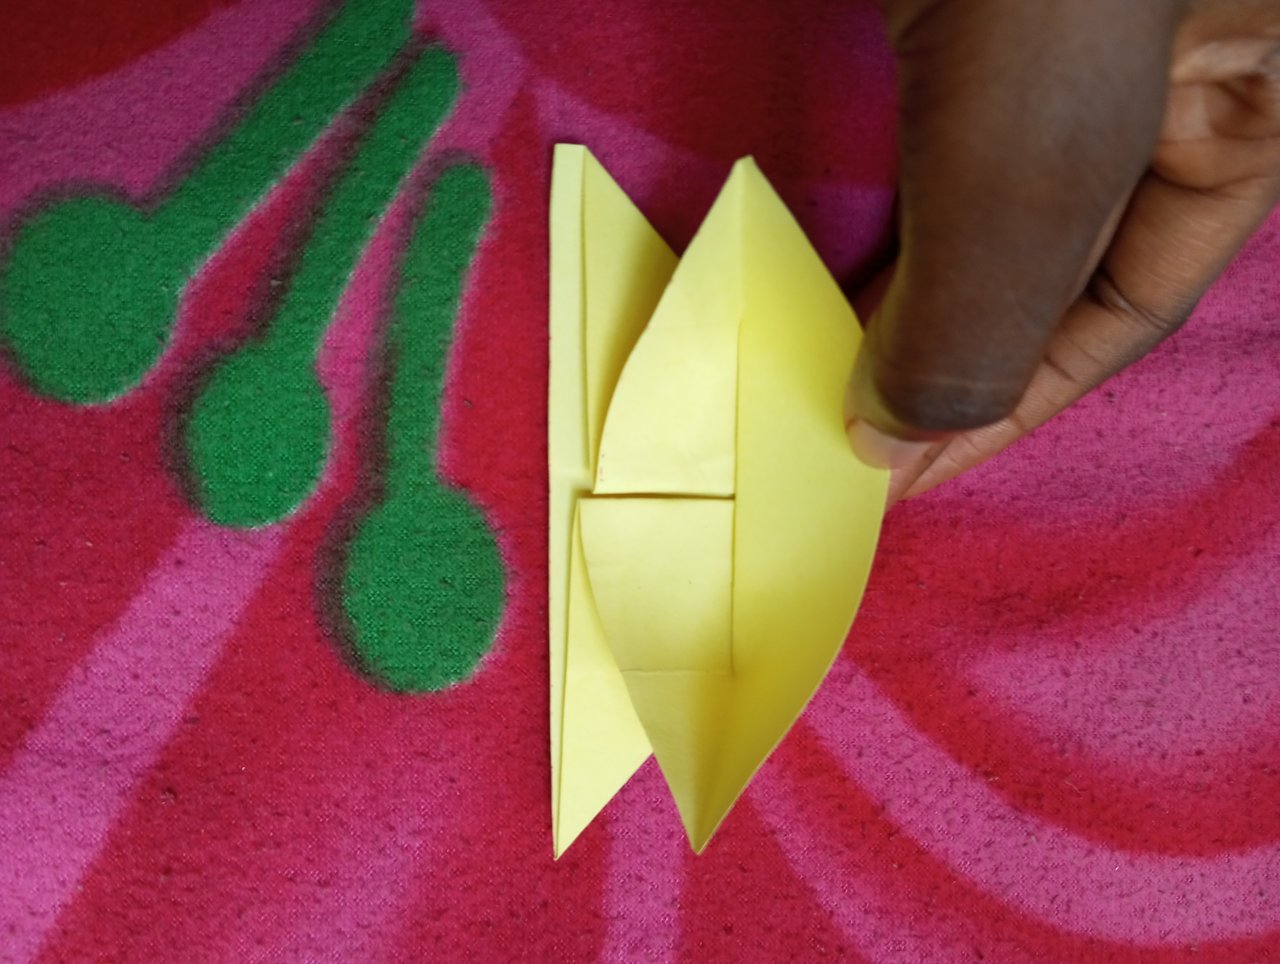
- You then open it up again and fold one side of the half to the middle as seen below;
 Picture 6 Picture 6 | 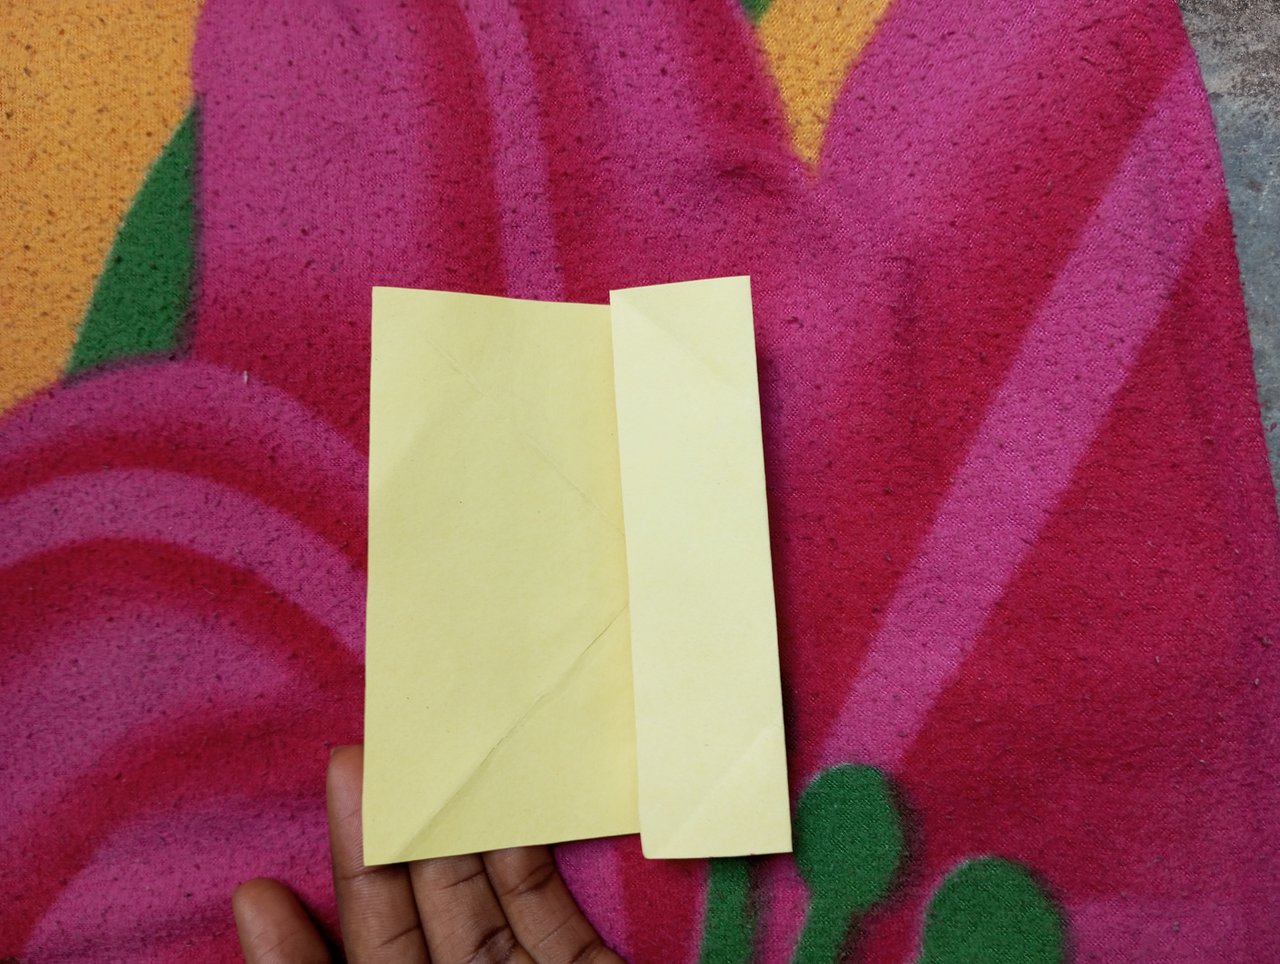 Picture 7 Picture 7 |
|---|
- This is where all the lines you made while folding and opening makes it easier to form the required triangle.
So you open it up for the last time the turn it to the front and bring the sides together to form a small triangle as demonstrated below;
 Picture 8
 Picture 9 Picture 9 | 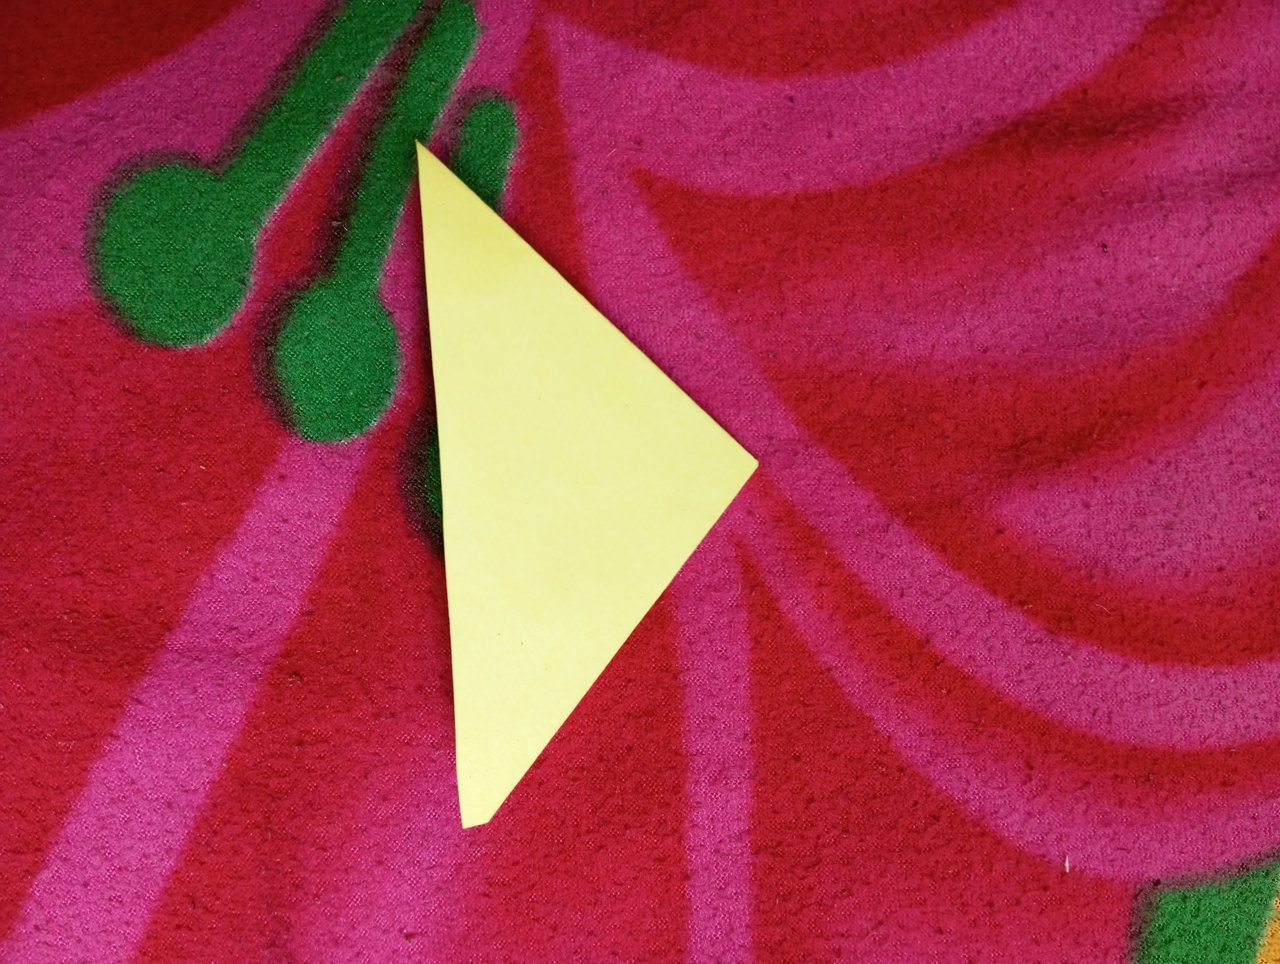 Picture 10 Picture 10 |
|---|
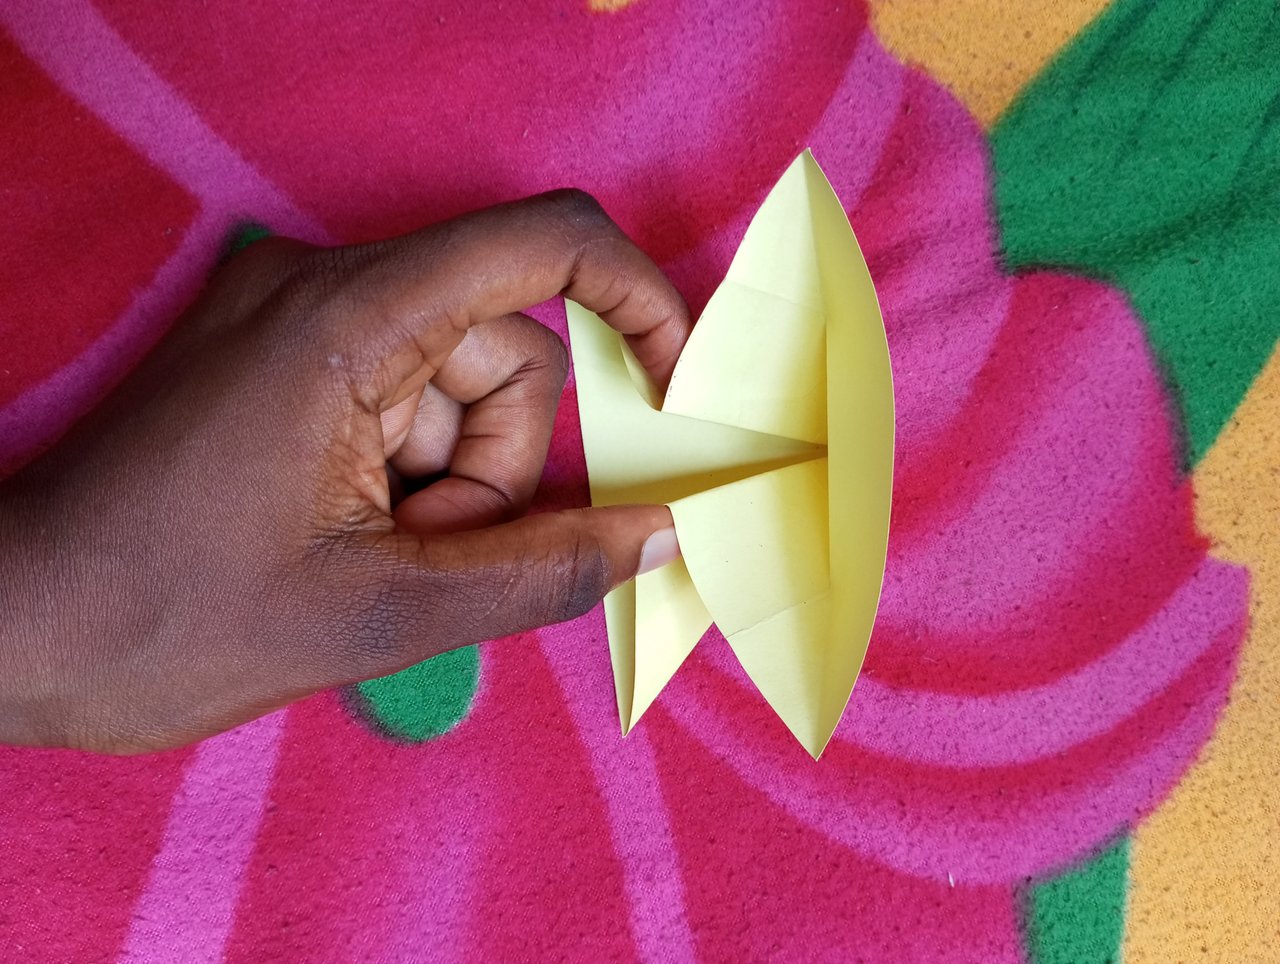
- Next, you open one side of the triangle and fold it in to form another triangle as seen below;
 Picture 11
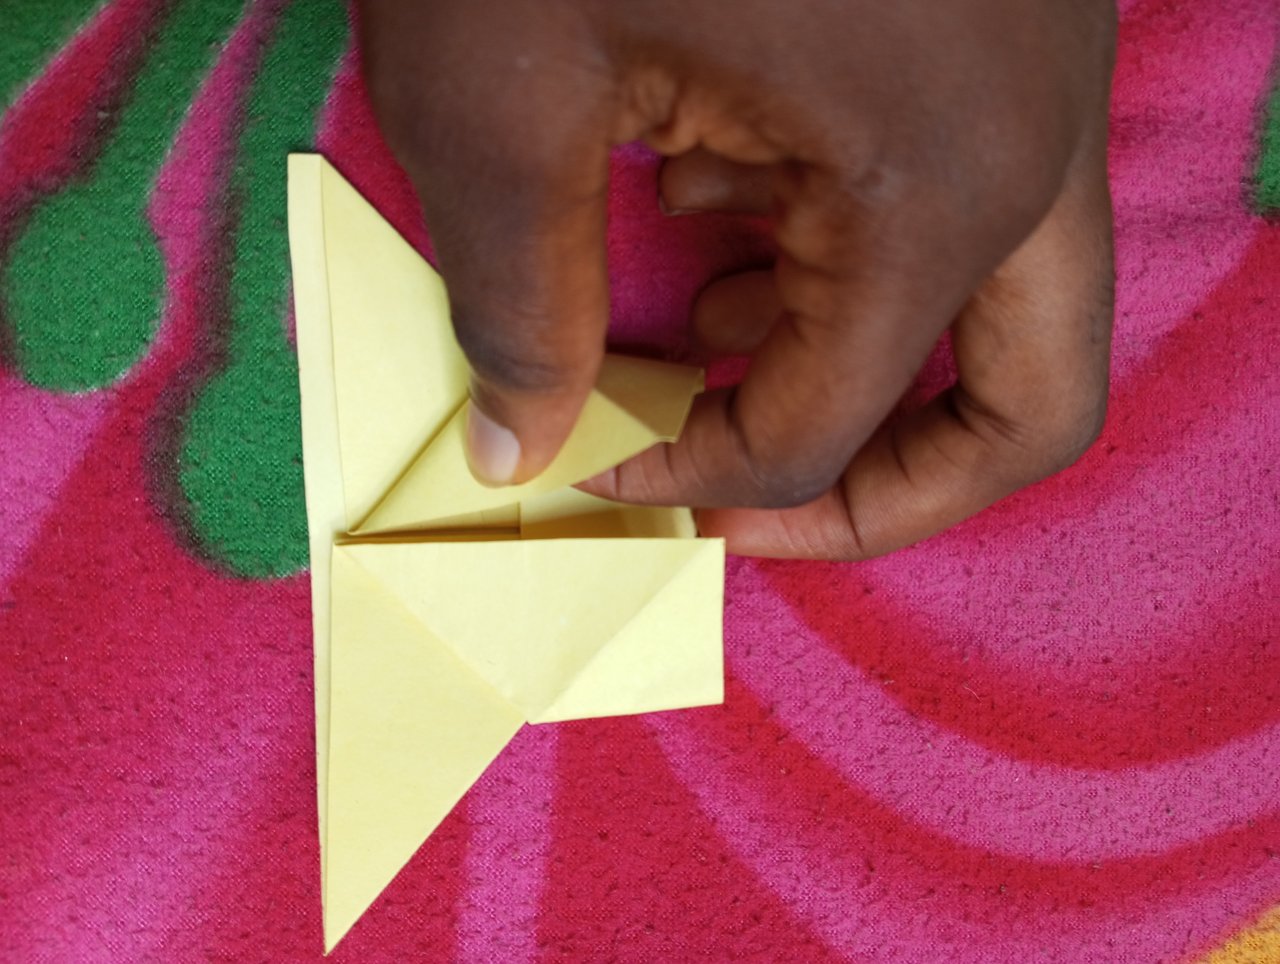 Picture 12 Picture 12 | 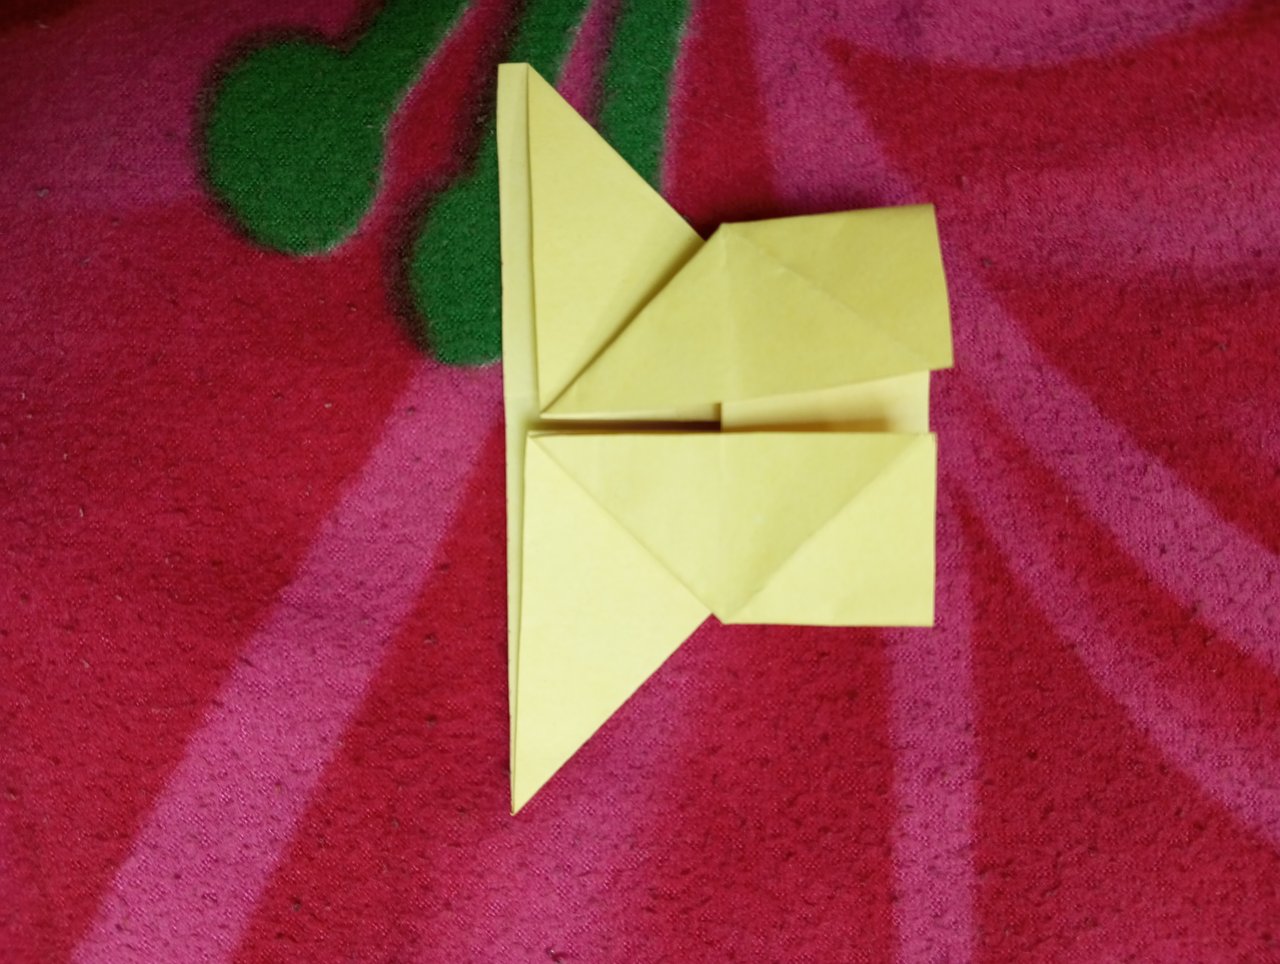 Picture 13 Picture 13 |
|---|
- Next you bring down the side you earlier opened, the side I'm holding onto from the picture 14 below.
You bring it down to get picture 15.
 Picture 14 Picture 14 | 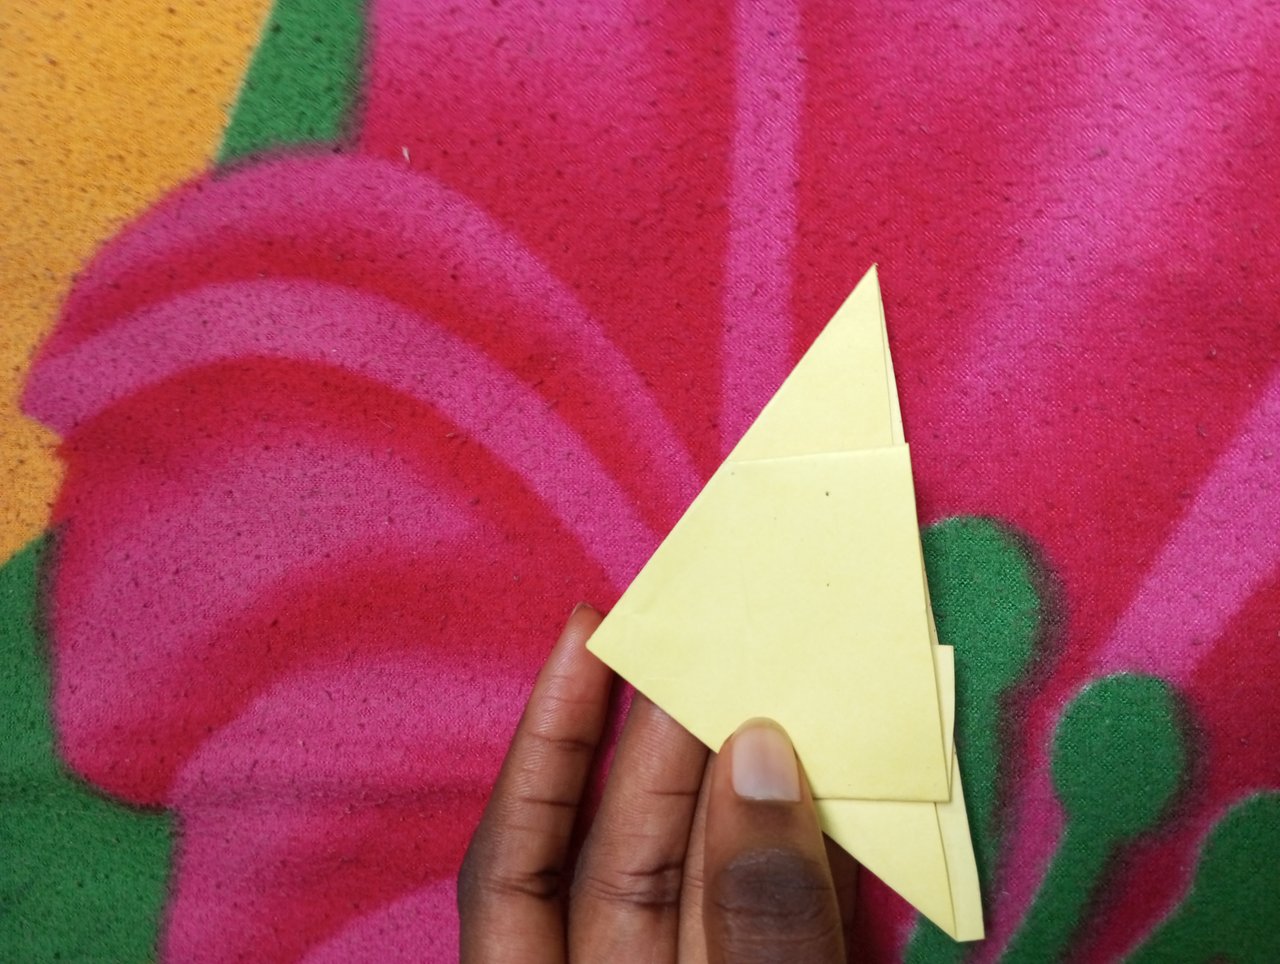 Picture 15 Picture 15 |
|---|
- Now you bend the part you just brought down into two as seen below;
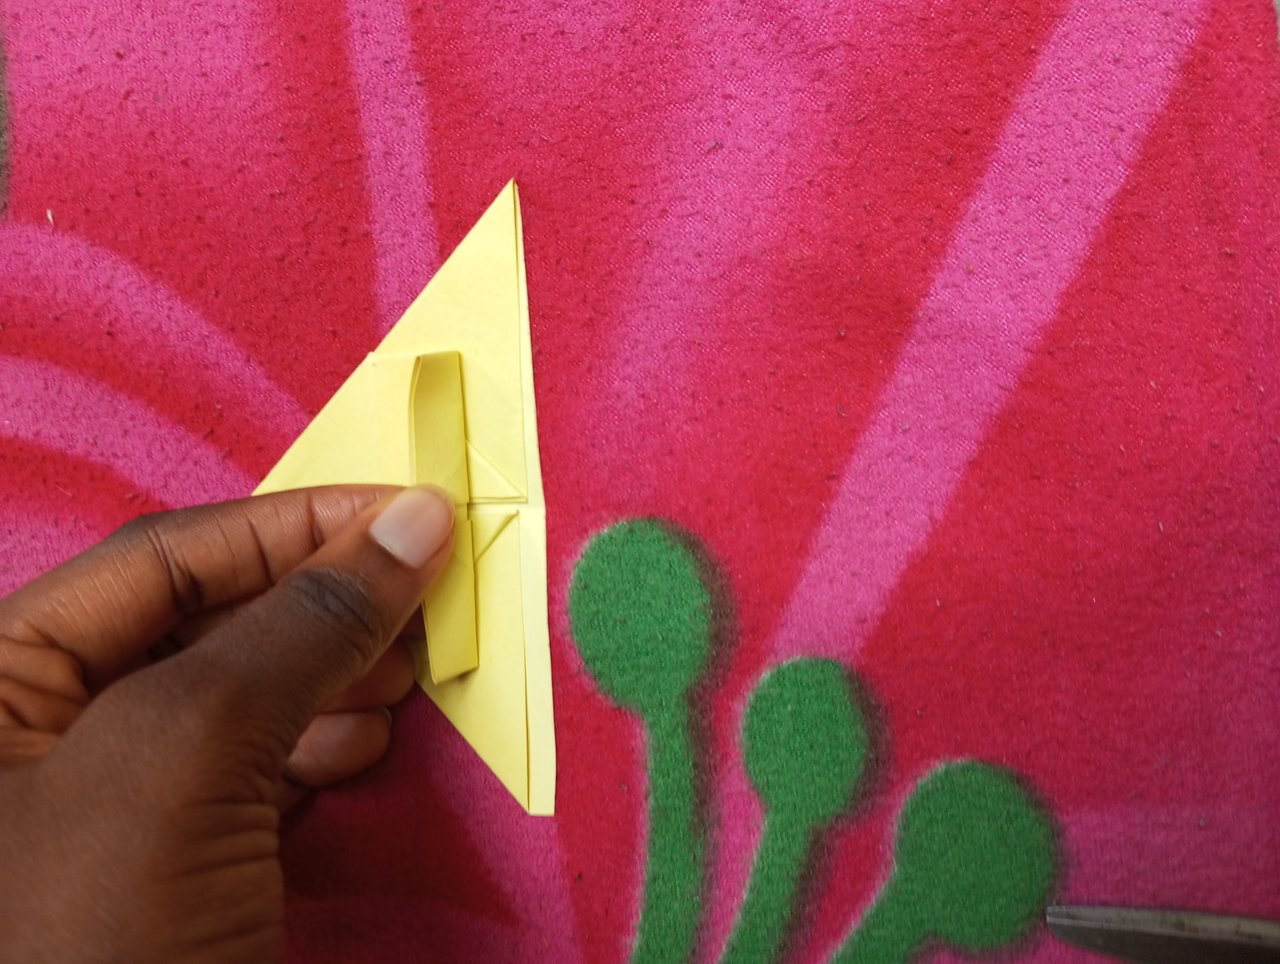 Picture 16 Picture 16 | 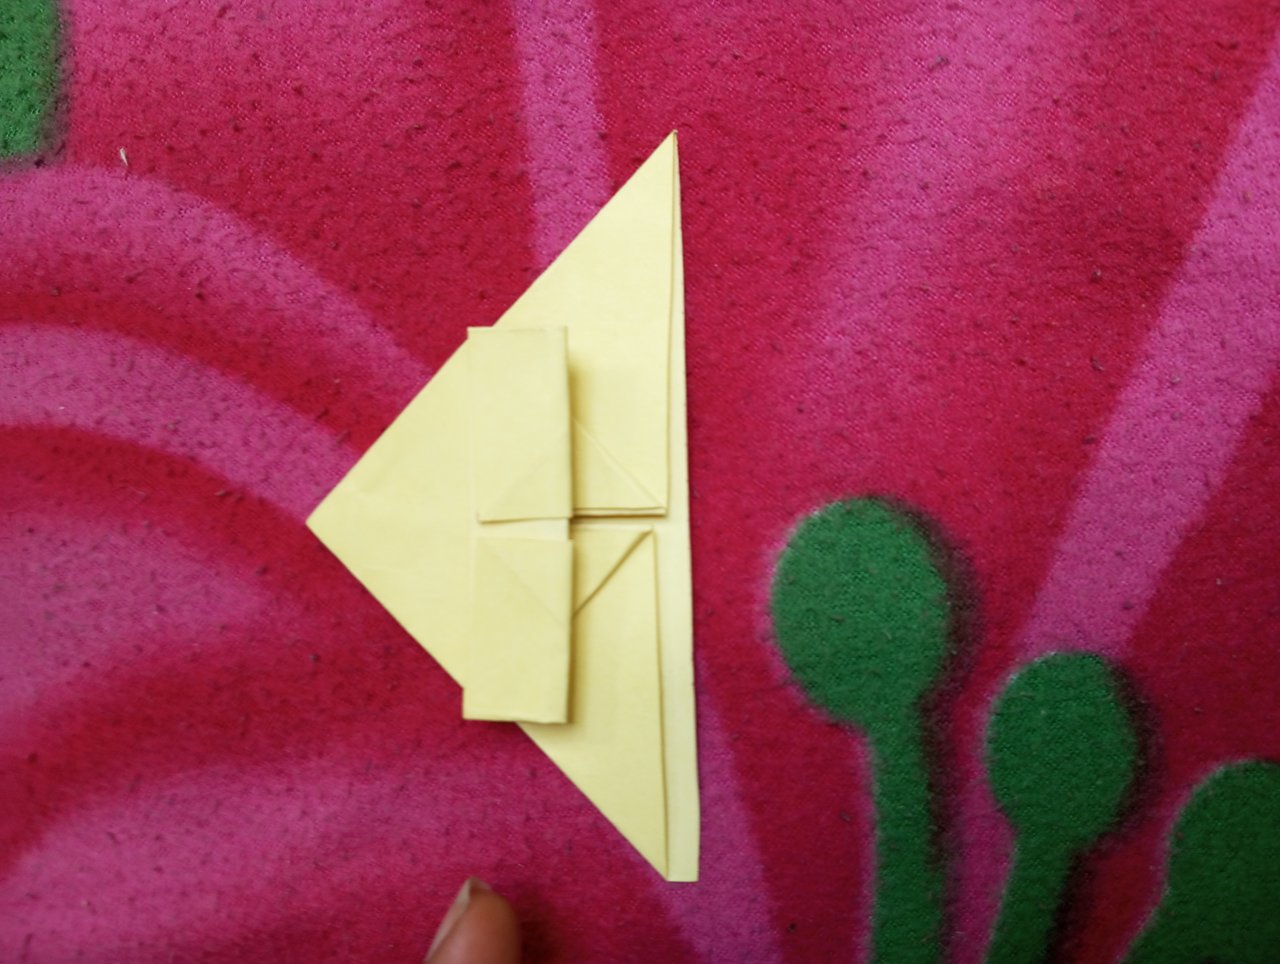 Picture 17 Picture 17 |
|---|
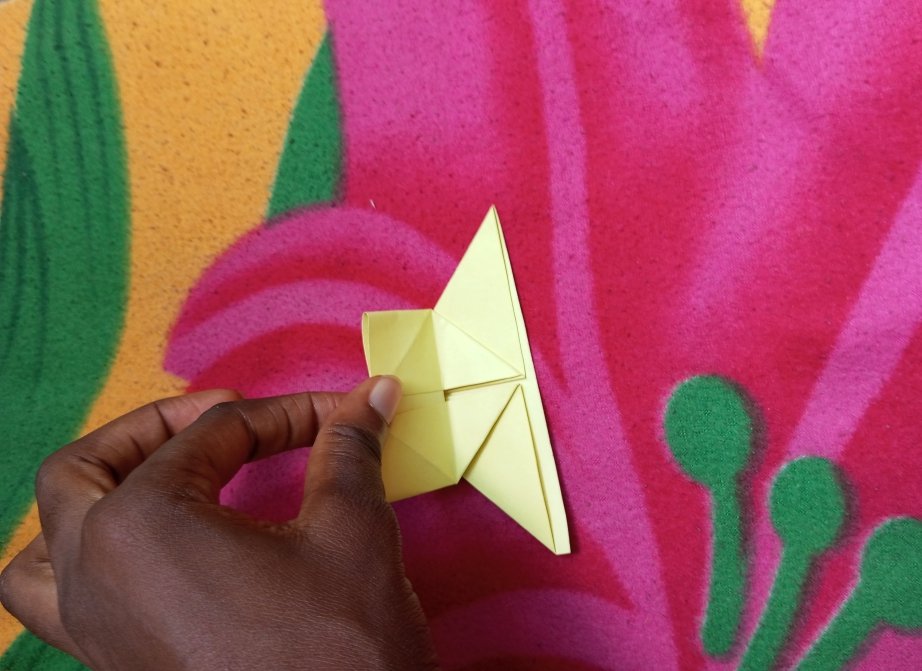
- After bending it into two, you then open the sides of the bended part to form a little triangle as demonstrated below;
 Picture 18
 Picture 19 Picture 19 | 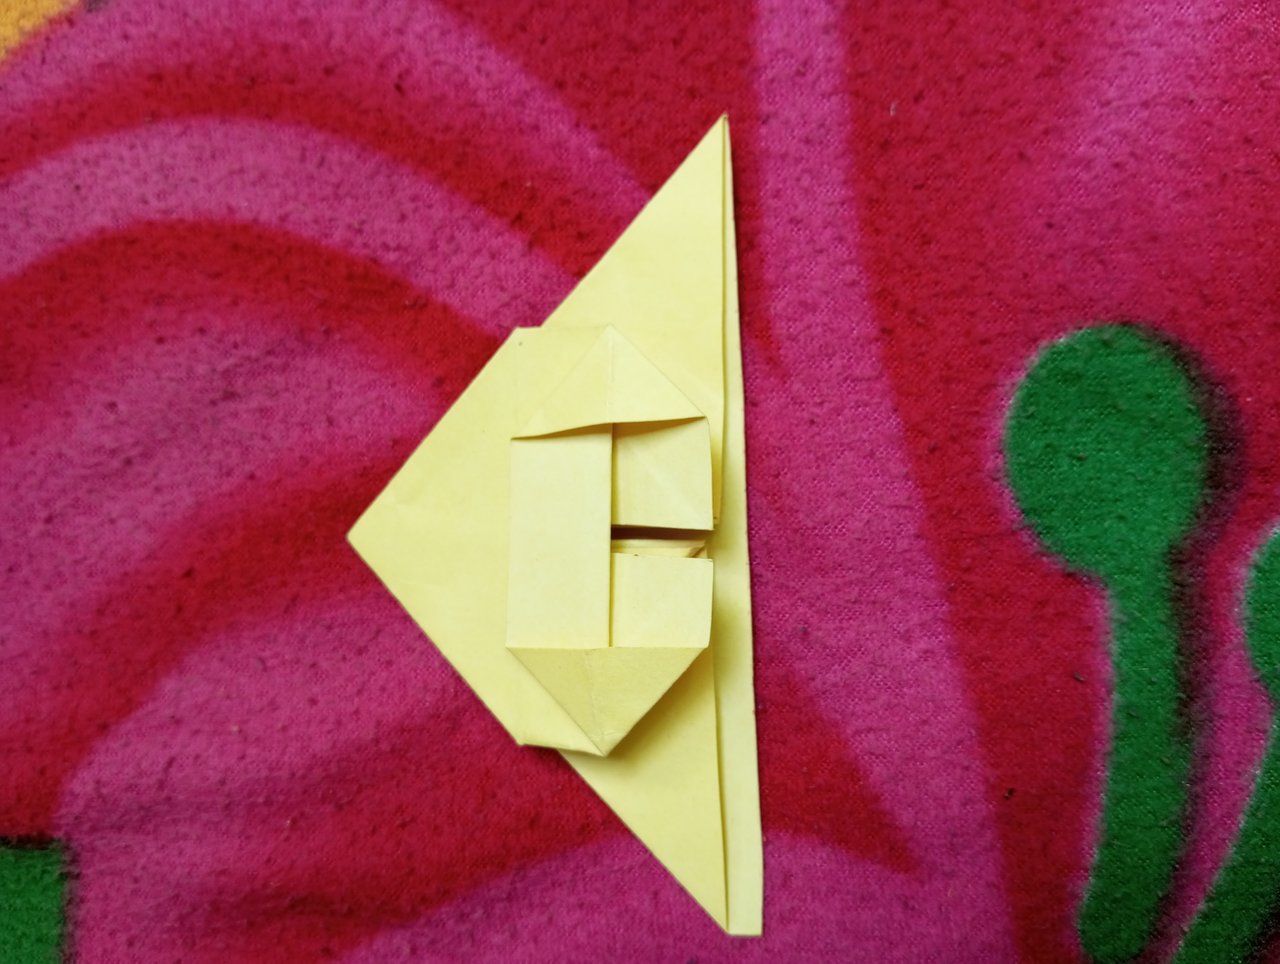 Picture 20 Picture 20 |
|---|
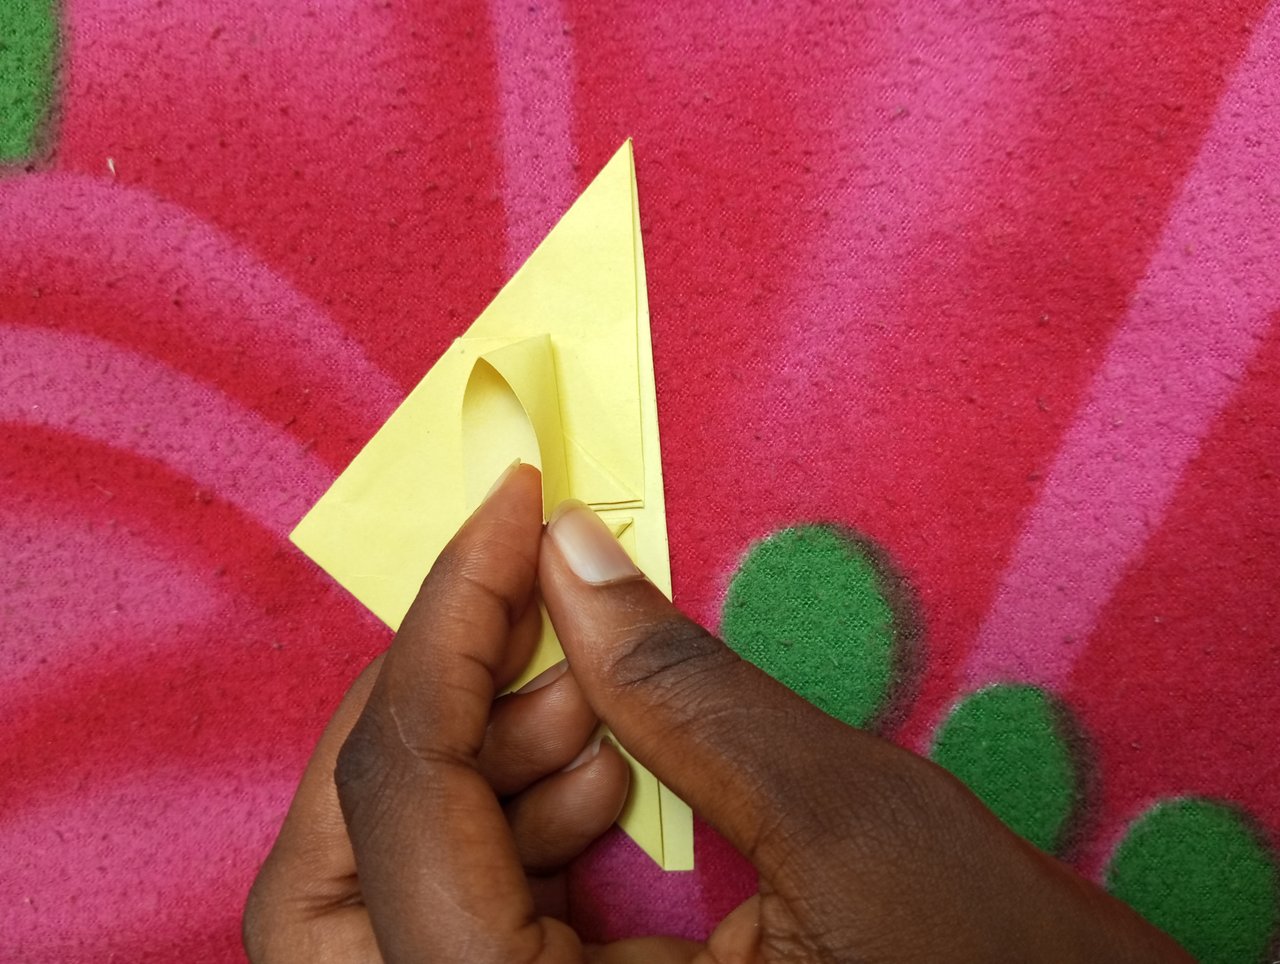
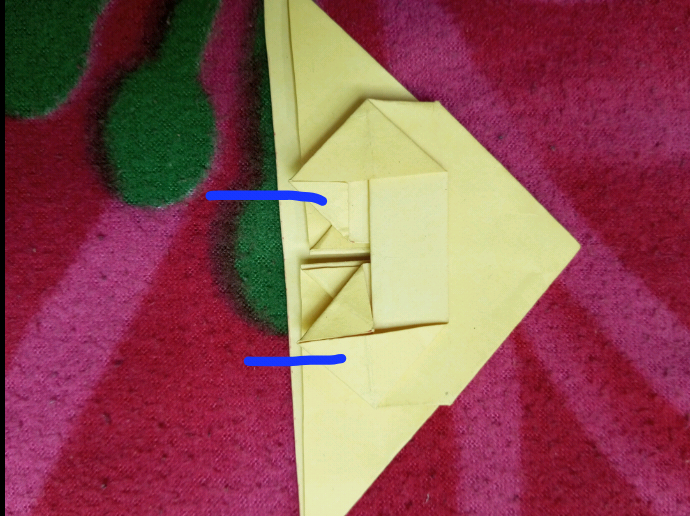
- When this is done, you proceed to fold in the sides of that two little triangle as shown and seen below;
 Picture 21
 Picture 22 Picture 22 | 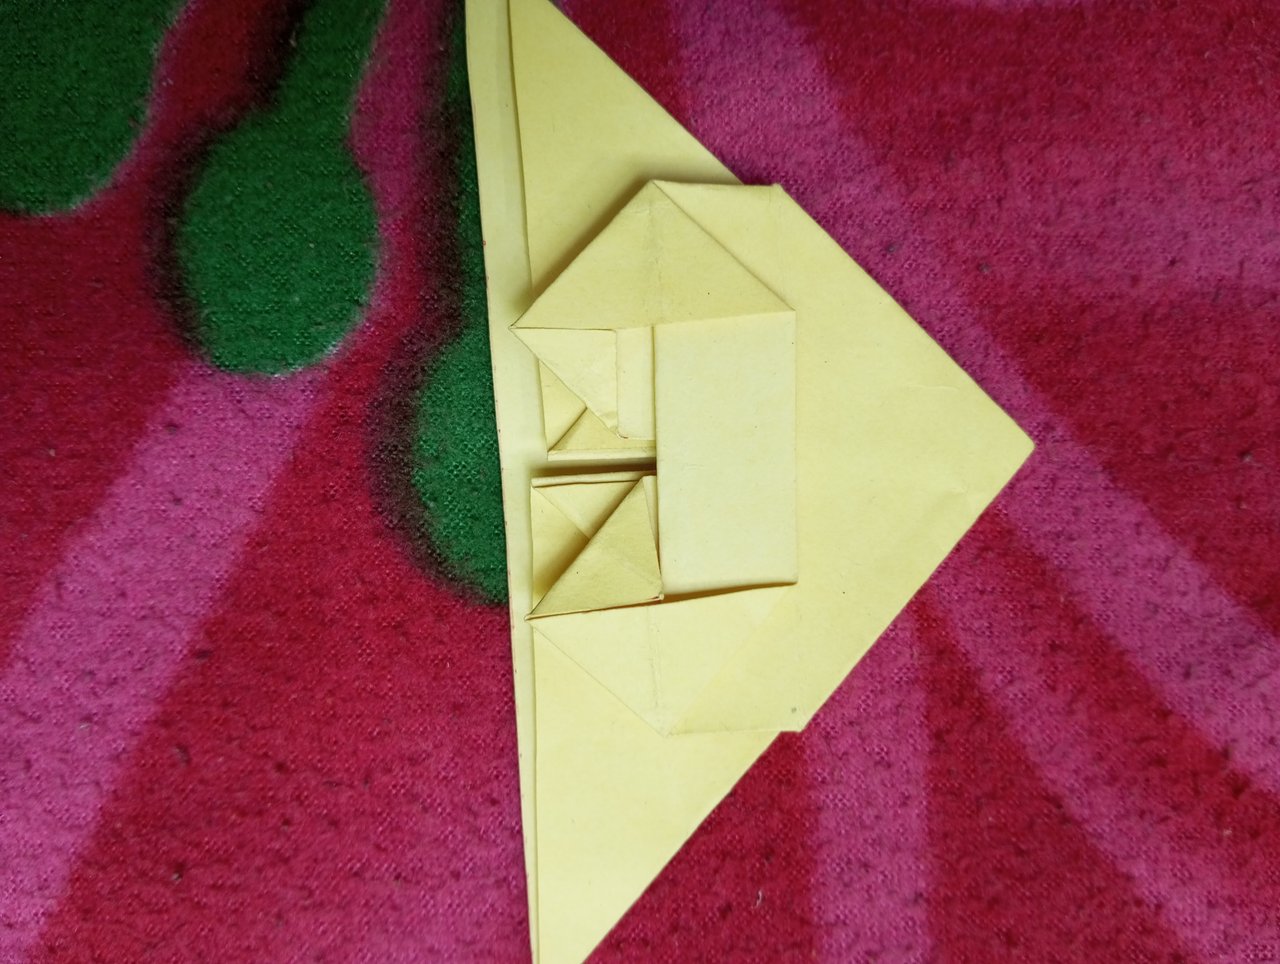 Picture 23 Picture 23 |
|---|
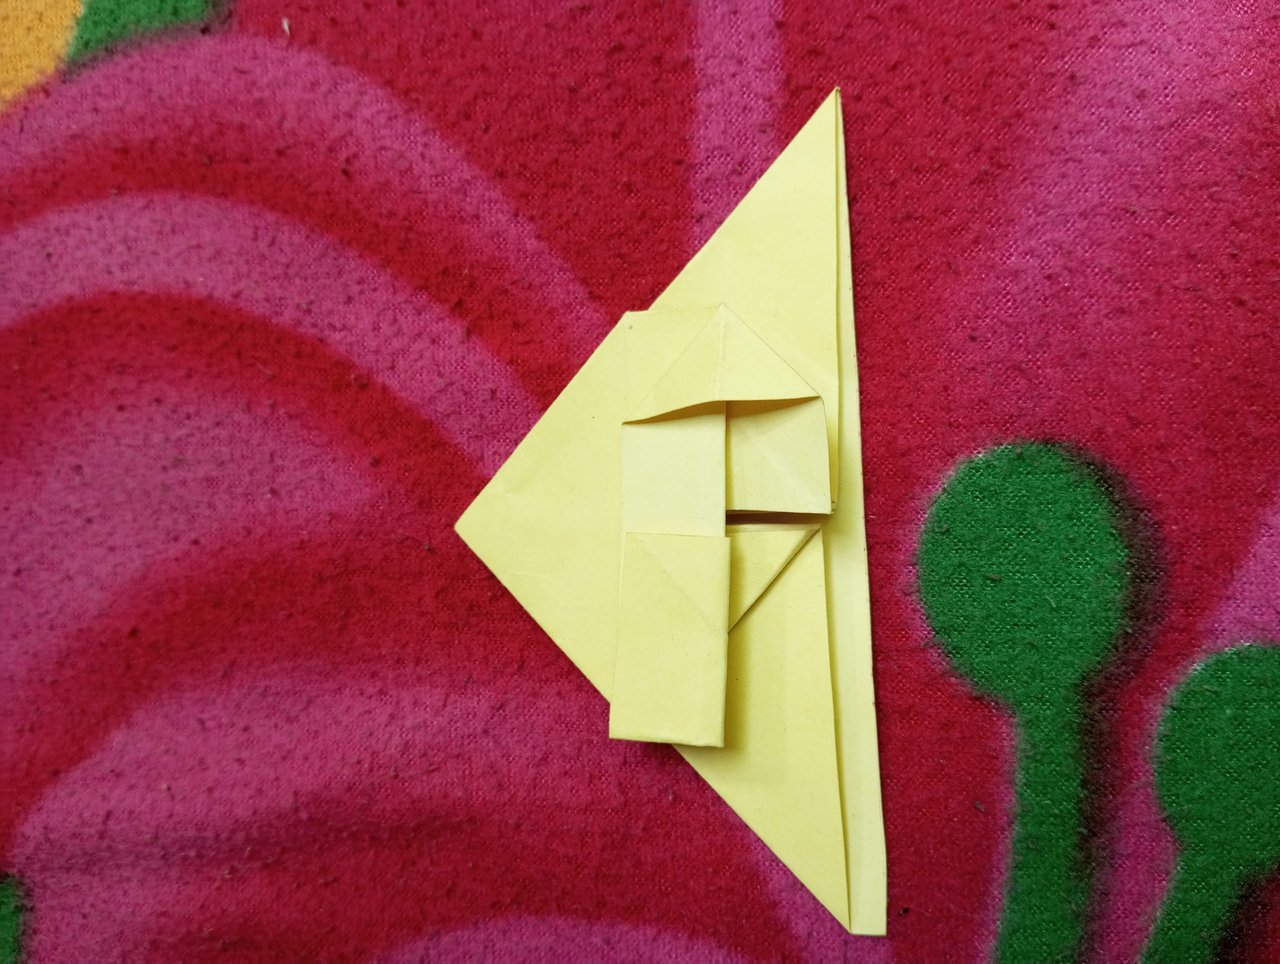
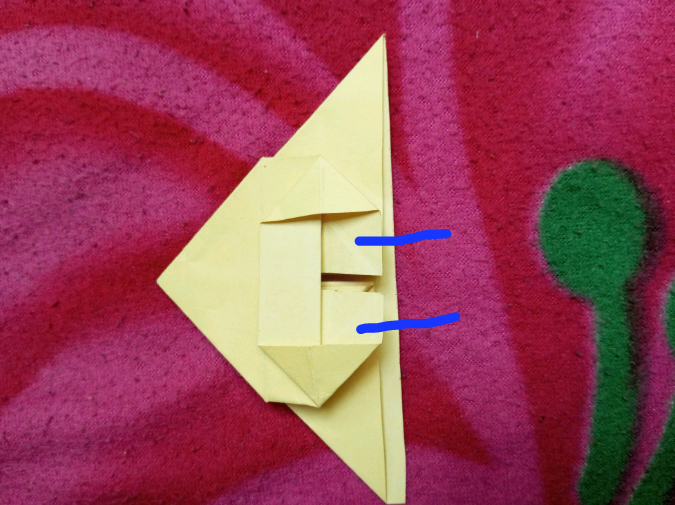
- Next, you bend in the marked area from picture 24 to get picture 26.
 Picture 24
 Picture 25 Picture 25 | 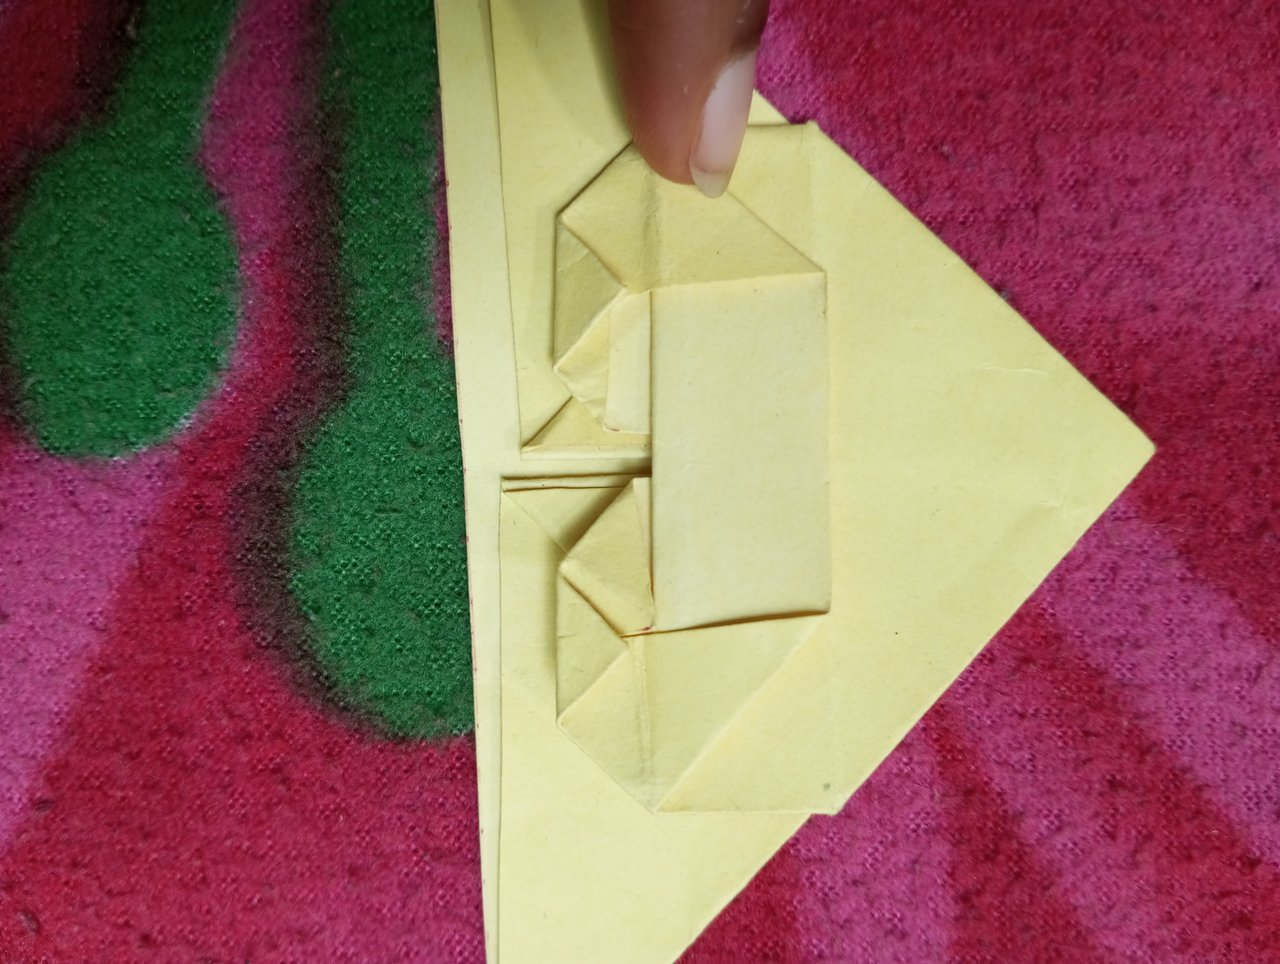 Picture 26 Picture 26 |
|---|
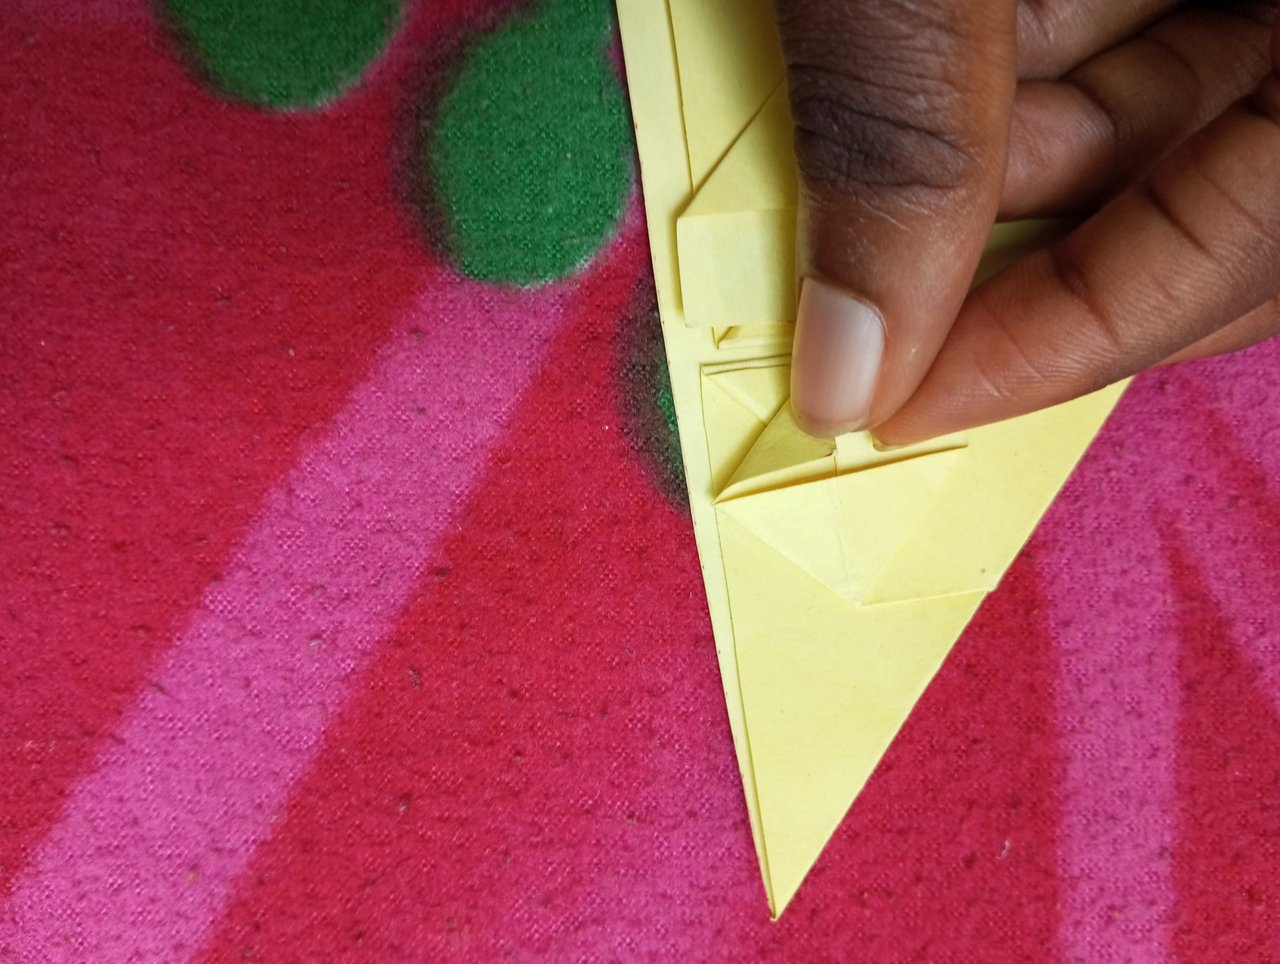
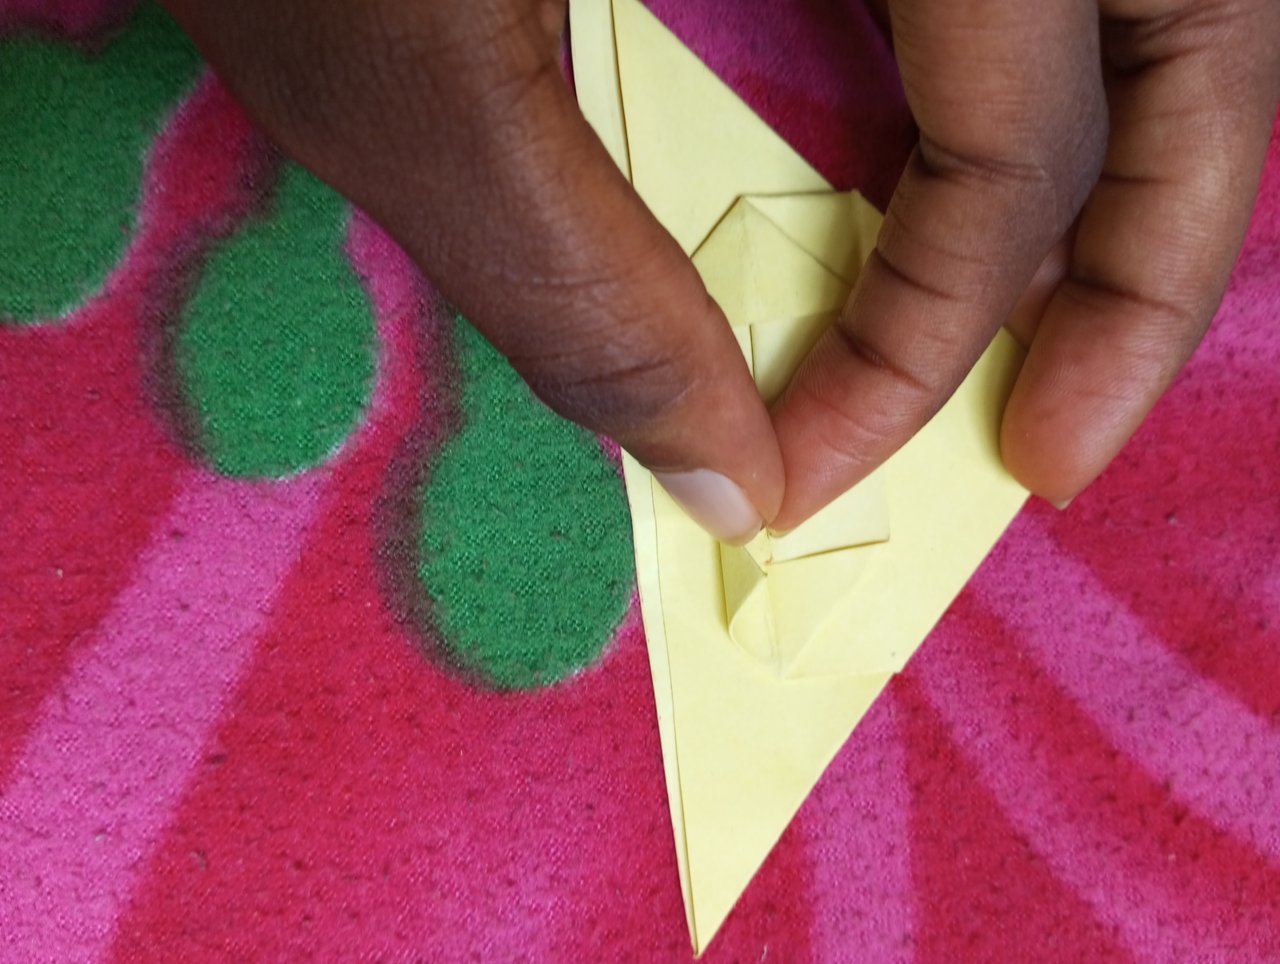
- Now you raise that folded side of the triangle up and thereeeeee, we have our origami heart corner bookmark.
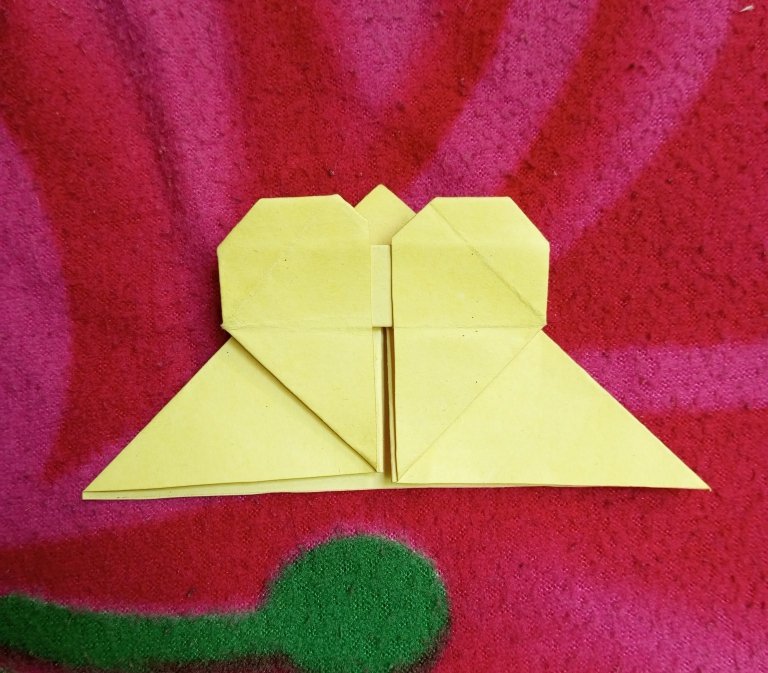 Picture 27
- To make it flat enough, you add glue in-between the folded are as seen below.
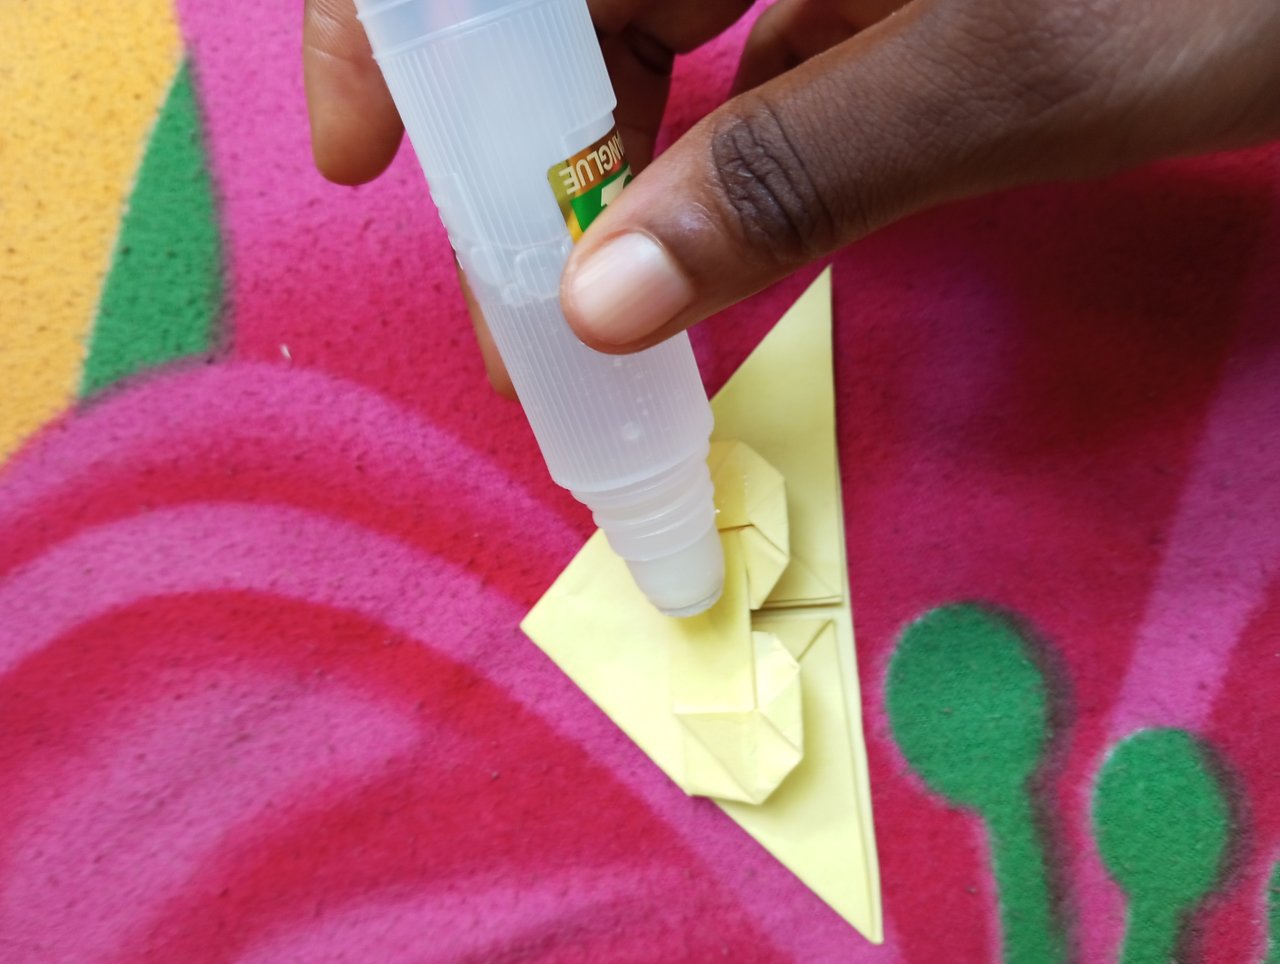 Picture 28 Picture 28 | 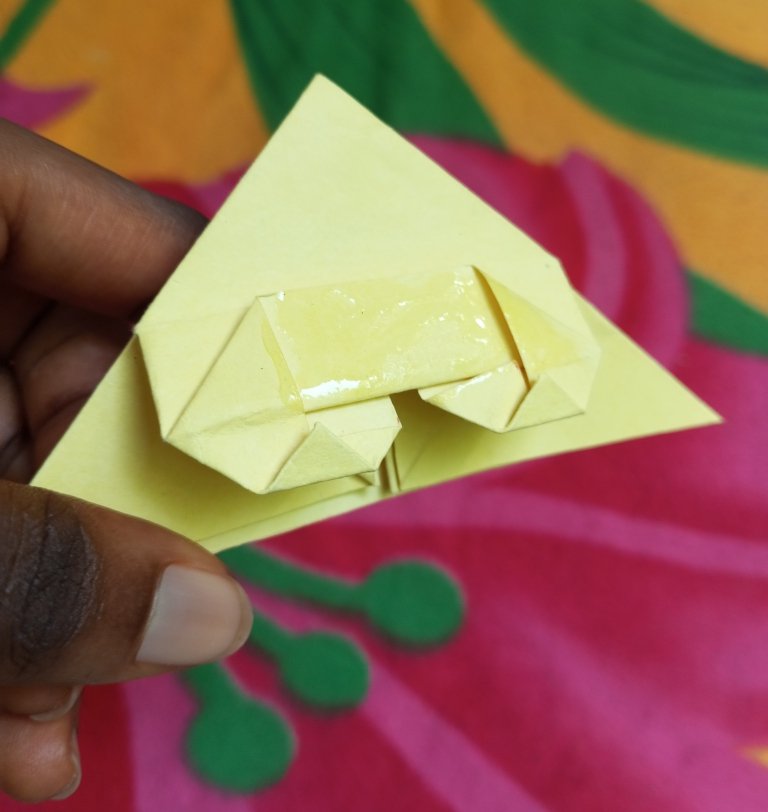 Picture 29 Picture 29 |
|---|
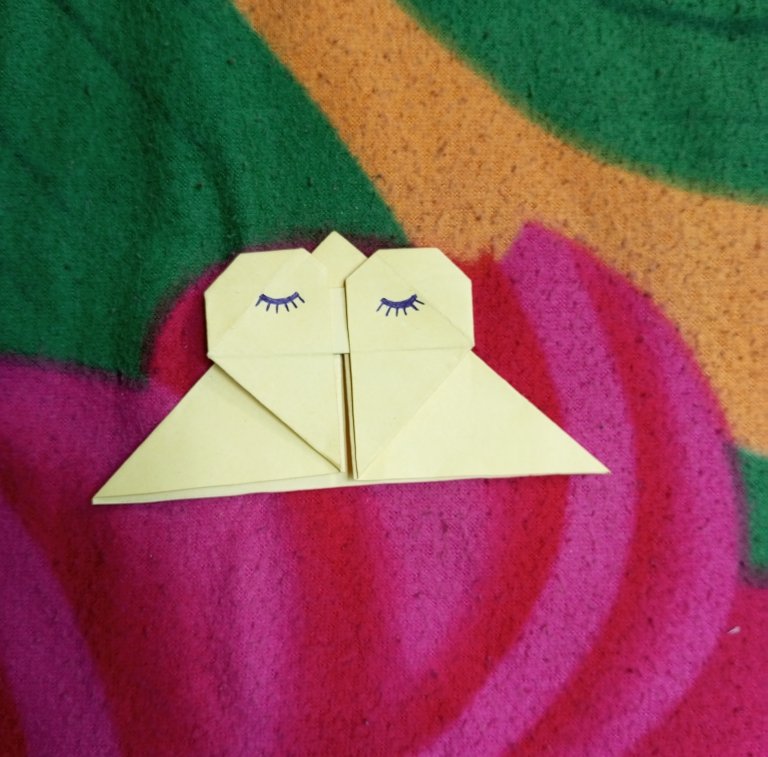
- Now our bookmark is flat and perfect.
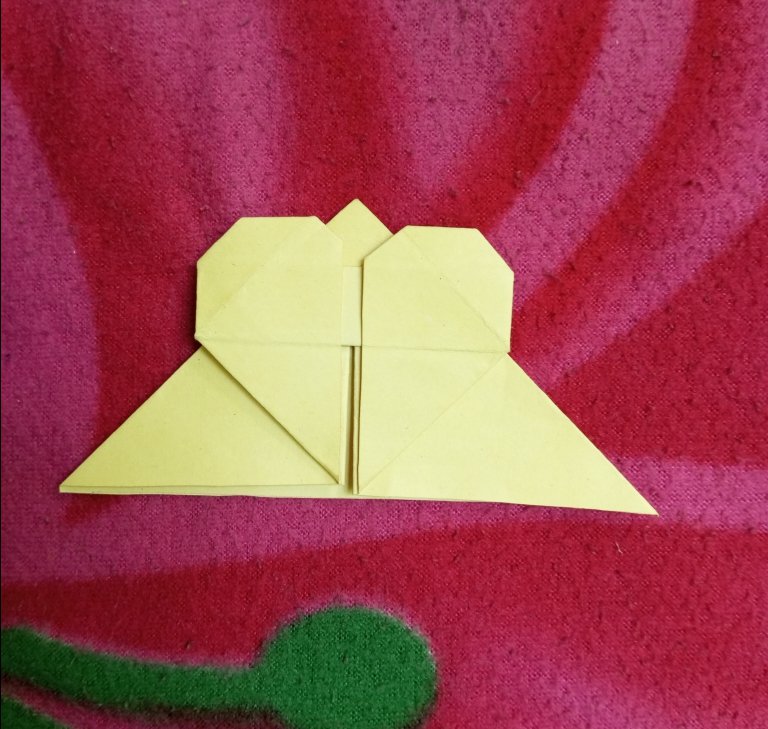 Picture 30
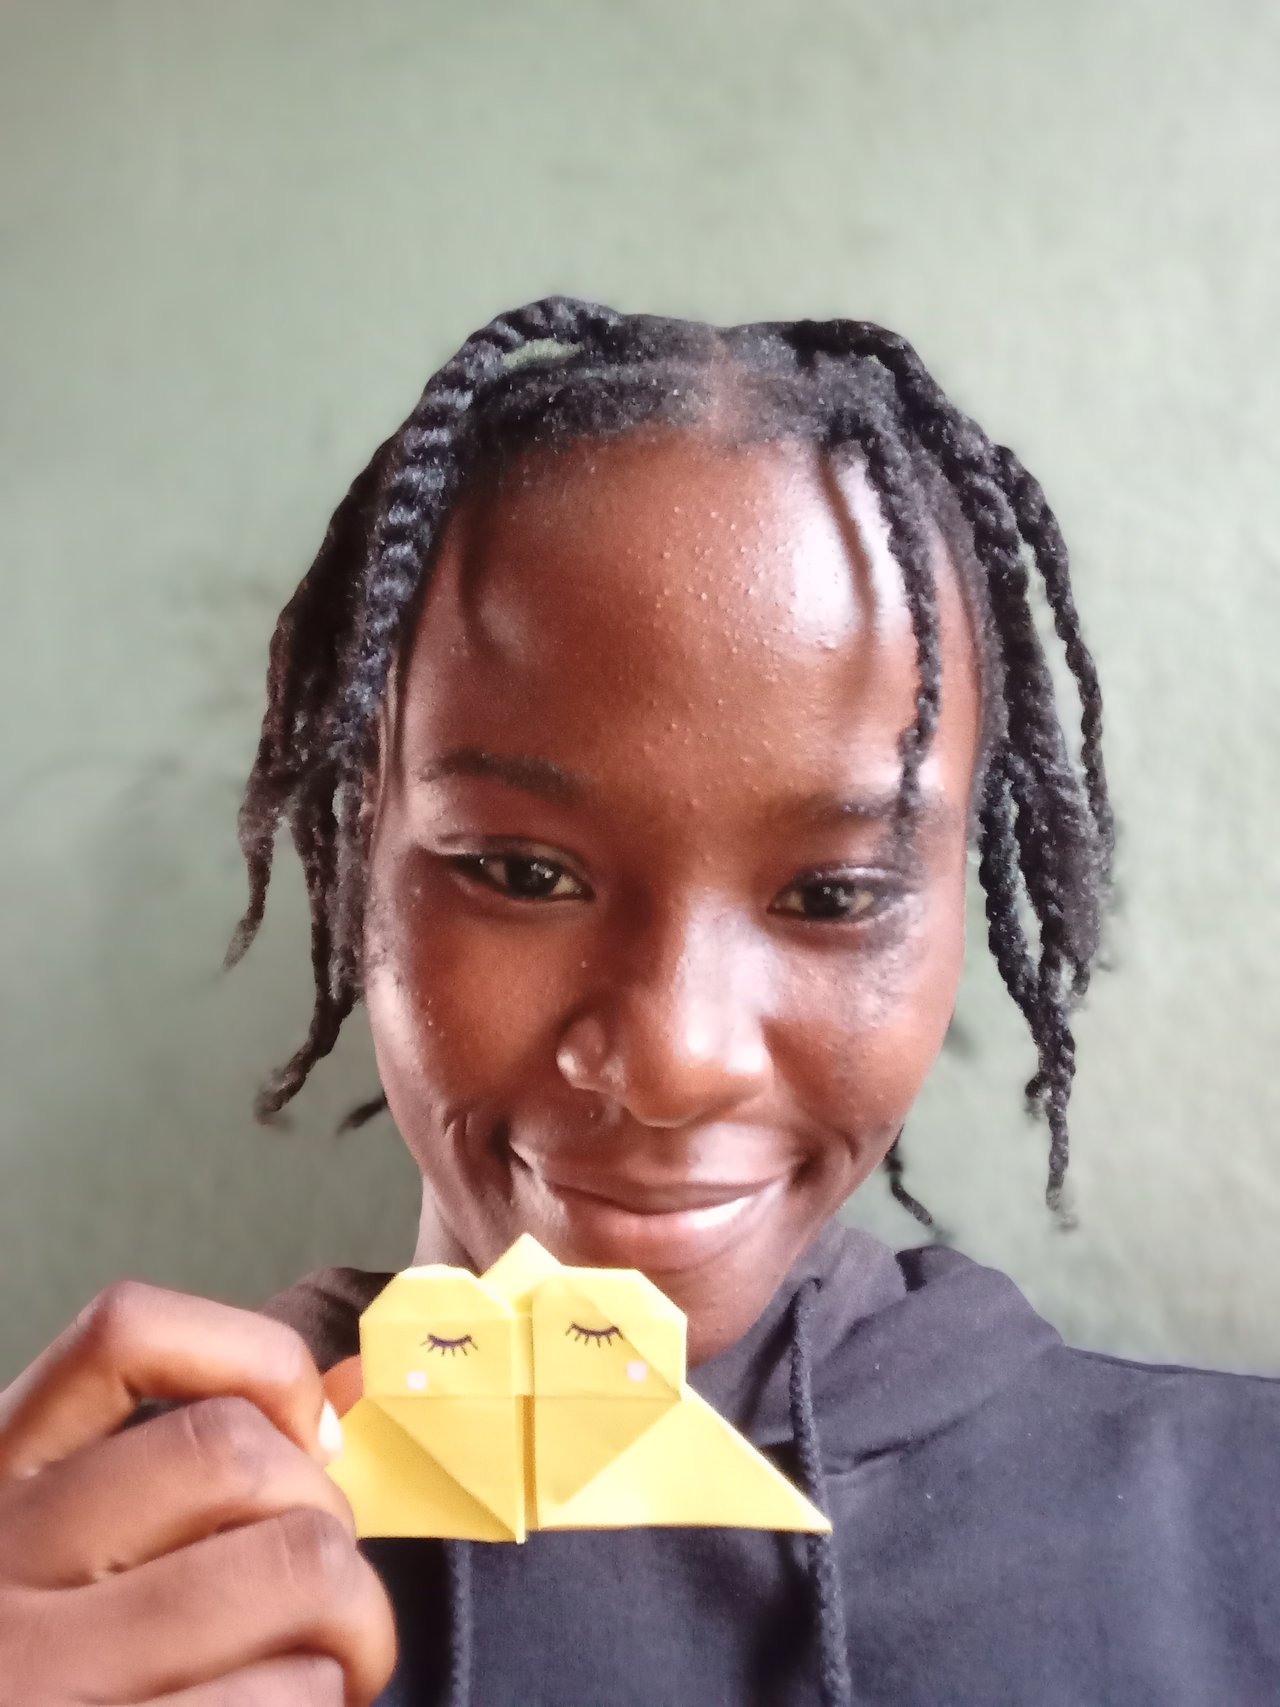
- You can now decorative a little to make it beautiful.
 Picture 31 Picture 31 | 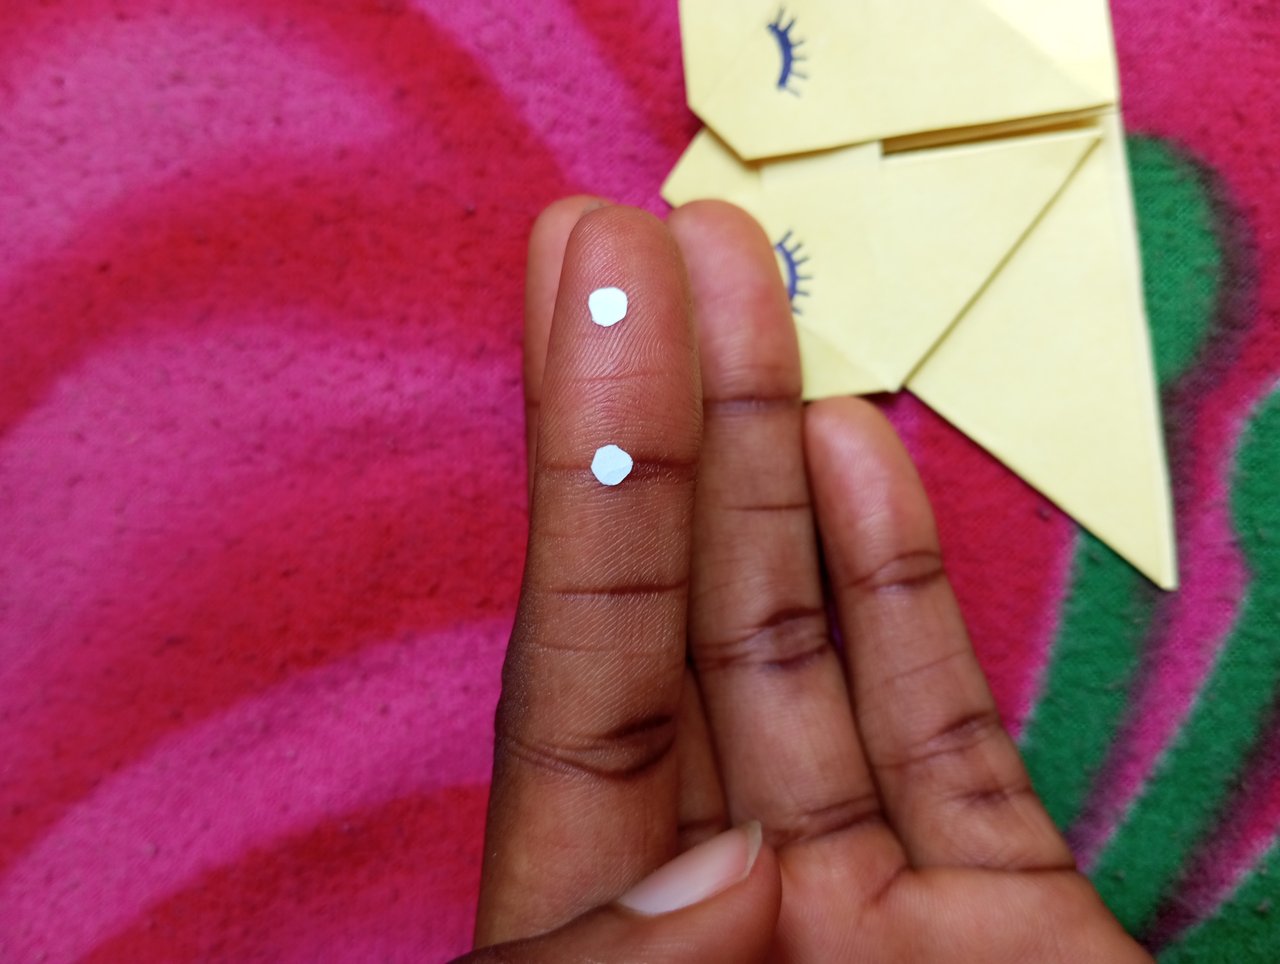 Picture 32 Picture 32 |
|---|
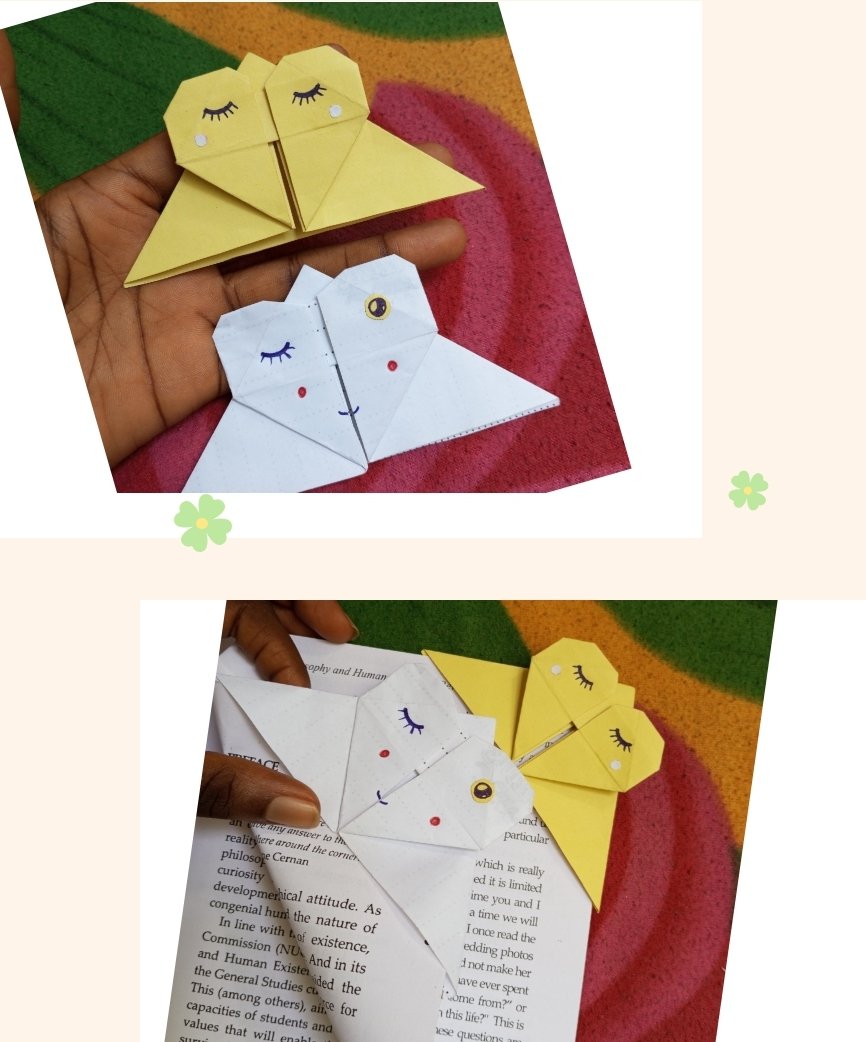
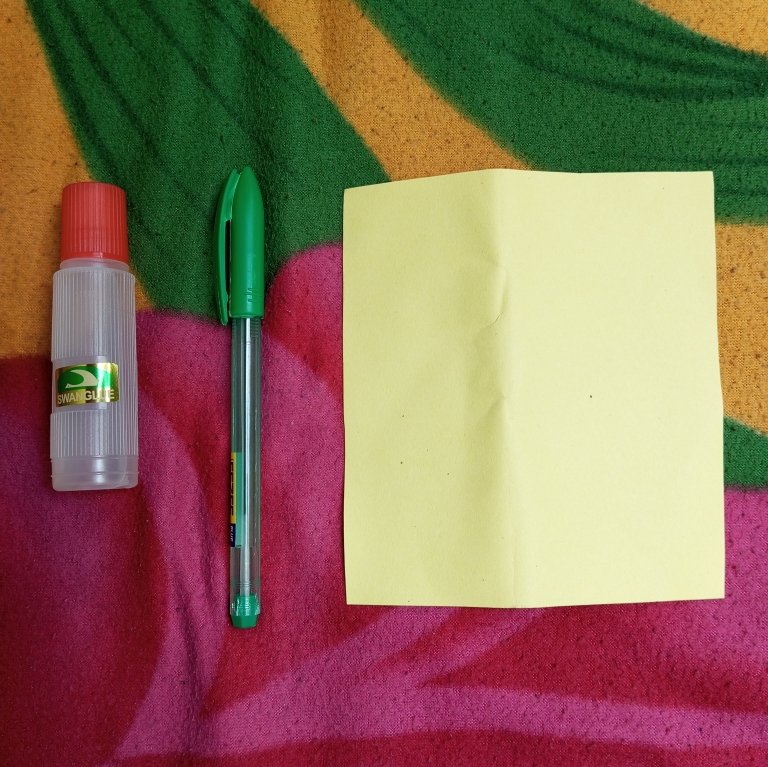
- Here is our perfect bookmark..
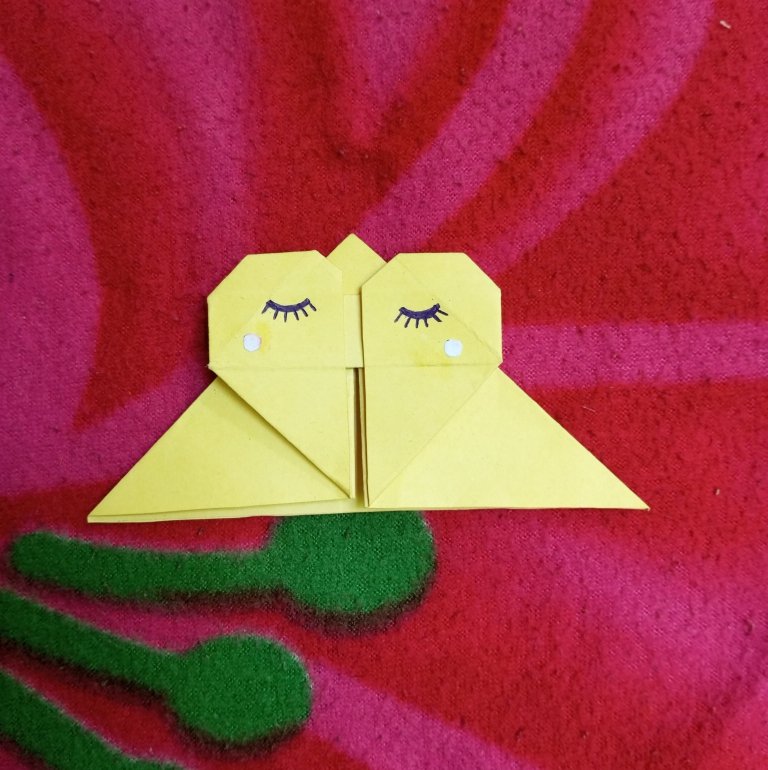 Picture 33 Picture 33 | 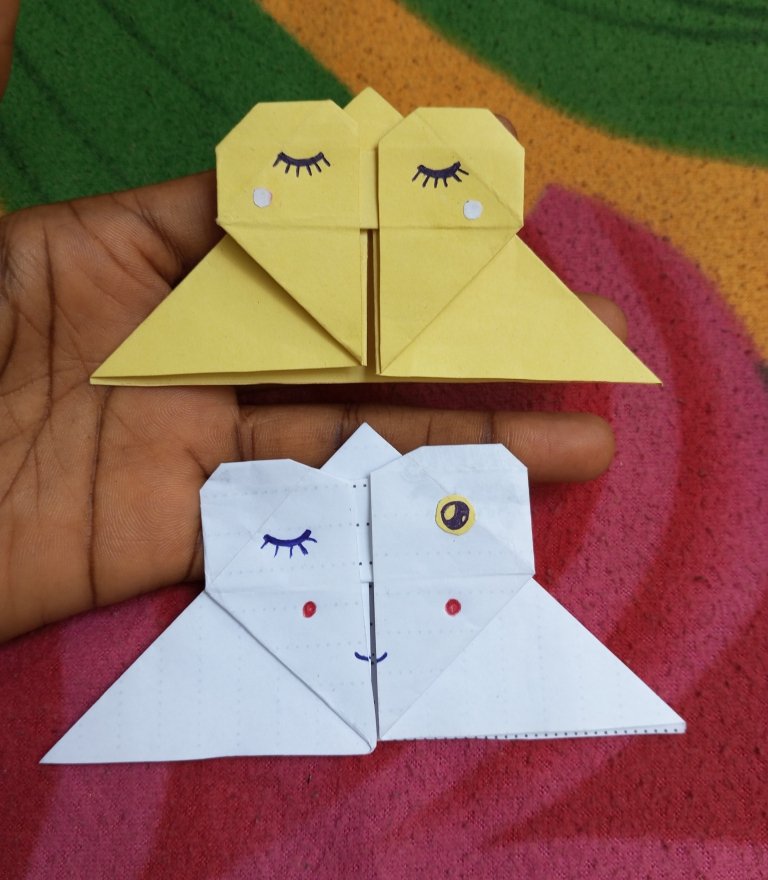 Picture 34 Picture 34 |
|---|
 Picture 35 Picture 35 | 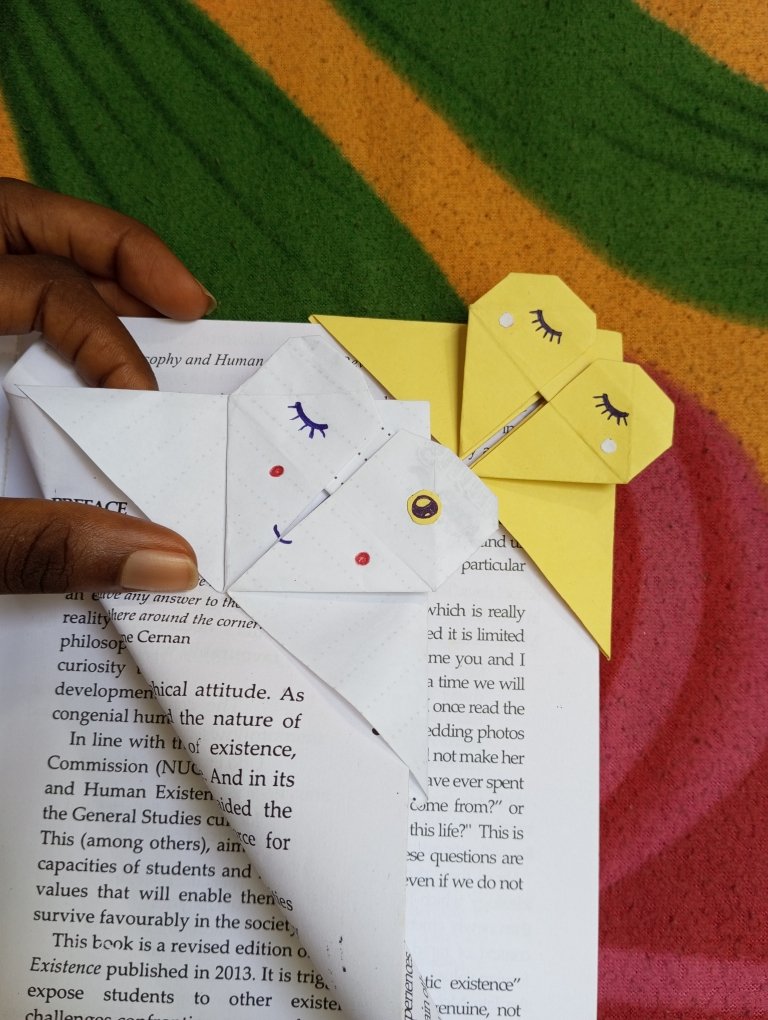 Picture 36 Picture 36 |
|---|
Bookmark Working 😊
 Picture 37 Picture 37 | 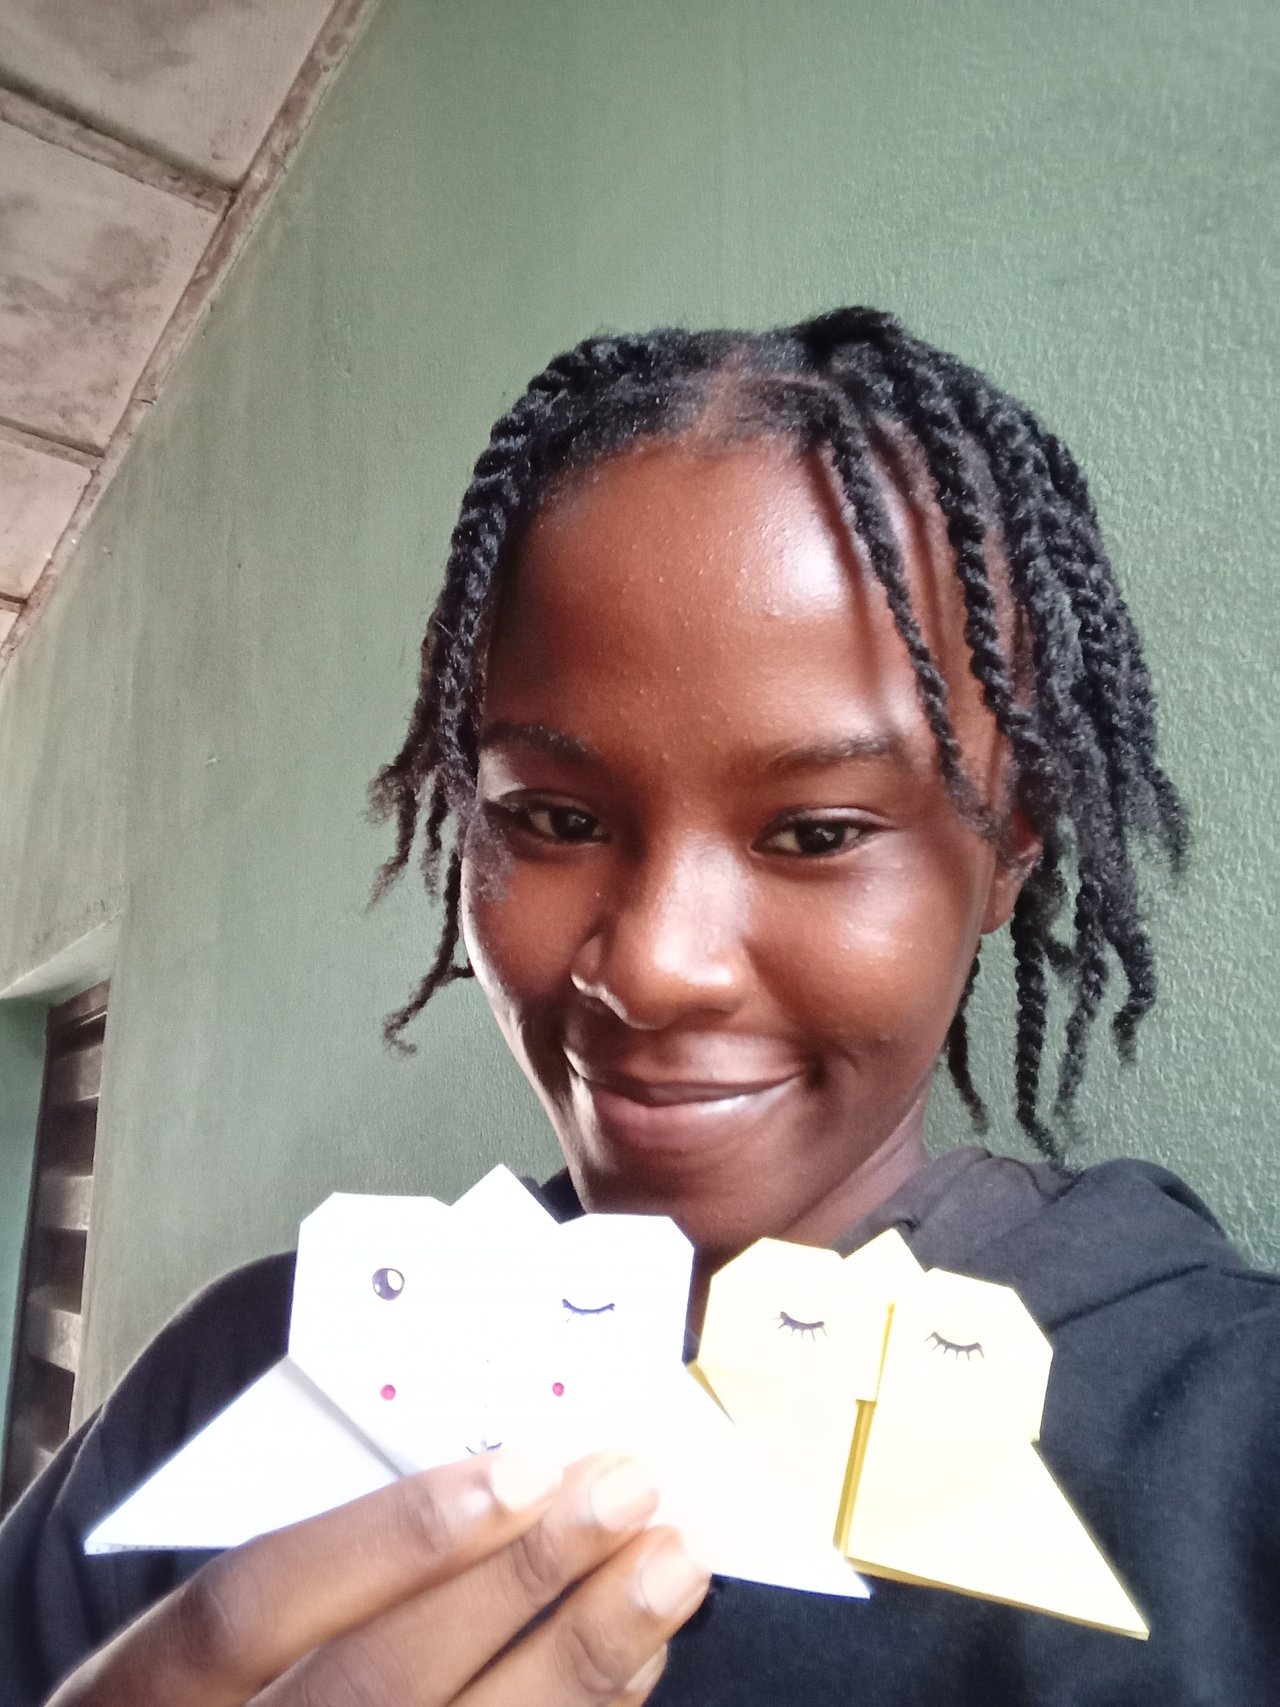 Picture 38 Picture 38 |
|---|
...and finally!😊
Thank you @ngoenyi for the contest idea, it's both creative and educative.
I'm inviting @ogechukwu-martha, @dar22, @eliany, @estem, and @yhudy to participate.
Thanks for reading my post.