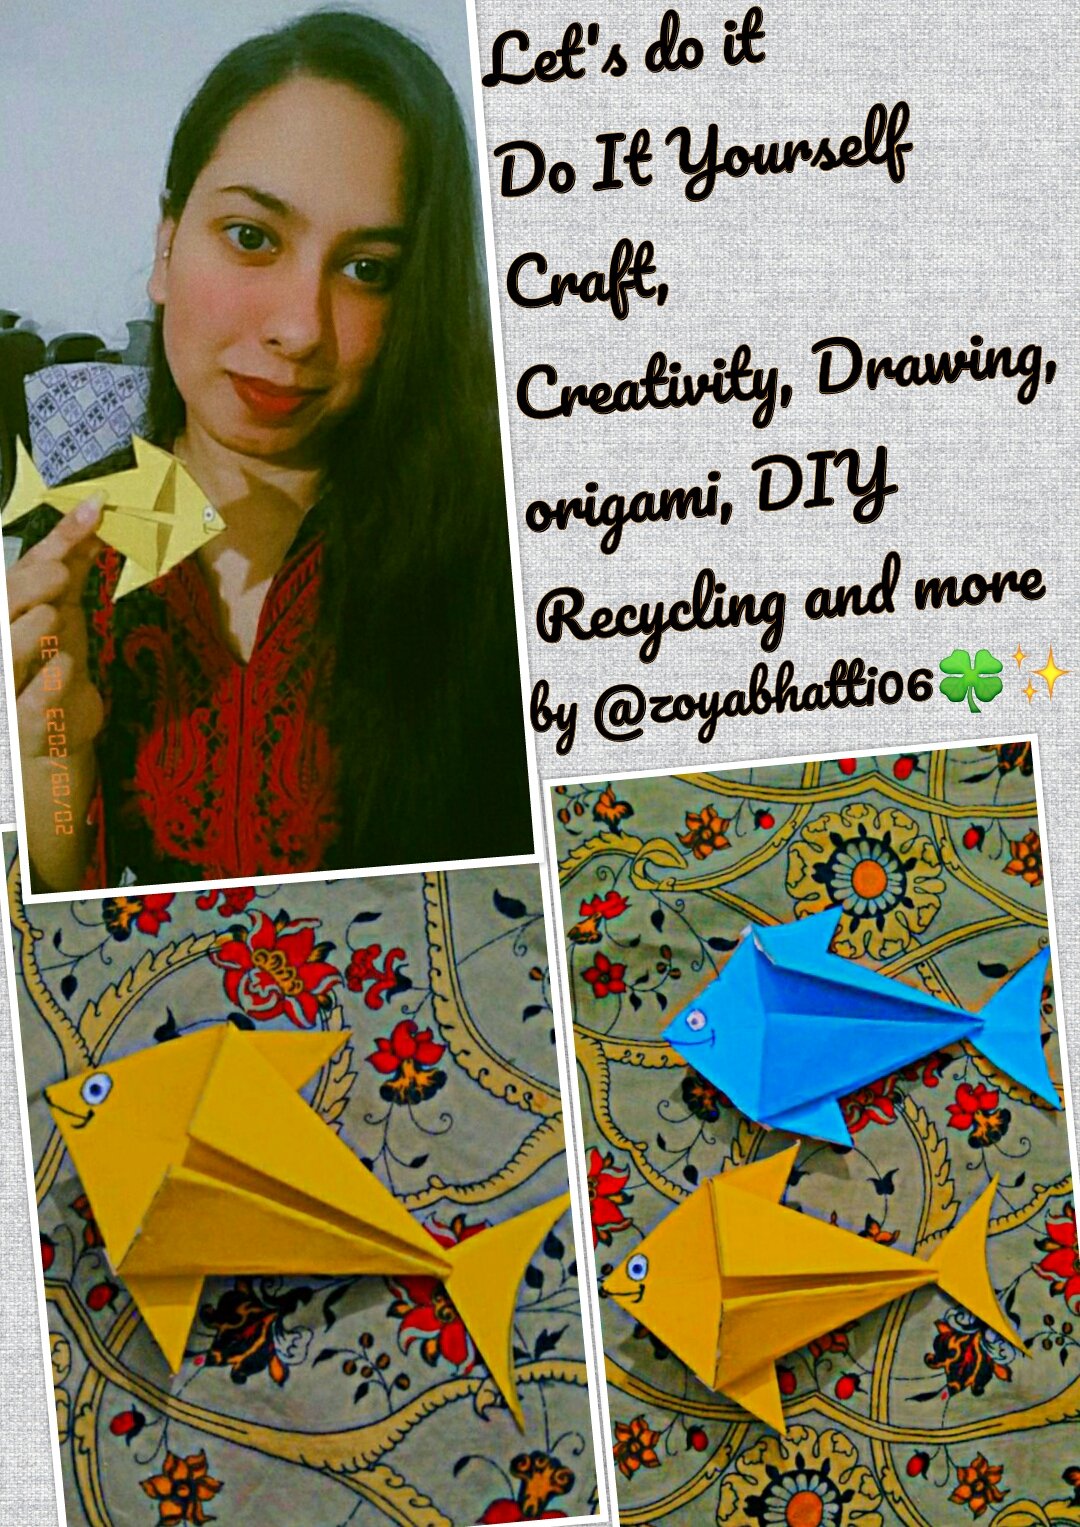
Hello Beautiful Ladies🙋
How's it going? I hope you are good.
I'm also very good.
Today i'm here to participate again in this creative and amazing contest ( Let's do it Do It Yourself Craft, Creativity, Drawing, origami, DIY, Recycling and more) organized by @ngoenyi you always gives us interesting contest and i love doing it❤
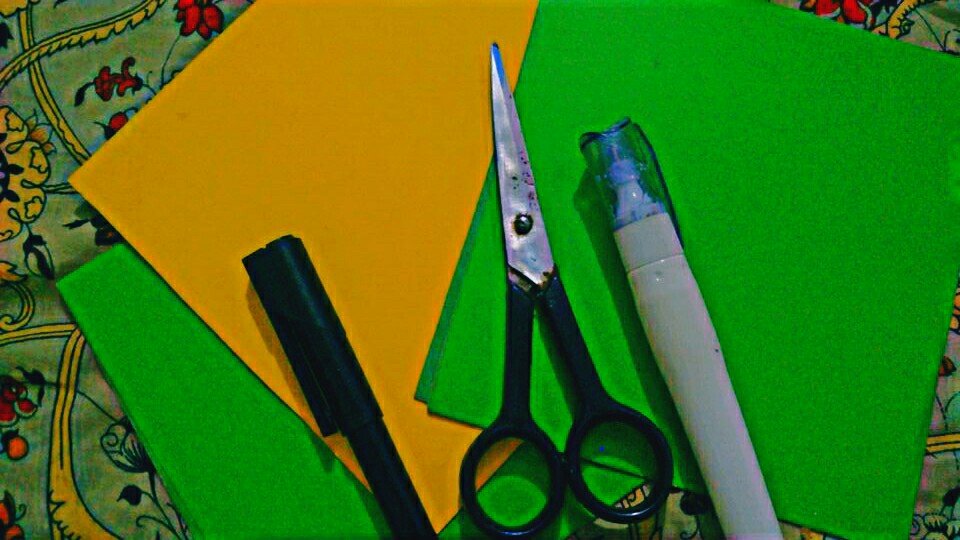
The materials we required
| Colourful Chart papers | Scissor |
| Black pointer | White marker |
| Gum stick |
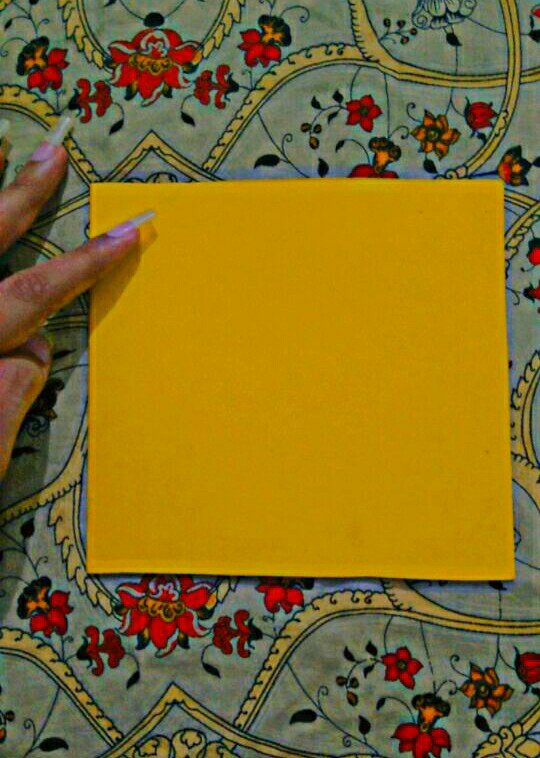
Step 1
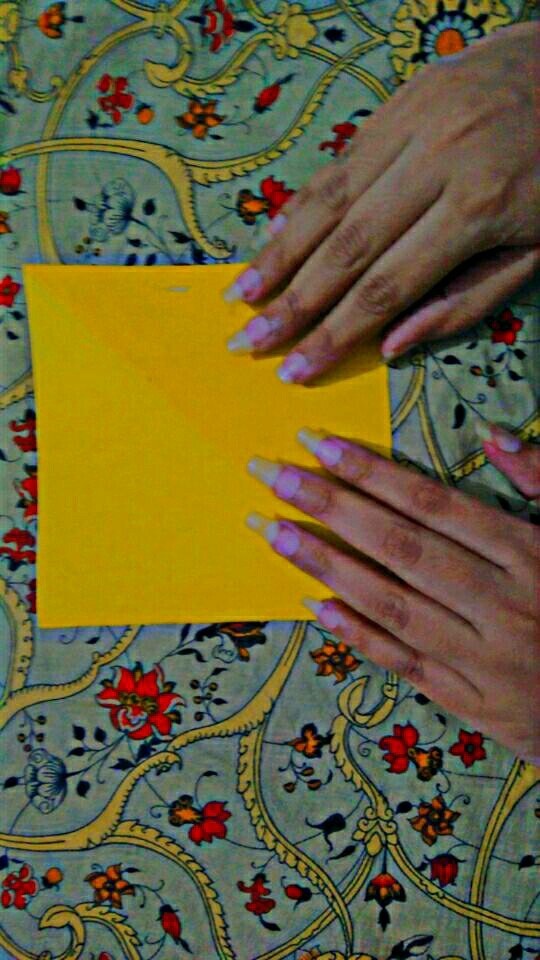
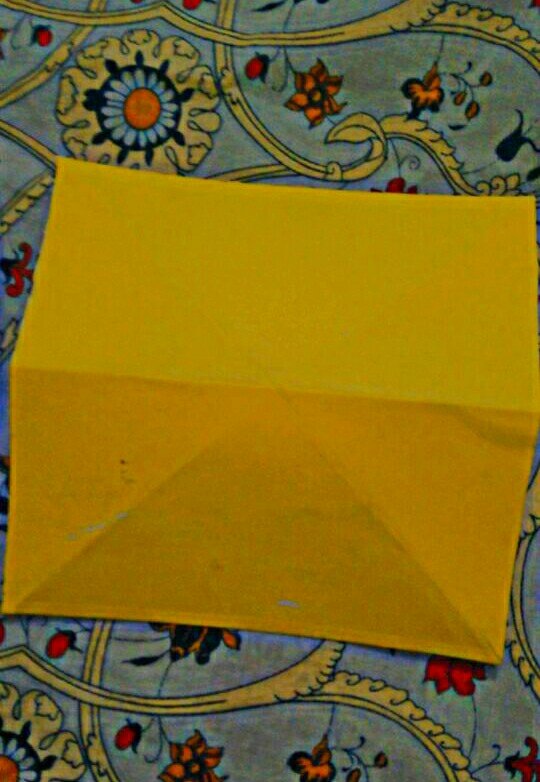
Firstly take a colourful chart paper. I take a yellow paper. You can take any colour of chart paper you like. Then cut the chart paper into square size. Remember that both the length and the width should be the same. I cut the paper in equal size 15cm.
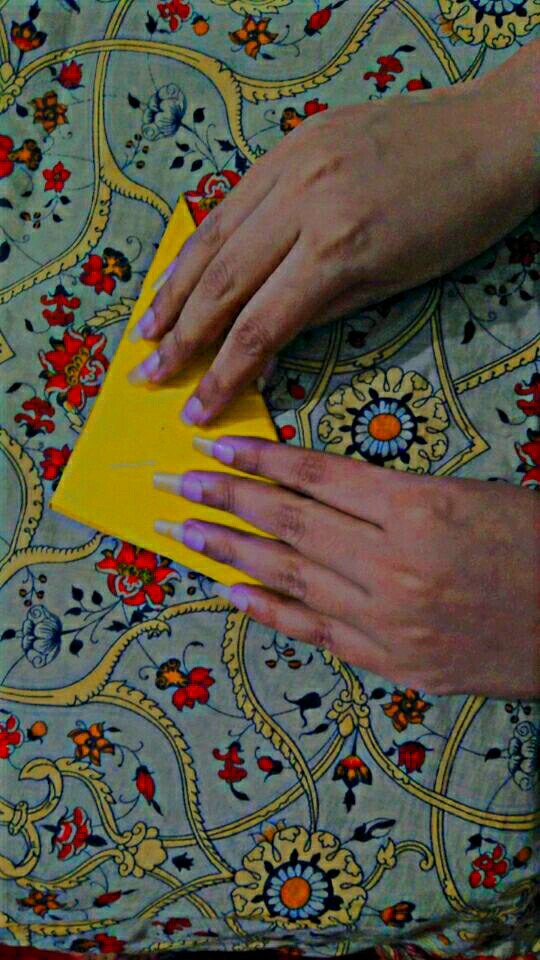
Step 2 and 3
In the second step take a corner of a paper and join it with opposite side and make shape of a triangle. Then open this paper again. Now repeat the process and join the another corner of the paper with opposite side and open it again. As you can see, the multiplication sign has drawn on the paper.
 |  |
 |  |
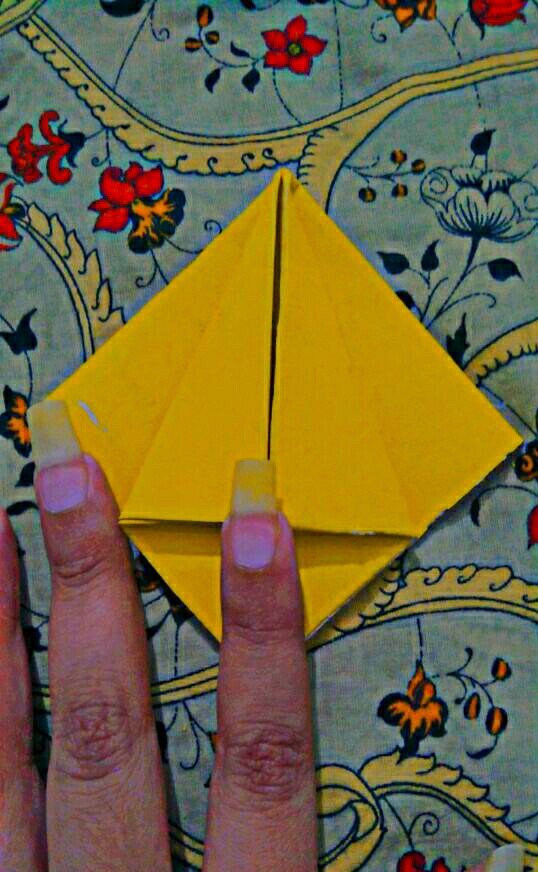
Step 4
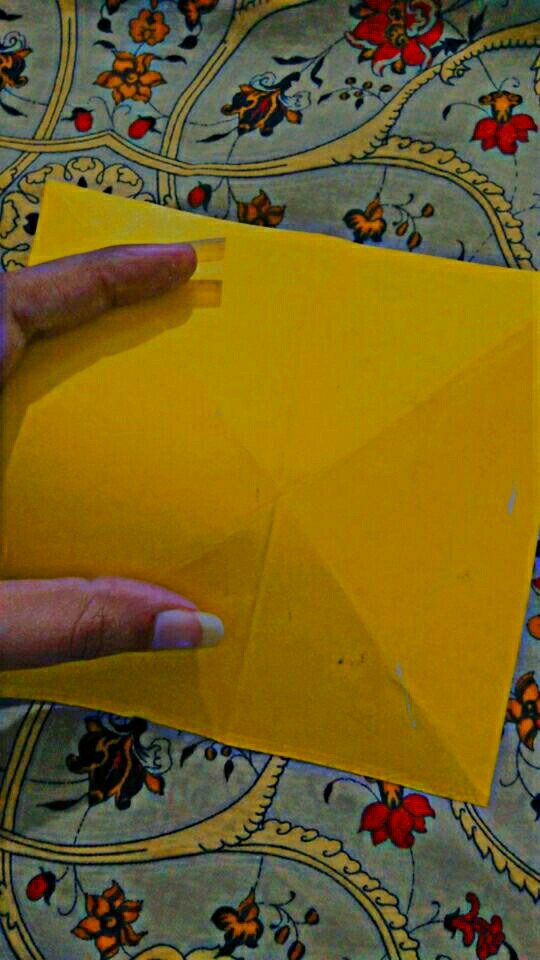
The paper is 4 sided. Fold the paper and join side 1 and 2 with side 3, 4. Then press the paper with your fingers.
Step 5
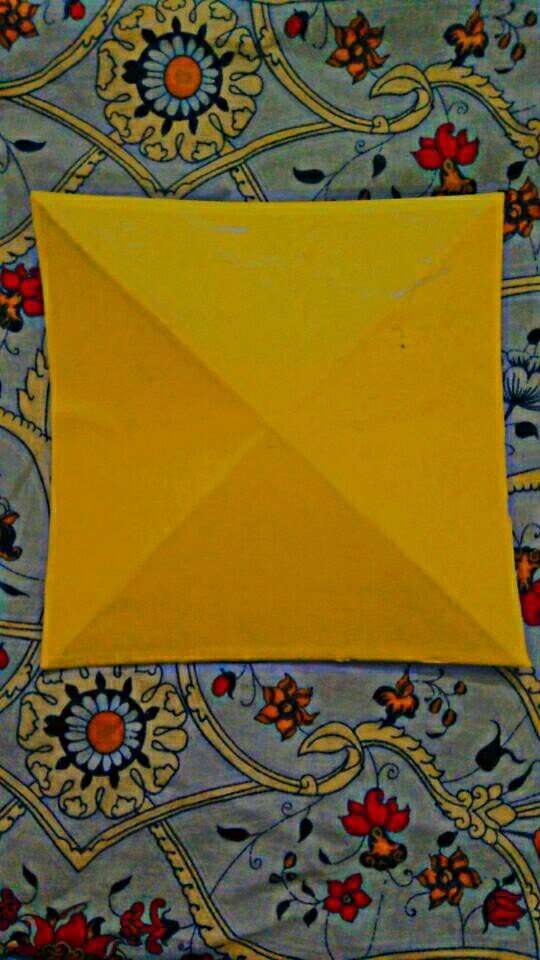
After pressing it open the paper again. Now you can see the other lines has drawn of the paper. And the shape of paper look like this.
Step 6
In this step repeat the Process and join the side 1 to 3 and 2 to 4 like this and press. Pressing it will make its lines appear clear.
 |  |
Step 7
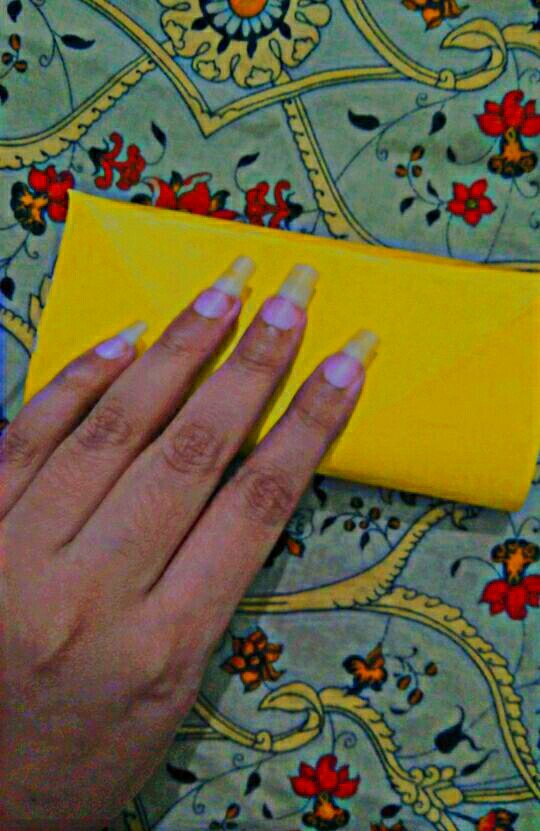
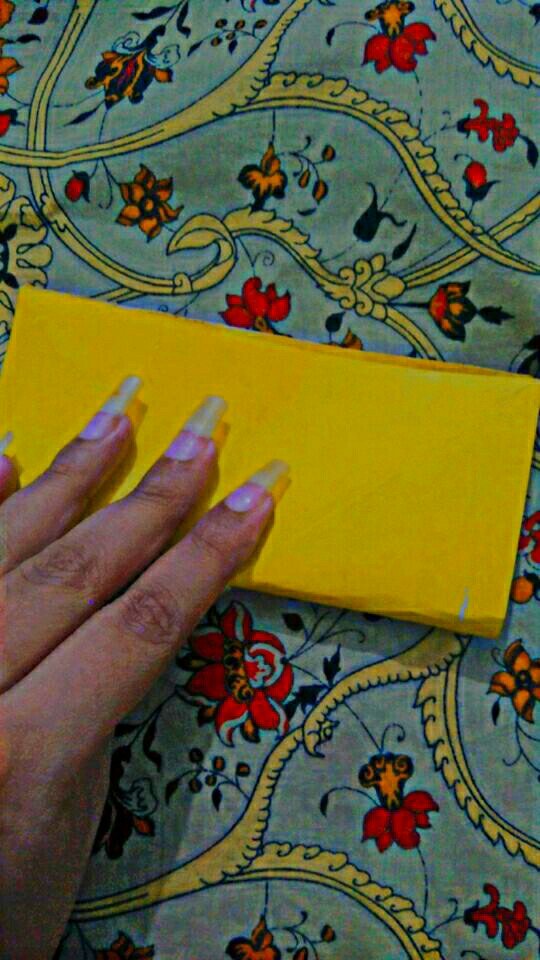
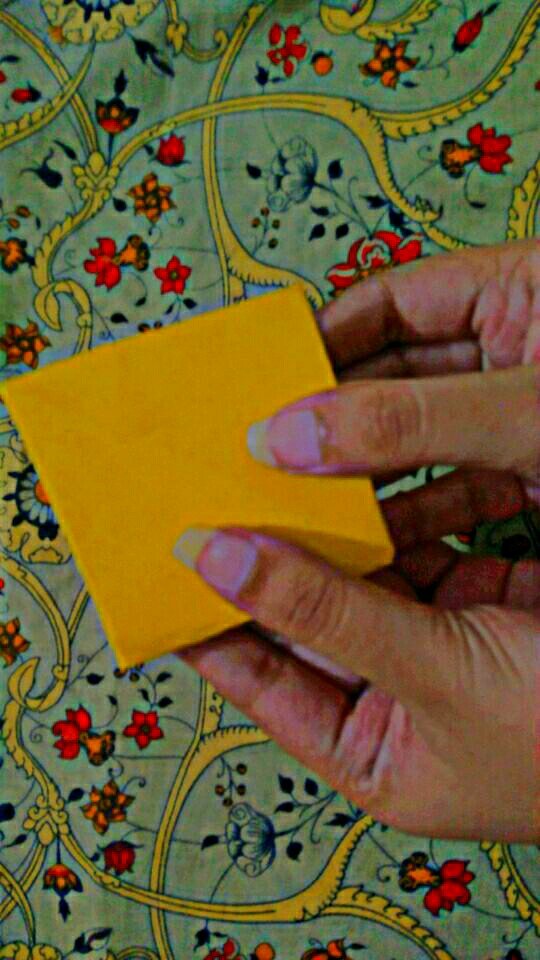
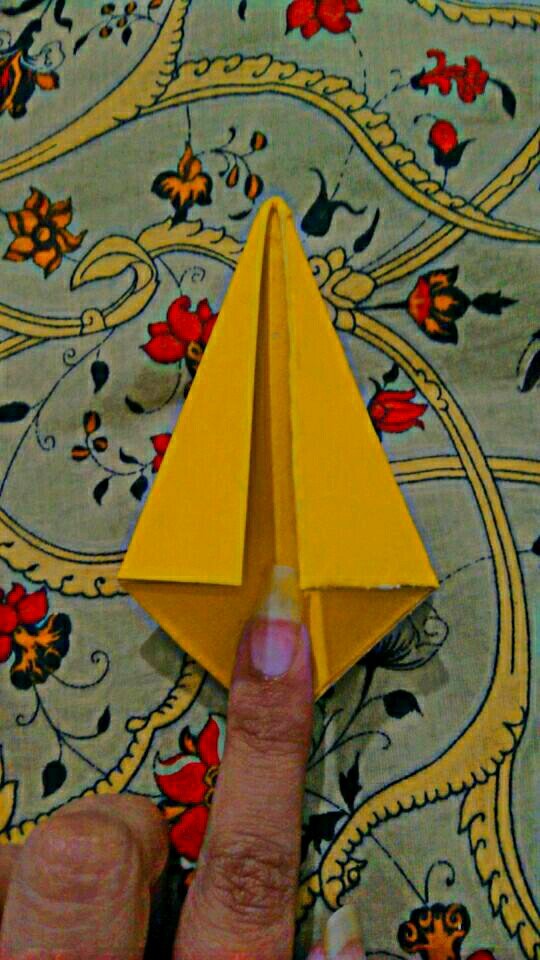
Now fold the paper from the middle and turn into both sides and make a square sheet. This step is so quick you can easily make a square shape of this paper.
Step 8
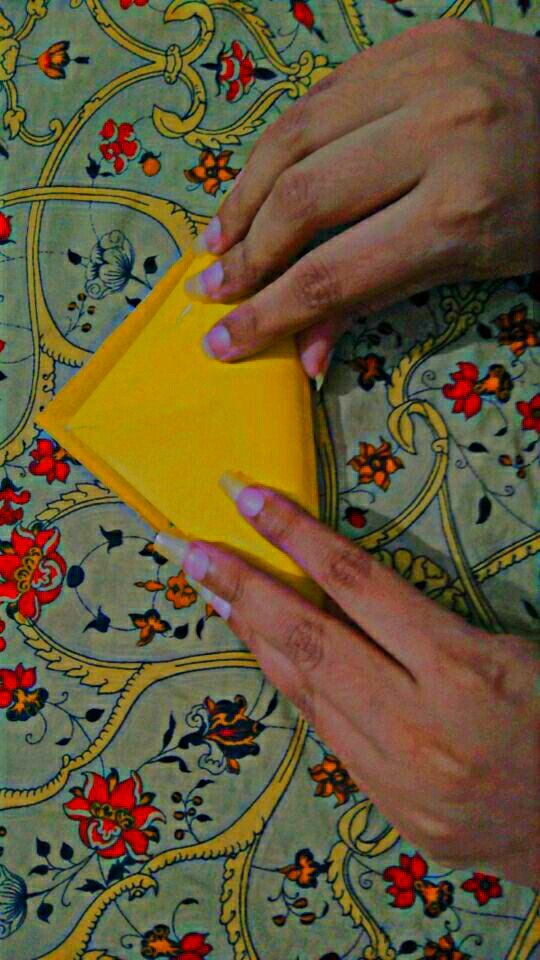
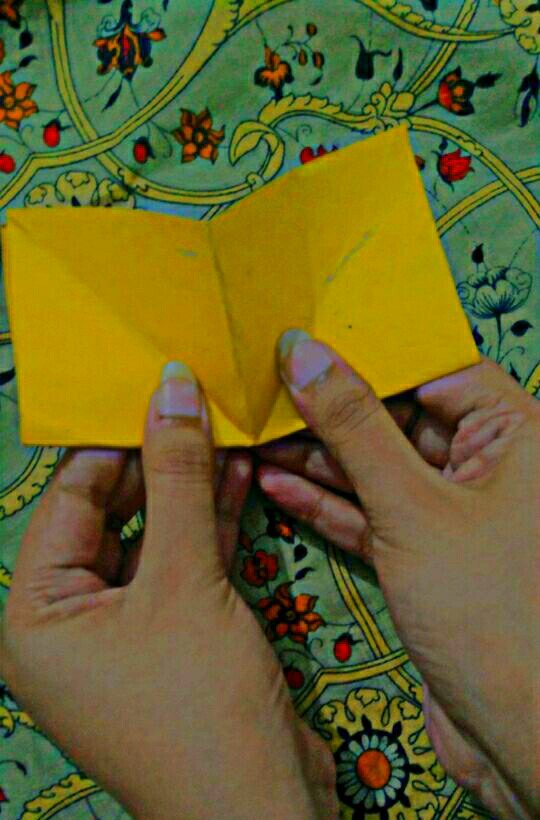
Now the square shape is completely ready. Now it's time to take another step. So place the square shape paper on your table in reverse shape. Then lift the paper from 1 corner and fold it like this.
 | 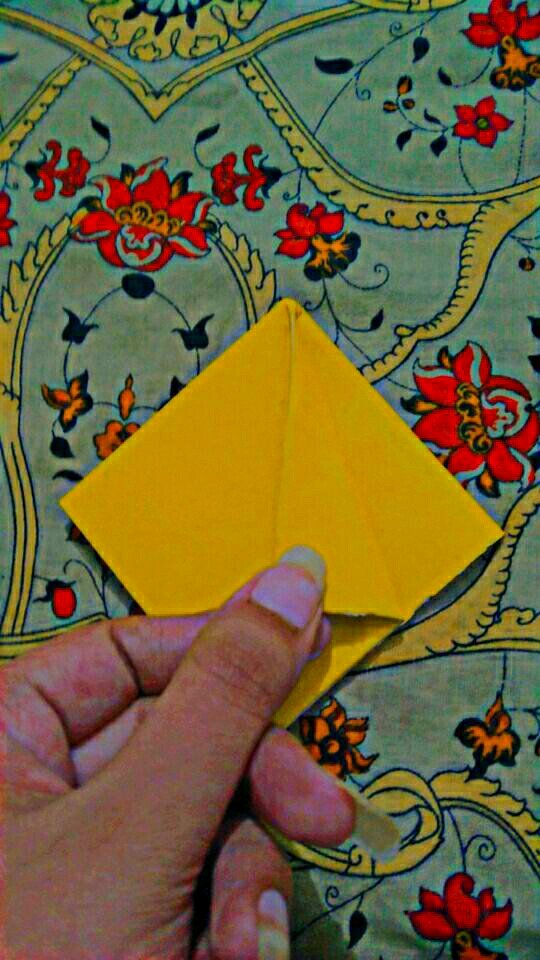 |
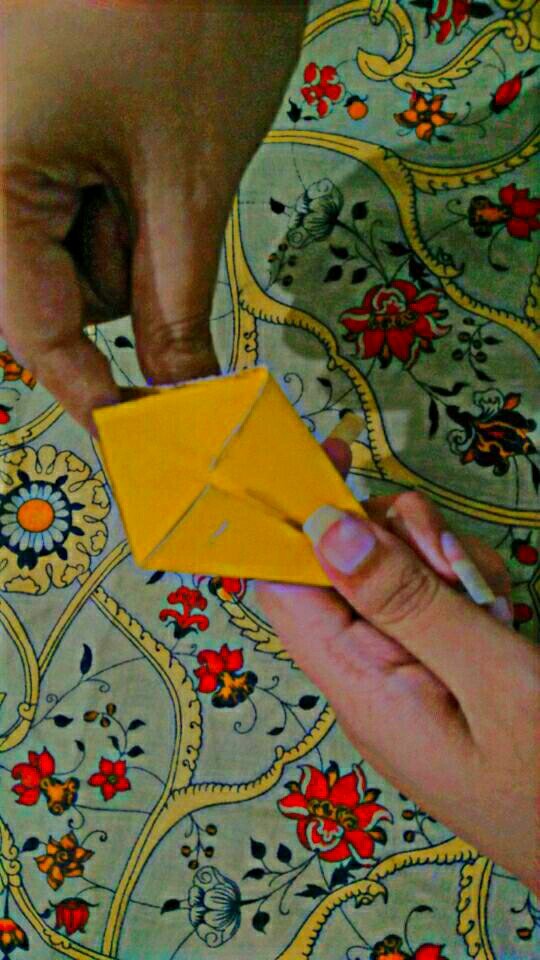
Step 9
After this fold another side of the paper like this and make a triangle shape again. Now press press and press.
Step 10
Flip your paper over to the other side and place on the table now repeat the process.

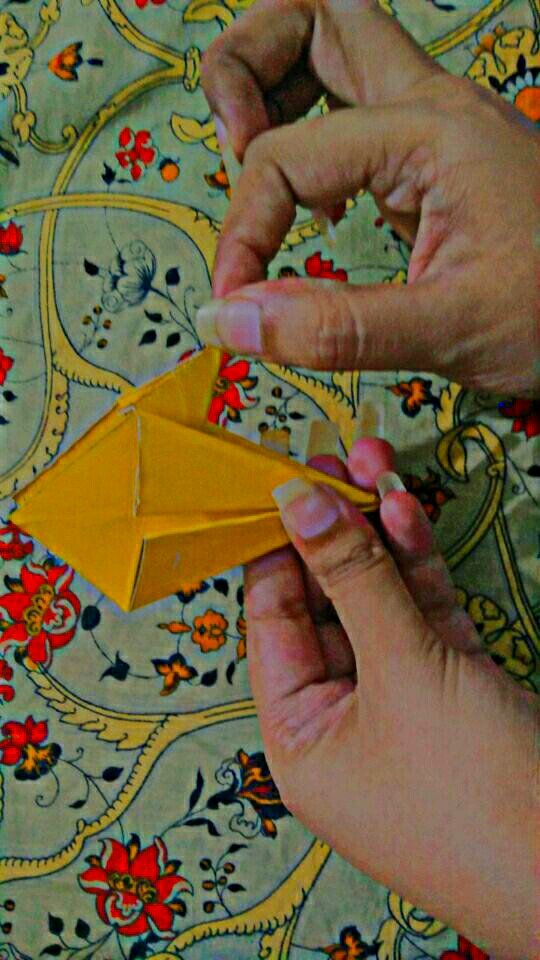
Step 11
After folding the paper from both sides, it looks something like this. Don't forget to press. It is very important to press it because pressing it will not open the paper.
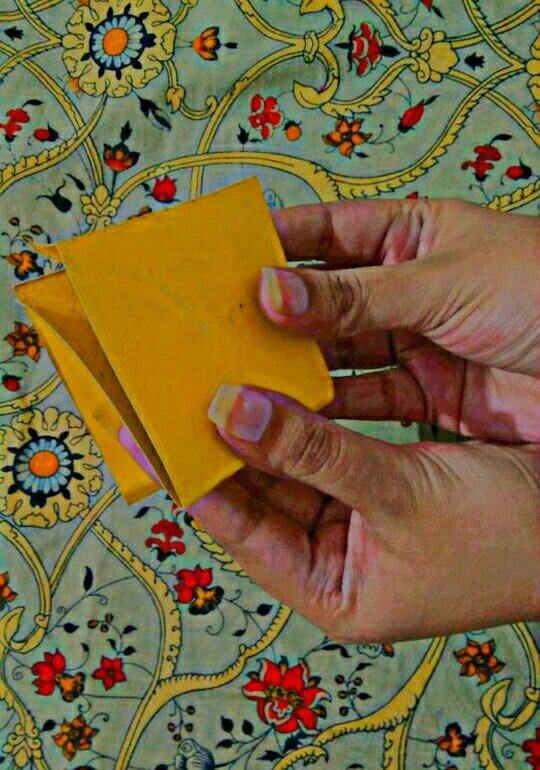
Step 12
After this fold the paper in your hand and turn it. Now pull the paper from its side in such a way that it comes out. This step is hard to see but very easy to do.
 |  |
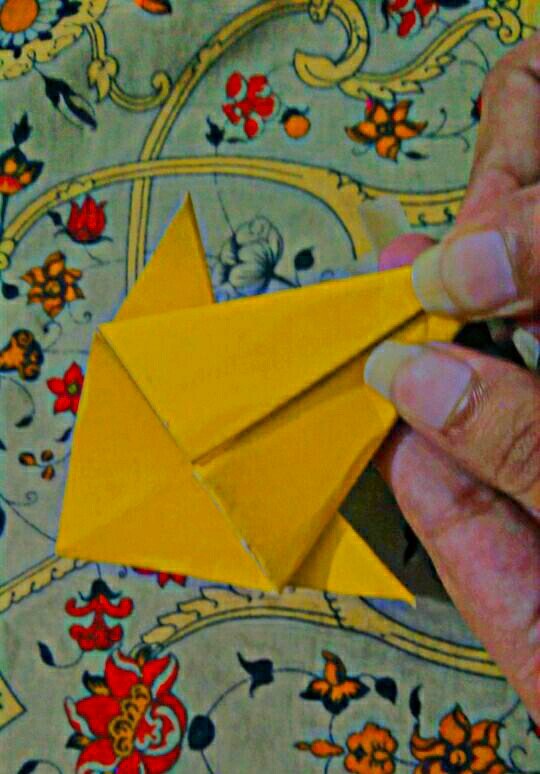
Step 13
At this step it has to be pulled from the other side as well so that it comes out. Now more than half of our steps are complete.
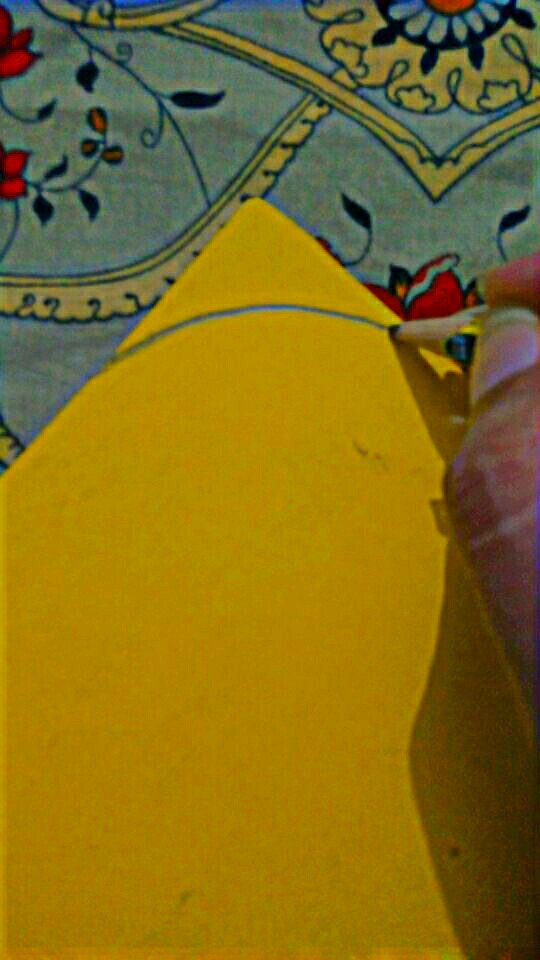
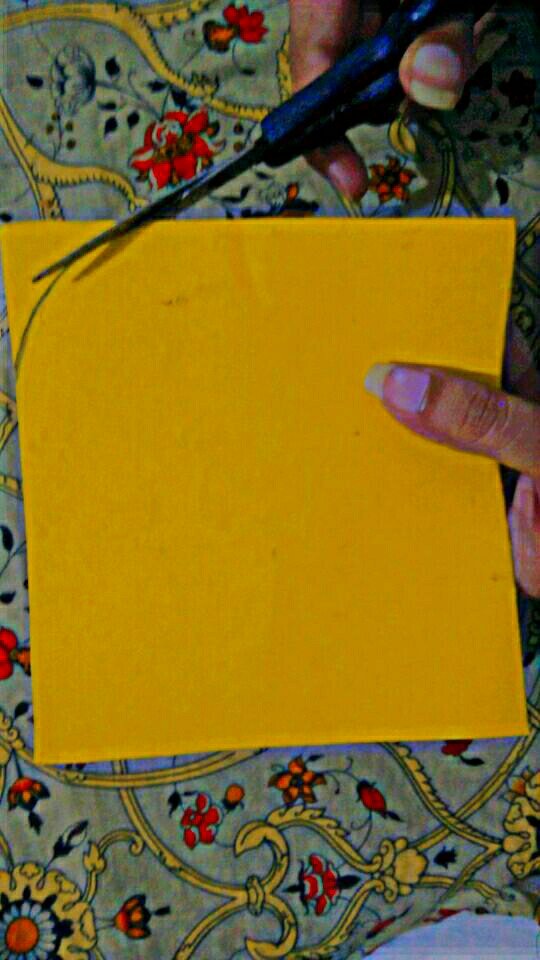
Step 14
In the next step, take another piece of paper and draw a line like a fish tail on it with a pencil. Then cut it with a small scissor.
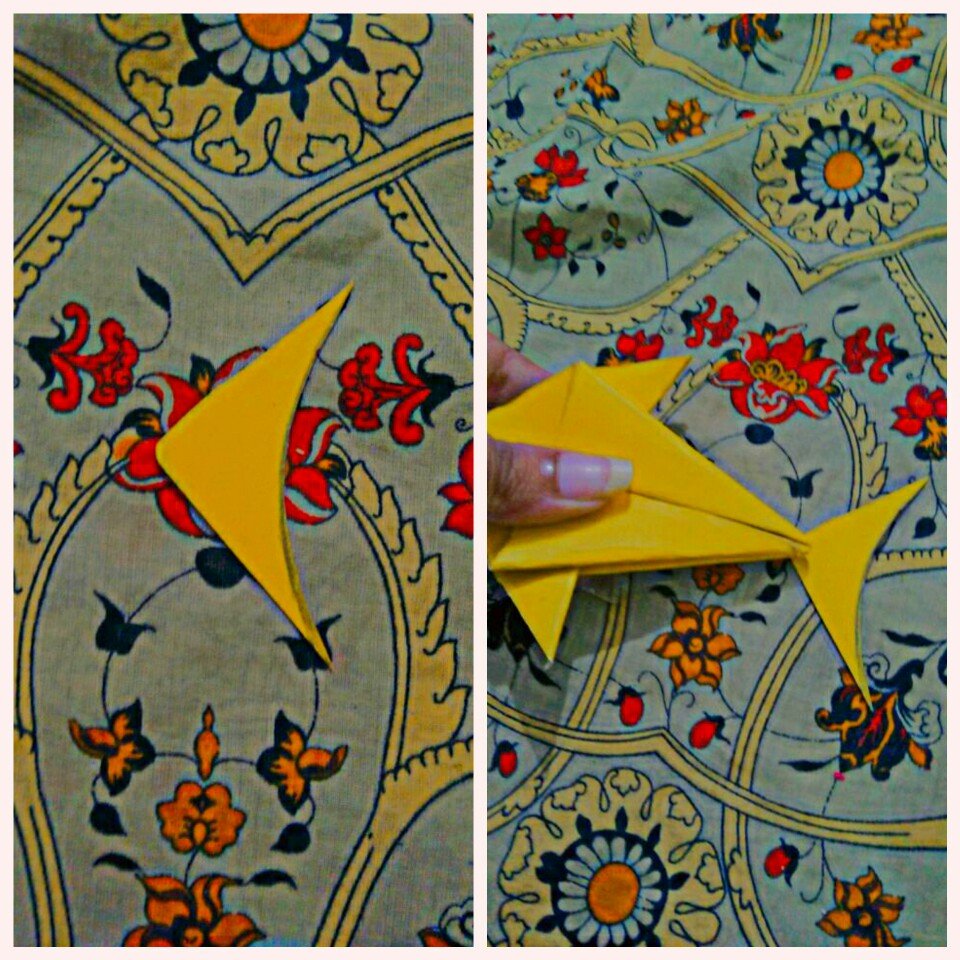
Step 15
After cutting it apply the gum stick on the tail part and attach it to the body of the fish. Stick it well so that it does not come off again. As you can see the body of the fish is ready.
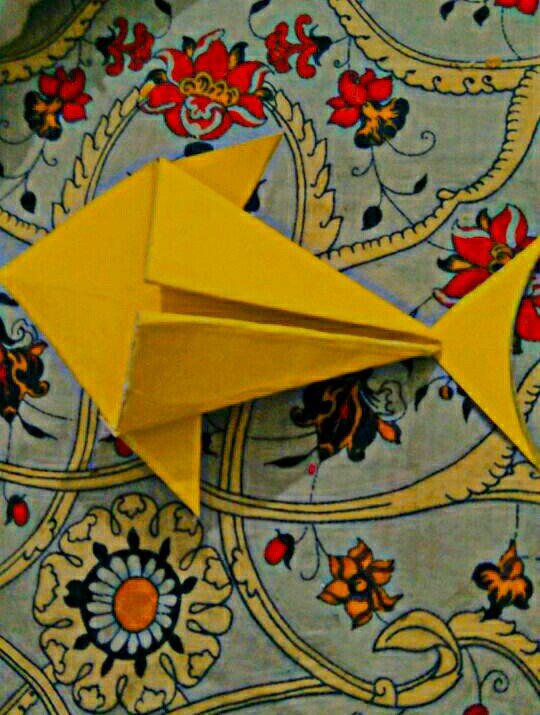
Step 16
It's time to make a happy face of a fish. Take a black marker or a pointer and draw a face on it. After this i take a white marker and filled the inner eye area with it. Now my fish is completely ready.
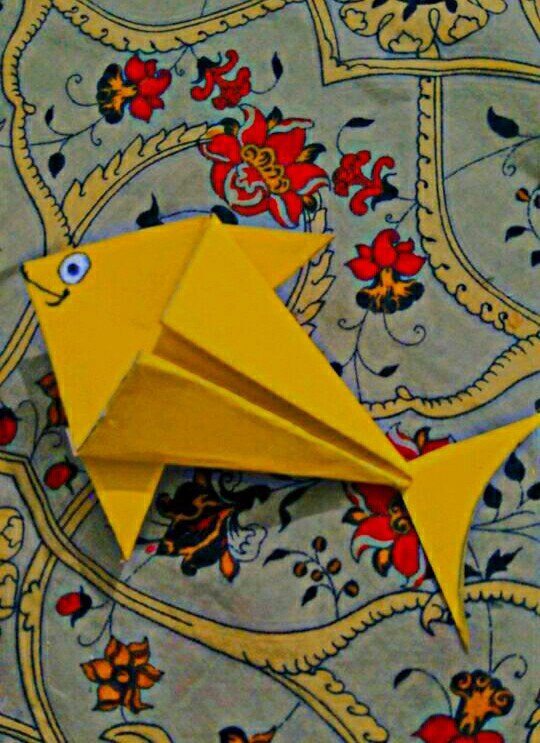
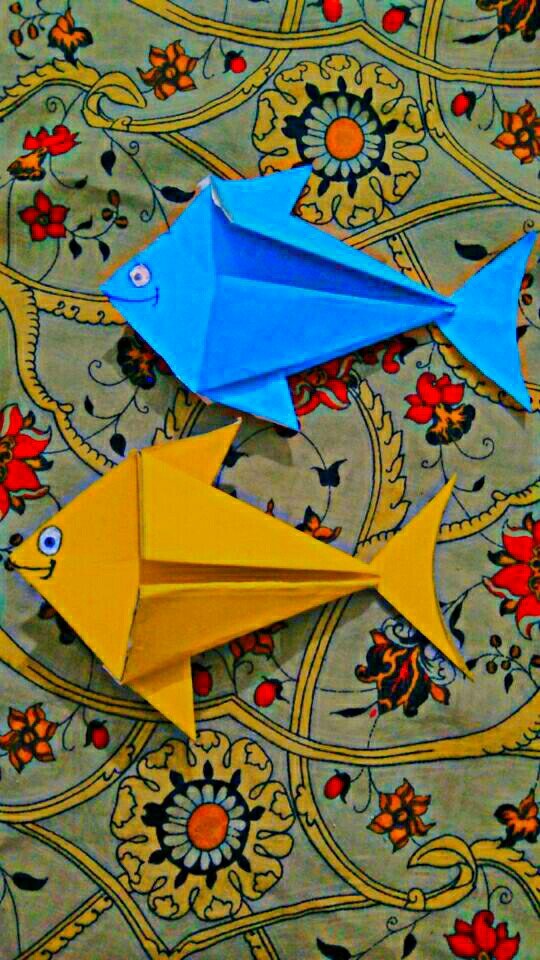
Final look
I have also made another colored fish with it. Tada final look of my cute little fish.
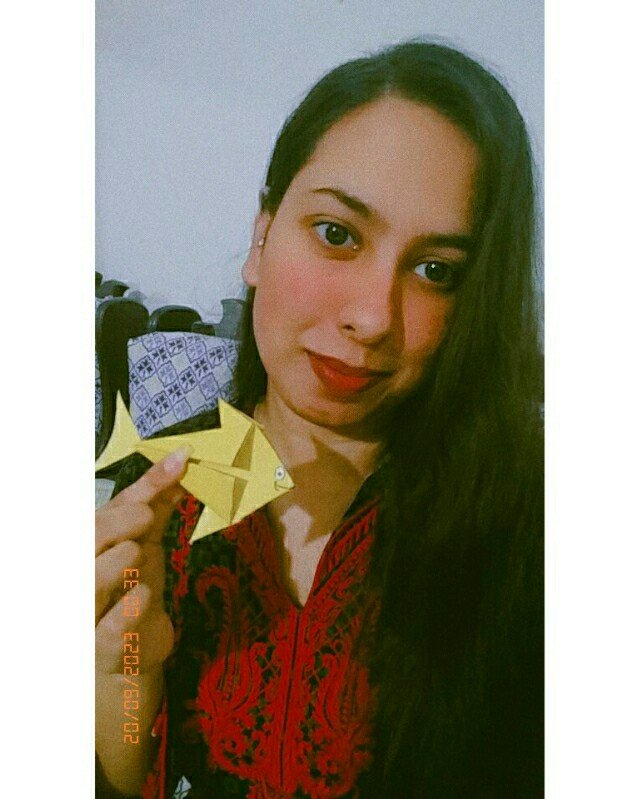
Selfie with my fish
Conclusion
So this is my participation post. Hope you guys like my easy paper fish. Thank you again for organizing this awesome contest. Through this contest i really enjoyed a lot hope you guys also enjoyed with me.
I would like to invite my 3 friends.
@meehu
@areej77
@iffatilyas
Truly
@zoyabhatti06