🌸Bismillahir Rahmanir Rahim🌸
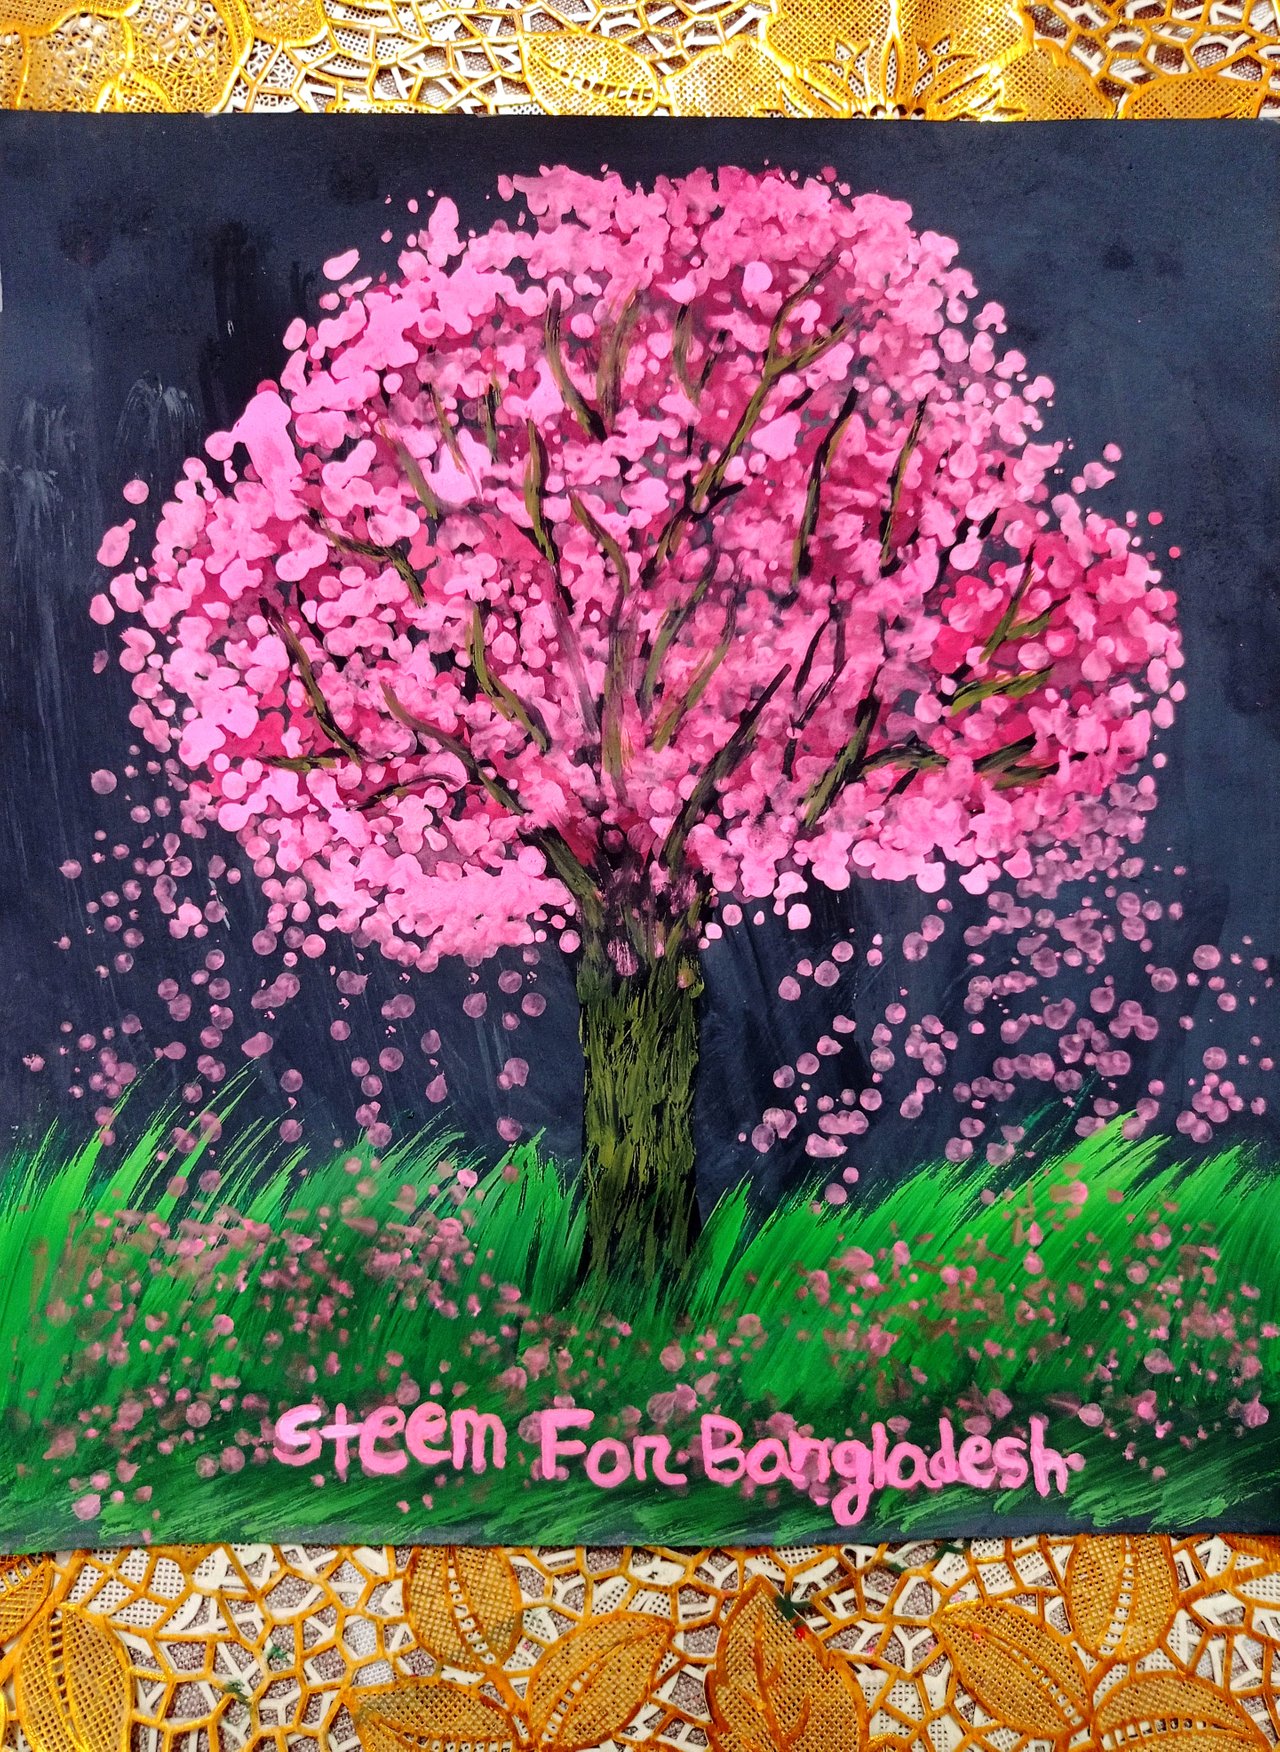
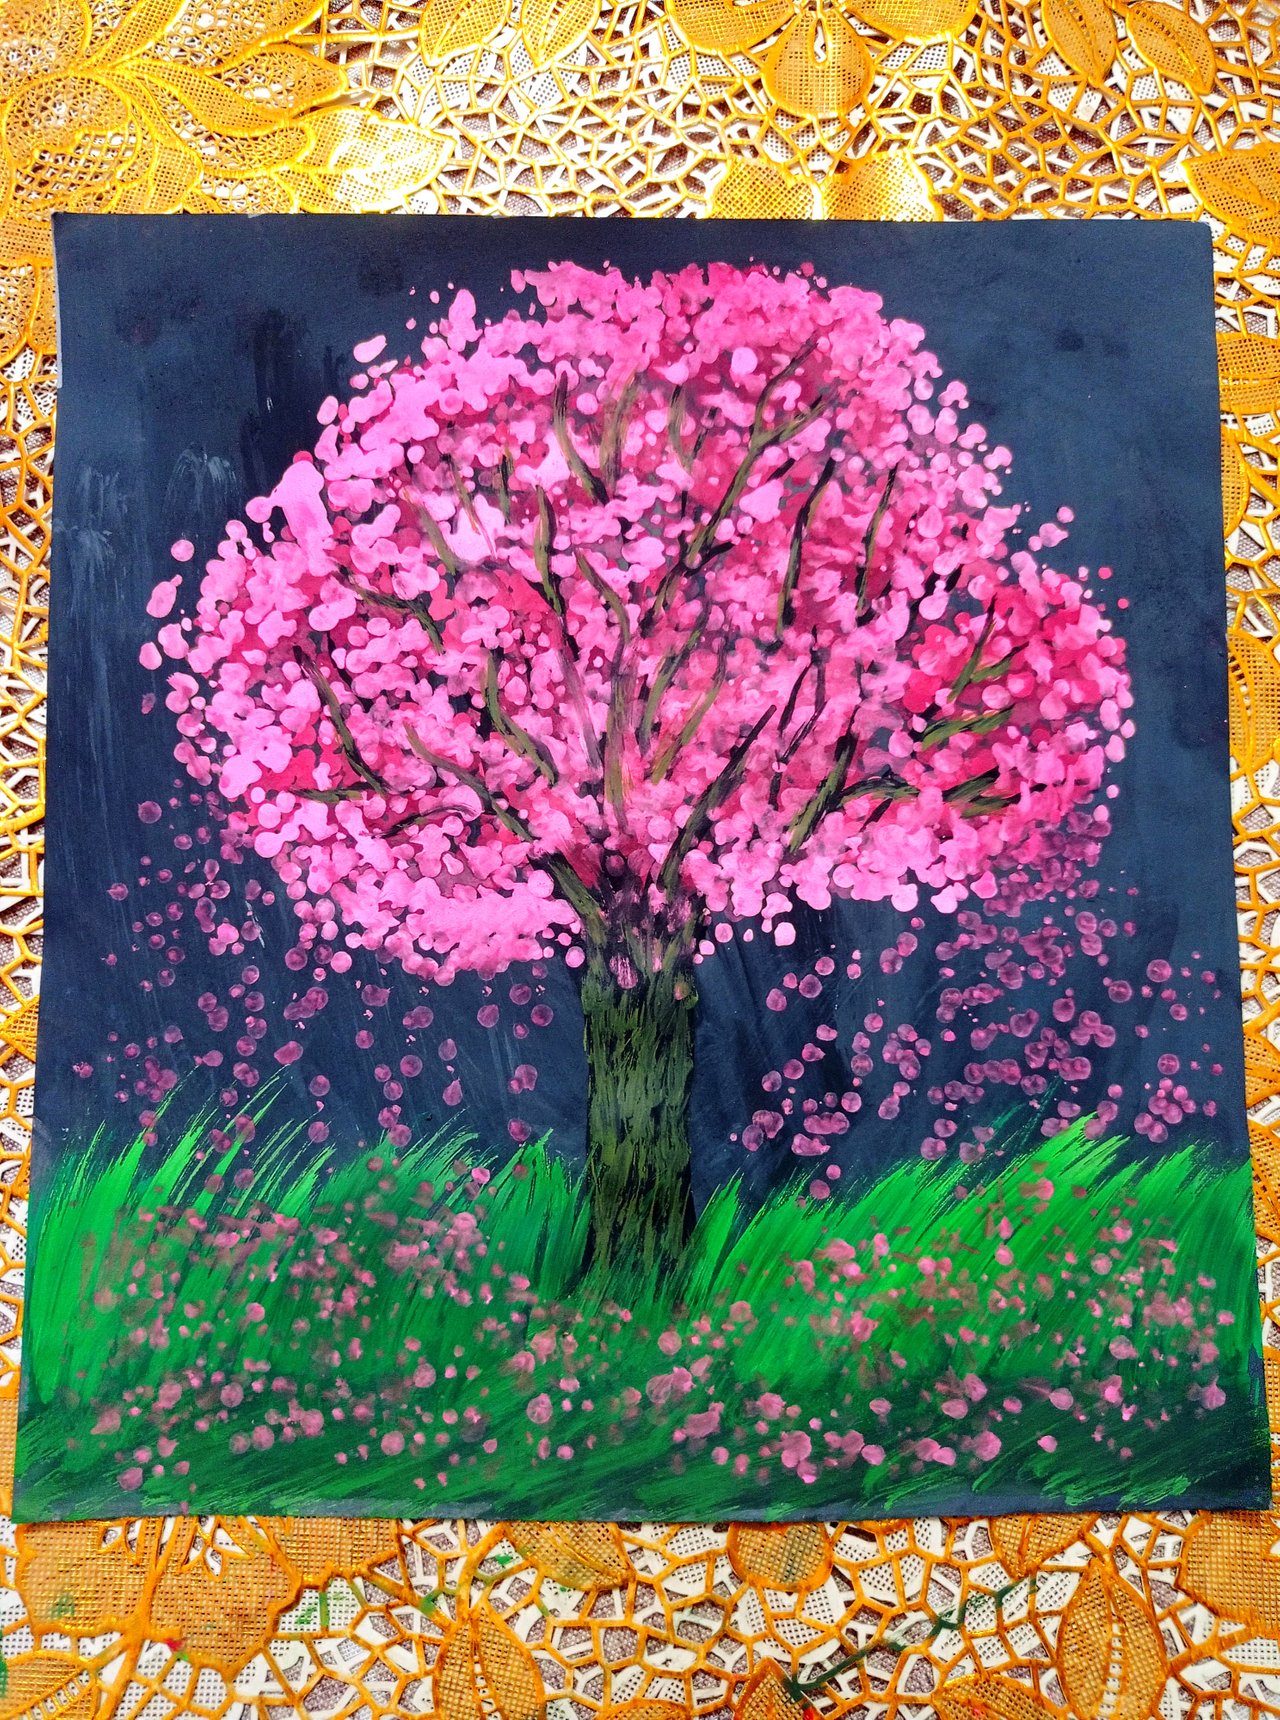
Starting with greeting and respect. Today I'm going to share how I paint a Cherry Blossoms Tree. Native to Japan, cherry blossoms bloom during the springtime every year. Cherry Blossoms also have another name called Sakura. Cherry blossoms are beloved to me for their bright, delicate, fleeting beauty worldwide. I have never seen Cherry Blossoms but would like to. I don't know when I will actually see it so I decided to do a cherry blossom tree art after watching some tutorial videos online. As long as I can't see Cherry Blossoms in reality, I will feel better by looking at my own painting.
| 🌸The stuff I used for painting🌸 |
|---|

- A Clipboard
- A grey colour paper
- A Pencil
- A brush
- A colour set
- 12 Cotton buds
| 🌸Painting process🌸 |
|---|
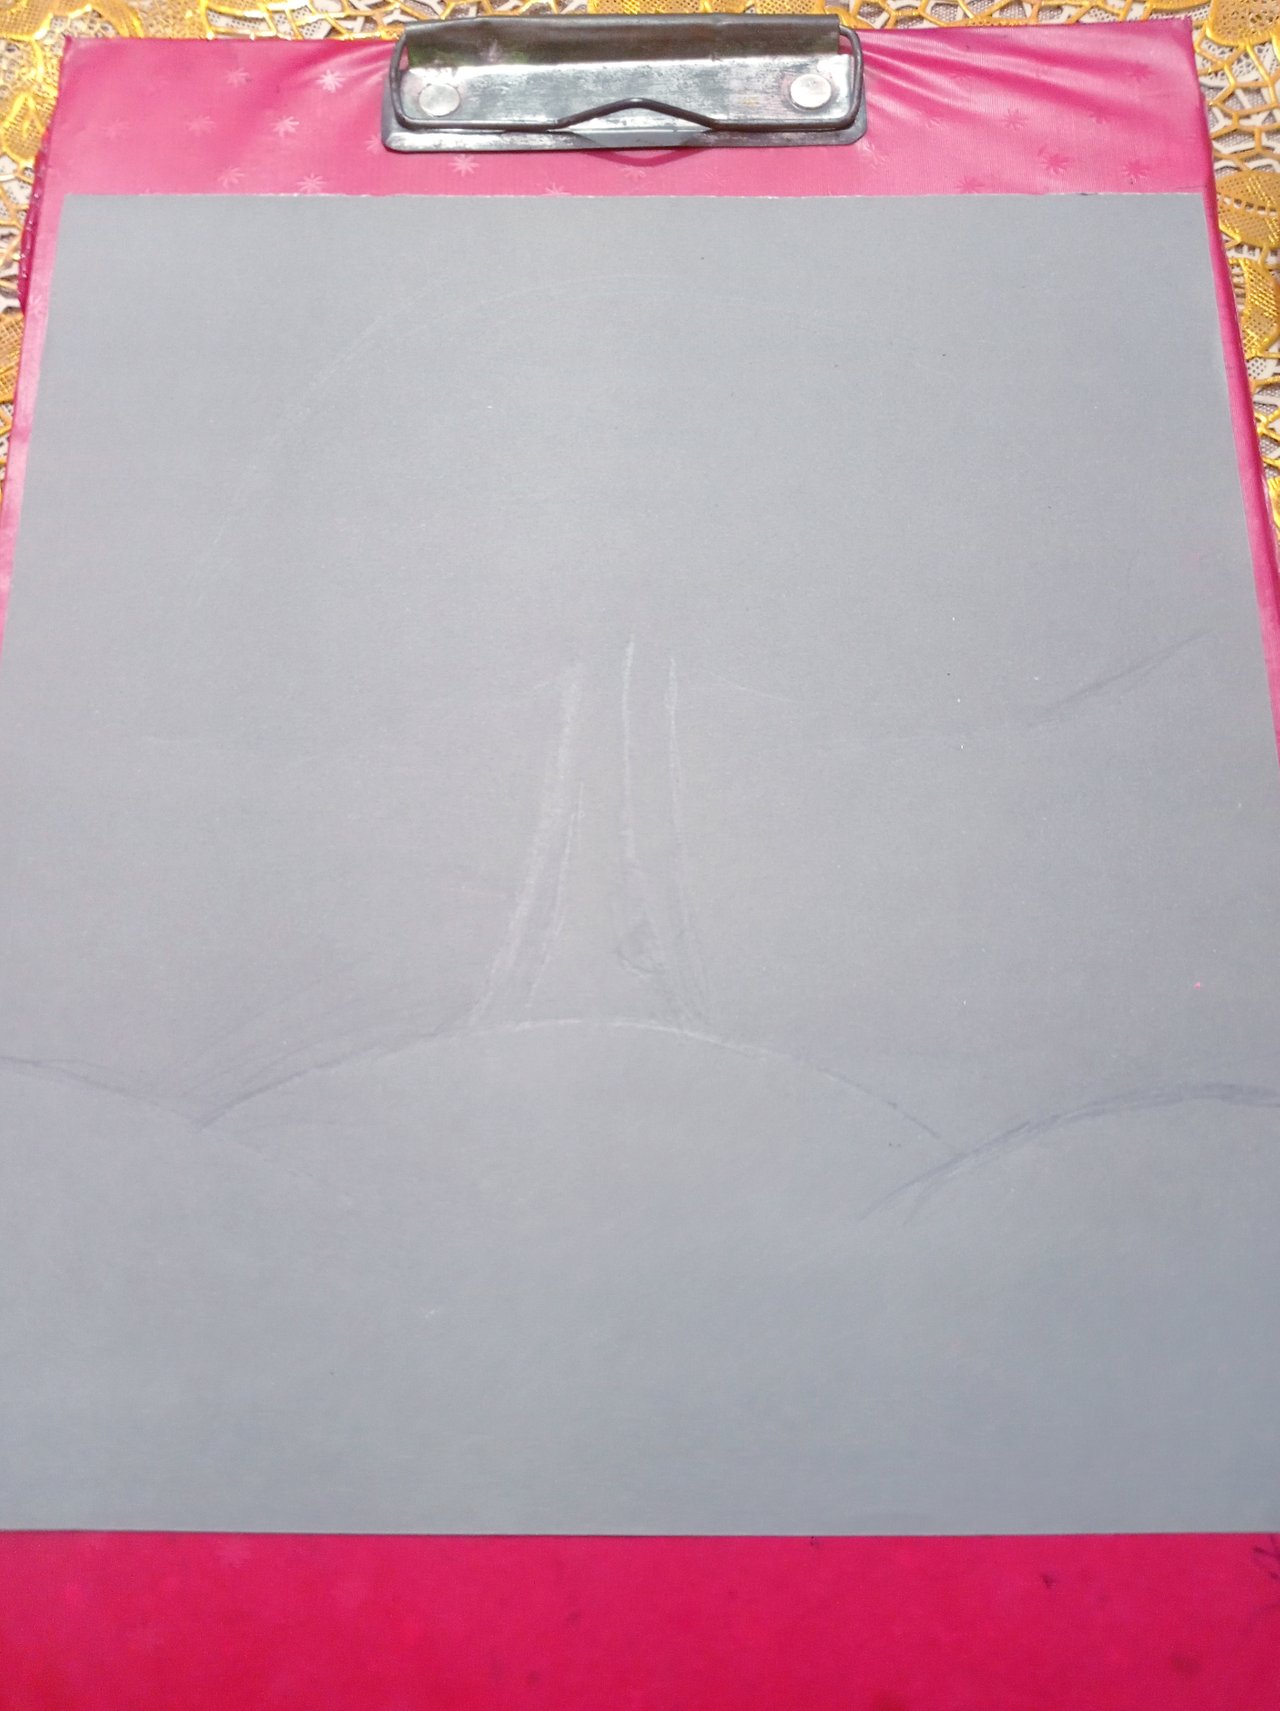
Step-1: In the first step, I placed the paper on the clipboard and made some marks on the paper with a pencil to draw the tree.
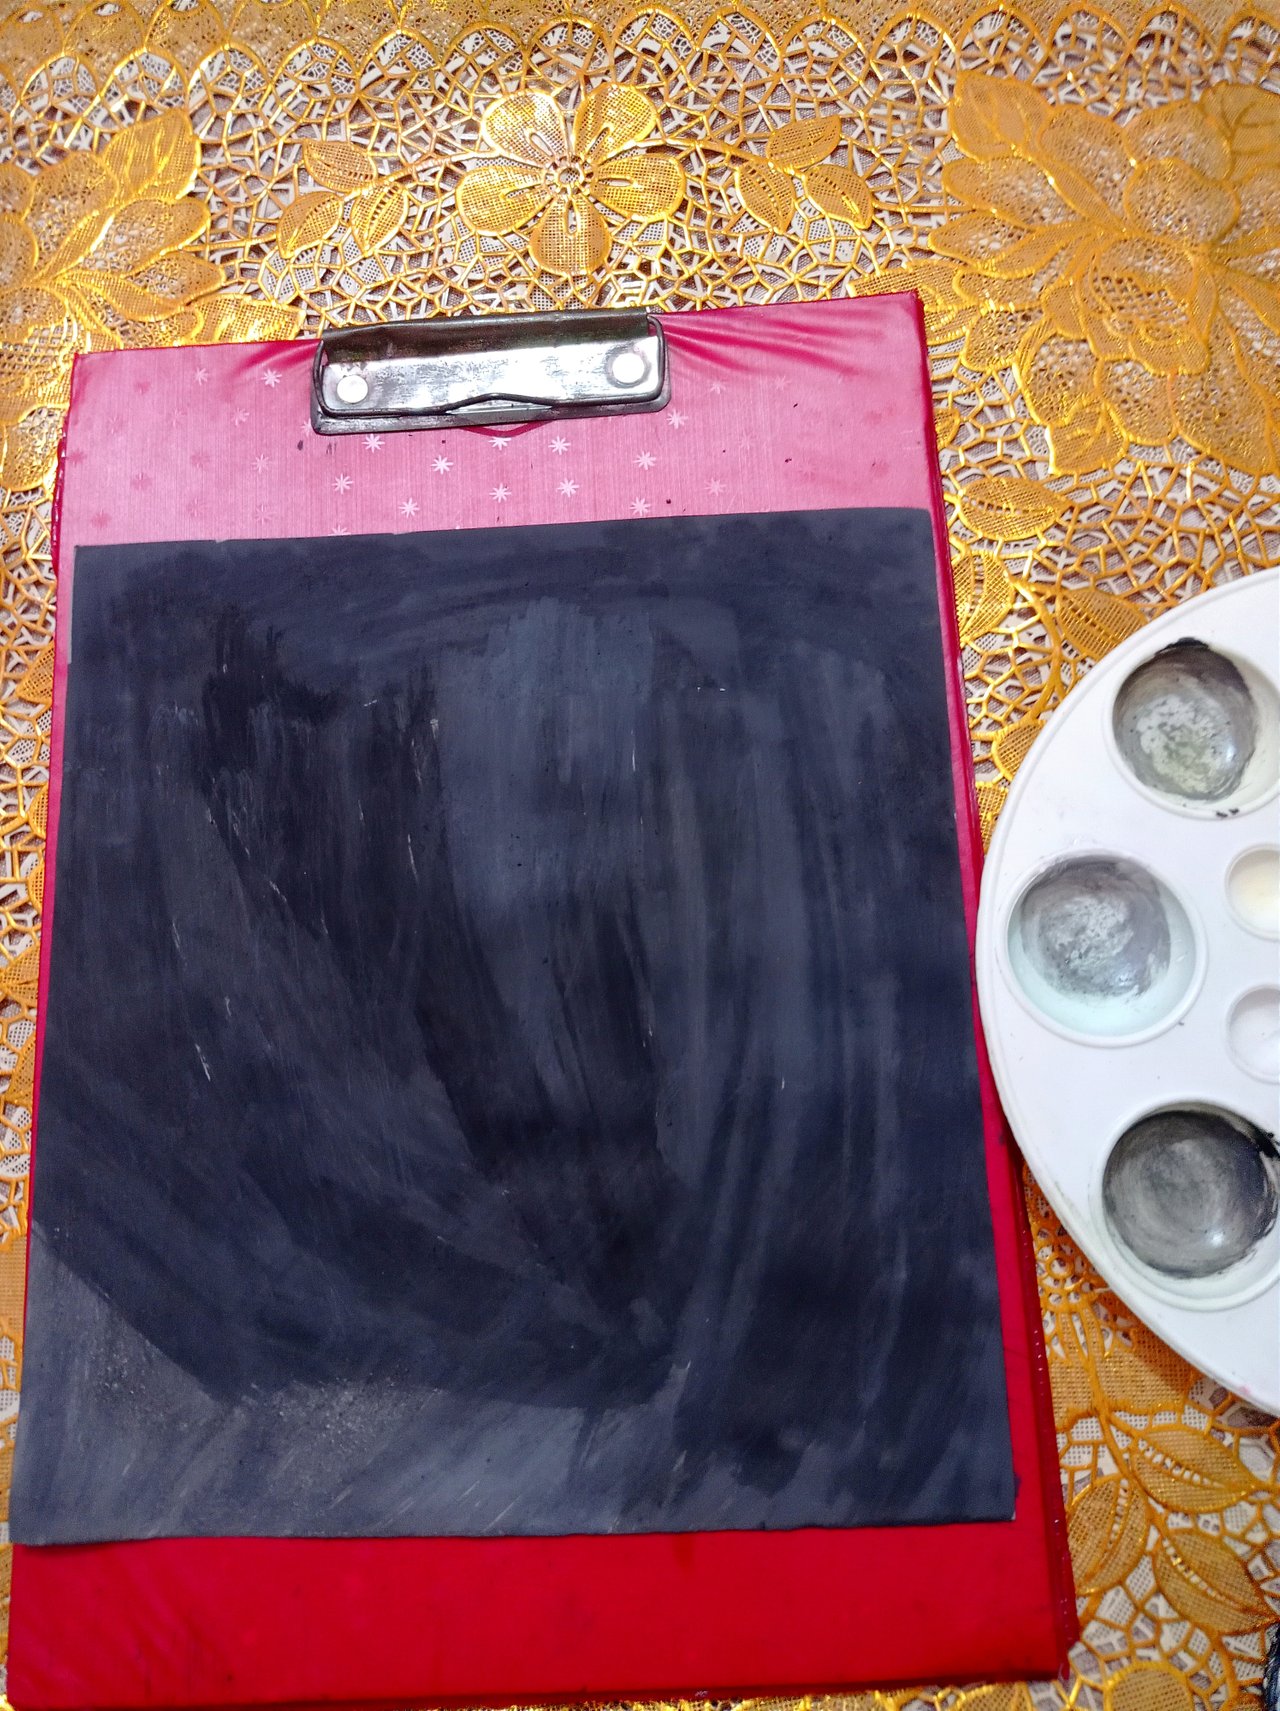
Step-2: Then I painted the whole paper with black and grey colour with a brush.
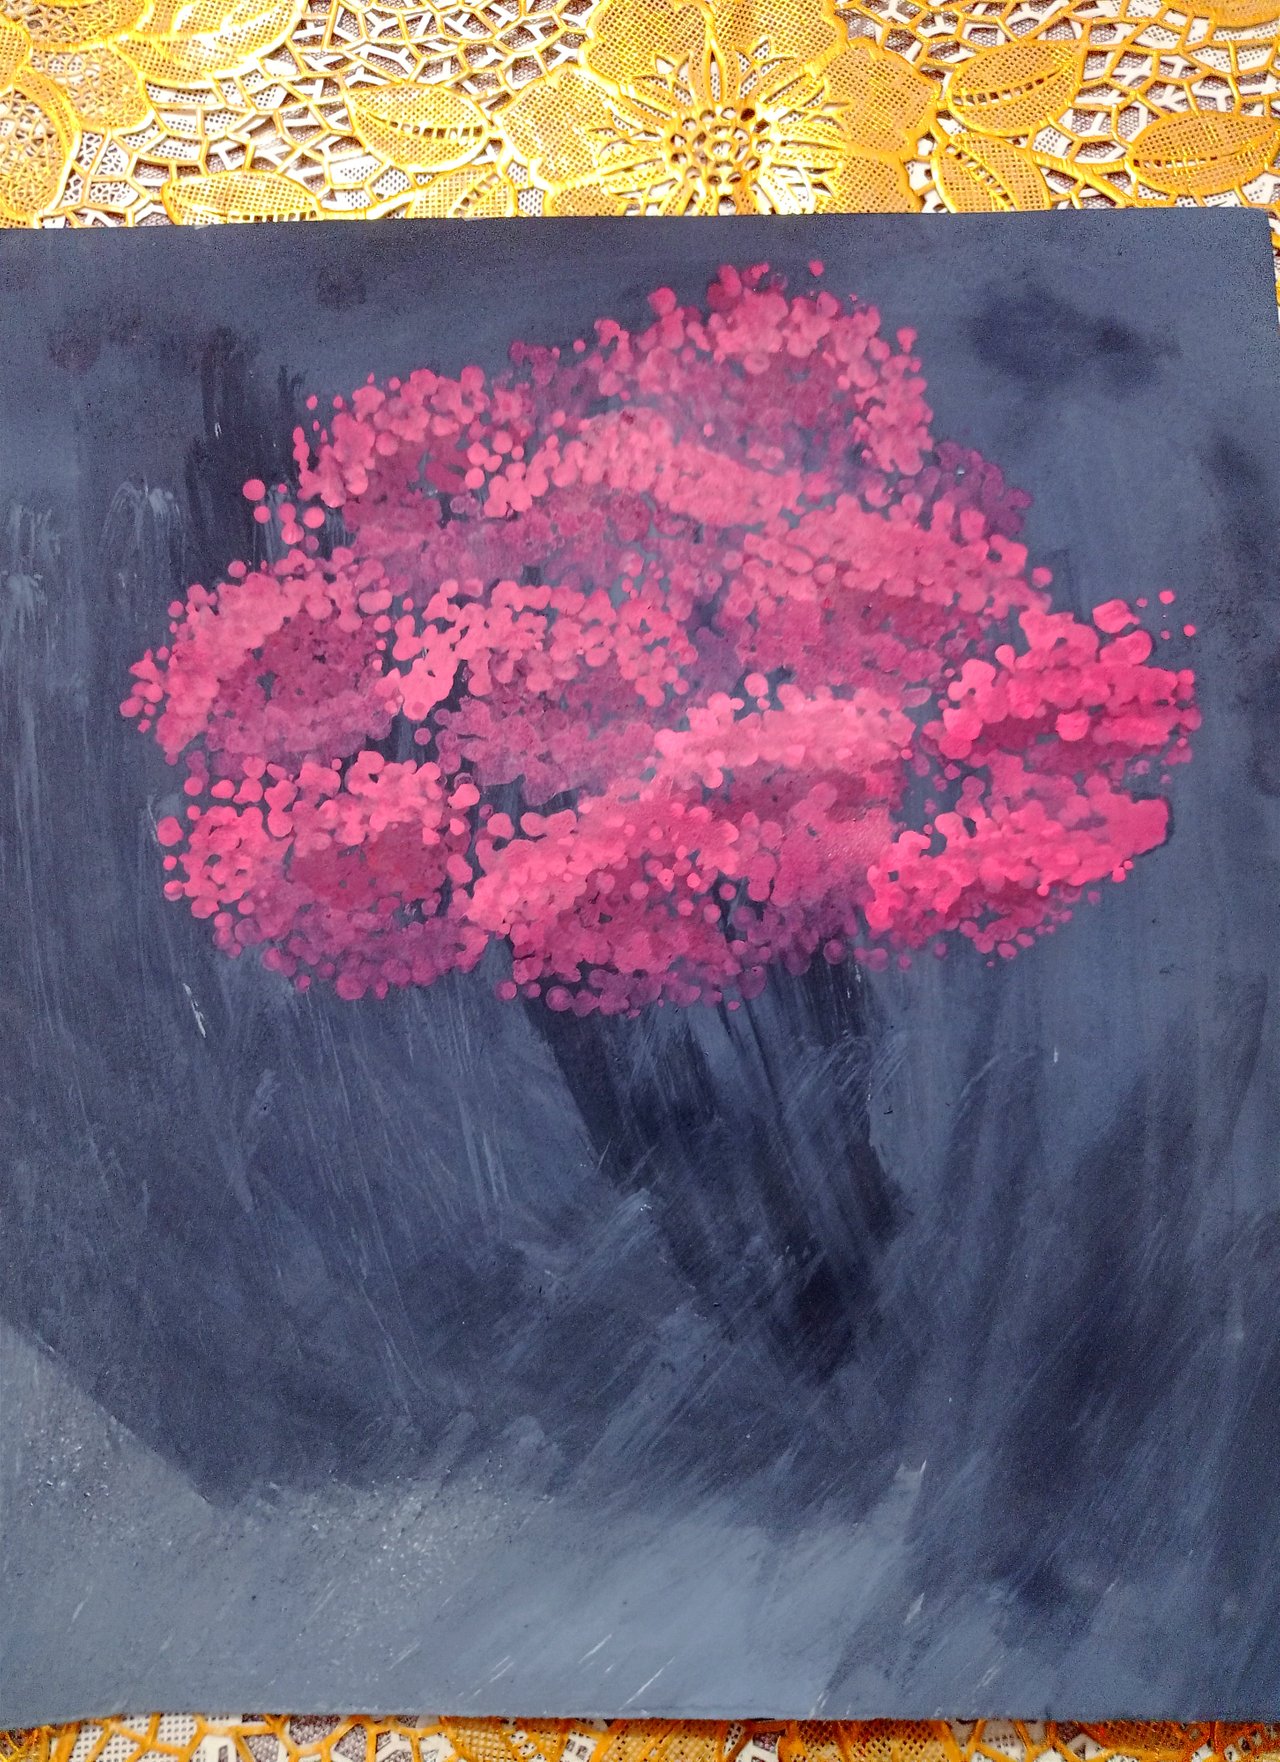
Step-3: This step I swabbed the top of the page with the Cerise pink colour and a few places with cotton buds.
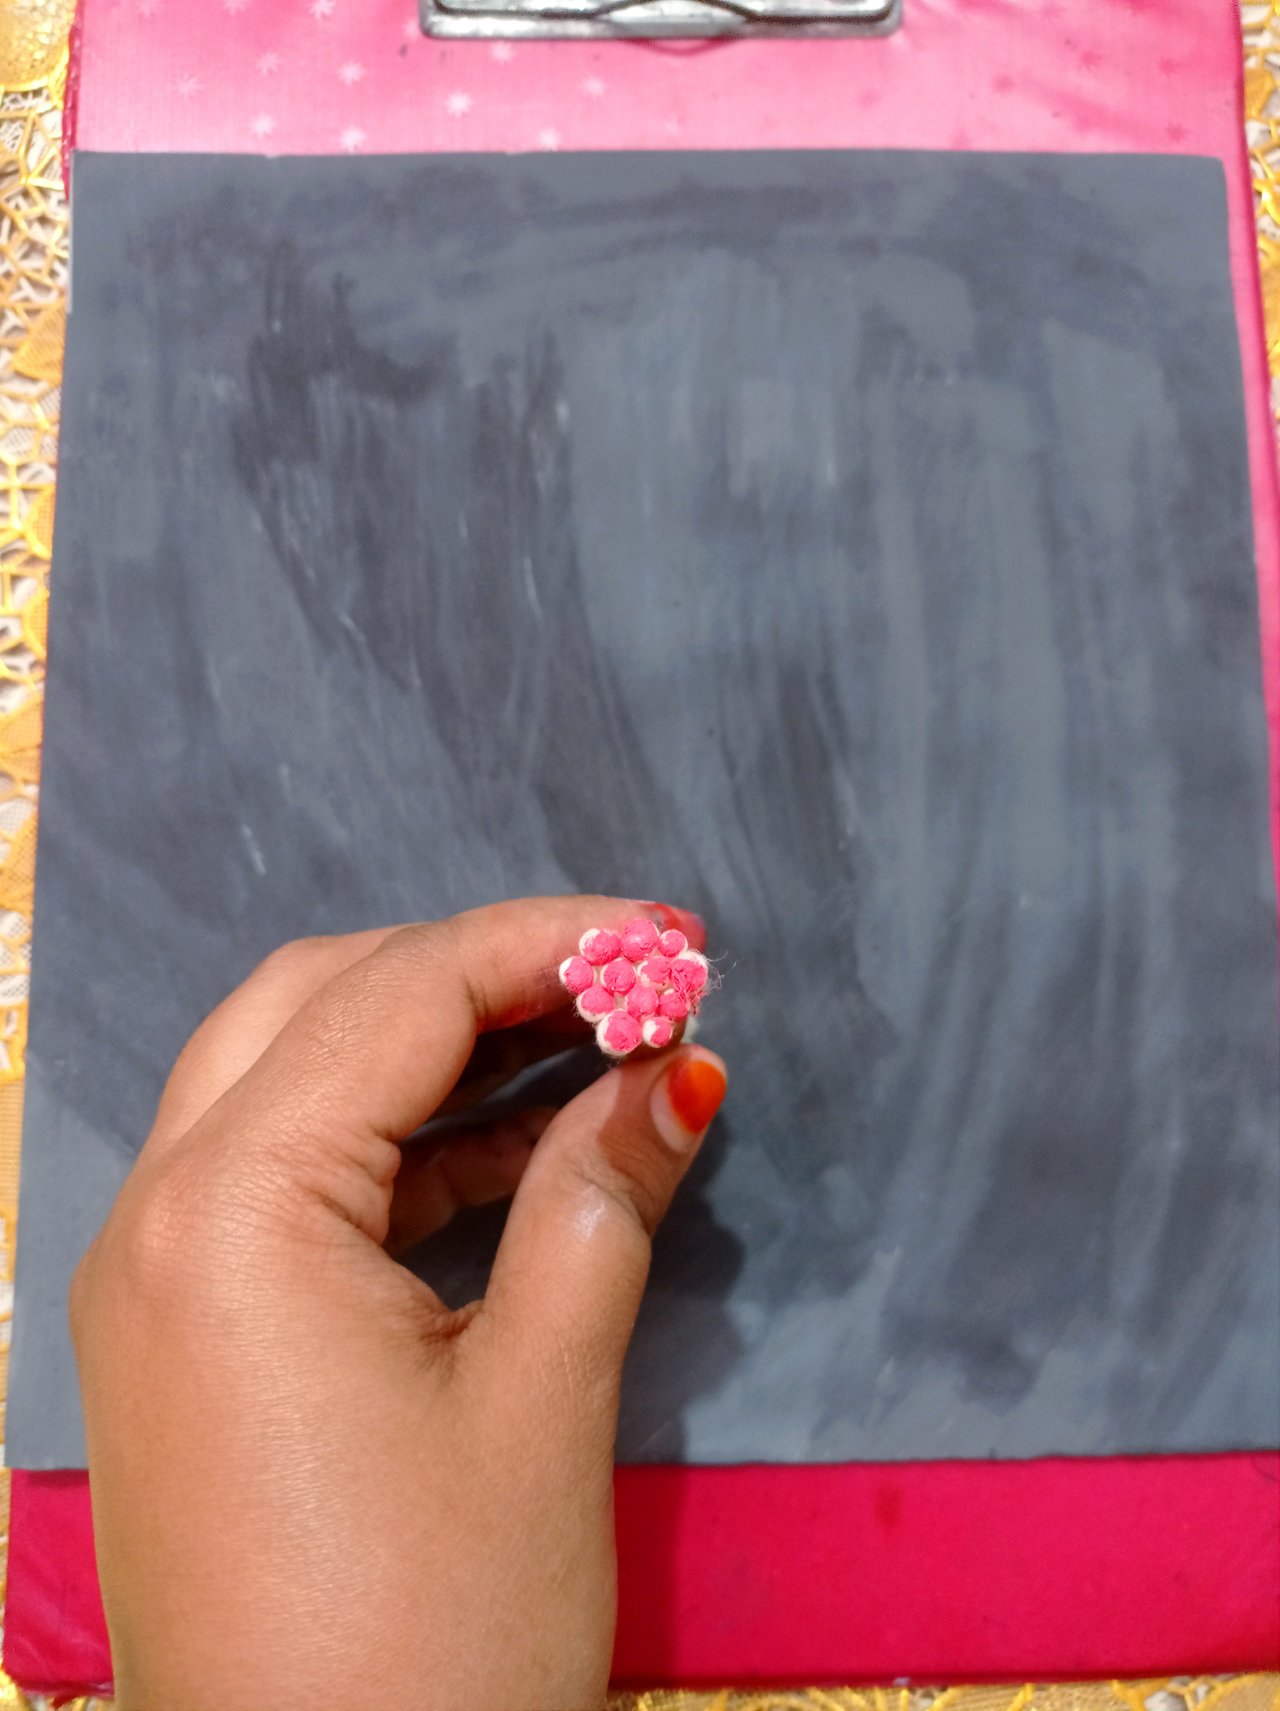

Step-4: In this step, I swabbed the hot pink colour over the magenta colour again with cotton buds.
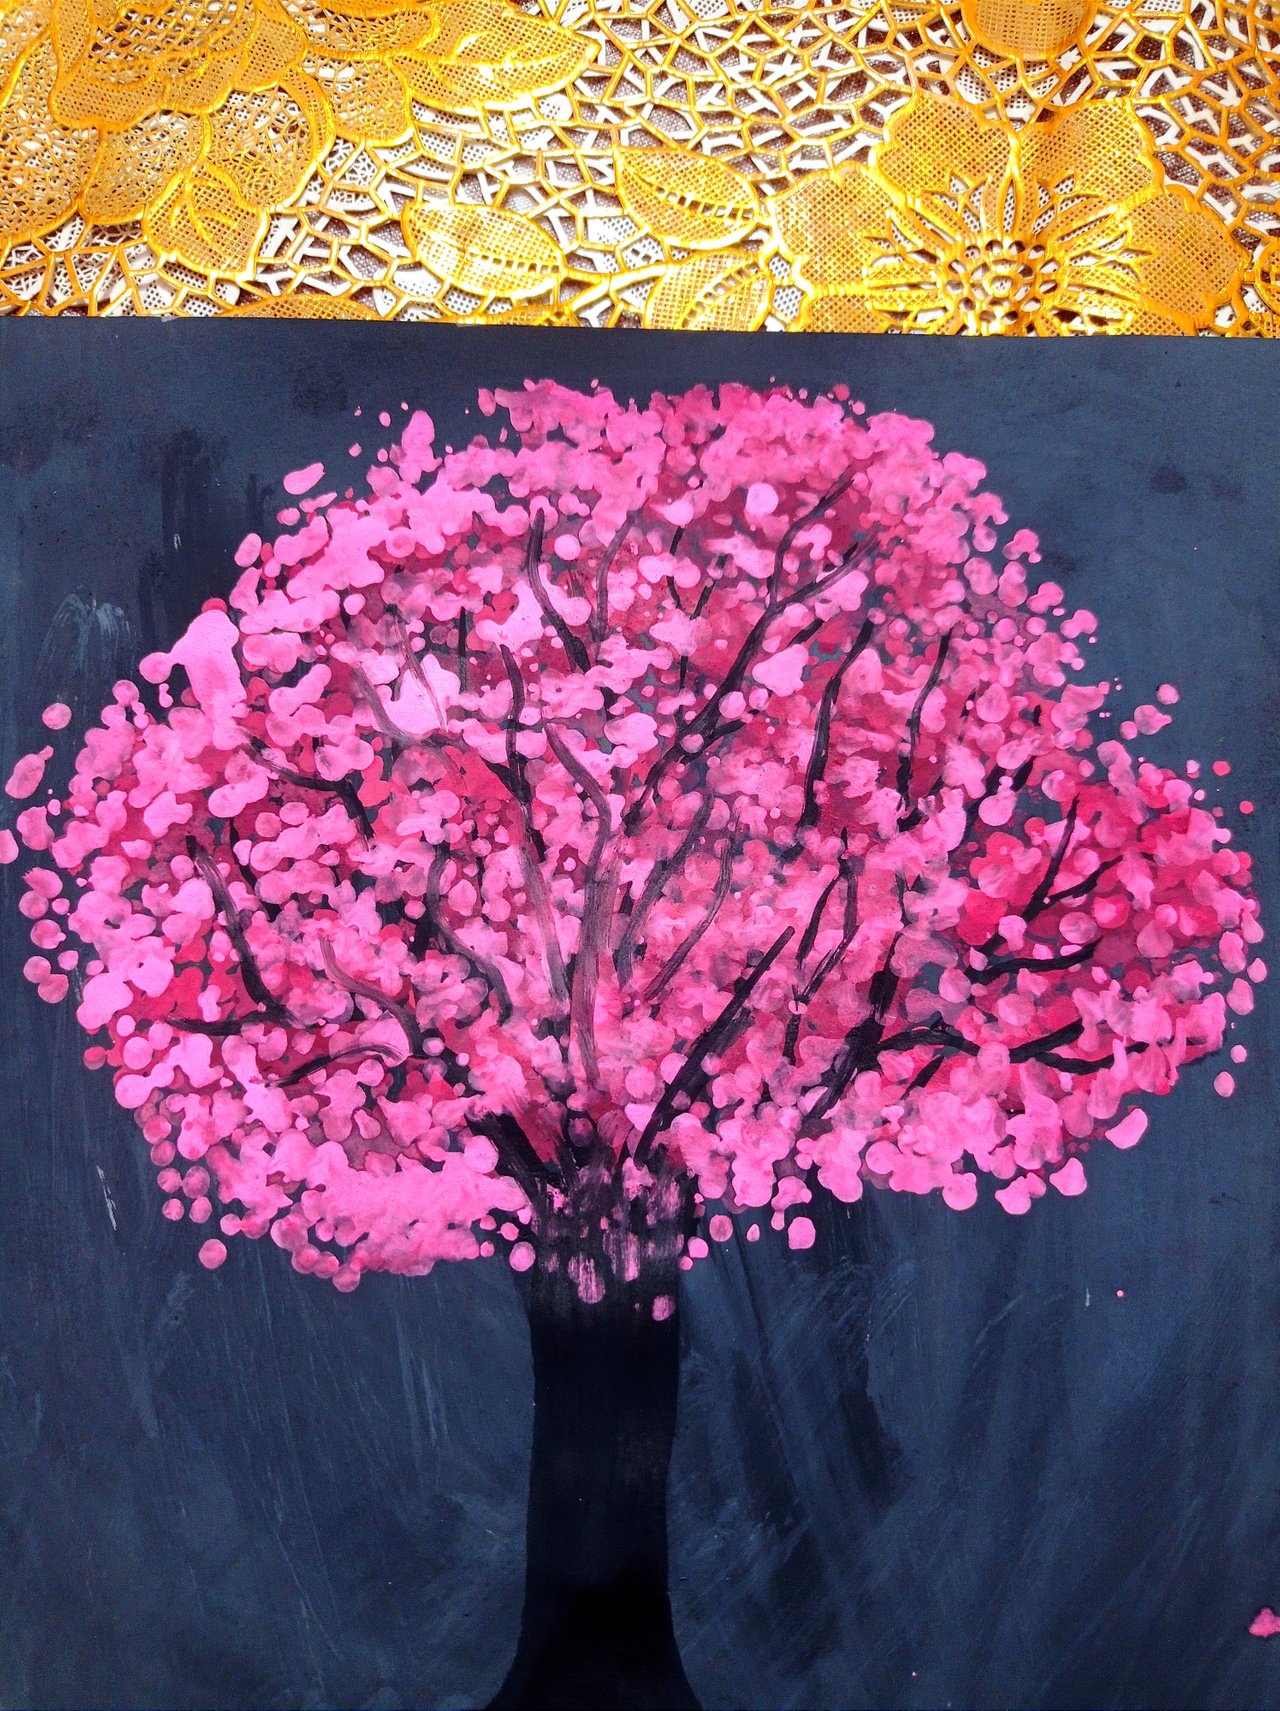
Step-5: In this step I painted the roots, trunk, and branches of the tree with a brush and black colour.
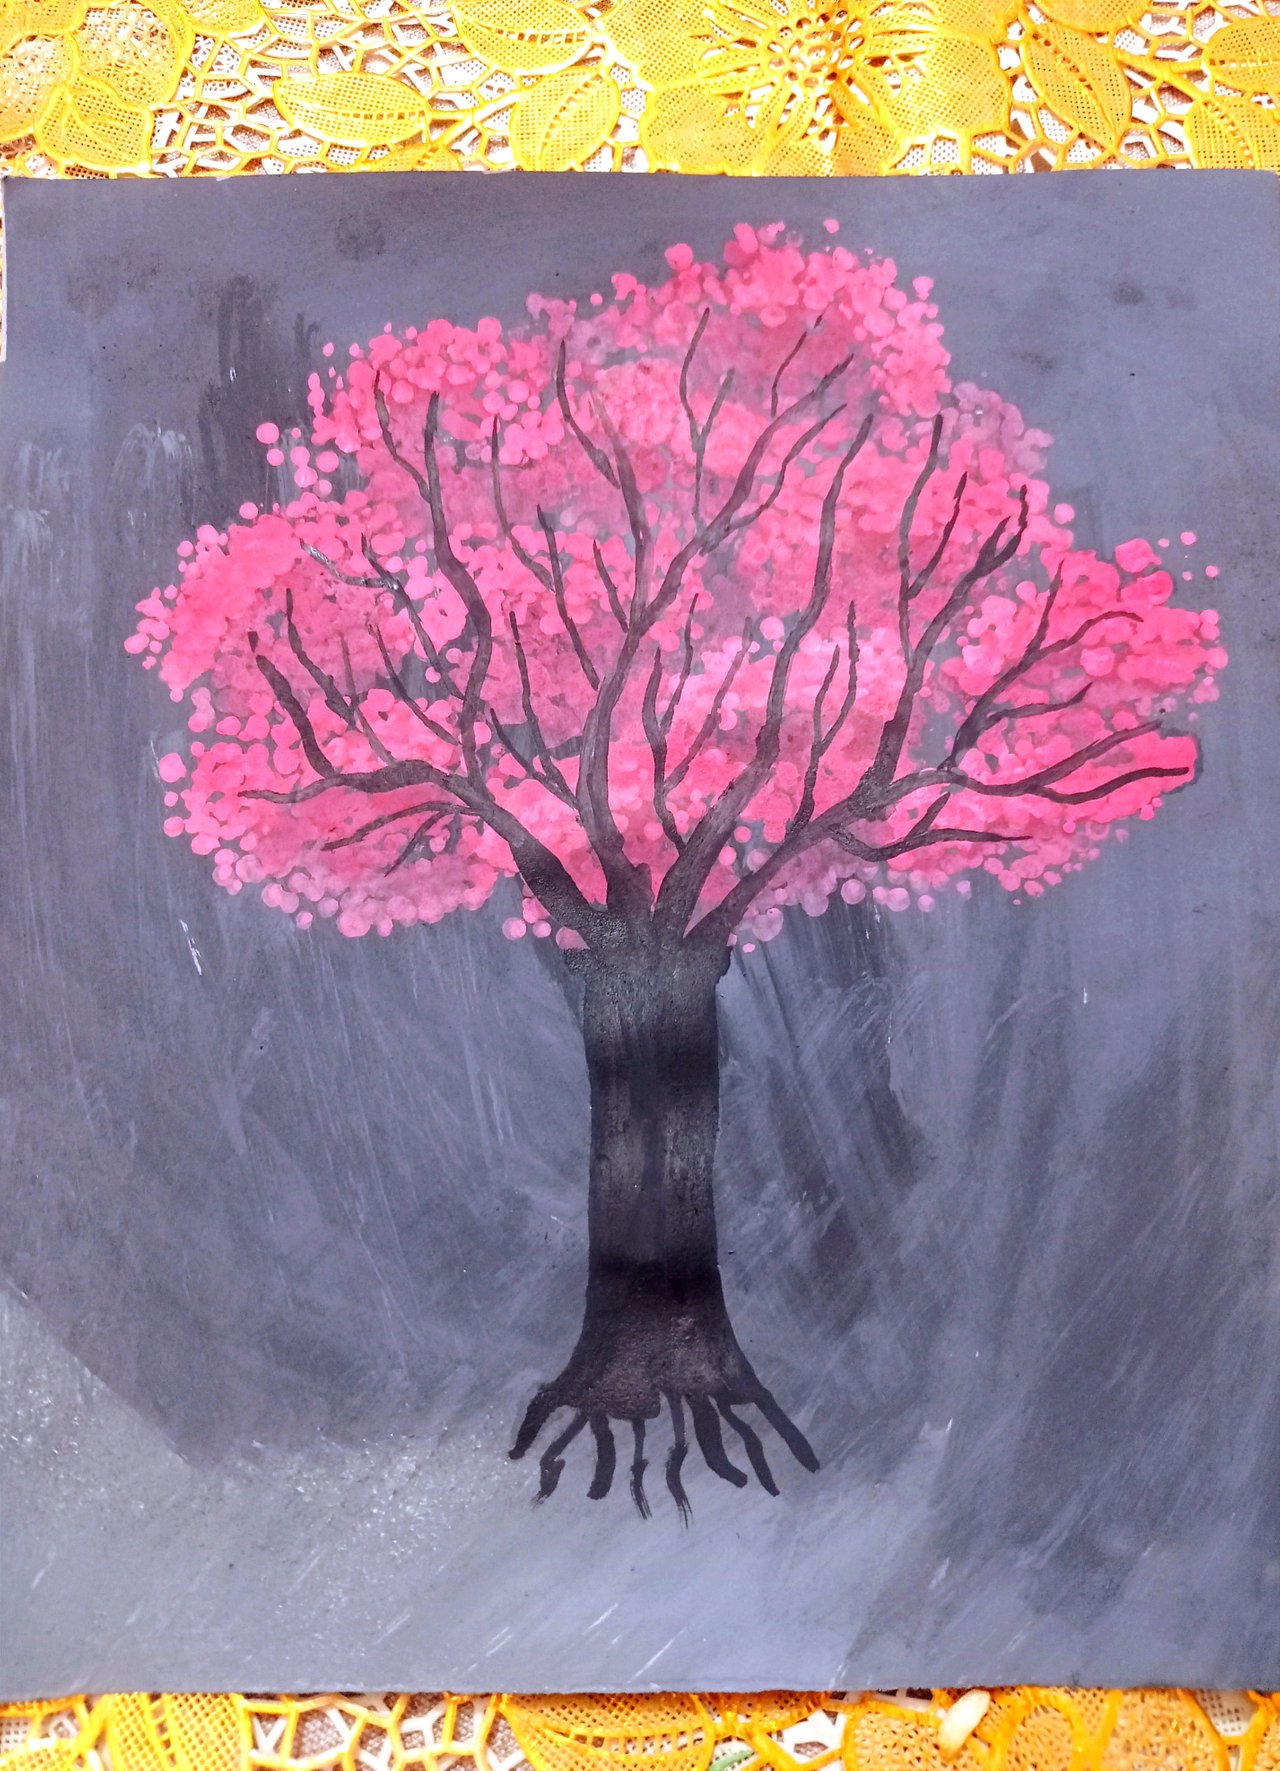
Step-6: Then I swabbed the candy pink colour in the tree branches with cotton buds.
Step-7: In this step I gave the shape of the grass by brushing around the roots of the plants with green colour.
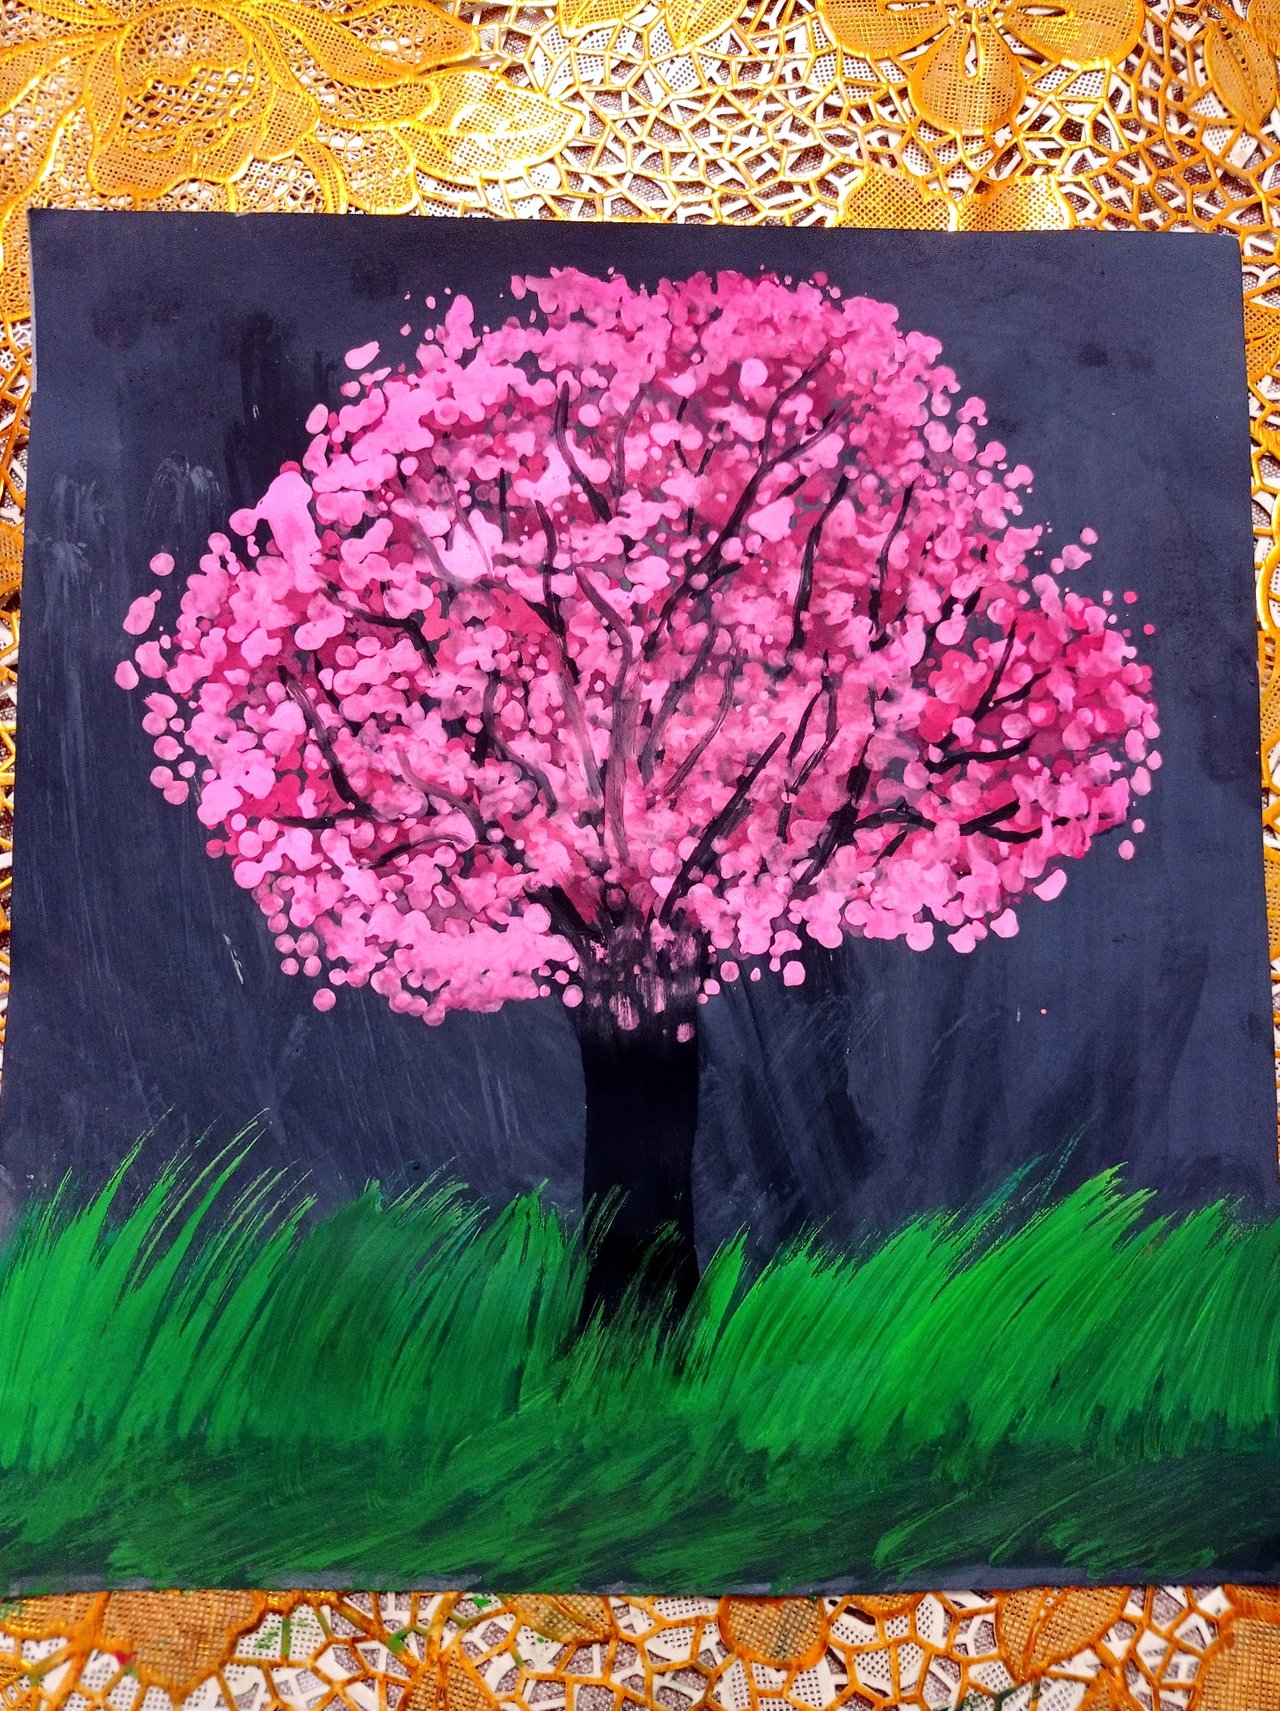
Step-8: Then I painted the tree trunk and branches with olive colour.

Step-9: In the final step I finished the cherry blossom tree and grass painting and tapped them with cotton buds to add candy pink colour from the trees to the grass. So that the cherry blossoms fall down on the grass and thus I have completed my cherry blossom tree drawing.
🌸Thank You🌸