Assalamualaikum all of my friends. How are you all? I hope you are all well. I'm fine too. I am Mohammad Kamran Hossain. Today after a long time I am going to present to you papercraft post and today I am here to make colored paper grasshopper step by step which I am presenting to you now.
- Ruler.
- Scissors.
- Paper gulu.
- Green colour paper.
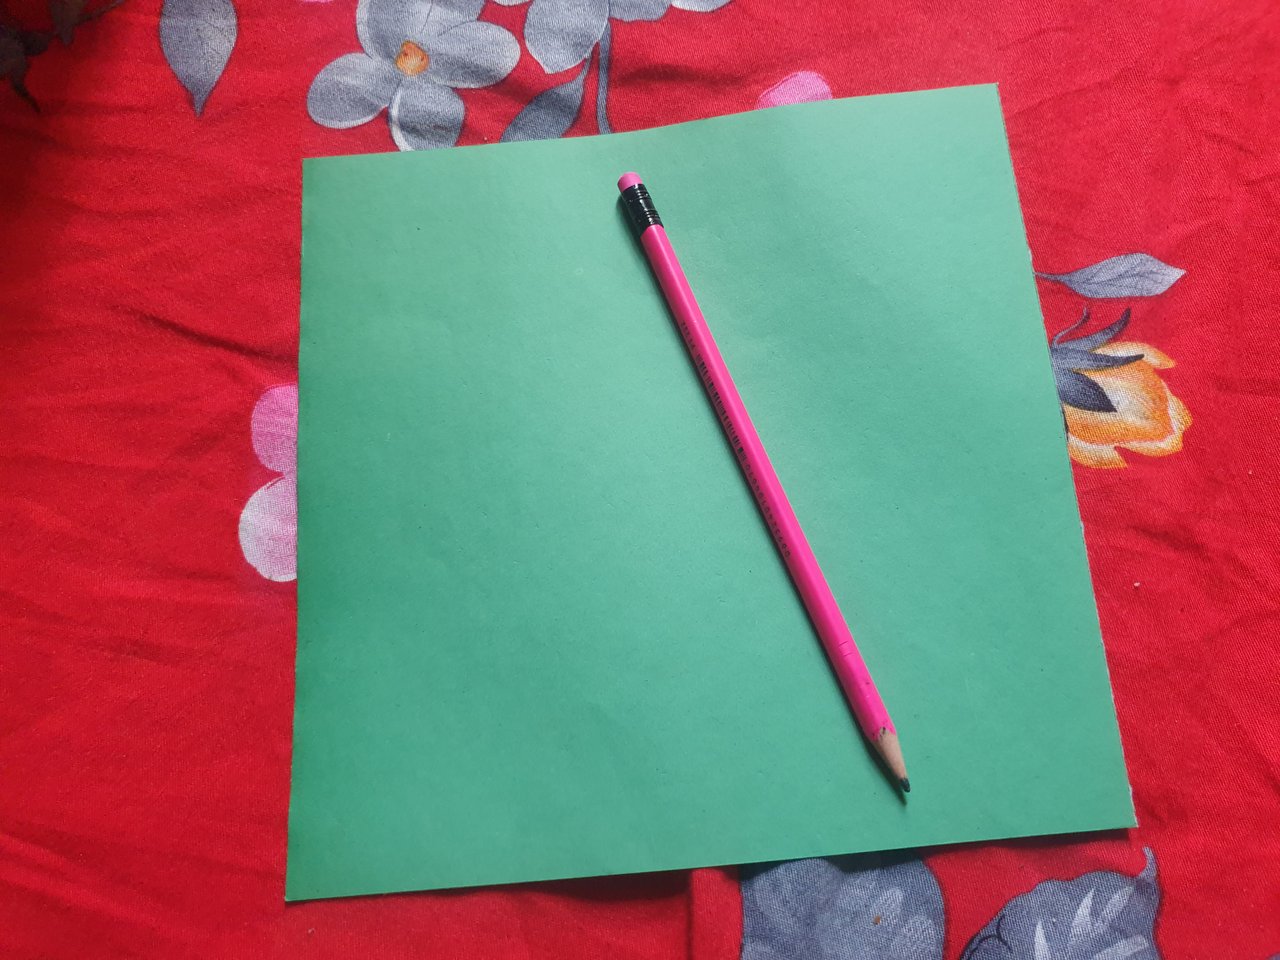
Step 1,
First, take A4 size green color paper and place a ruler on the color paper and cut the green paper squarely with scissors to the size of 20:20 cm.

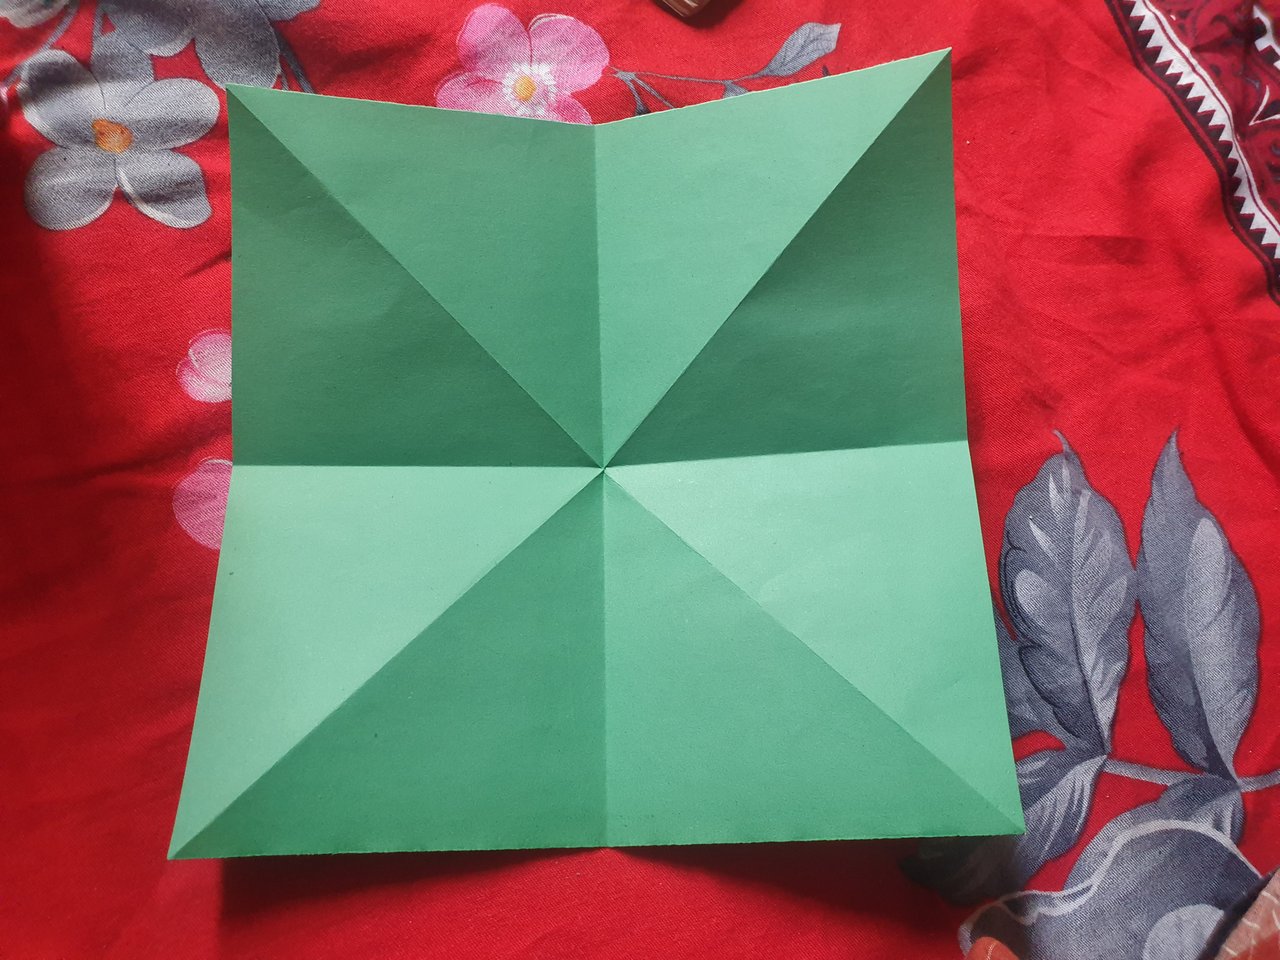
Step 2,
Fold the square green paper around and unfold the paper from the paper.
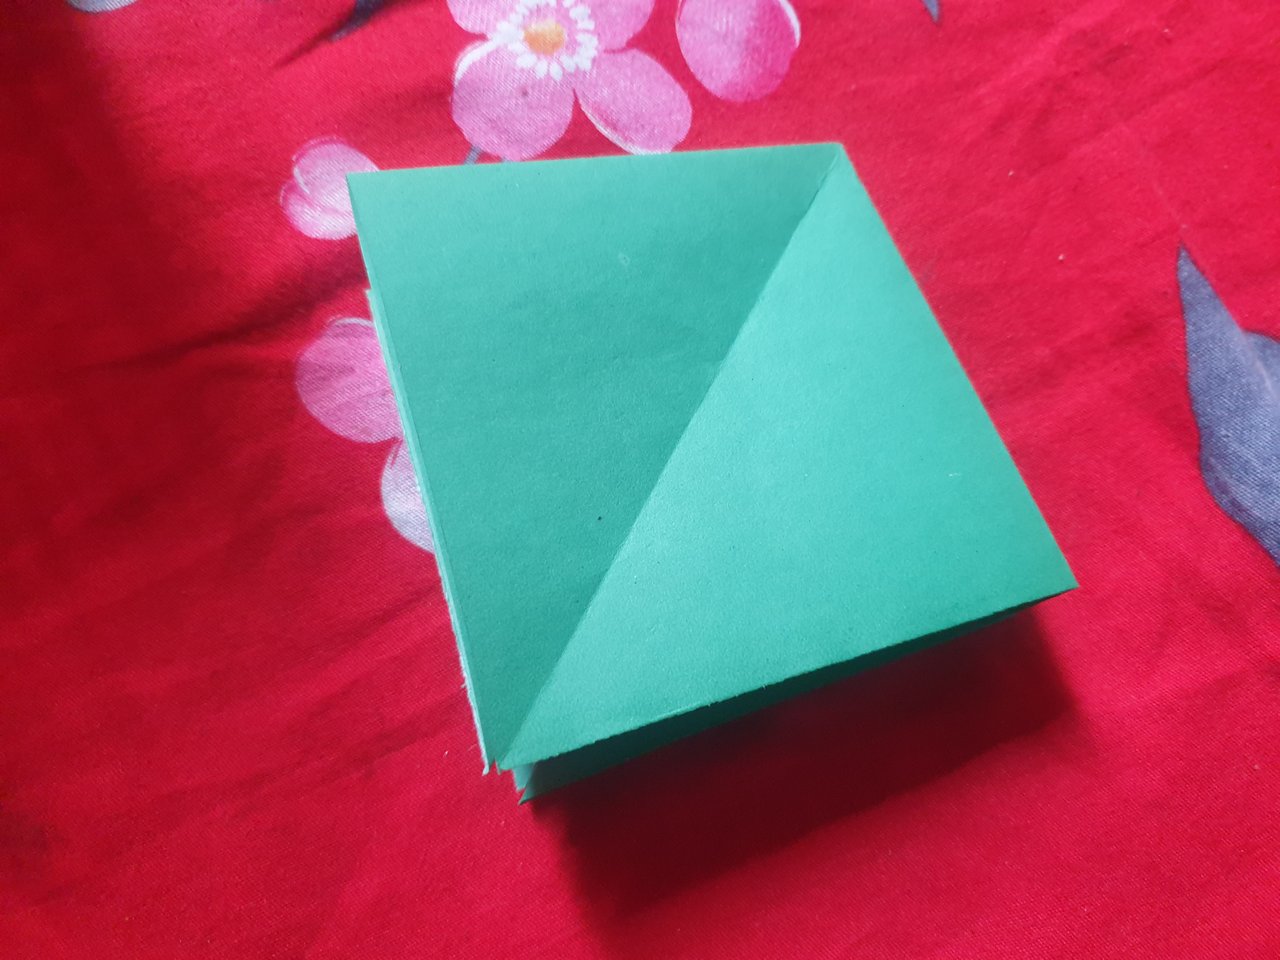
Step 3,
Fold the paper squarely into two sections by pressing with fingers along a perpendicular crease in the middle of the folded square green paper.
Step 4,
Make two small folds from both sides of the paper on the small square paper decorated with two pieces.
Step 5,
Unfold the square folded paper and fold the paper lengthwise one more time.

Step 6,
Now turn the green folded paper upside down and fold the paper perpendicularly like the first fold of the paper and make a square fold of the green paper.
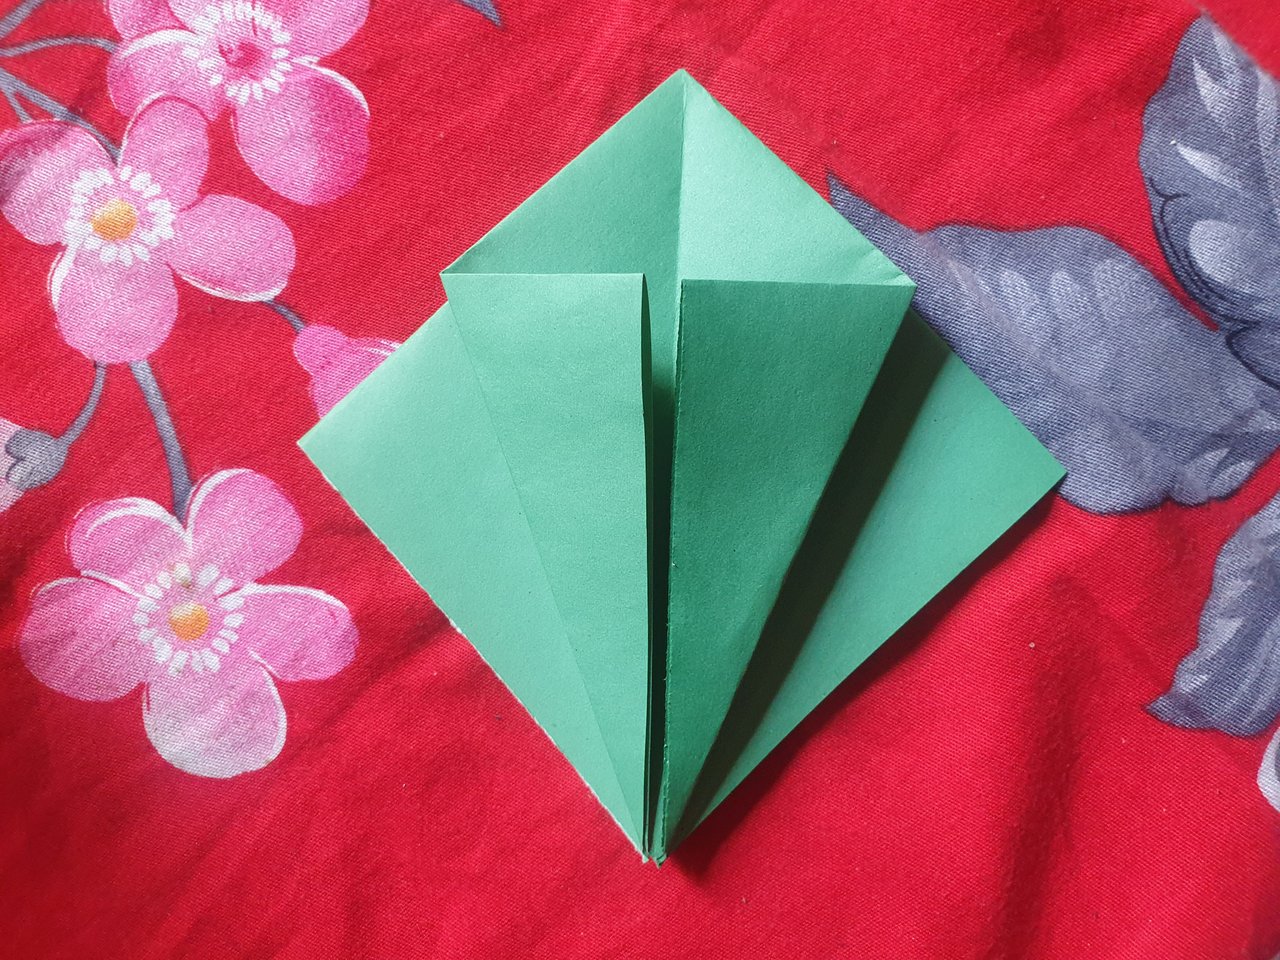
Step 7,
Now fold one edge of the green paper lengthwise into a triangle and fold the green paper thinner than before.
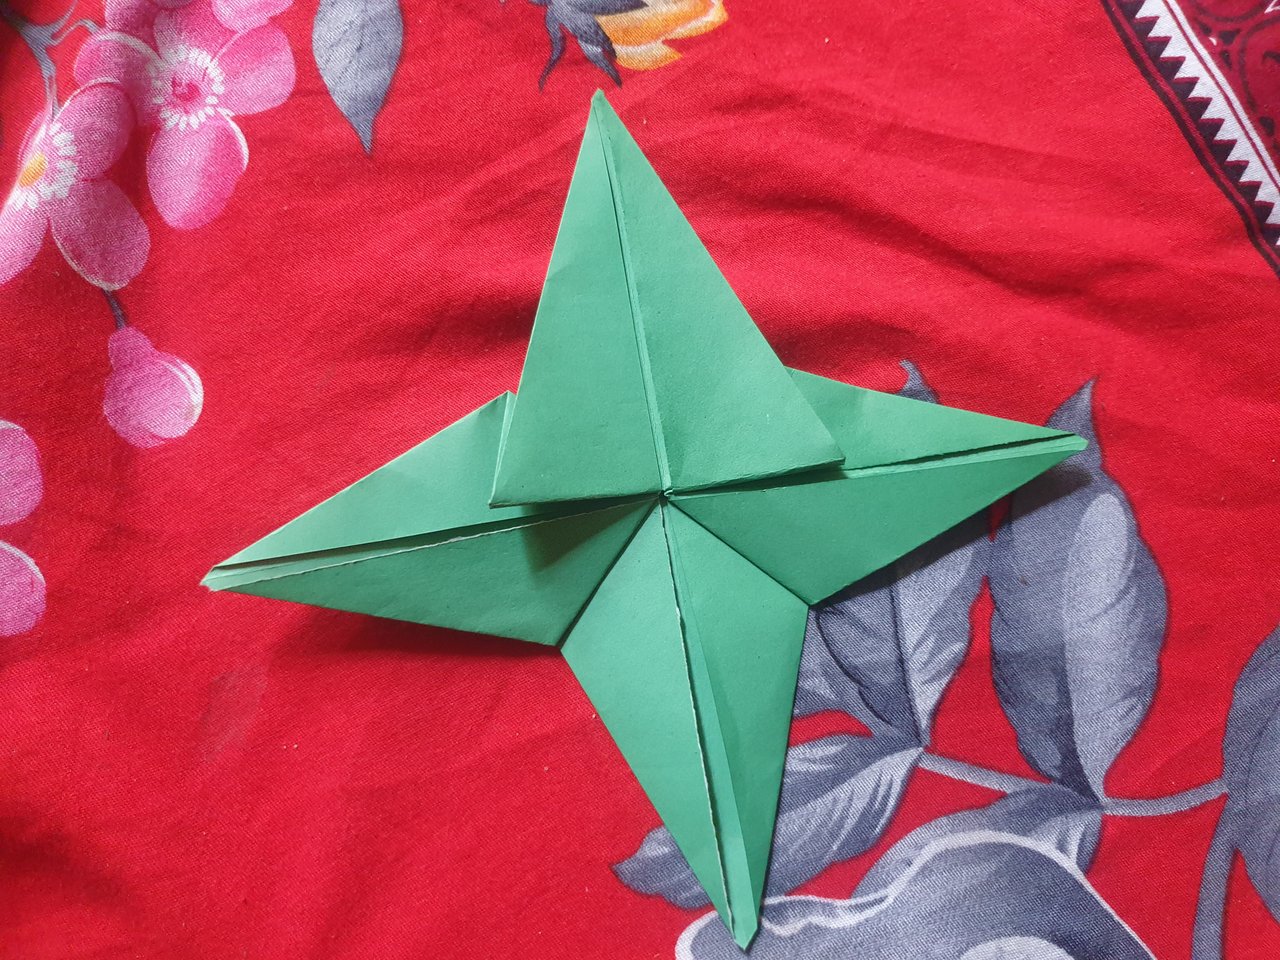
Step 8,
In this step, the two corners of the square green paper are cut perpendicularly by scissors on either side of the green paper.

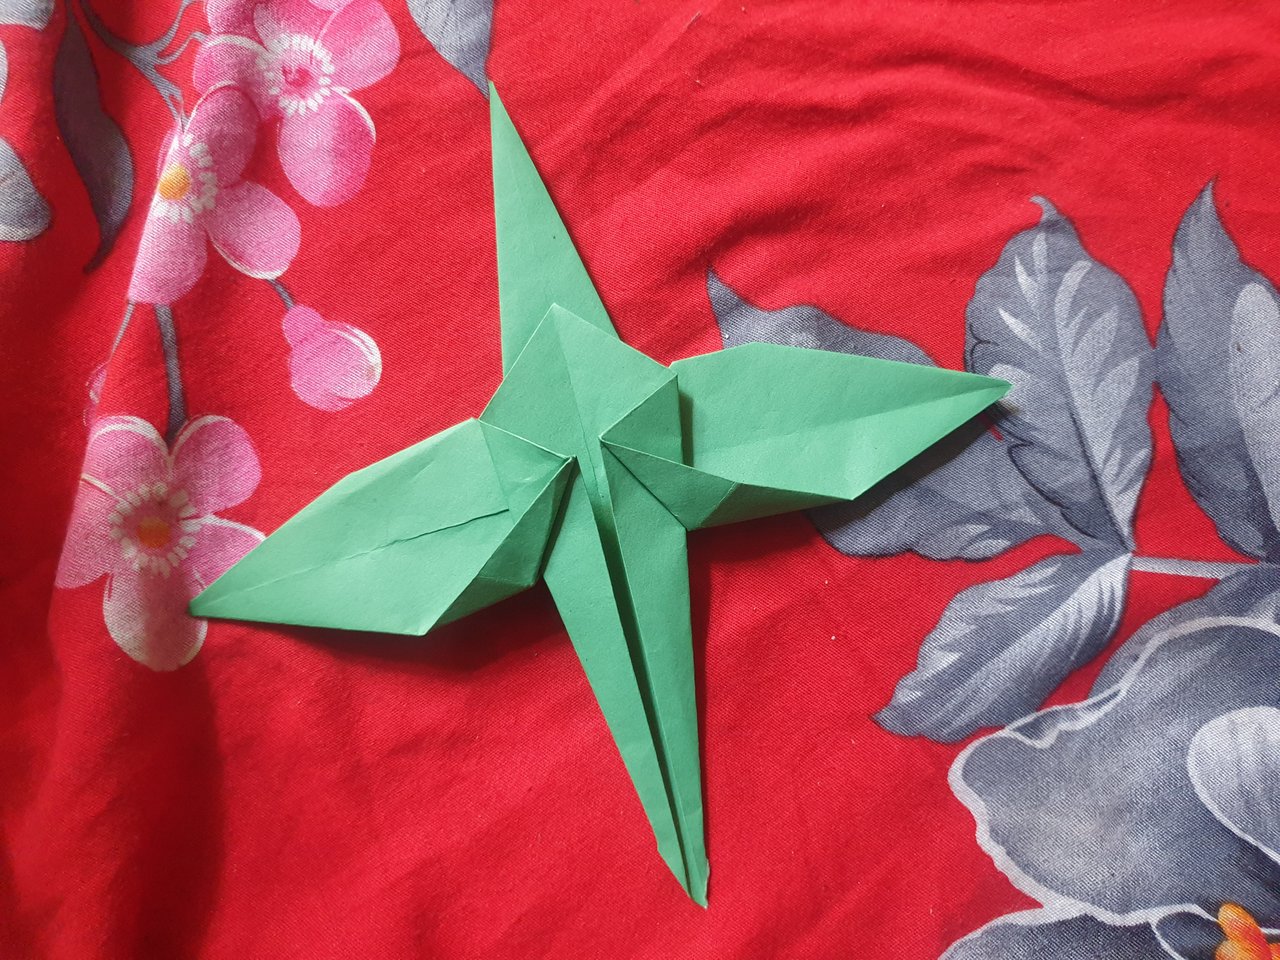
Step 9,
Then put paper glue between the squares of green paper and join the paper with a fold along the middle of the green paper.
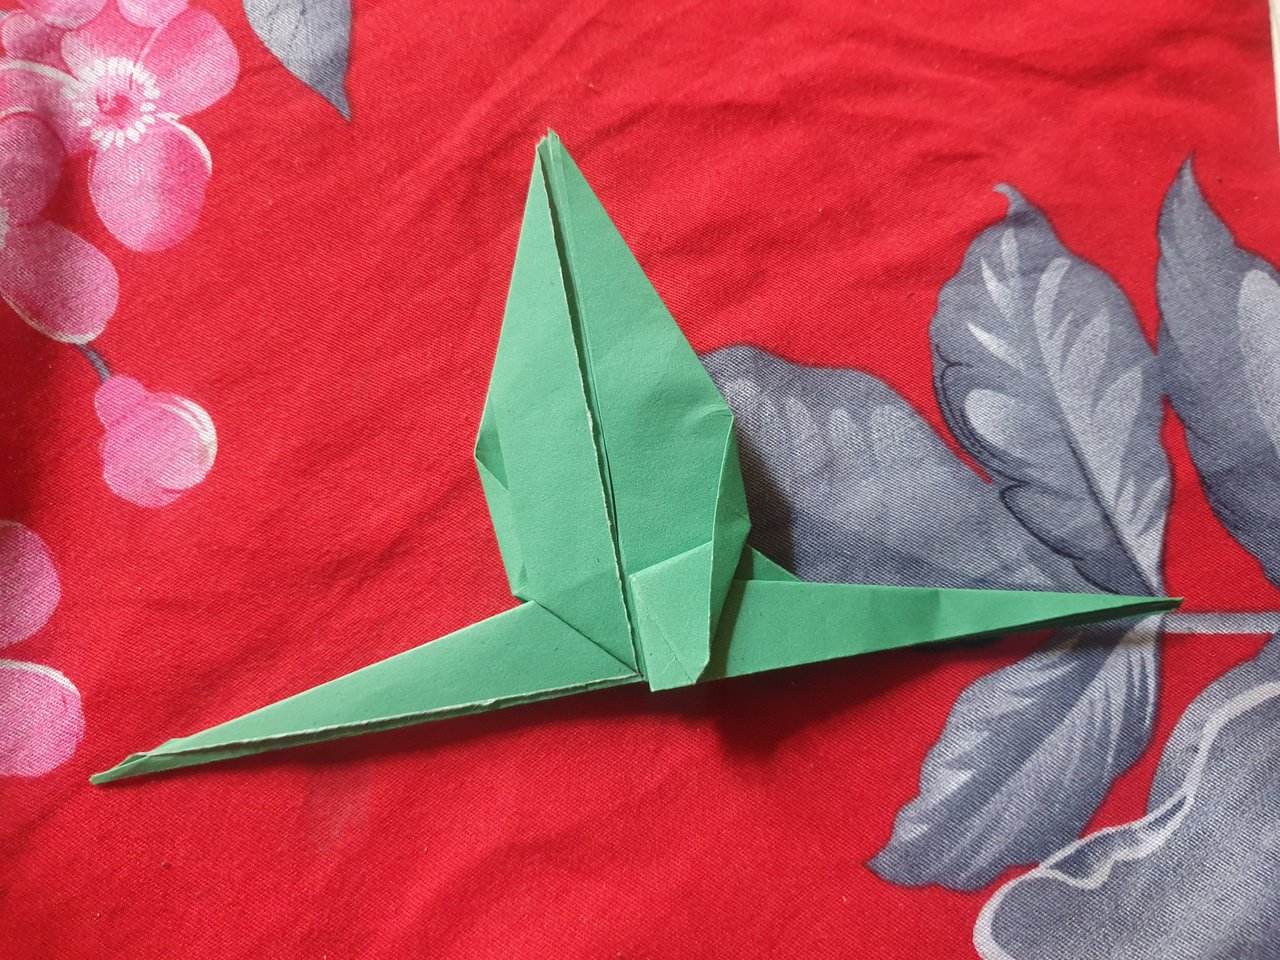
Step 10,
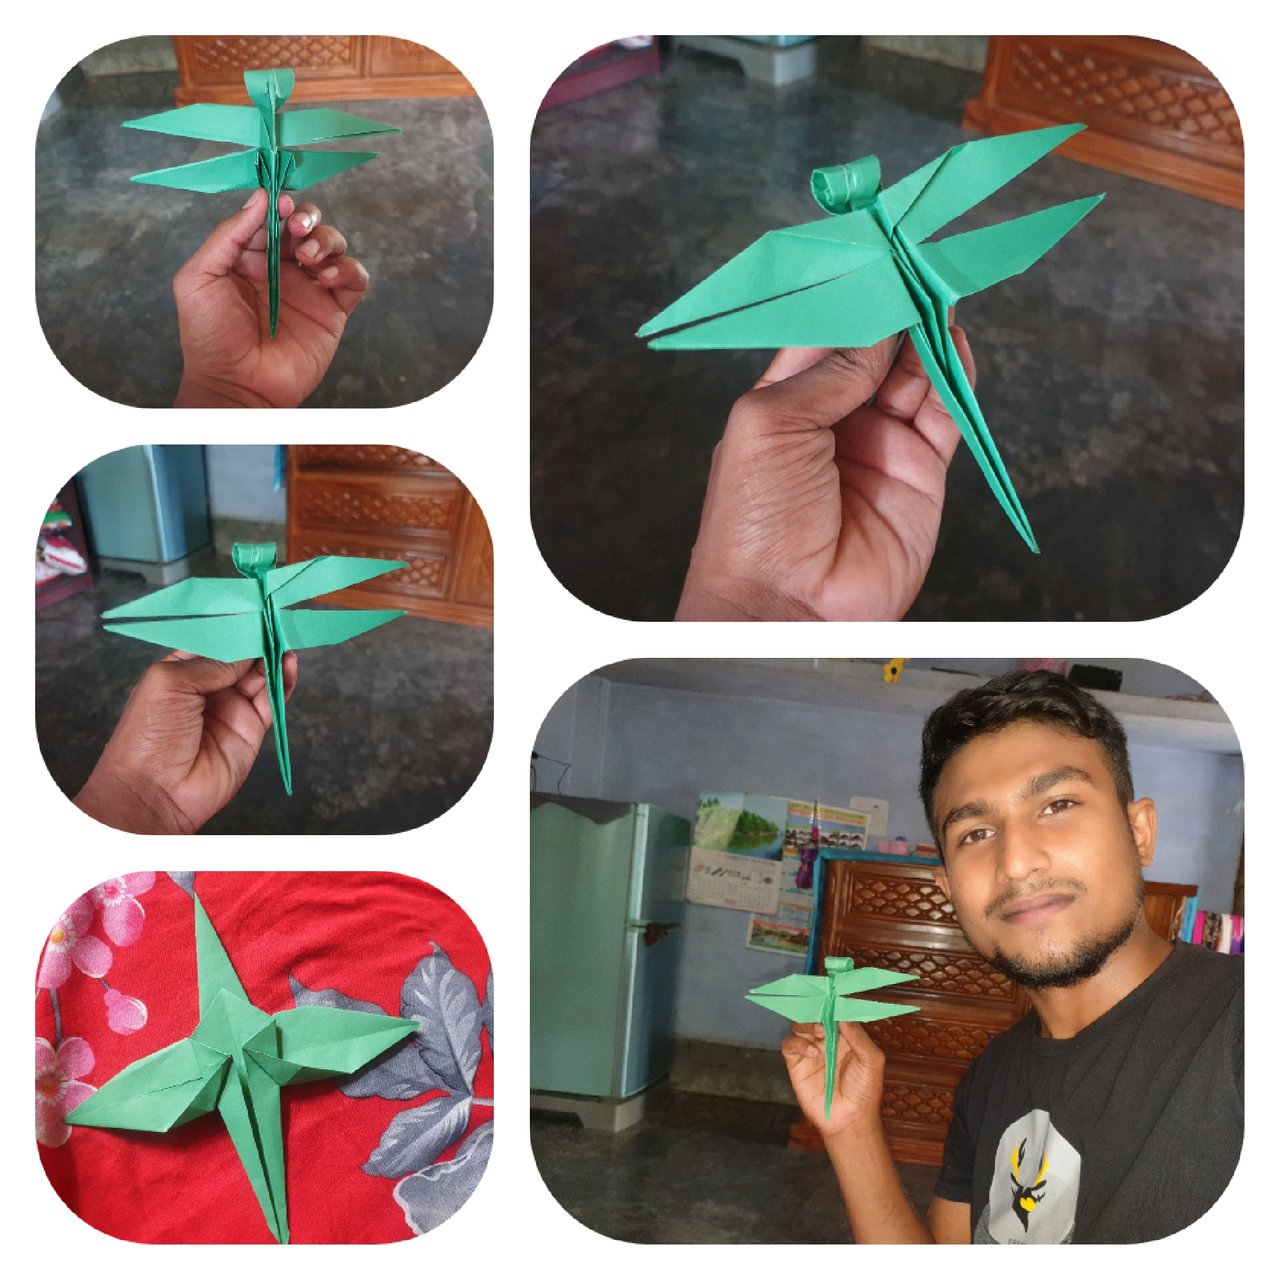
In the last step, I folded one of the two ends of the green paper into a circle and folded the green paper as the wings of the grasshopper to complete the process of making a complete grasshopper.
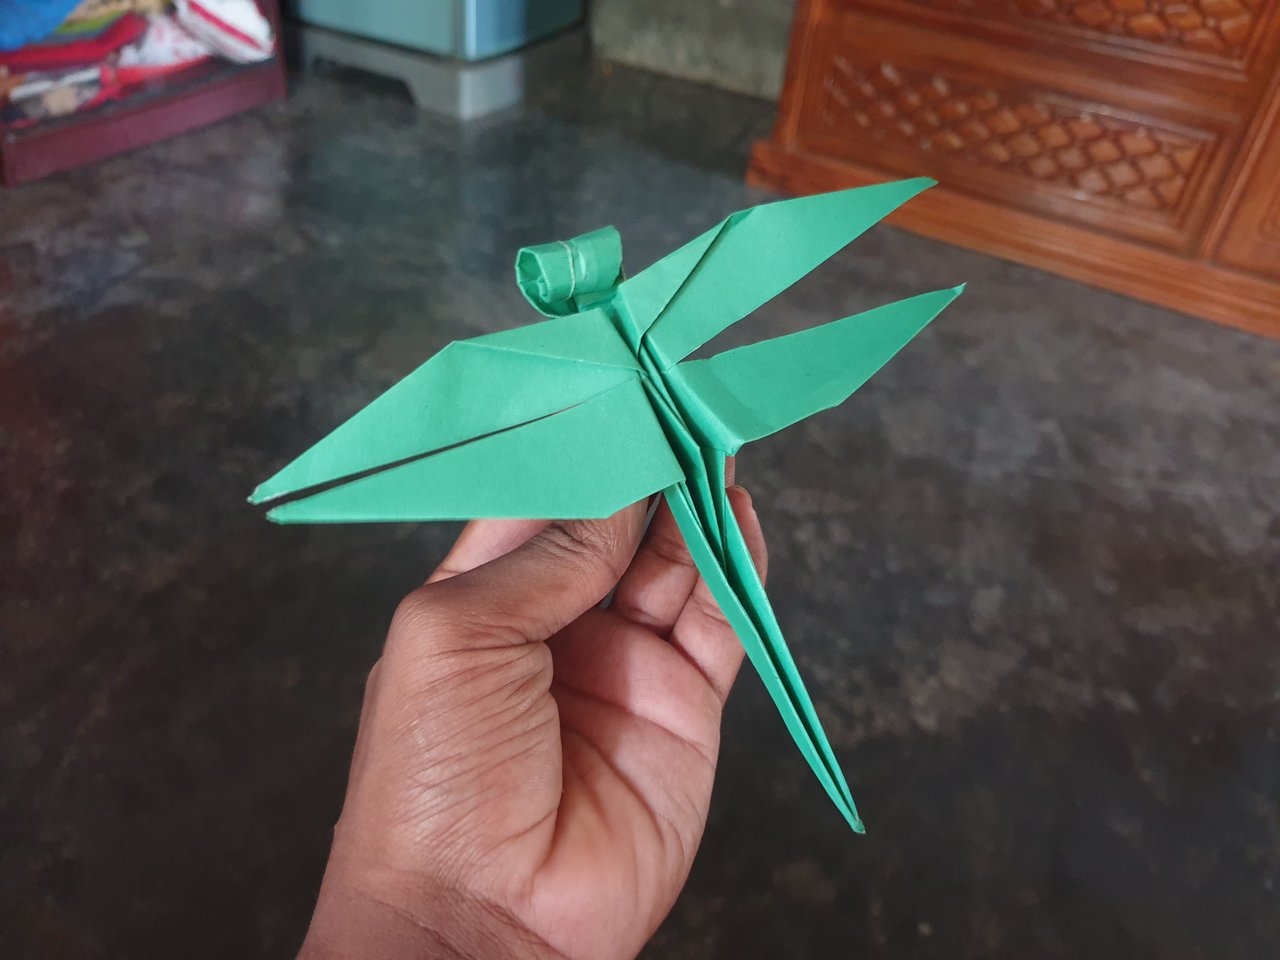

As of today, this is the green paper grasshopper I made that I presented to you step by step through photography so far and I hope you will like this green paper grasshopper I made.

| A | B |
|---|---|
| Photographer | Me |
| Device | Samsung Galaxey S9+ |