Papercraft : Small pencil box made from colored paper.

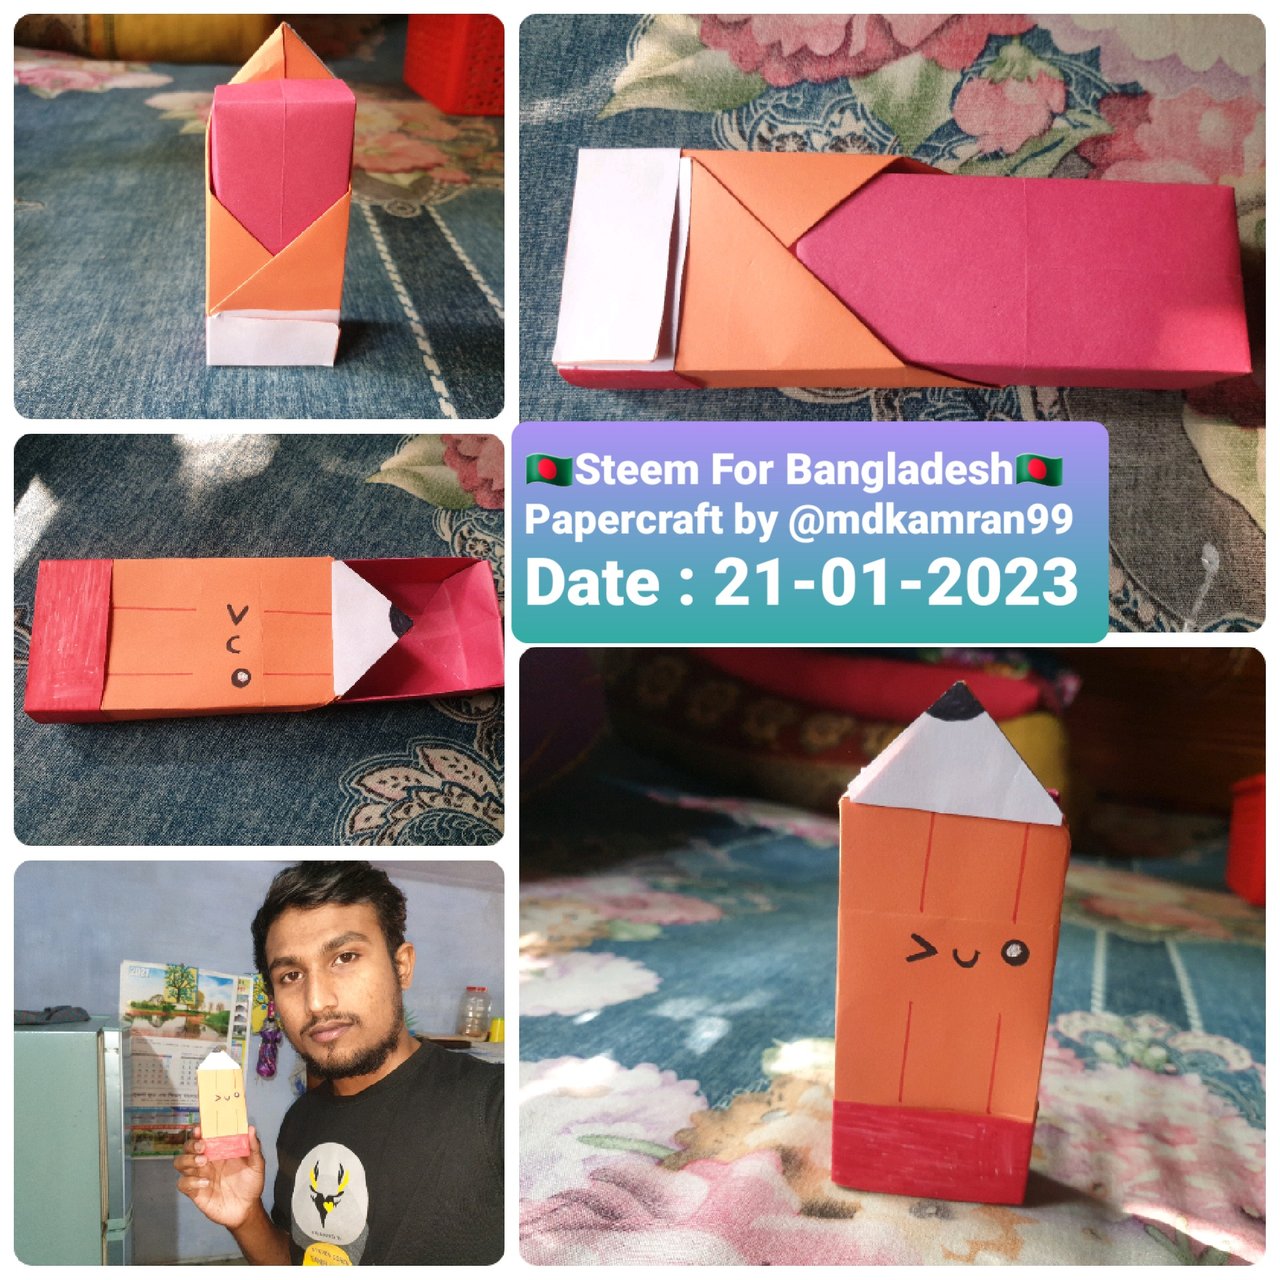
Assalamualaikum all of my friends. How are you all?I hope you are all well. I'm fine too. I am Mohammad Kamran Hossain. After several days, today I am back among you with my new papercraft post. This morning I finished some of my homework and started making today's papercraft. Today's paper craft is a small pencil box that I made step by step with several colored papers that I am here to present to you. I hope you like this colored paper craft or small pencil box that I made.

20230121_182109.jpg

Materials for making pencil boxes
  • Ruler.
  • Scissors.
  • Red colour paper.
  • White colour paper.
  • Orange colour paper.
  • Red ink colour pencil.
  • Black ink colour pencil.
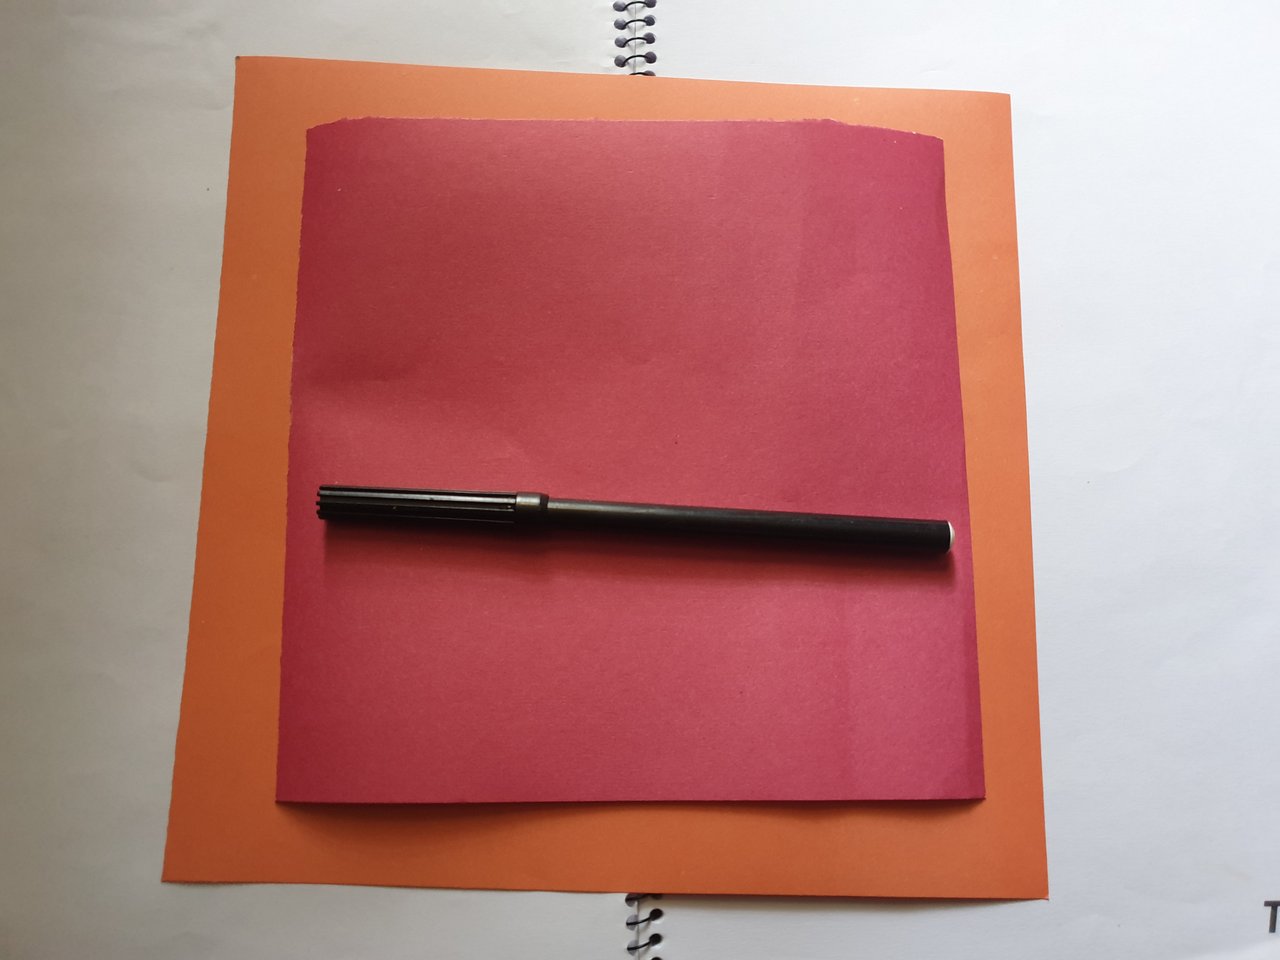
Let's start making the pencil box
Step 1,

First take two A4 size red & orange color paper. Then the orange paper measures 21:21 cm and the red paper measures 18:18 cm using scissors to cut the paper into two squares.
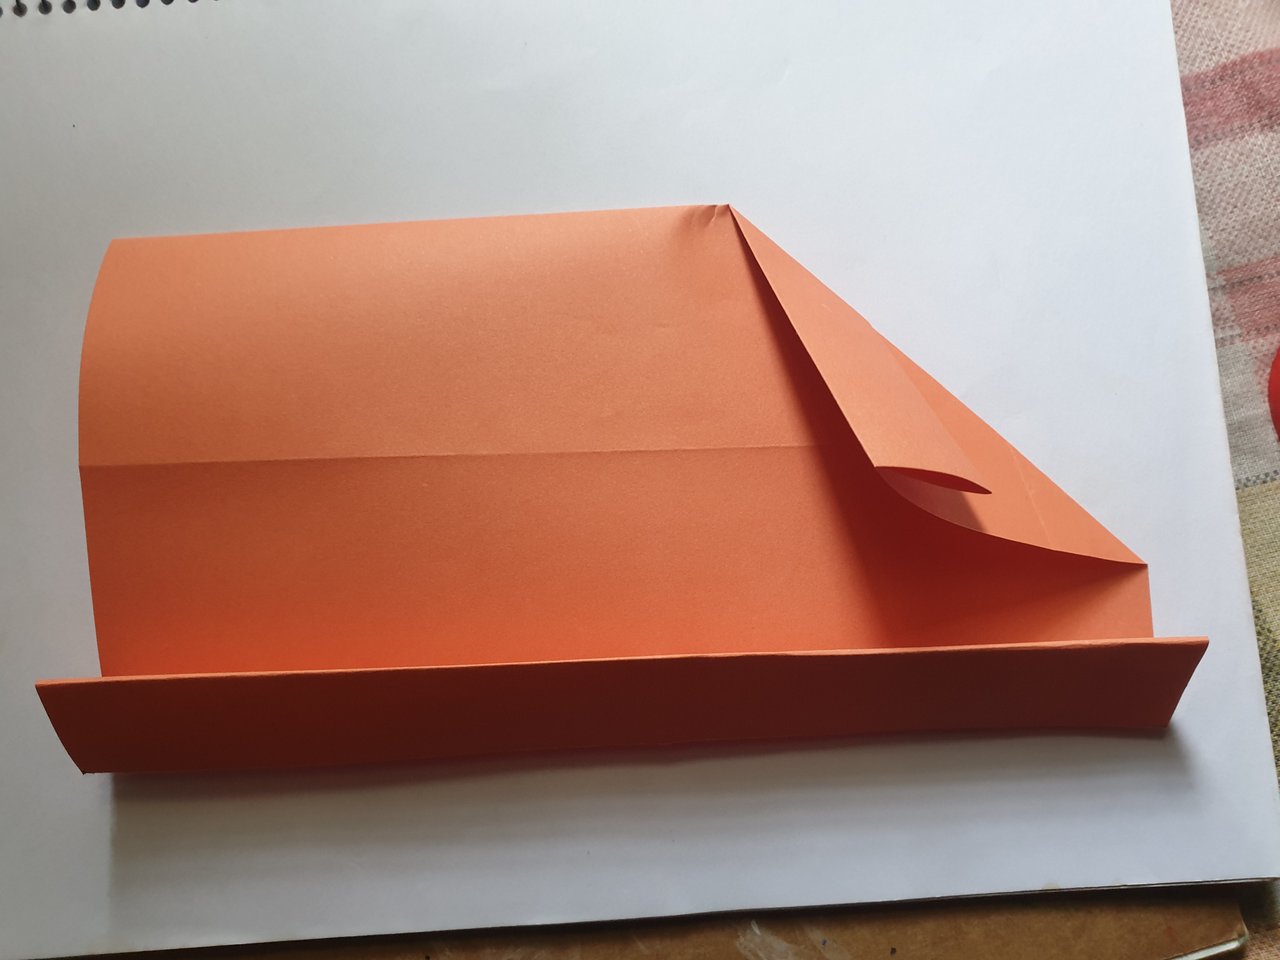
20230121_114527.jpg

DiHLrjiPetHt6ciV9azim9NPHuTMQ59H51nYE8xqo83cHxoWjkEXJT9iFny5FDK6V87zhnX5kJcSGE6ahn1RouZuijdX8aHZSZuNzNLrHLCesrYQeLFEN3XWqtzgug...5JkLh48hmSy2Vocb8Q1ZmVRFSQE6pKeyXuZTkTt2EgzjyyZw14xbJEQeSpMhQGMsjfy2JgnjmiZATtiTZUt9hdaNJ5oWr4DTthVH964jvSwCVZQRoyCX3KLi6i.png

Step 2,

Now take the orange paper and fold the orange paper along the middle and then another fold in half.
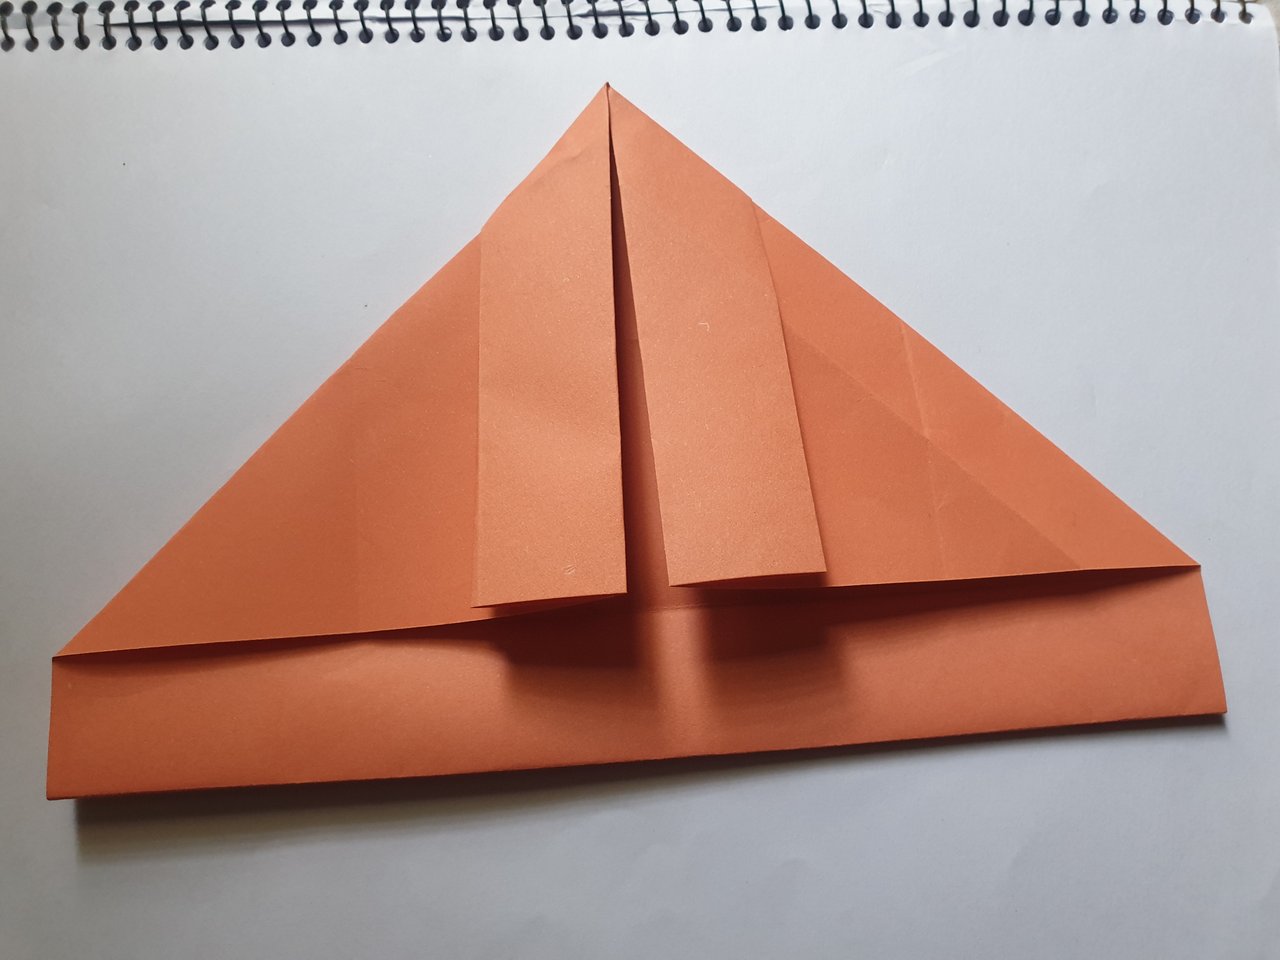
20230121_114952.jpg

DiHLrjiPetHt6ciV9azim9NPHuTMQ59H51nYE8xqo83cHxoWjkEXJT9iFny5FDK6V87zhnX5kJcSGE6ahn1RouZuijdX8aHZSZuNzNLrHLCesrYQeLFEN3XWqtzgug...5JkLh48hmSy2Vocb8Q1ZmVRFSQE6pKeyXuZTkTt2EgzjyyZw14xbJEQeSpMhQGMsjfy2JgnjmiZATtiTZUt9hdaNJ5oWr4DTthVH964jvSwCVZQRoyCX3KLi6i.png

Step 3,

Fold the orange paper into a triangle.
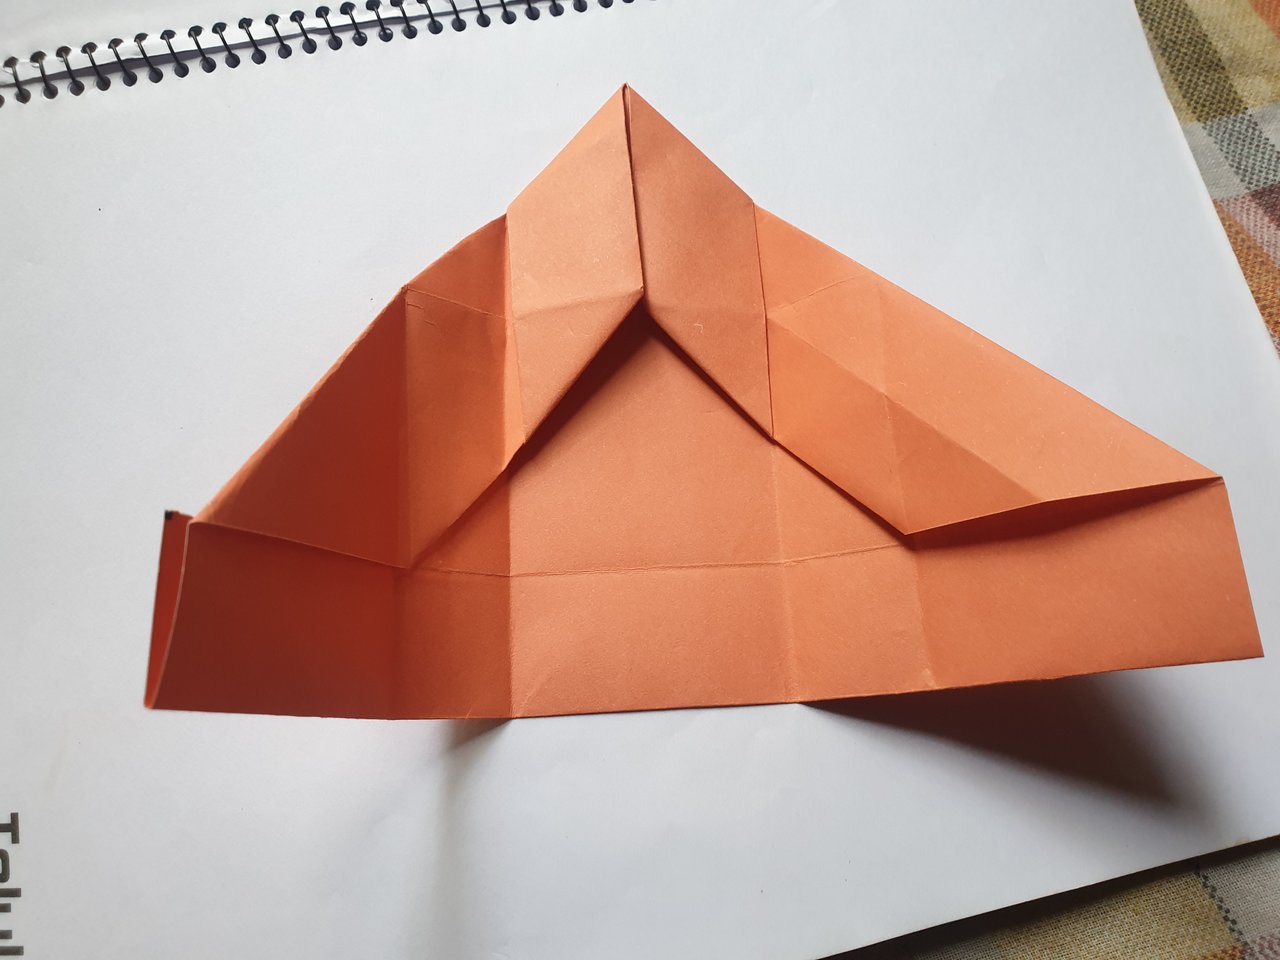
20230121_115132.jpg

DiHLrjiPetHt6ciV9azim9NPHuTMQ59H51nYE8xqo83cHxoWjkEXJT9iFny5FDK6V87zhnX5kJcSGE6ahn1RouZuijdX8aHZSZuNzNLrHLCesrYQeLFEN3XWqtzgug...5JkLh48hmSy2Vocb8Q1ZmVRFSQE6pKeyXuZTkTt2EgzjyyZw14xbJEQeSpMhQGMsjfy2JgnjmiZATtiTZUt9hdaNJ5oWr4DTthVH964jvSwCVZQRoyCX3KLi6i.png

Step 4,

Fold the triangular paper from the right side along the middle of the paper.
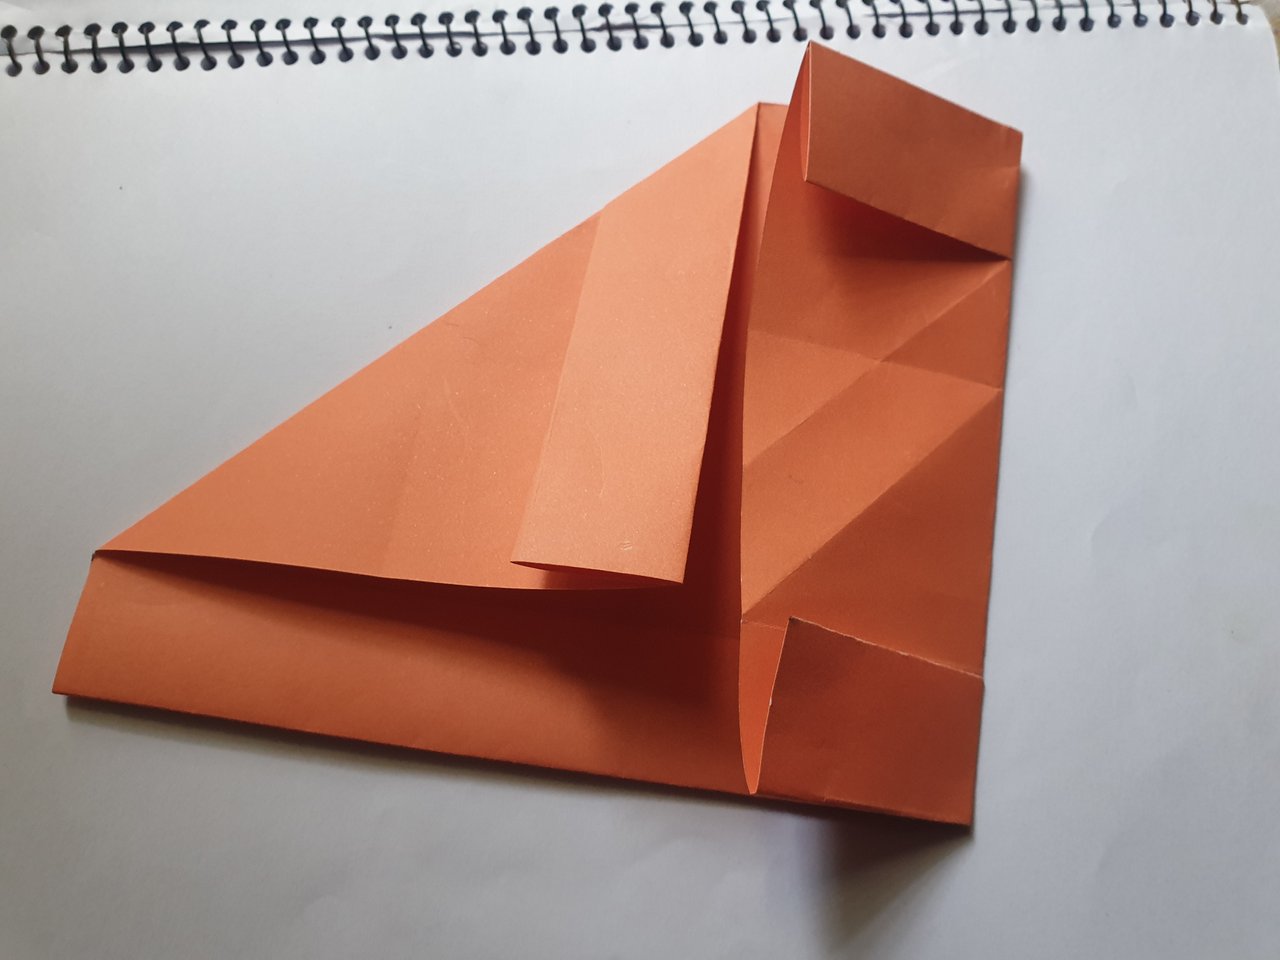
20230121_115249.jpg

DiHLrjiPetHt6ciV9azim9NPHuTMQ59H51nYE8xqo83cHxoWjkEXJT9iFny5FDK6V87zhnX5kJcSGE6ahn1RouZuijdX8aHZSZuNzNLrHLCesrYQeLFEN3XWqtzgug...5JkLh48hmSy2Vocb8Q1ZmVRFSQE6pKeyXuZTkTt2EgzjyyZw14xbJEQeSpMhQGMsjfy2JgnjmiZATtiTZUt9hdaNJ5oWr4DTthVH964jvSwCVZQRoyCX3KLi6i.png

Step 5,

Now make some folds perpendicularly from the two sides of the triangular paper and fold the two ends of the triangle of the triangular paper along the two sides.
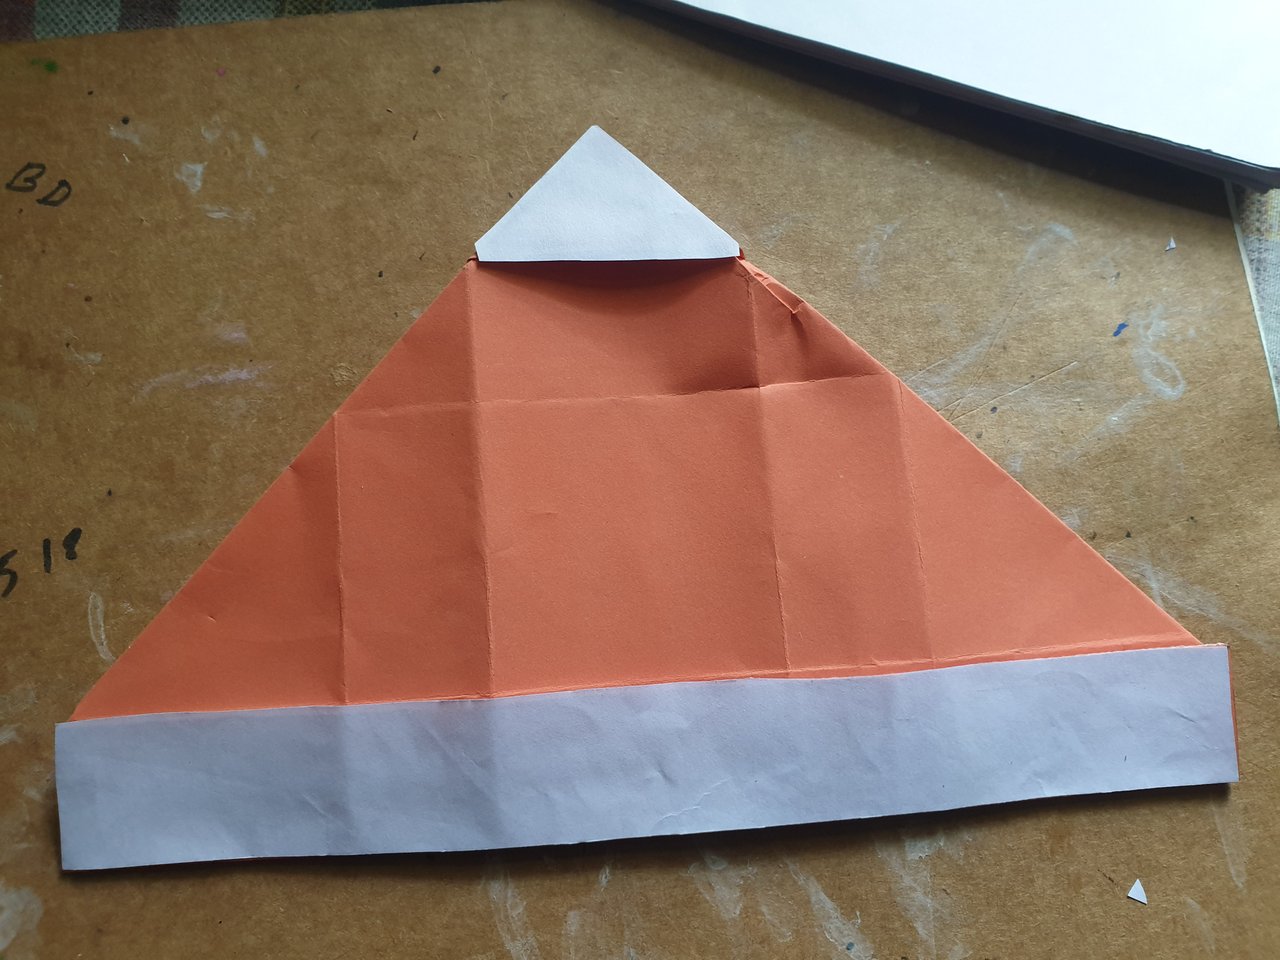
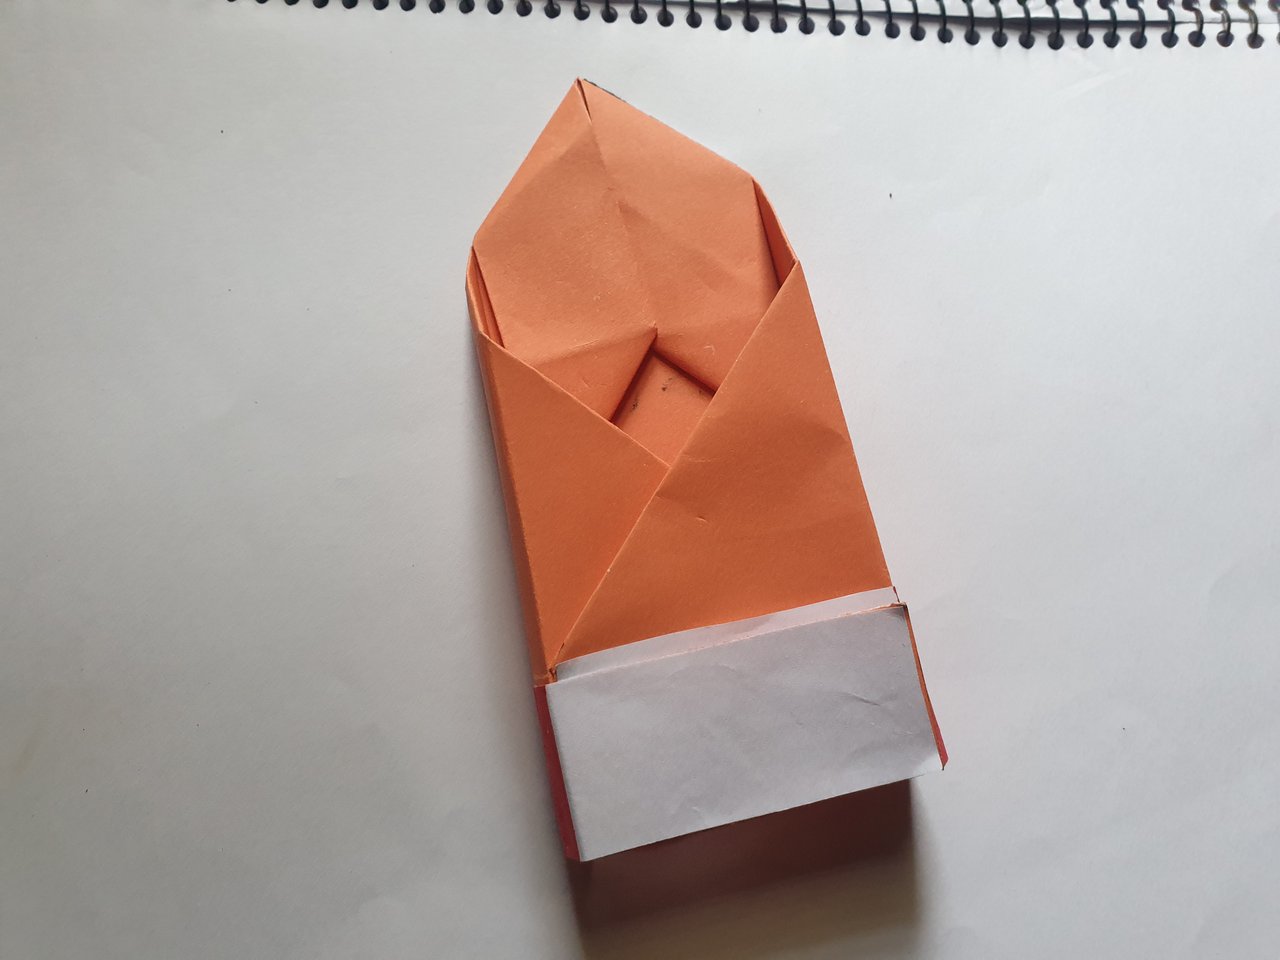
20230121_115841.jpg

DiHLrjiPetHt6ciV9azim9NPHuTMQ59H51nYE8xqo83cHxoWjkEXJT9iFny5FDK6V87zhnX5kJcSGE6ahn1RouZuijdX8aHZSZuNzNLrHLCesrYQeLFEN3XWqtzgug...5JkLh48hmSy2Vocb8Q1ZmVRFSQE6pKeyXuZTkTt2EgzjyyZw14xbJEQeSpMhQGMsjfy2JgnjmiZATtiTZUt9hdaNJ5oWr4DTthVH964jvSwCVZQRoyCX3KLi6i.png

Step 6,

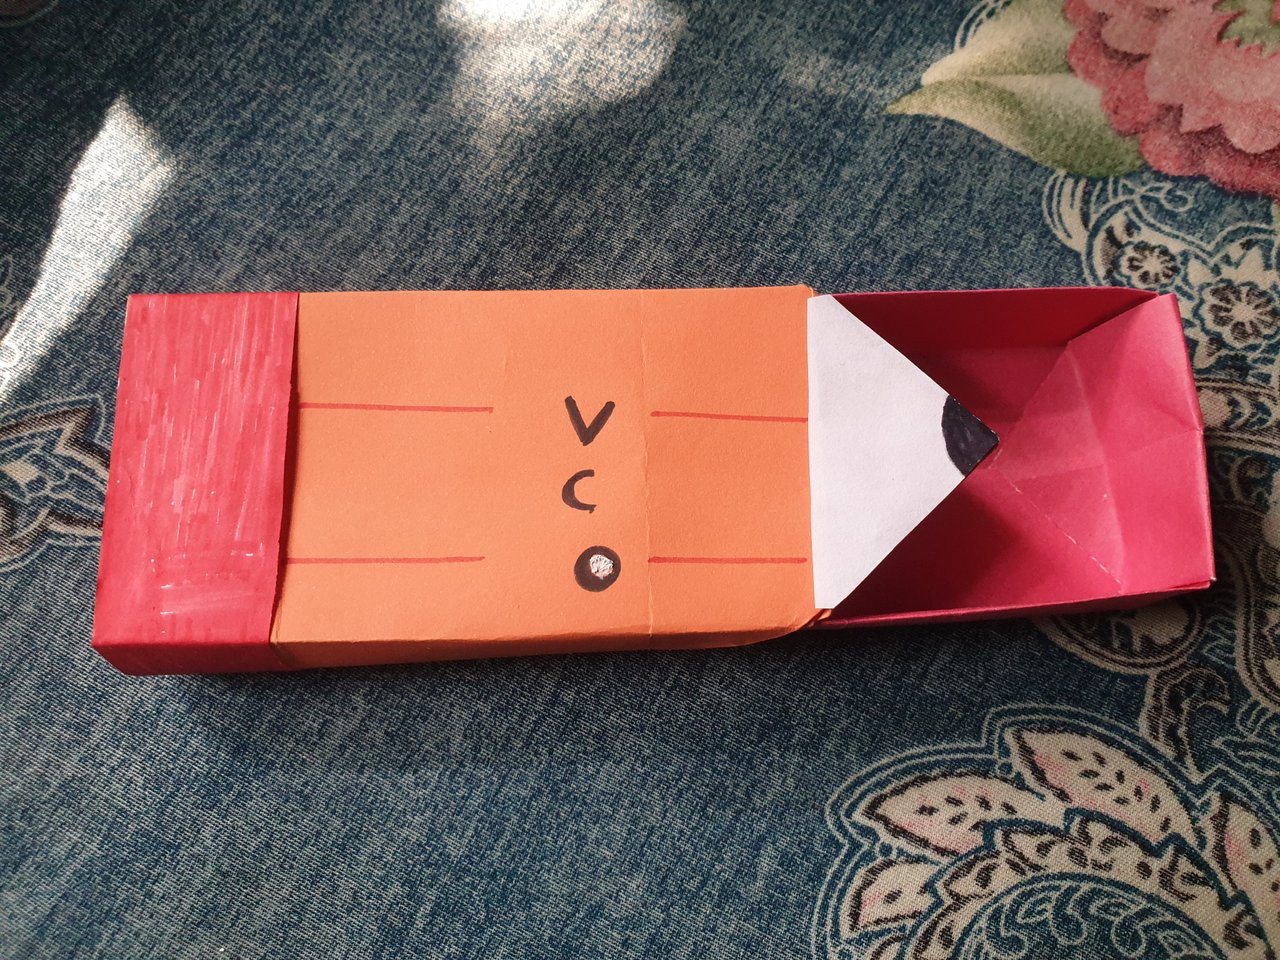
Turn the triangular paper upside down and attach the small white paper triangle to the top of the triangular paper with paper glue. At the same time, place a thin piece of white paper vertically on the bottom of the triangular paper with paper glue.
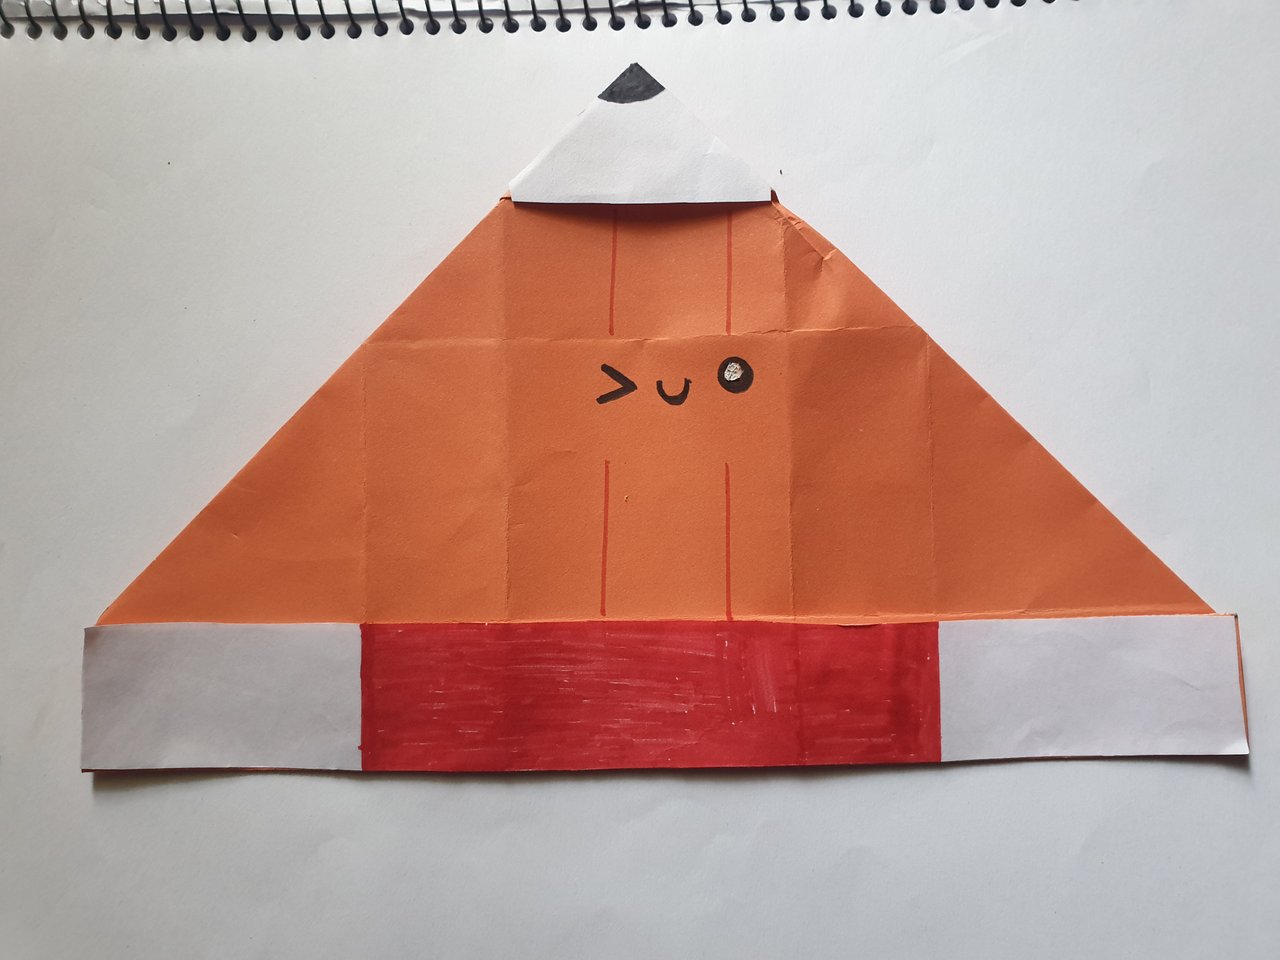
20230121_121339.jpg

DiHLrjiPetHt6ciV9azim9NPHuTMQ59H51nYE8xqo83cHxoWjkEXJT9iFny5FDK6V87zhnX5kJcSGE6ahn1RouZuijdX8aHZSZuNzNLrHLCesrYQeLFEN3XWqtzgug...5JkLh48hmSy2Vocb8Q1ZmVRFSQE6pKeyXuZTkTt2EgzjyyZw14xbJEQeSpMhQGMsjfy2JgnjmiZATtiTZUt9hdaNJ5oWr4DTthVH964jvSwCVZQRoyCX3KLi6i.png

Step 7,

Draw the eyes of the pencil box along the middle of the triangular paper and paint the top of the pencil box black and the bottom of the pencil box red.

20230121_122734.jpg

DiHLrjiPetHt6ciV9azim9NPHuTMQ59H51nYE8xqo83cHxoWjkEXJT9iFny5FDK6V87zhnX5kJcSGE6ahn1RouZuijdX8aHZSZuNzNLrHLCesrYQeLFEN3XWqtzgug...5JkLh48hmSy2Vocb8Q1ZmVRFSQE6pKeyXuZTkTt2EgzjyyZw14xbJEQeSpMhQGMsjfy2JgnjmiZATtiTZUt9hdaNJ5oWr4DTthVH964jvSwCVZQRoyCX3KLi6i.png

Step 8,

Fold the triangular paper from all sides to give the paper a box shape.

20230121_122822.jpg

DiHLrjiPetHt6ciV9azim9NPHuTMQ59H51nYE8xqo83cHxoWjkEXJT9iFny5FDK6V87zhnX5kJcSGE6ahn1RouZuijdX8aHZSZuNzNLrHLCesrYQeLFEN3XWqtzgug...5JkLh48hmSy2Vocb8Q1ZmVRFSQE6pKeyXuZTkTt2EgzjyyZw14xbJEQeSpMhQGMsjfy2JgnjmiZATtiTZUt9hdaNJ5oWr4DTthVH964jvSwCVZQRoyCX3KLi6i.png

Step 9,

Now fold the red square paper vertically.
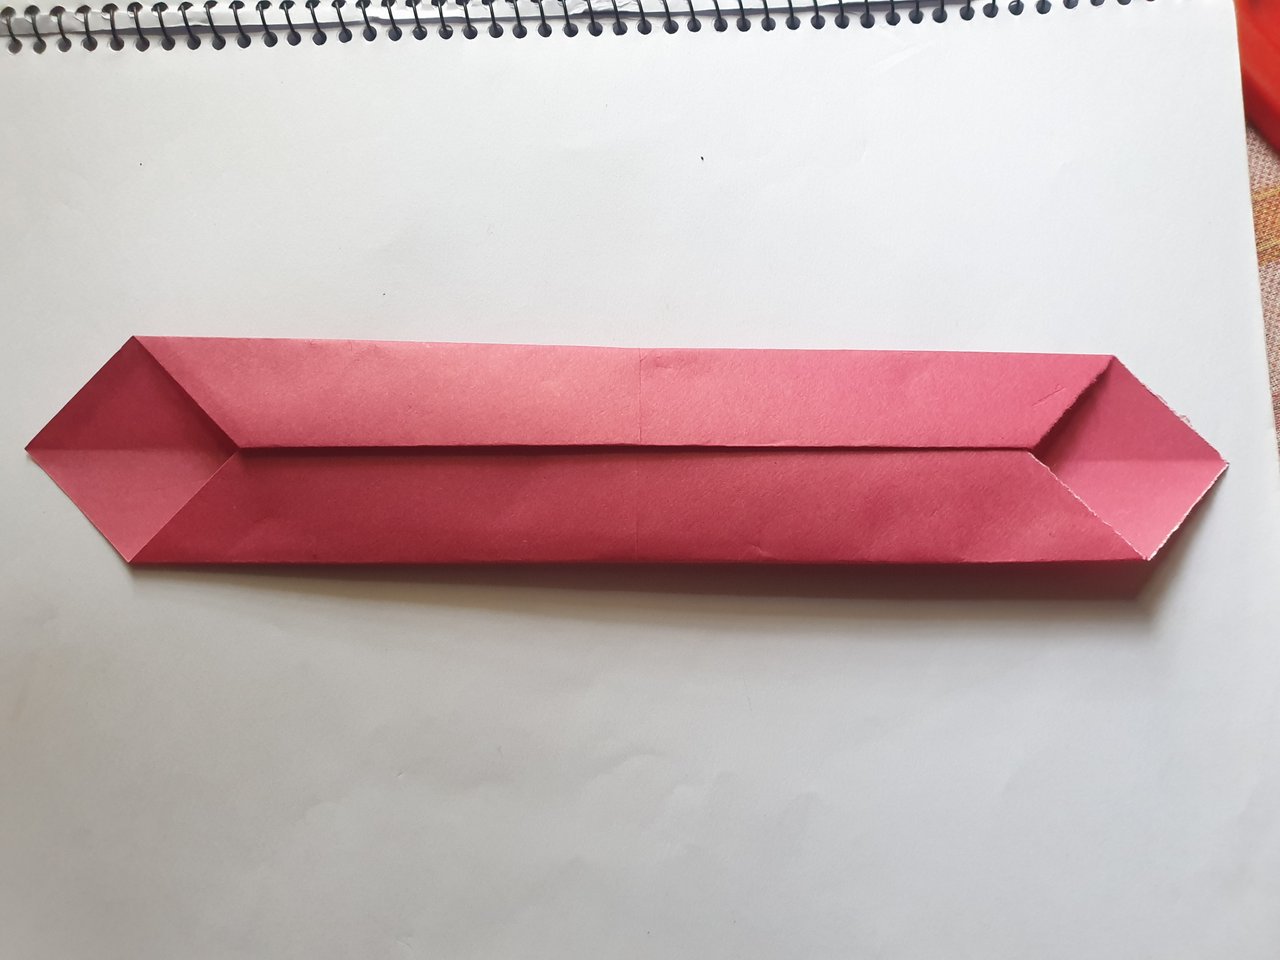
20230121_123345.jpg

DiHLrjiPetHt6ciV9azim9NPHuTMQ59H51nYE8xqo83cHxoWjkEXJT9iFny5FDK6V87zhnX5kJcSGE6ahn1RouZuijdX8aHZSZuNzNLrHLCesrYQeLFEN3XWqtzgug...5JkLh48hmSy2Vocb8Q1ZmVRFSQE6pKeyXuZTkTt2EgzjyyZw14xbJEQeSpMhQGMsjfy2JgnjmiZATtiTZUt9hdaNJ5oWr4DTthVH964jvSwCVZQRoyCX3KLi6i.png

Step 10,

Then open the red paper perpendicularly and fold the paper into a rectangular shape.
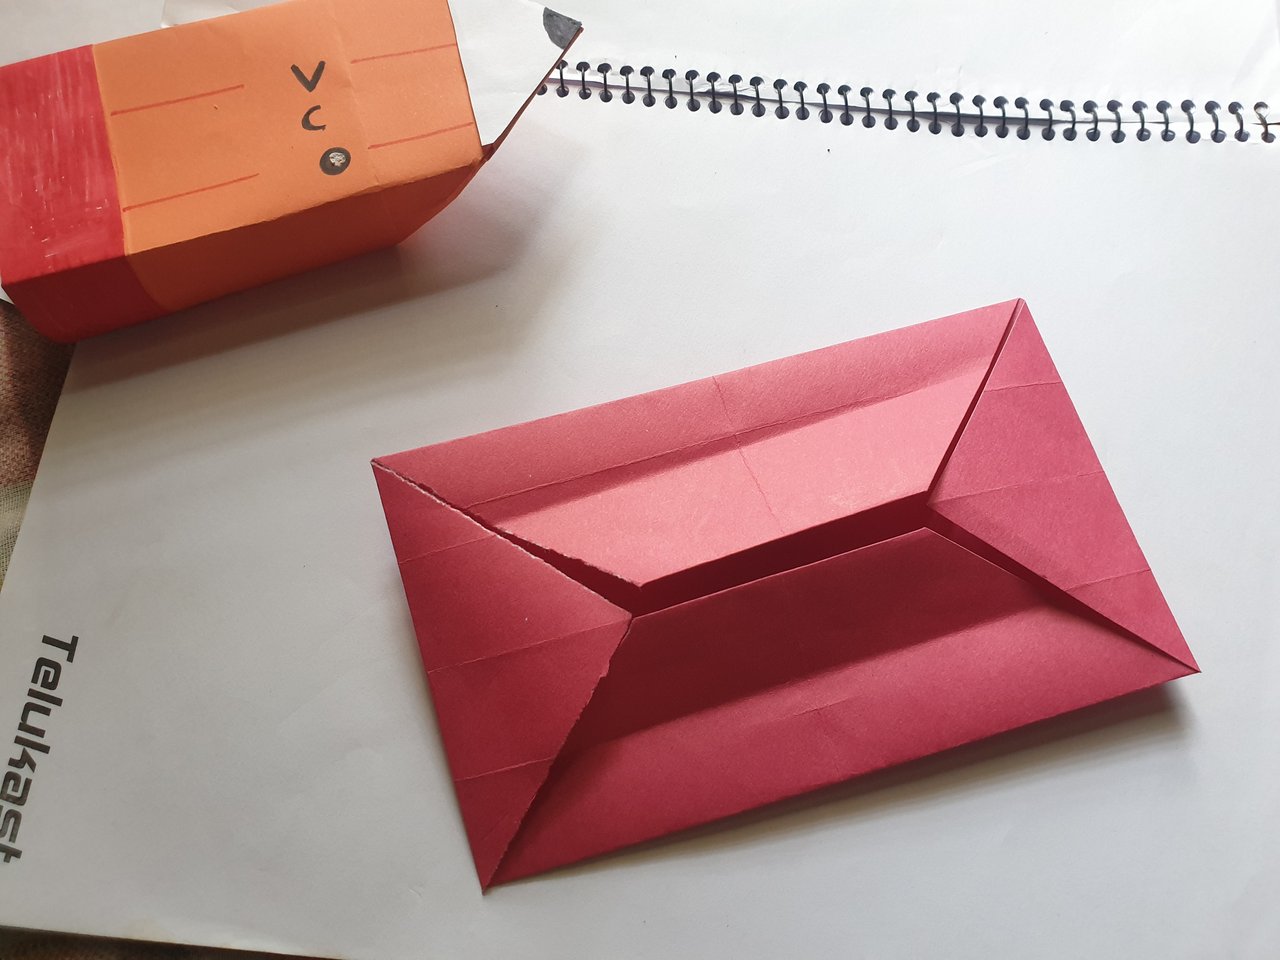
20230121_123459.jpg

DiHLrjiPetHt6ciV9azim9NPHuTMQ59H51nYE8xqo83cHxoWjkEXJT9iFny5FDK6V87zhnX5kJcSGE6ahn1RouZuijdX8aHZSZuNzNLrHLCesrYQeLFEN3XWqtzgug...5JkLh48hmSy2Vocb8Q1ZmVRFSQE6pKeyXuZTkTt2EgzjyyZw14xbJEQeSpMhQGMsjfy2JgnjmiZATtiTZUt9hdaNJ5oWr4DTthVH964jvSwCVZQRoyCX3KLi6i.png

Step 11,

Fold the red paper around to make a box shape.
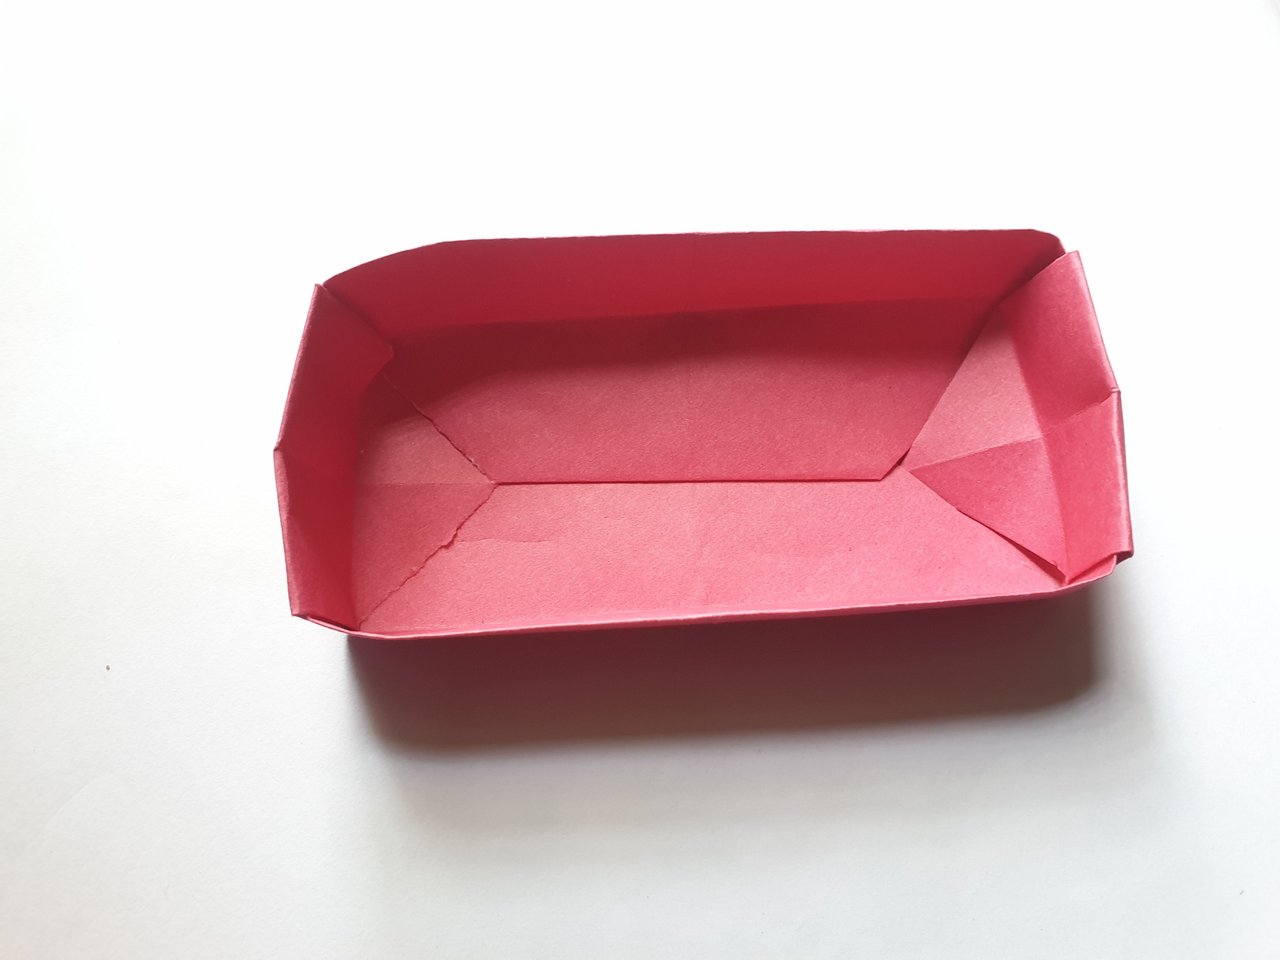
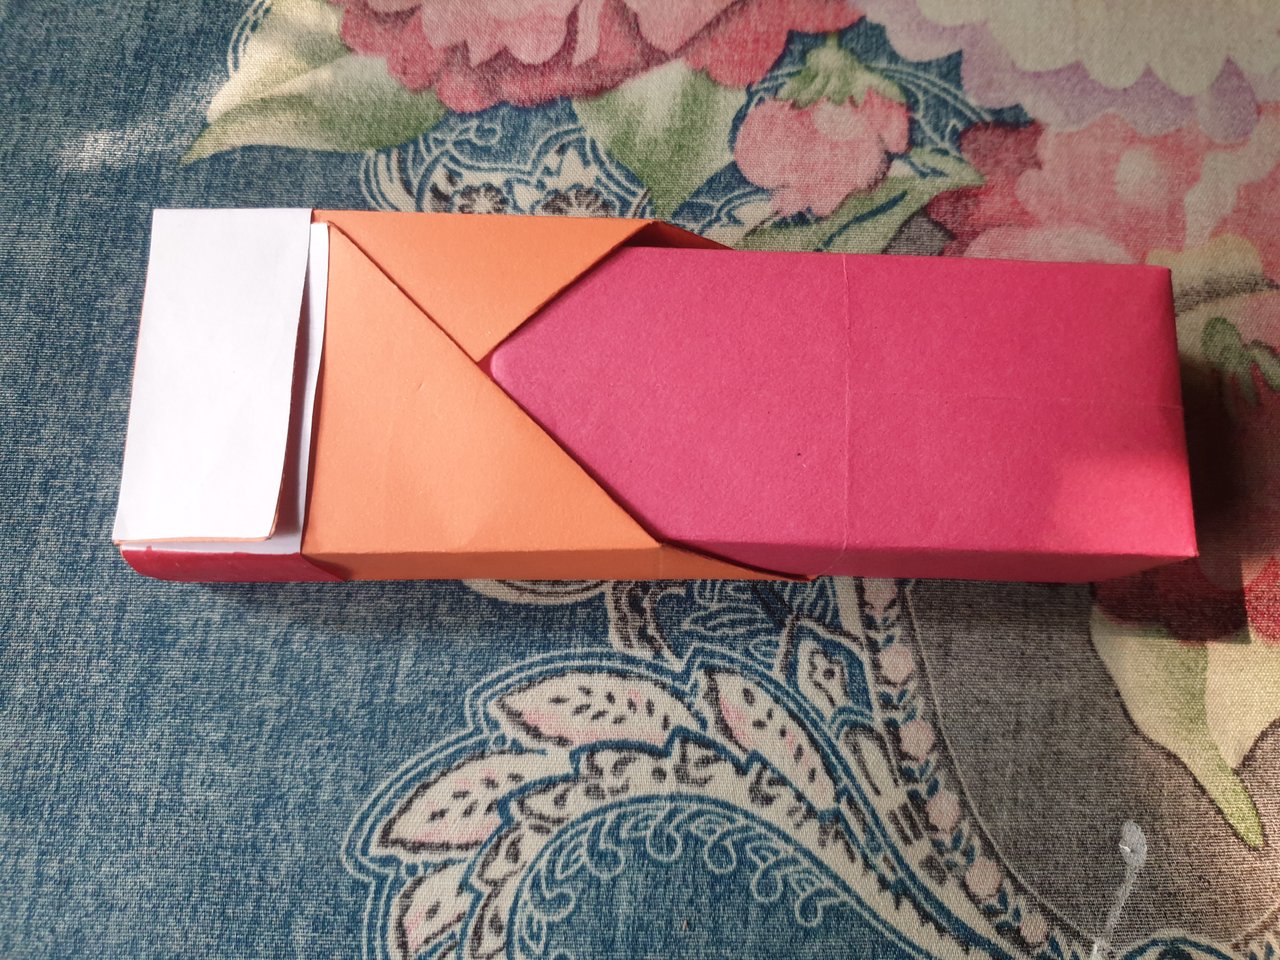
20230121_123844.jpg

DiHLrjiPetHt6ciV9azim9NPHuTMQ59H51nYE8xqo83cHxoWjkEXJT9iFny5FDK6V87zhnX5kJcSGE6ahn1RouZuijdX8aHZSZuNzNLrHLCesrYQeLFEN3XWqtzgug...5JkLh48hmSy2Vocb8Q1ZmVRFSQE6pKeyXuZTkTt2EgzjyyZw14xbJEQeSpMhQGMsjfy2JgnjmiZATtiTZUt9hdaNJ5oWr4DTthVH964jvSwCVZQRoyCX3KLi6i.png

Step 12,

Finally, in this step, we finish the process of making the pen or pencil box by placing the red box in the previously made orange paper box.

20230121_124006.jpg20230121_124015.jpg
20230121_124441.jpg20230121_125038.jpg

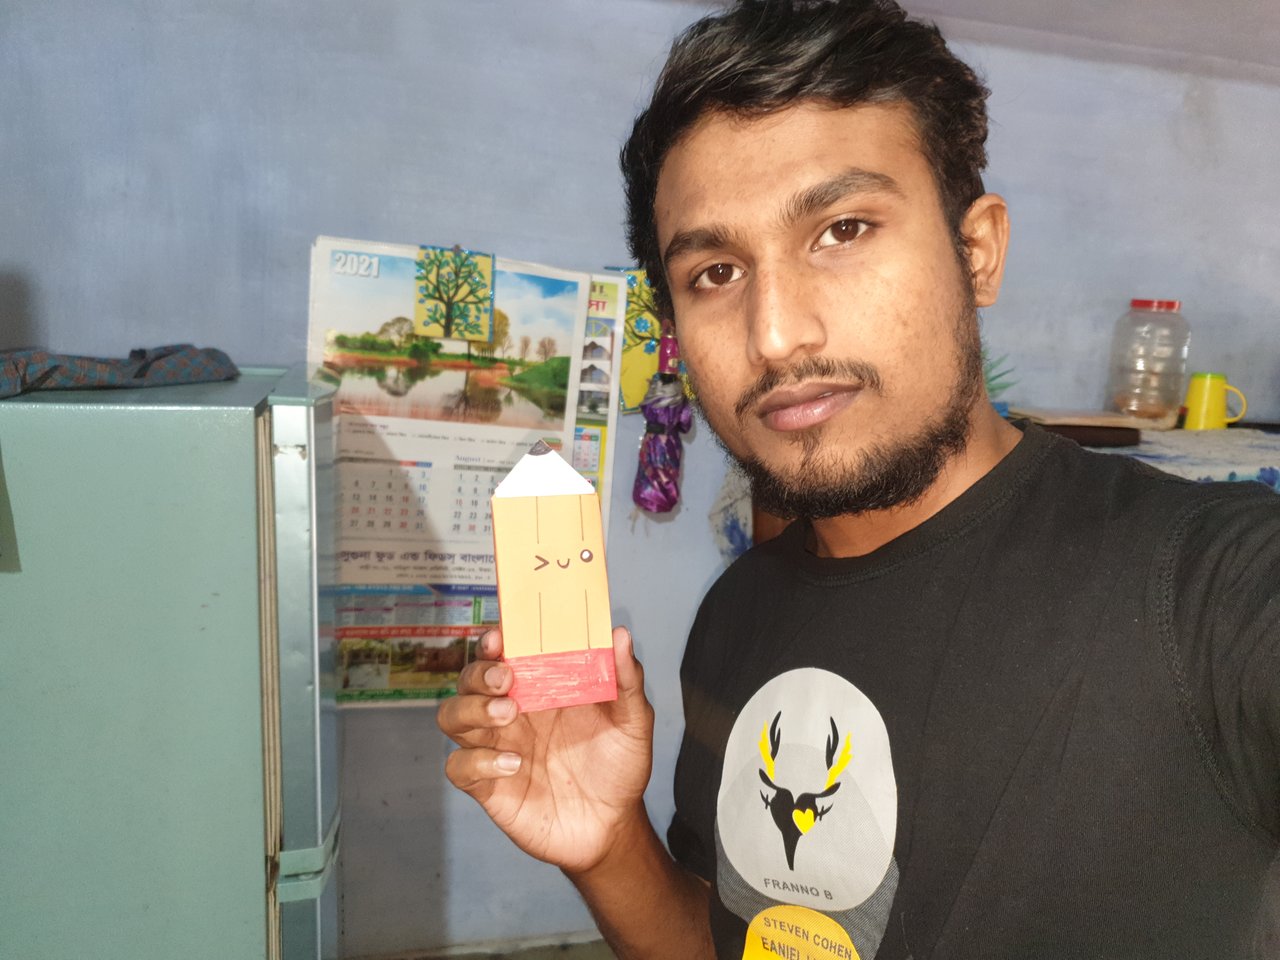
This was the colored paper pencil box I made today that I have presented to you in each step and phase so far. I hope you like this colored paper pencil box that I made.

C3TZR1g81UNaPs7vzNXHueW5ZM76DSHWEY7onmfLxcK2iPTmrTtokUap7s1RzFpwuezGr3P5jN7EsejVzfJQvECQZwnKsrtLGQtj9KMvbMnt18zFVUJCruL.png

Thank you very much

AB
PhotographerMe
DeviceSamsung Galaxey S9+

CC-

H2
H3
H4
3 columns
2 columns
1 column
5 Comments