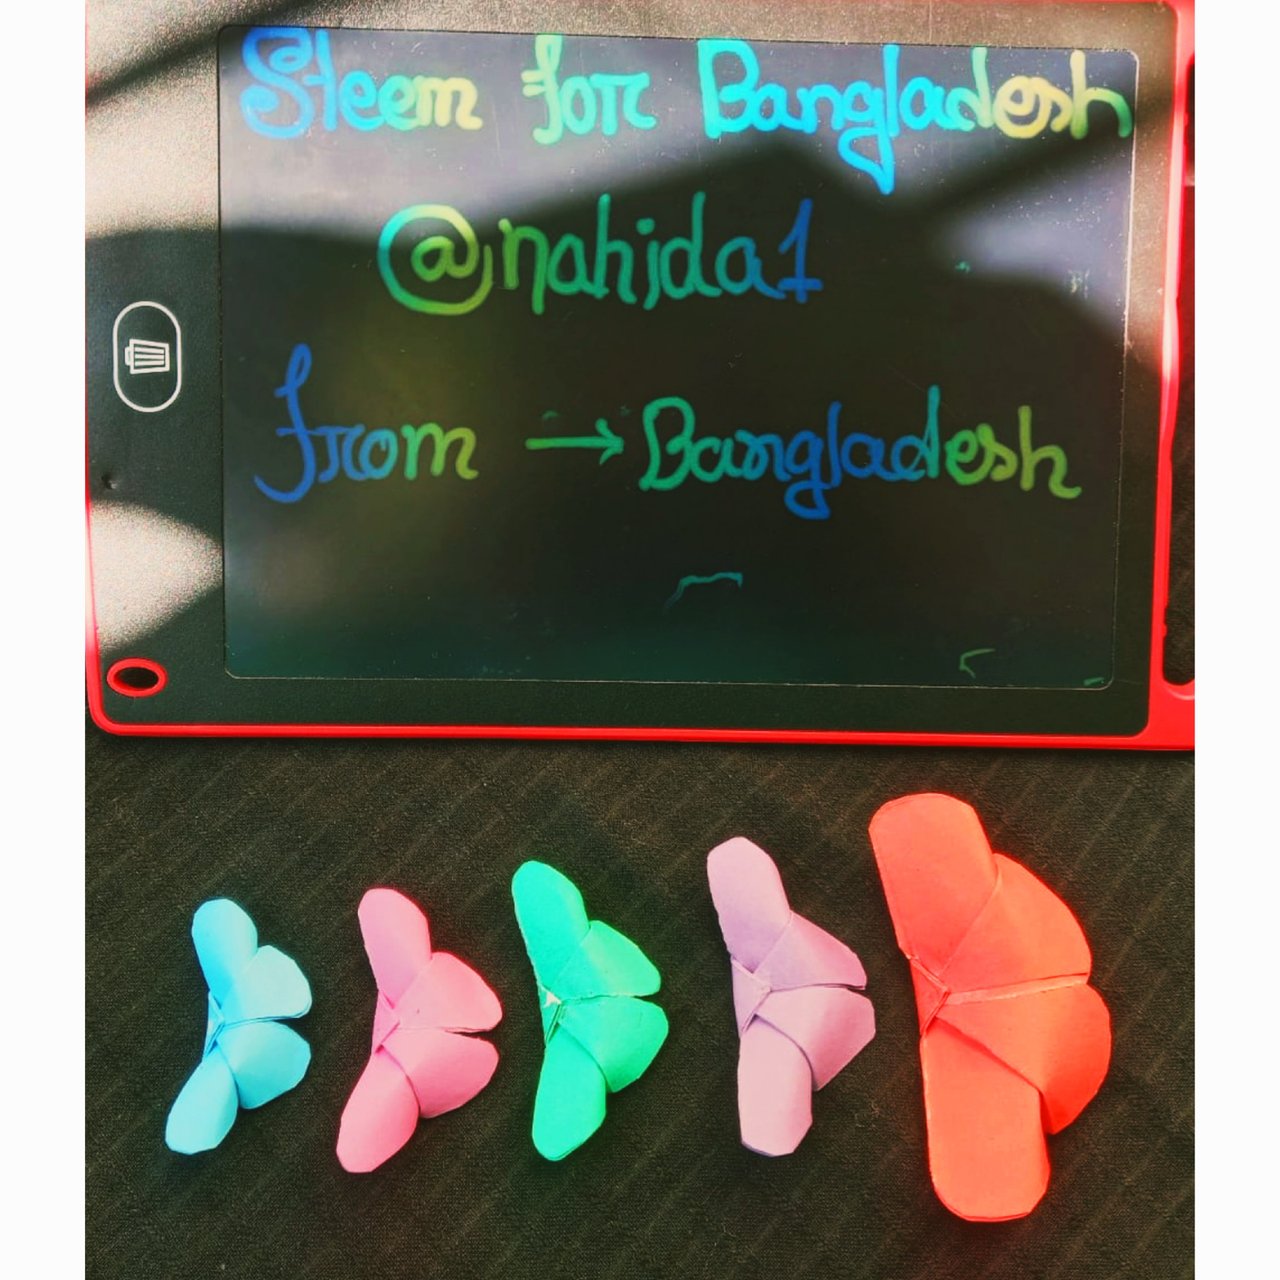
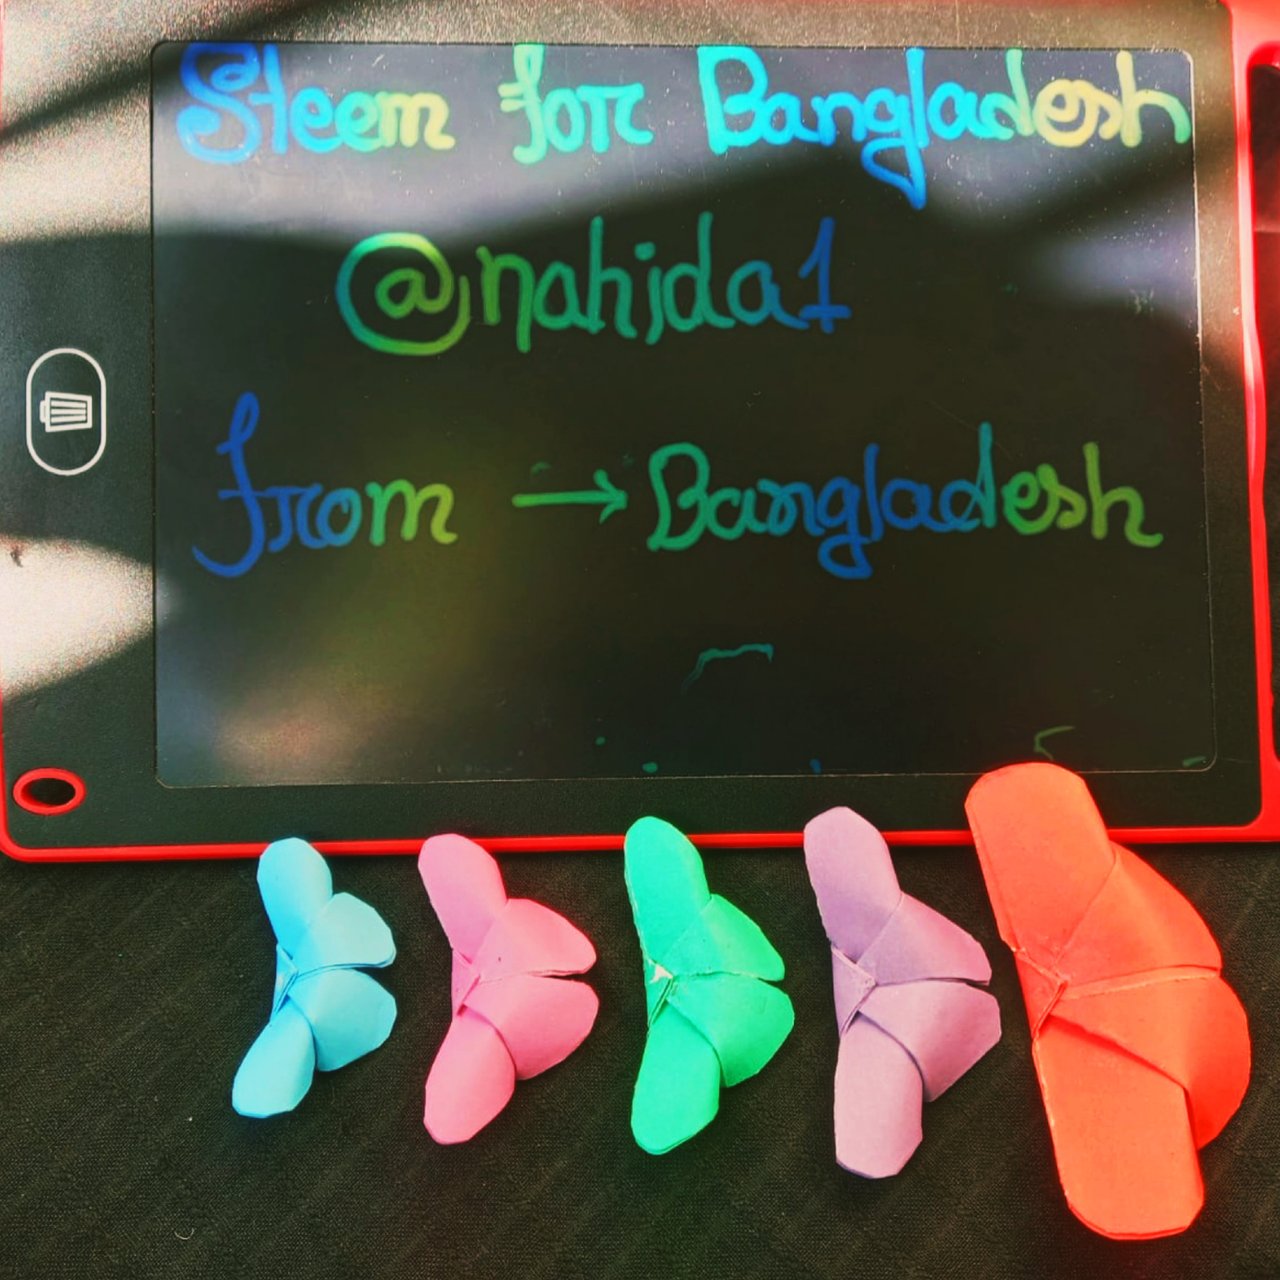
how are you all Hope you all are well. Alhamdulillah I am fine too. Friends I am here with a new post. I always love to share new posts with you. Because, you love me I, am getting good support from everyone, I am encouraged.
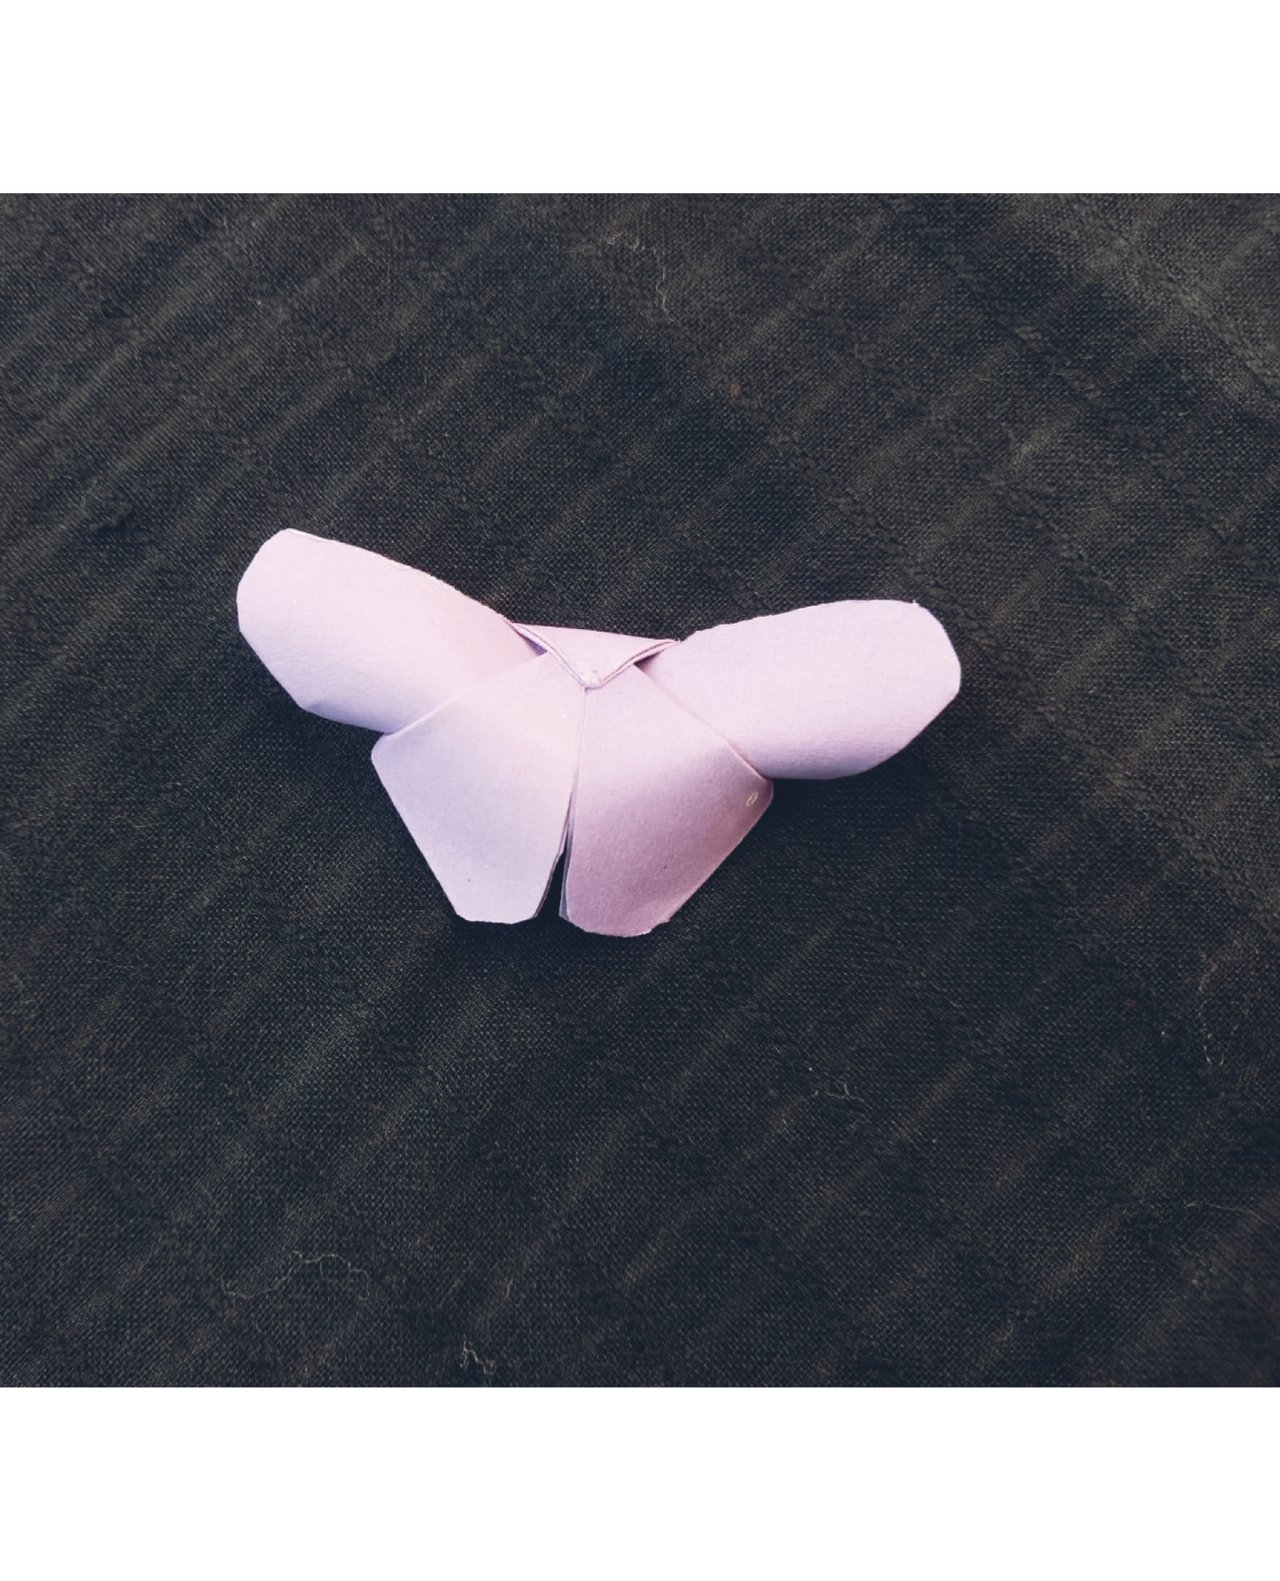
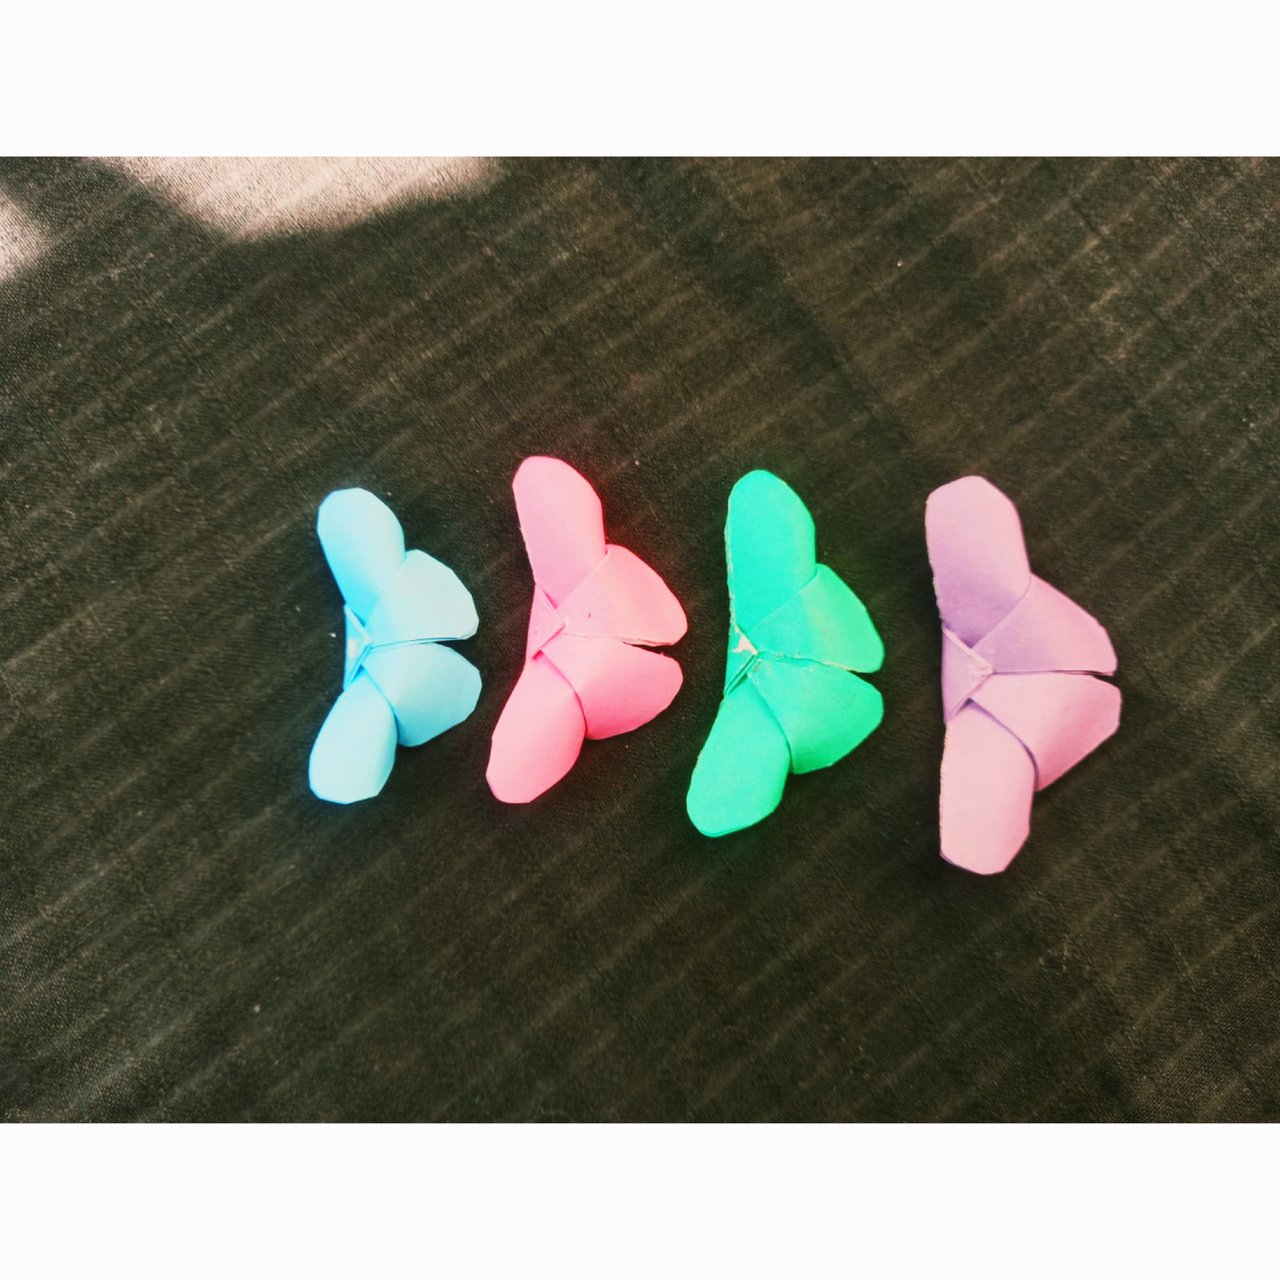
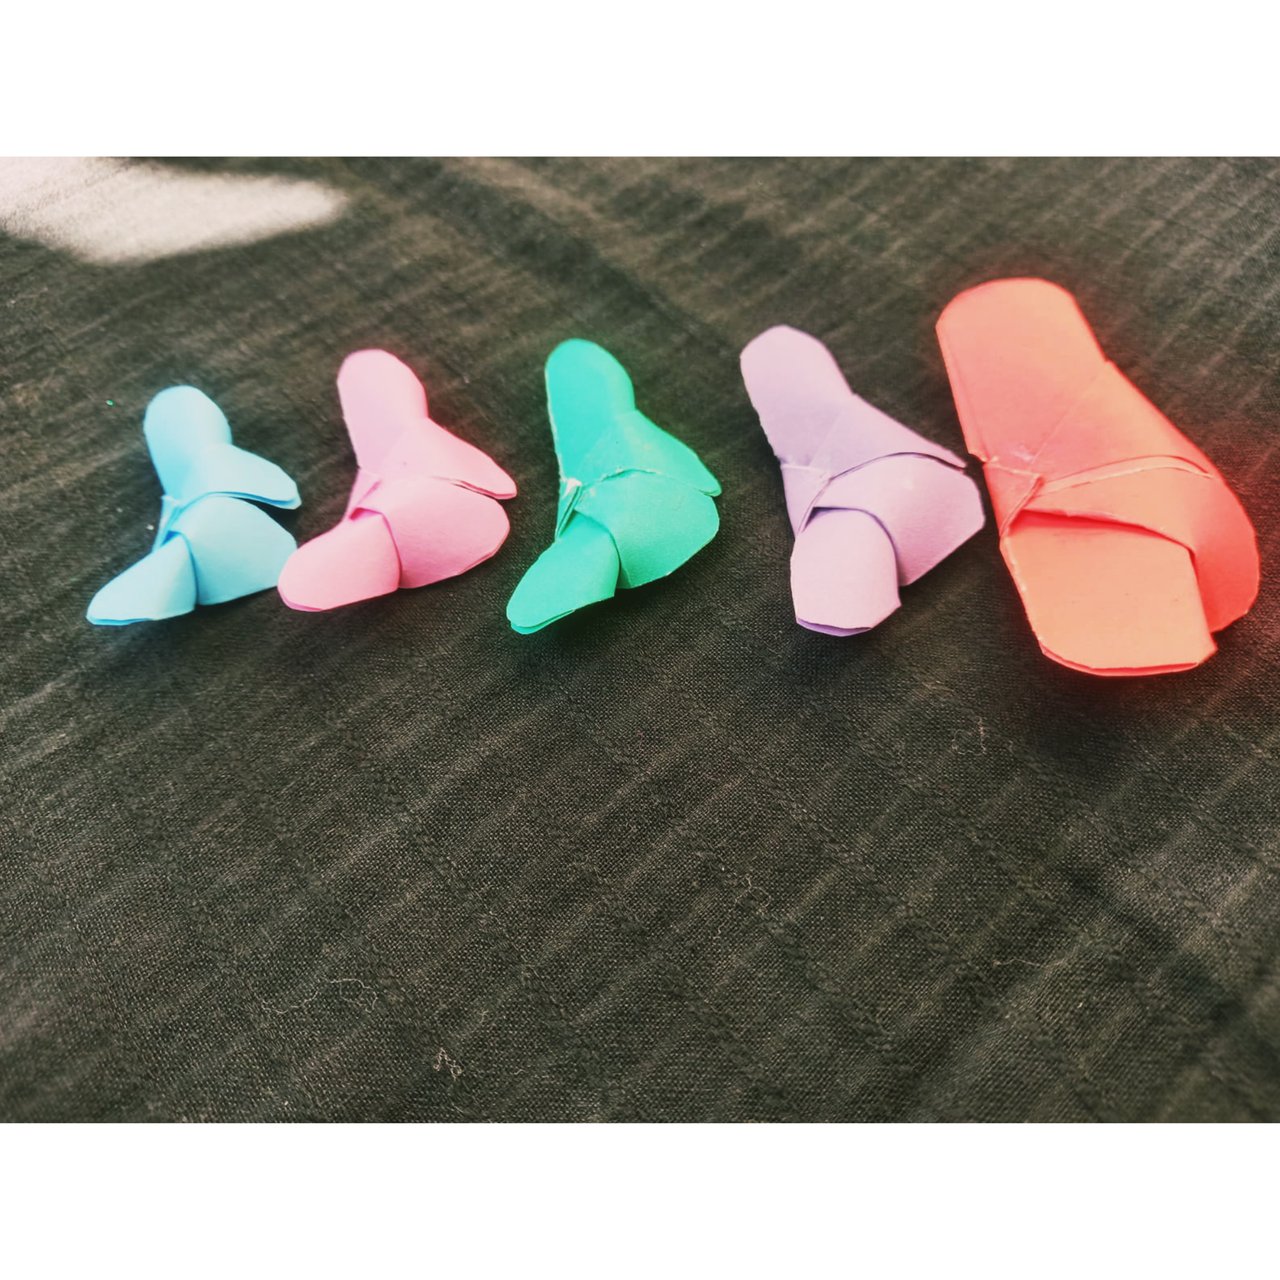
Friends today I will post how to make butterfly with color paper. Butterflies look so beautiful to me. At a glance, one would mistake it for a real butterfly. We call them butterflies and we call them grasshoppers.
My brother's daughter Prajapati played with them a lot. I made them and glued them to the fridge lid. It looked so beautiful and her face changed when she looked at the fridge. It looks like there are real butterflies flying around here. But my brother's daughter picked them up and she is playing with them a lot.
I learned to make this butterfly from my mother when I was little. Suddenly I remembered those words on the memory page so I made it and shared with you how I made it step by step.
I think you like these colorful paper things like me. Those who like it can definitely try it at home.
- paper
- Glue
- Gelpen
- Kechi
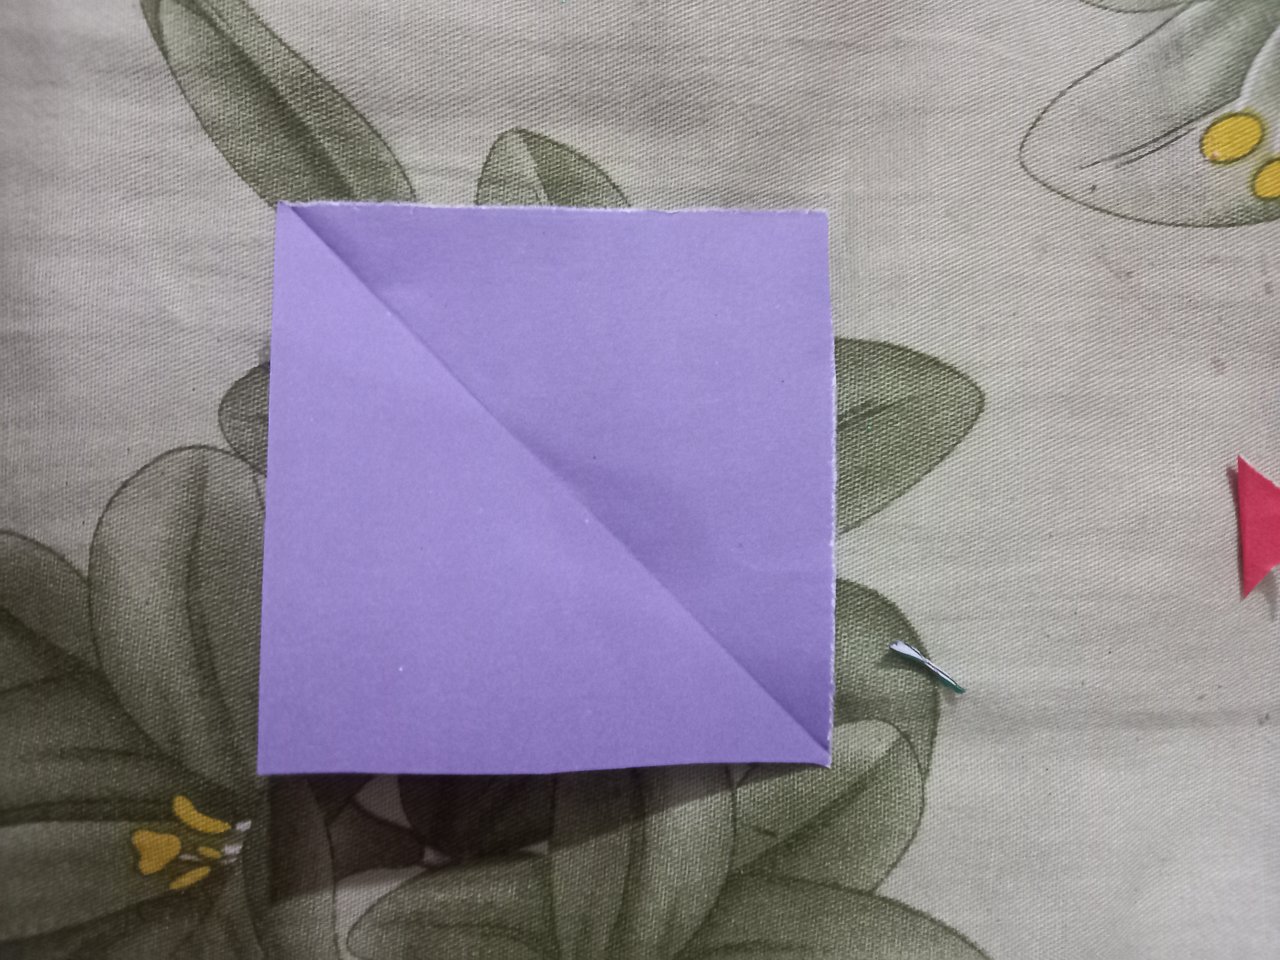
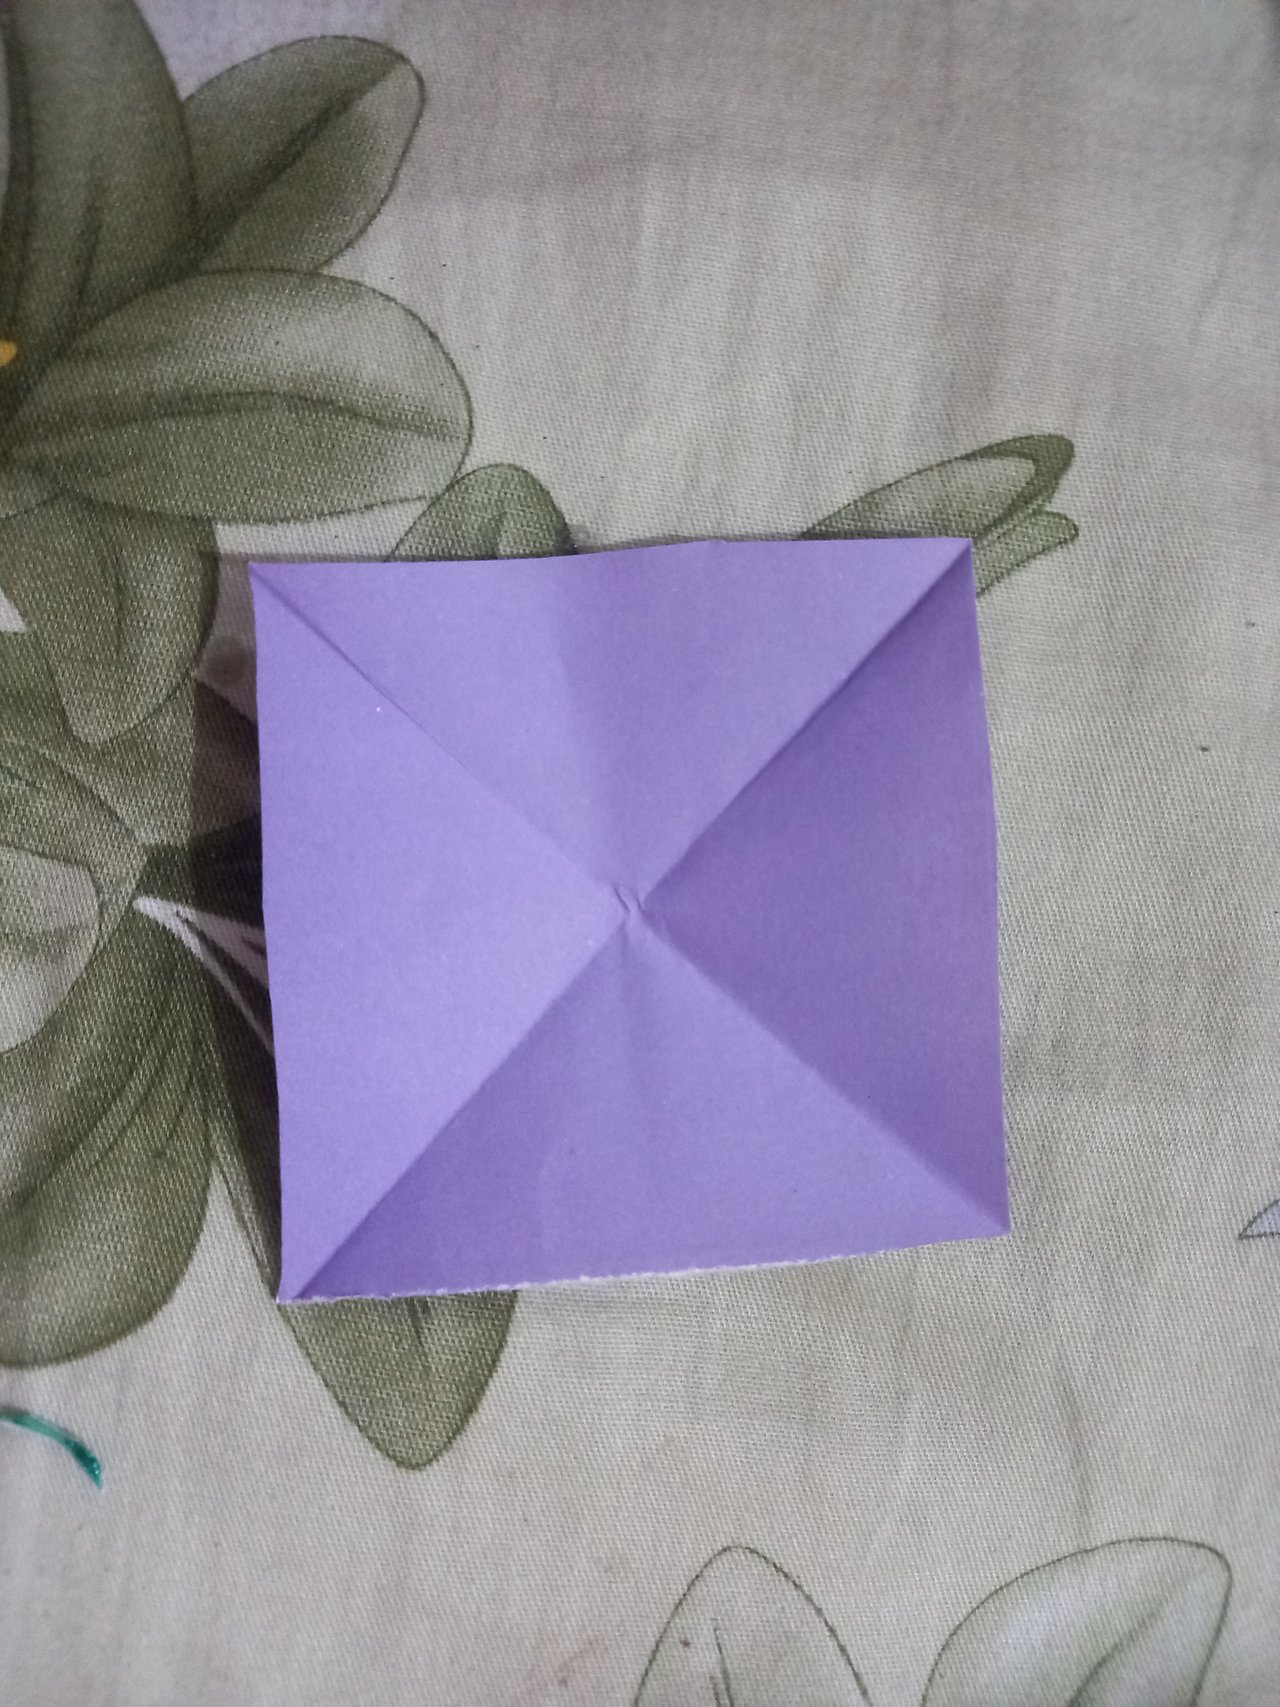
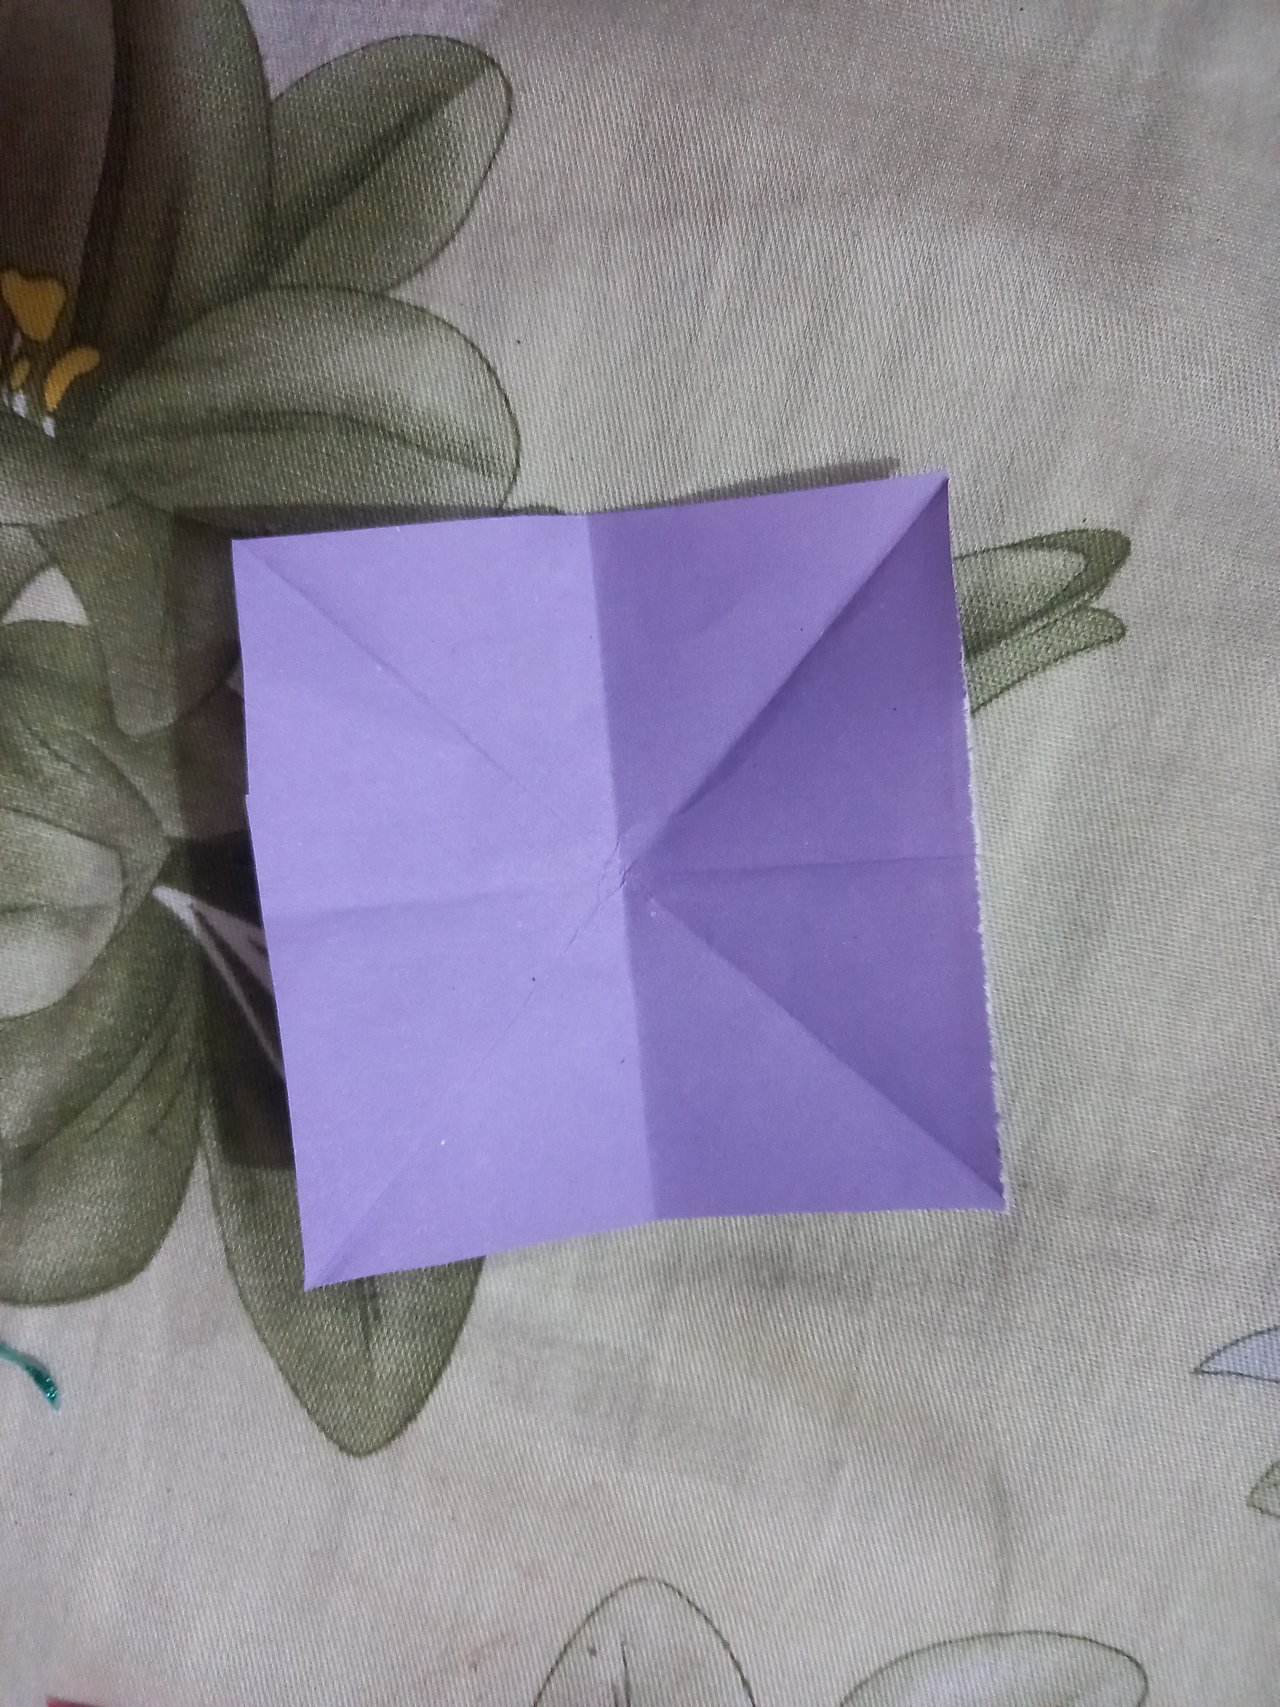
- First, I will take a piece of paper the size of a large cup. And fold it in both ways.
 |  |
|---|
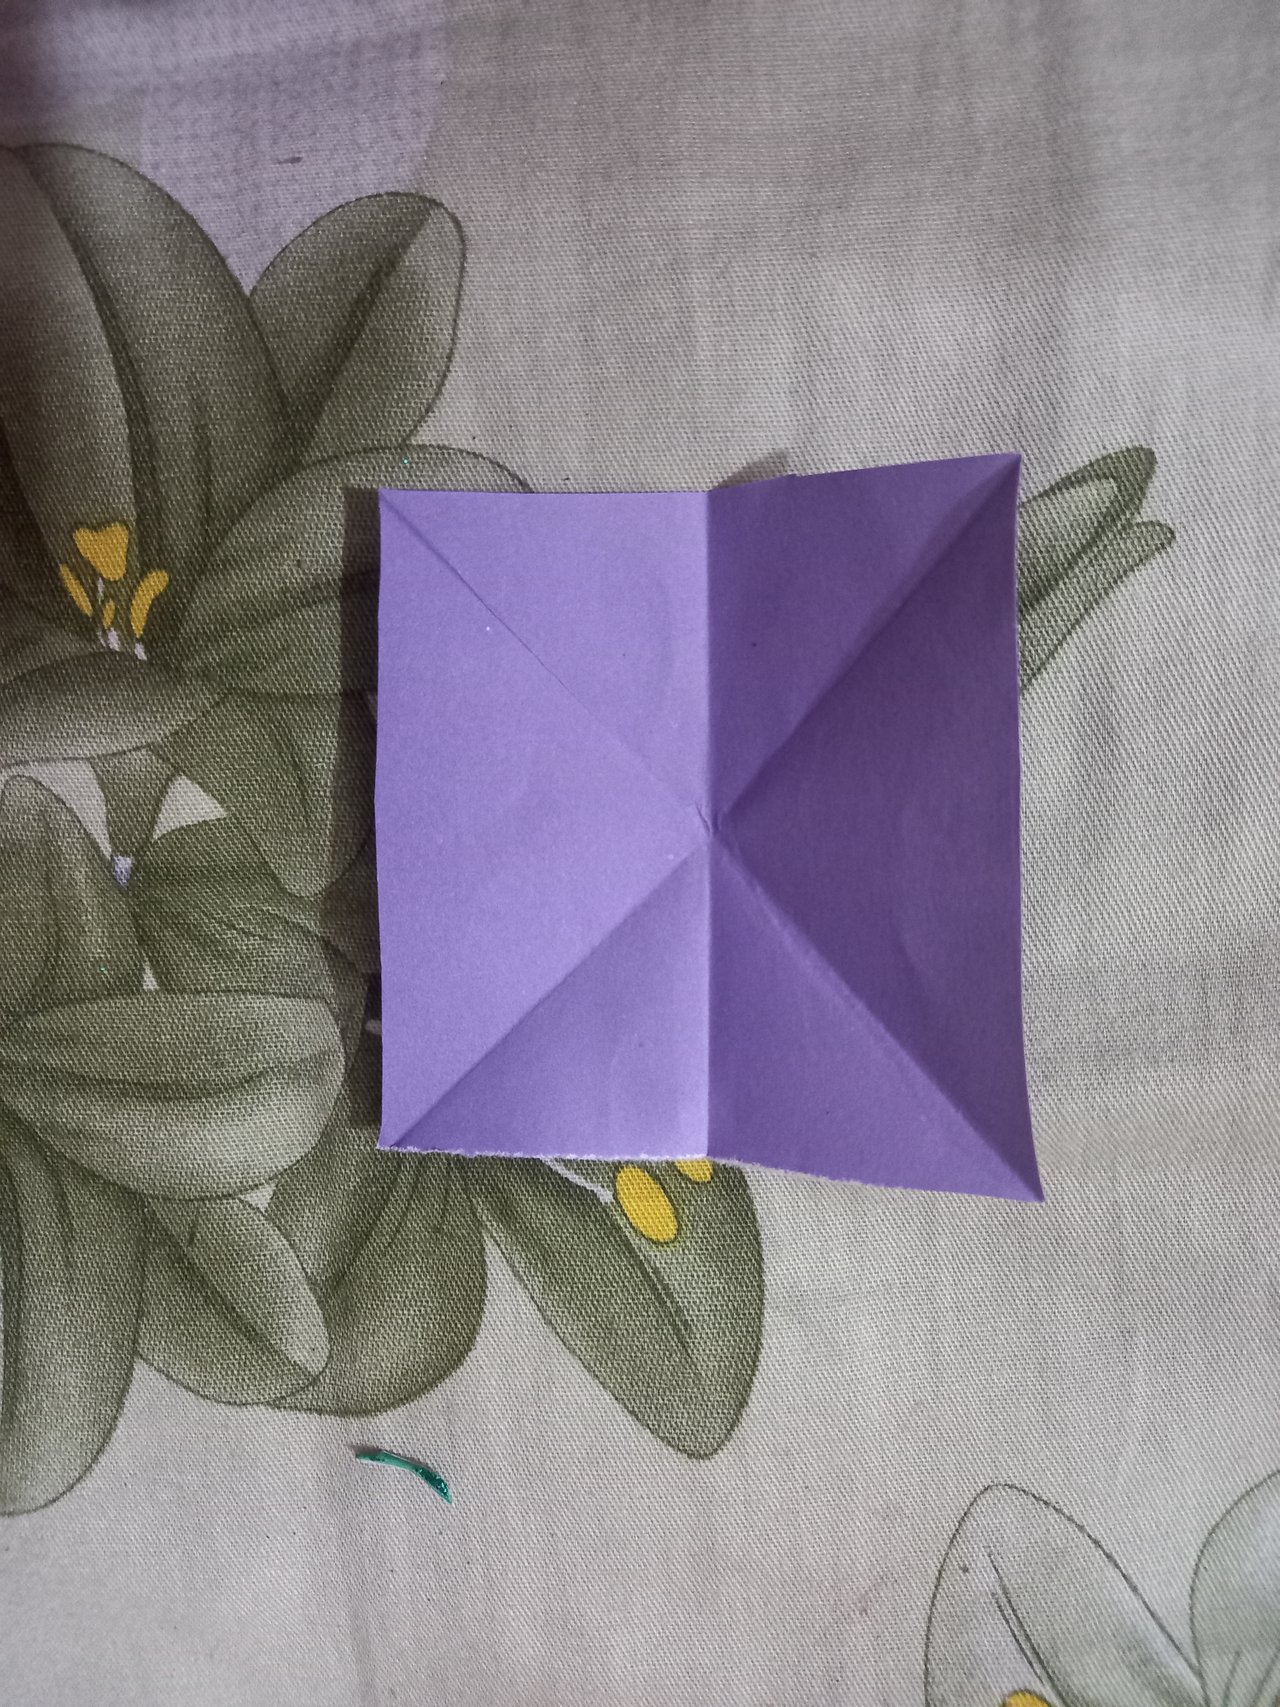
- Then I'll take two more folds in the middle, and straight across.
 |  |
|---|
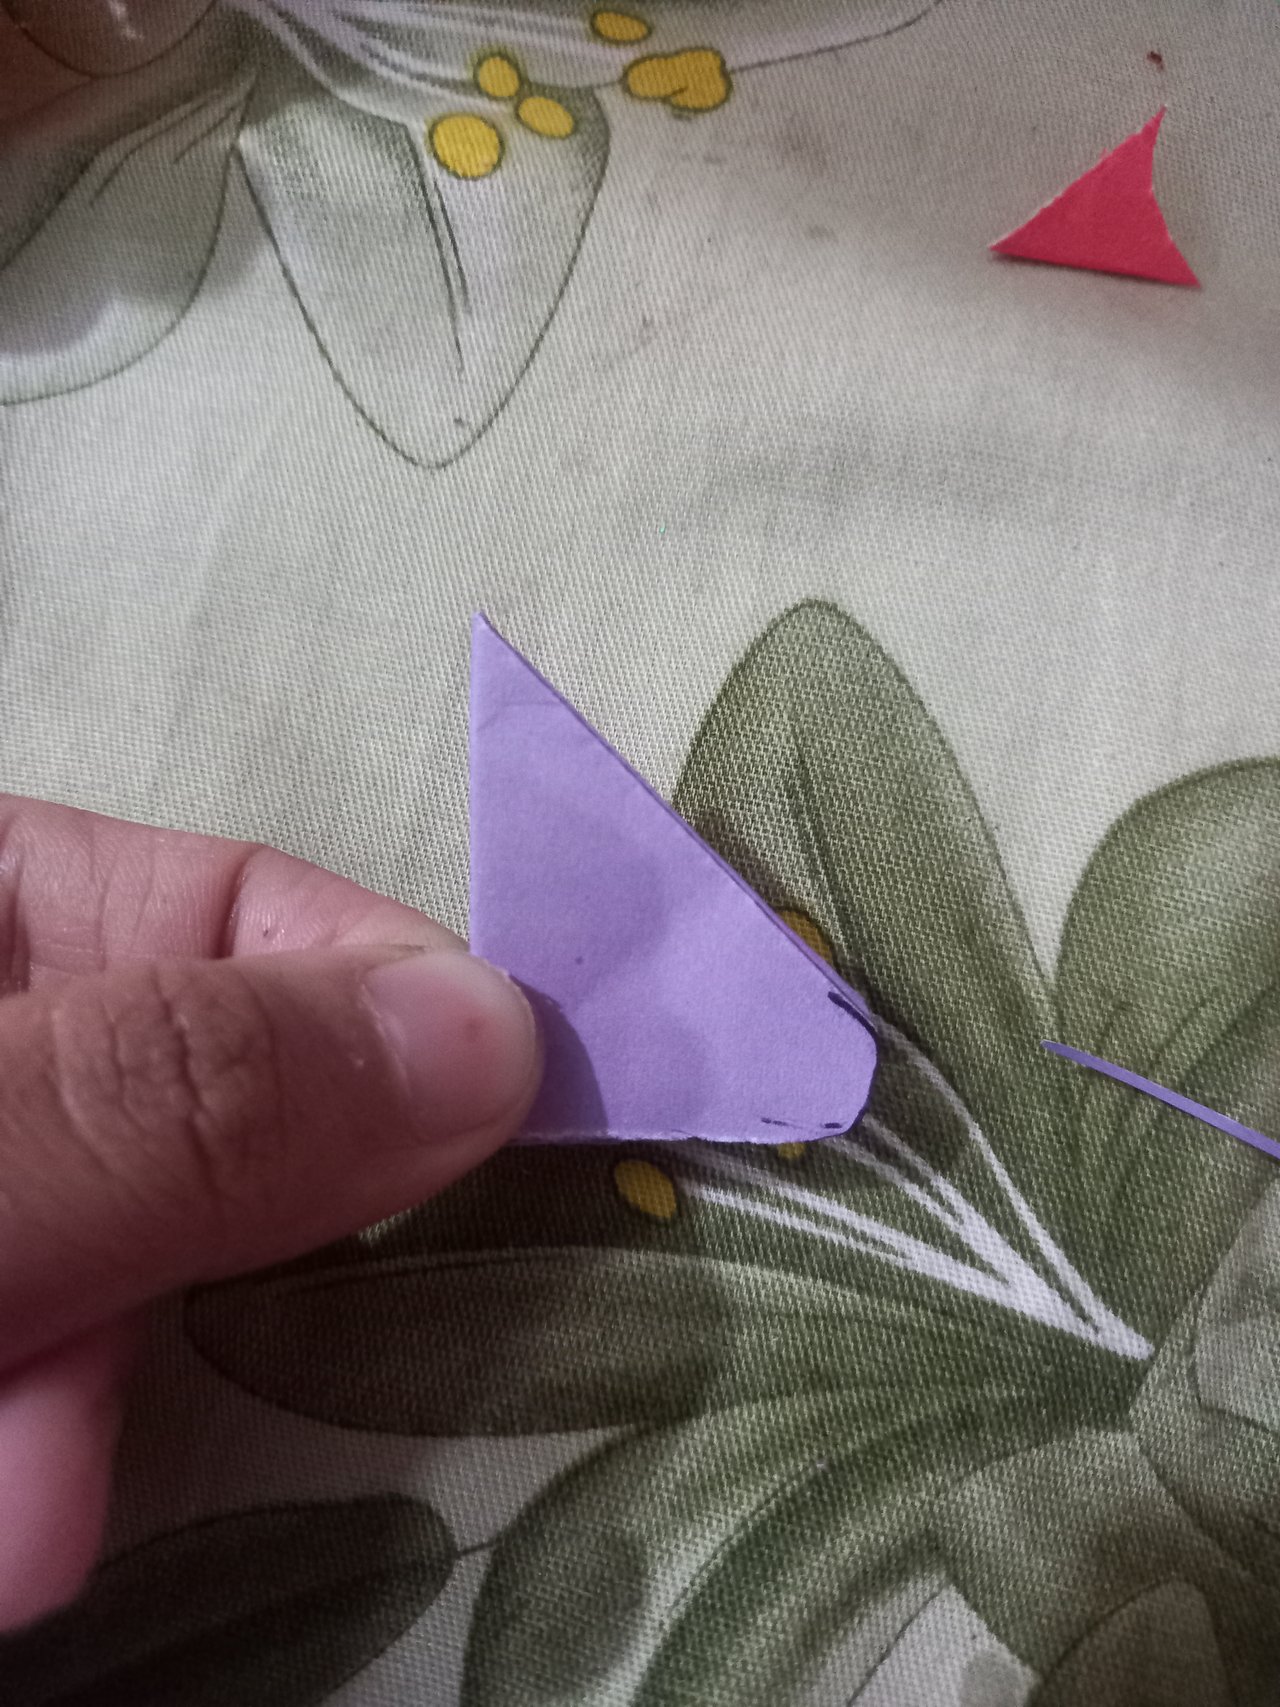
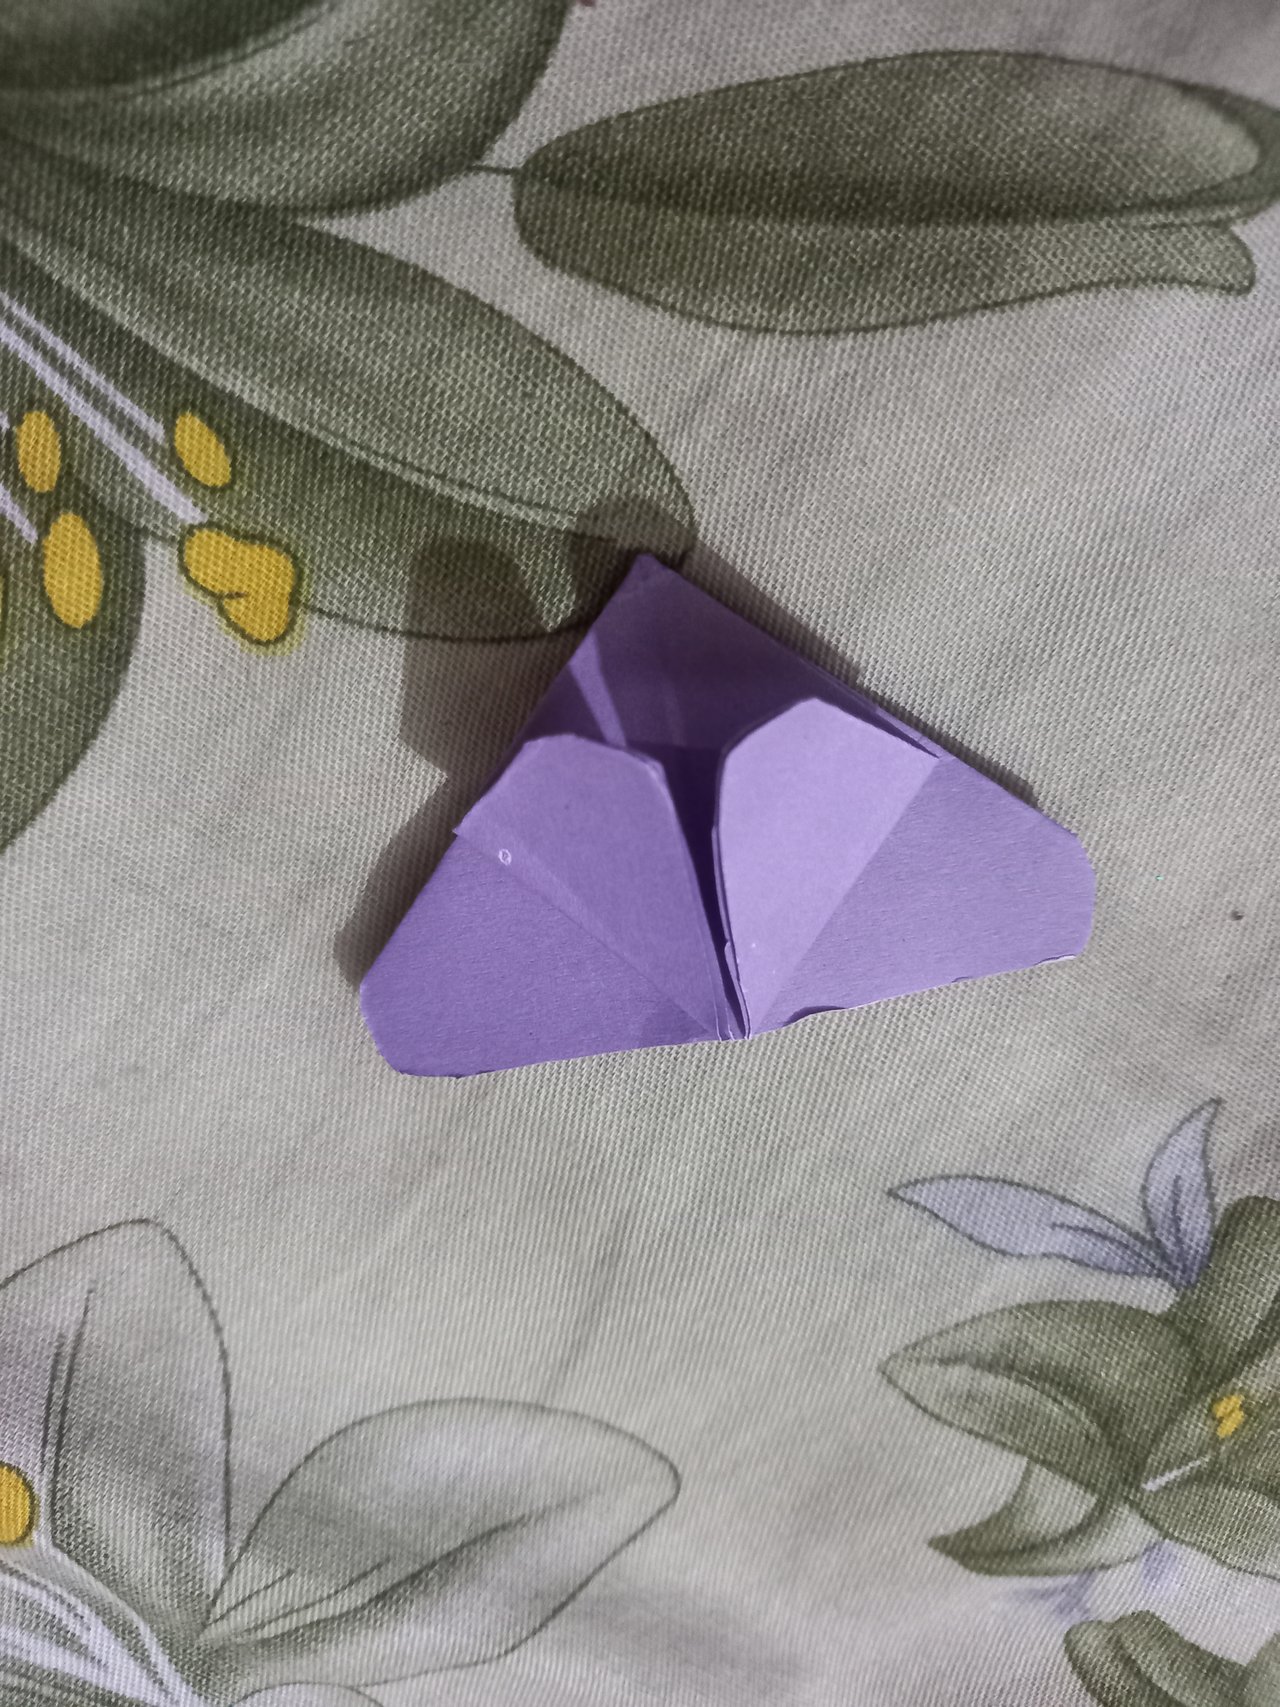
- Then I will make two folds from both sides and another fold in the middle at an angle. Exactly as seen in the picture.
 |  |
|---|
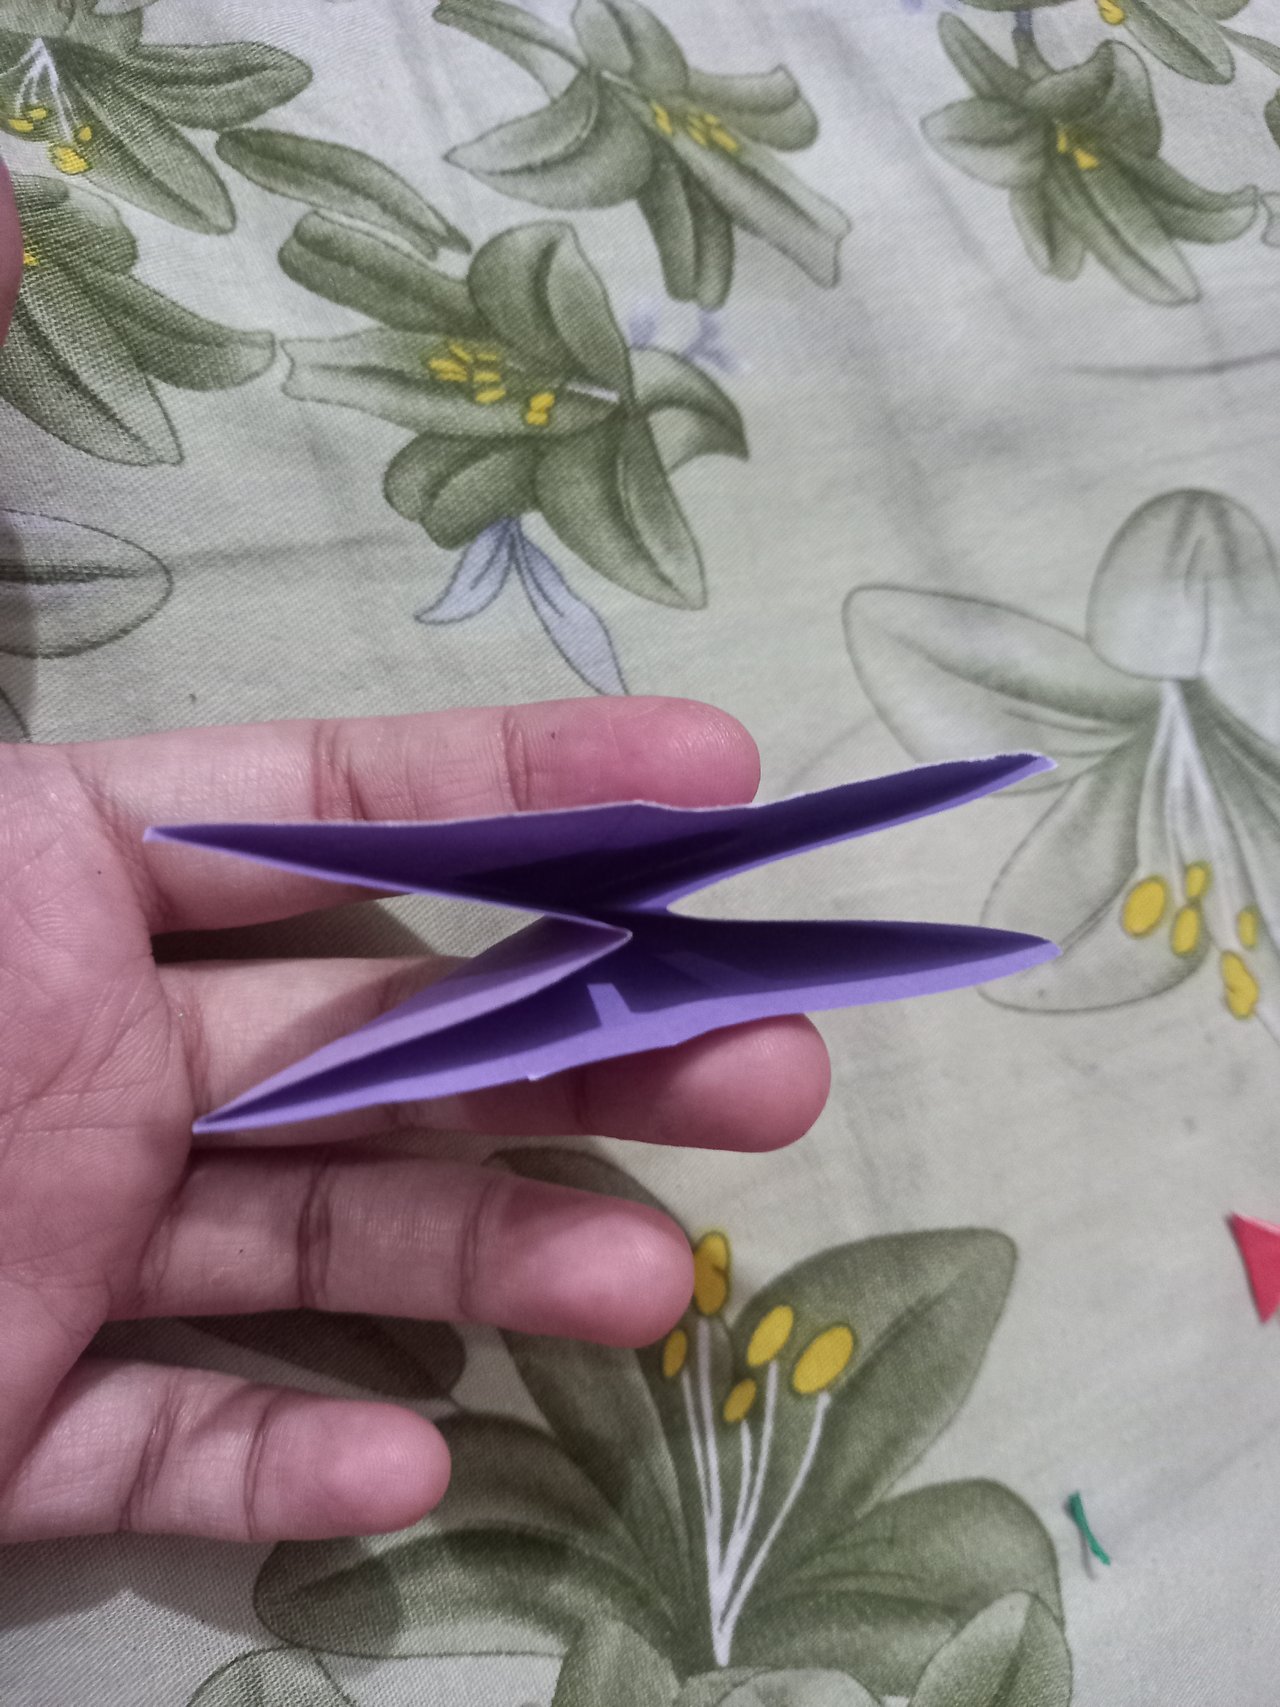
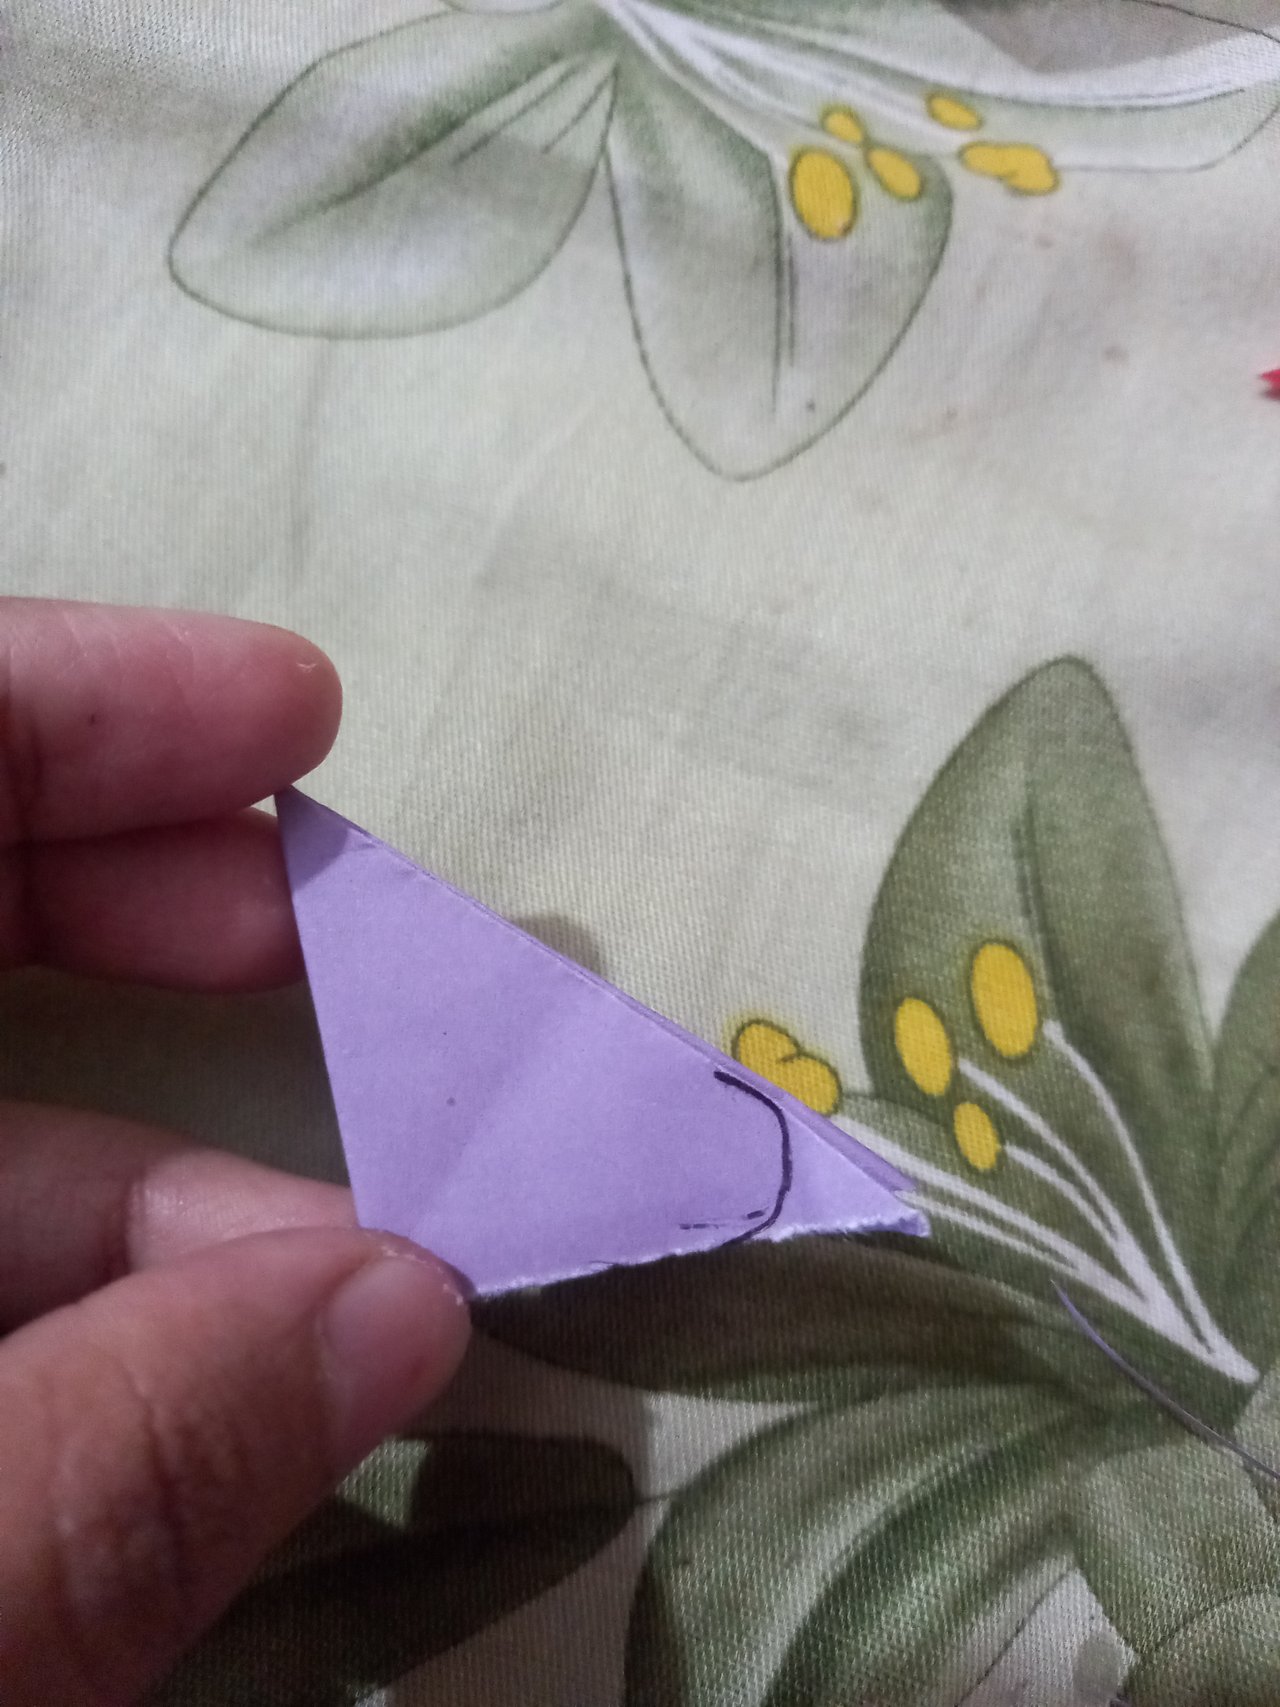
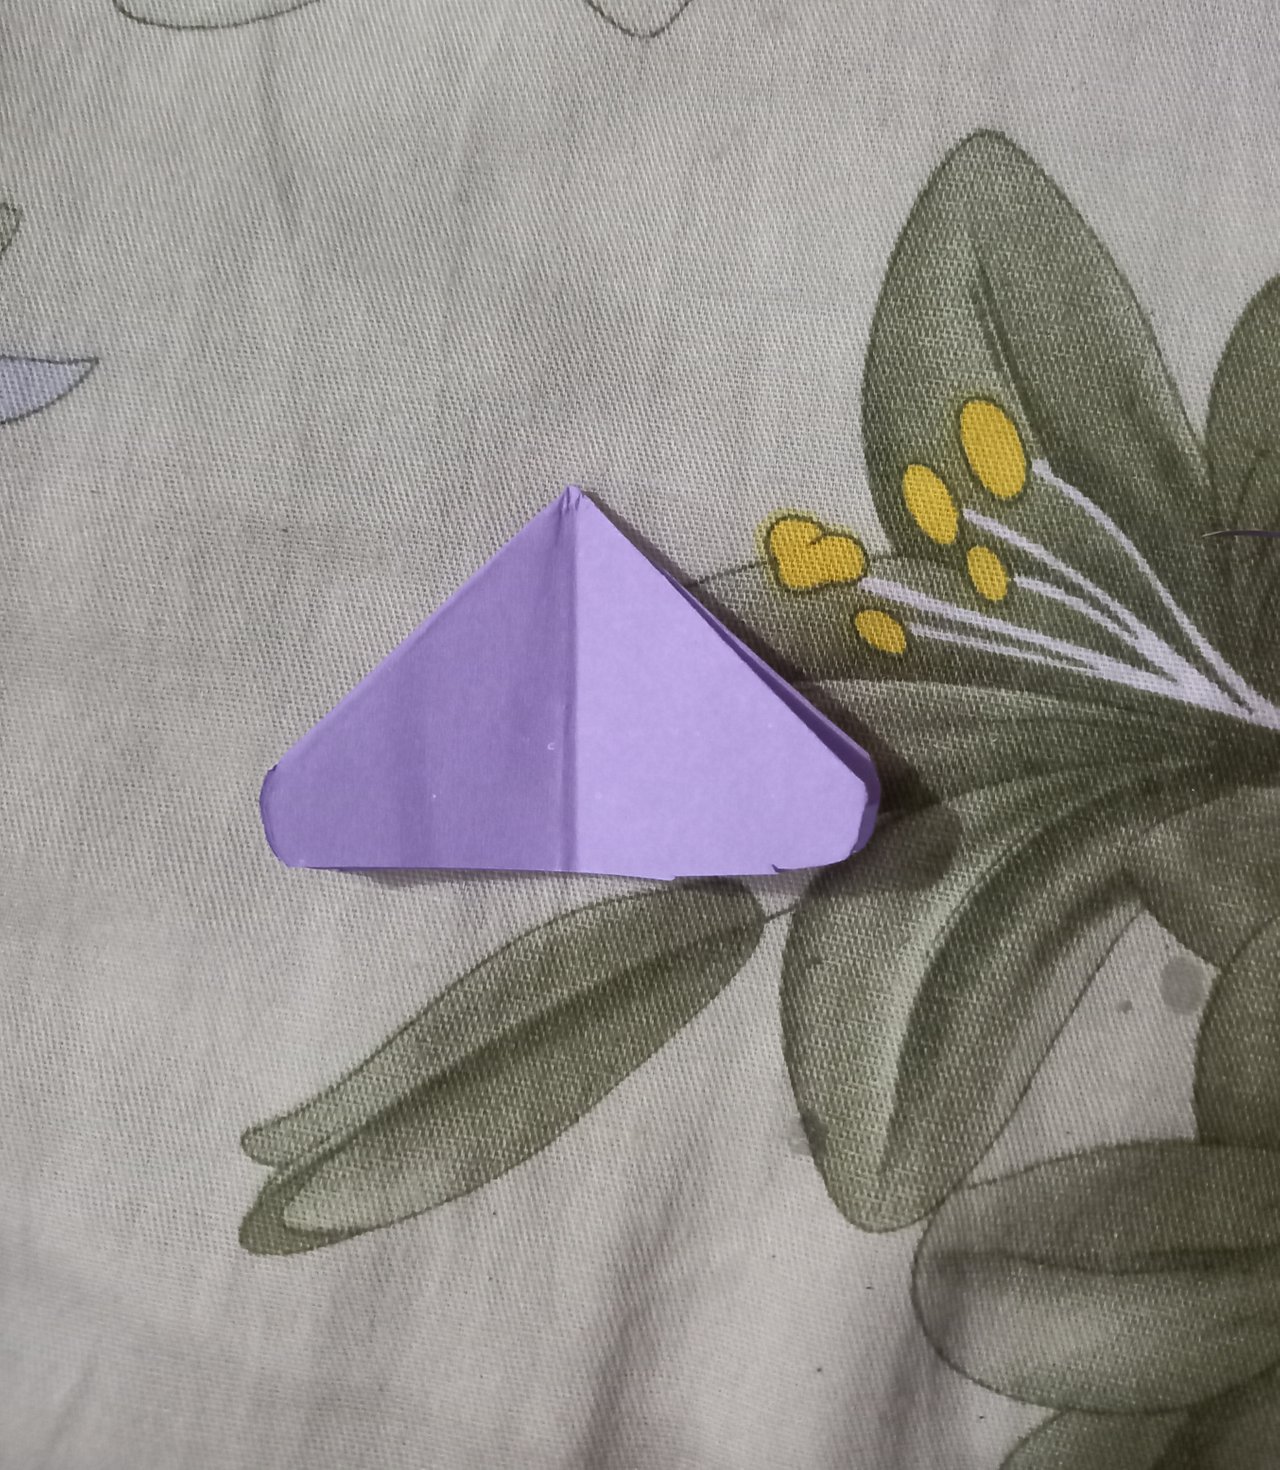
- Then I'll take another fold down the middle again. And with a pen or pencil, draw a circle on one side.
 |  |
|---|
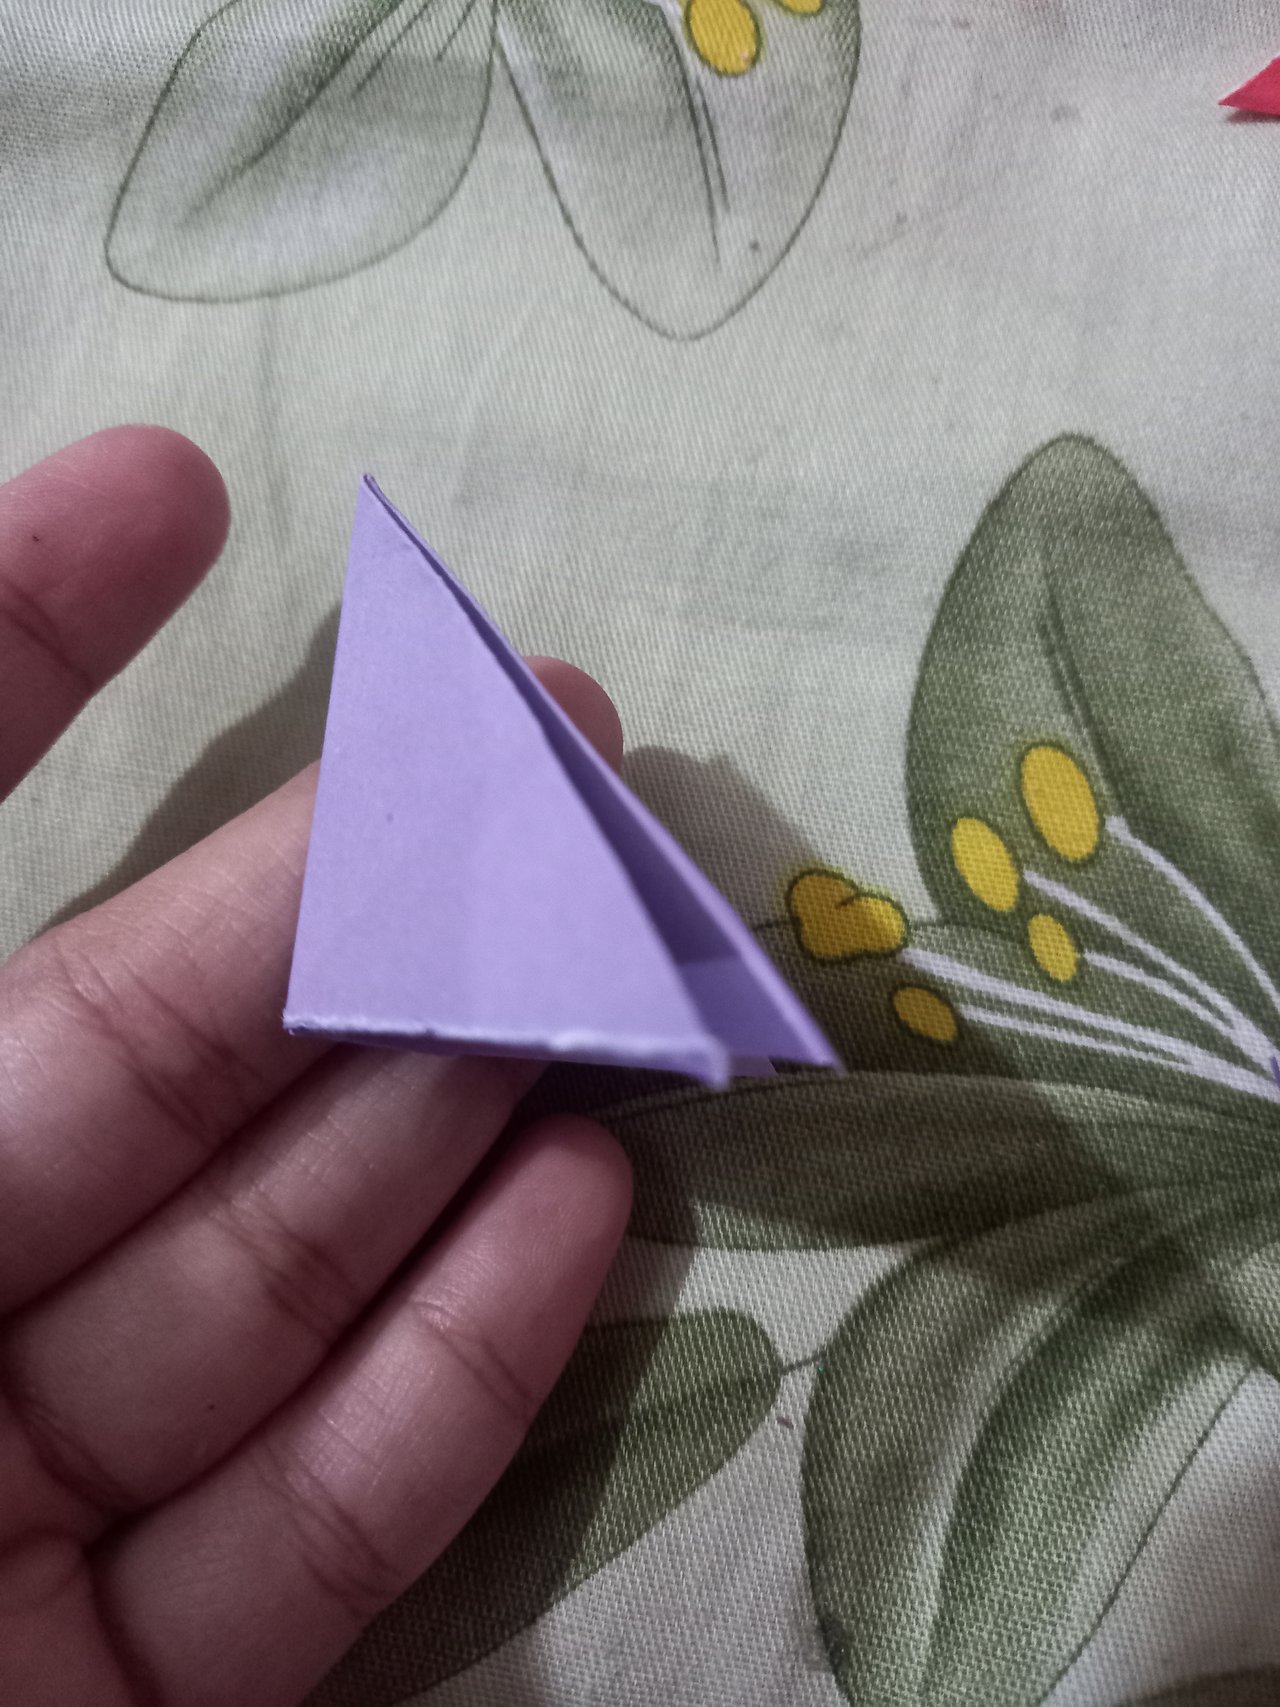
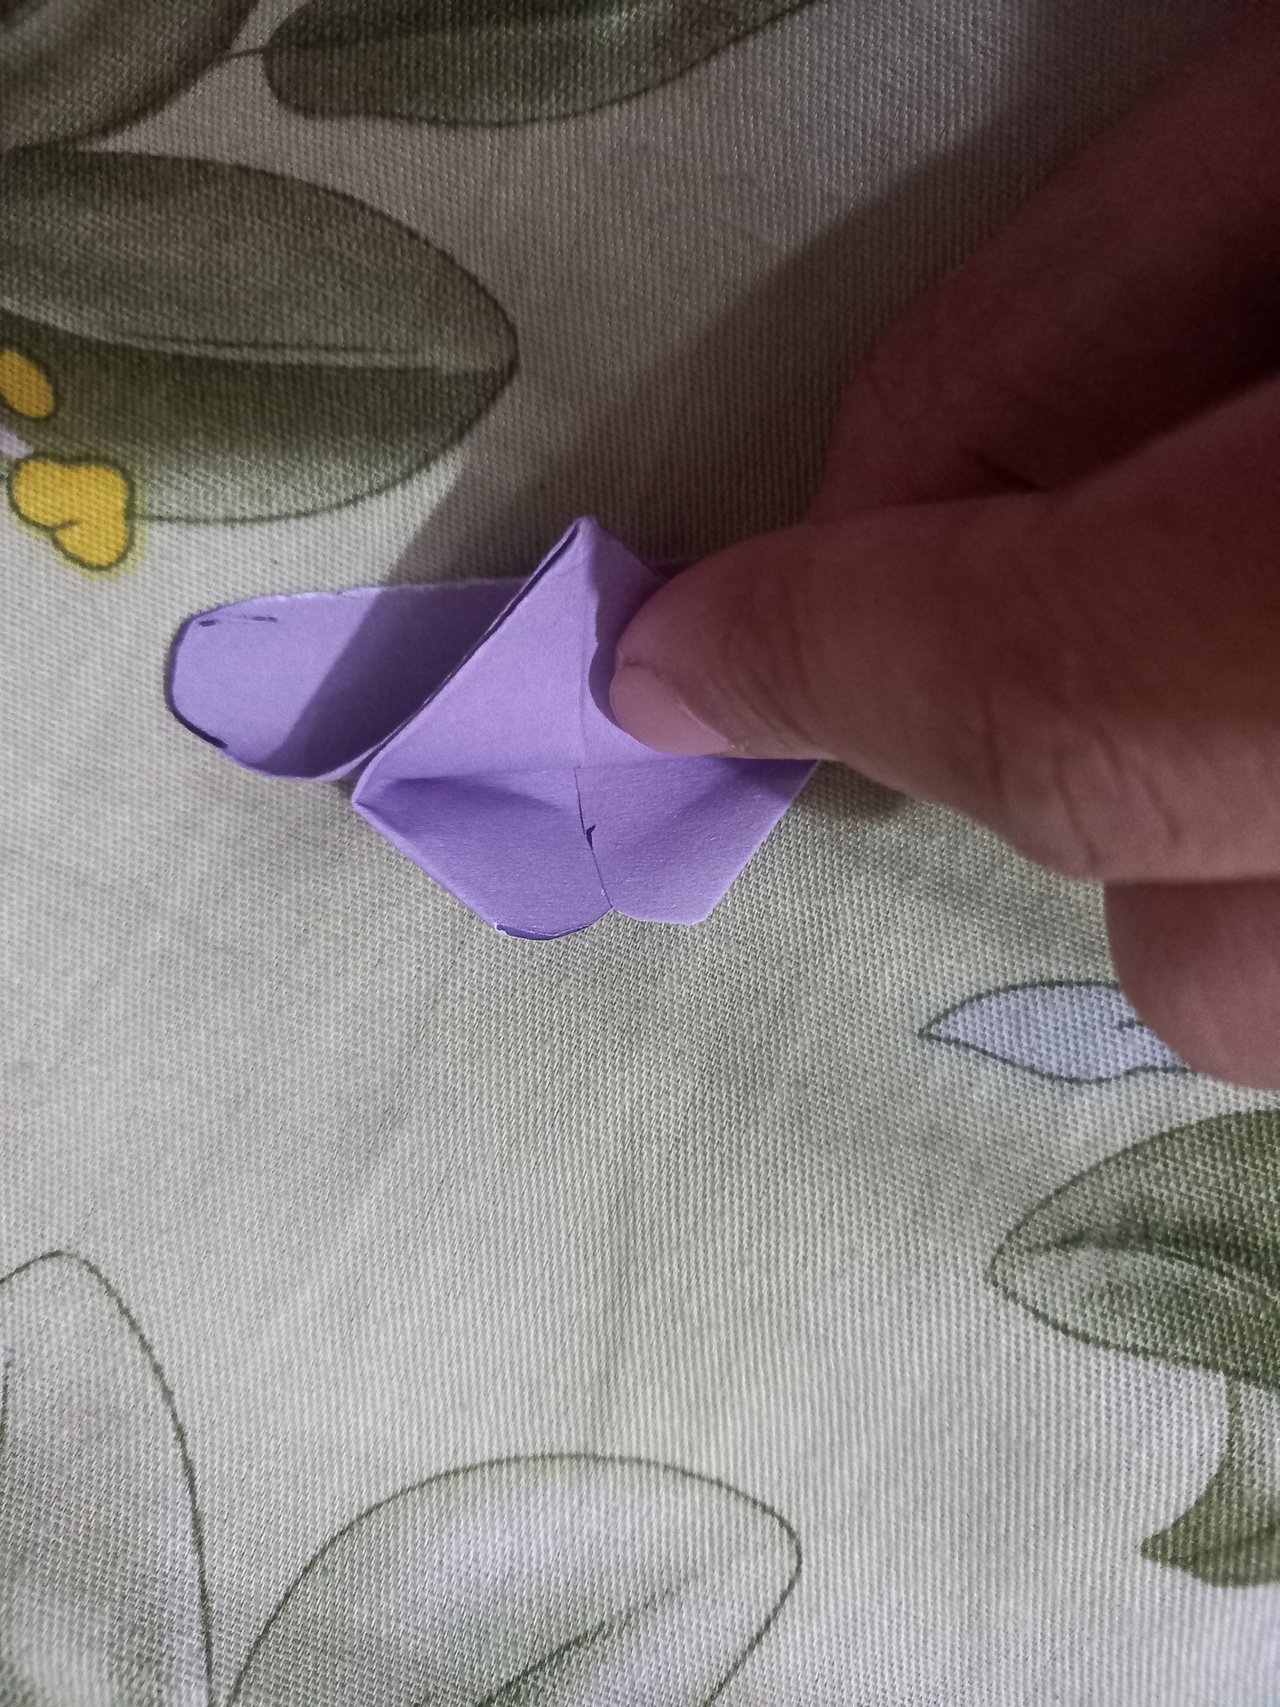
- Then I will cut the area that I drew with a pencil round with scissors.
|  |
|---|
- Then I will cut the area that I drew with a pencil round with scissors.
 | 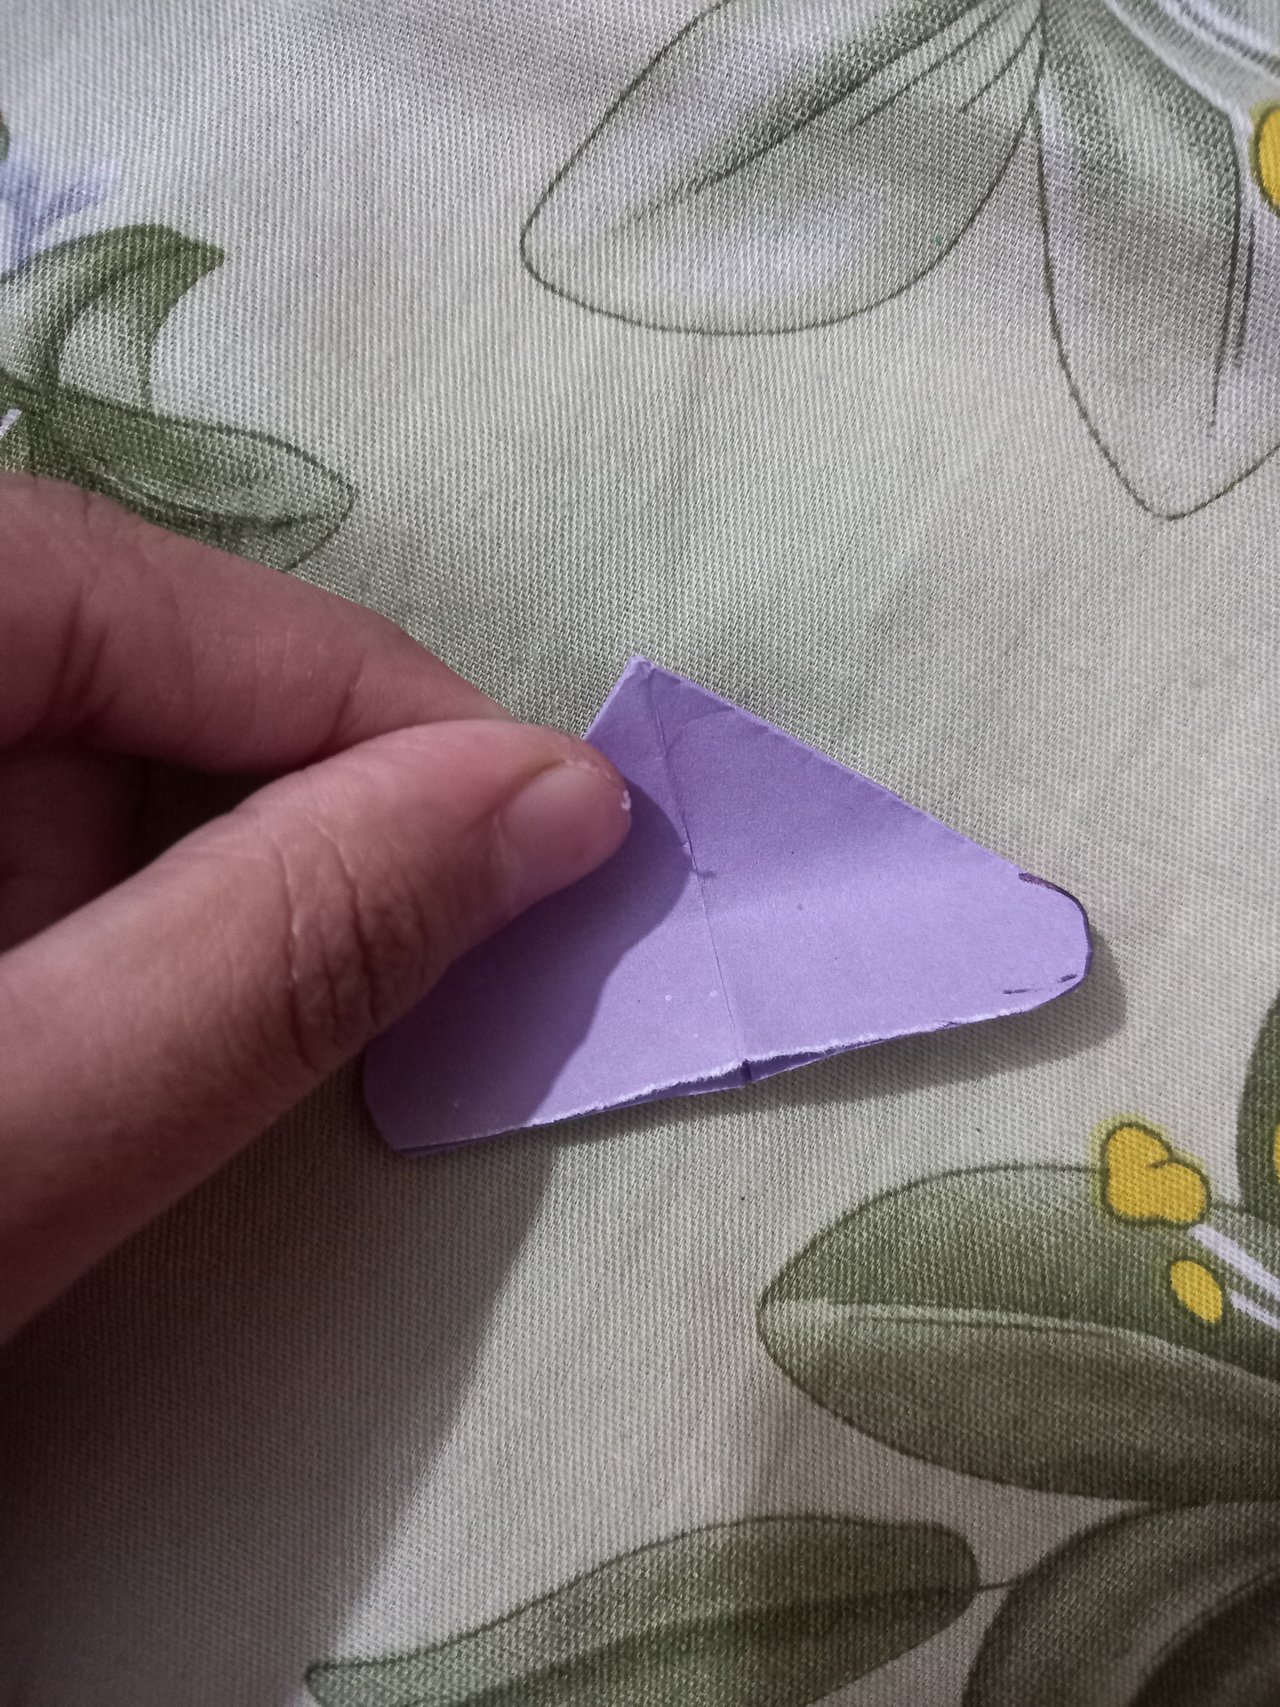 |
|---|
- Then flipping a pass, I'll fry little by little from both sides of that side.
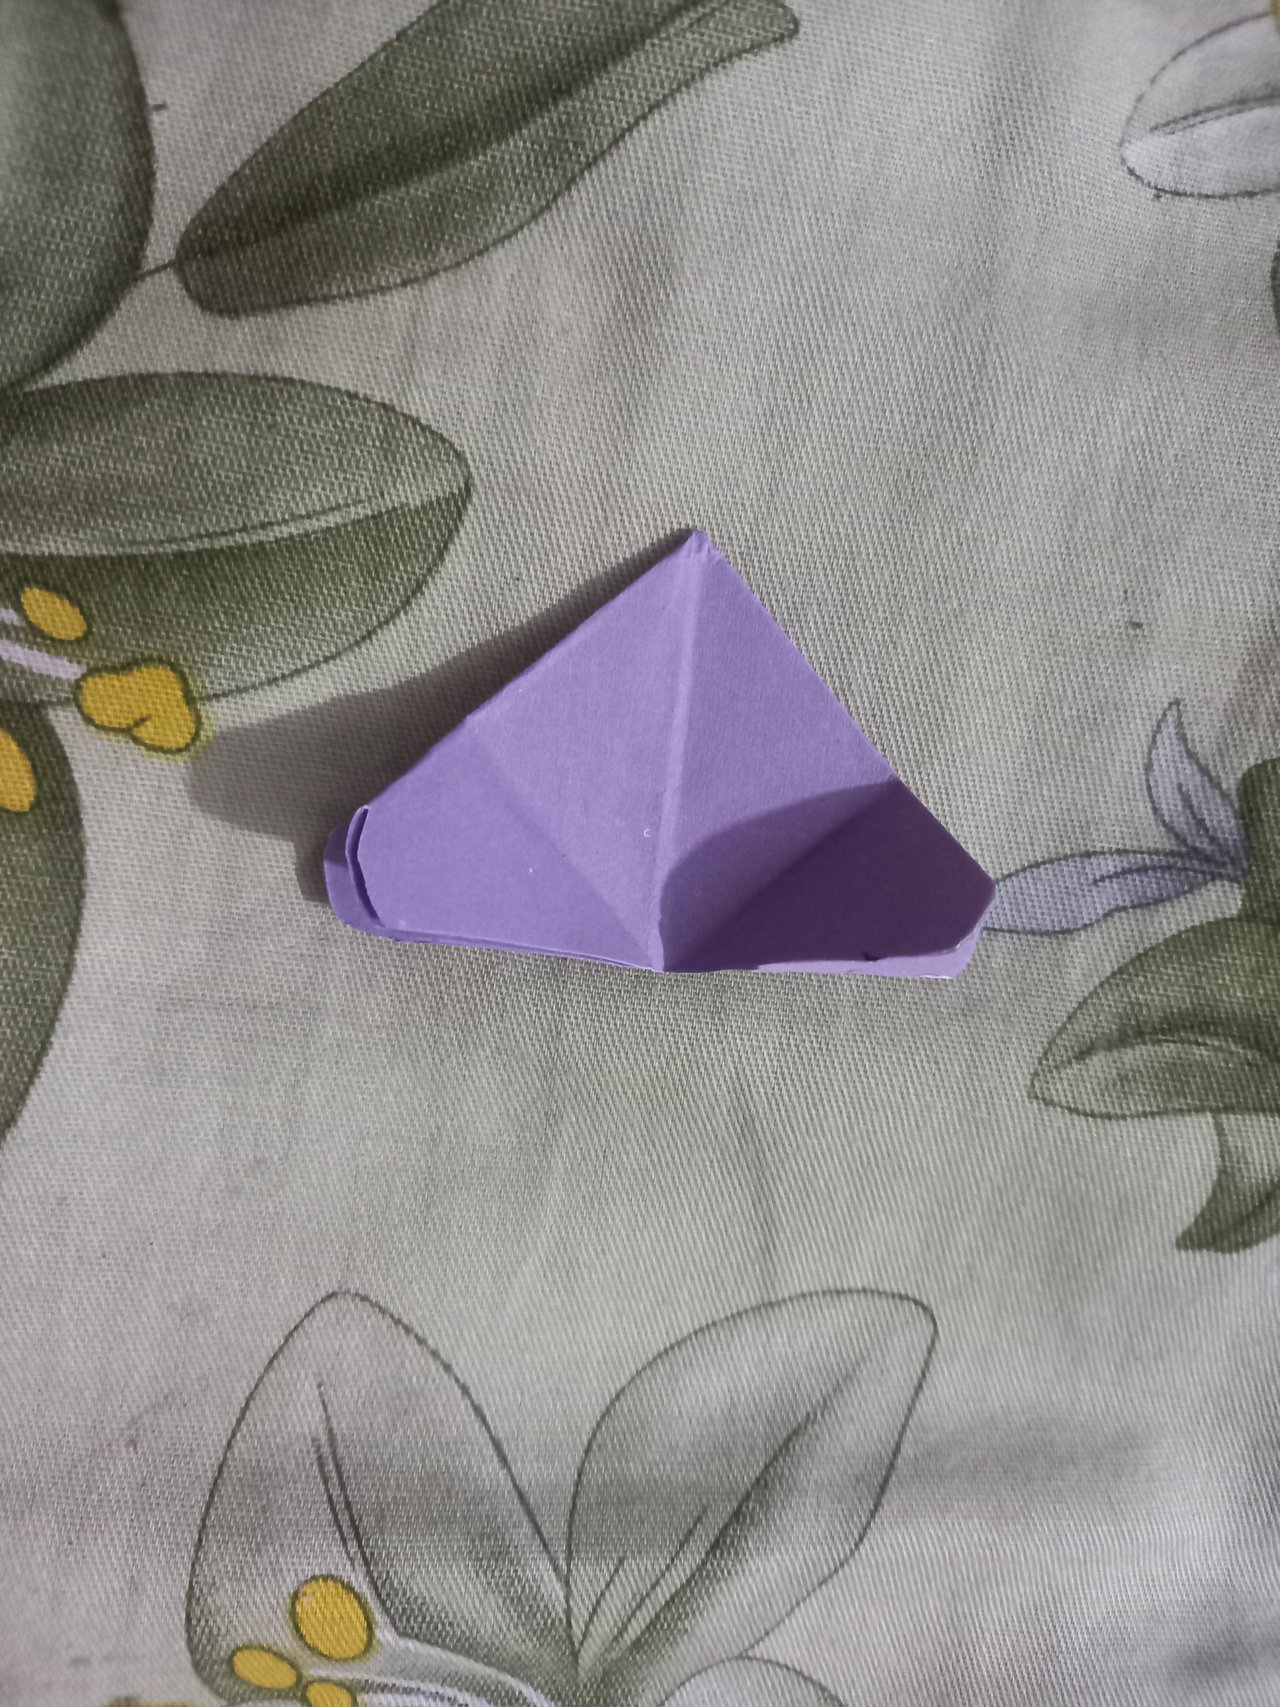 |  |
|---|
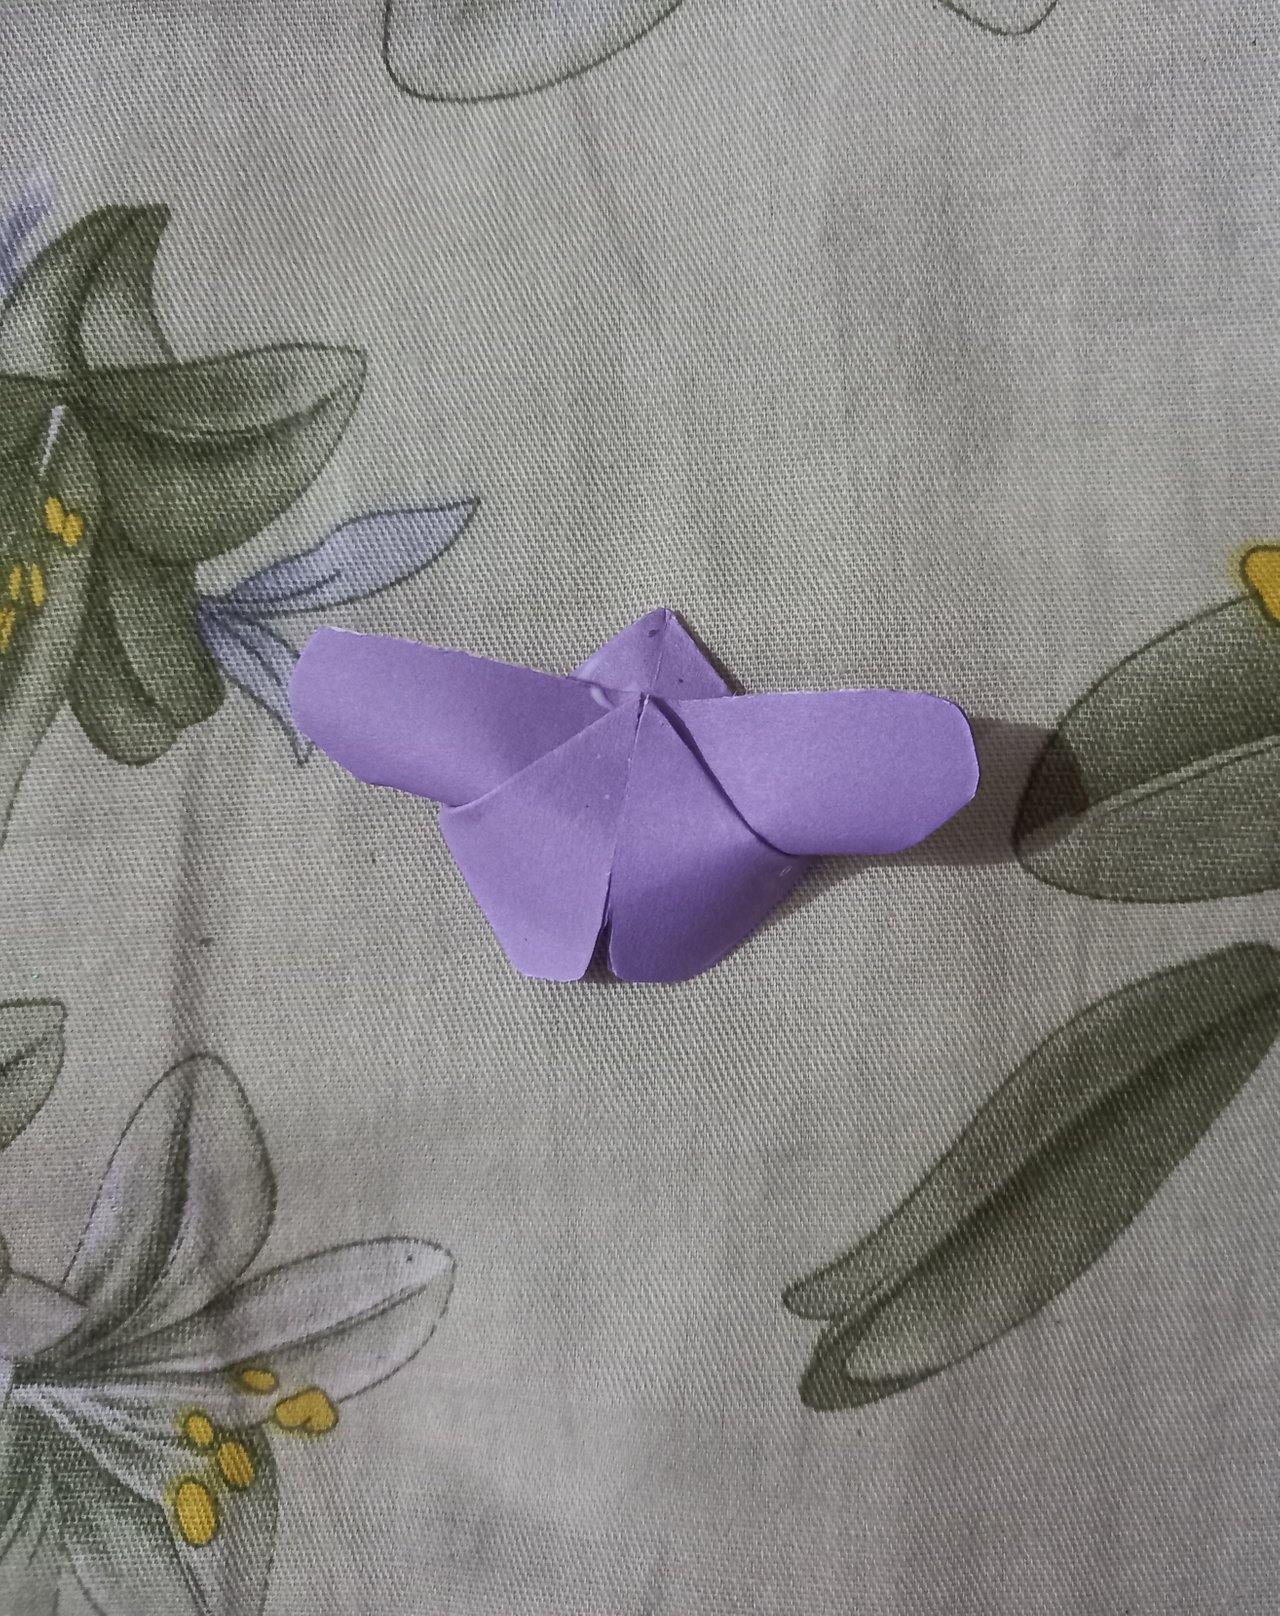
- Then I will pull the side that will be the other side and glue it to the top.
 |  |
|---|
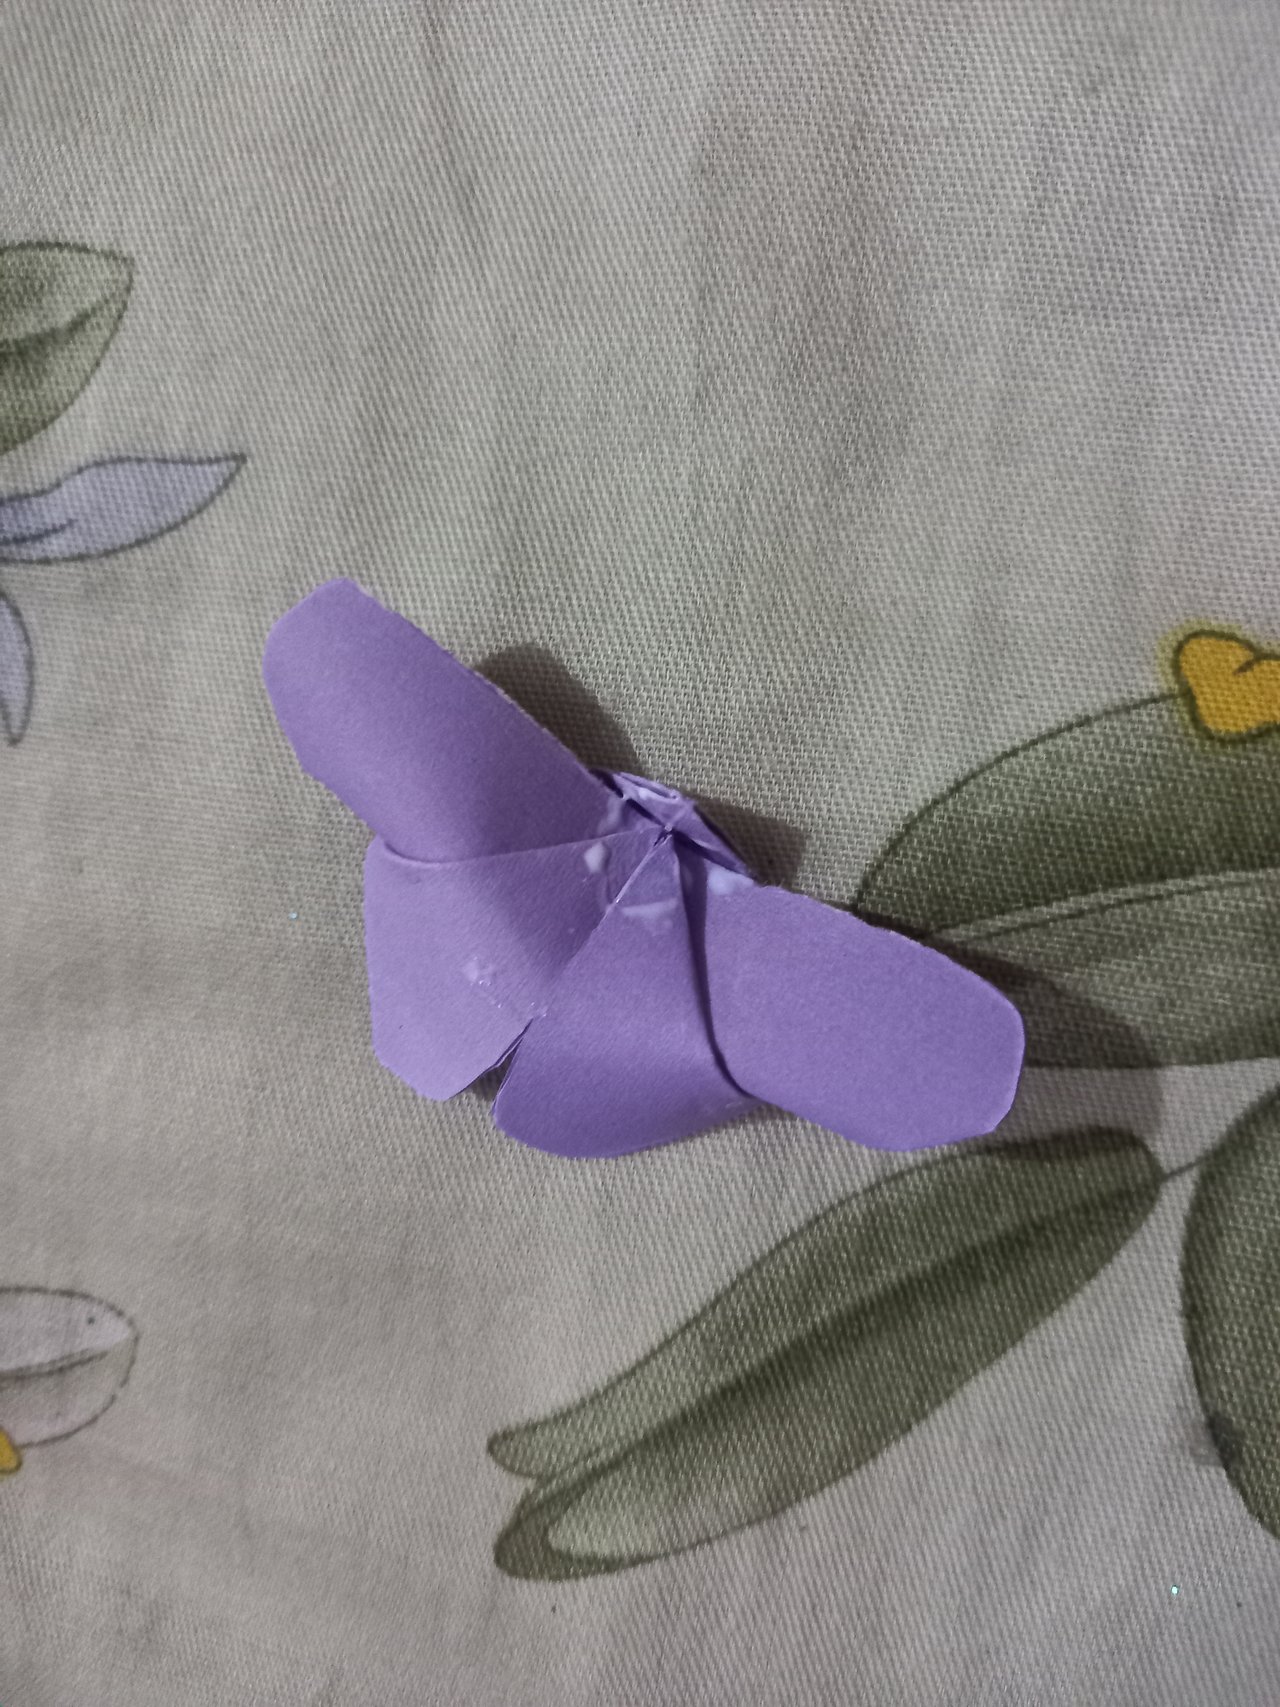
- Finally, I will glue the corner of that side to this side.
|  |
|---|