Hello Everyone. I am @suborna03
From #Bangladesh

First of all I salute all my steemian friends who always enjoy my posts and support me. Maybe you all are probably as good as me. Today I am here to present another wonderful papercraft post like every other day and for today I have made colored paper fish. I am really happy to create and present such wonderful crafts to you every day. Today without further delay I am presenting to you colored paper fish making activity.
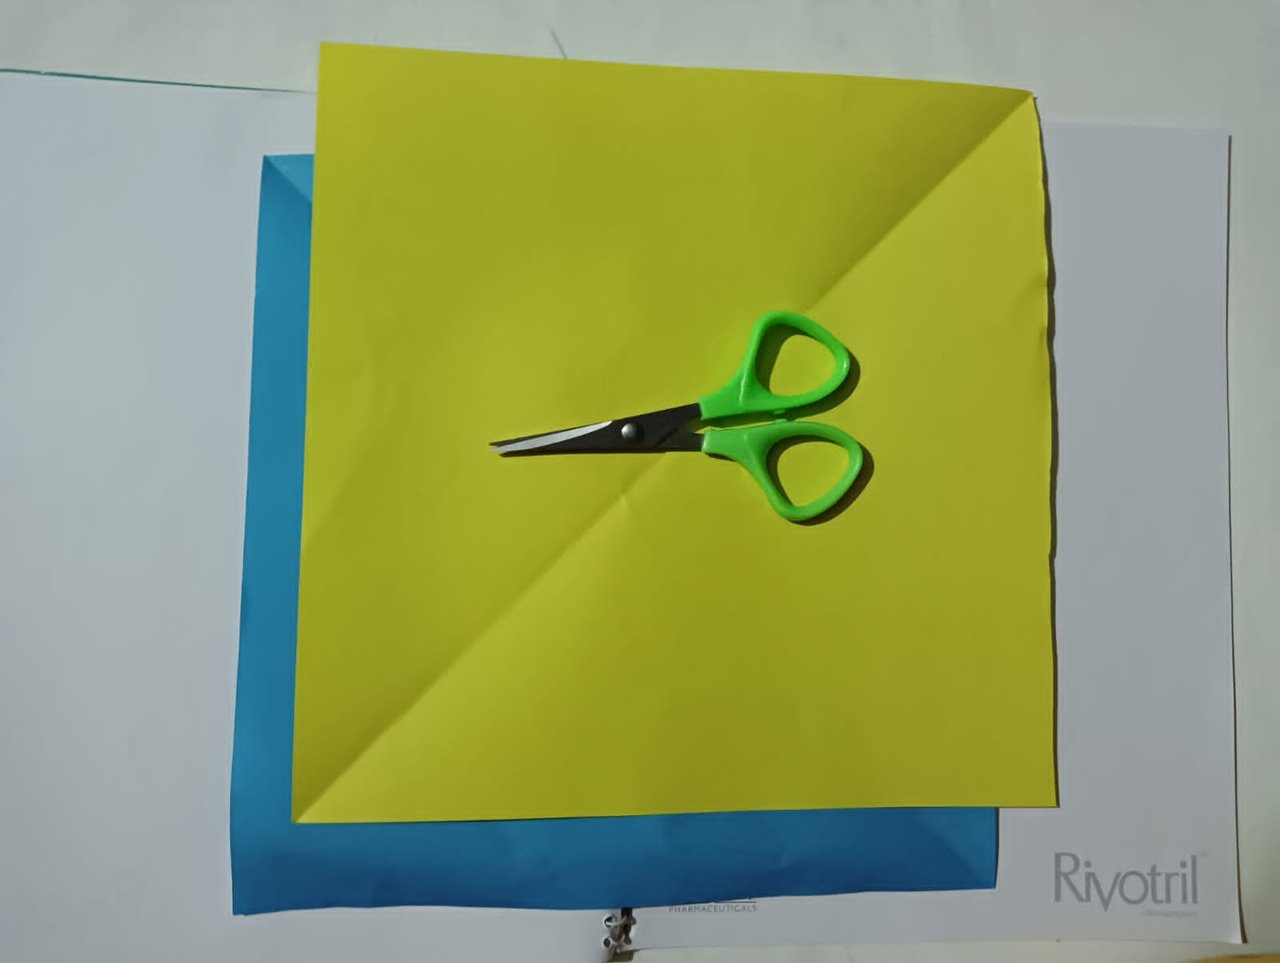
- Different colour paper.
- Glue gun.
- Scissors.
- Ruler.
- Marker.
- Compass.
To make the colored fish, first take two rectangles of blue and yellow paper. Then cut the blue and yellow paper into squares with the scale and scissors.
Fold the square blue paper in half to make a fish tail.
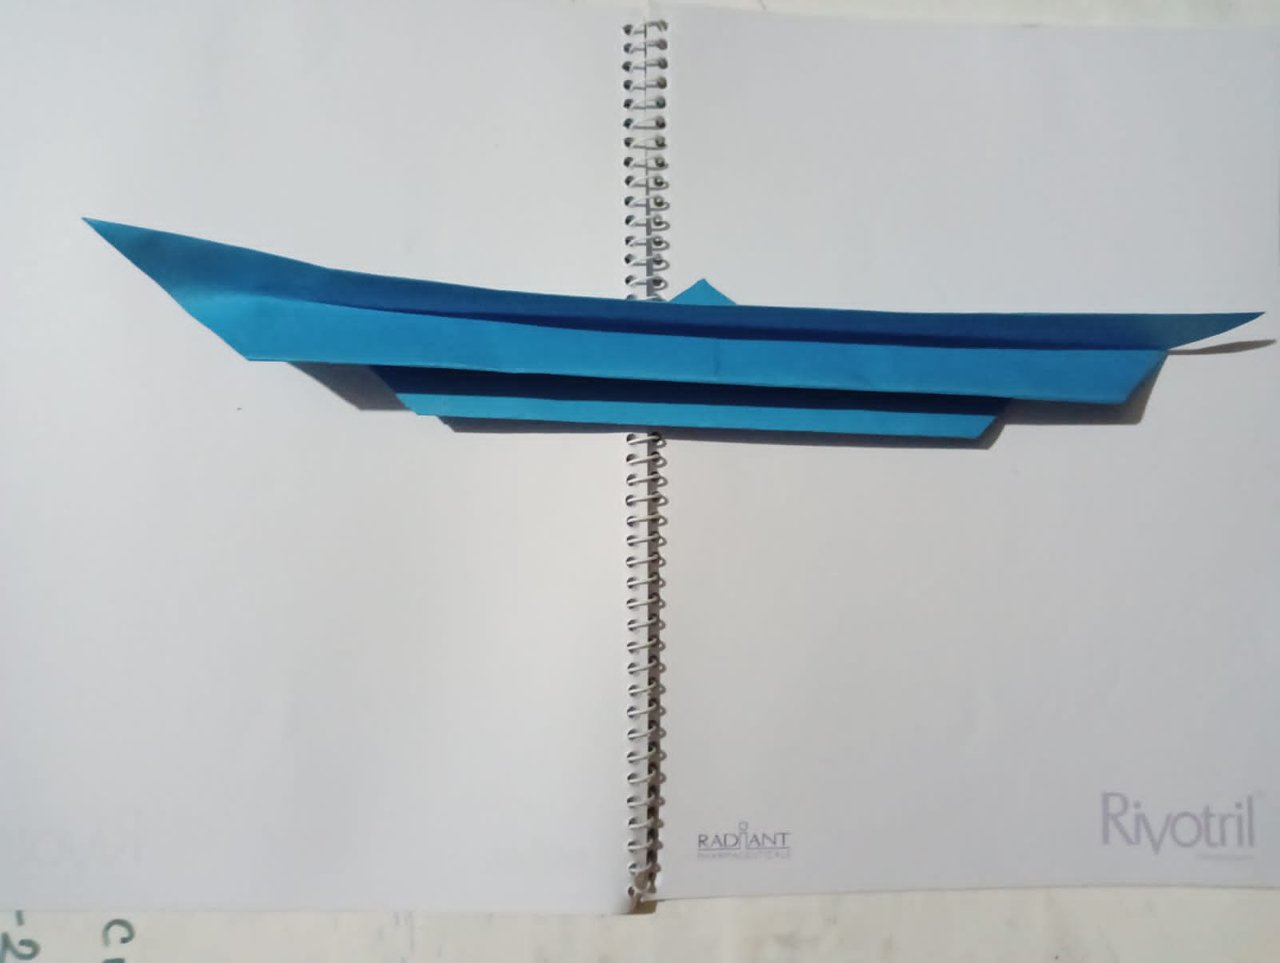
Stretch the paper from both sides of the blue paper by holding down the middle of the thinly folded blue paper.
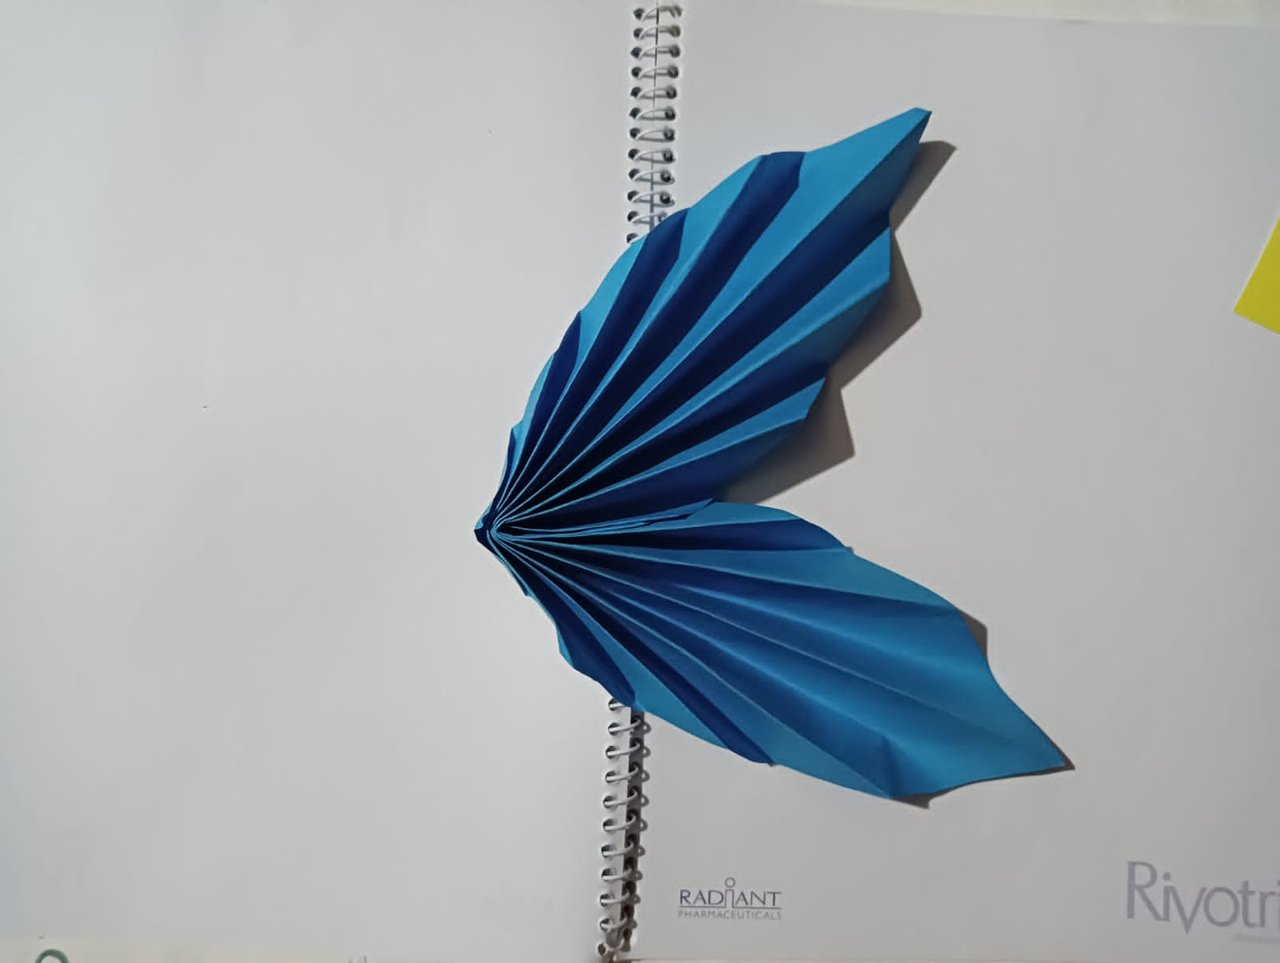
Fold the yellow square paper in the same way as the blue paper and attach it to the blue paper with glue gun.
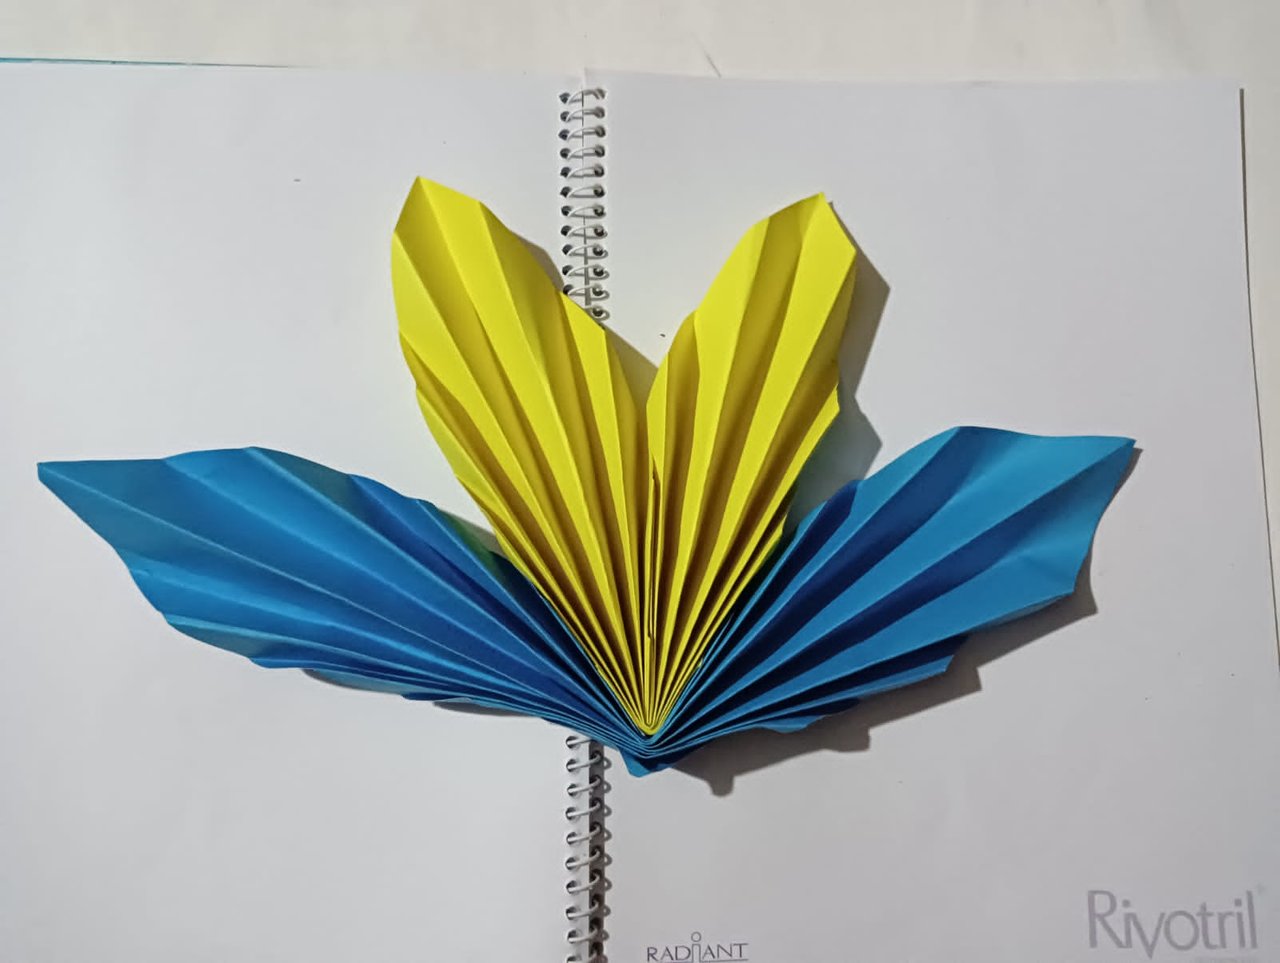
Then take another yellow paper and place pencil, compass on the paper and draw a circle. Then cut the yellow paper round with scissors along the line around the circle and draw the eyes, mouth and scales of the fish with the marker. Then cut a piece of orange paper to make the mouth and fins of the fish.
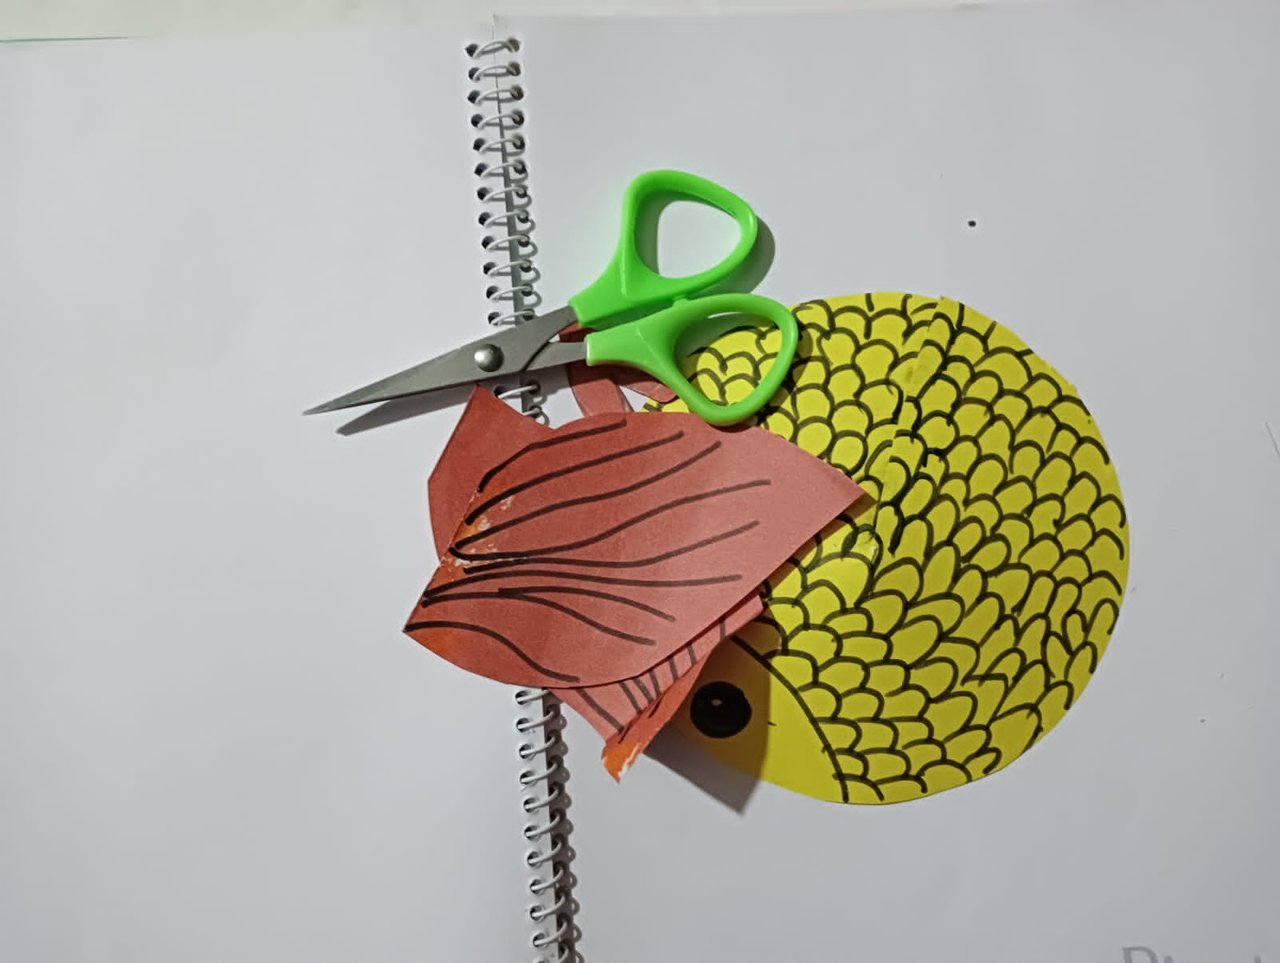
Then we finish the process of making the fish by attaching the beak, tail and fins of the fish to the yellow circular paper with glue gun.
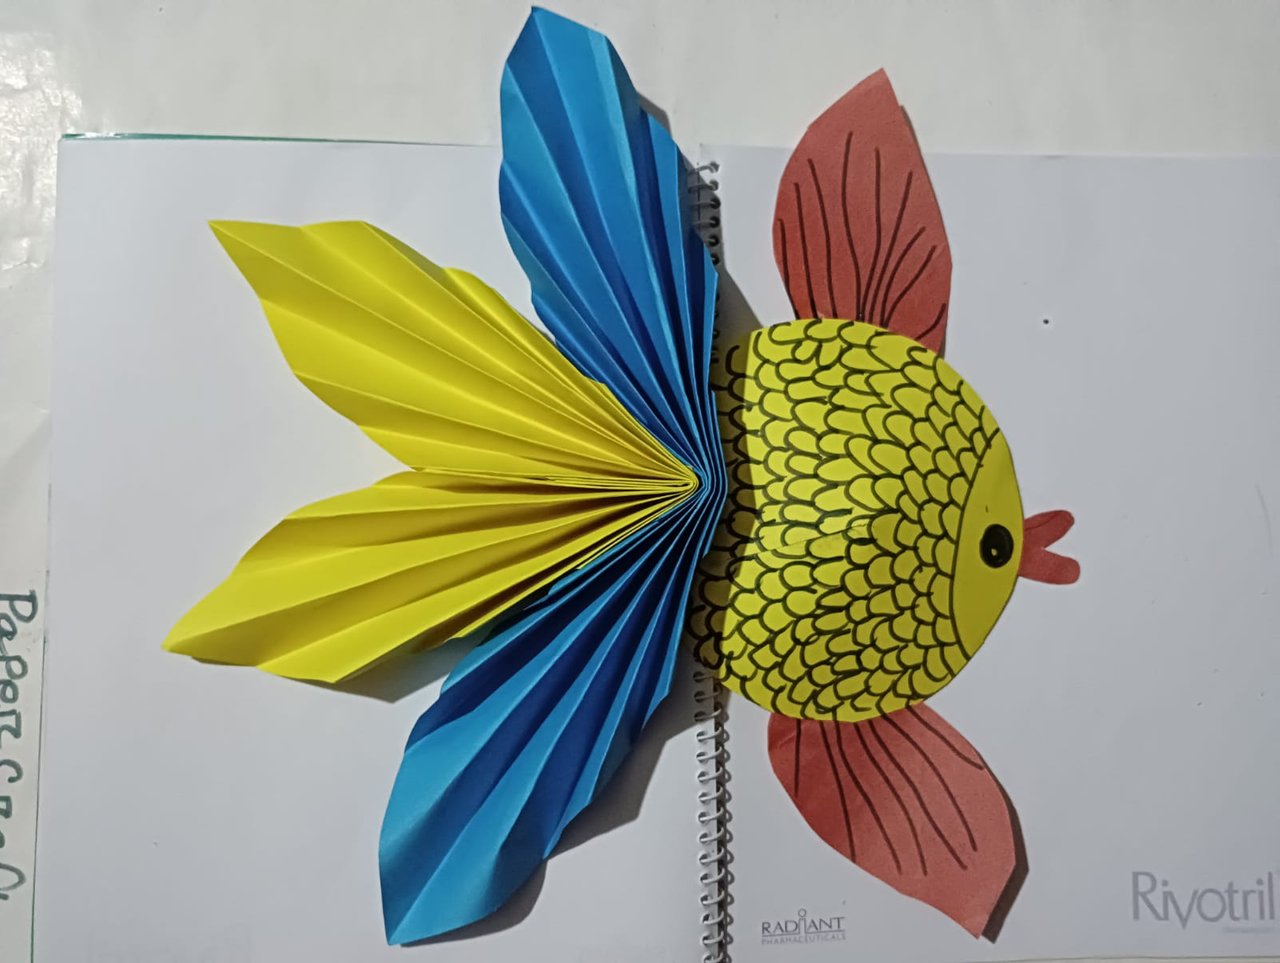
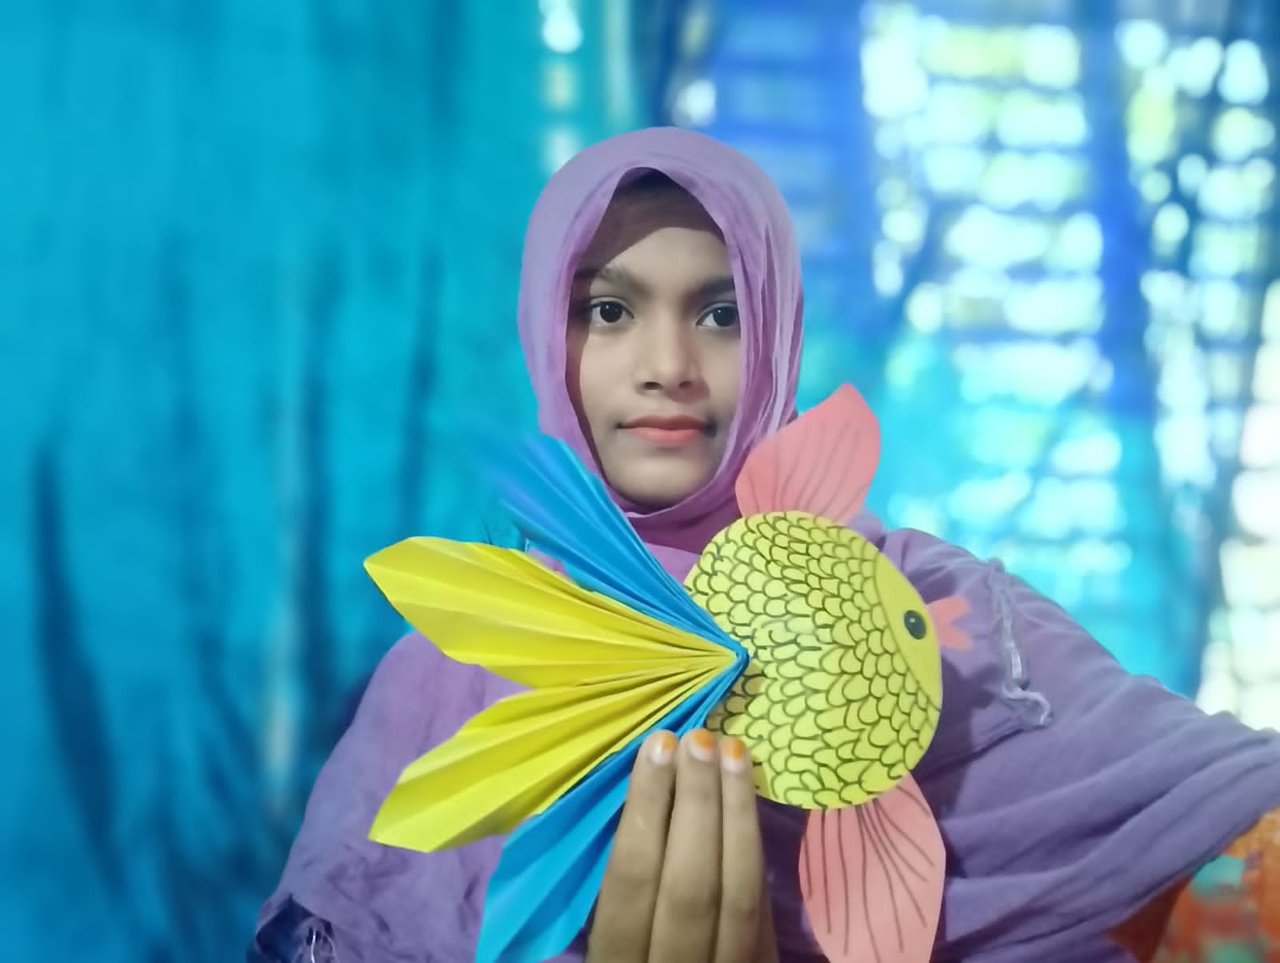
Following the steps mentioned above I finished the colored fish making process. You can see how beautiful and colorful my fish is. I personally liked today's colored fish recipe and I think you might like it too. Thank you.