.jpeg)

Hello, Friends ❤️
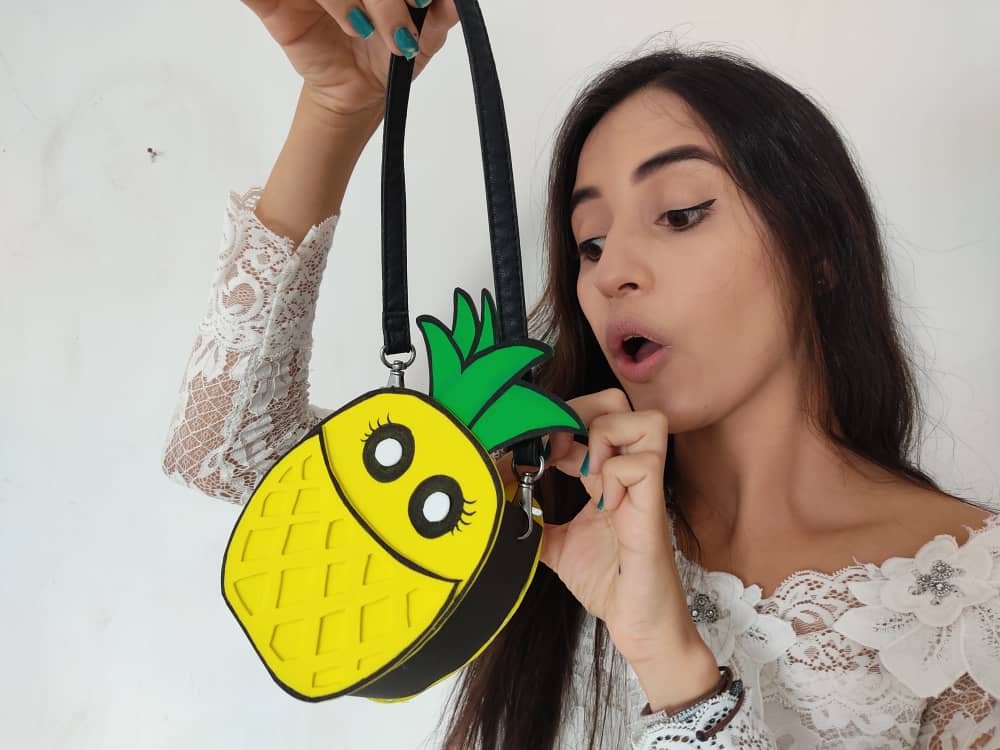
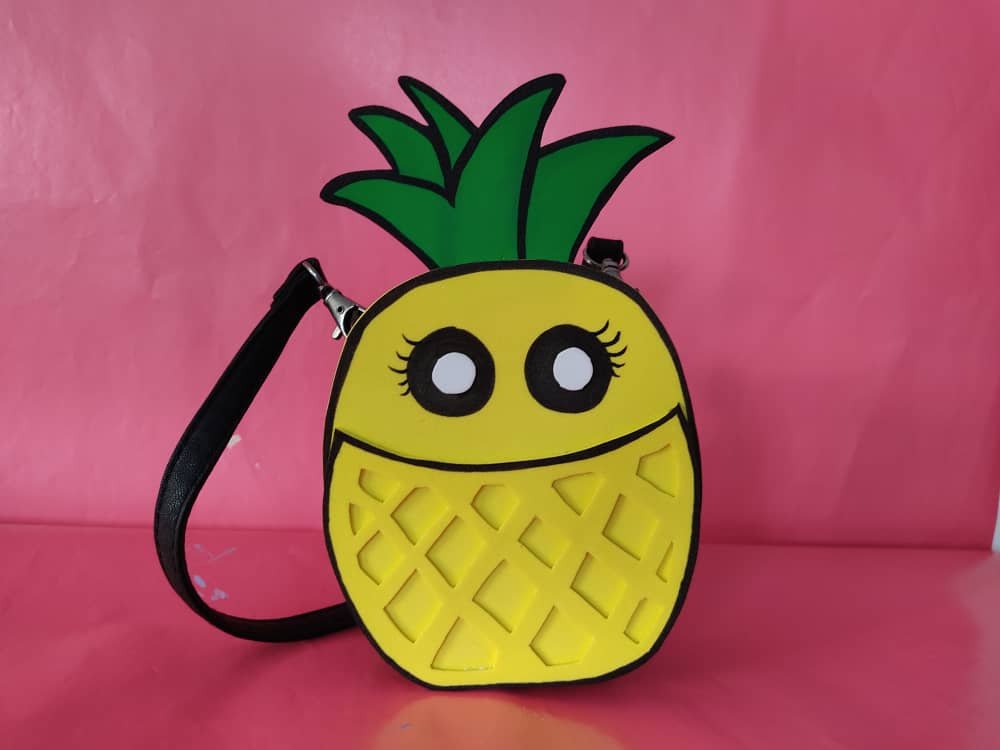
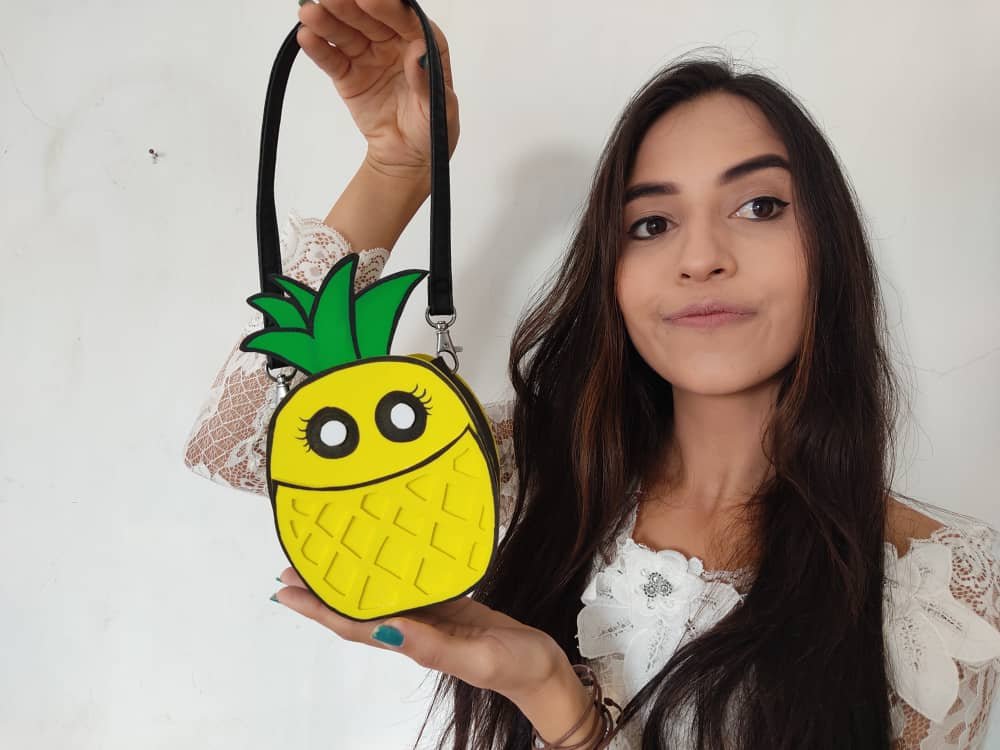
This new day I bring you another new and fun step by step where I will show you how to make a pineapple-shaped handbag ideal for our girls and we can even use them for a cocktail party, giving a creative and personal touch to our things, and The best of all is that it is made with recyclable materials, very cheap and easy to find, so let's not wait any longer and start this new year developing our creativity to the fullest.
Hola Amigos ❤️
Este nuevo día les traigo otro nuevo y divertido paso a paso donde les mostrare como realizar un bolso de mano en forma de piña ideal para nuestras niñas e incluso podemos utilizarlos para una fiesta de cocteles, dándole un toque creativo y personal a nuestras cosas, y lo mejor de todo es que está hecha con materiales de reciclaje, muy económicos y fáciles de conseguir, así que, no esperemos más y comencemos este año nuevo desarrollando nuestra creatividad al máximo.
What are they waiting for?
Thanks to this useful technique we can make our own pineapple bag, perfect for carrying our favorite things, such as accessories and make-up, or for our girls to carry their toys or sweets. Cool no? Before starting do not forget to wash your hands.
¿Qué están esperando?
Gracias a esta útil técnica podemos realizar nuestra propia bolsa de piña, perfecto para llevar nuestras cosas favoritas, como accesorios y maquillajes, o para que nuestras niñas lleven sus juguetes o golosinas. Genial no? Antes de comenzar no olviden lavarse las manos.

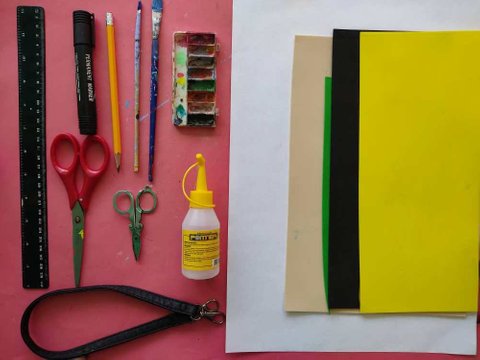
[Materials | Materiales]
To make this cute work we will need:
- Foamy or eva foam.
- Graphite pencil.
- Paintings.
- Brushes.
- Scissors.
- Recycled bag handle.
- Glue or liquid silicone.
Para realizar esta linda obra necesitaremos:
- Foamy o goma eva.
- Lápiz de grafito.
- Pinturas.
- Pinceles.
- Tijera.
- Asa de bolsa reciclada.
- Pegamento o silicón liquido.
Procedimiento (paso a paso)
Process (step by step)
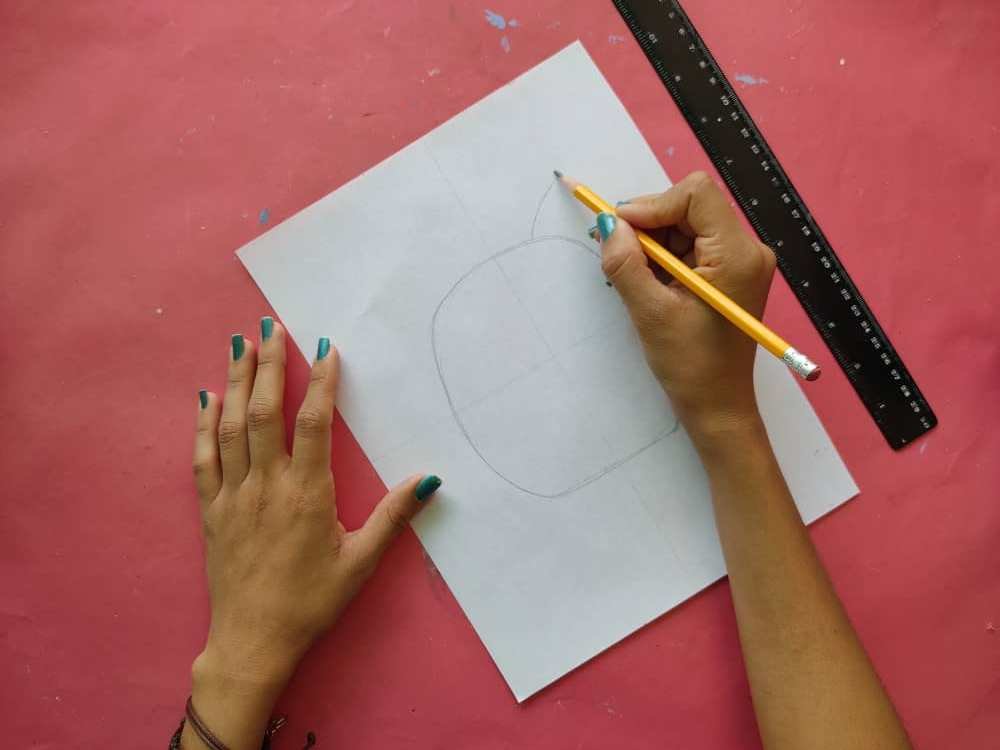
First, we draw a pineapple of approximately 14cm by 10cm, and on top of this, we draw a small group of leaves.

Primero, dibujamos una piña de aproximadamente 14cm por 10cm, y en la parte superior de esta dibujamos un pequeño grupo de hojas.
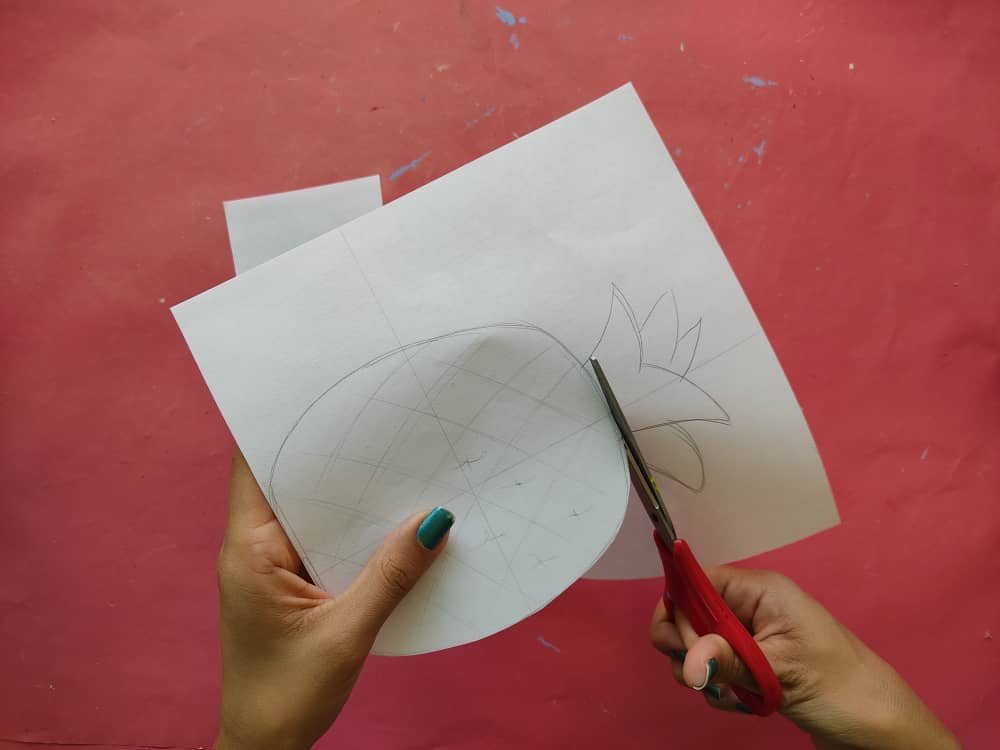
Next, we cut out the figure drawn by separating the pineapple from the leaves.

Seguidamente, recortamos la figura dibujada separando la piña de las hojas.
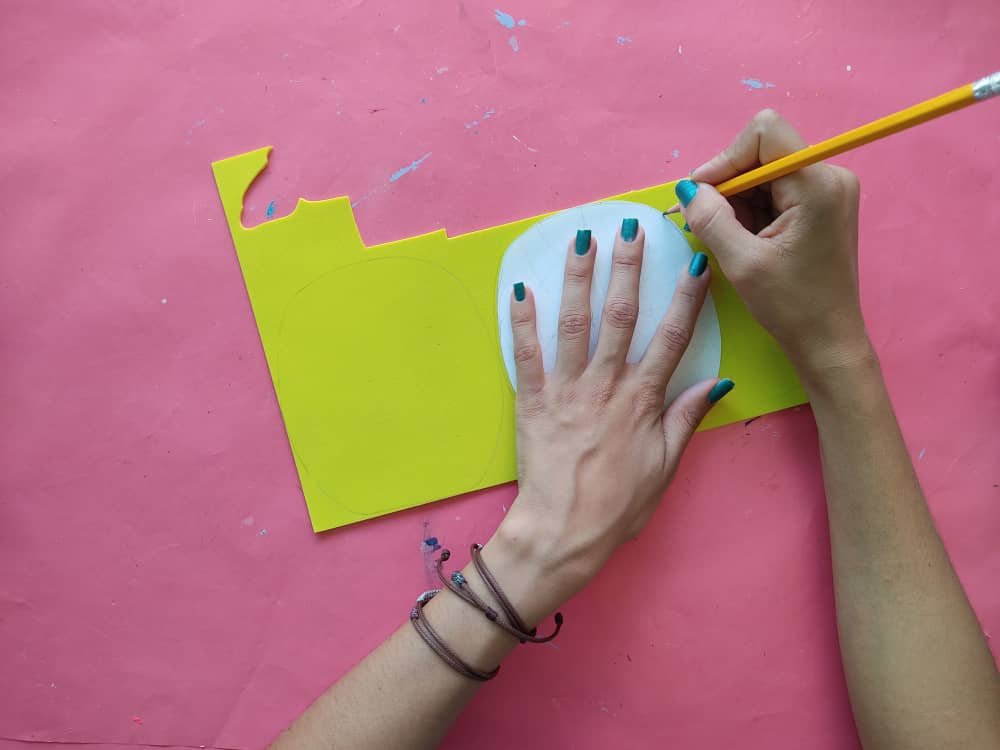
Then, we transfer the pineapple mold to the yellow foamy twice (x2) and in the remaining piece of foamy, we draw half of the mold to make a beautiful pocket.

Después, transferimos el molde de la piña al foamy de color amarillo dos veces (x2) y en el trozo restante del foamy dibujamos l mitad del molde para hacer un hermoso bolsillo.
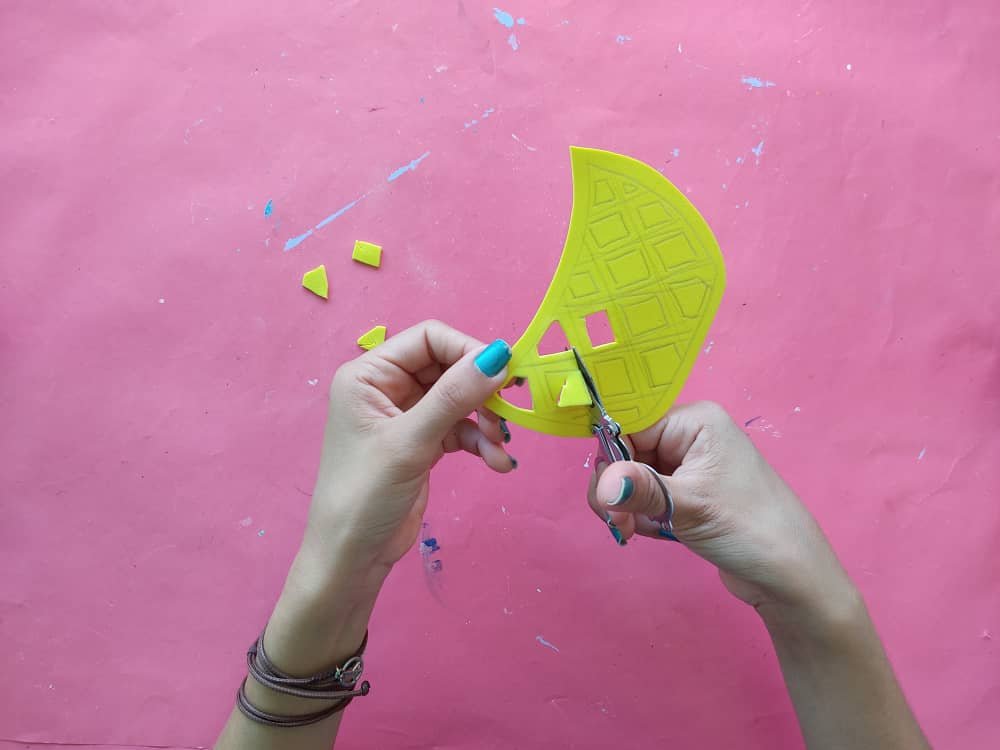
Then, we mark a series of squares on the half pineapple and carefully cut the centers of these, the idea is that it looks like a kind of tissue.

Luego, marcamos una serie de cuadros sobre la media piña y recortamos cuidadosamente los centros de estos, la idea es que quede como una especie de maya.
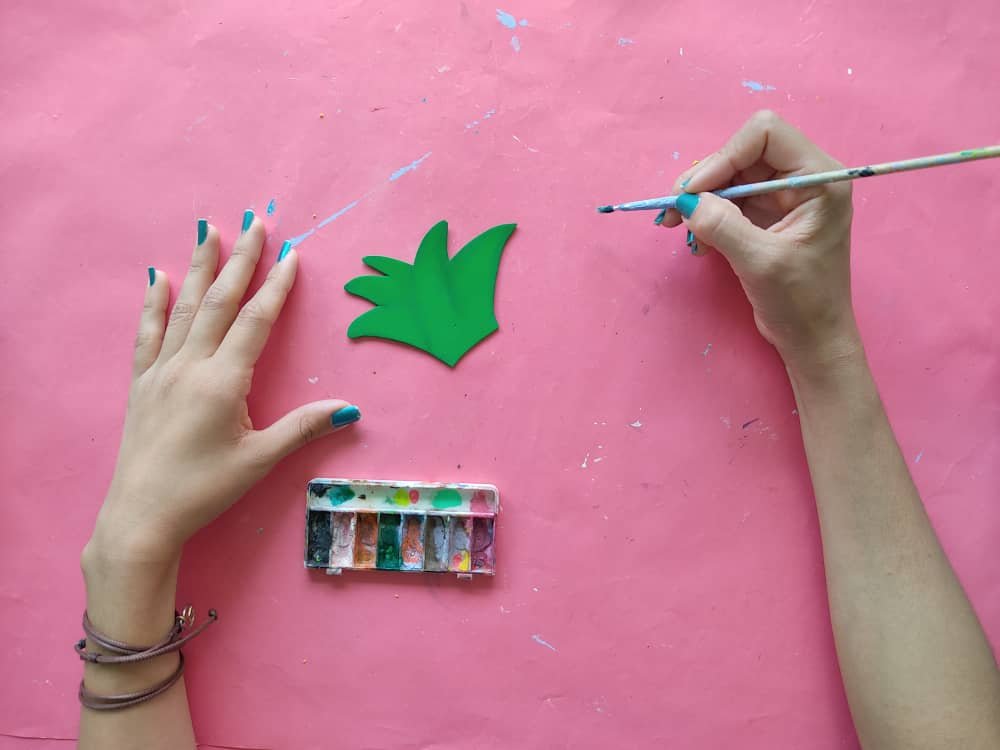
Now, we transfer the leaves to the green foamy, shade them and mark their edges in black to highlight the beauty of them.

Ahora, transferimos las hojas al foamy de color verde, las sombreamos y marcamos sus bordes de color negro para resaltar la belleza de las mismas.
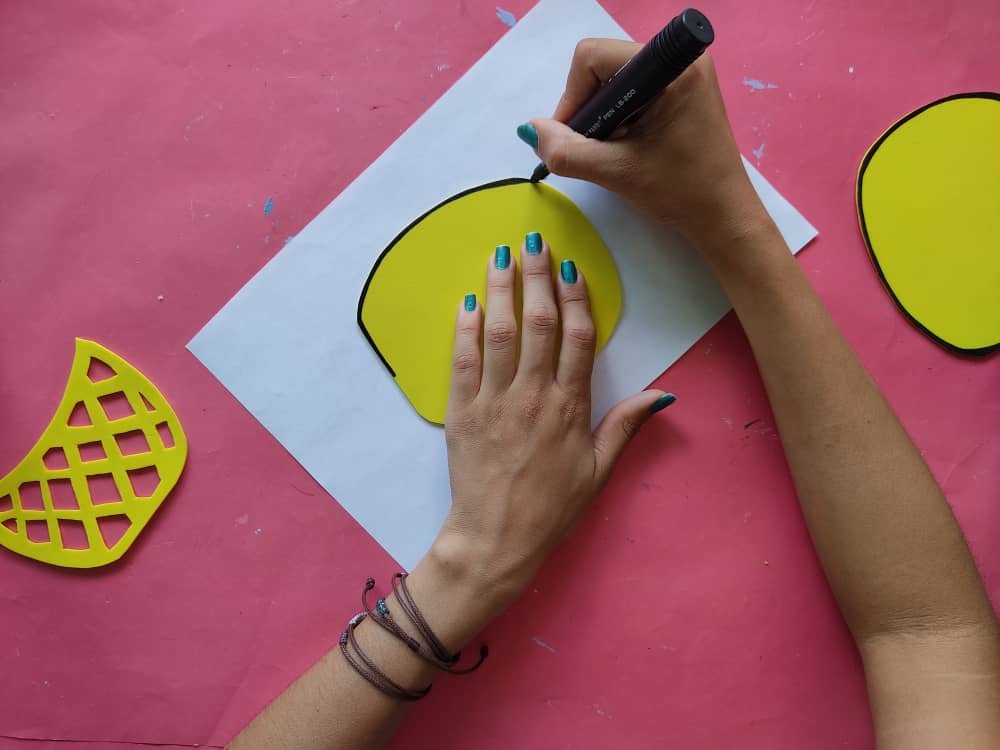
Once the desired figures have been obtained, we mark the edges of the pineapples with the fine-tipped black marker and paint some very big cute eyes on what will be the front or front of the bag.

Una vez obtenidas las figuras deseadas, marcamos los bordes de las piñas con el marcador negro de punta fina y pintamos unos lindos ojos muy grandes en la que será la parte frontal o delantera del bolso.
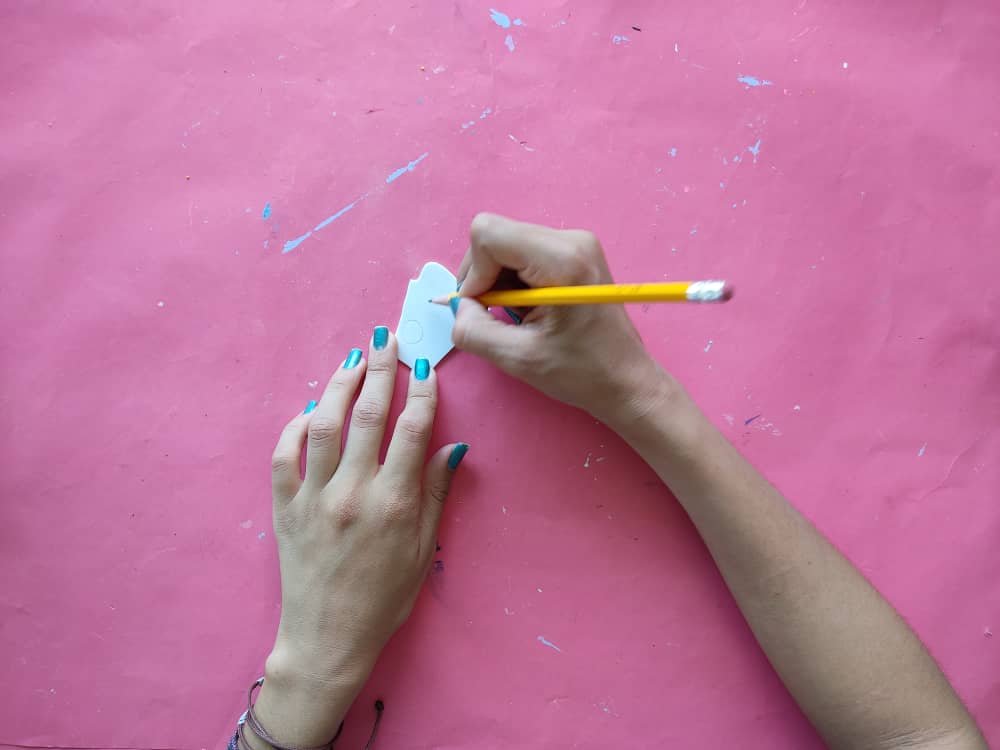
Then, we make some small white circles to give a little light to the eyes of this pineapple.

Luego, elaboramos unos pequeños círculos de color blanco para darle un poco de luz a los ojos de esta piña.
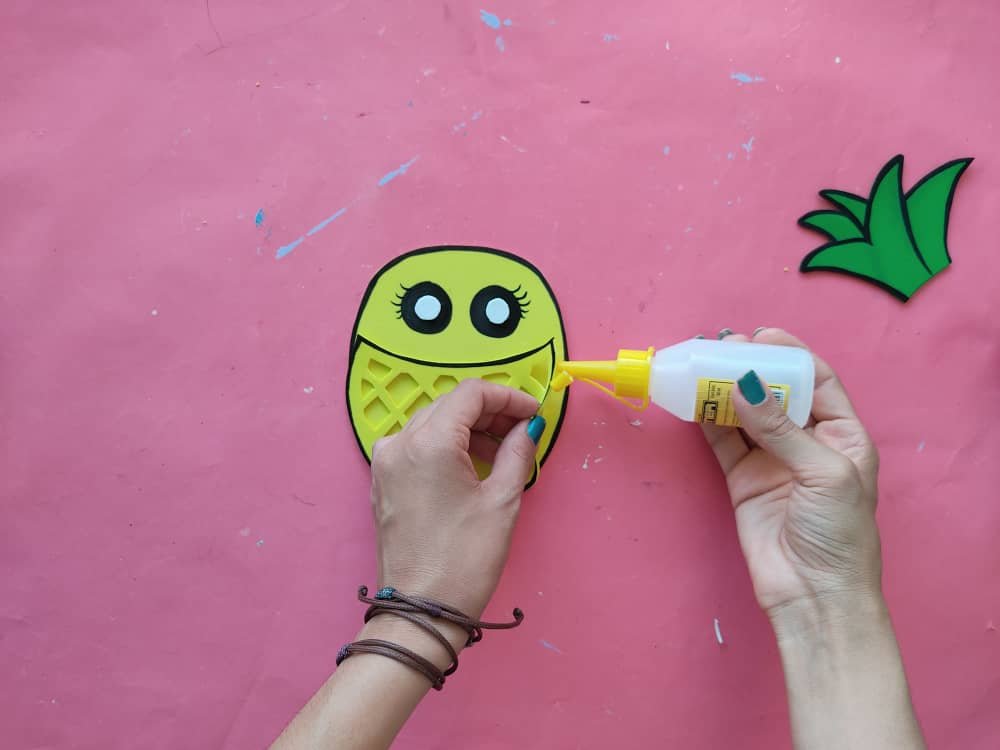
Next, we assemble the front face of the pineapple by gluing the white circles to the eyes, the mesh pocket in the lower part of the pineapple, and the leaves in the upper part.
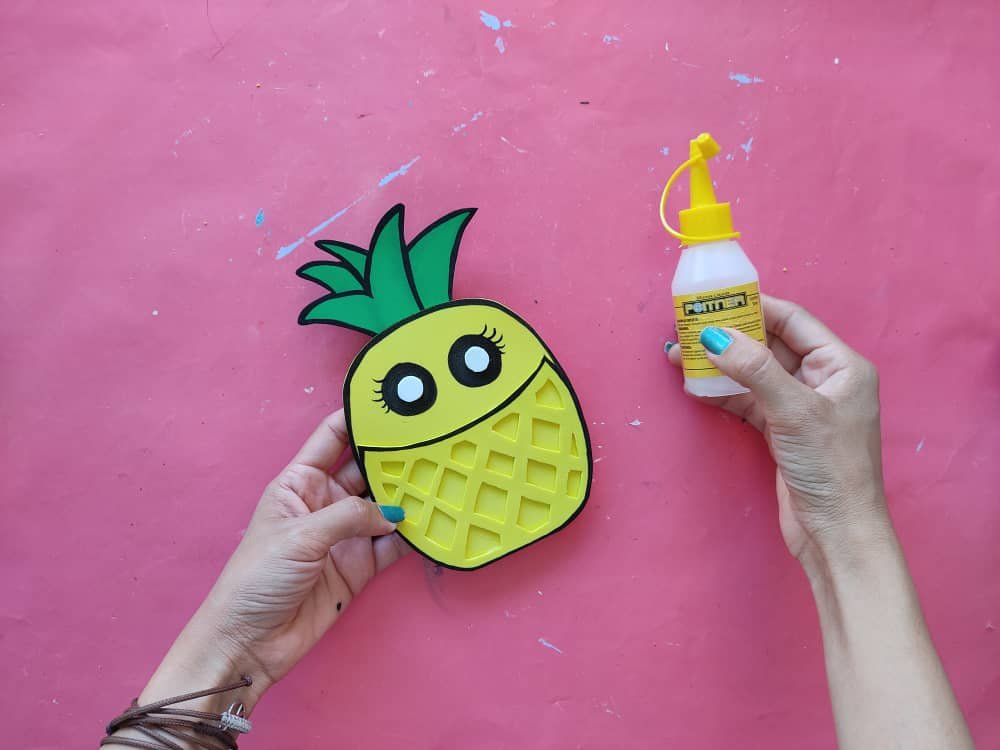
Seguidamente, armamos la cara frontal de la piña pegando los círculos blancos a los ojos, el bolsillo de maya en la parte inferior de la piña y las hojas en la parte superior.
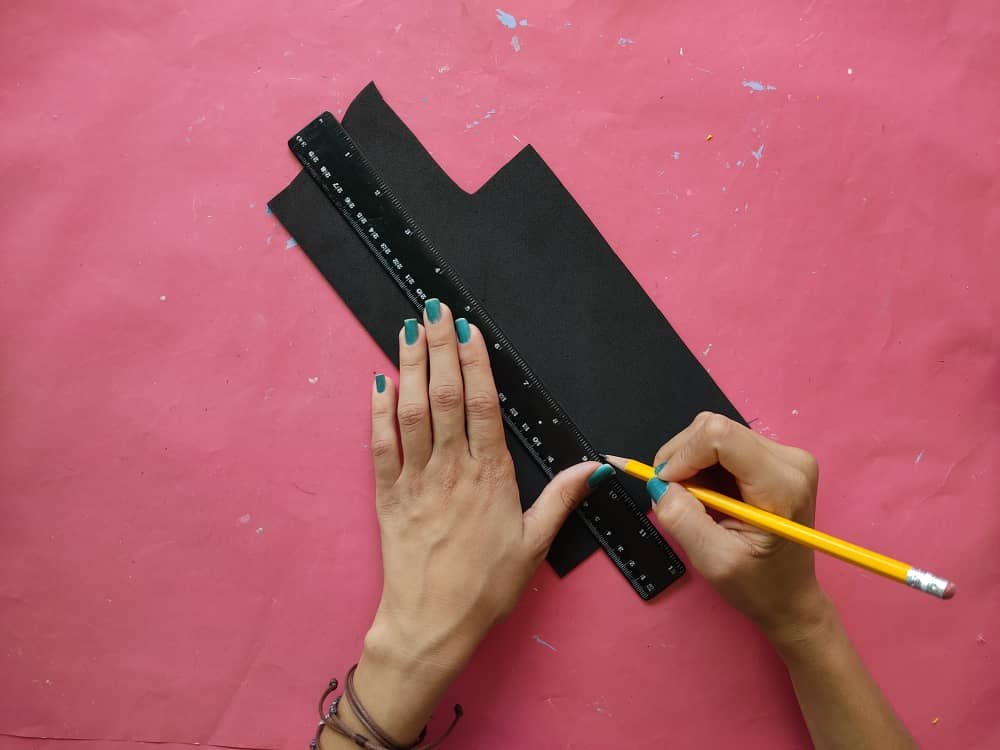
Now, we make a strip of foamy 25 cm long and 4 cm wide in black color, this will serve as a gusset for our mini pineapple bag.

Ahora, elaboramos una tira de foamy de 25 cm de largo y 4cm de ancho de color negro, está servirá de fuelle para nuestro mini bolso de piña.
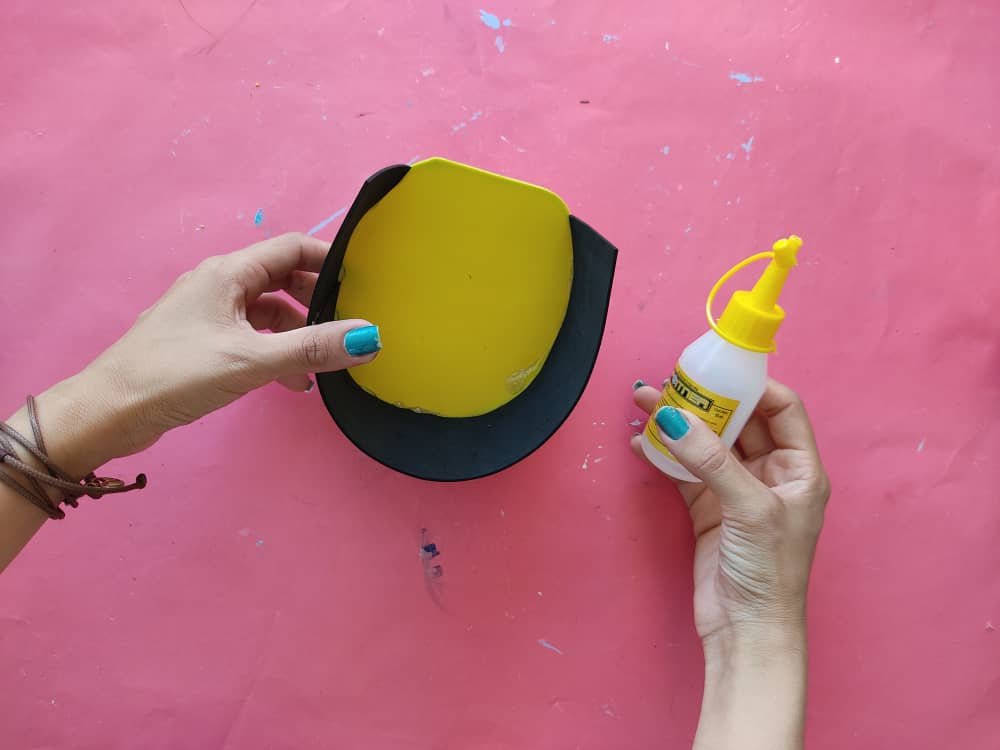
Then we begin to join the faces of the pineapples with the bellows applying cold silicone around the edge of these and of course pressing for a few seconds so that it holds well.
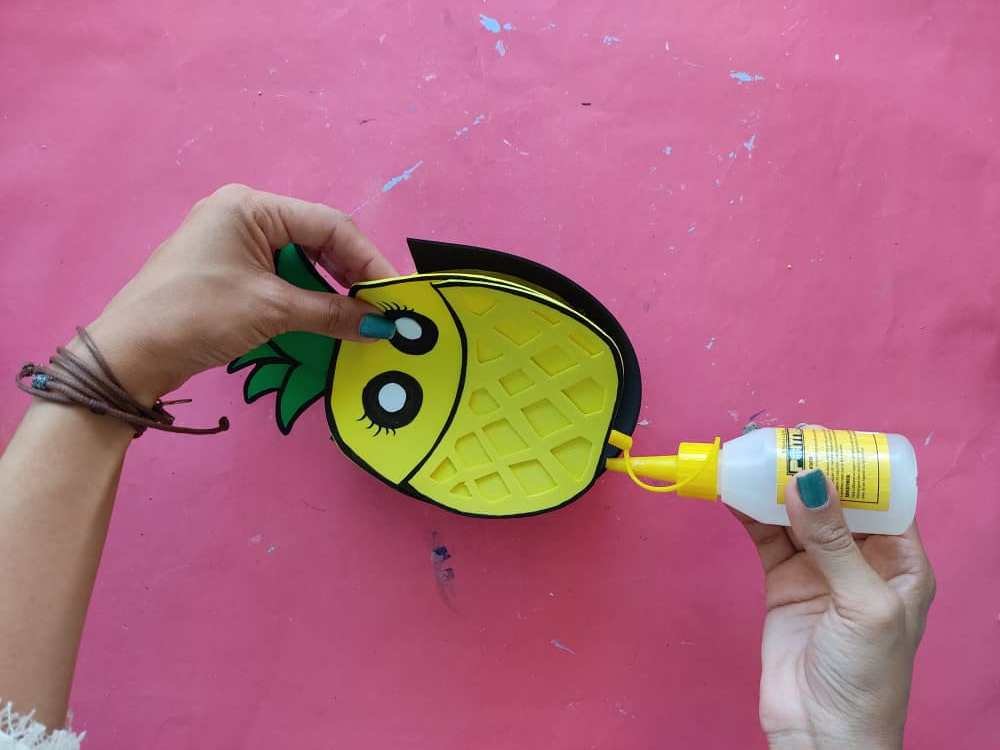
Seguidamente comenzamos a unir las caras de las piñas con el fuelle aplicando silicón frío por todo el borde de estas y por supuesto haciendo presión por unos segundos para que se sostenga bien.
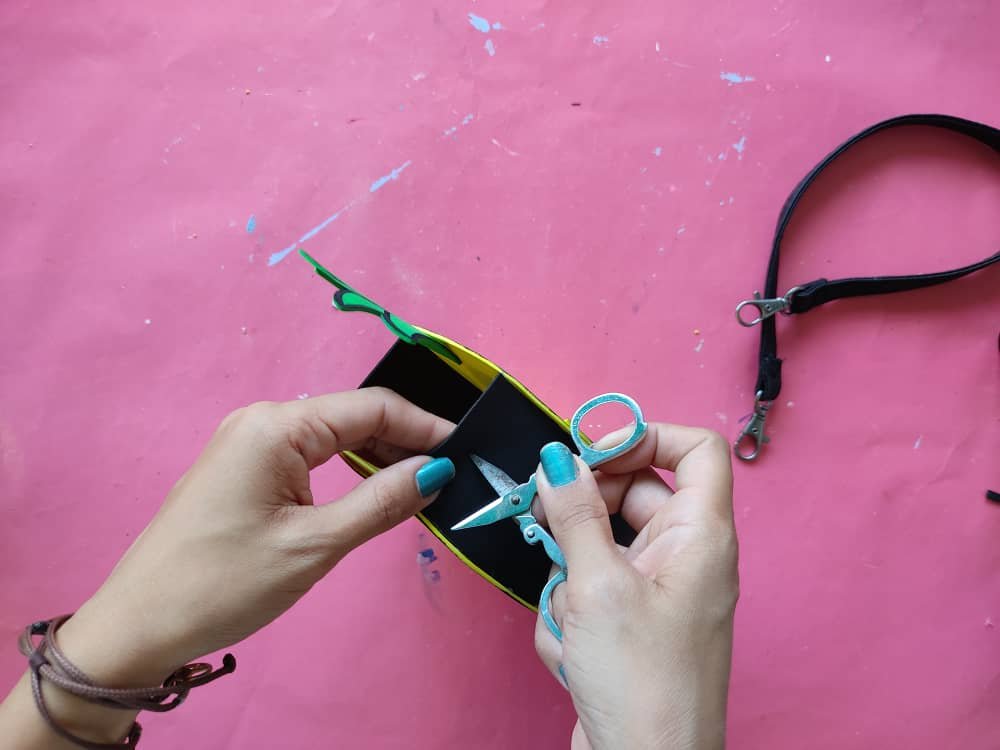
Finally, we drill two holes in the ends of the gusset and hook the handle or bra that we have recycled for our bag and that's it. Cool no?
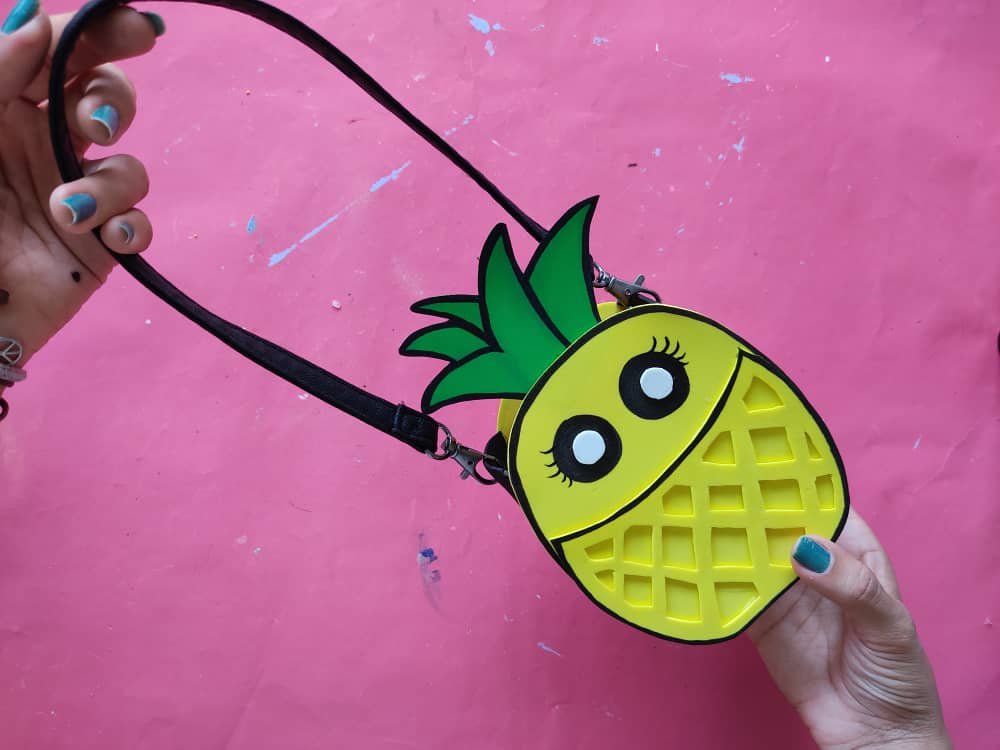
Finalmente, perforamos dos agujeros en los extremos del fuelle y enganchamos el asa o sujetador que hemos reciclado para nuestra bolsa y listo. Genial no?

Thanks for joining and I hope you enjoyed it. ❤️
Gracias por acompañarme y espero que lo hayan disfrutado.❤️
.jpeg)
.jpeg)
.jpeg)
.jpeg)
.jpeg)
.jpeg)
.jpeg)


