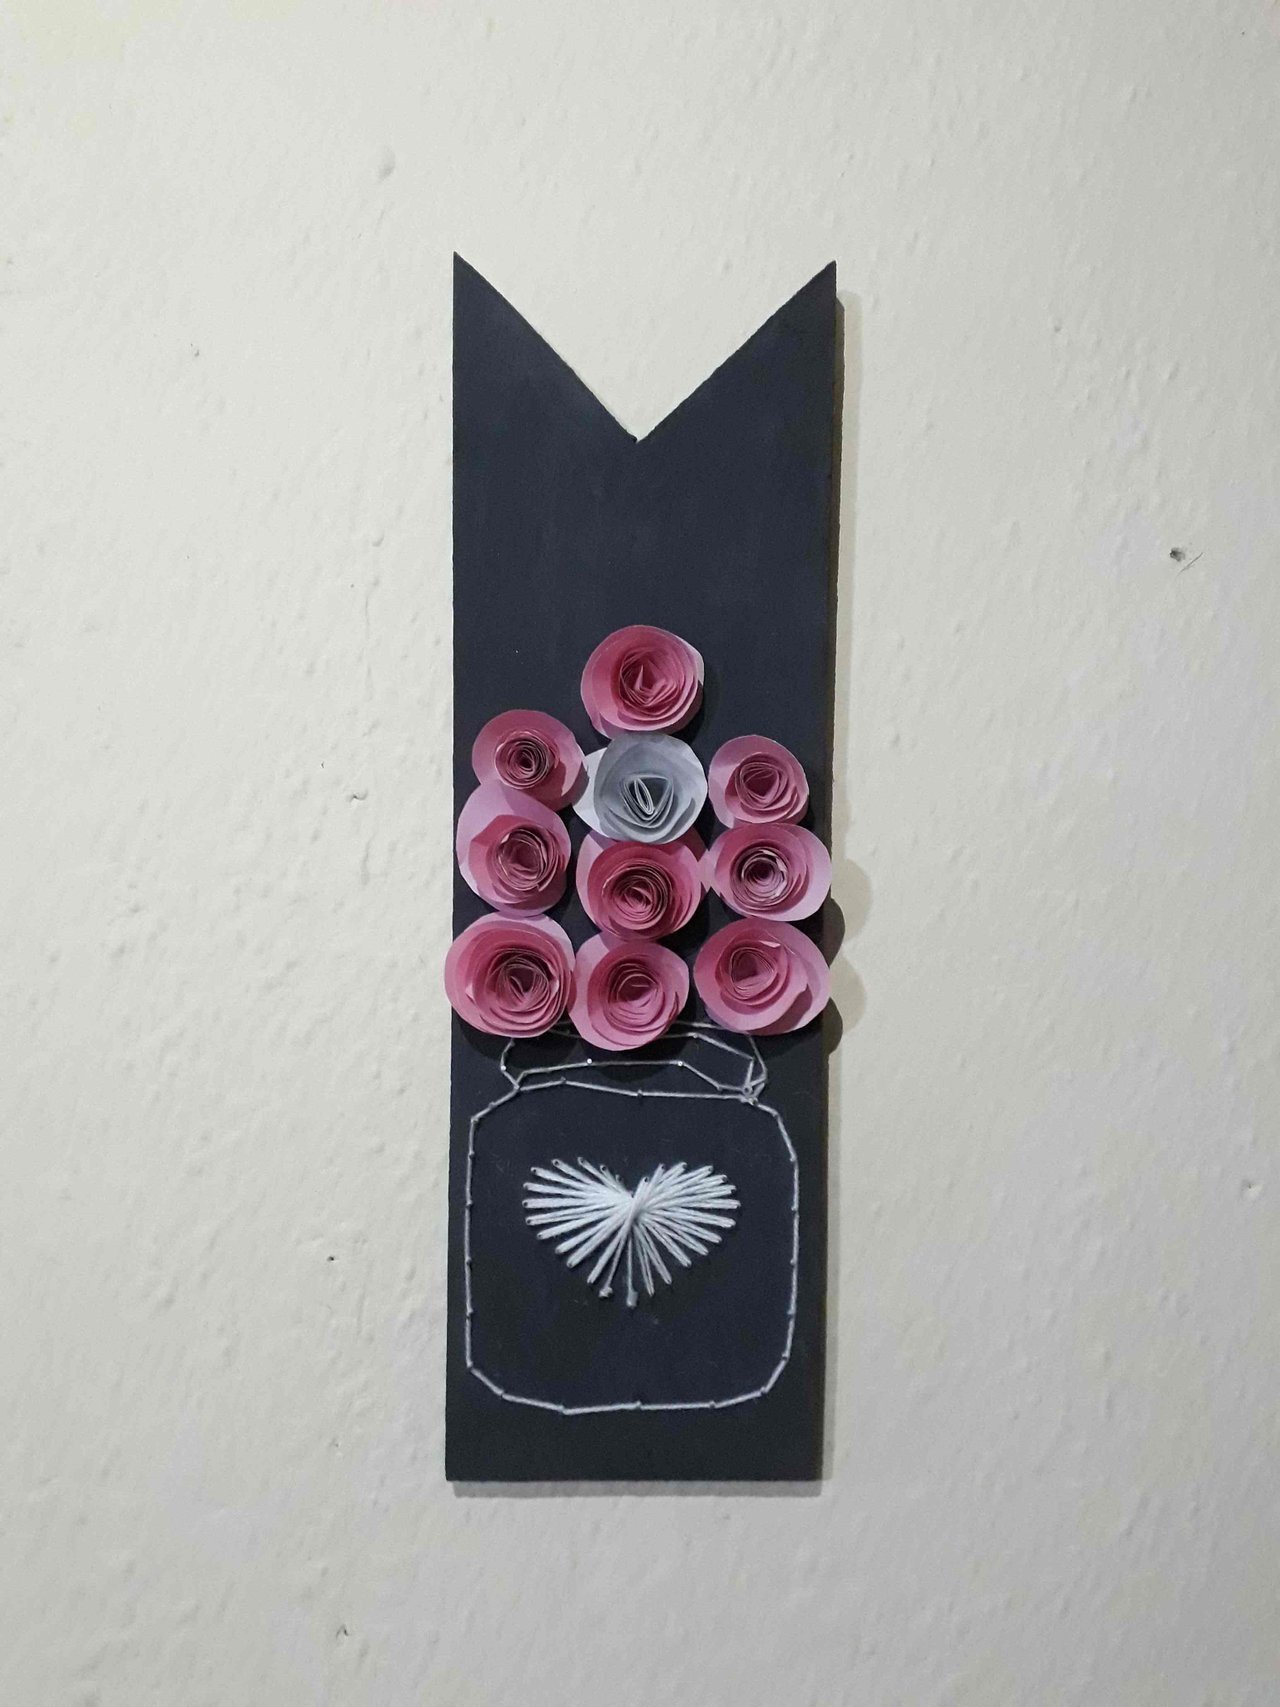
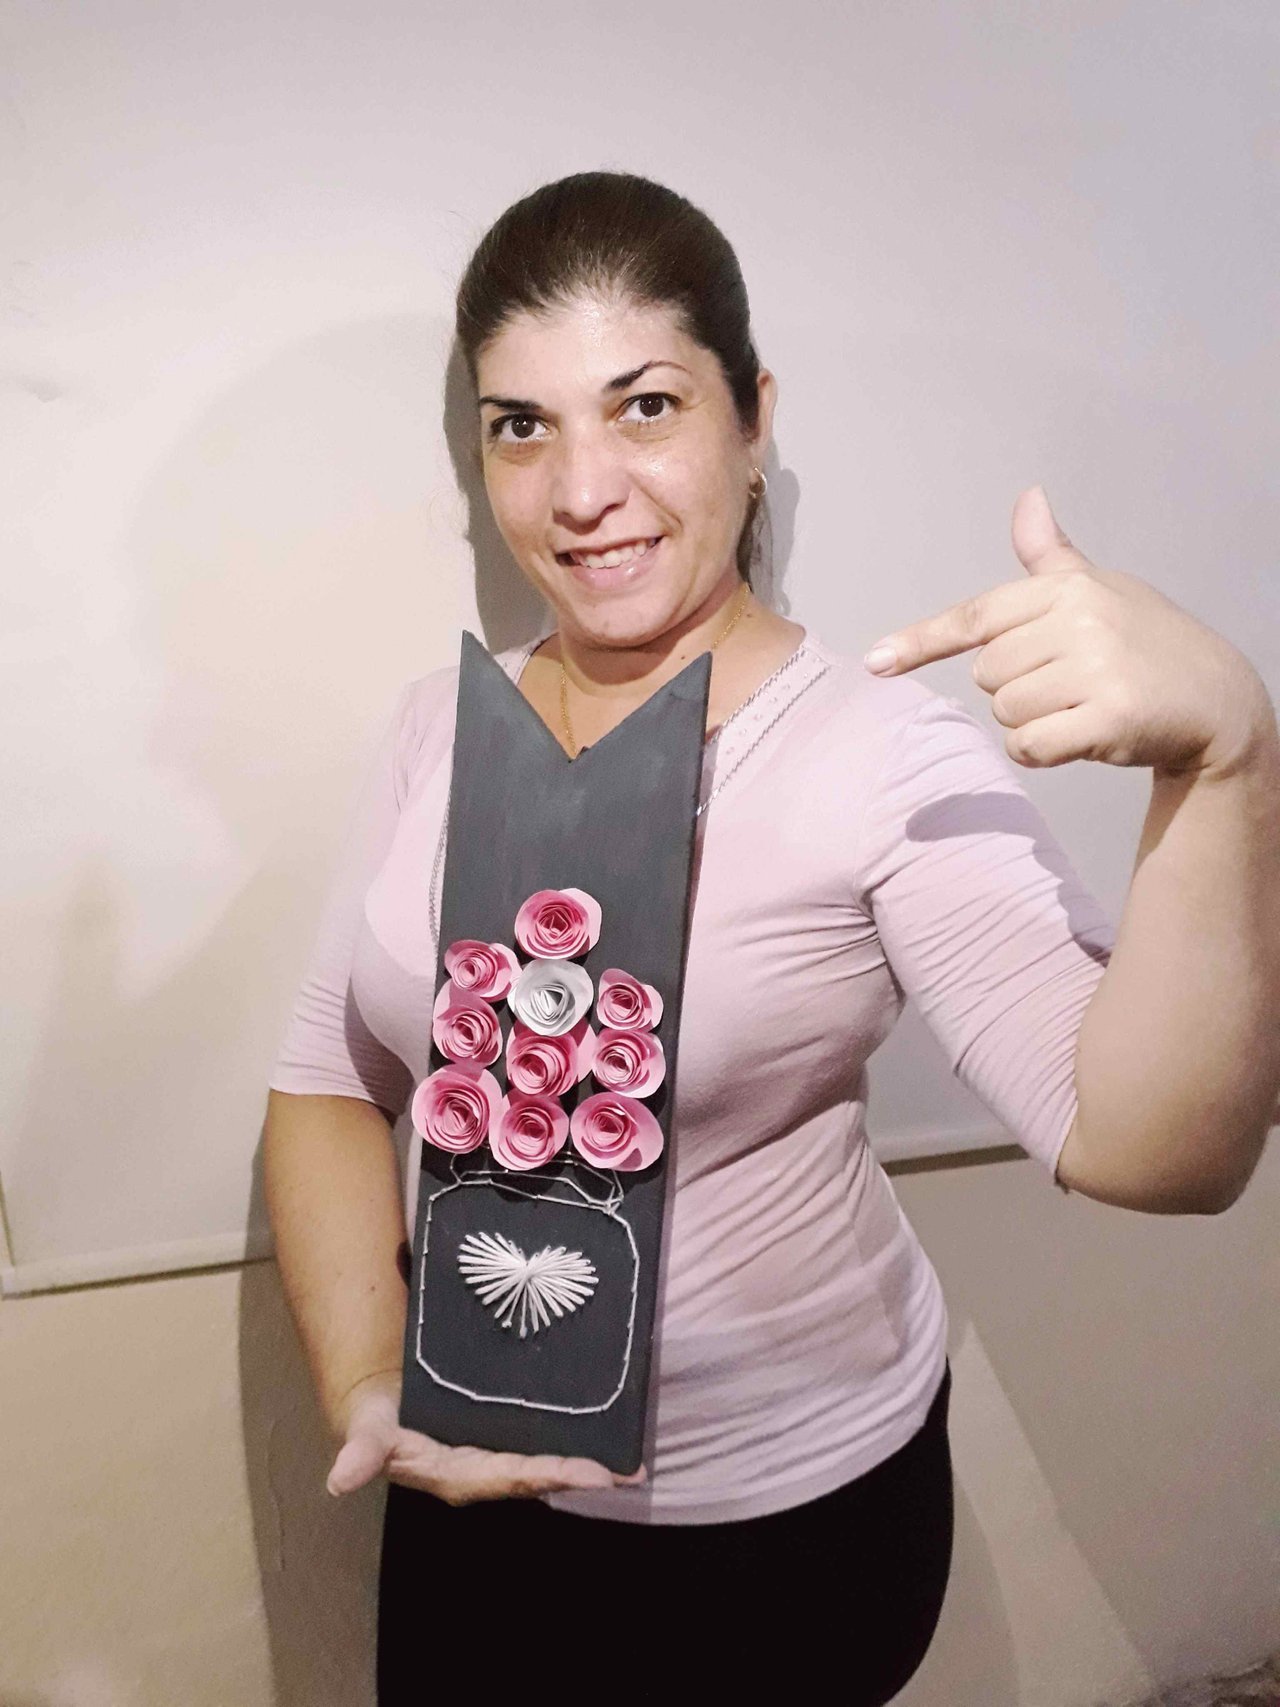
Hello dear #steemwomen community, it is a pleasure to greet you and be here again. On this occasion, I want to share with you the step by step of a beautiful wall decoration for the place of your choice.
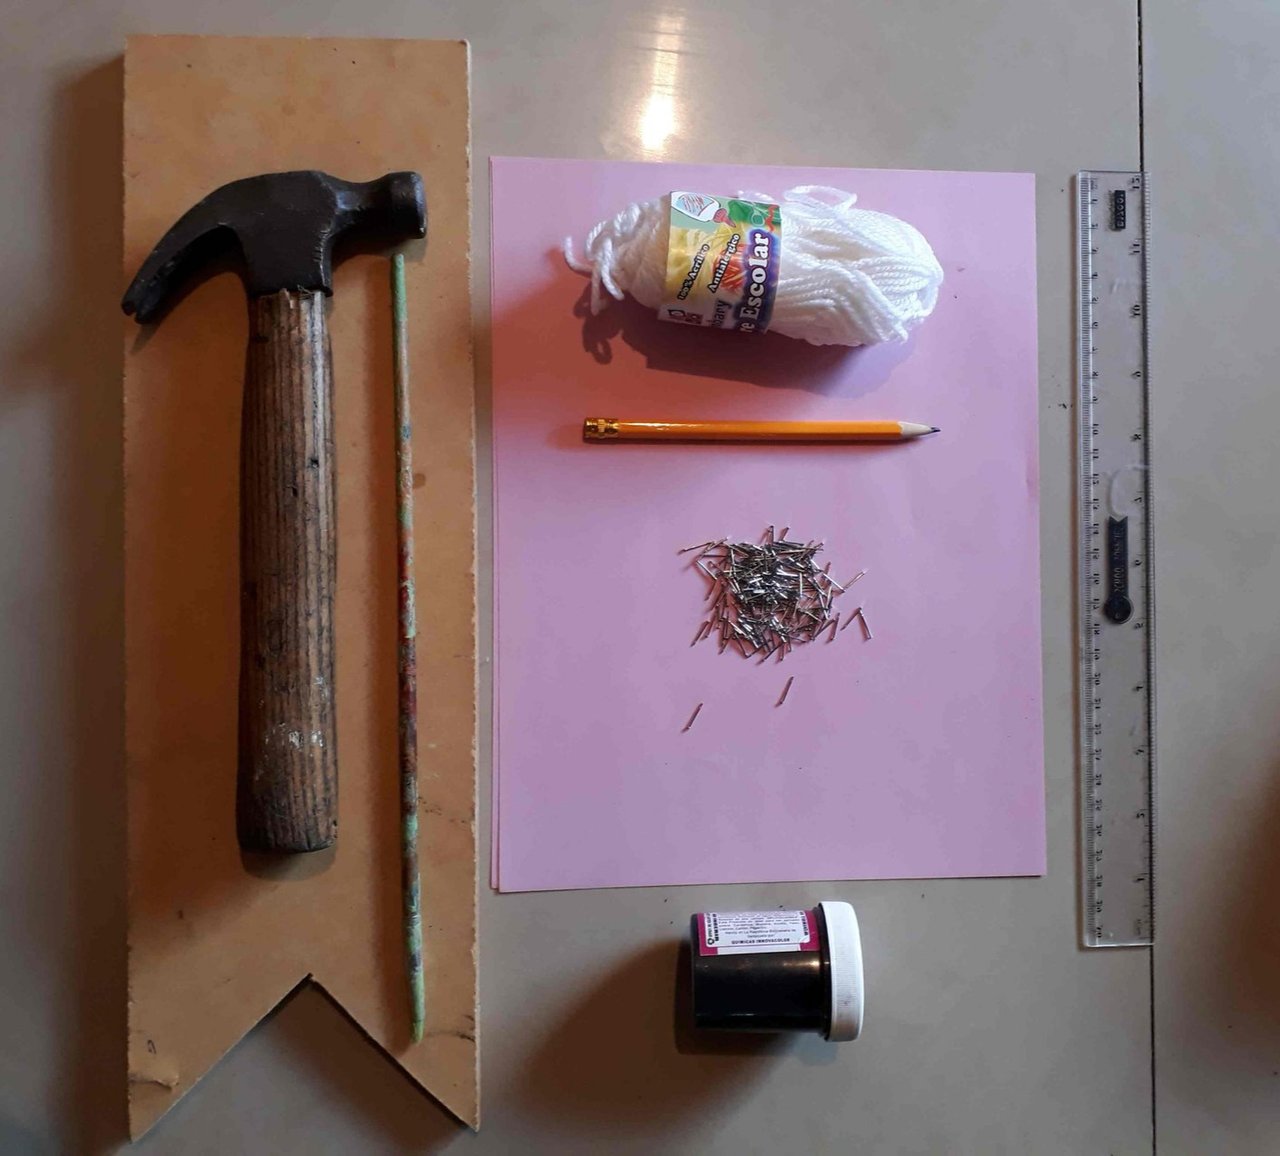
The materials I used for this decorative design are:
- Pink letter sheet
- Wood
- Tendril nails
- Black paint
- Hammer
- Silicone glue
- White thread
- Brush
- Pencil
- Rule
- Brush
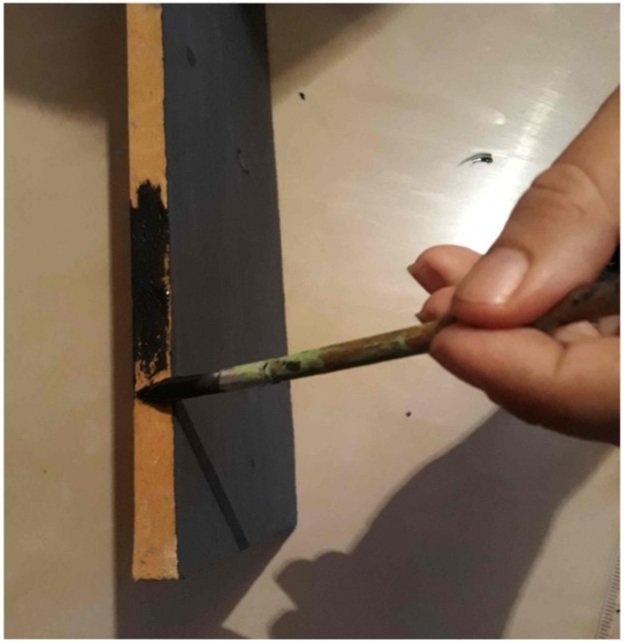
STEP I
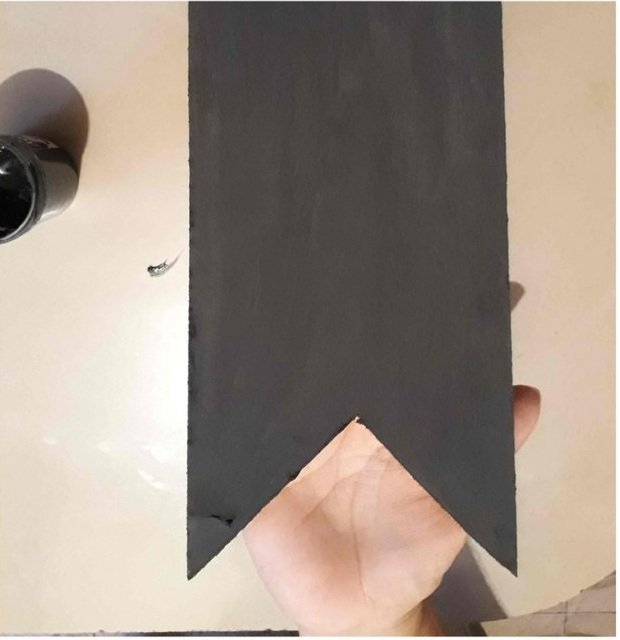
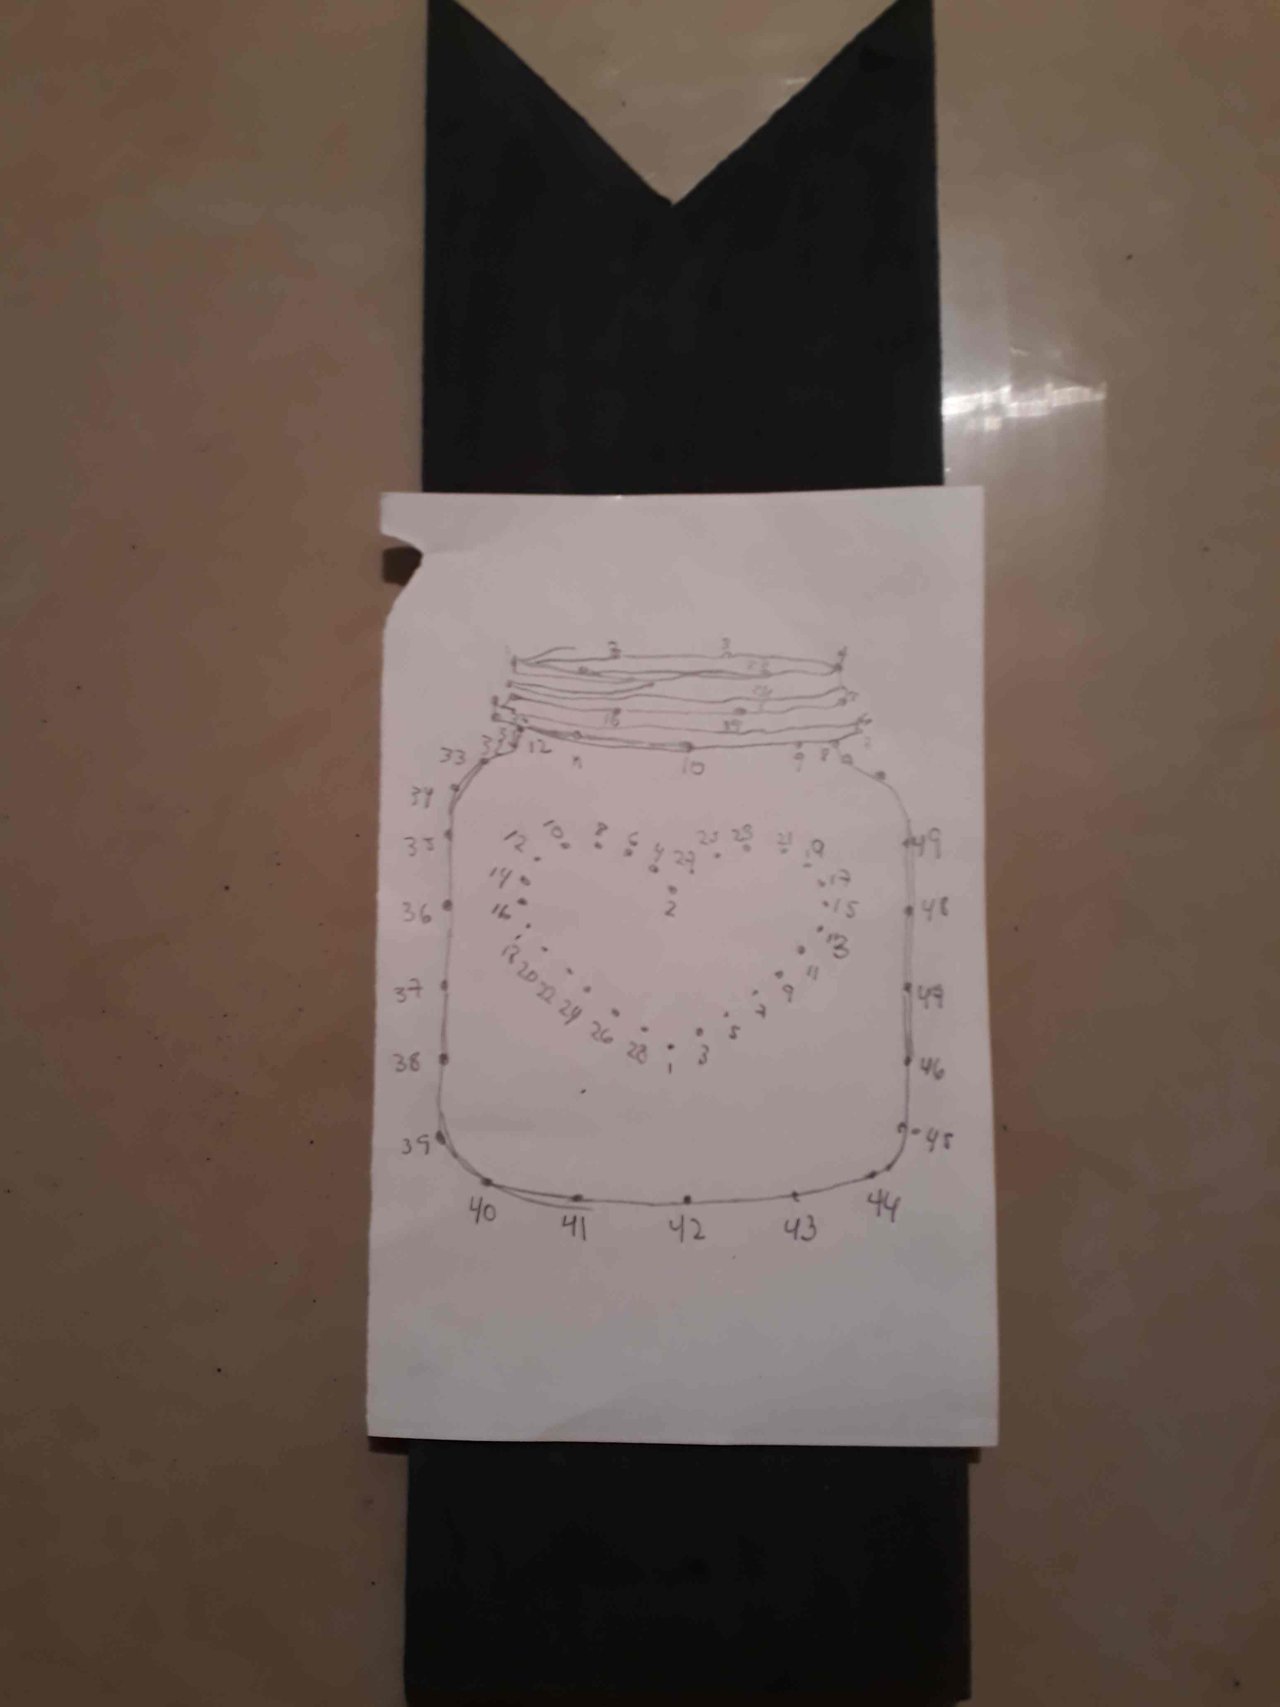
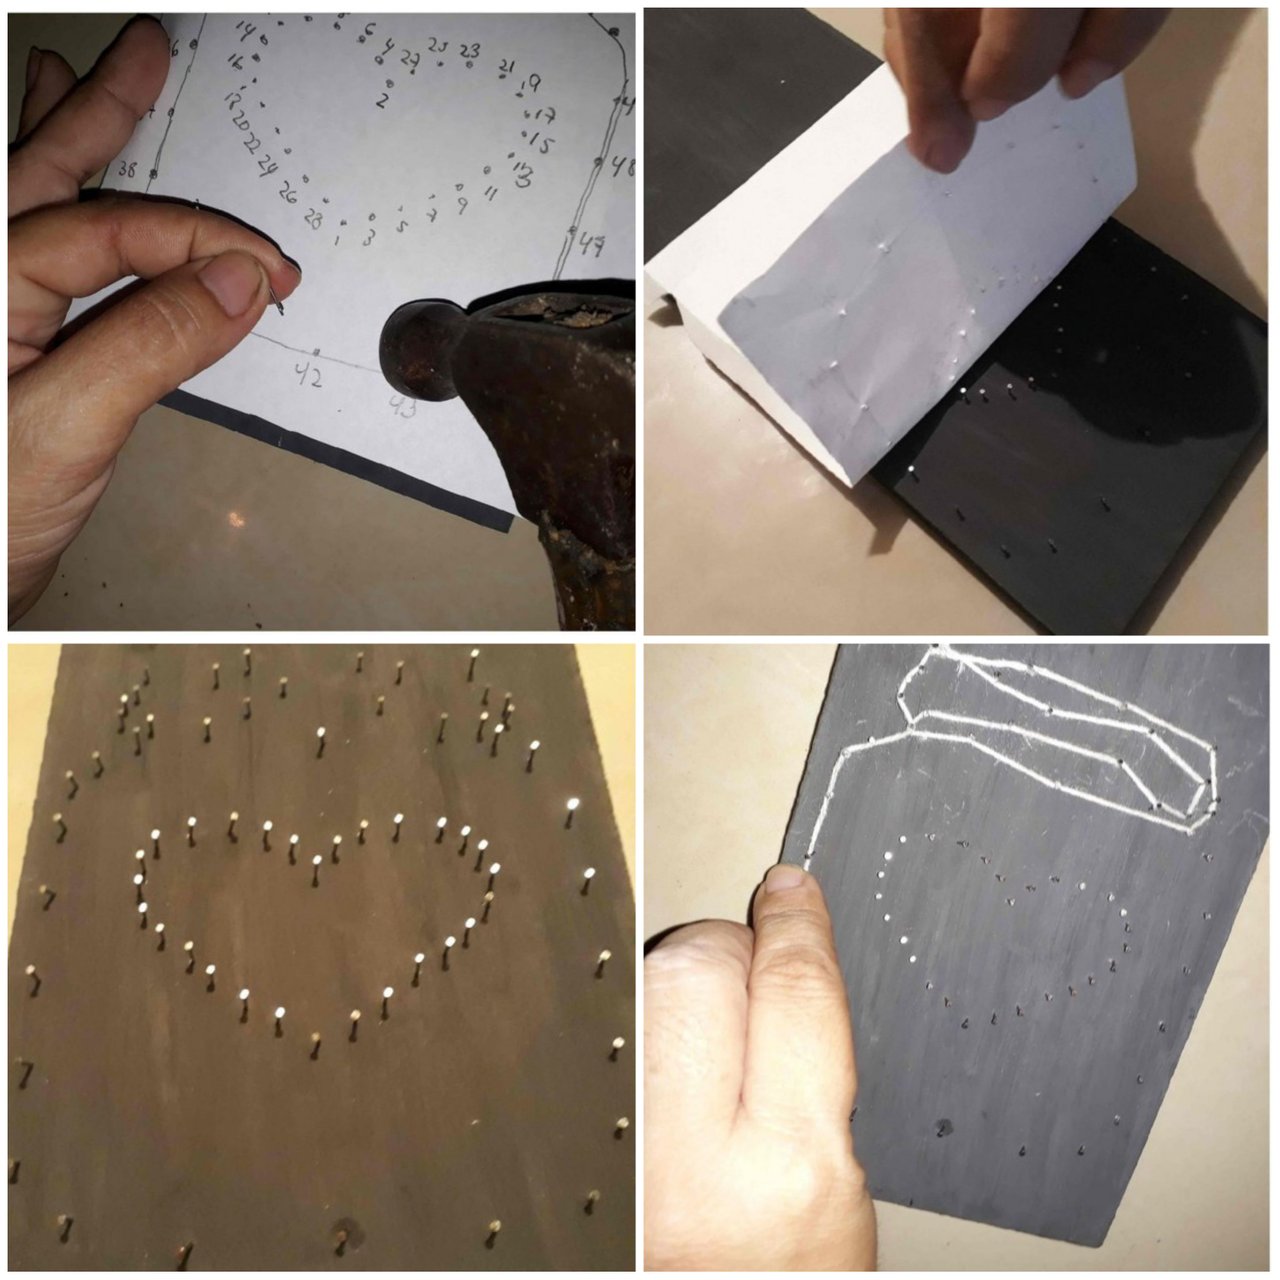
Paint and decorate the wood, then we are going to transfer the design of the pattern that simulates a vase, we will do this using the nails and thread.
PART II
Make paper flowers, for this you only need to mark a circle with a CD or a round object, then I will cut it in a spiral and roll it into the shape, and then put glue on the base to hold it and that's it.
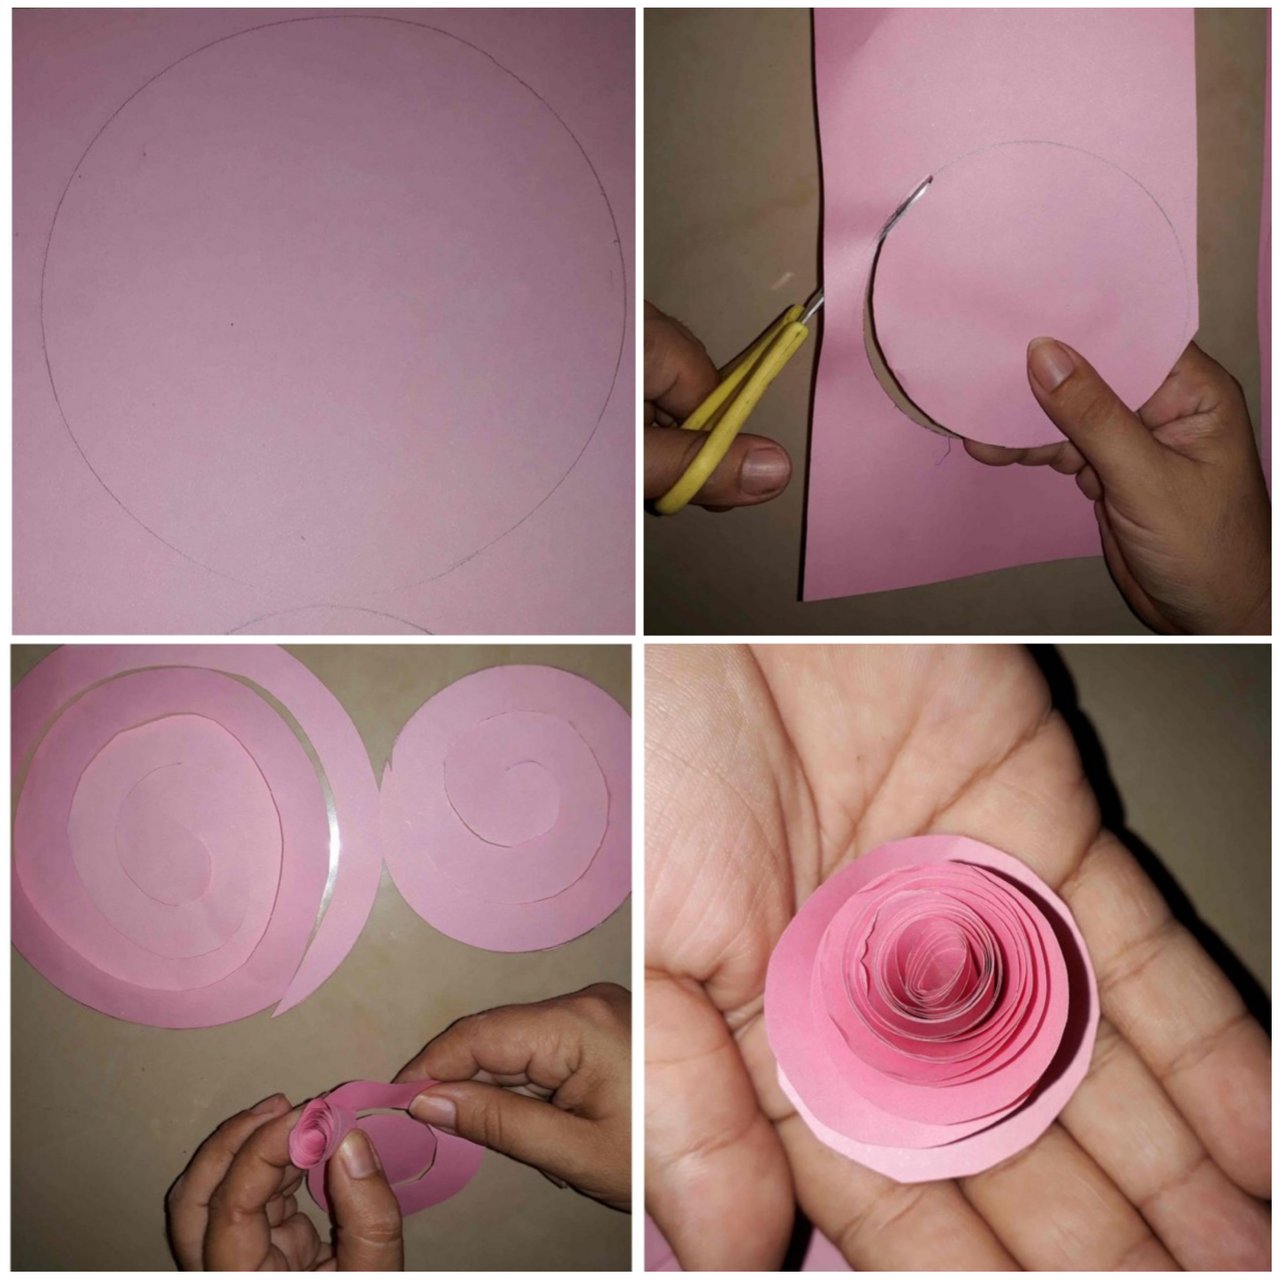
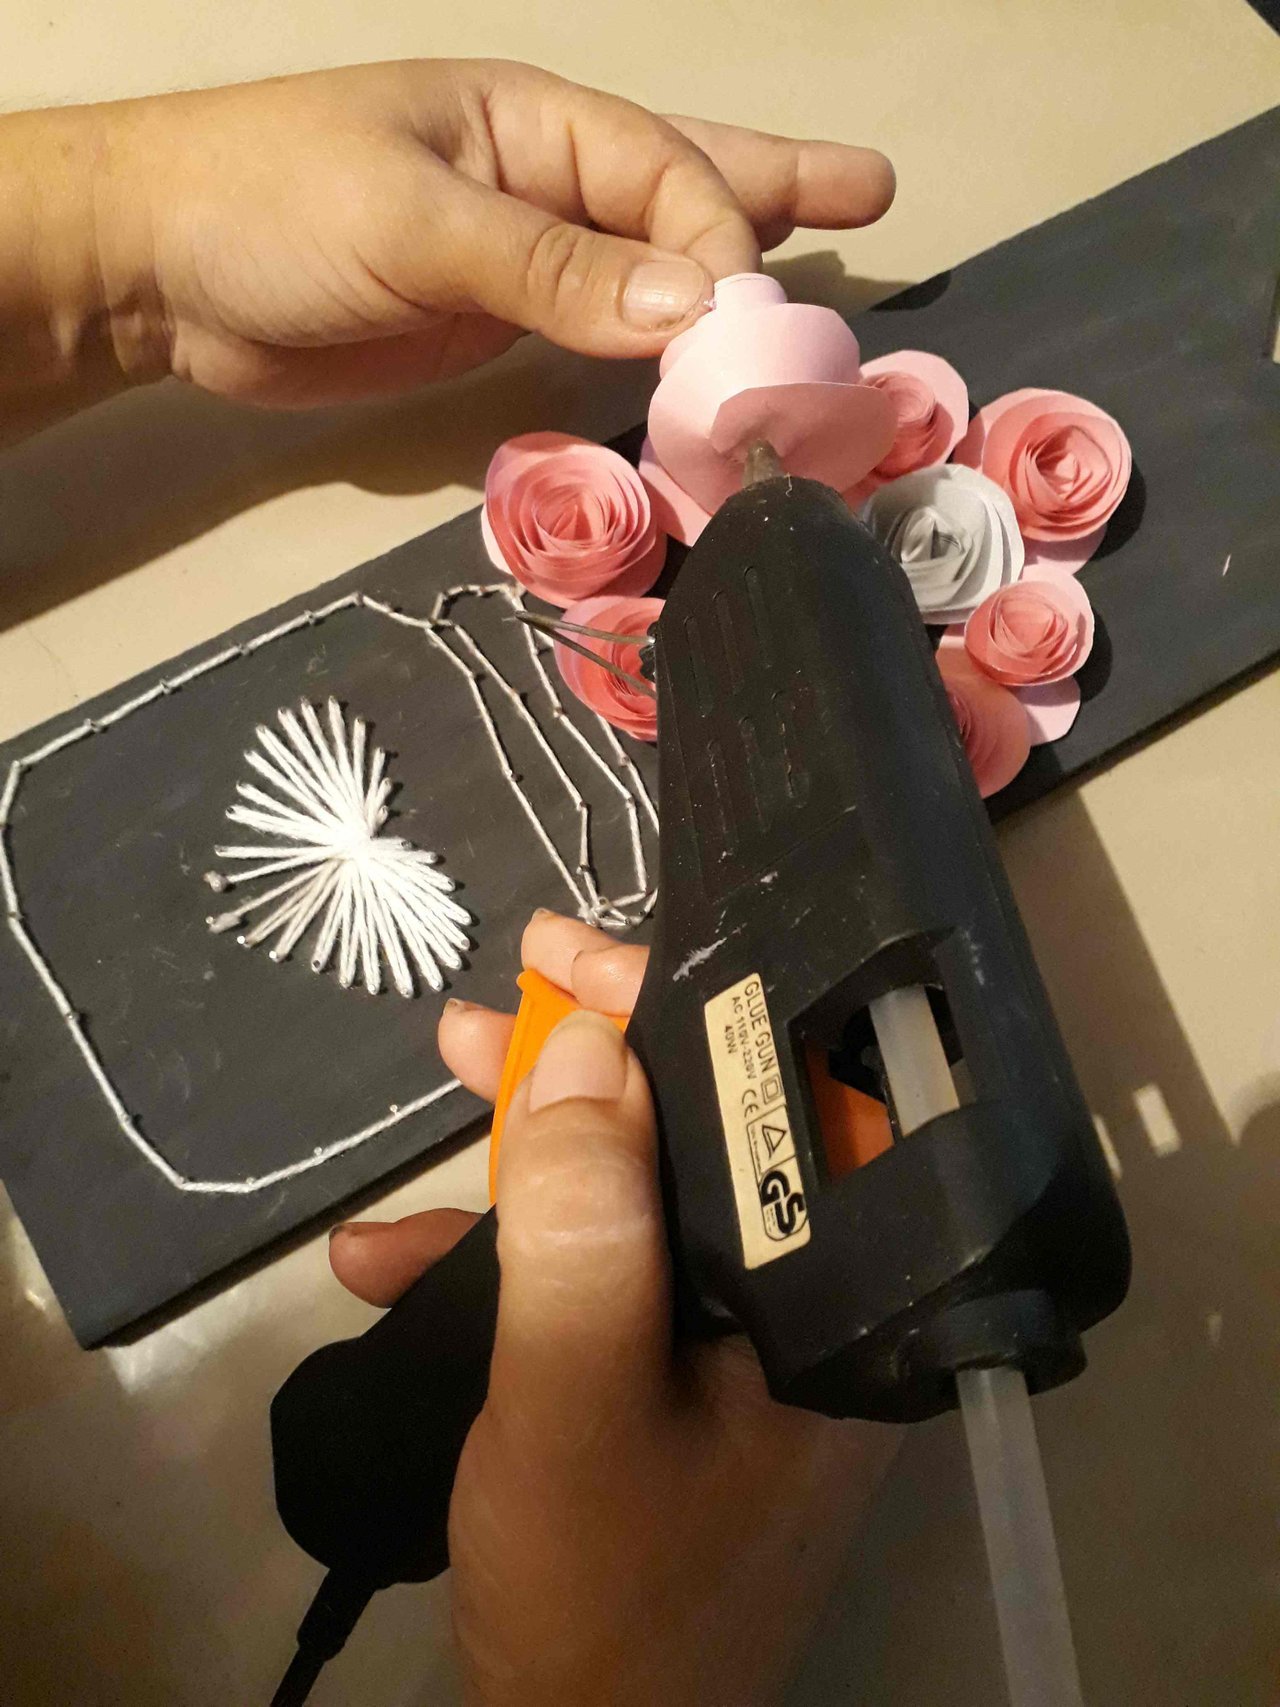
Finally, once the vase is ready, we begin to glue the flowers in the form of a bouquet.
And so we have ready our cute wall ornament, made of wood and paper.
I hope you like it and are encouraged to make one, and thus decorate your favorite space.
