For this fun contest that our @steemwomensclub community has for us, The Link I'm going to share with you the step-by-step on how to make a practical backpack....

Nice Purses.
I present to you a simple craft, but practical and very comfortable in the day to day. A beautiful bag type backpack.
It is done in a short time and with few materials, can be combined, it's just a matter of getting a little creative and let your imagination fly to give it a personal touch.
The materials to use are:
- Colored fabrics to combine
- tape measure
- thread
- needle
- magic clasp
- scissors.
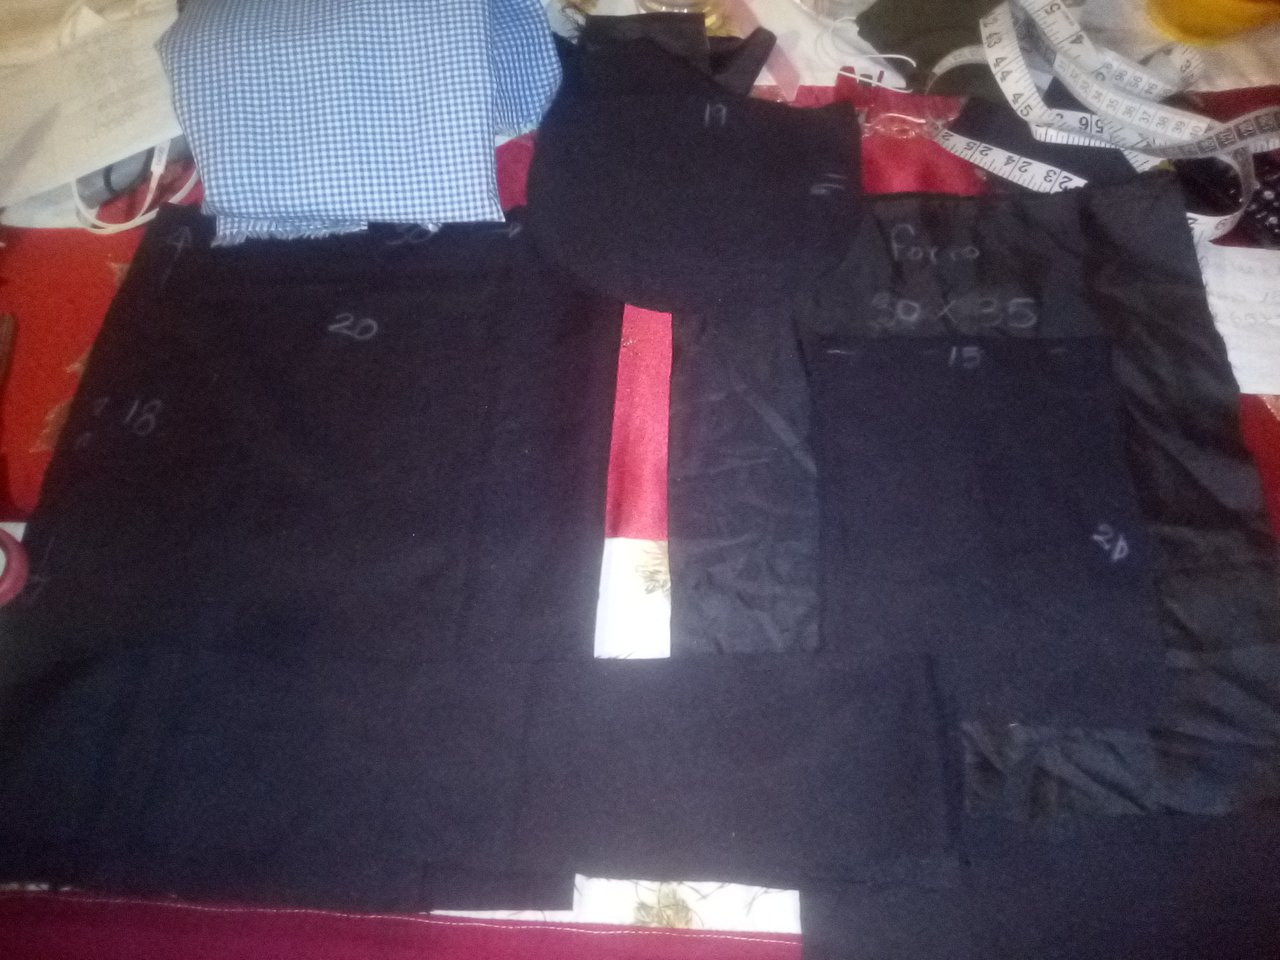
We must have several pieces with the following measures:
- Cut: 2 pieces of 30cm wide X 38 cm long.(Bag).
- 2 pieces of 30cm wide X 35 cm long,(Lining).
- 2 pieces of 22cm X 8 cm (Base one in fabric and one in lining).
- 2 strips of 65cm long X 8 cm wide (Handles).
- 2 cover of 20cm X 2 5cm.
- 1 front pocket of 20 X 18.

Hands to work..
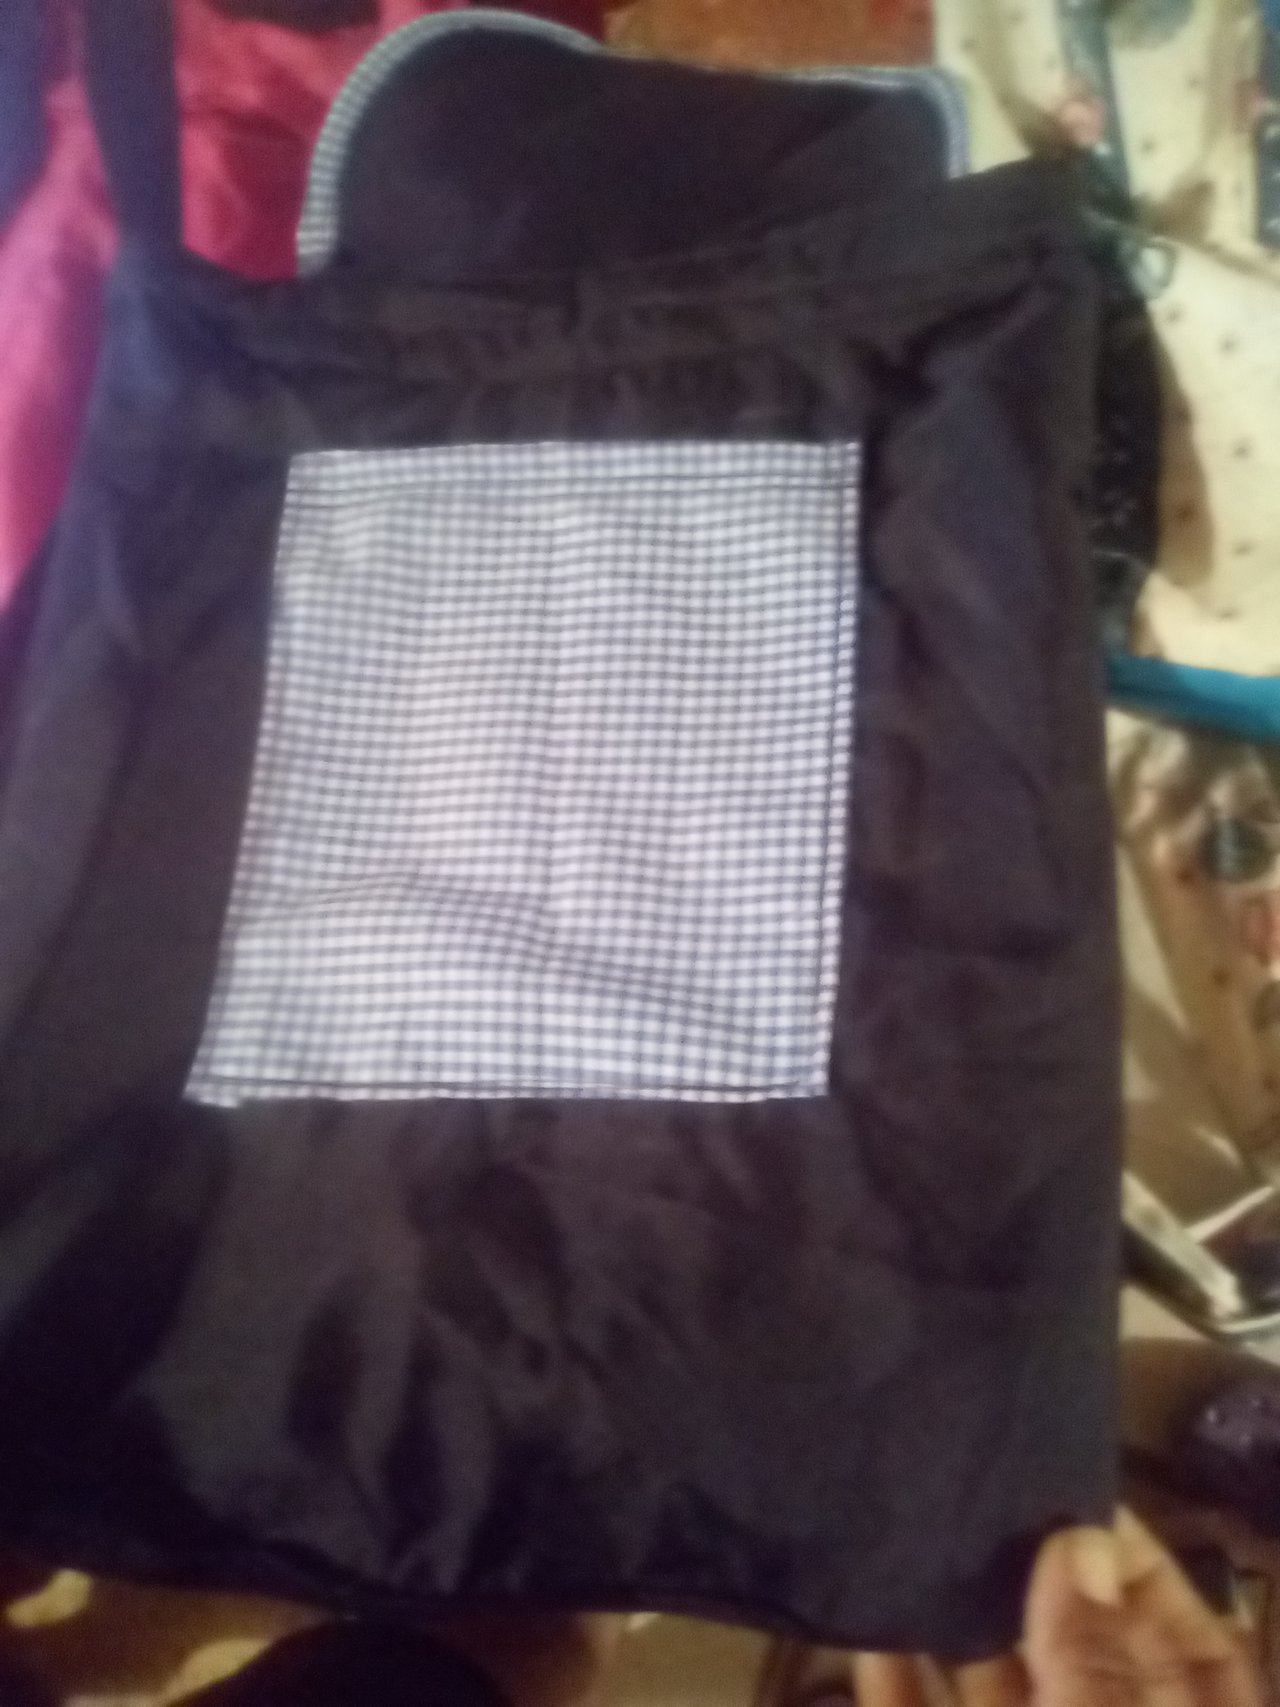
Sew the selvage of the front pocket, sew 10cm from the top and centered, then face right sides together close.

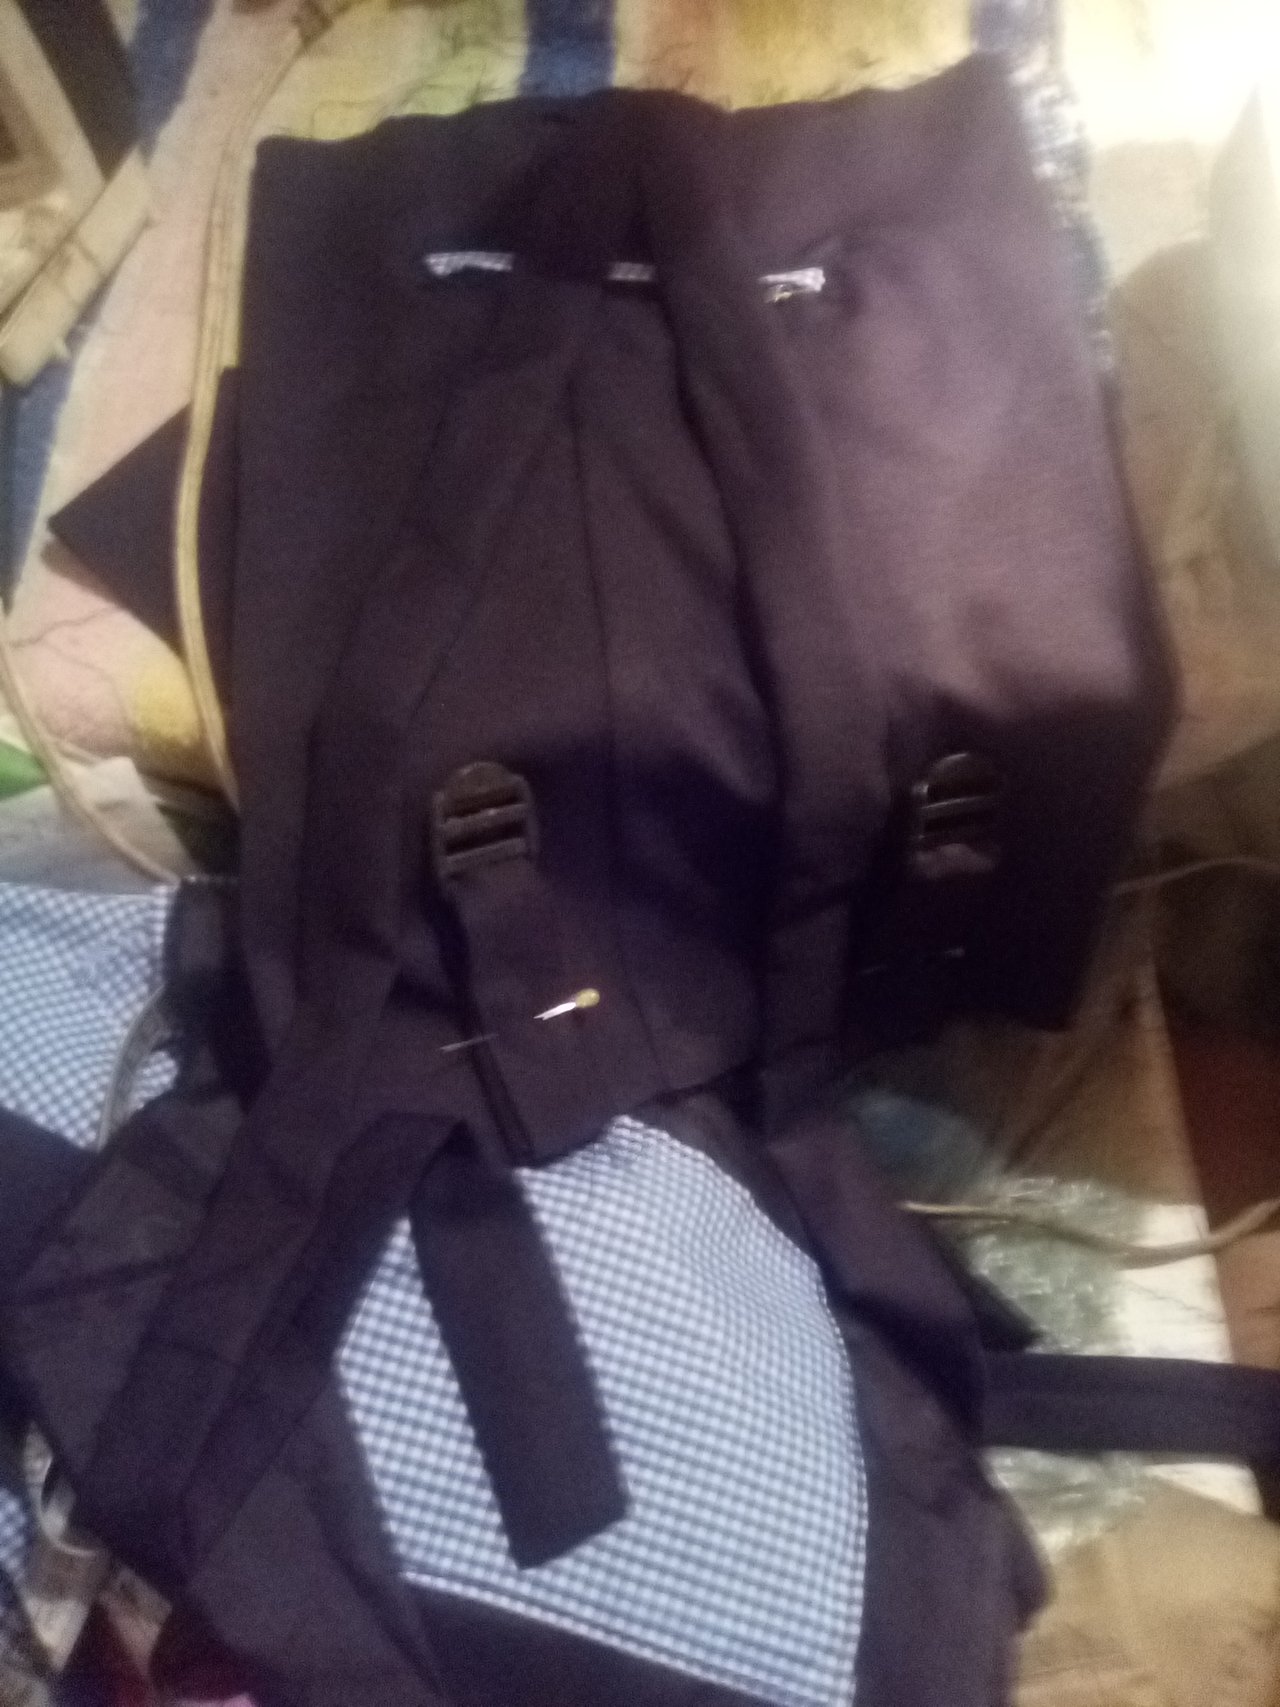
Then flips to the right is divided the bottom in 3 ie if the measure in my case is 22cm , half 11cm and from there is measured on each side 5.5cm there will sew the straps, which should already be cooked and ironed for a better finish, then we sew the base. We reserve!

Now let's go with the lining, proceed the same way, make the pocket selvedge is centered and sewn, close right to right. Now with the lining ready, we face right to right the bag and the lining sew a cm from the top, sew the base of the lining leaving an opening to flip, finally glue the straps, the lid, put the ribbon or cord in my case I did it in the same fabric to combine it.

Finally we can make the mouthpiece to be comfortable and well protected.

~Until Next Posting~.
Para este divertido concurso que nos tiene nuestra comunidad @steemwomensclub, ( El Enlace )voy a compartir con ustedes el paso a paso de cómo realizar un practico morral..

Lindo Morral.
Les presento una manualidad sencilla, pero práctica y muy cómoda en el día a día. Un hermoso bolso tipo morral.
Se realiza en poco tiempo y con pocos materiales, se pueden combinar, solo es cuestión de ponerse un poco creativos y echar la imaginación a volar para darle un toque personal.
Los materiales a utilizar son:
• Telas de color para combinar
• cinta métrica
• hilo
• aguja
• cierre mágico
• tijera.
Debemos tener varias piezas con las siguientes medidas:
- Cortar: 2 piezas de 30cm de ancho X 38 cm de largo.(Bolso)
- 2 piezas de 30cm de ancho X 35 cm de largo,(Forro).
- 2 piezas de 22cm X 8 cm( Base uno en tela y una en forro)
- 2 tiras de 65cm de largo X 8 cm de ancho.( Asas)
- 2 tapa de 20cm X2 5cm
- 1 bolsillo frontal de 20 X 18.

Manos a la obra.
Se cose el orillo del bolsillo frontal, se cose a 10cm de la parte superior y centrado, luego se enfrentan derecho con derecho se cierran.

Luego se voltea al derecho se divide la parte de abajo en 3 es decir si la medida en mi caso es 22cm , la mitad 11cm y de allí se mide de cada lado 5,5cm allí se coserán los tiros, que ya deben estar cocidos y planchados para un mejor acabado, luego cosemos la base. Reservamos!

Ahora vamos con el forro, se procede igual, se hace el orillo del bolsillo se centra y se cose, se cierran derecho con derecho. Ahora con el forro listo, enfrentamos derecho con derecho el bolso y el forro cosemos a un cm de la parte de arriba, se cose la base del forro dejando una abertura para poder voltear, por último pegamos los tiros, la tapa, se mete la cinta o cordoncillo en mi caso se lo hice de la misma tela para combinarlo.

Por último podemos hacer el tapaboca para estar cómodas y bien protegidos.

