.jpeg)

Hello, dears ❤️
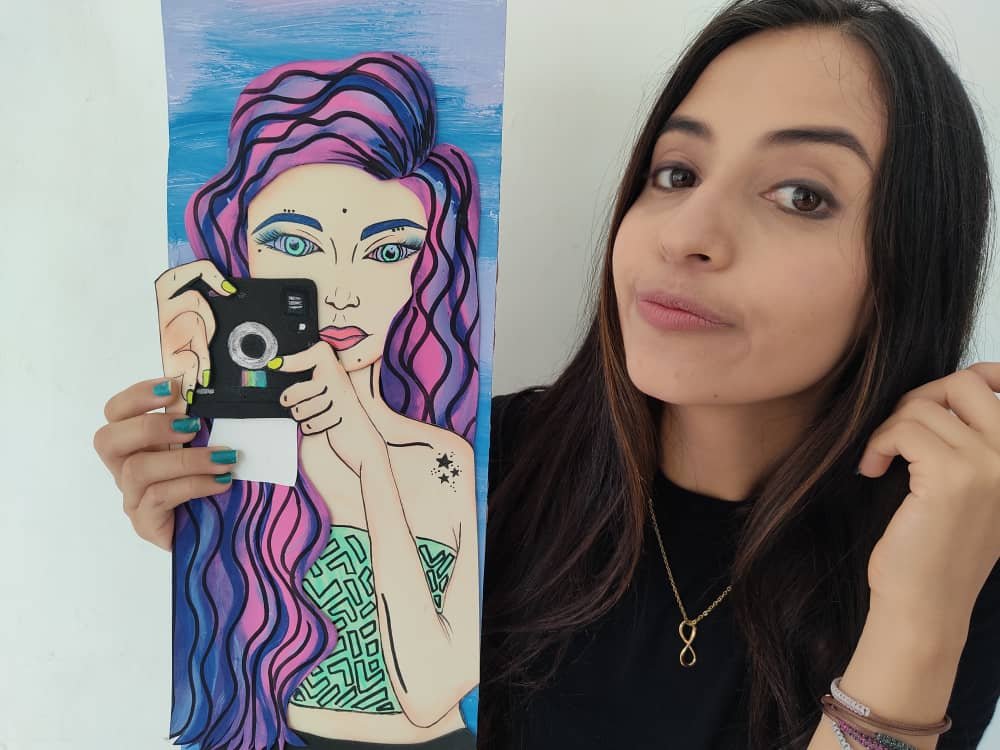
This new day I bring you a new and fun step by step where I will show you how to make a beautiful painting of a photographer girl, which is undoubtedly a perfect image to decorate our favorite walls giving that creative and personal touch, and best of all is that it is made of super cheap materials and very easy to get. So, I invite you to continue enjoying this fun journey, perfect for developing everyone's creativity, especially our children.
Hola queridos ❤️
Este nuevo día les traigo un nuevo y divertido paso a paso en donde les mostrare como realizar un hermoso cuadro de una chica fotógrafa, que sin duda es una perfecta imagen para decorar nuestras paredes favoritas dando ese toque creativo y personal, y lo mejor de todo es que esta hecho de materiales súper económicos y muy fáciles de conseguir. Así que, los invito a seguir disfrutando de este divertido trayecto, perfecto para el desarrollo de la creatividad de todos, especialmente de nuestros niños.
What are they waiting for?
Thanks to this technique we can create our own photographer girl, in addition, beautiful work done at home is a creative and very economical way to give a touch of joy to our environment. Before we start, let's not forget to wash our hands.
¿Qué están esperando?
Gracias a esta técnica podemos crear nuestra propia chica fotógrafa, además, una hermosa obra hecha en casa es una manera creativa y muy económica de darle un toque de alegría a nuestro entorno. Antes de comenzar no olvidemos lavarnos nuestras manos.

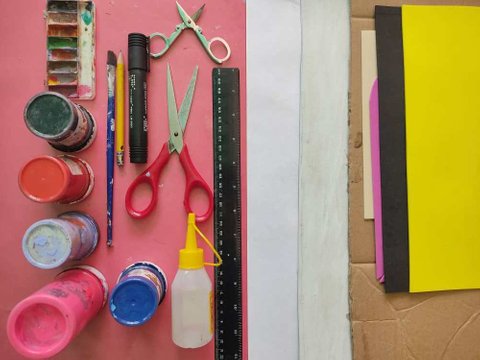
[Materials | Materiales]
To make this cute work we will need:
- Molds.
- Foamy or eva foam.
- Vegetable paper or tracing.
- Cardboard sheet.
- Rule.
- Pencil.
- Bookmark.
- Scissors.
- Cutter.
- Brush or brush.
- Paintings.
- Liquid silicone or glue.
Para realizar esta linda obra necesitaremos:
- Moldes.
- Foamy o goma eva.
- Papel vegetal o calco.
- Lamina de cartón.
- Regla.
- Lápiz.
- Marcador.
- Tijera.
- Cúter.
- Pincel o brocha.
- Pinturas.
- Silicón liquido o pegamento.
Procedimiento (paso a paso)
Process (step by step)
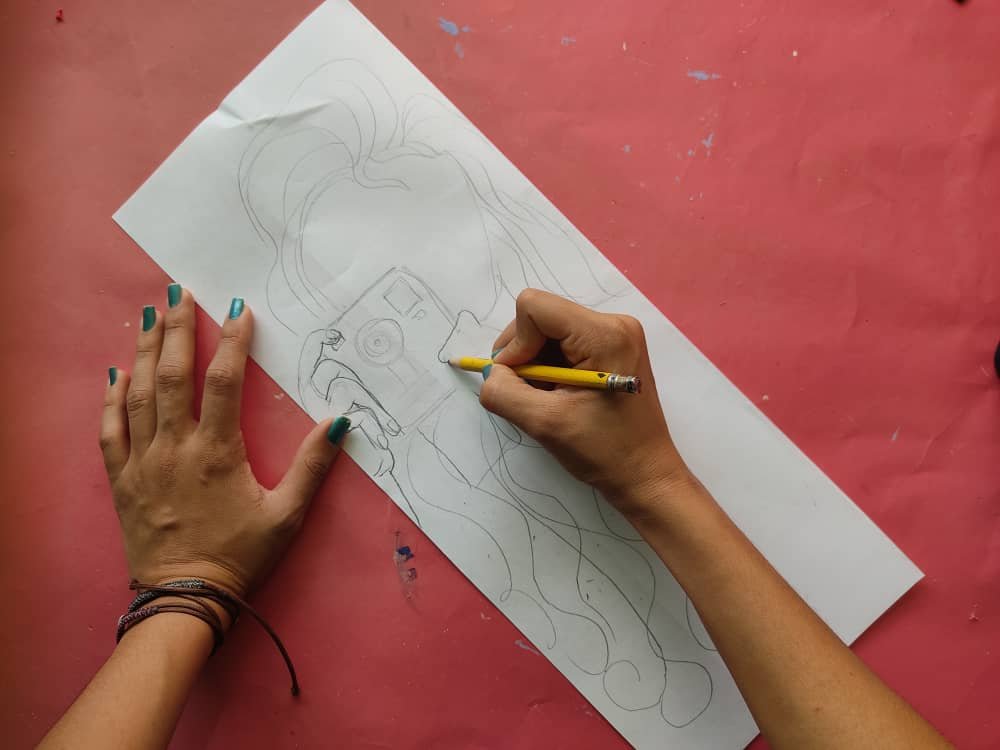
First, we draw a cute girl who is photographing landscapes with an instant camera.

Primero, dibujamos una linda chica que esta fotografiando paisajes con una cámara instantánea.
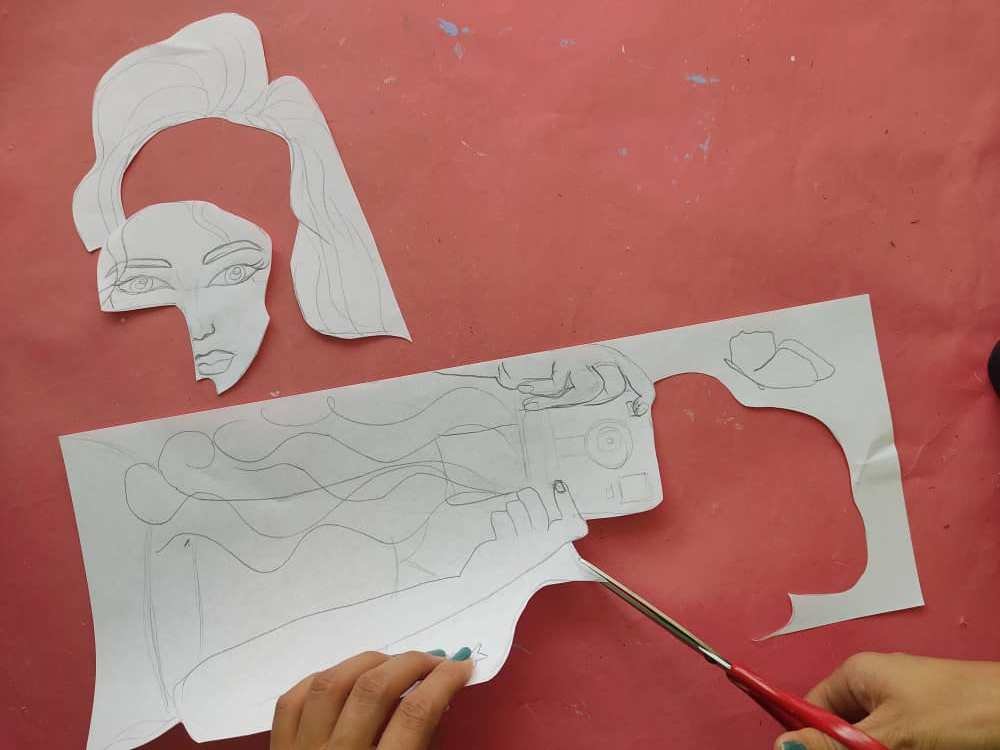
Next, we cut out the drawing of her, separating her pieces such as hair, body, pants, camera, and face. Very carefully so that the measurements are maintained and the end result is beautiful.

Seguidamente, recortamos el dibujo separando sus piezas como lo son el cabello, cuerpo, pantalón, cámara y cara. Con mucho cuidado para que las medidas se mantengan y el resultado final sea hermoso.
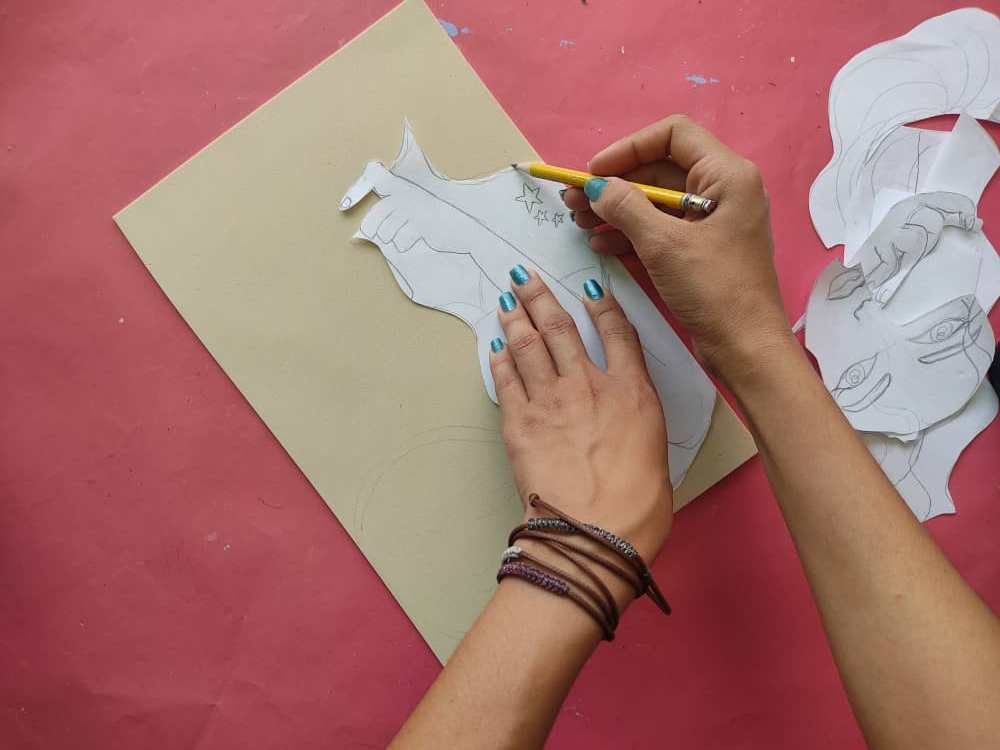
Now, we transfer the pieces that we have obtained to the foamy in the colors that we want according to their shape.

Ahora, transferimos las piezas que hemos obtenido al foamy en los colores que deseamos según su forma.
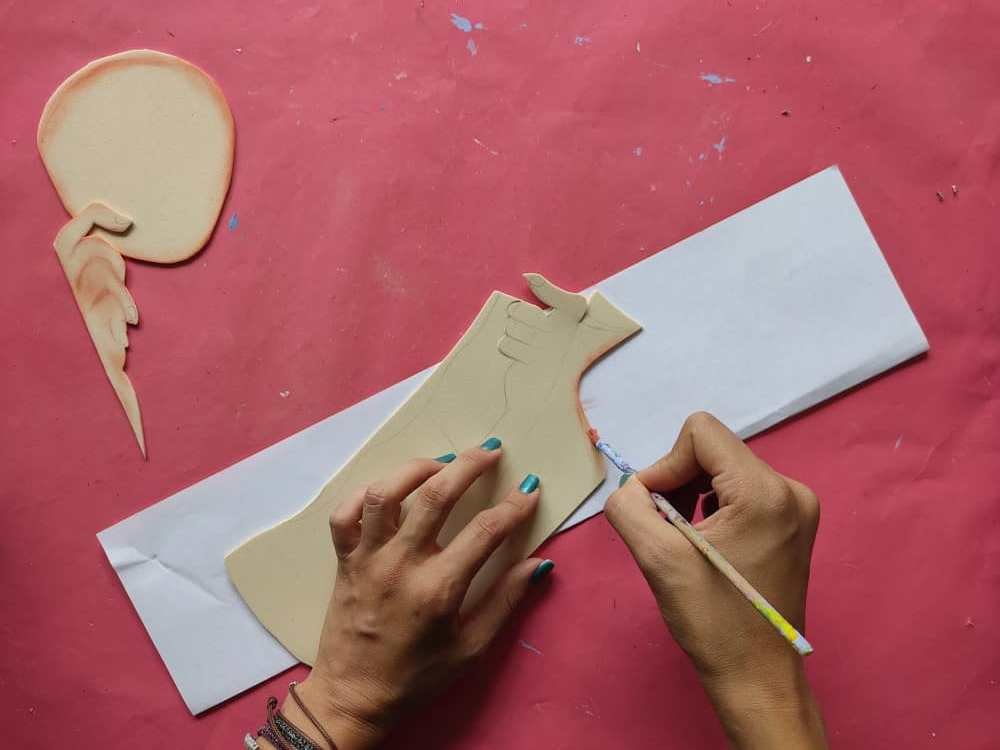
Once we have the parts of the girl in foamy, we begin to paint by first shading the edges of the face, hands, and body with orange or brown colors.

Una vez que tengamos las partes de la chica en foamy, comenzamos a pintar sombreando primero los bordes de la cara, las manos, y el cuerpo con colores naranja o marrón.
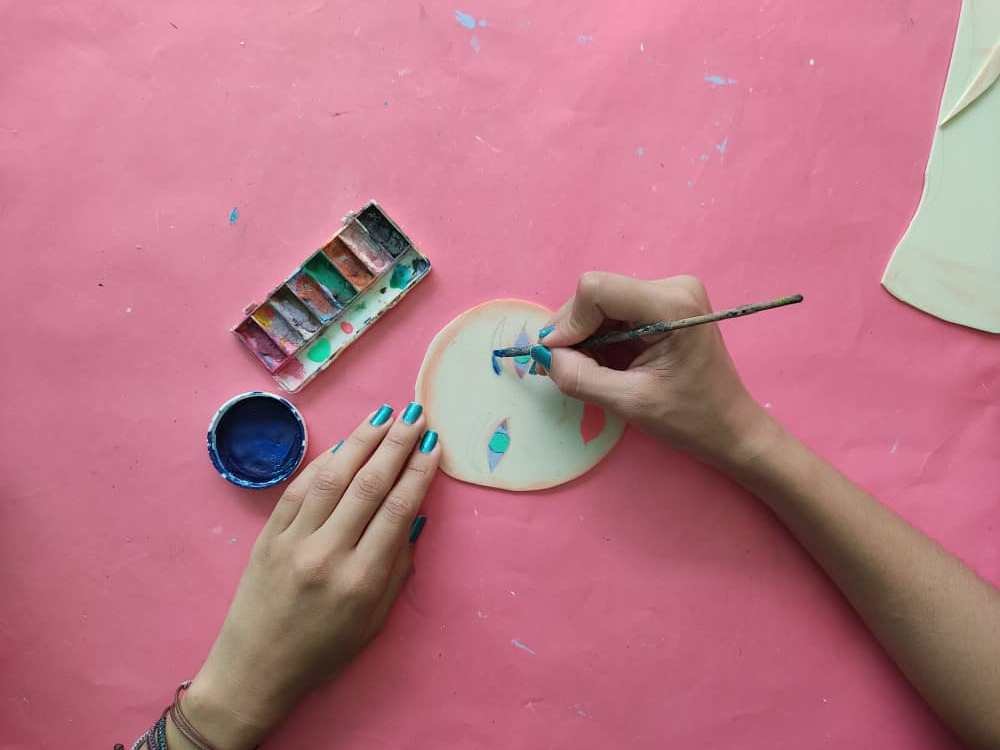
Then, we define the details of the face. This time I chose to elaborate the eyes, eyebrows, and mouth of beautiful very intense colors.

Luego, definimos los detalles de la cara está vez opte por elaborar los ojos, cejas, y boca de hermosos colores muy intensos.
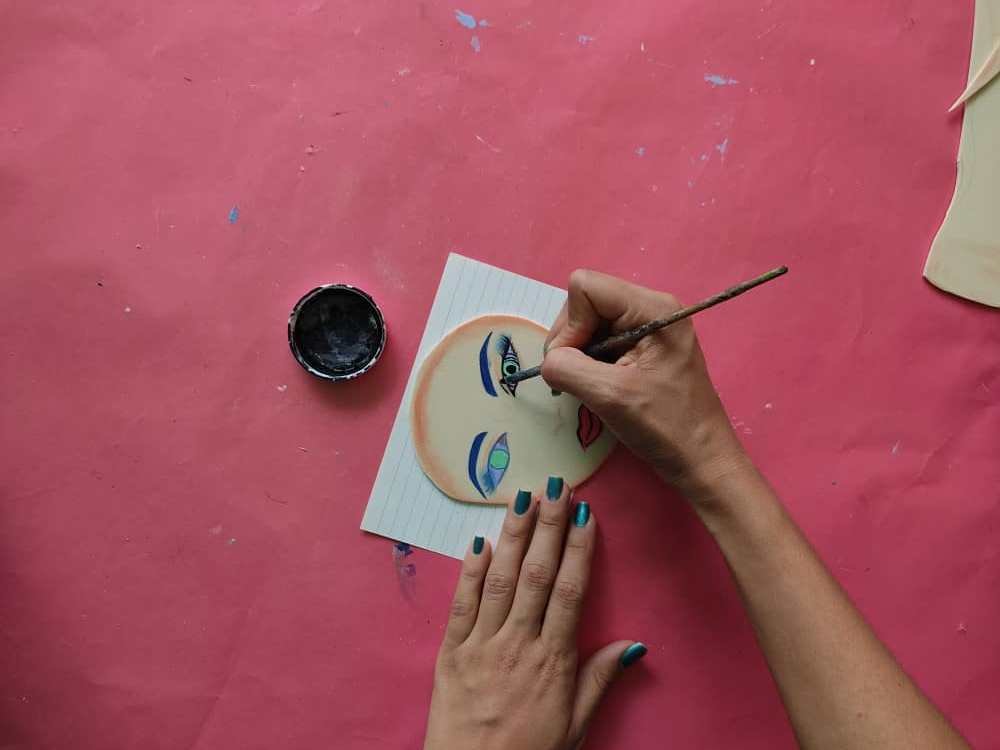
Then we marked the edges in black with the fine tip brush, in this case, I decided to paint some small moles in different areas of the face I loved this touch.

Luego marcamos los bordes de color negro con el pincel de punta fina, en este caso decidí pintar unos pequeños lunares en distintas áreas de la cara me encantó este toque.
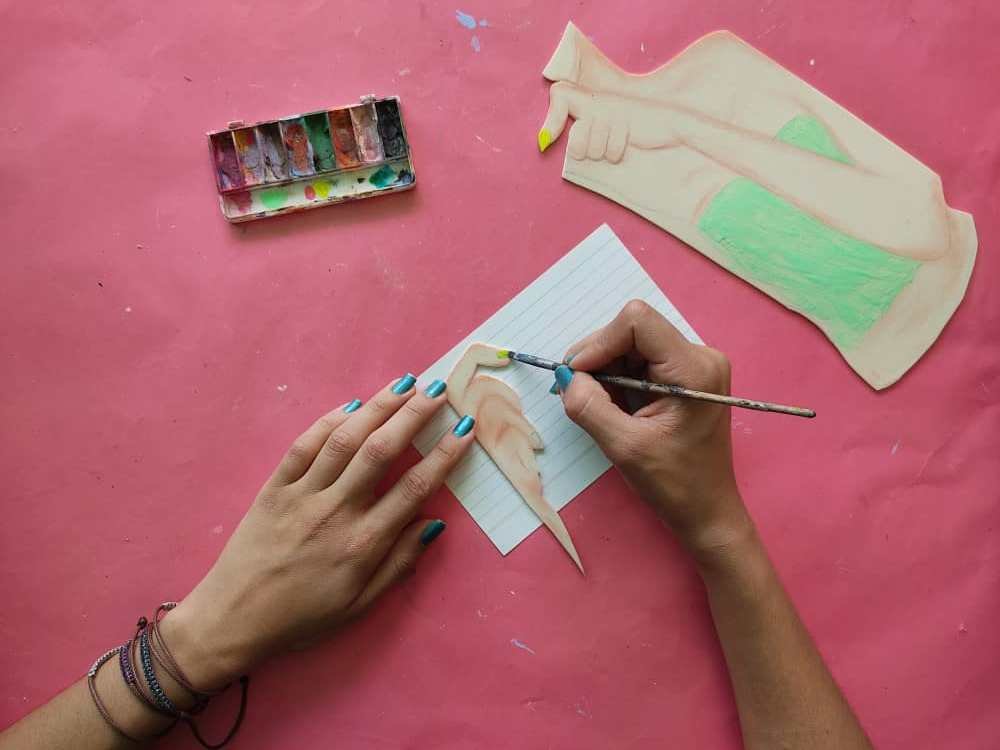
Now, we paint the girl's blouse in turquoise and her nails in bright yellow.

Ahora, pintamos la blusa de la chica de color turquesa y sus uñas con color amarillo brillante.
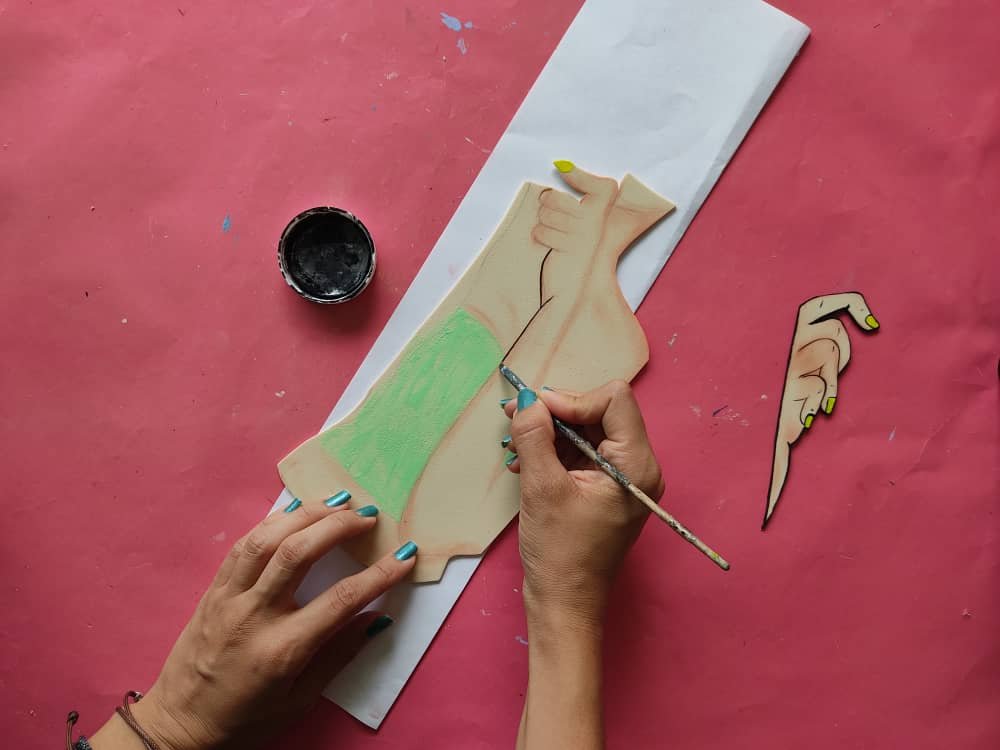
After the paint on the shirt and nails is completely dry, we begin to mark the edges and the details that come to our mind, we can use the fine point marker and also the brush, I decided to draw a small star tattoo on his arm.
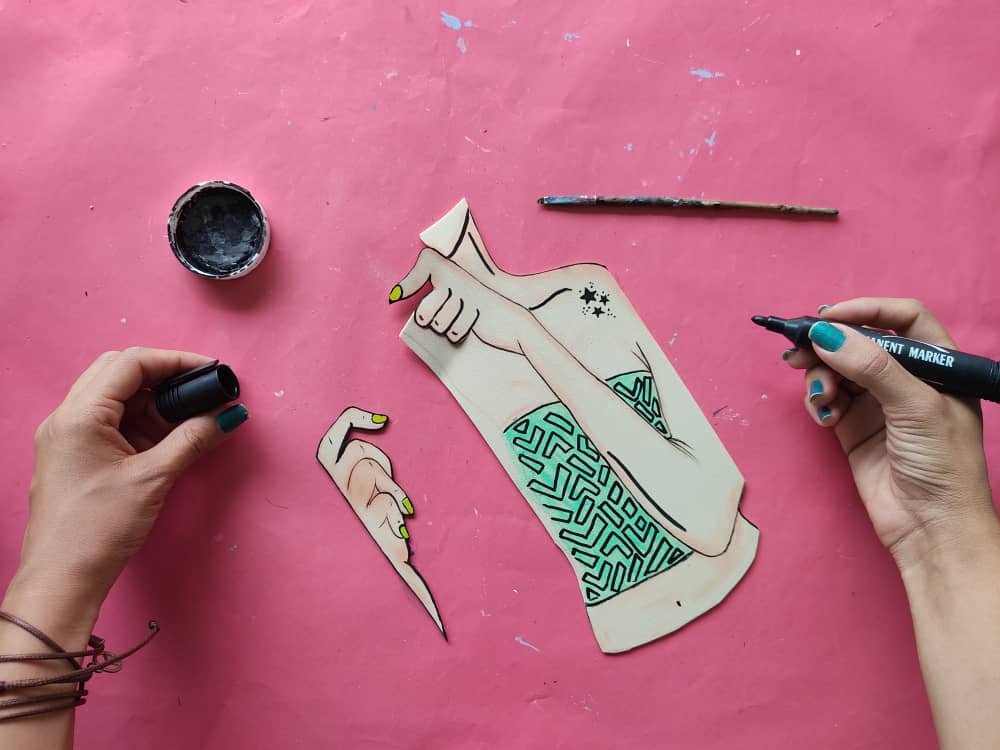
Luego de que esté totalmente seca la pintura de la camisa y uñas, comenzamos a marcar los bordes y los detalles que lleguen a nuestra mente, podemos utilizar el marcador de punta fina y también el pincel, decidí dibujar un pequeño tatuaje de estrellas sobre su brazo.
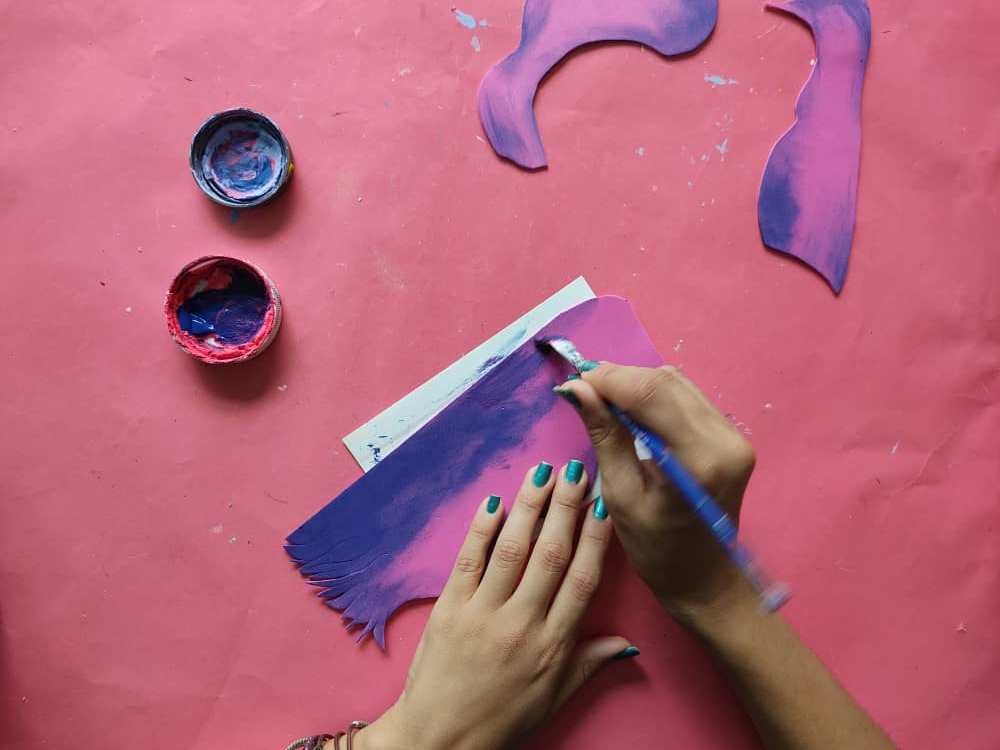
Now, we paint the beautiful hair of the girl by applying strands of lilac, blue, and purple colors.

Ahora, pintamos el hermoso cabello de la chica aplicando mechones de colores lila, azul, y morado.
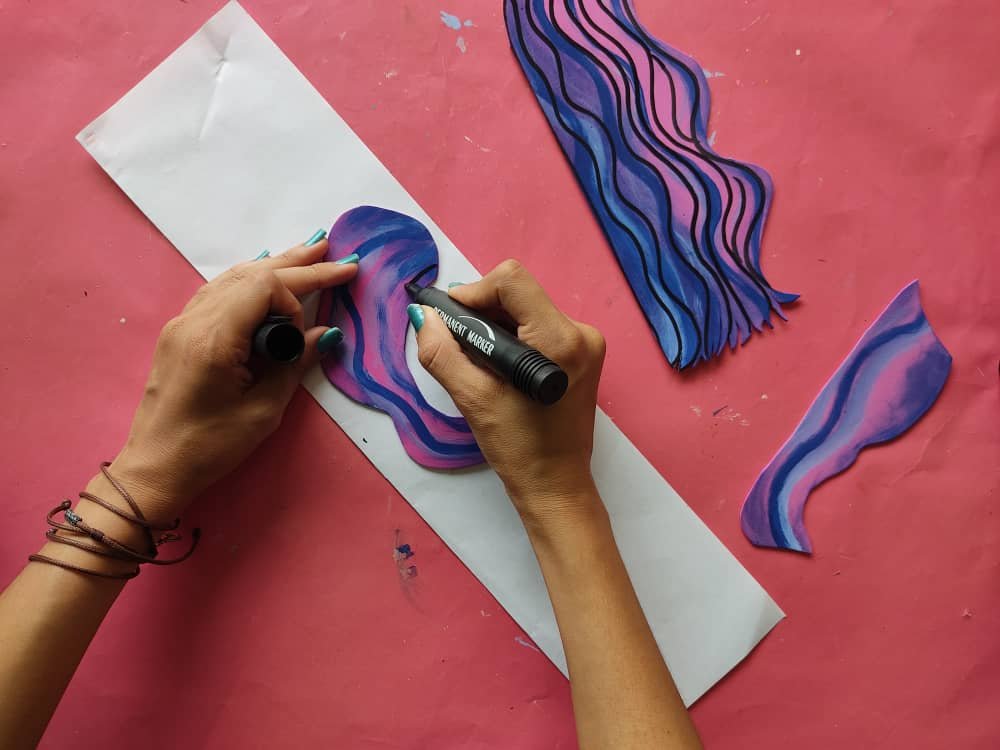
Then we define the last details of her hair with the help of the fine tip marker.
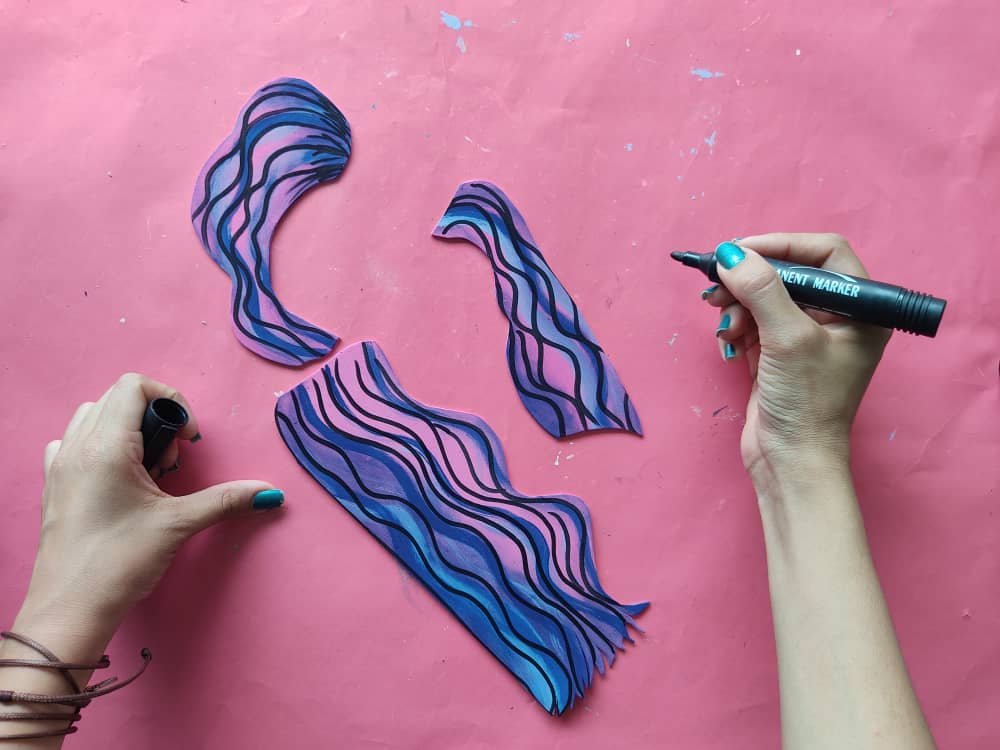
Luego, definimos los últimos detalles del cabello con la ayuda del marcador de punta fina.
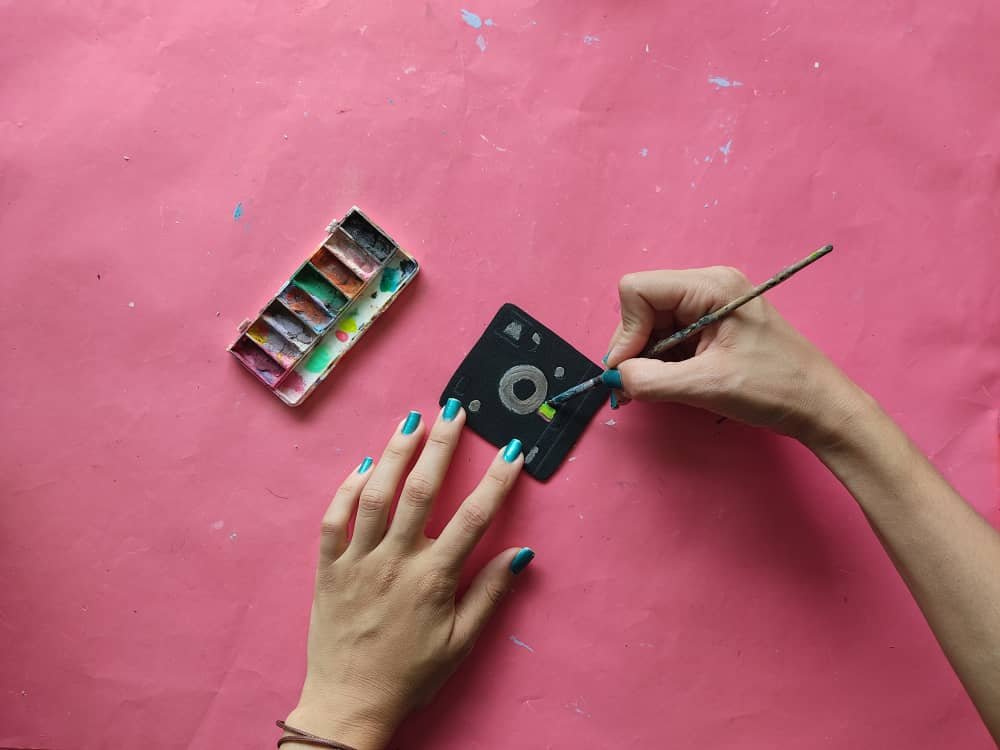
Next, we paint the camera by elaborating the details of the buttons, the lens, and others with silver tones so that our camera looks more real.
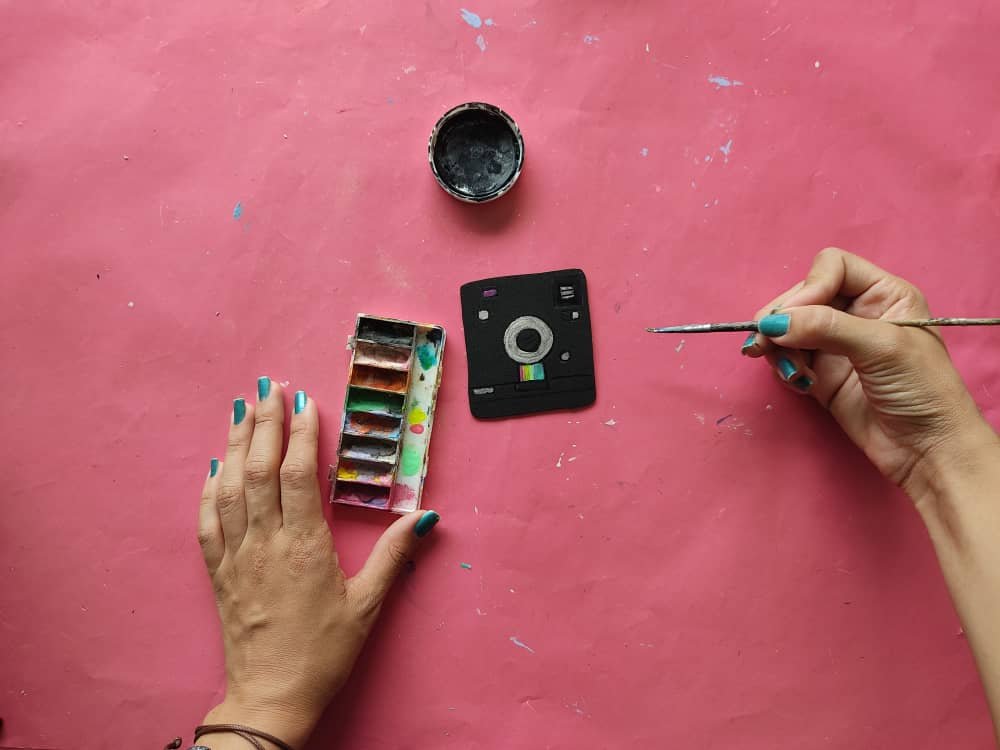
Seguidamente, pintamos la cámara elaborando los detalles de los botones, el lente, y otros con tonos plateados para que nuestra cámara luzca más real.
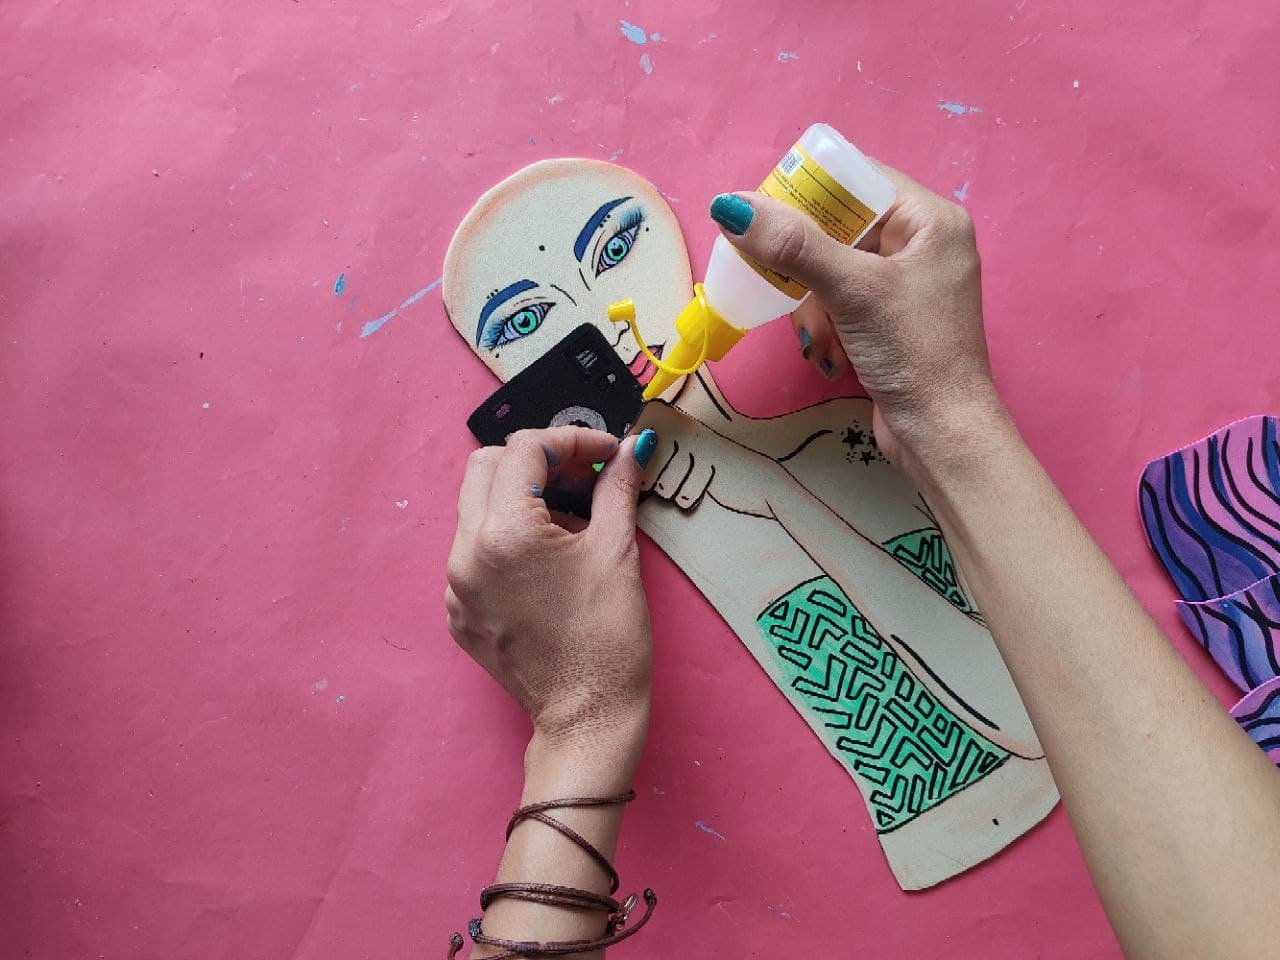
Then we started putting together this girl photographer using liquid silicone and placing each piece in her place.
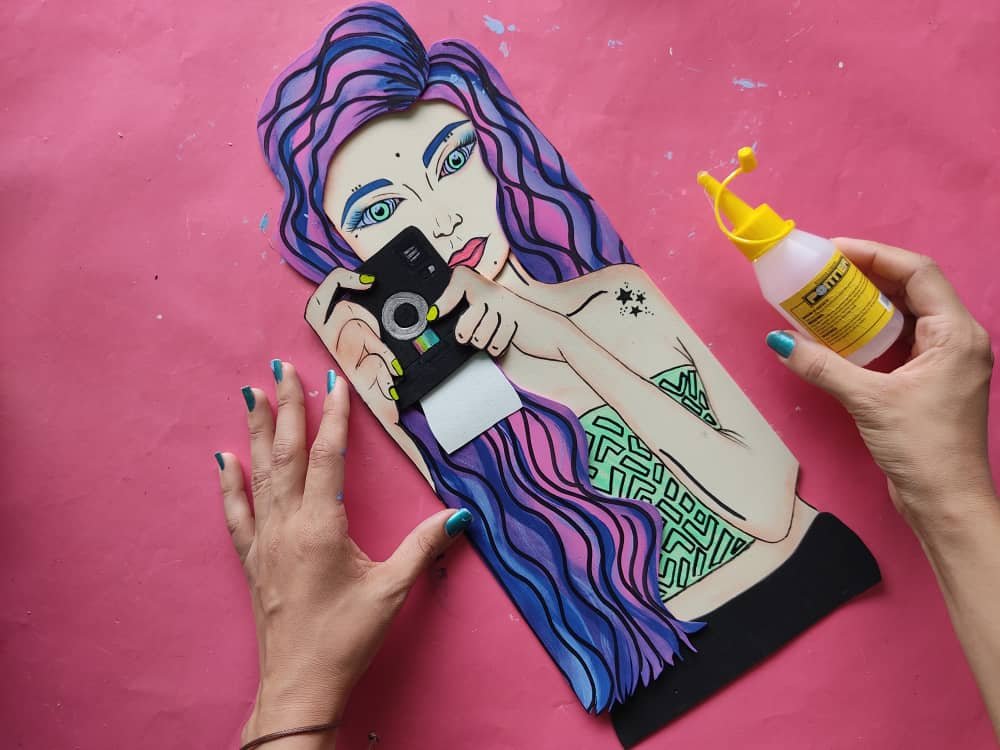
Después, comenzamos a armar a esta chica fotógrafa utilizando silicón líquido y ubicando cada pieza en su lugar.
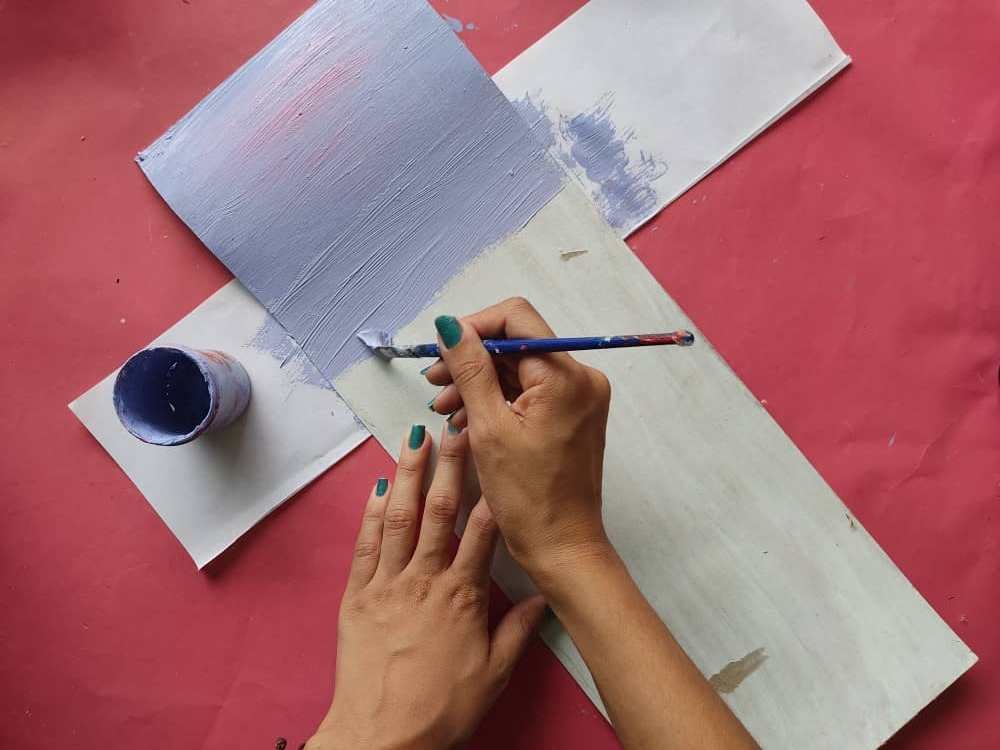
Now, we make a cardboard base measuring 40cm by 15cm and paint it in lilac and blue colors. After the paint on the base has dried, we glue our photographer placing it in the center of the base.
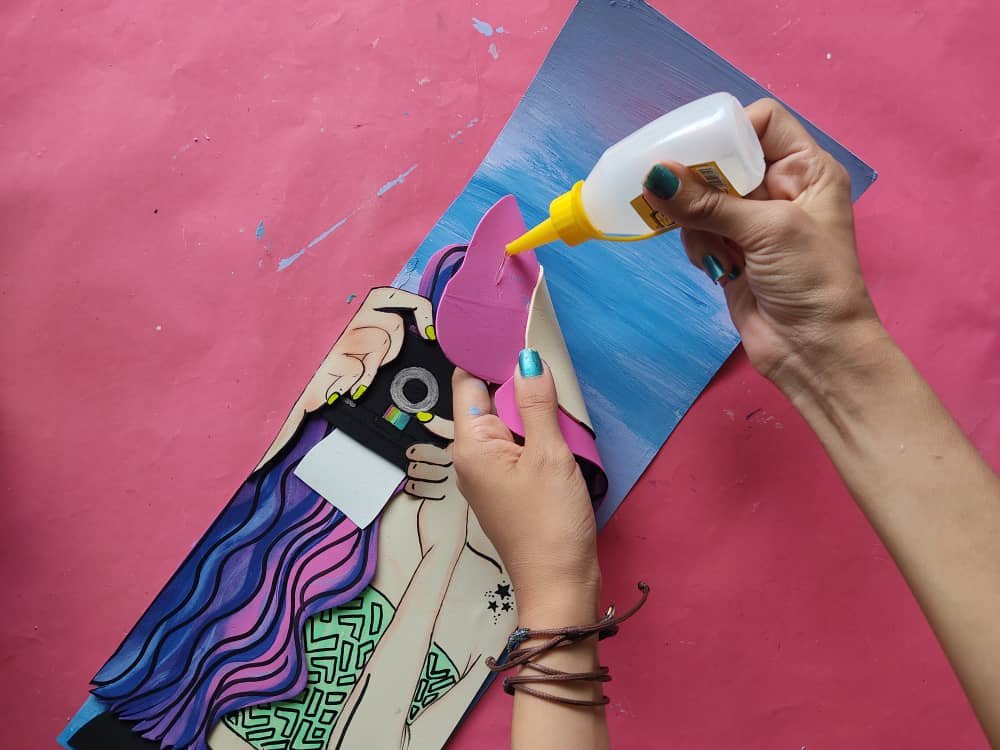
Ahora, fabricamos una base de cartón de 40cm por 15cm y la pintamos de colores lila y azul. Luego de que se haya secado la pintura de la base, pegamos a nuestra fotógrafa ubicándola en el centro de la base.
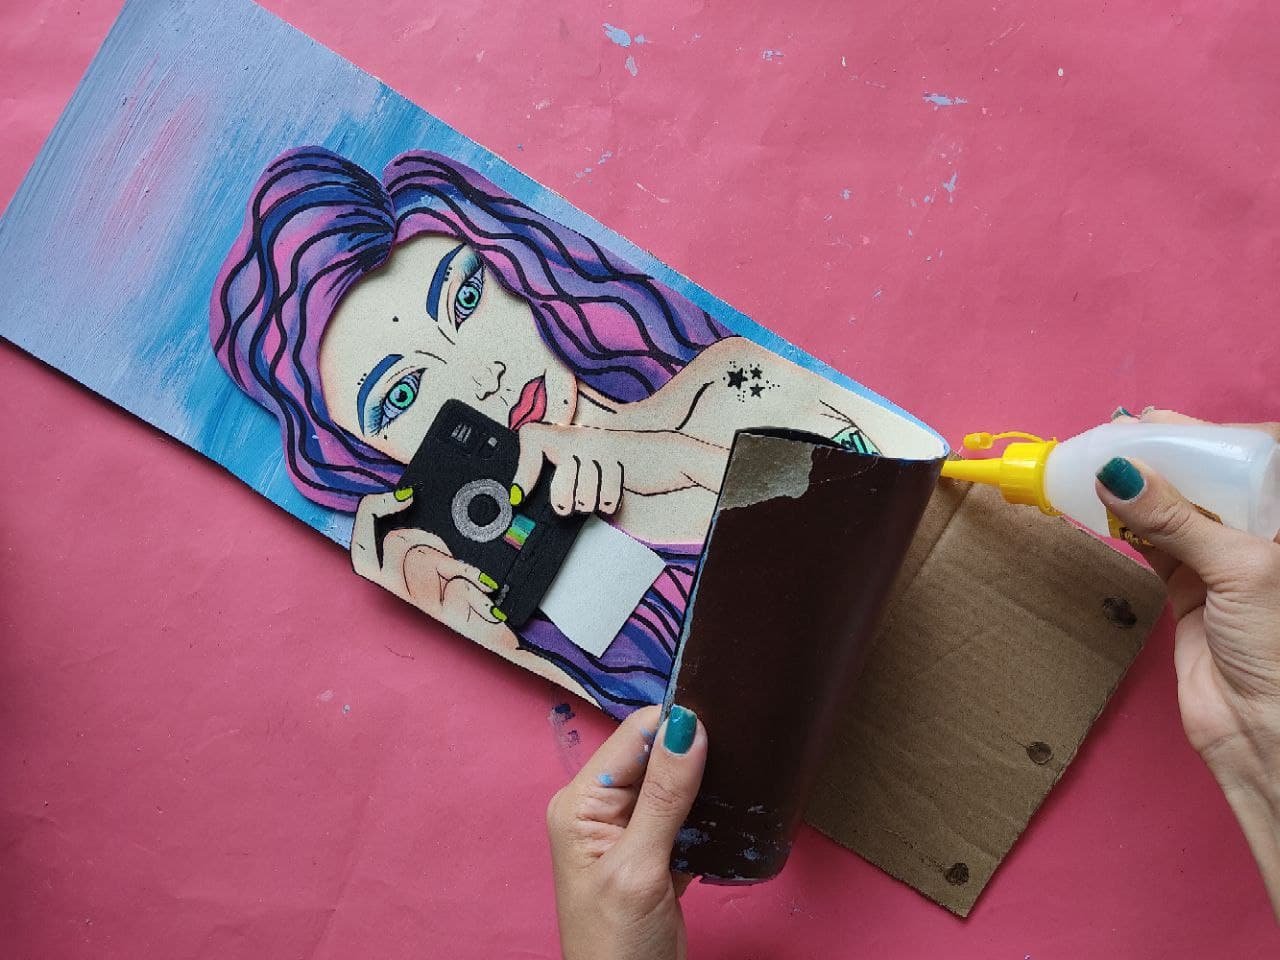
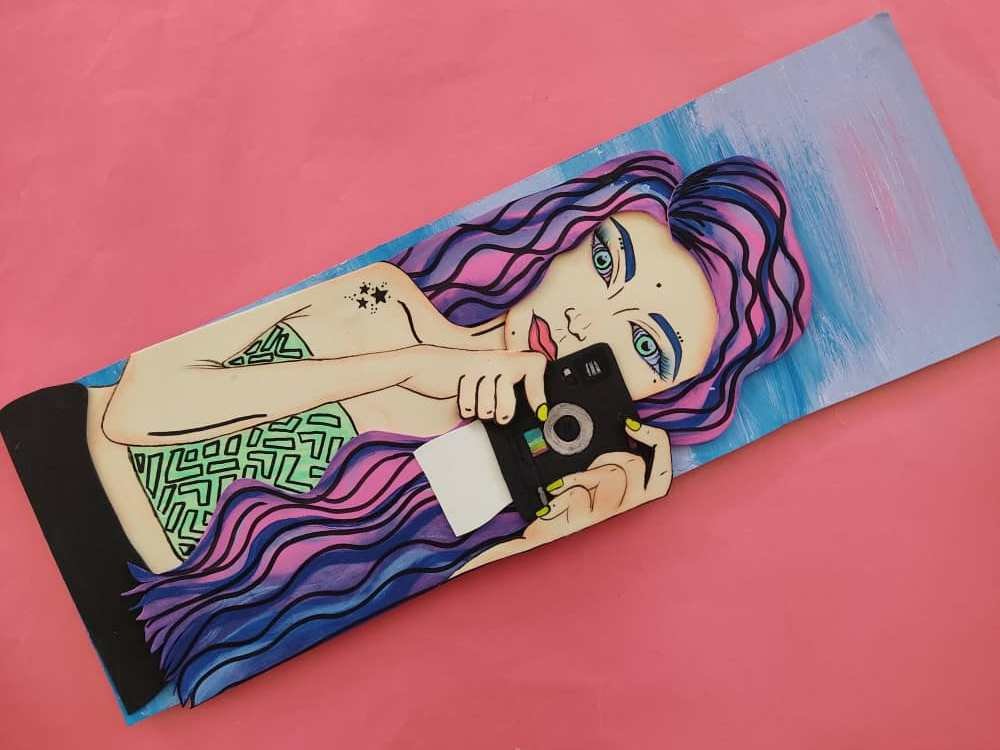
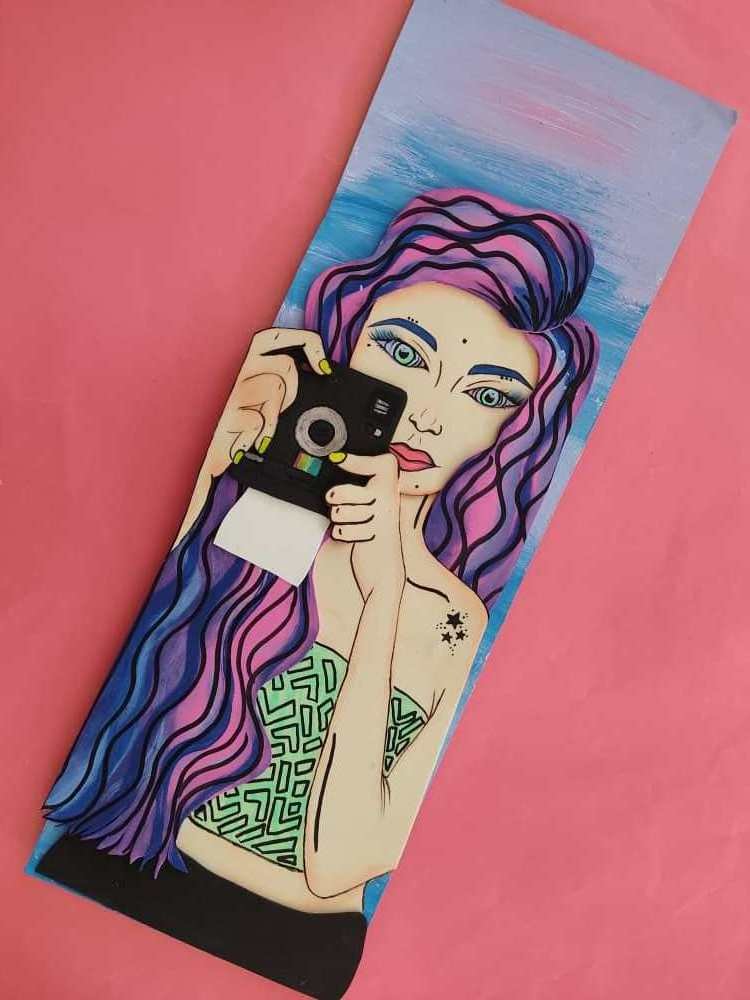
Finally, we glue our beautiful painting on a thicker cardboard base so that it is more firm.

Finalmente, pegamos nuestro hermoso cuadro sobre una base de cartón más gruesa de manera que esté tenga mayor firmeza.

.jpeg)
.jpeg)
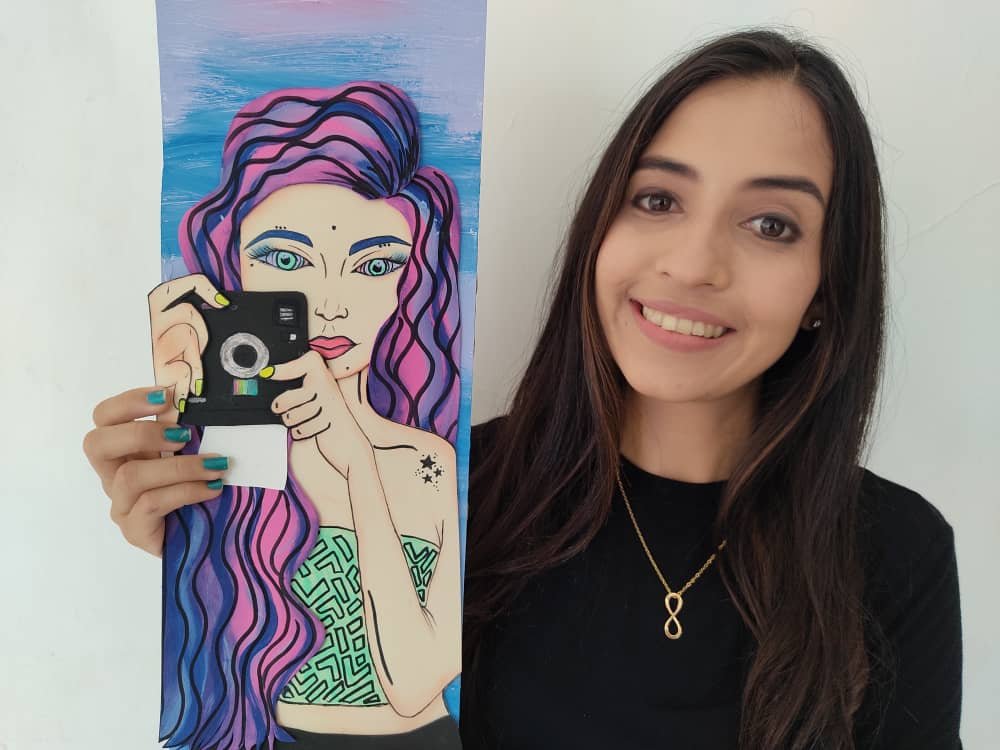
Thanks for joining and I hope you enjoyed it. ❤️
Gracias por acompañarme y espero que lo hayan disfrutado.❤️
.jpeg)
.jpeg)
.jpeg)
.jpeg)
.jpeg)
.jpeg)
.jpeg)
.jpeg)
.jpeg)


