Hi @steemskillshare friends,
This is my first contribution here, sharing my technical photography skills!
Photography is a visual art, and as all the art forms it is not possible to teach it, but it is possible to teach the technicalities to use the tools as best, in order to help to create what is in the artist mind.
Bearing this idea in mind, we can start not just this lesson but all the future contributions I'm going to share in this fantastic community in the steem blockchain!
In this article, I would like to inspect the usage of the ISO function.
After select the manual or the pro (depends on your camera or smartphone model) you can start to "play" around with this function.

Normally the ISO range in the modern digital camera can start from 50 to 3200, but let's see first what ISO means, and what we can achieve with it.
As everything in digital photography, we can see the origin of the concept back in the days when the photos were taken with films.
So ISO was referred with the sensibility of the film to capture the light, and this idea has been translated with the digital camera sensors.
In short more the ISO rate is higher more the camera will be light sensible, so it means that less light, higher ISO rate, else the photo will be simply too dark.
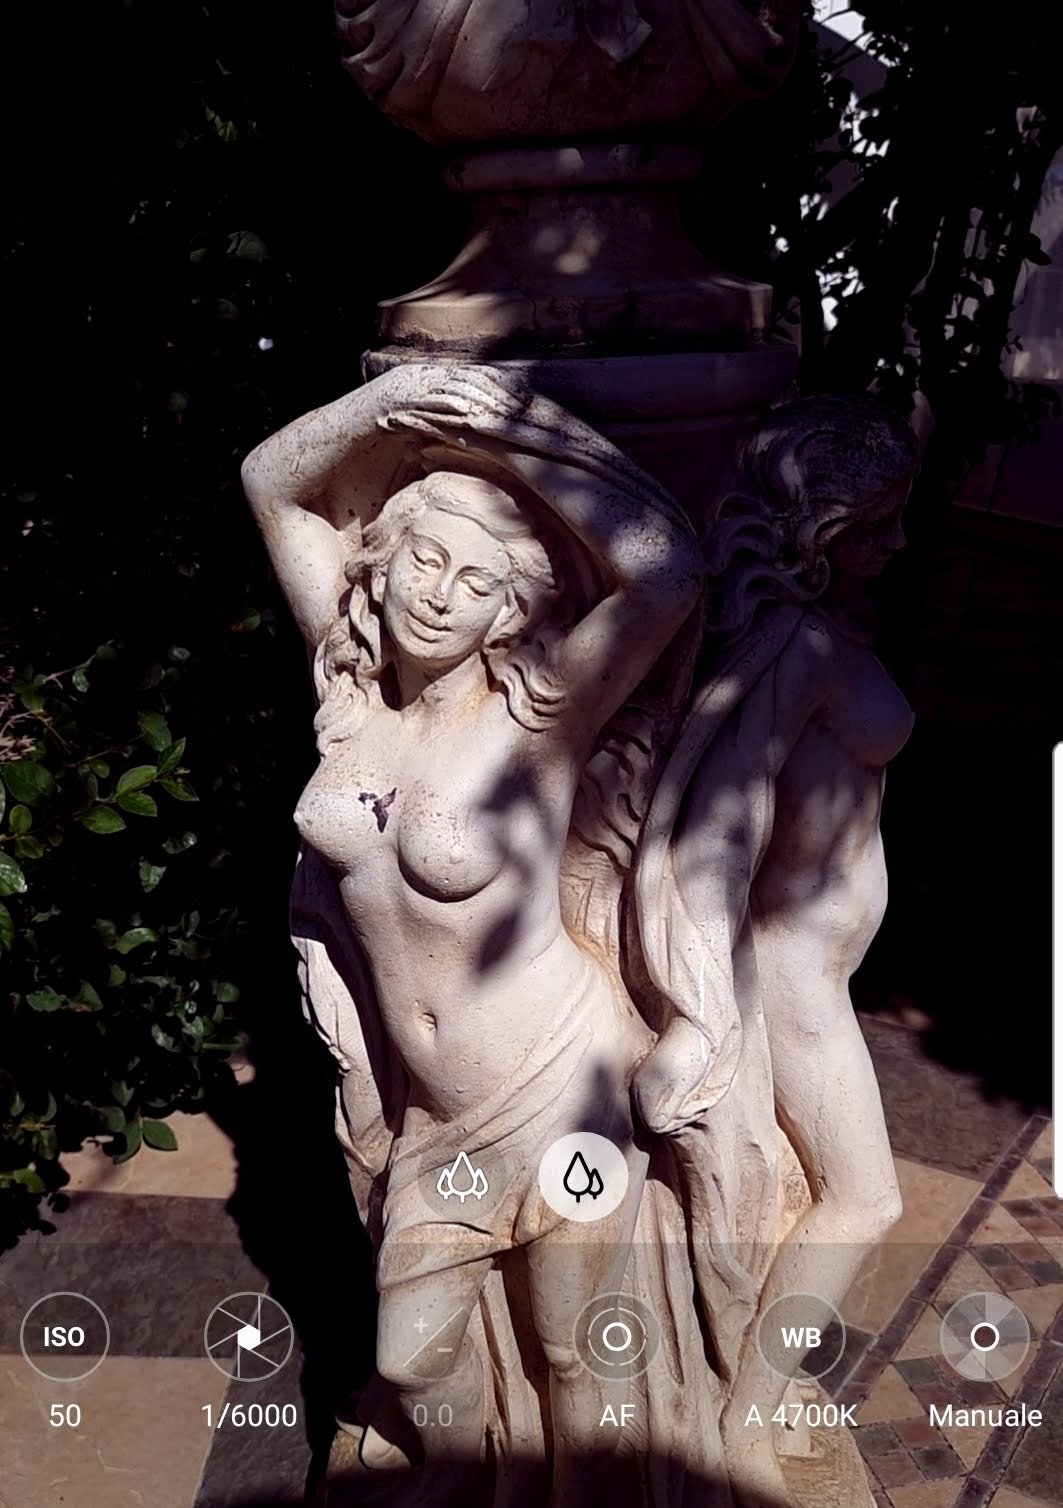
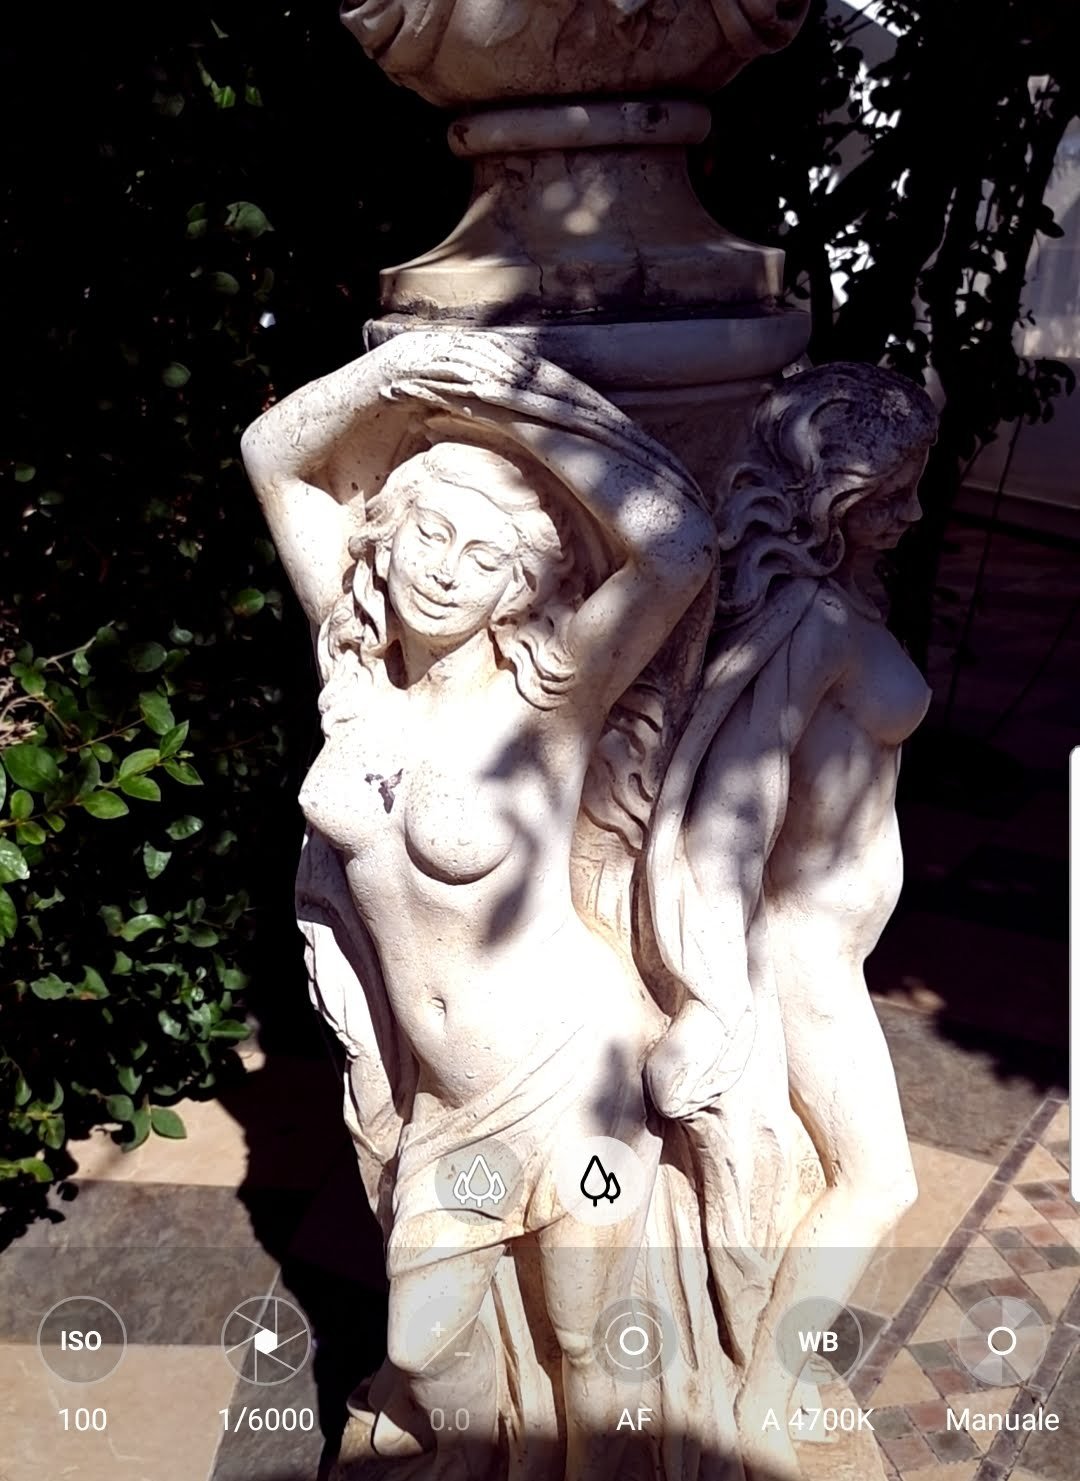
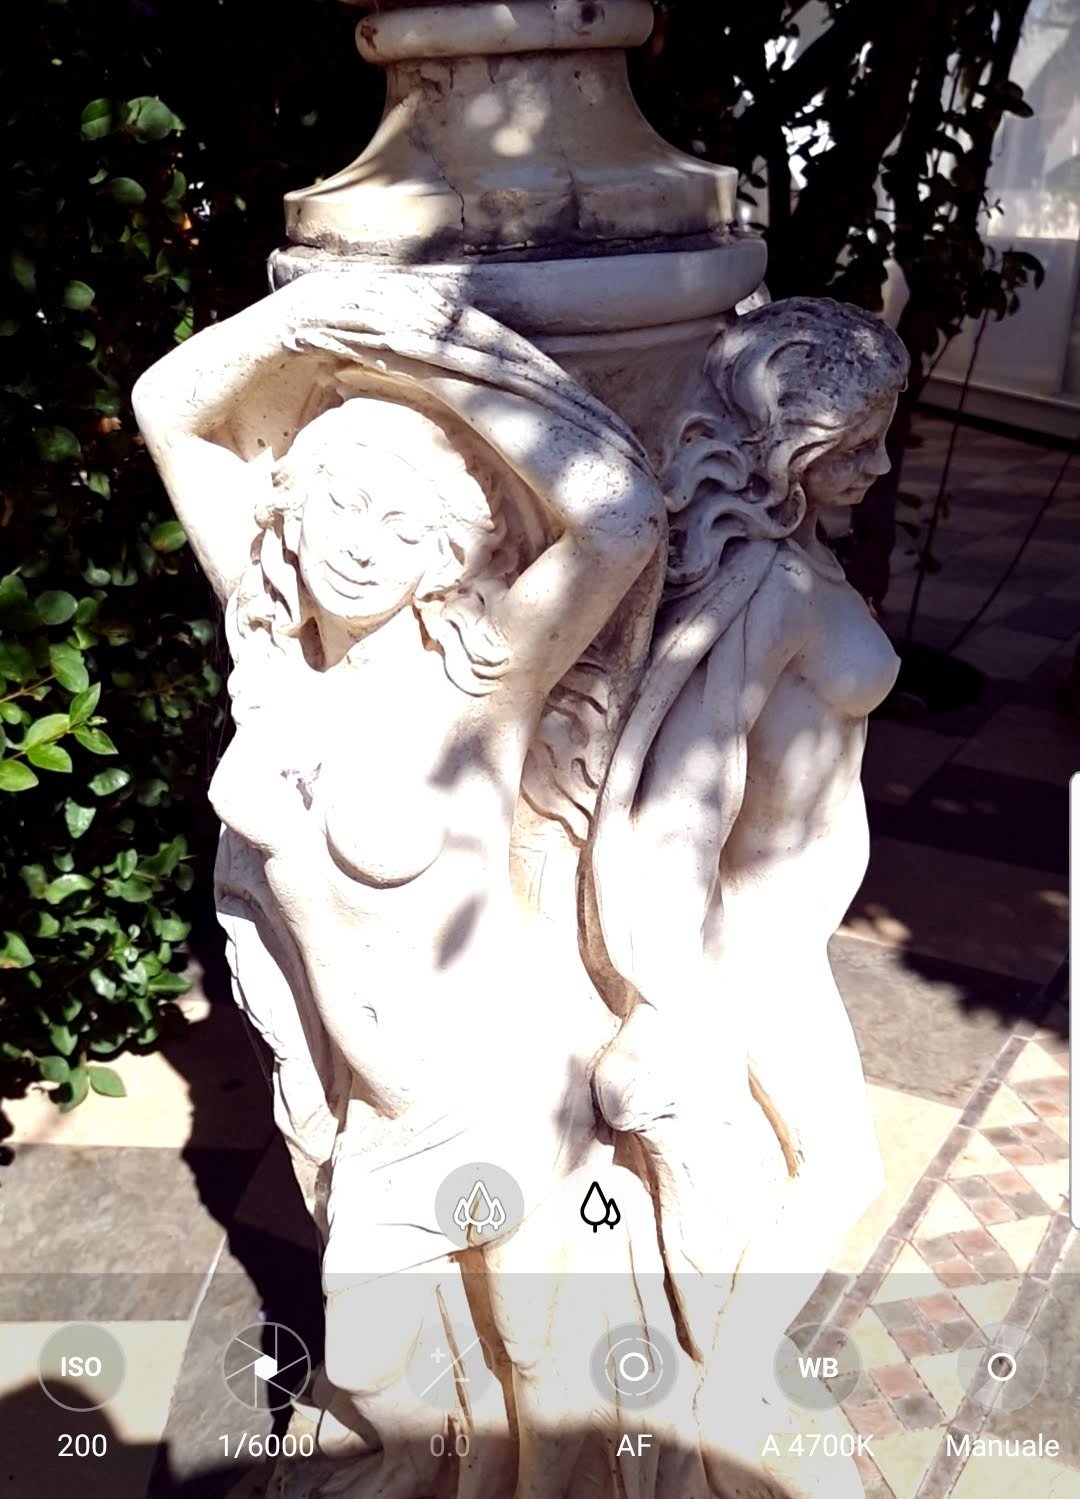
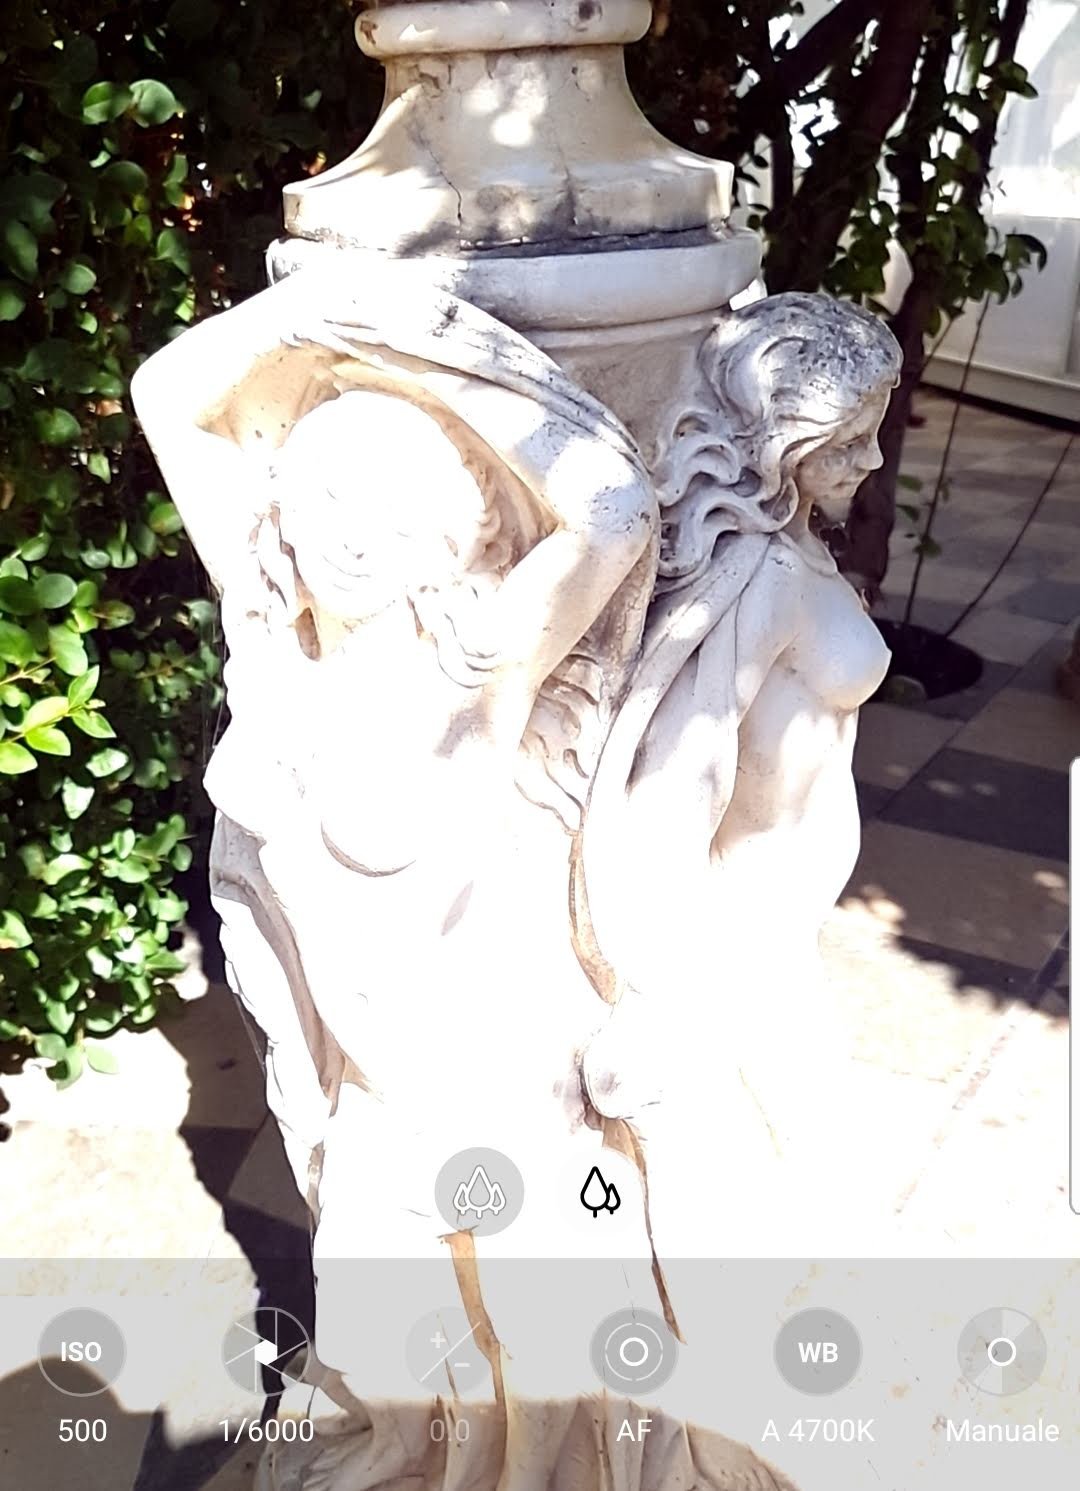
Here some example with the same object, and the same light, but with different ISO rate


Said so, it is very important to understand that, while it is true that higher ISO means more light in the photo, it is also true that is means as well less focus, and less details precision, as you can see already from the photos above.
While the first one is the darkest, it is also the one with more focused details of the subject, so it is important that the photographer play around this setting to understand how much of focus and details wants to sacrifice in order to gain more lights.
This is enough for this article, and if you wish you can show your experiments with a comment, and I'll be more than glad to help you out in case you will have some questions.
