Our raw milk dairy, Sidehill Farm in Hawley, MA starting offering ½ gallons of cream for sale in 2016.
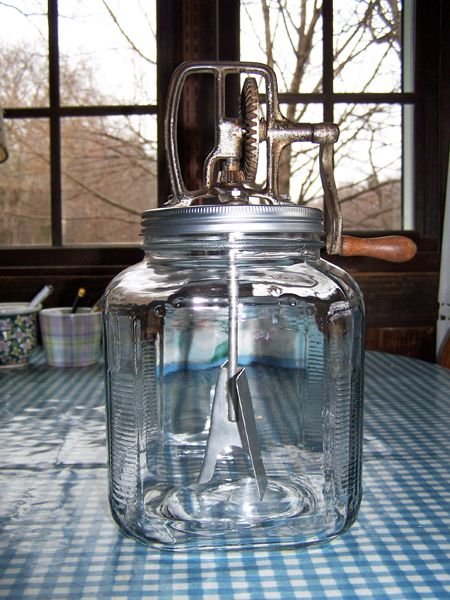
A few years back, I had found the lid and dasher to a good size butter churn at a tag sale for $7. I got this jar from BuyNothing and my husband mounted the works on the lid that came with the jar. I've saved the old lid as it carries all the ID for the churn.
This is a Lightning Butter Machine patented on February 6, 1917 and originally manufactured by the Stewart-Skinner Company of Worcester, Massachusetts. They sold for $1.50, $2.00, $2.50 and $3.00 for the 1, 2, 3 and 4 quart sizes. The Stewart-Skinner Company sold its butter churn business around 1923 and these butter churns were then manufactured by the Reynolds-Brown Company of Beverly, Massachusetts. Eventually the Taylor Manufacturing Company of Wollaston, Massachusetts acquired the business.
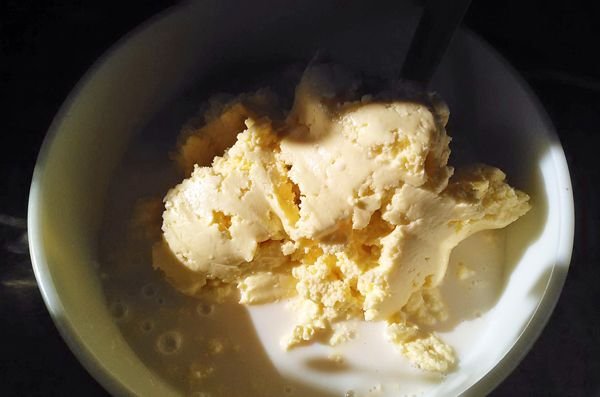
In March 2016, we made our first butter. This was not the optimal time to be making butter, but we were just experimenting to see how it worked.
Look at the color of the butter, even in March!
Ideally, butter should be made from cream produced just as the cows start on pasture in the spring. The cream is best until the grass starts to go to seed in June. So we decided to wait until early May before making any more.
The end of May 2016, not quite 1/2 gallon of Sidehill cream made all this butter this week.
I didn’t keep weight records of what we made in 2016, but it lasted until mid May 2017.
We started making butter on May 5, 2017 and made it every week until August 11. The weight total for 2017 was 76 lbs 12 oz. The best day we had was June 23 when we got 10 lbs. 8 oz. from 2 gallons of cream.
The reason we spent so long making butter was that we didn’t know we could order gallons of cream ahead. We just took what was there each week. This year we will be ordering 2 gallons each week during May and June and hope to finish by the first of July.
What We Learned About Making Butter
My cream has been mechanically separated at the farm. If you are dipping your cream, try to not get any milk into it. Allow the milk to stand at least 24 hrs, longer is better, to let the cream rise.
My fridge is kept at 39F as foods last longer when colder. It takes a long time for cream to warm up. We found the best butter came from cream at 63F. So when I got up around 5AM, I would decant the gallons of cream into ½ gallon glass jars and set them in my gas oven with the pilot light. By the time we were ready to make butter at 8:30 they would be just about the right temperature.
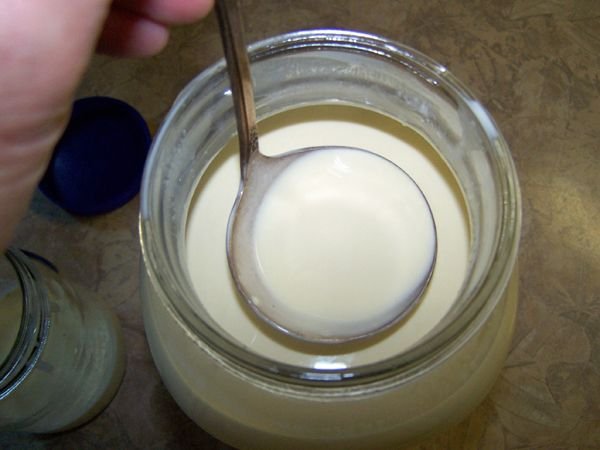
When you crank the cream in the jar it eventually swells up. If you’ve filled it too full, it comes out the top around the shaft. We found the optimal level was where the lines ended on the jar corners (look at the photo closely, above).

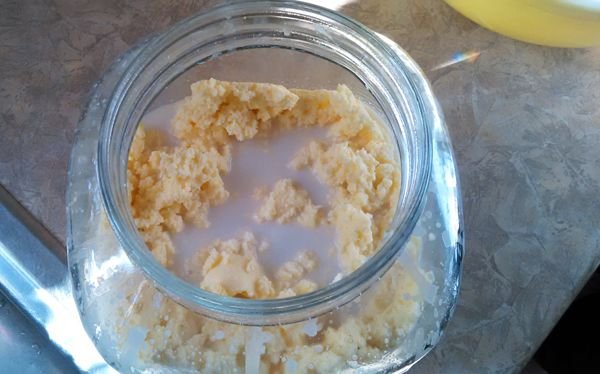
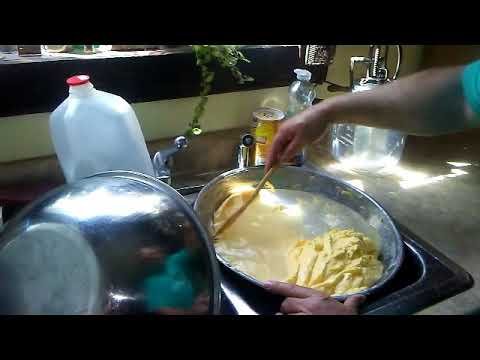
We found that a steady, but not fast, rhythm of cranking produced the best butter. Faster speeds tended break it up instead of having it clump together. At 63F the butter would come between 7 – 15 mins. As I said the cream swells and then slowly starts to recede. When this happens slowing the speed will encourage the butter to clump together. You can see this in the video.
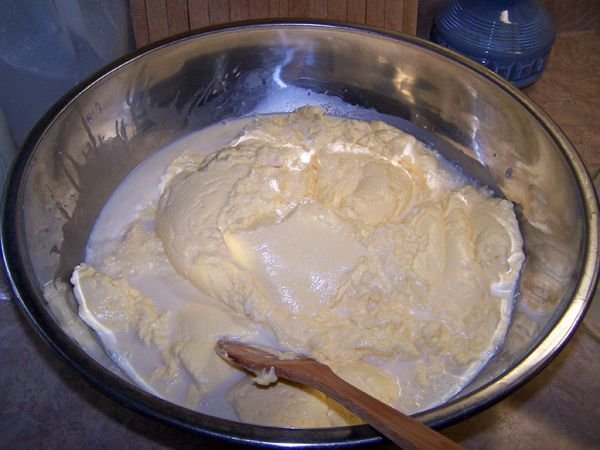
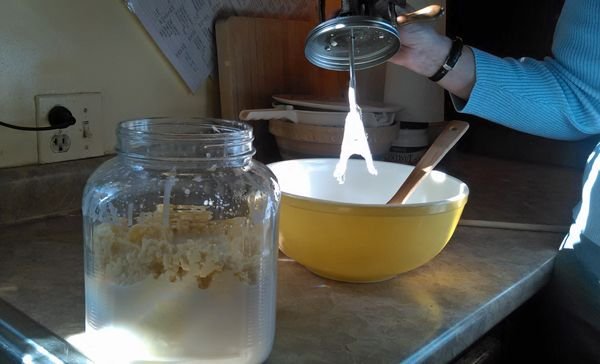
Remove the dasher and clean it off into a large sturdy bowl. Pour off as much of the buttermilk as you can into a separate bowl, then put the butter into the sturdy bowl.
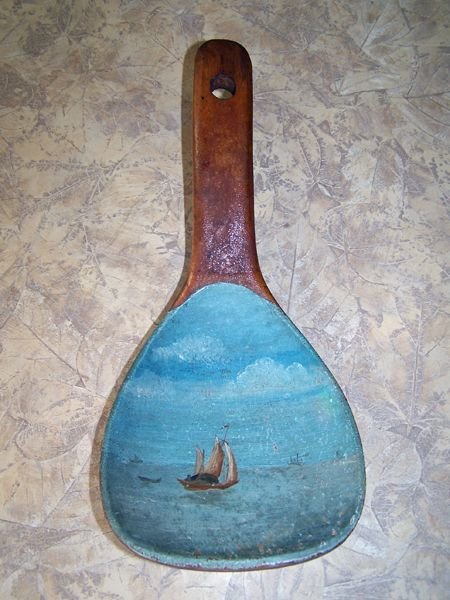
My great, great, great grandmother Martha Washington Dewolf Briggs’ butter paddle circa 1850’s
Pressing with a butter paddle or a sturdy tool that will fit the slope of the bowl helps remove the buttermilk from the butter. When you’ve pressed out as much as you can and saved it for use, it’s time to start washing the butter.
In the beginning use cool, not quite temped water, not warm. You want the butter to remain firm enough that when you pour off each washing, the butter doesn’t flow out of the bowl too. But if it gets too firm, it’s just hard work to press it. You want enough water so you can submerge each scraping, but not so it slops around.
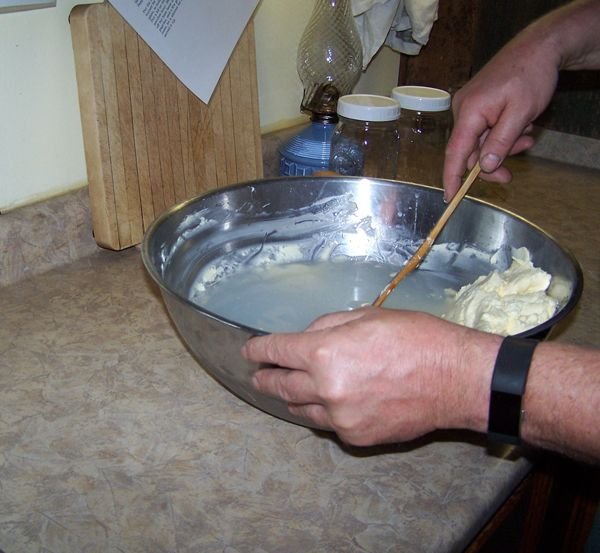
You should do a minimum of 12 washings. Place the butter on one side of the bowl, scrape off a small amount and press it through the water, under the water, to the other side. Do this until it’s all on the new side. Dump the water (it’s good for pigs) into a bucket and start again.
Along about washing #9, you will want to start using cold water to firm the butter up for handling. By washing #12 the water should be clear. If it is not, keep going until it is.
Any buttermilk left in the butter will cause it to turn and have a bad taste pretty quickly, even if refrigerated.
Press all water out of the butter, by scraping it to the other side of the bowl, draining off the water as you go. Once this is done, you can add salt and work it in. I do not salt my butter, so I can’t say how much to add. I’ve seen ½ teaspoon per pound of butter as a suggestion.
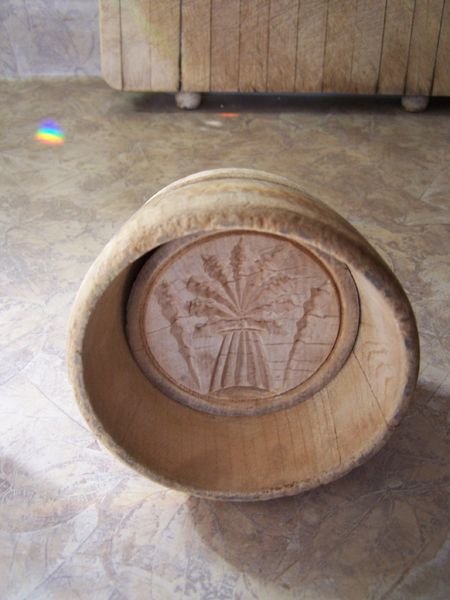
If you have a butter mold, wet it thoroughly so the butter won’t stick and press the butter into it.
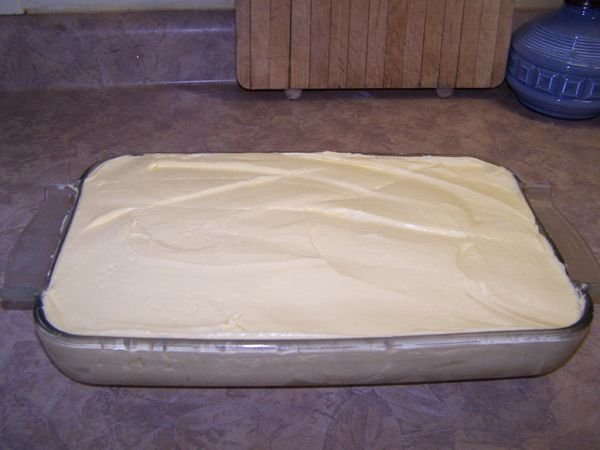
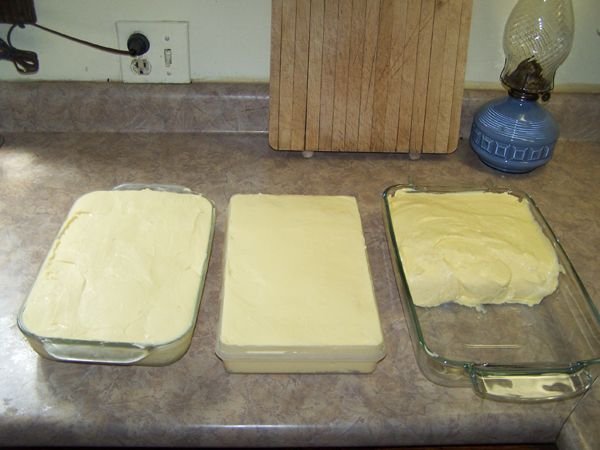
This is about 6 lbs.
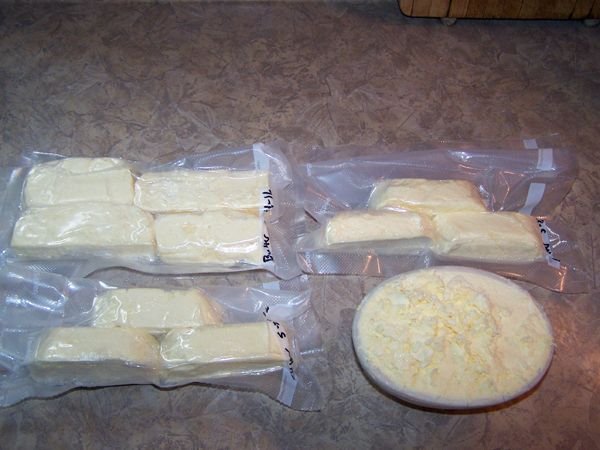
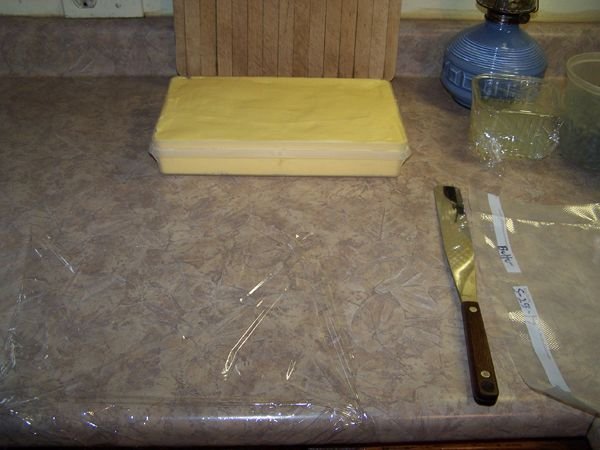
I just press it into glass baking pans, smooth the top and put it in the fridge to firm up. In a few hours I loosen it in the pan by running under hot water, then I cut it in roughly ¼ lb size pieces, wrap it in plastic wrap, vacuum seal 4 per package, weigh, label and date, and freeze.
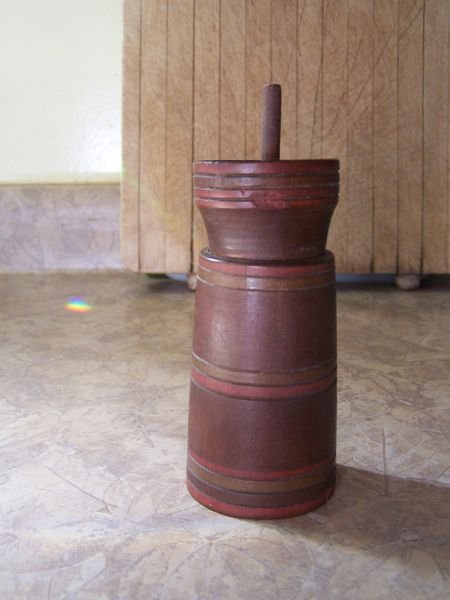
My great great grandfather, John Lewis Raymond made this toy butter churn.