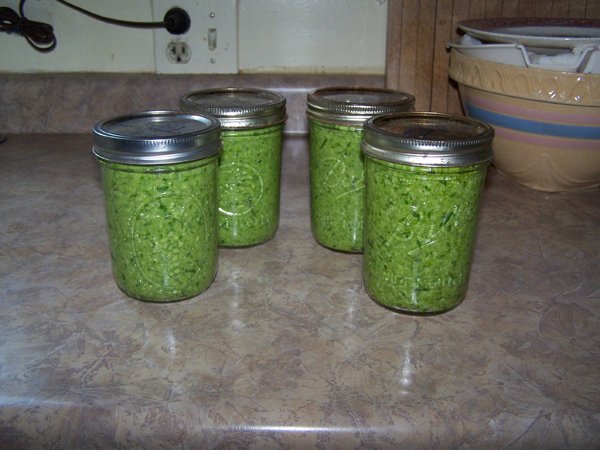
I have made garlic scape pesto for several years now. Last year I made 15 pints of it. I learned a few years back that if you press garlic or in some way chop it fine and let it sit before cooking, the medicinal properties of the plant are stabilized and can survive light cooking.
When I had a mouth infection a few years back I would eat a few tablespoons of pesto off and on during the day and it really seemed to help it heal quickly. I’ve used it regularly for fighting various ailments and it usually helps. So it looks like the processing from making it into pesto also stabilizes the properties. So I make it for medicinal use. (I also eat a lot of it as a snack…)
I used to make a lot of scape pickles, but the medicinal properties are lost in the heat, as the scape is not chopped. I really liked the scape brine, and used it on and in lots of things. I will use the oversize scapes for pickles.
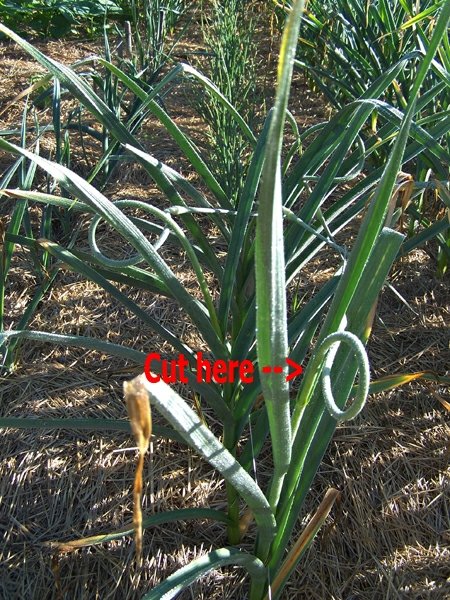
To harvest scapes, wait until they are about 12” long and less than the thickness of a pencil. Cut them (I use scissors) right where they join the first leaf.
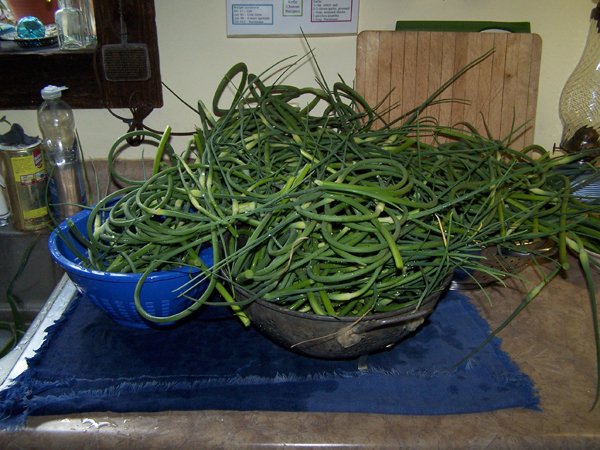
Washed them and use a colander to let them dry.
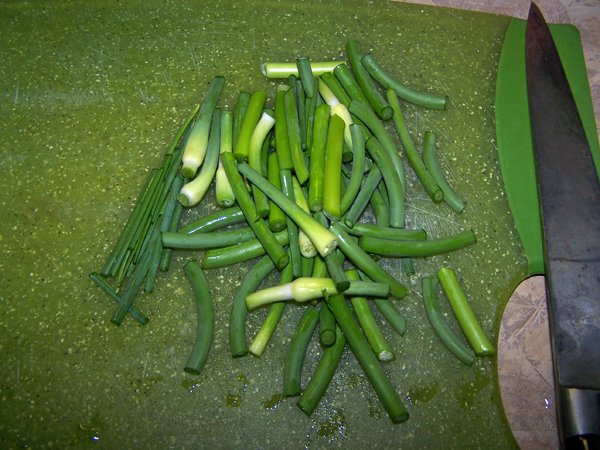
Chop them, including bud and skinny tip, into 1” - 2” pieces. My food processer is old, so I tend to go smaller.
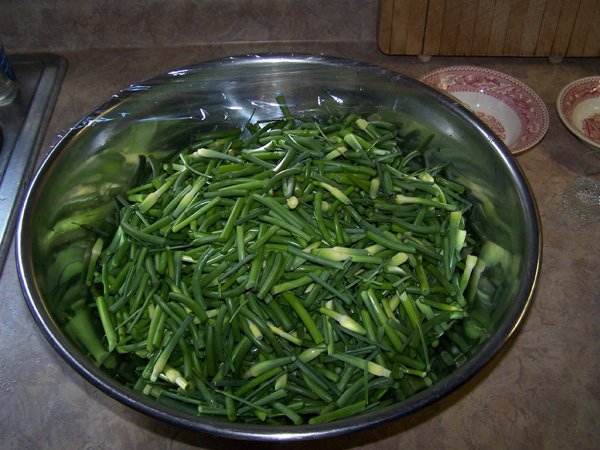
This is 10 batches of pesto or 5 lbs of scapes
I prefer to make big batches of things, so as to do them just once or twice. There will be more scapes coming along in a week or so, so I will probably turn those into pickles.
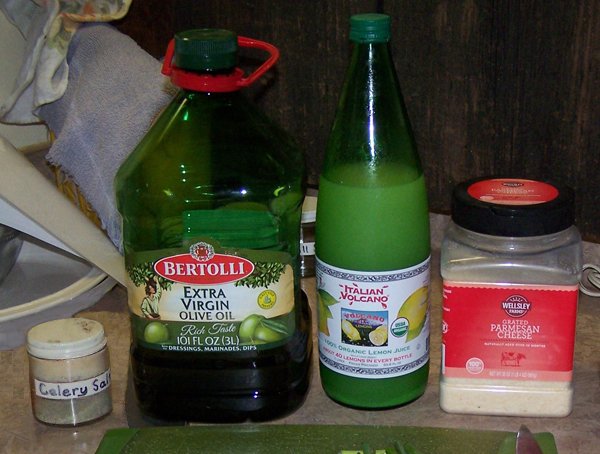

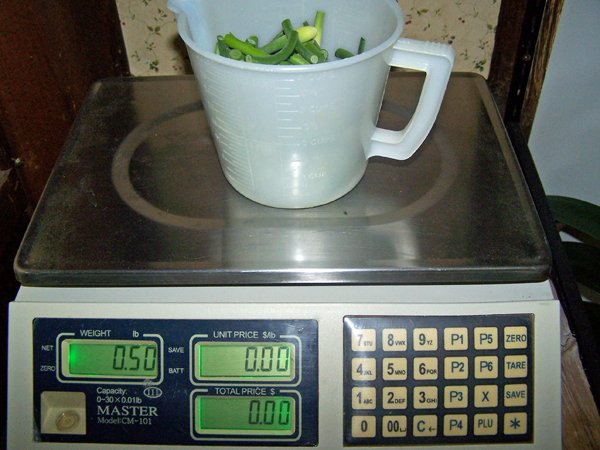
Weigh out ½ lb of scapes.
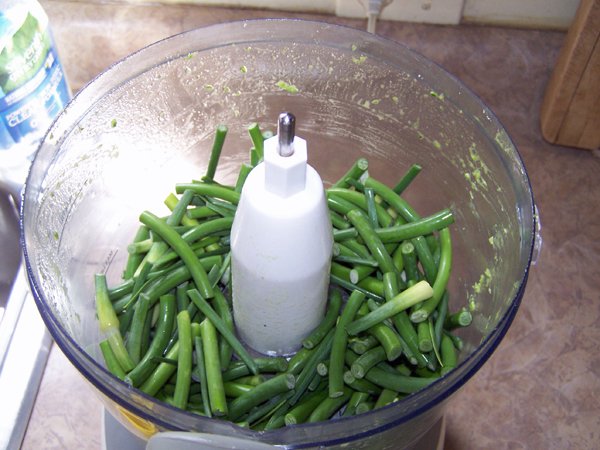
Don’t be tempted to make more than 1 batch at a time. Food processers will not do a good job of breaking up the scapes if overloaded and you will have tough pieces throughout.
Add the salt, ⅓ of the oil, and the lemon juice and run the processer for a minute.
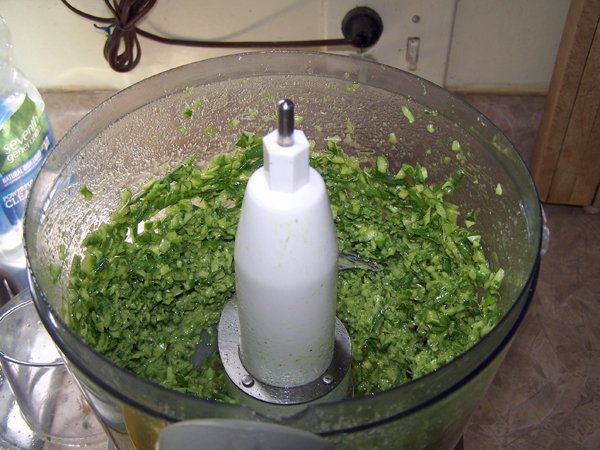
You can see the tough bits are all up the sides, so this needs to be scraped down where the blade can impact it. You will need to do this 2 – 3 times, adding ⅓ oil each time, depending on how thoroughly you prefer your pesto broken down.
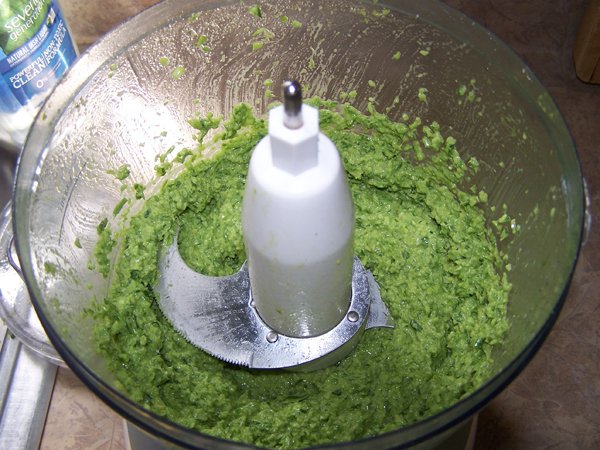
This is how I like mine.
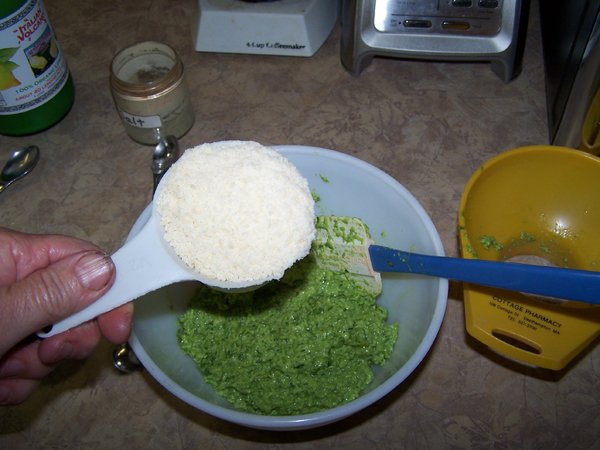
Turn it into a large enough bowl for mixing and add the Parmesan cheese. Fold that in with a spatula until well mixed.
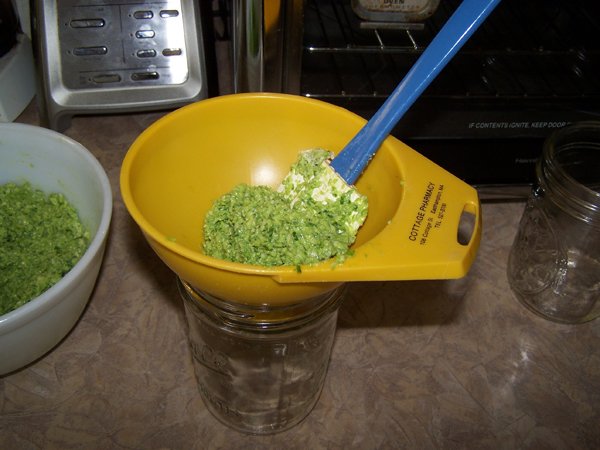
Using a canning funnel, fill the jar ¾ full. This is a greasy business and the funnel helps keep the jars clean.
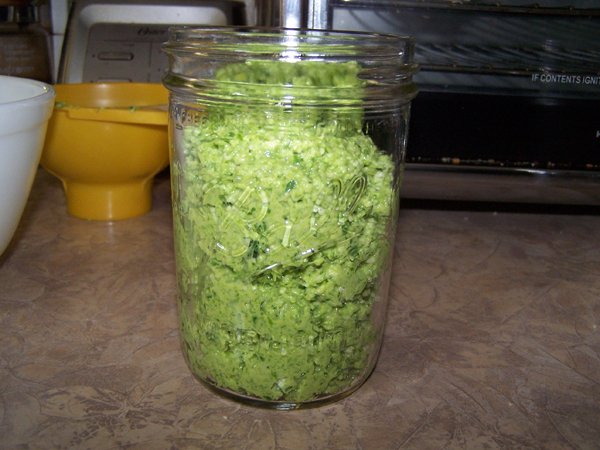
You can see there are a lot of air spaces. Use the spatula to pack them down and release them. Then finish filling the jar to the bottom of the first ring, removing air spaces.
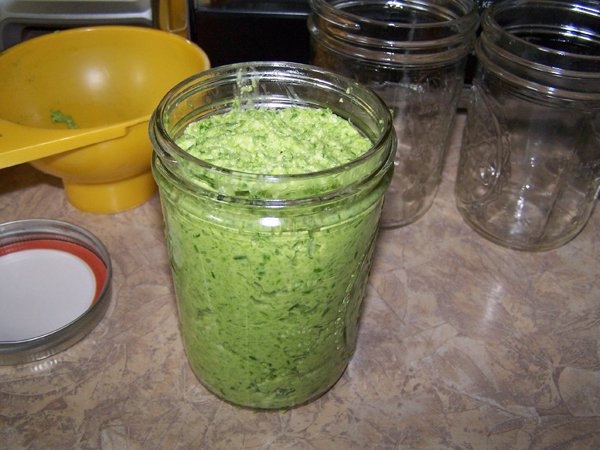
This will leave about ½” headspace to allow for expansion when frozen.
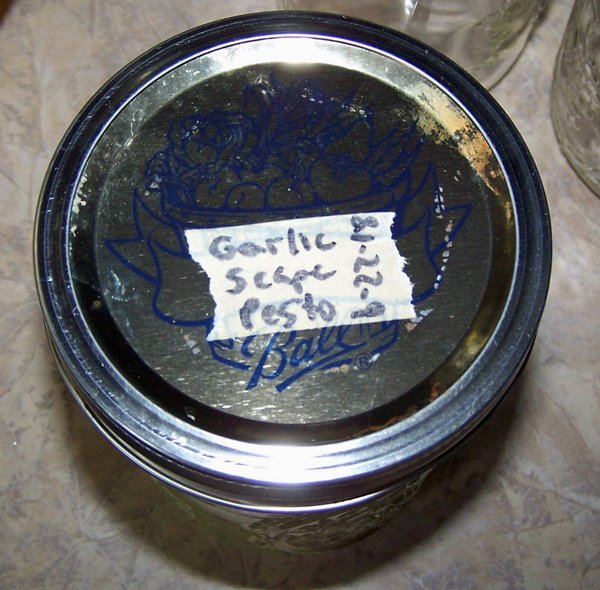
Wipe the rim and seal. I use old lids for freezing as long as the coating and rubber are undamaged on the inside. Then I label using freezer tape as it won’t come off when frozen.
Be sure to use the straight side canning jars for freezing. Anything with a shoulder will break.
I got 8½ pints from that bowl. I found it took slightly more than the recipe to fill each jar.

