Welcome back and thank you so much for following us through this series on how be built our homestead for $20,000! In case you missed them, or want to go back and read again, here are the links to our previous posts: Part 1, Part 2, Part 3, Part 4, and Part 5. Without further adieu, let's get this going!

"Well" Established Fears
Without a doubt, the well drilling was the #1 project on the homestead that was giving us the most anxiety. Drilling a well is such a gamble! We tried to find out what depth neighboring wells were drilled to without any luck... our county didn't start recording wells until the last 5 years and no one had recently put one in. Being in the Appalachian Mountains we've heard that wells can range from 100 to 900 feet deep. In fact, my brother built a home a few years back and had a well go down to 800 feet deep at a cost of $22,000! Yikes!
Options & Alternatives
Our county doesn't regulate drinking water. They don't care if you use rain water, spring water, or creek water! As such, we looked into alternatives when it came to our water source.
Spring Water
We have a spring on the property and looked into developing it for our home. If you look at our Site Map from Part 3 - Permits, Permits, Permits!, you'll see where the spring is in relation to our home. Here's a short video showing the spring and the flow rate. The water was muddy due to my poking around to see the depth of the box. It is clear otherwise. The iron pipe leading out of the spring ran to an old home place long ago, so it is not in use and does not draw any water out.

So after some research and talking to Scott Hunt from Practical Preppers / Engineer775 on YouTube. We decided this wasn't the best for our home right now. Mainly because of the location and the infrastructure that would need to be put into place.
The spring is below our home and lies in a low area of the land. We would have to put an underground cistern into place, then pump the water up to another cistern above to then feed our home. The cost was about $2,000 for materials from what we could estimate. It was just too uncertain for use to commit to the investment, so we passed on spring water for the time being.
Shared Well
The next option we explored was hooking onto the well at my mother's house and running a water line over to our place. Using the measure tool from Google Maps, we estimated the pathway and length. It came out to just under 800' long.
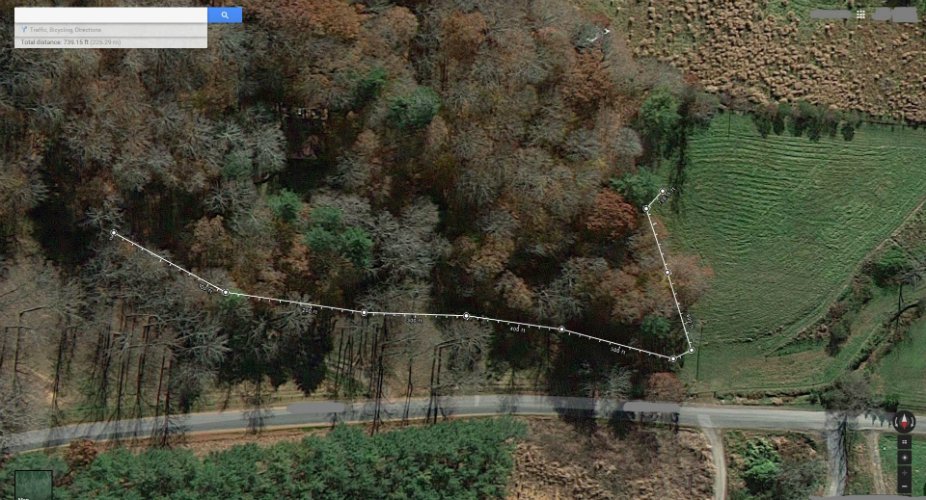
Checking the elevation change from well-to-house showed a rise of only 10' vertically, so we calculated it was within the range of the existing well pump, but also planned to either purchase a new "beefier one" or add a cistern at the well and our own submersible pump in the cistern to then pressurize our line.
With our rough game plan in place, we rented a trencher from the local hardware store and began trenching the route. Work quickly stopped as we hit bedrock about 30 feet down from the shared well. The rock was solid, and at 6 inches below the ground. Hoping it was just a boulder, we moved the trencher 5-10 feet down further and tried again--no luck. We then took the trencher down and did test-digs at 30 foot intervals all along the proposed water line. And struck out for a solid 300 foot run. This killed our idea of a shared well. We were concerned about the line freezing and just being more of a headache than it was going to be worth. So we took the plunge and called the Well Drillers...
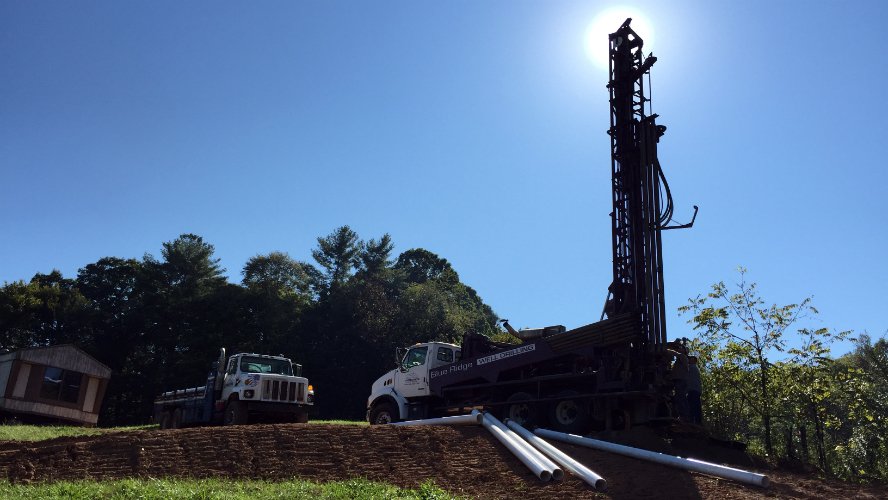
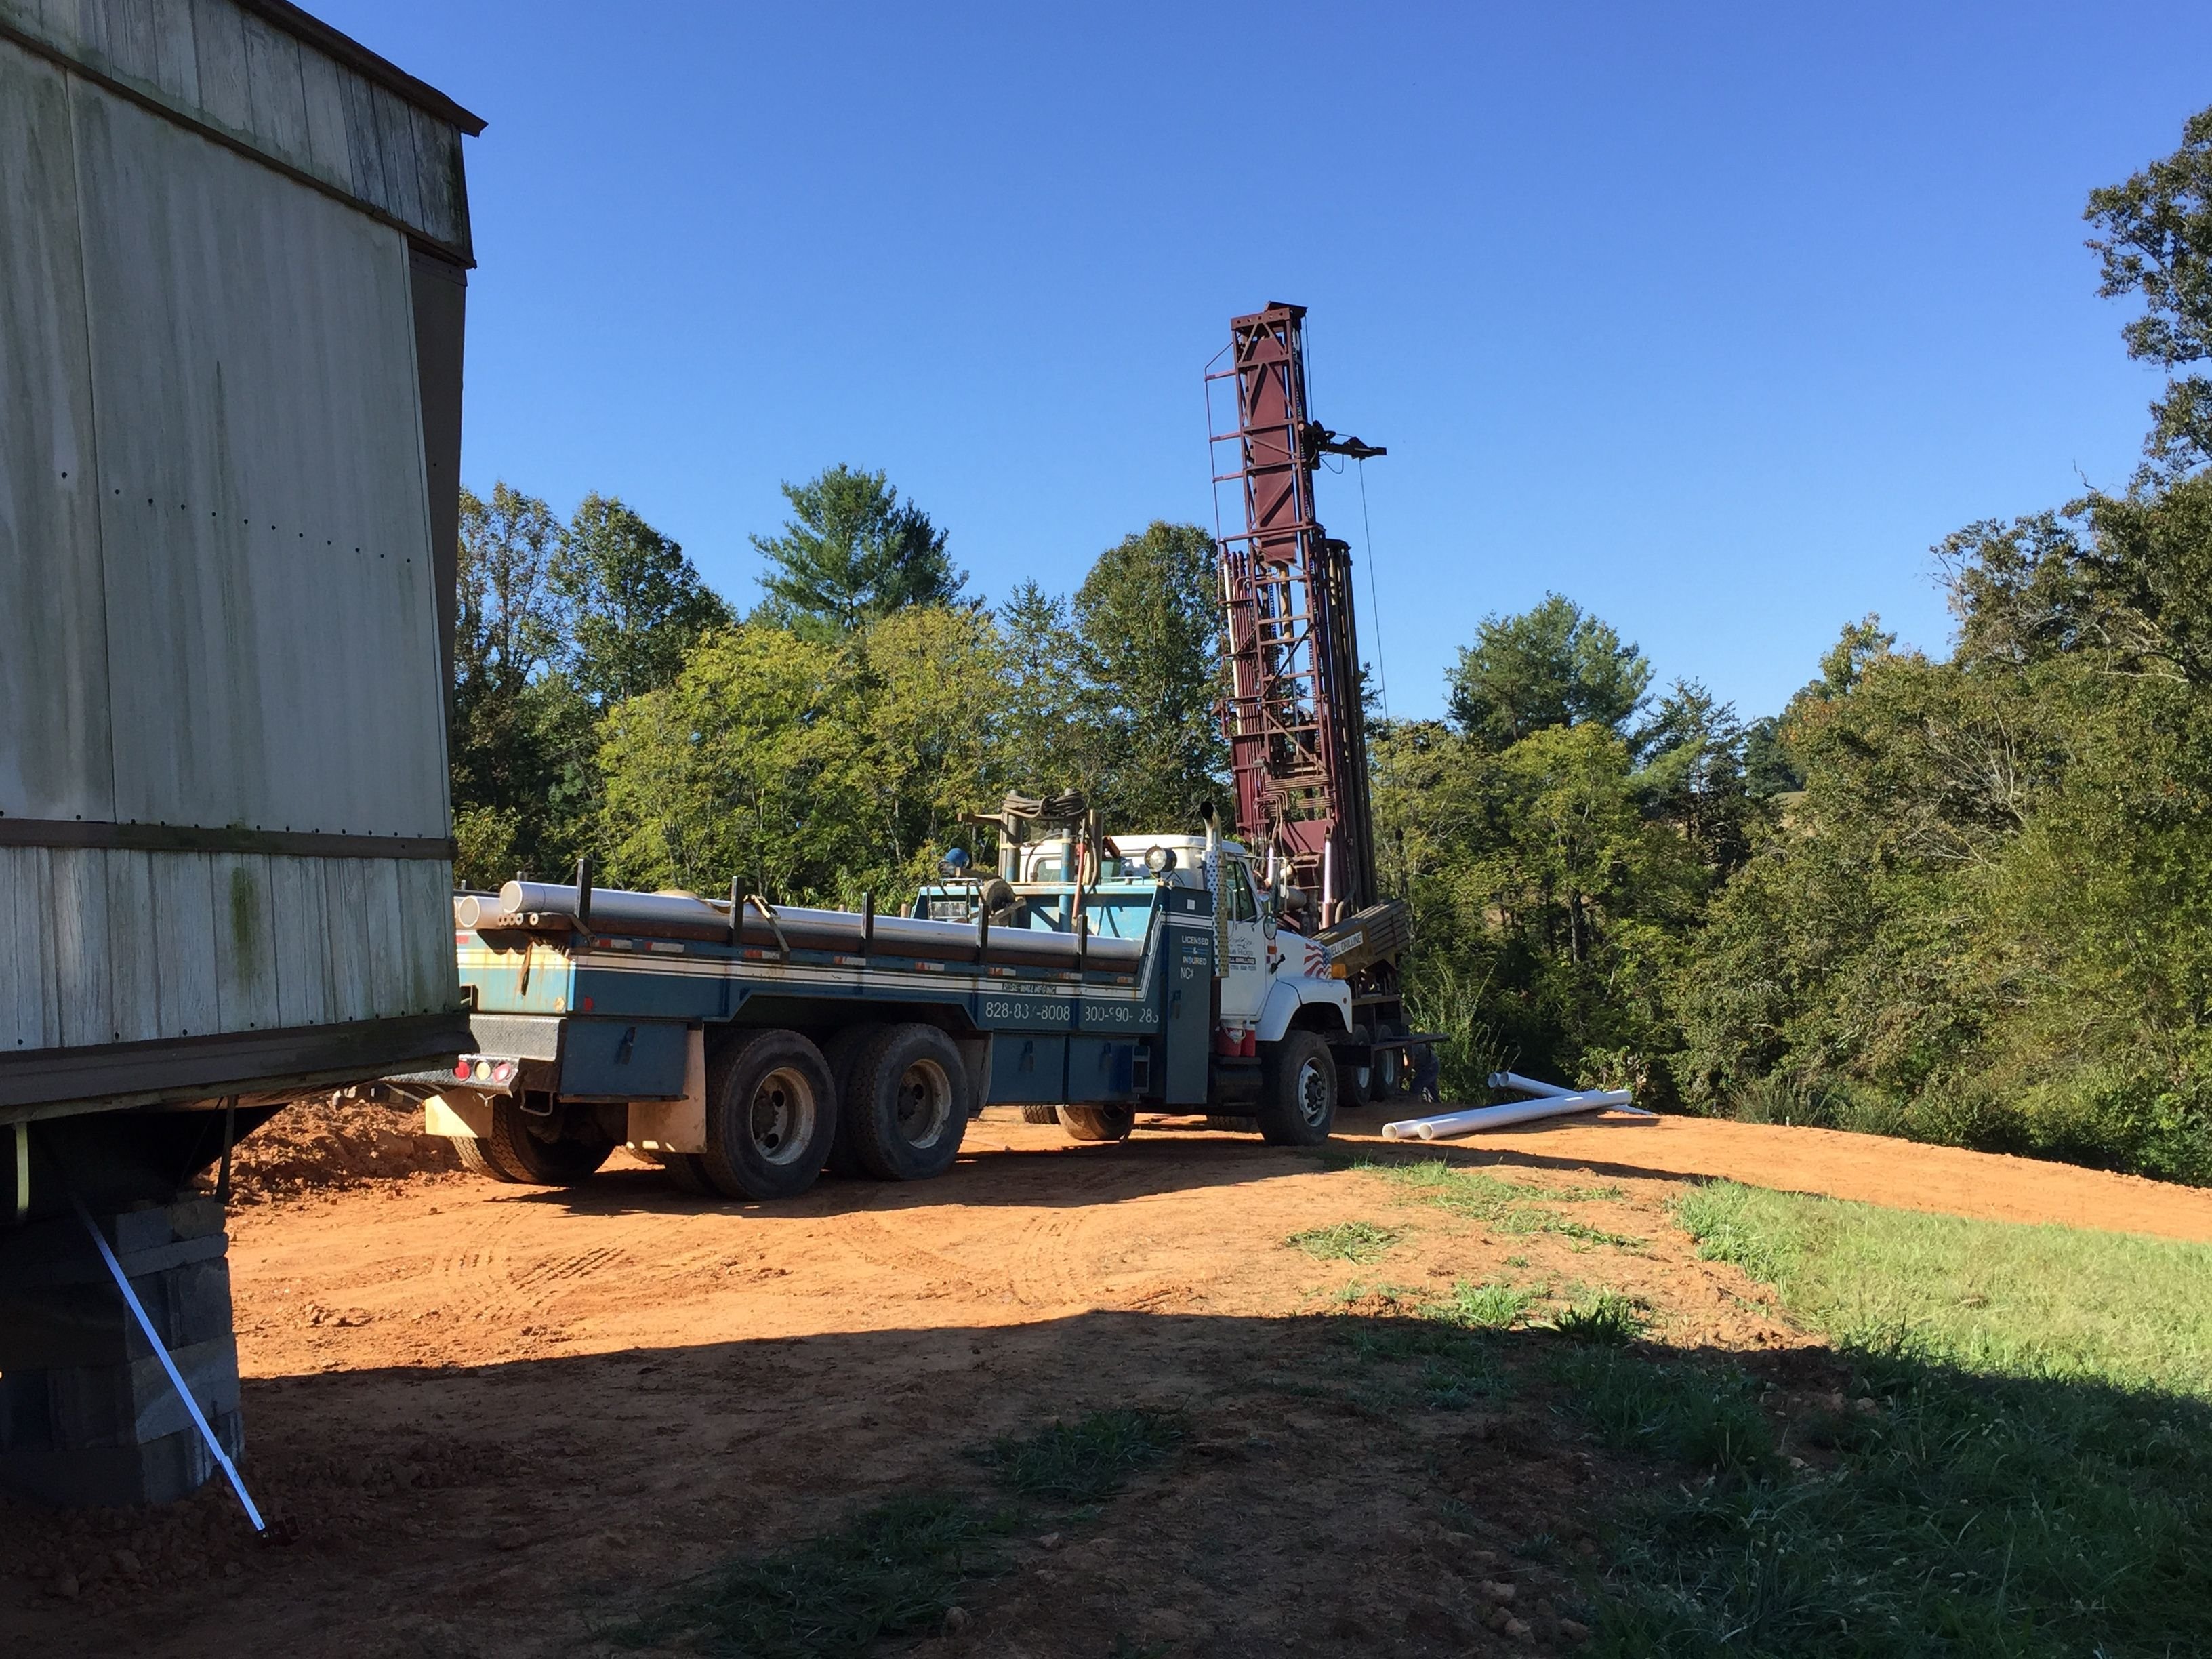
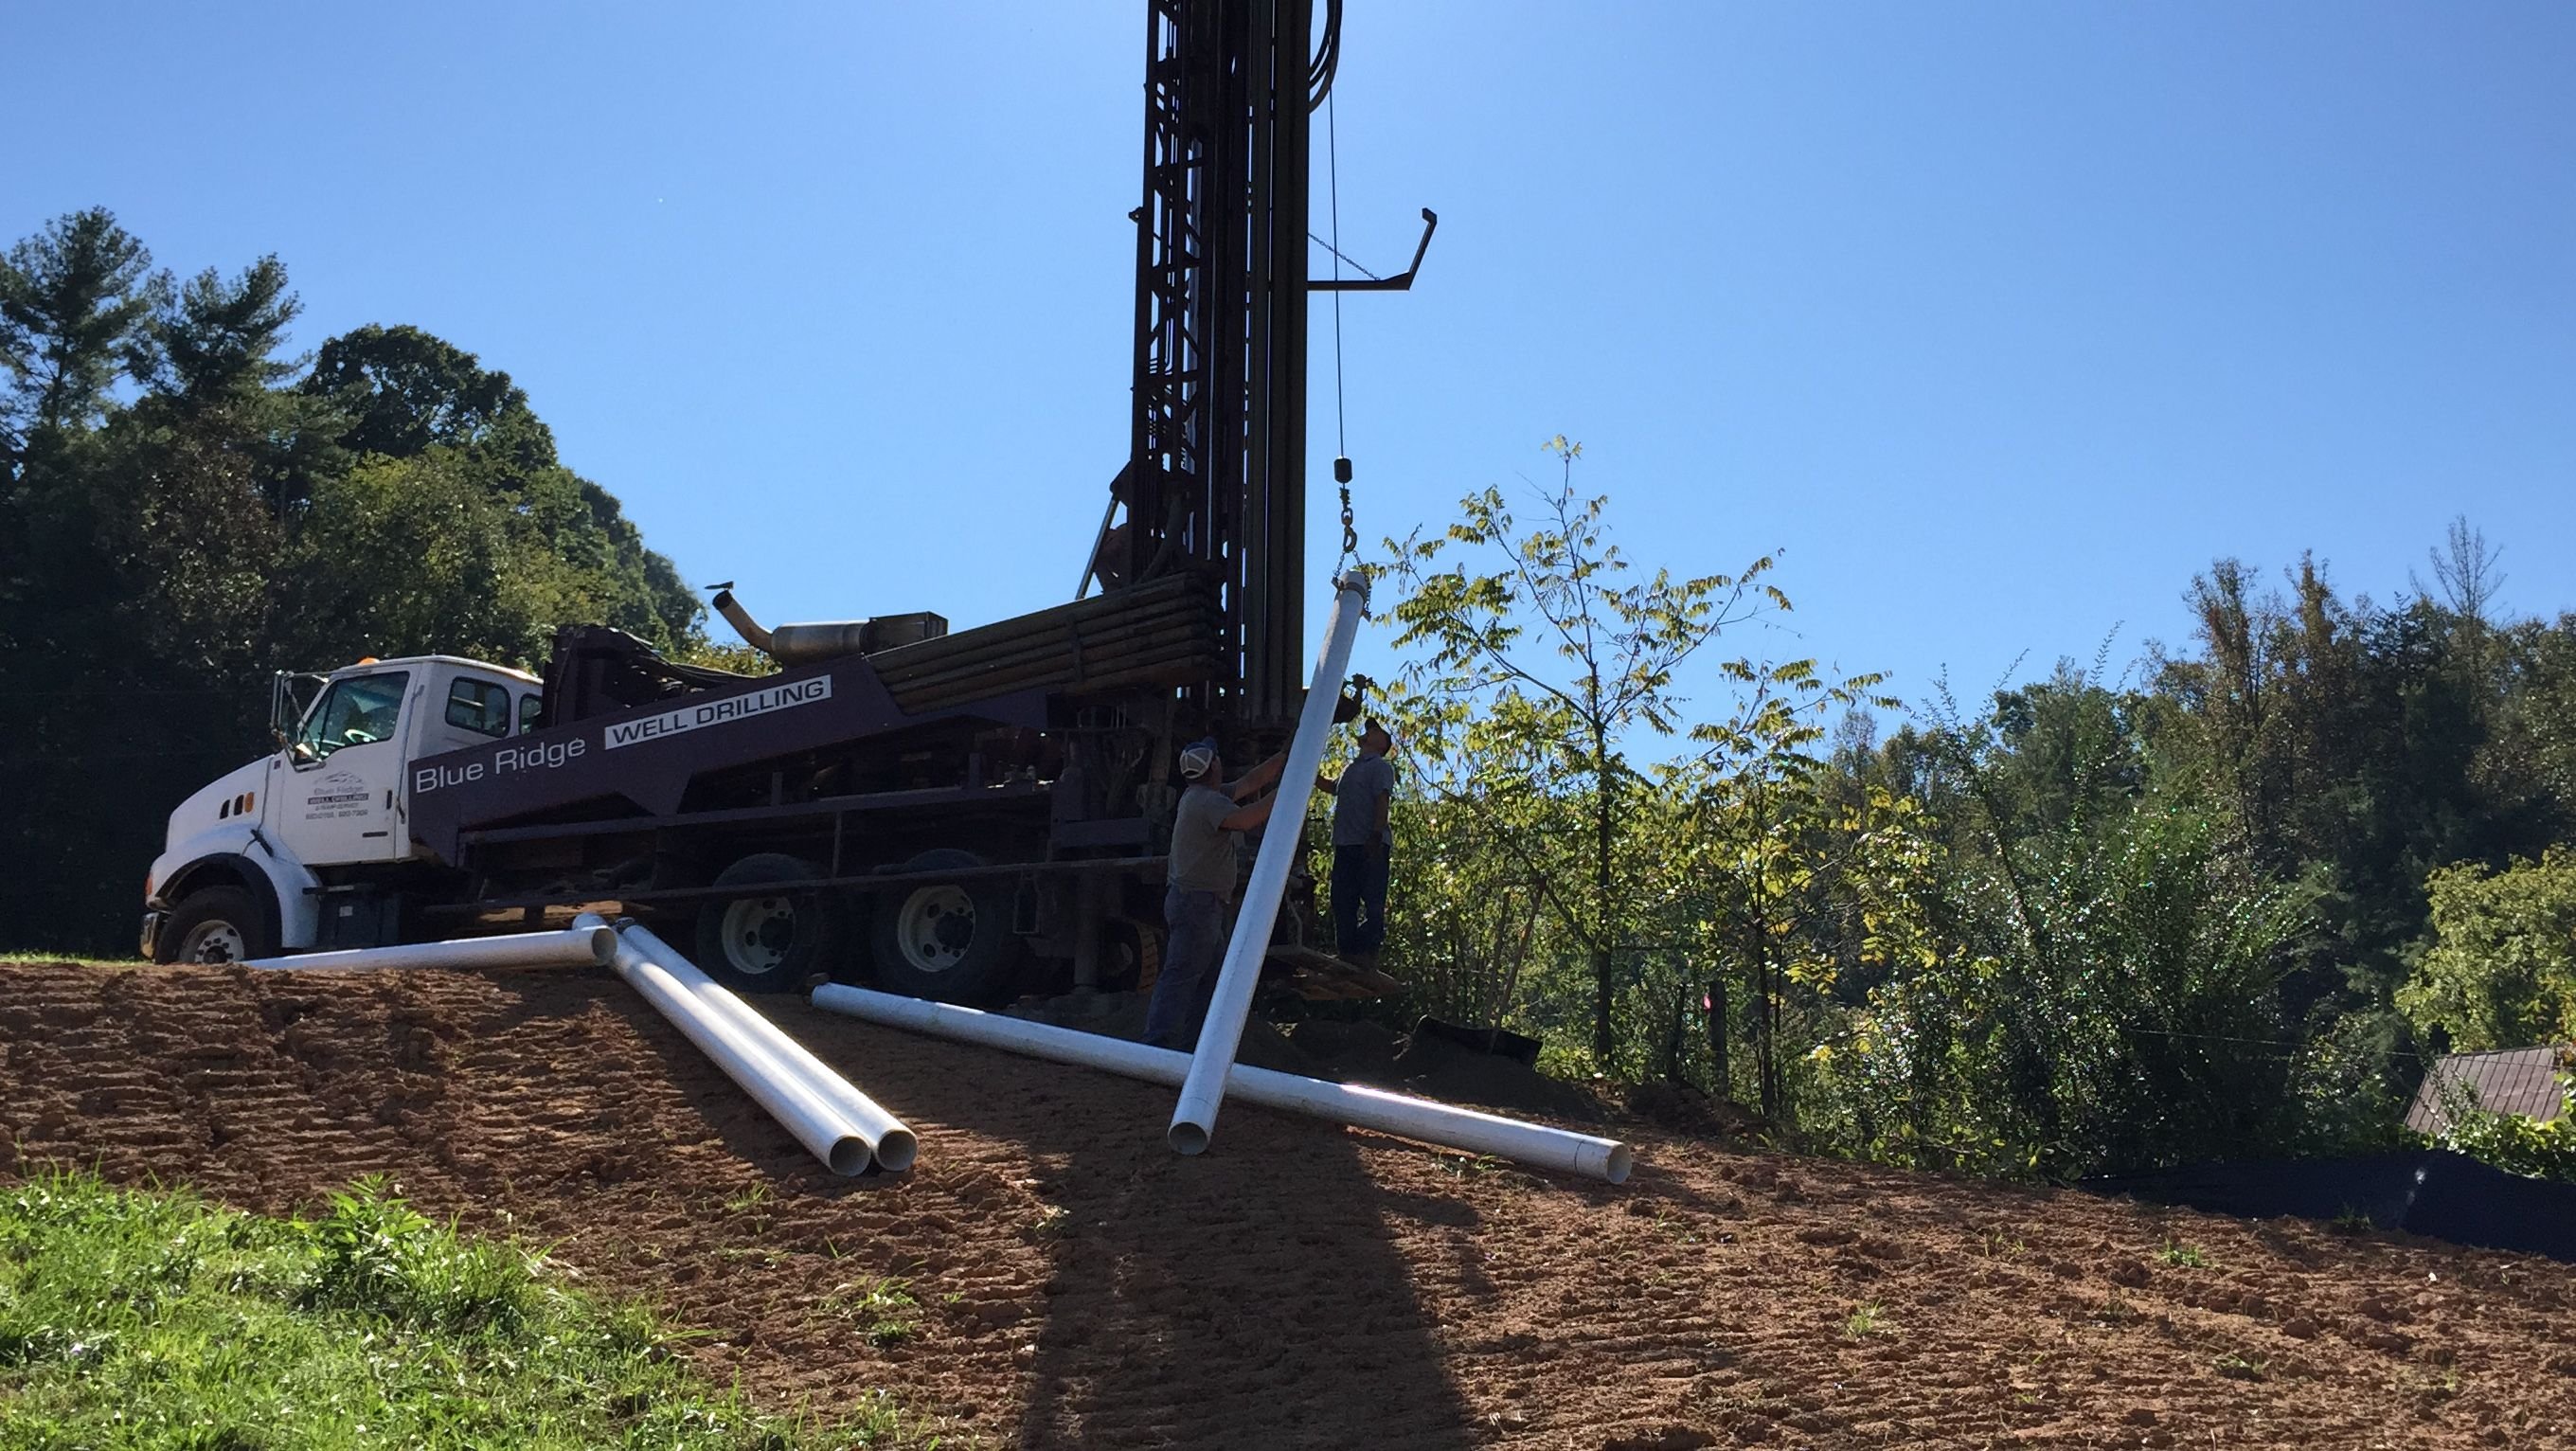
Drilling the Well
We called our well drilling company (recommended to us by a friend of the family) and within three days they were on-site drilling! It was so nice to have a fast turnaround time from request to action! I couldn't get off work for this event, but my wife was on-site to photograph and witness.
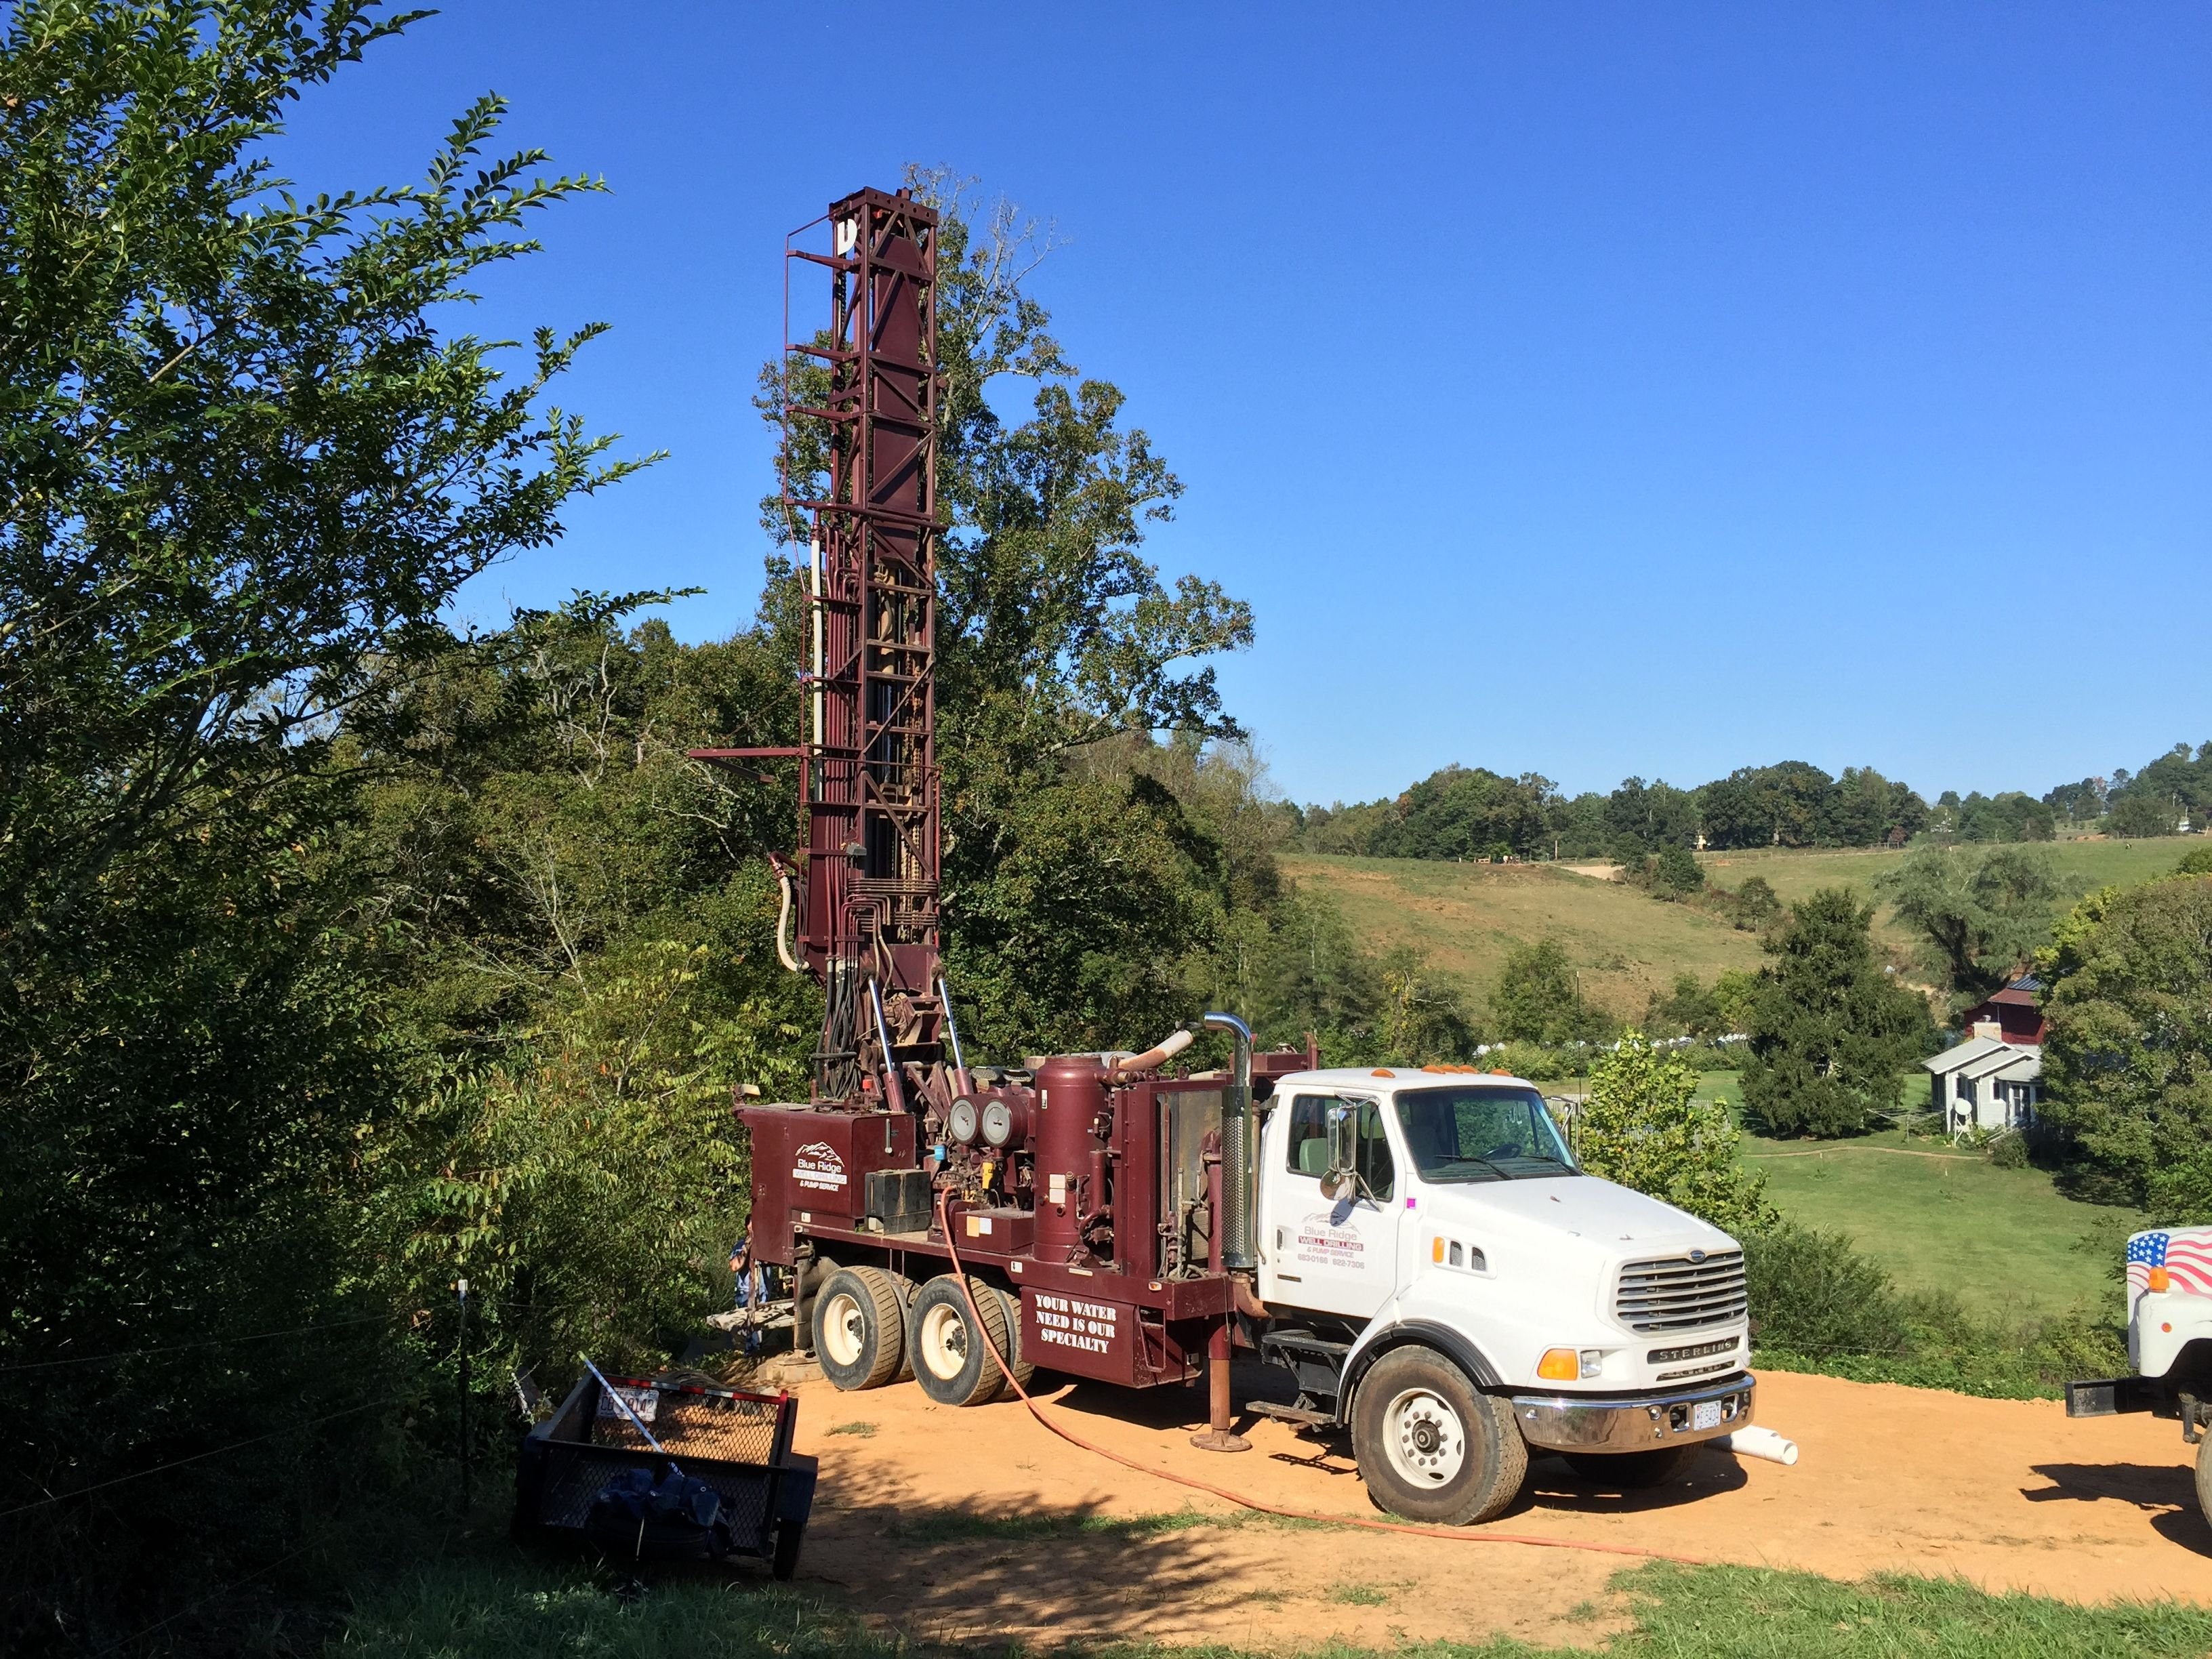

Not Just a Hole
Our well was kind of a package deal. We had the contractors do everything for us at once:
- Drill the well
- Install Well pump, piping, wiring
- Trench and run water line from well to house connection
- Install pressure tank, switches, etc.
- Connect water pipe to house inlet
- Cover well with insulation top and fake rock
All we had to do from here was have the electrician connect the well to the house.
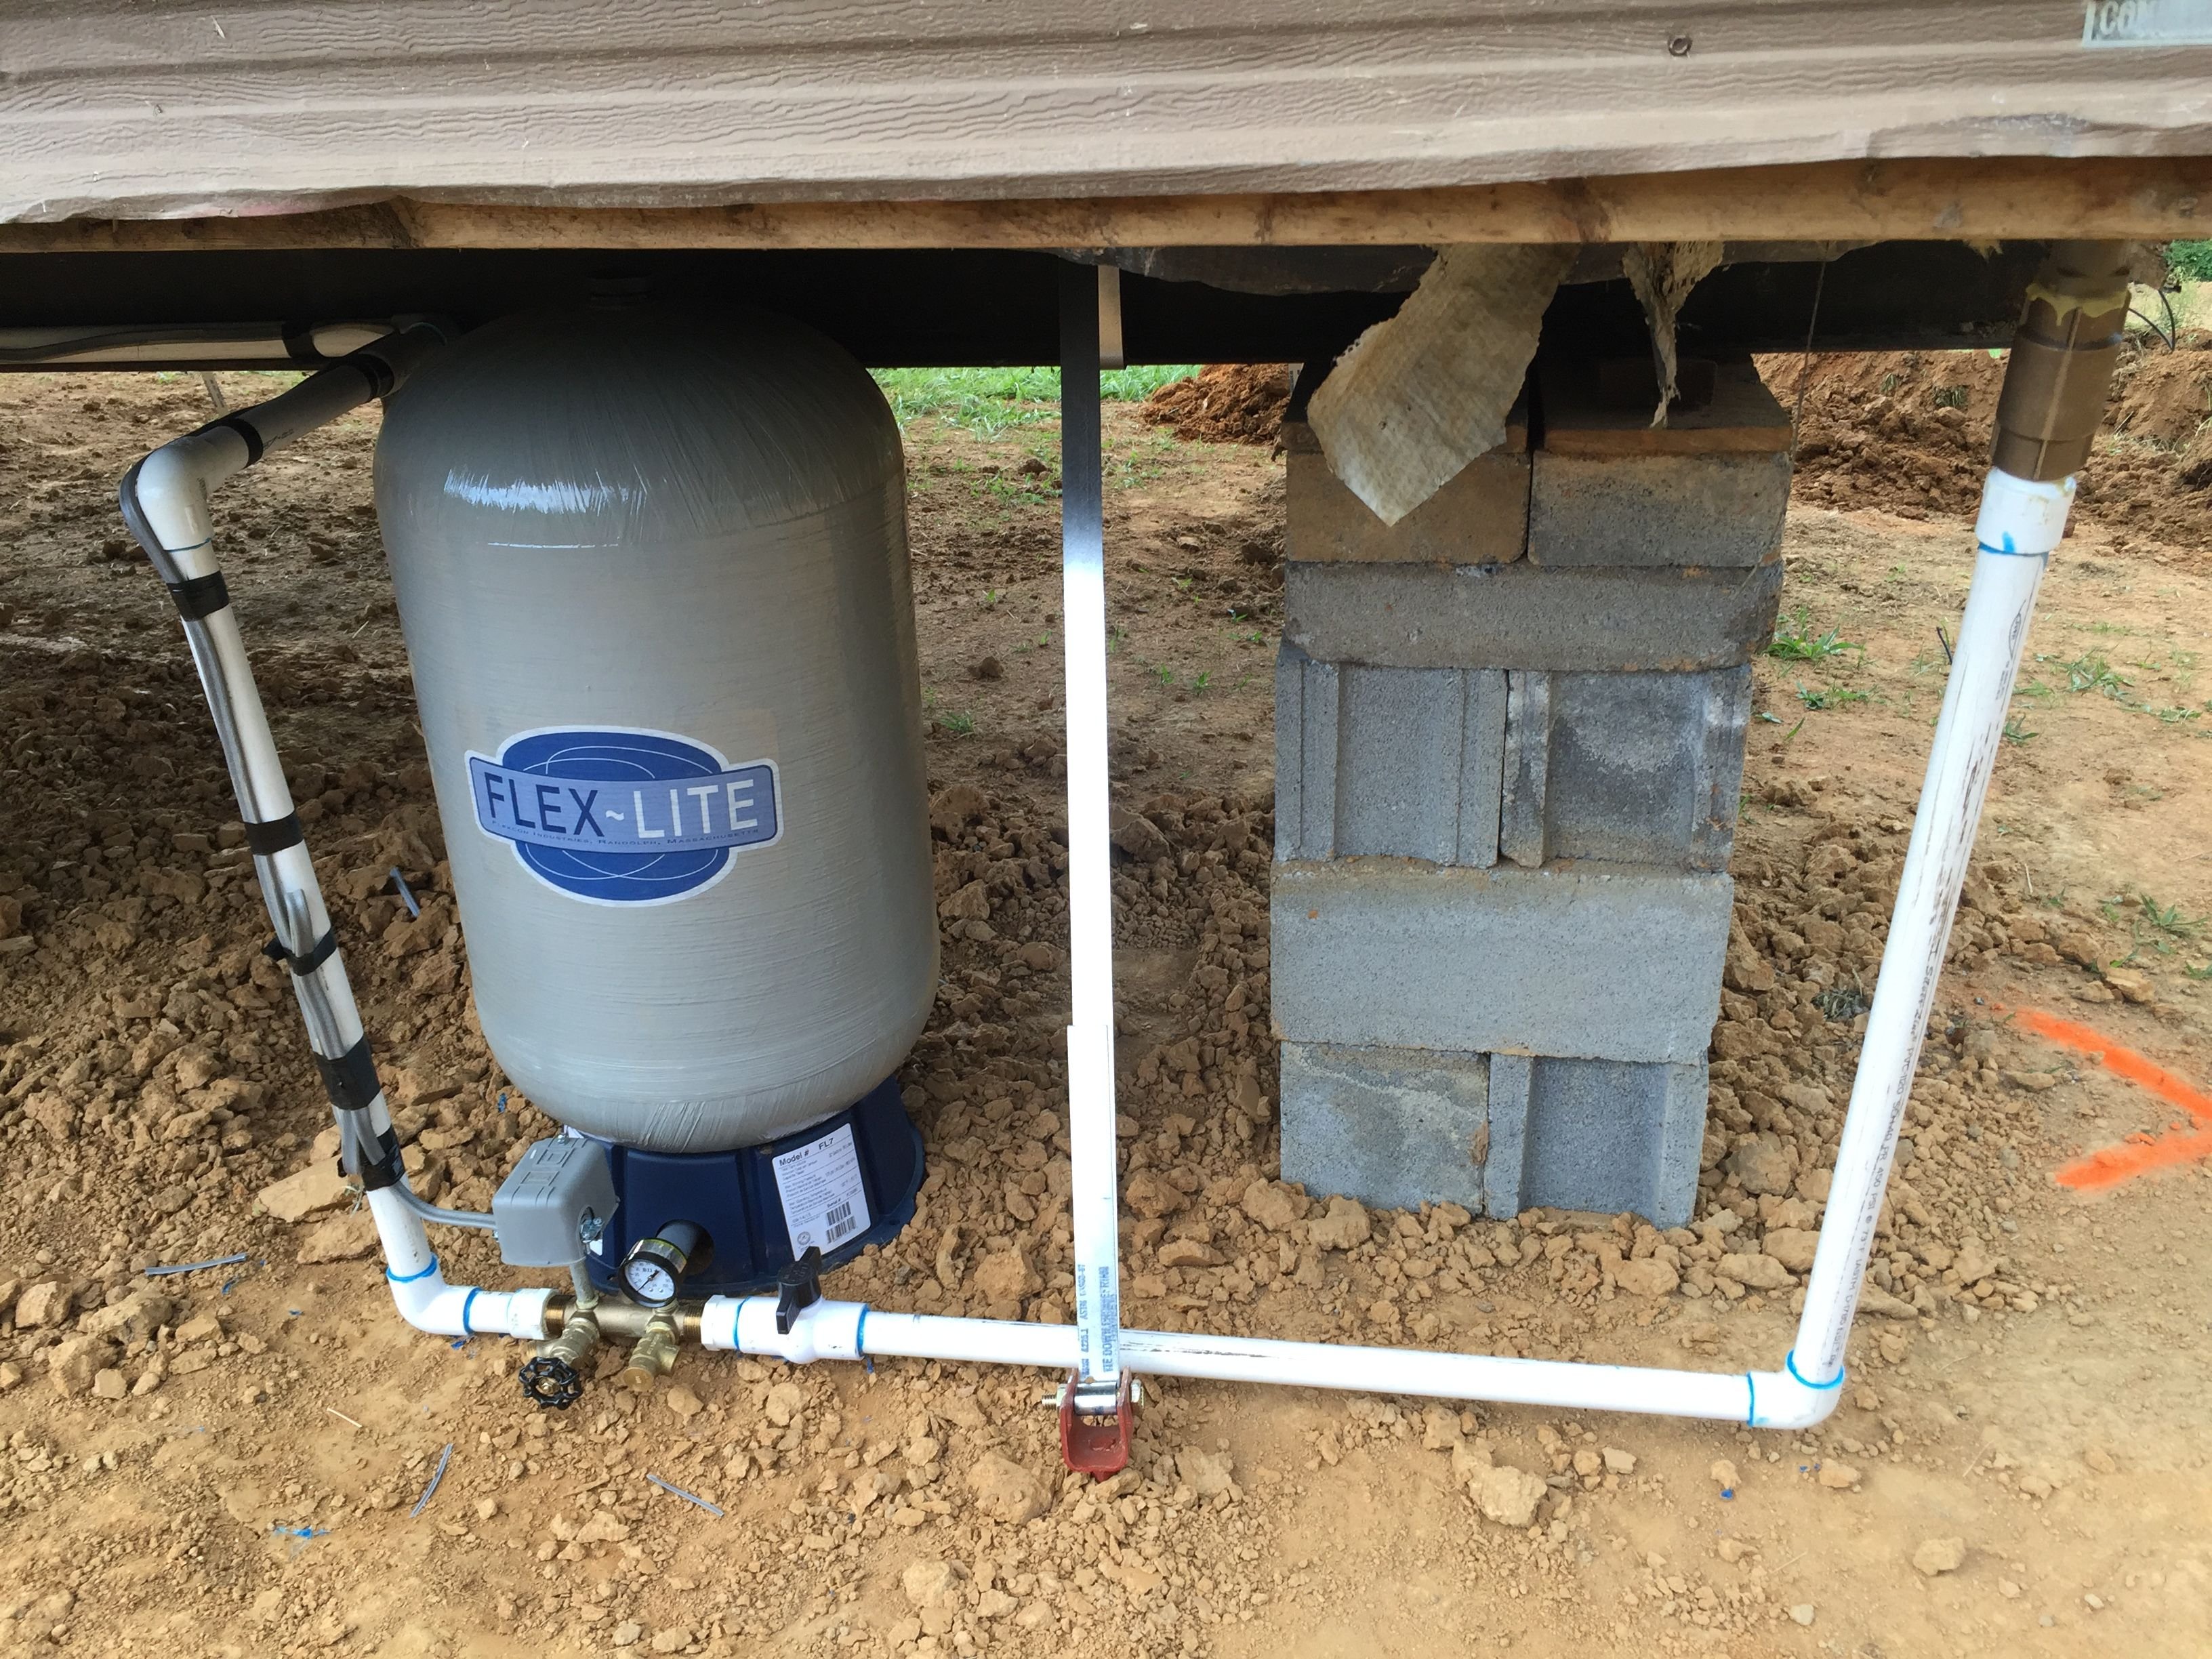
All of these components have since been relocated to a stand alone well house I constructed at the well head. It's much easier to maintain and change filters from there.
I have the video series of building the well house on our YouTube channel: https://www.youtube.com/playlist?list=PLxVjeL1ZEeUqpwz4NpP1flHAAZjGvaJrX
How Deep?
So, the question you may be wondering is... how deep did they have to drill to hit water? They hit water at 200 feet down, and at a rate of 2 gallons per minute. The drilling crew called me (at work) when they hit water and we talked about options, etc. I had them drill another 100 feet down for two reasons:
- Possibly increase the flow rate of the well
- Gain "pipe storage" to act as a buffer for large usages and drought
Our 100 feet of "pipe storage" yields about 260 gallons. Not a tremendous amount, but well within our feasible usage at a given time.
The Cost
Here's the biggest question in your heads, no doubt. What was the cost of the well?
$6,000
The well was the single-most expensive item on our land. But the most important too, I guess. Either way, it was a required expense and we couldn't say we didn't try alternatives!
To date (a year and half later) our well continues to work great and we have had no issues with flow. Our biggest issue is sediment (black sand) but we have since installed a spin-down sediment filter to address this issue.
That's it for this post, we'll see you on Part 7... Installing the Septic System! Until then, thank you so much for upvoting and resteeming this post. It means a lot to us and is a great help as we continue on our journey.
Thanks again!