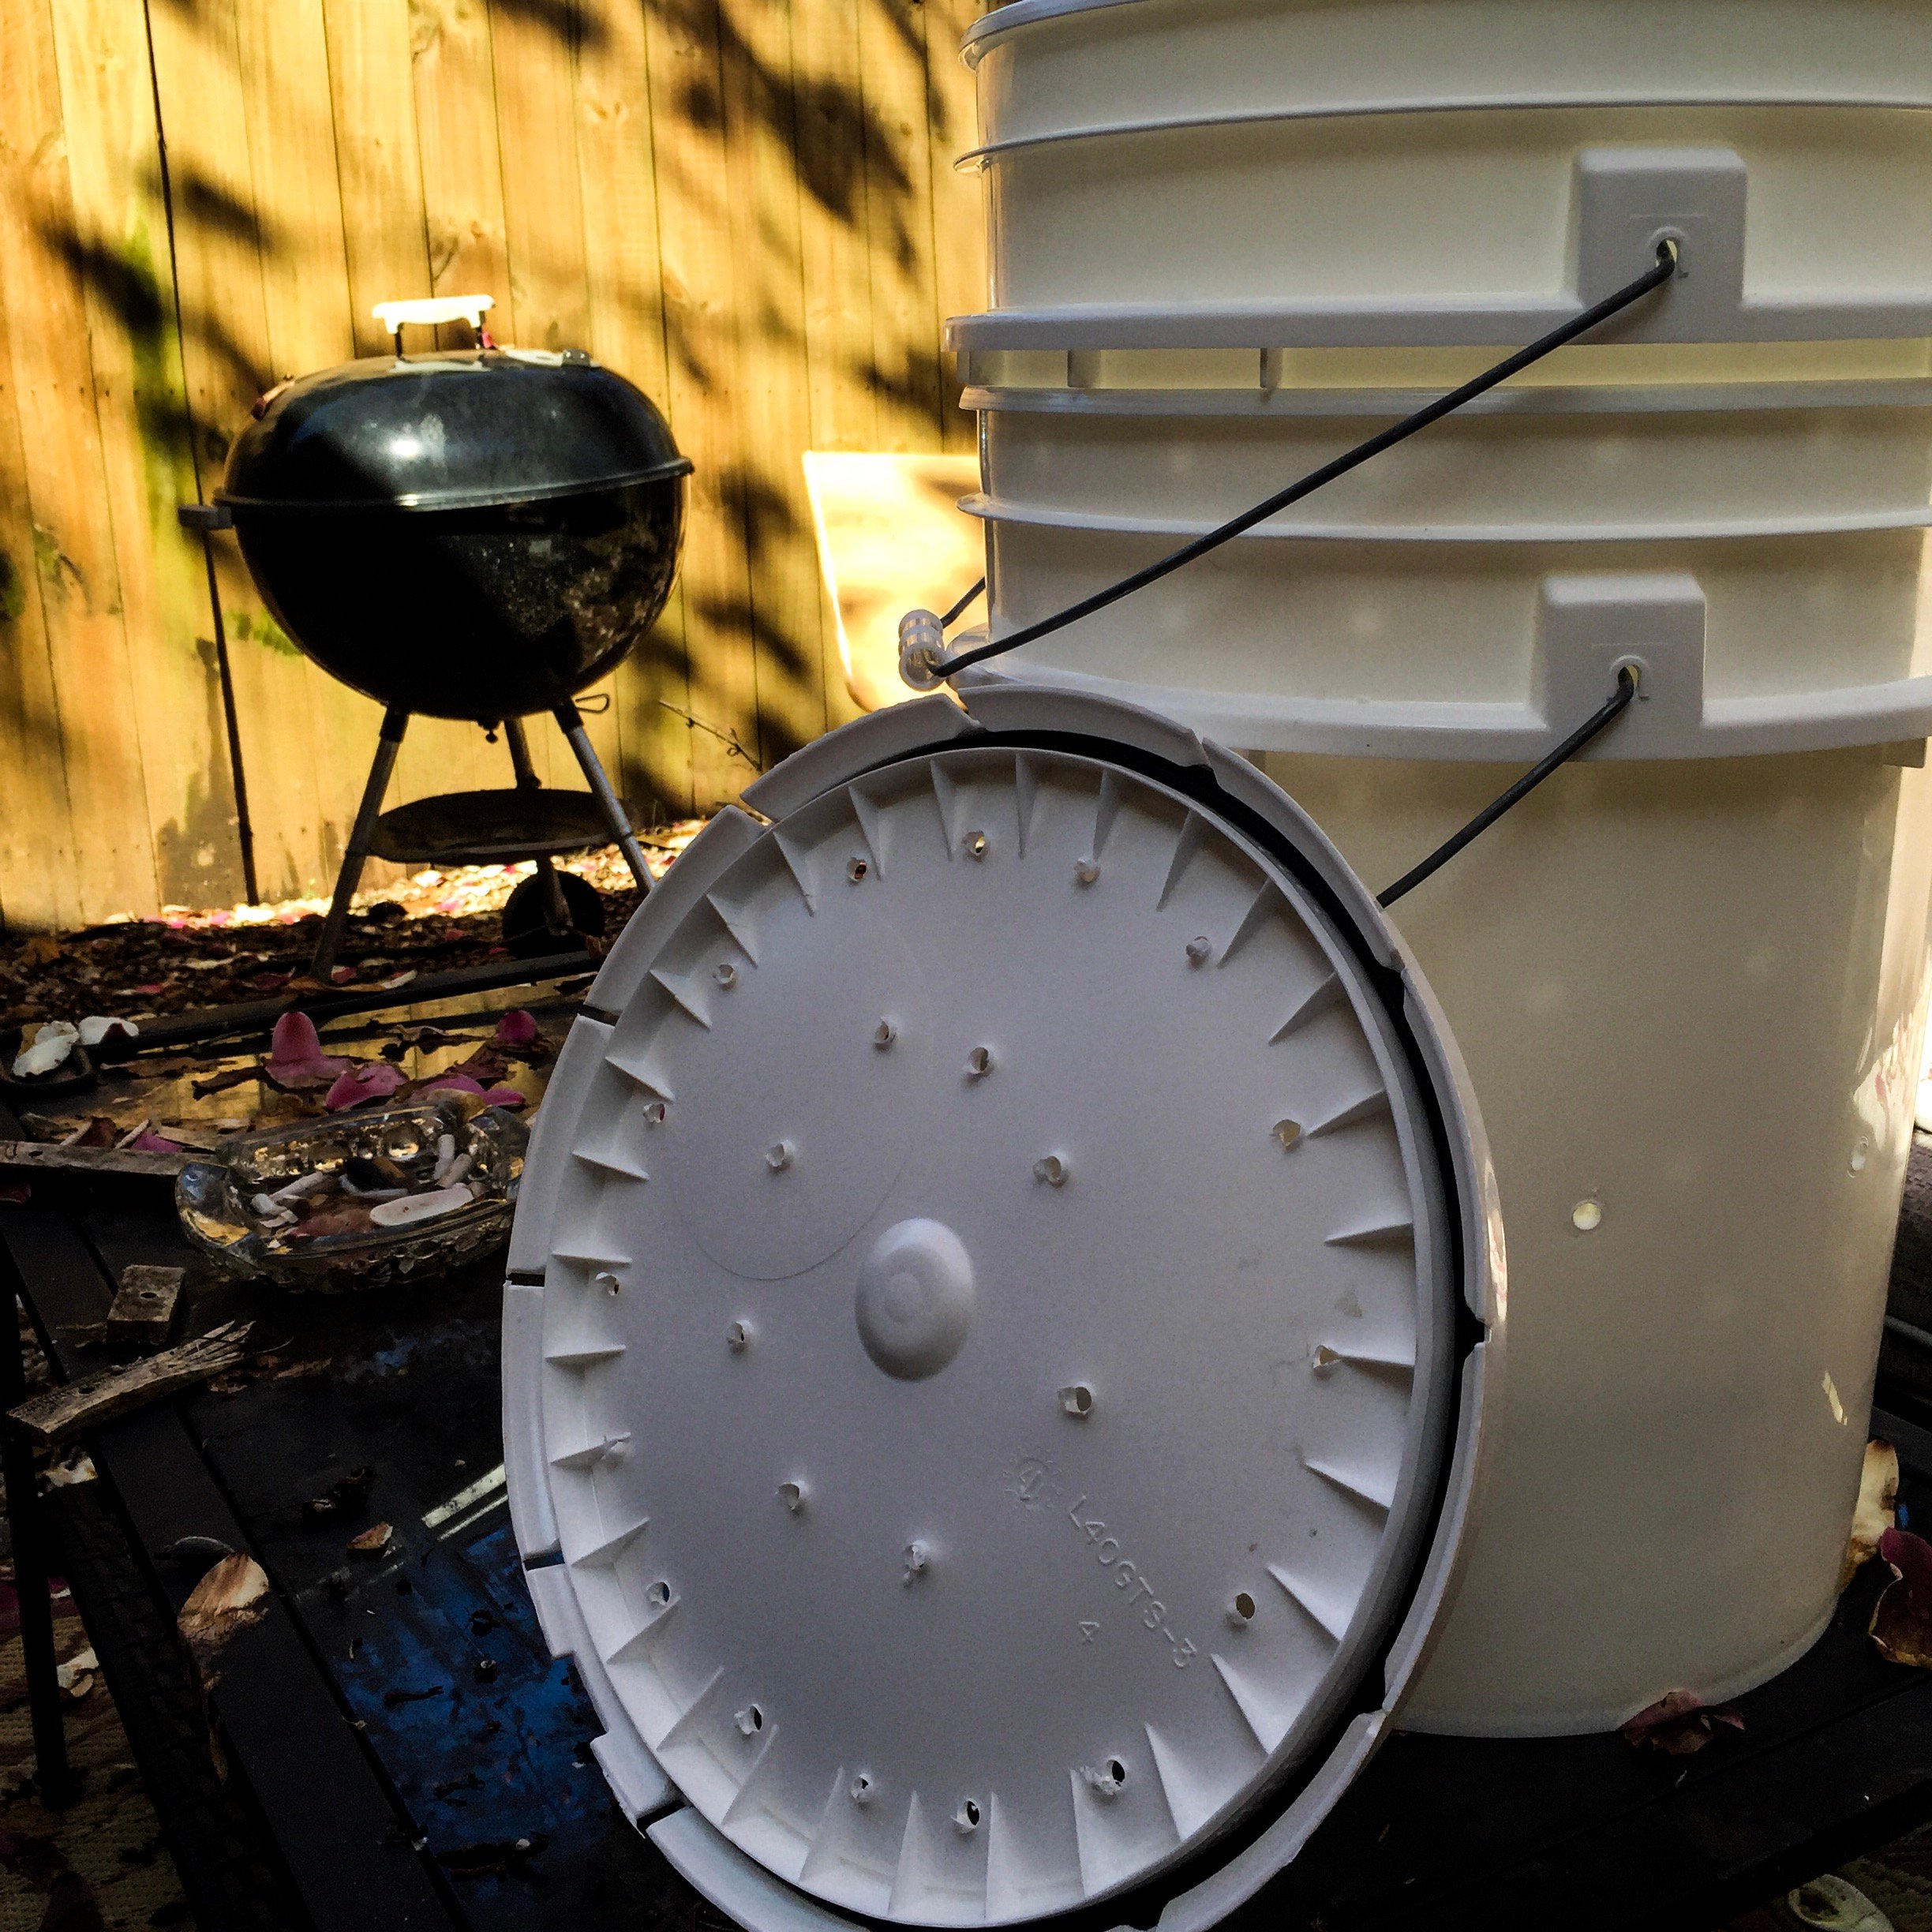
In my quest for high-quality soil on the cheapola, as well as trying to asmany utilize sustainable practices and as much permaculture practice as I can in an urban space I do not own, I have set out to recycle two 5-gallon buckets that would have normally been thrown away into an urban composter which should work in a 14-28 day cycle (fingers crossed) if all goes according to plan.
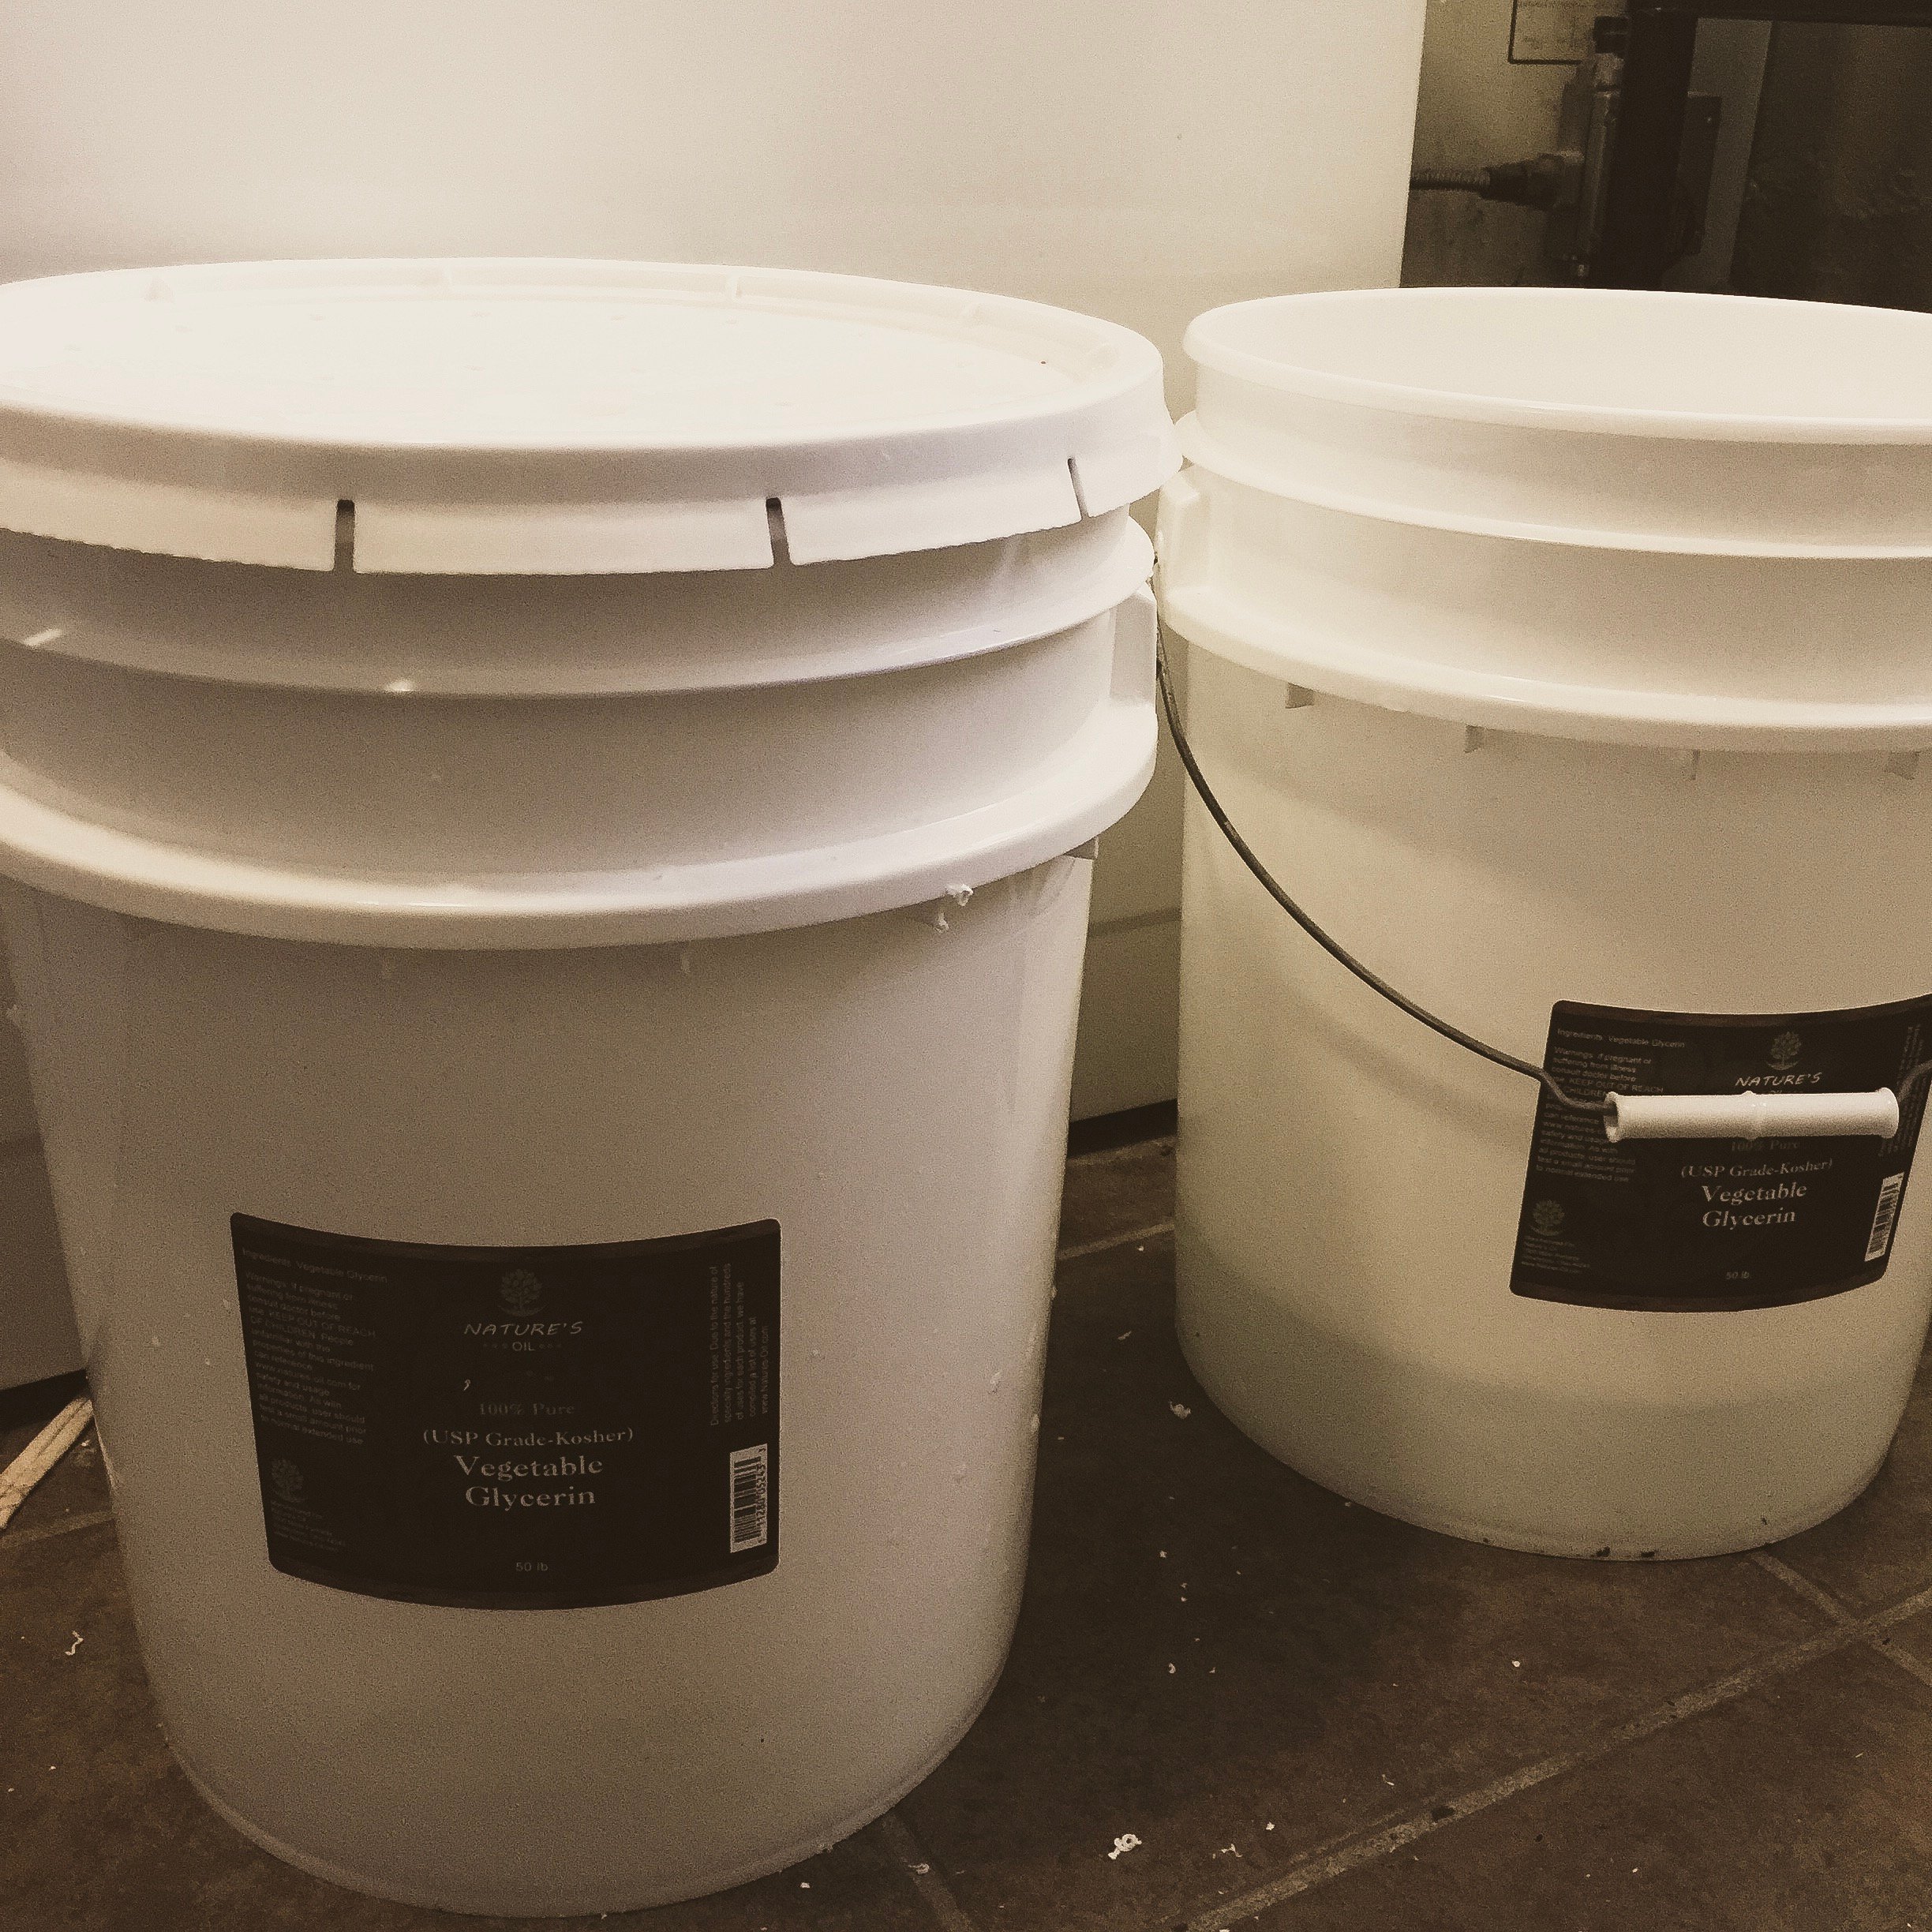
These buckets contained Vegetable Gycerin so I had to be sure to clean them out because I didn’t want the oily residue fucking with my soil...even though it’s USP-grade Vegetable Glycerin...its still VG and I wasn’t sure so I cleaned it out using Dawn detergent and warm water. Dawn does a great job dissolving any kind of oily substance.
I’ve been reading a lot about composting lately and grew up in a household that always had an outdoor compost pile, so I’ve wanted to compost since I’ve lived in the city...the concept of throwing food scraps away has always seemed so wasteful to me! Anyway...that’s what I’ve found myself doing. Throwing away green food scraps for about the past 8 years.
THE WASTE: IT ENDS NOW.
My city has some stupid regulations about composting and collecting rainwater and tons of other ridiculous things (no front yard food gardening!)...and so I looked around for some ideas about how to compost in a small space. Looking for something with a relatively quick and aerated turnover that we could constantly have going. We could probably do more than what this bucket calls for, honestly...but it’s my first experiment with this specific design in action, and I’ll be getting a couple other buckets given to me by a business (AKA FREE) to try a slightly different method if this one doesn’t pan out. But I like how it’s turned out, and I’m excited to load it up with goodies and hopefully get some great compost.
I do want to note that this setup is sort of a modified Indure method and does not involve using worms. This method, which I will go into more detail tomorrow, involves a bit more time and attention, but should yield some great compost for your gardens and if you’re looking for an efficient way to no longer waste those coffee grounds and vegetable & fruit food scraps which could be going to making some great compost for you.
Tools You Need
I used a 1/4” screwdriver bit (was all I could find...don’t judge..it worked just fine LOL) for the holes in these buckets. I’ve seen others made with 1/8” holes, so I’ll keep you posted gown these turn out and if I make modifications to the next one I make, this will be one.
If you don’t have a drill or screwdriver that can penetrate the buckets, I have also seen these online made with a hammer and nail. Just make sure you have enough holes to circulate the air and on the bottom of the inner bucket, make sure you have enough holes for water to drain through and for them not to get clogged with your compost.
The Steps:
1 ) Choose your buckets. I’ve seen methods which call for much tighter-fitting buckets, and others that call for buckets that simply fit into each other. I’ve seen people use two of the same bucket (which I did), and others that call for two different sized buckets. I’ll let you know how these identical buckets work out. I’m always open to expertise if you have any experience with various bucket experimenting.
You can probably get your buckets for free from a vapor shop, or fast food businesses, or any other place you can think of that might have 5-gallon buckets piling up in the back...or that they just throw away. Before you buy a new one, use an old one or ask around for a free one that they’ll be happy to get rid of. Repurposing and recycling, y’all.
2 ) Drill the holes in your buckets.
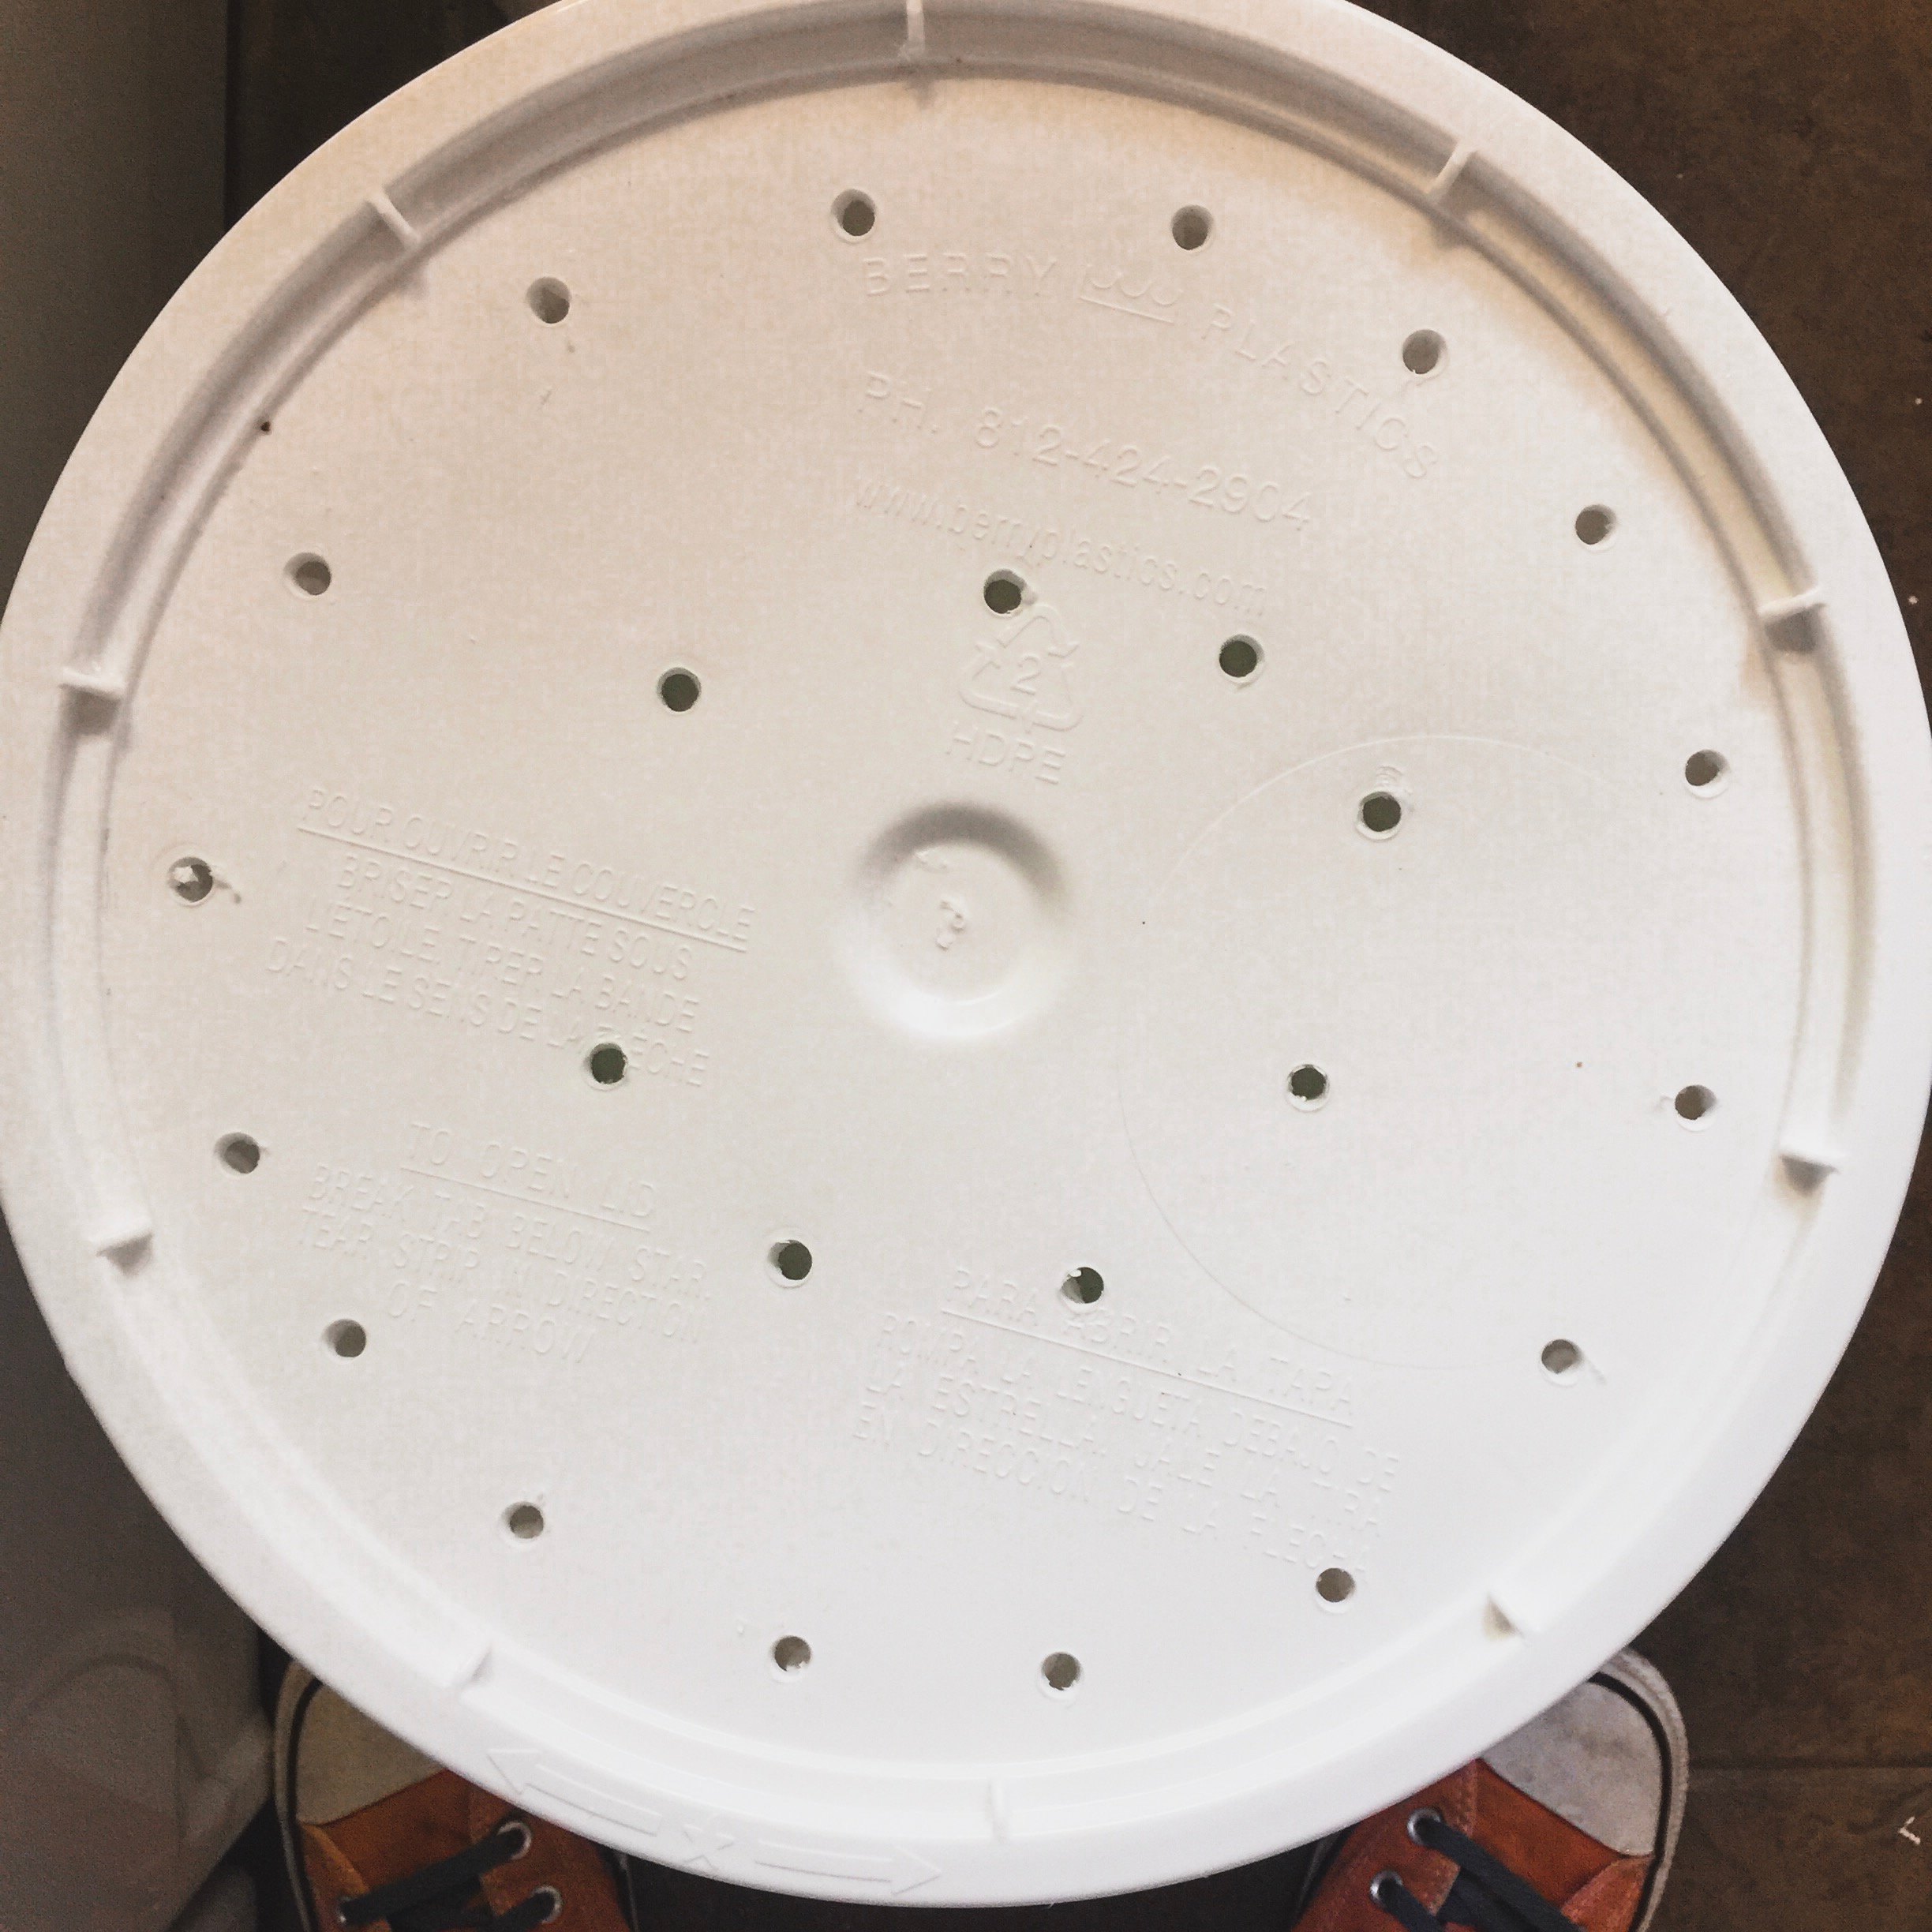
Again, there seem to be quite a few methods, but one I saw consistently was that the aeration reduces the stinkage, so I made sure to give it plenty of holes on top.
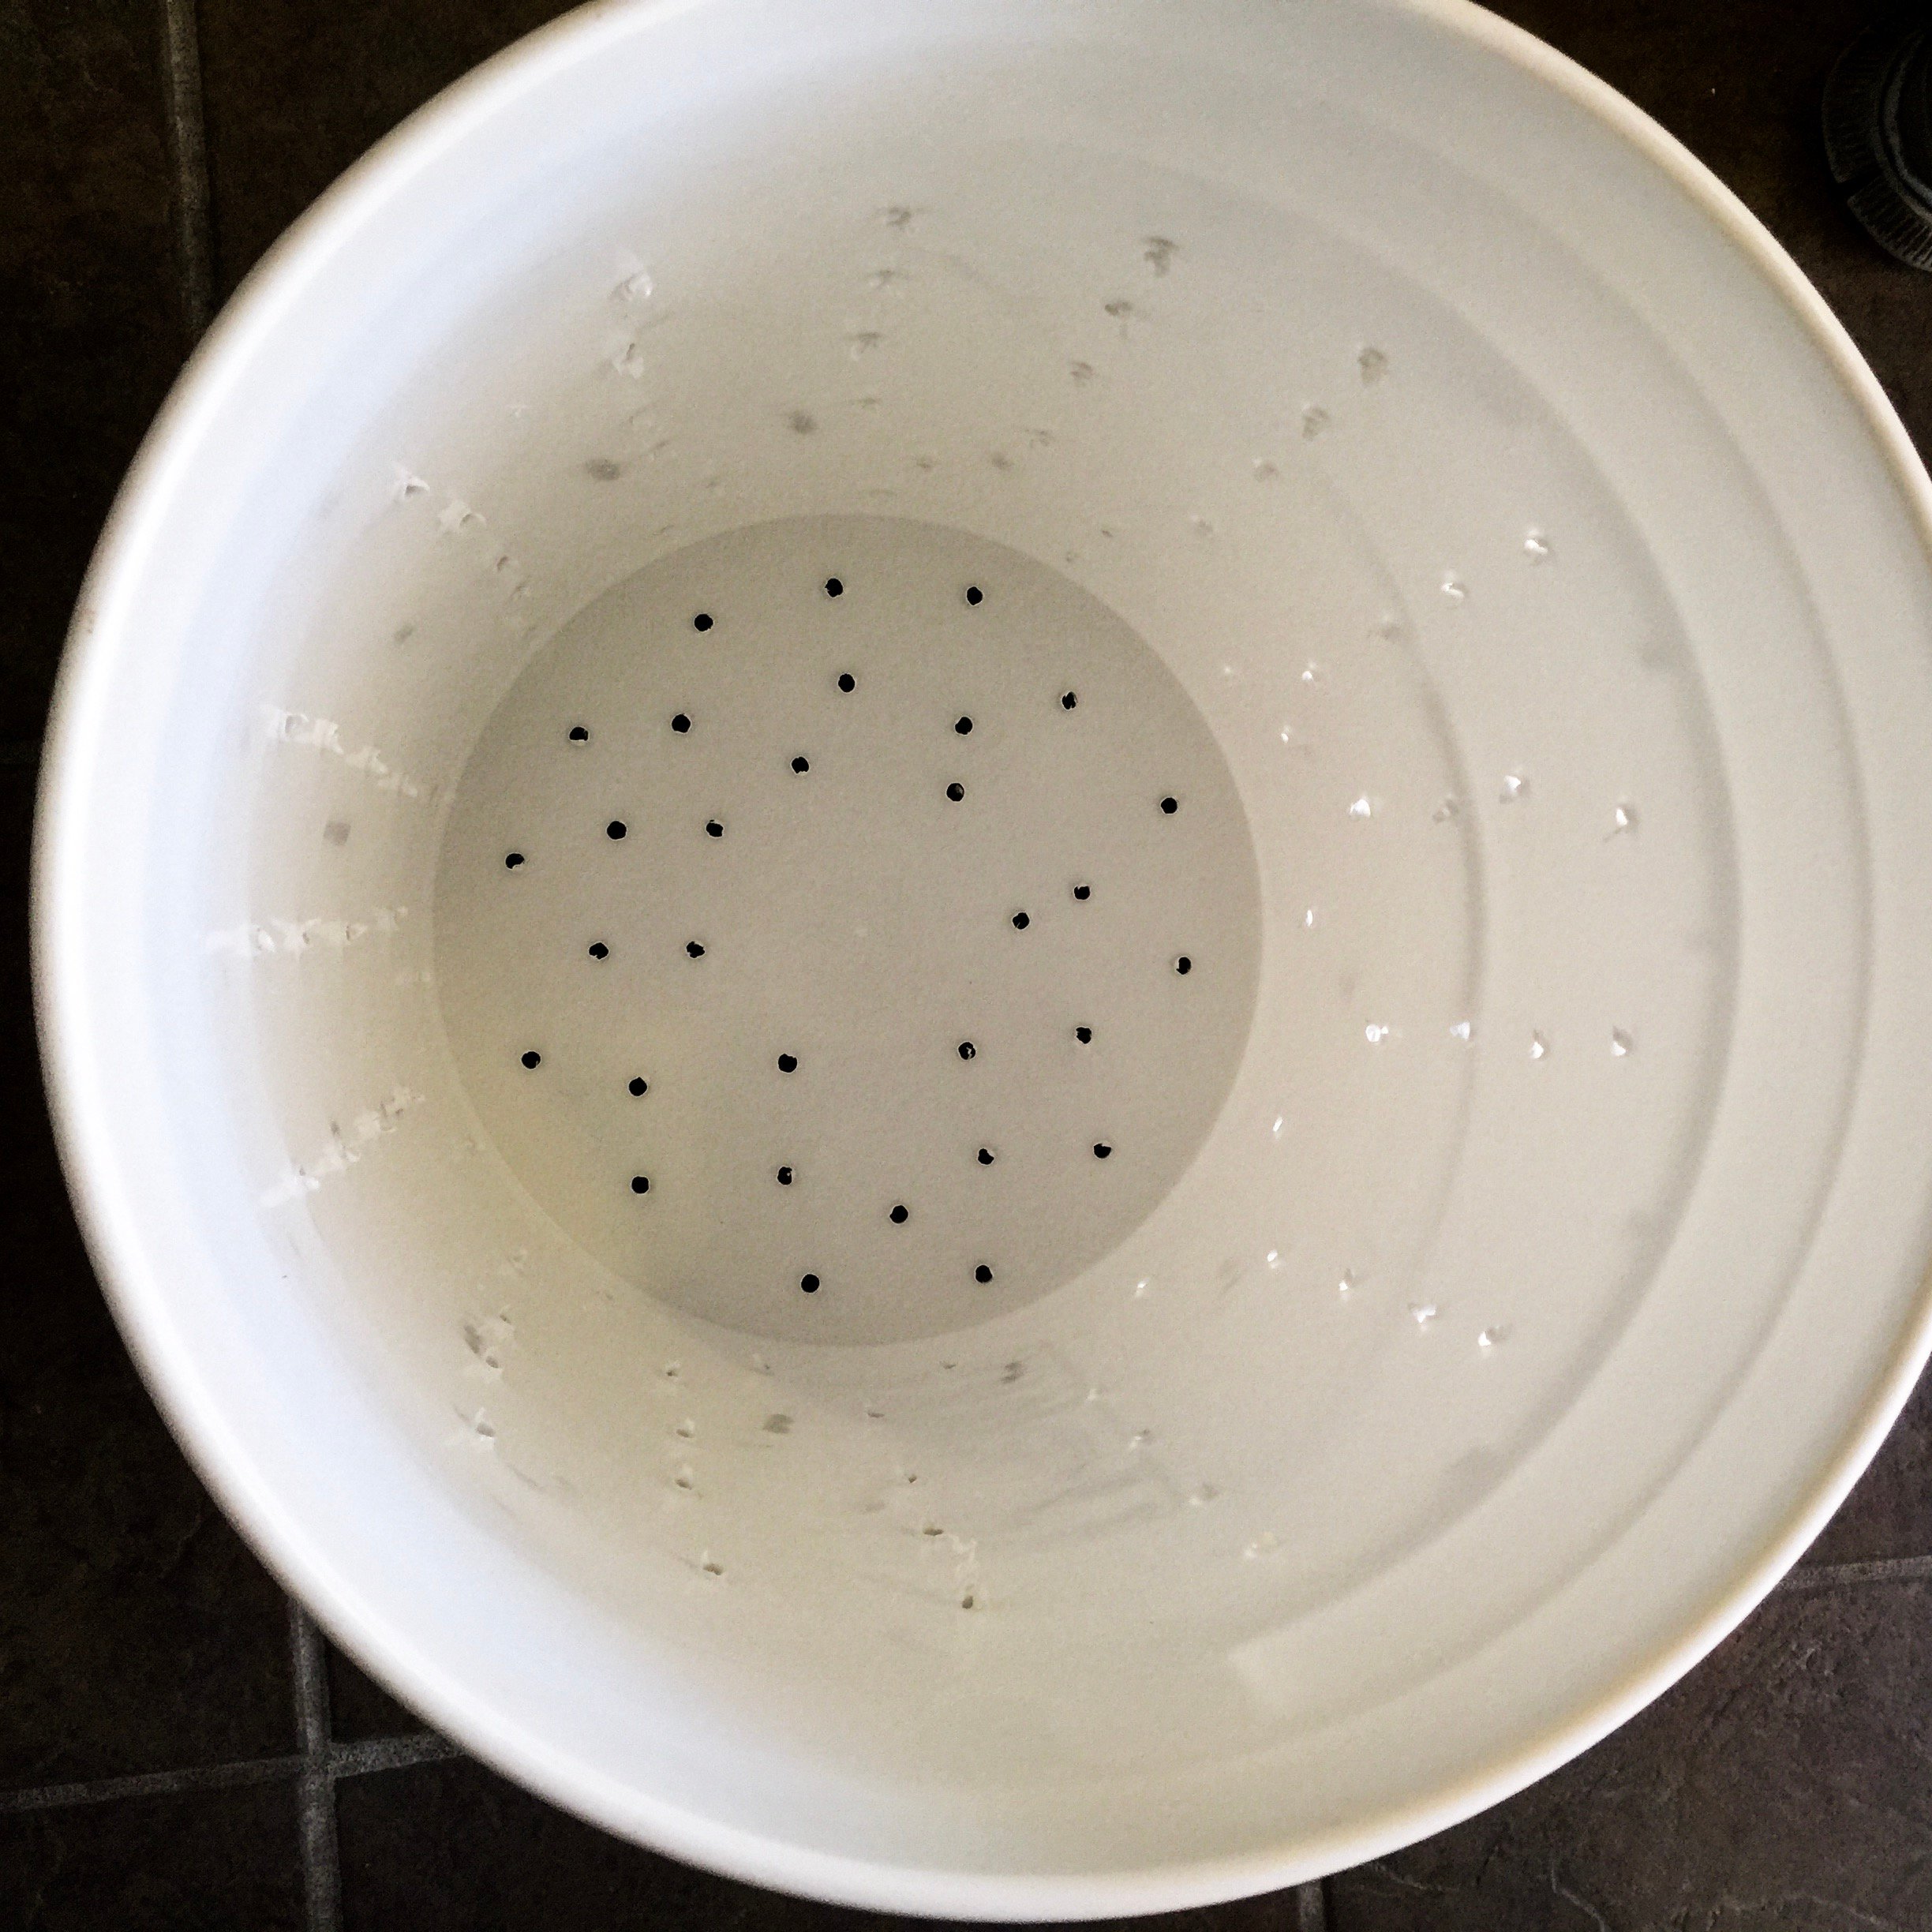
The inner bucket has holes about an inch apart all over it, as well as the bottom. You want to make sure you have enough holes and large enough holes at the bottom for water to easily drip through. I’ve seen people use smaller bits for the bottom, but again, this is what I went with.
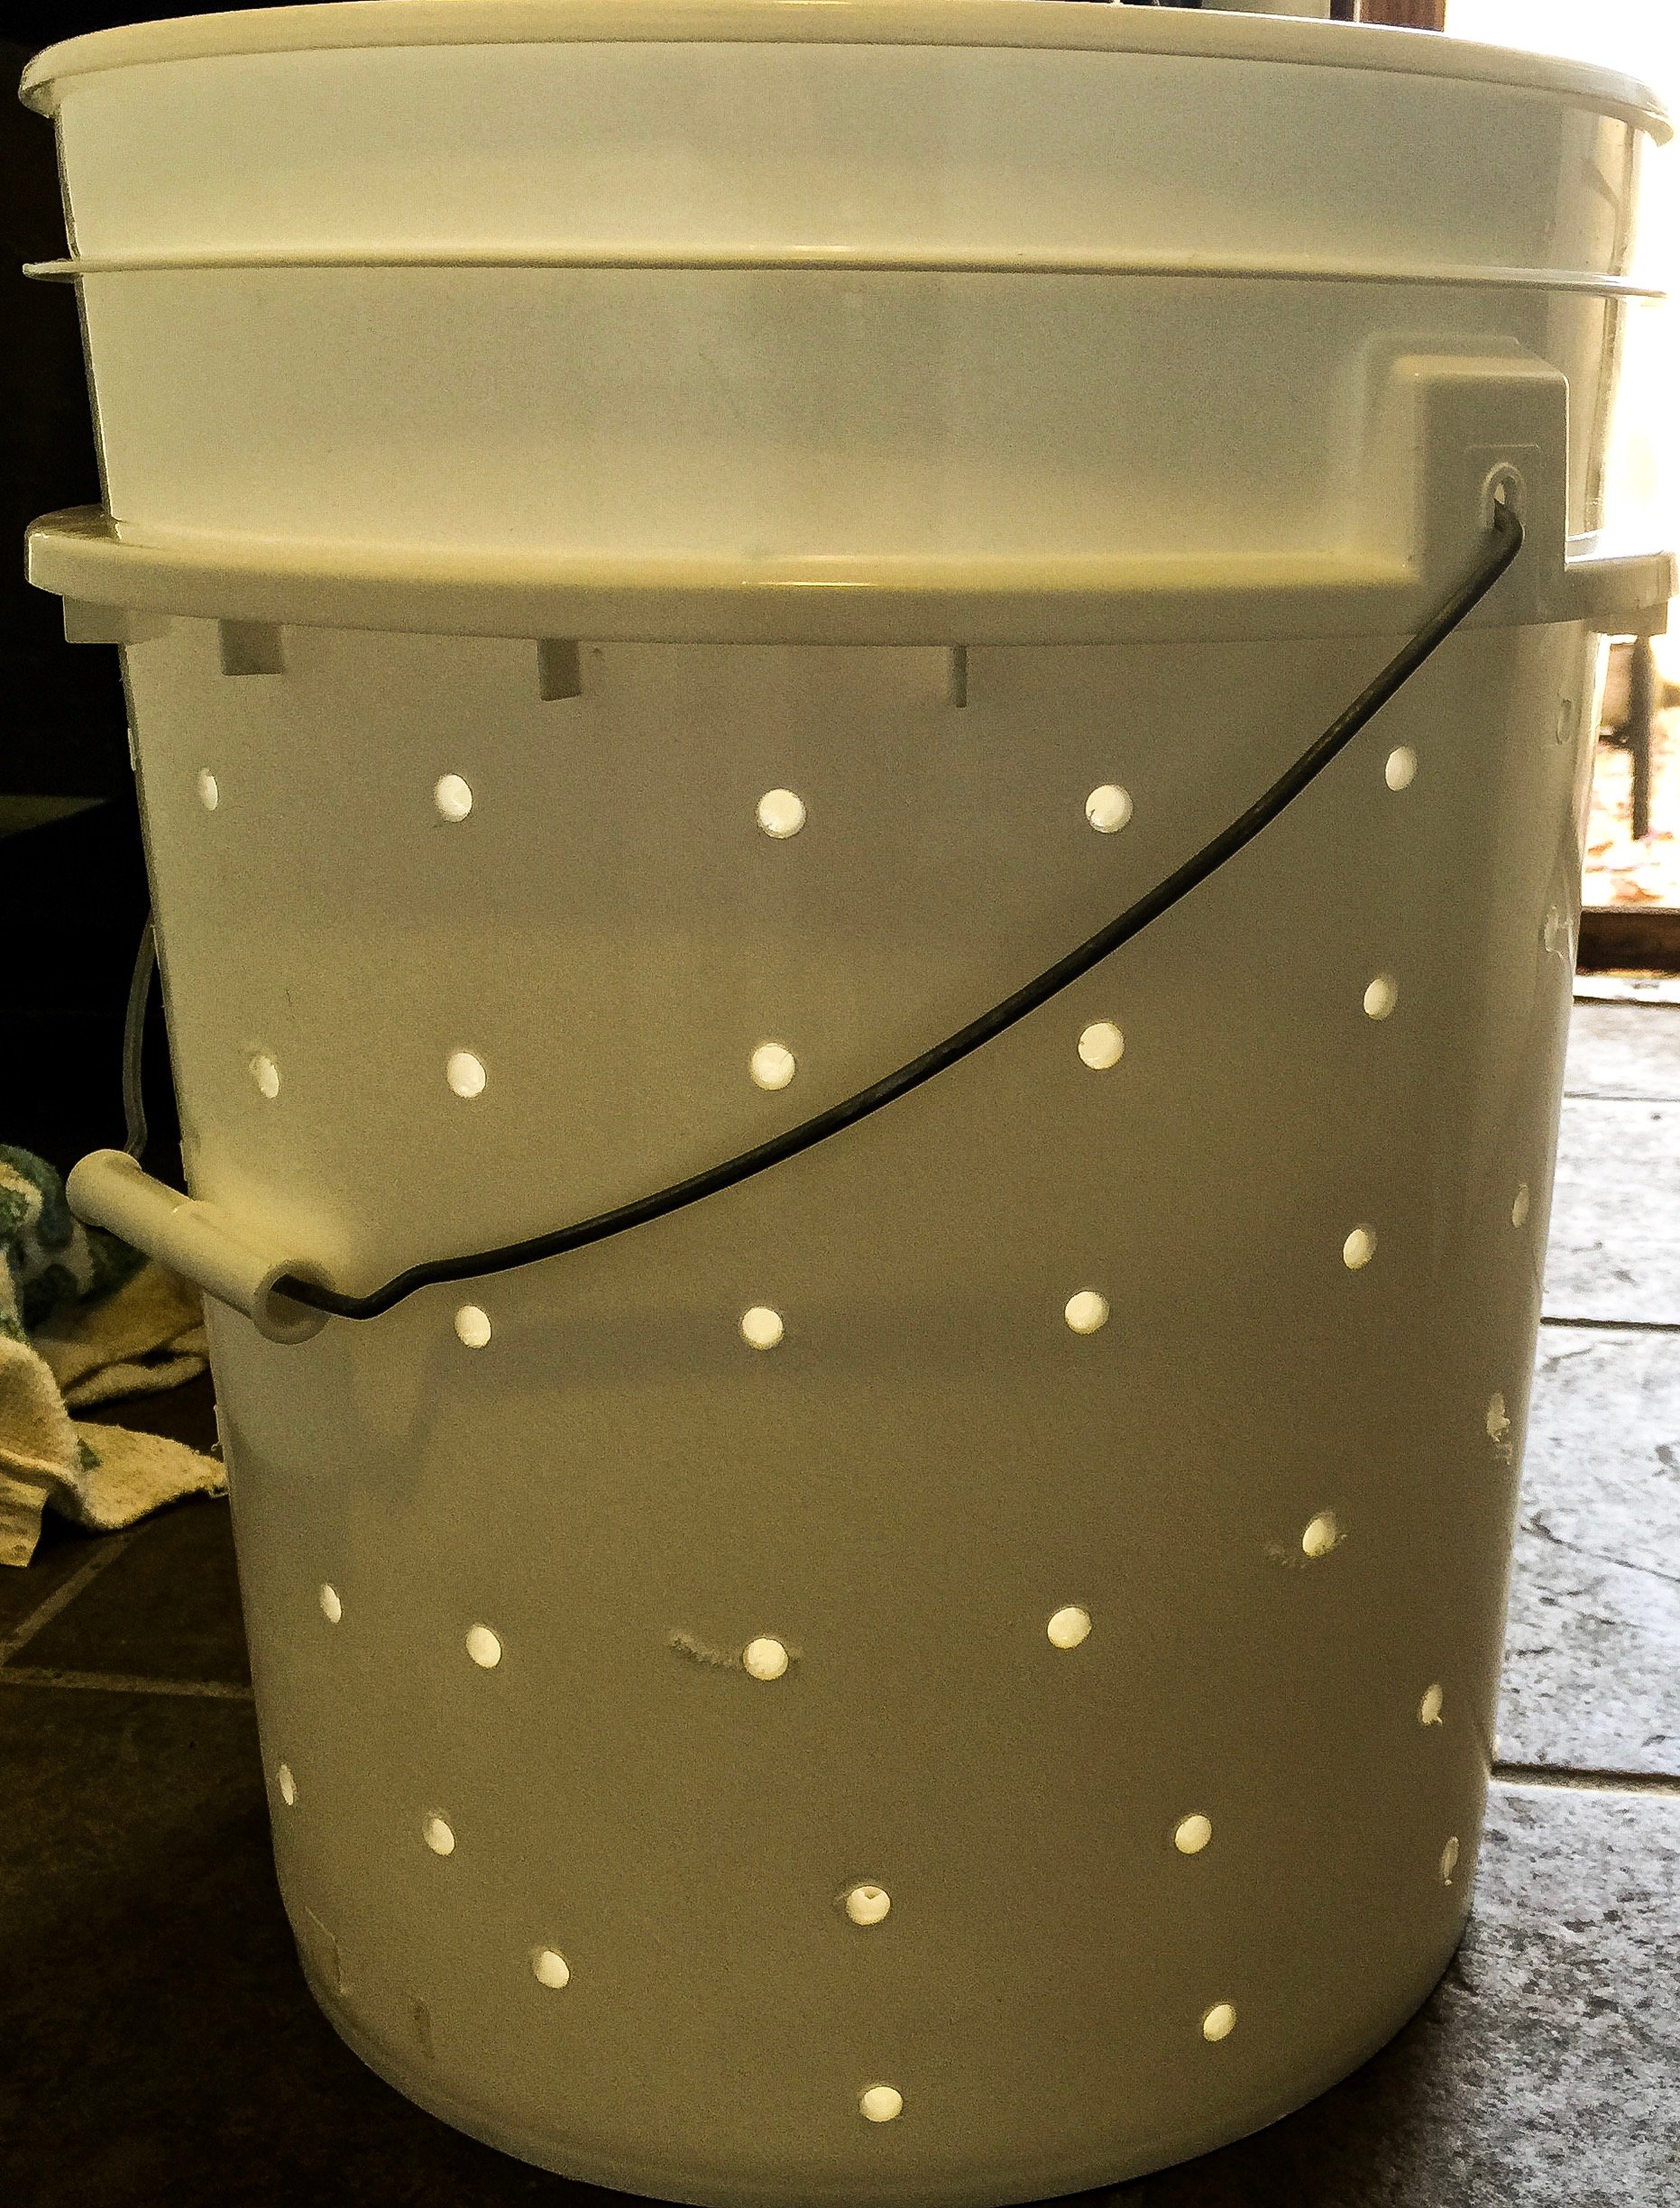
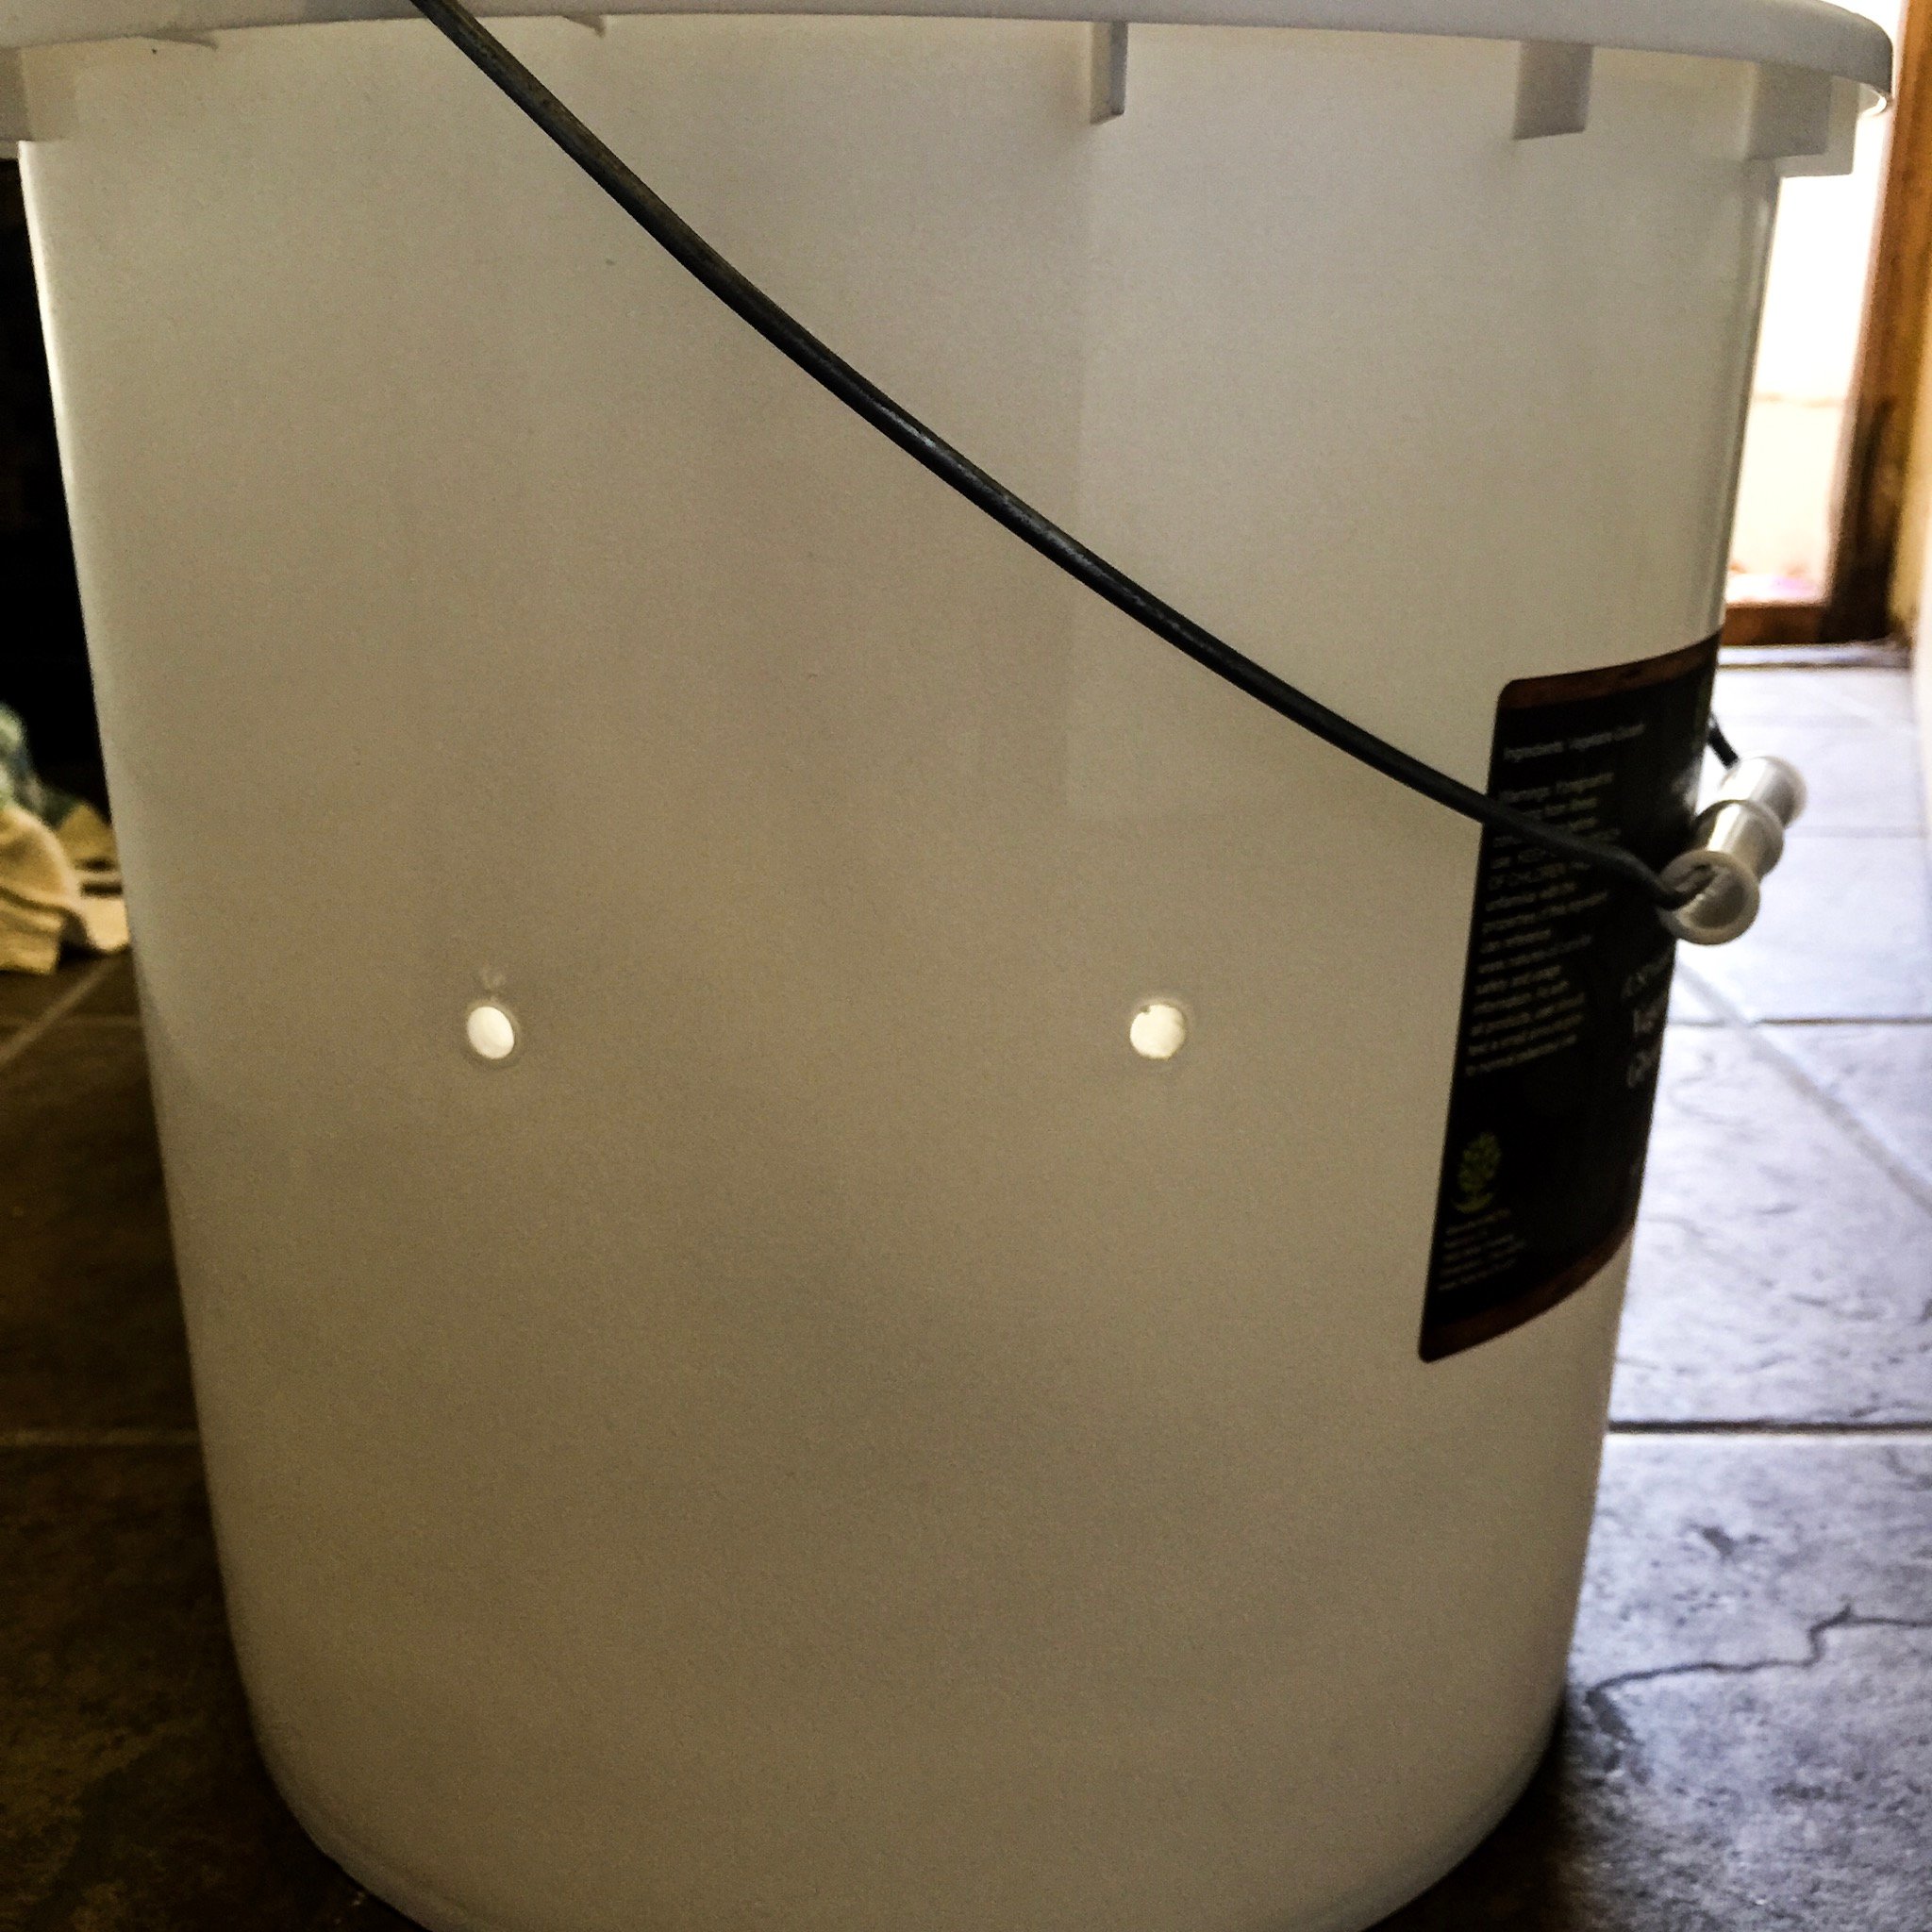
This is the outer bucket. I made holes about 2-3” inches apart in one line around the outer bucket. This allows for heat to be generated within the structure of the two buckets, while also allowing aeration to take place.
3 ) Stack those puppies together!
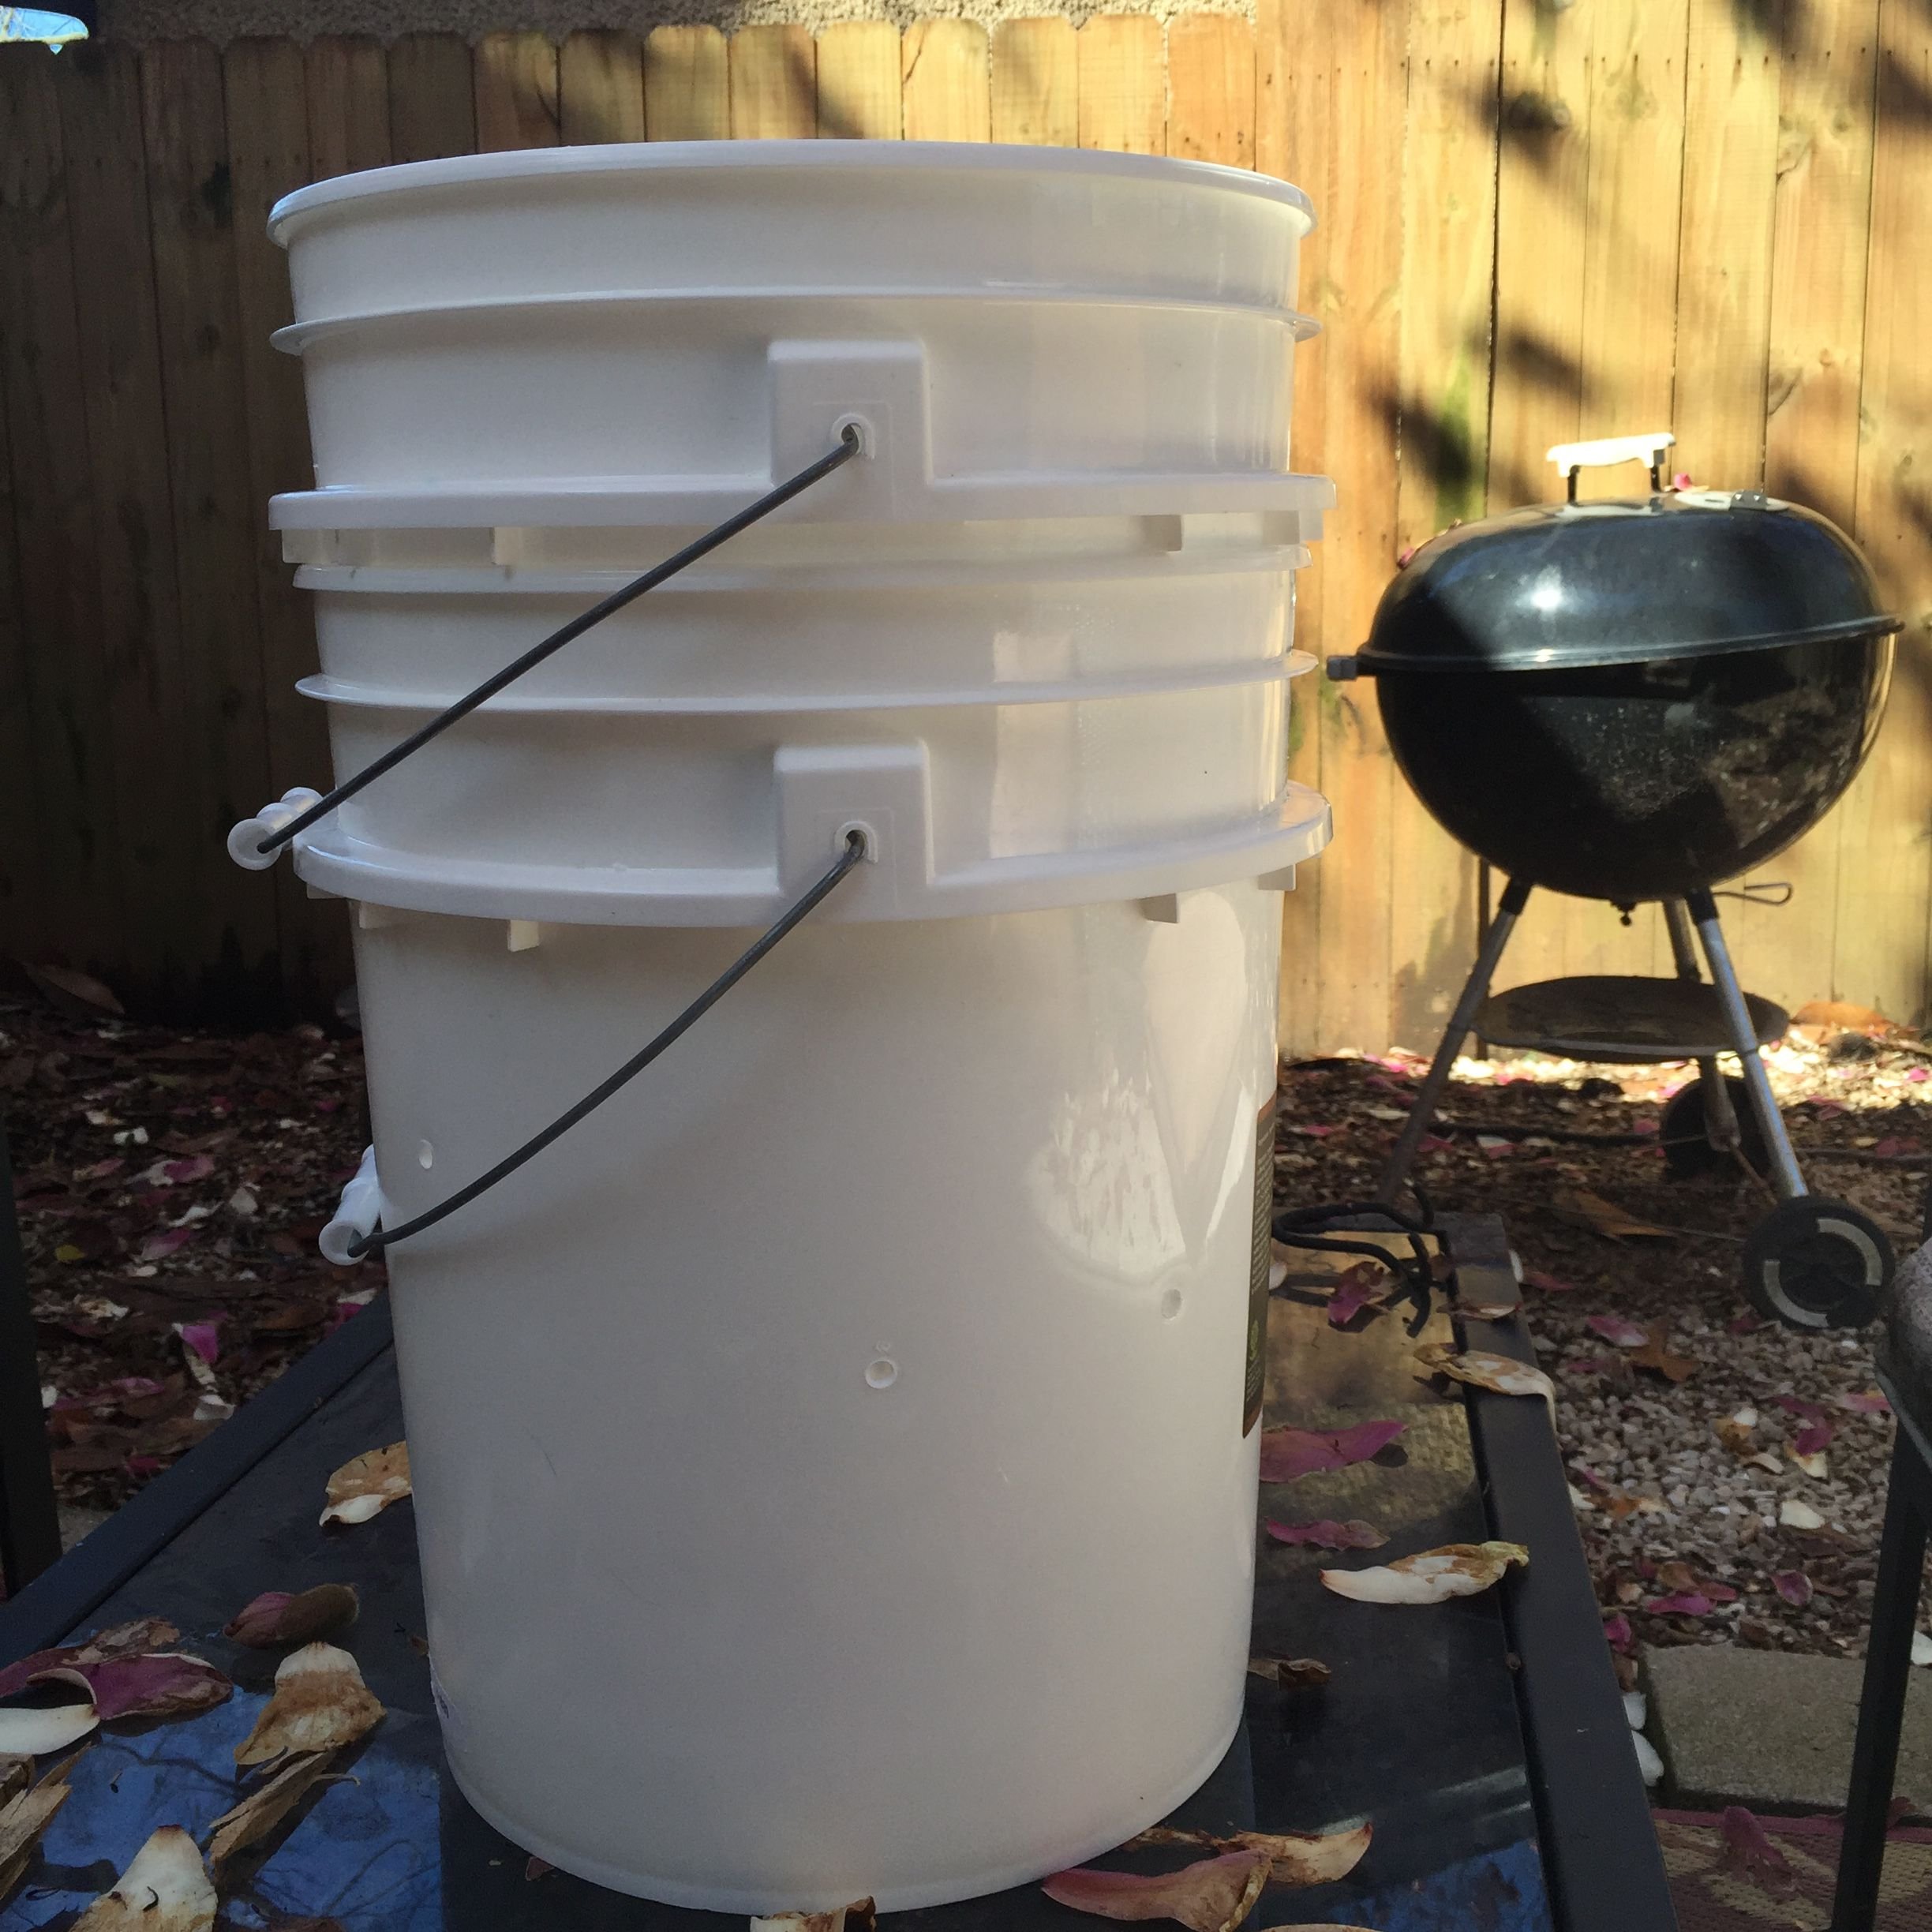
That’s all there is to making it!
Don’t miss tomorrow’s installment of this composting adventure...I’m going to document the process of mixing my green waste (nitrogen) with brown waste (carbon), and my evaluation of best practices based on my research.
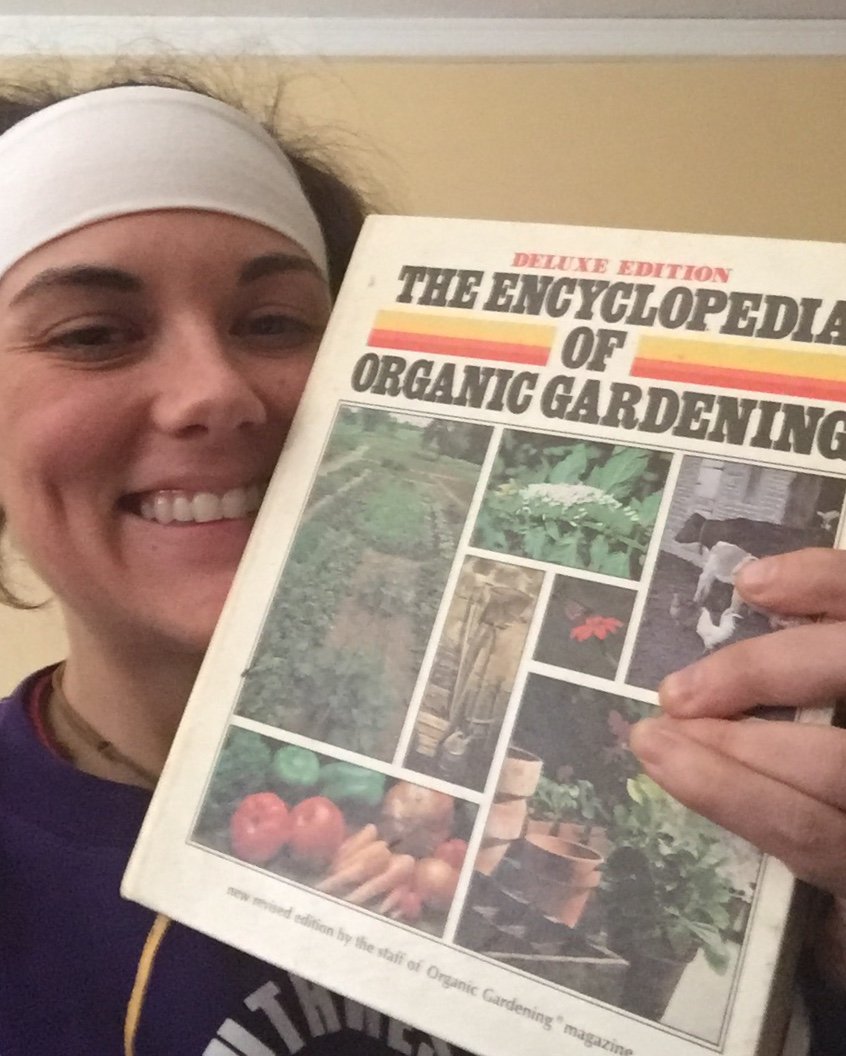
I highly recommend this great old book. Copyright 1978, and a gem of an Encyclopedia, for sure. It’s a fantastic resource. I grew up with my father reading this book all the time as a child, and I happened to find it at thrift store a few year ago, and it continues to come in handy. I’m thankful to own it.
Tips and tricks and hacks are always welcomed when it comes to this stuff! I’m green and learning and just always sharing the process on Steemit!


COMMUNITY IS THE NEW MONEY


