Dilly beans, I am told, are a Southern Dish. I must confess I’m a “born and bred” Texan, lived most of my life in South Texas, and have NEVER eaten dilly beans.
I spend a lot of time trolling the internet for recipes and food preservation techniques. I have been seeing quite a few variations on the recipe and this has piqued my interest. Maybe because the green bean harvests are going on right now! So a couple days ago I decided I was going to makes some dilly beans. I started paying attention to the processes and one day I remembered I have 2 quarts of dill pickle juice left over from a canning project earlier this month and it’s just sitting in the fridge.
So ... I decided to take a “short cut”.
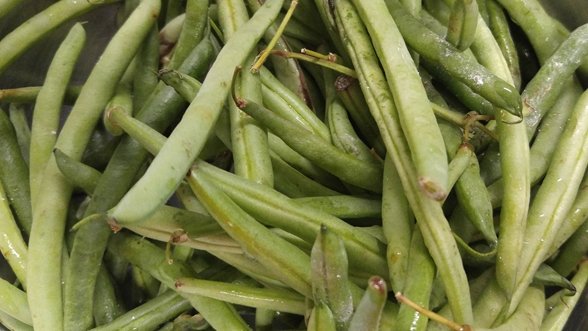
I bought a “mess” of beans at the farmers market.
I cut the ends off of each bean, the way the recipes all say to do it.
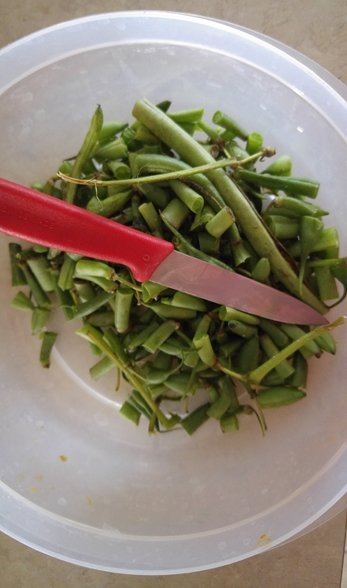
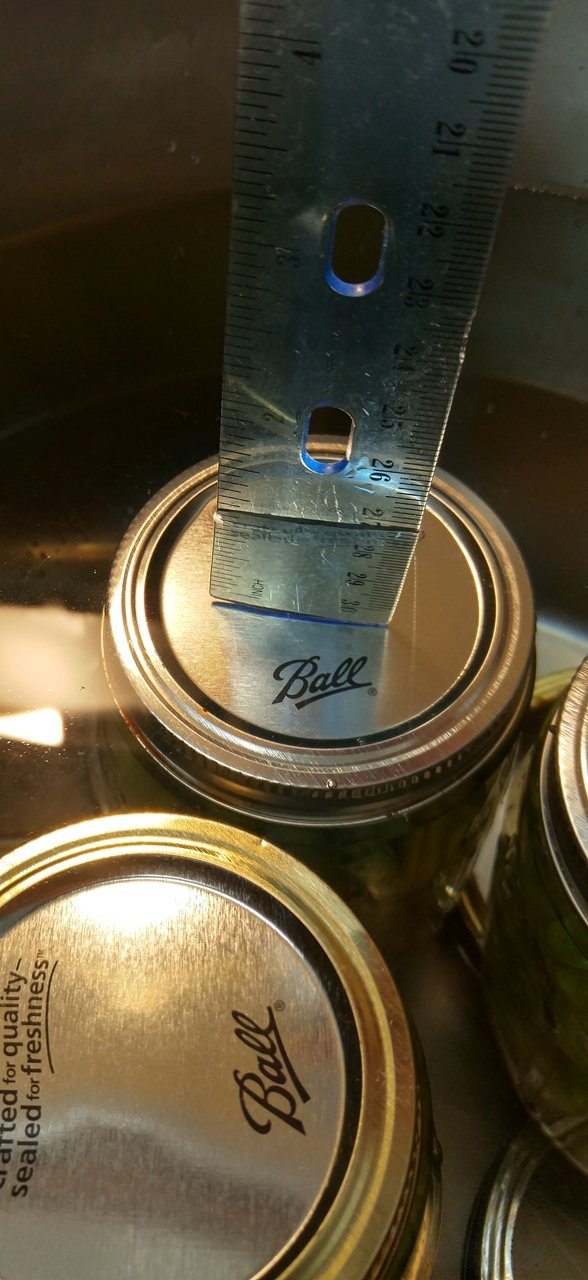
Then I cut each bean so that there were pieces long enough to be placed vertically in a pint canning jar and leave a ½ inch headspace. If there wasn’t enough length to cut two, I put the shorter pieces in a separate bowl.
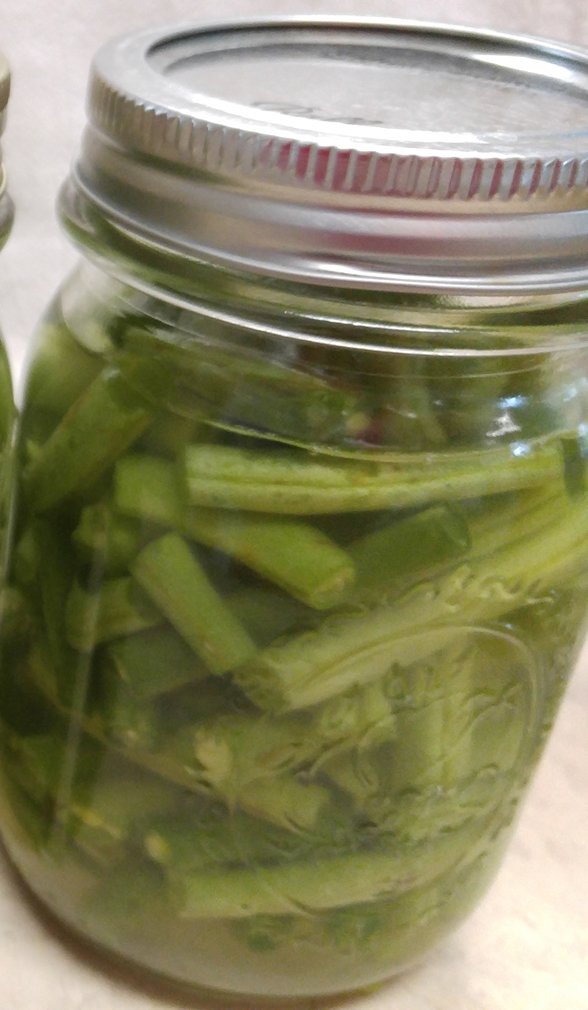
Next I started placing each bean in so it ran vertically.
I packed them in there pretty tight, and when each jar was full I poured some of the pickle juice to cover the beans. I put a plastic lid on the jar and shook it gently to dislodge any bubbles. I topped off the jar and cleaned the rim with a clean paper towel dipped in vinegar. This gets any sugars, or fats off the jar and allows the lid to make better contact with the jar during canning. Then I placed a lid and ring on the jar and tightened the ring to “fingertip tight”. I lowered each jar into the water in the canner when they were securely sealed.
Note, at this point the water in the canner was not warm, and the contents of the jars were not either.
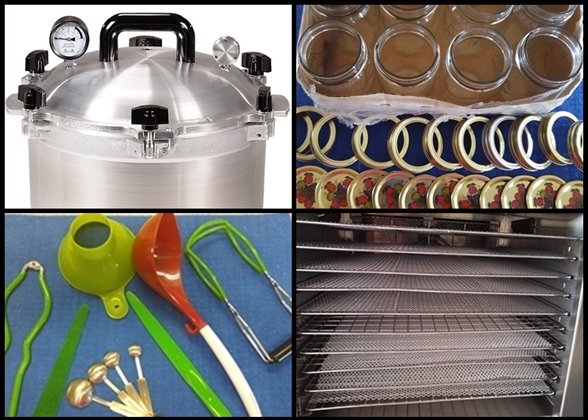
I don’t have a rack for this canner so I placed 5 rings on the bottom of my pan.
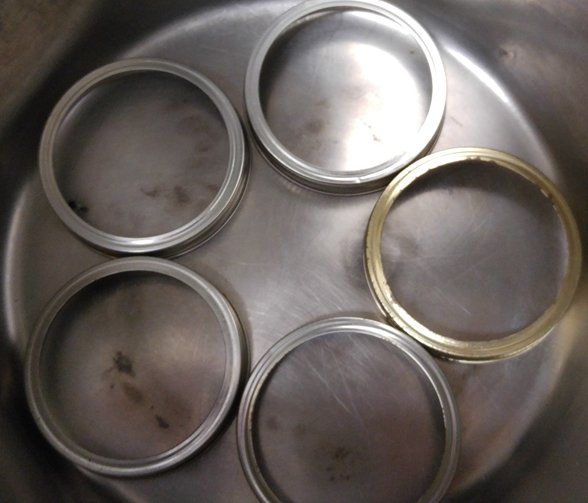
This protects the jars from being in contact with the bottom of the pan. It also increases circulation around the whole jar.
When the canner was full (I did only 3 jars of beans) I poured in enough water to be sure there at least an inch of water over the lids.
Then I turned on the heat and slowly let the temp of the water rise until it came to a rolling boil. I covered the pot and let it boil for 25 minutes.
I let the jars rest for about 10 minutes, and then, using a jar lifter, I moved each jar to a folded towel, in a still area. (We don’t want to get those jars exposed to cool breezes)
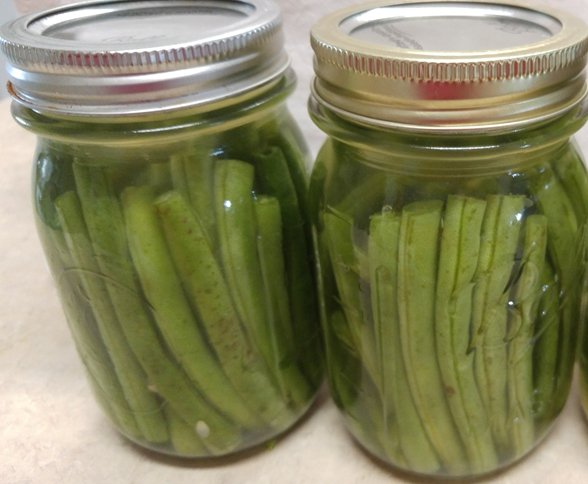
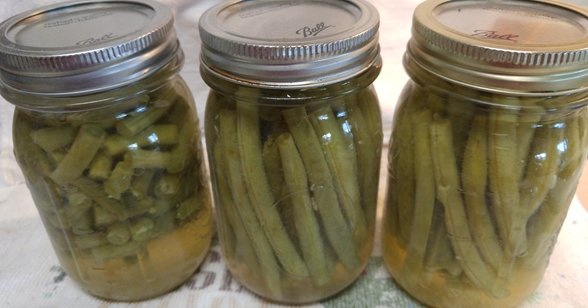
The jars will stay there for 24 hours to cool. When the jars come out of the canner, the cut ends were floating towards the top with a lot of juice at the bottom. Once things cooled down, they redistributed.
Here is an image of the finished “Dilly Beans”.
I will allow them to sit on the pantry shelf for about 3 weeks, and then I’ll try some. Hopefully I’ll remember to let you know how they taste. I call this a “hack” because I didn’t have to go through the process of creating the pickle juice before canning the beans. It saves at least half an hour, and as most of you know, a half hour saved here and there can really add up.
Please note, I am not an expert in food preservation, or pickeling, or even homesteading. I am just a woman who loves to put up food to feed my family. These are the steps I followed to make my version of Dilly Beans.
If you found something interesting educational or inspirational in this post, stay tuned for more adventures in canning and everyday life with:
Kate the Busy Boomer