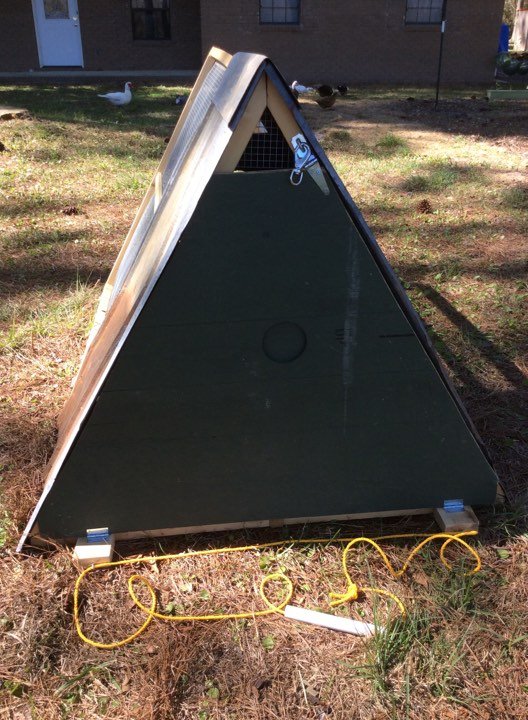
It took a few weekends but we finally finished our rabbit tractor! We came up with the design ourselves and I’m rather proud of it. Every time we complete a new project it turns out a little bit better than the last one. Having very little building experience and hardly any tools this is quite the feat. Without further ado here it is:
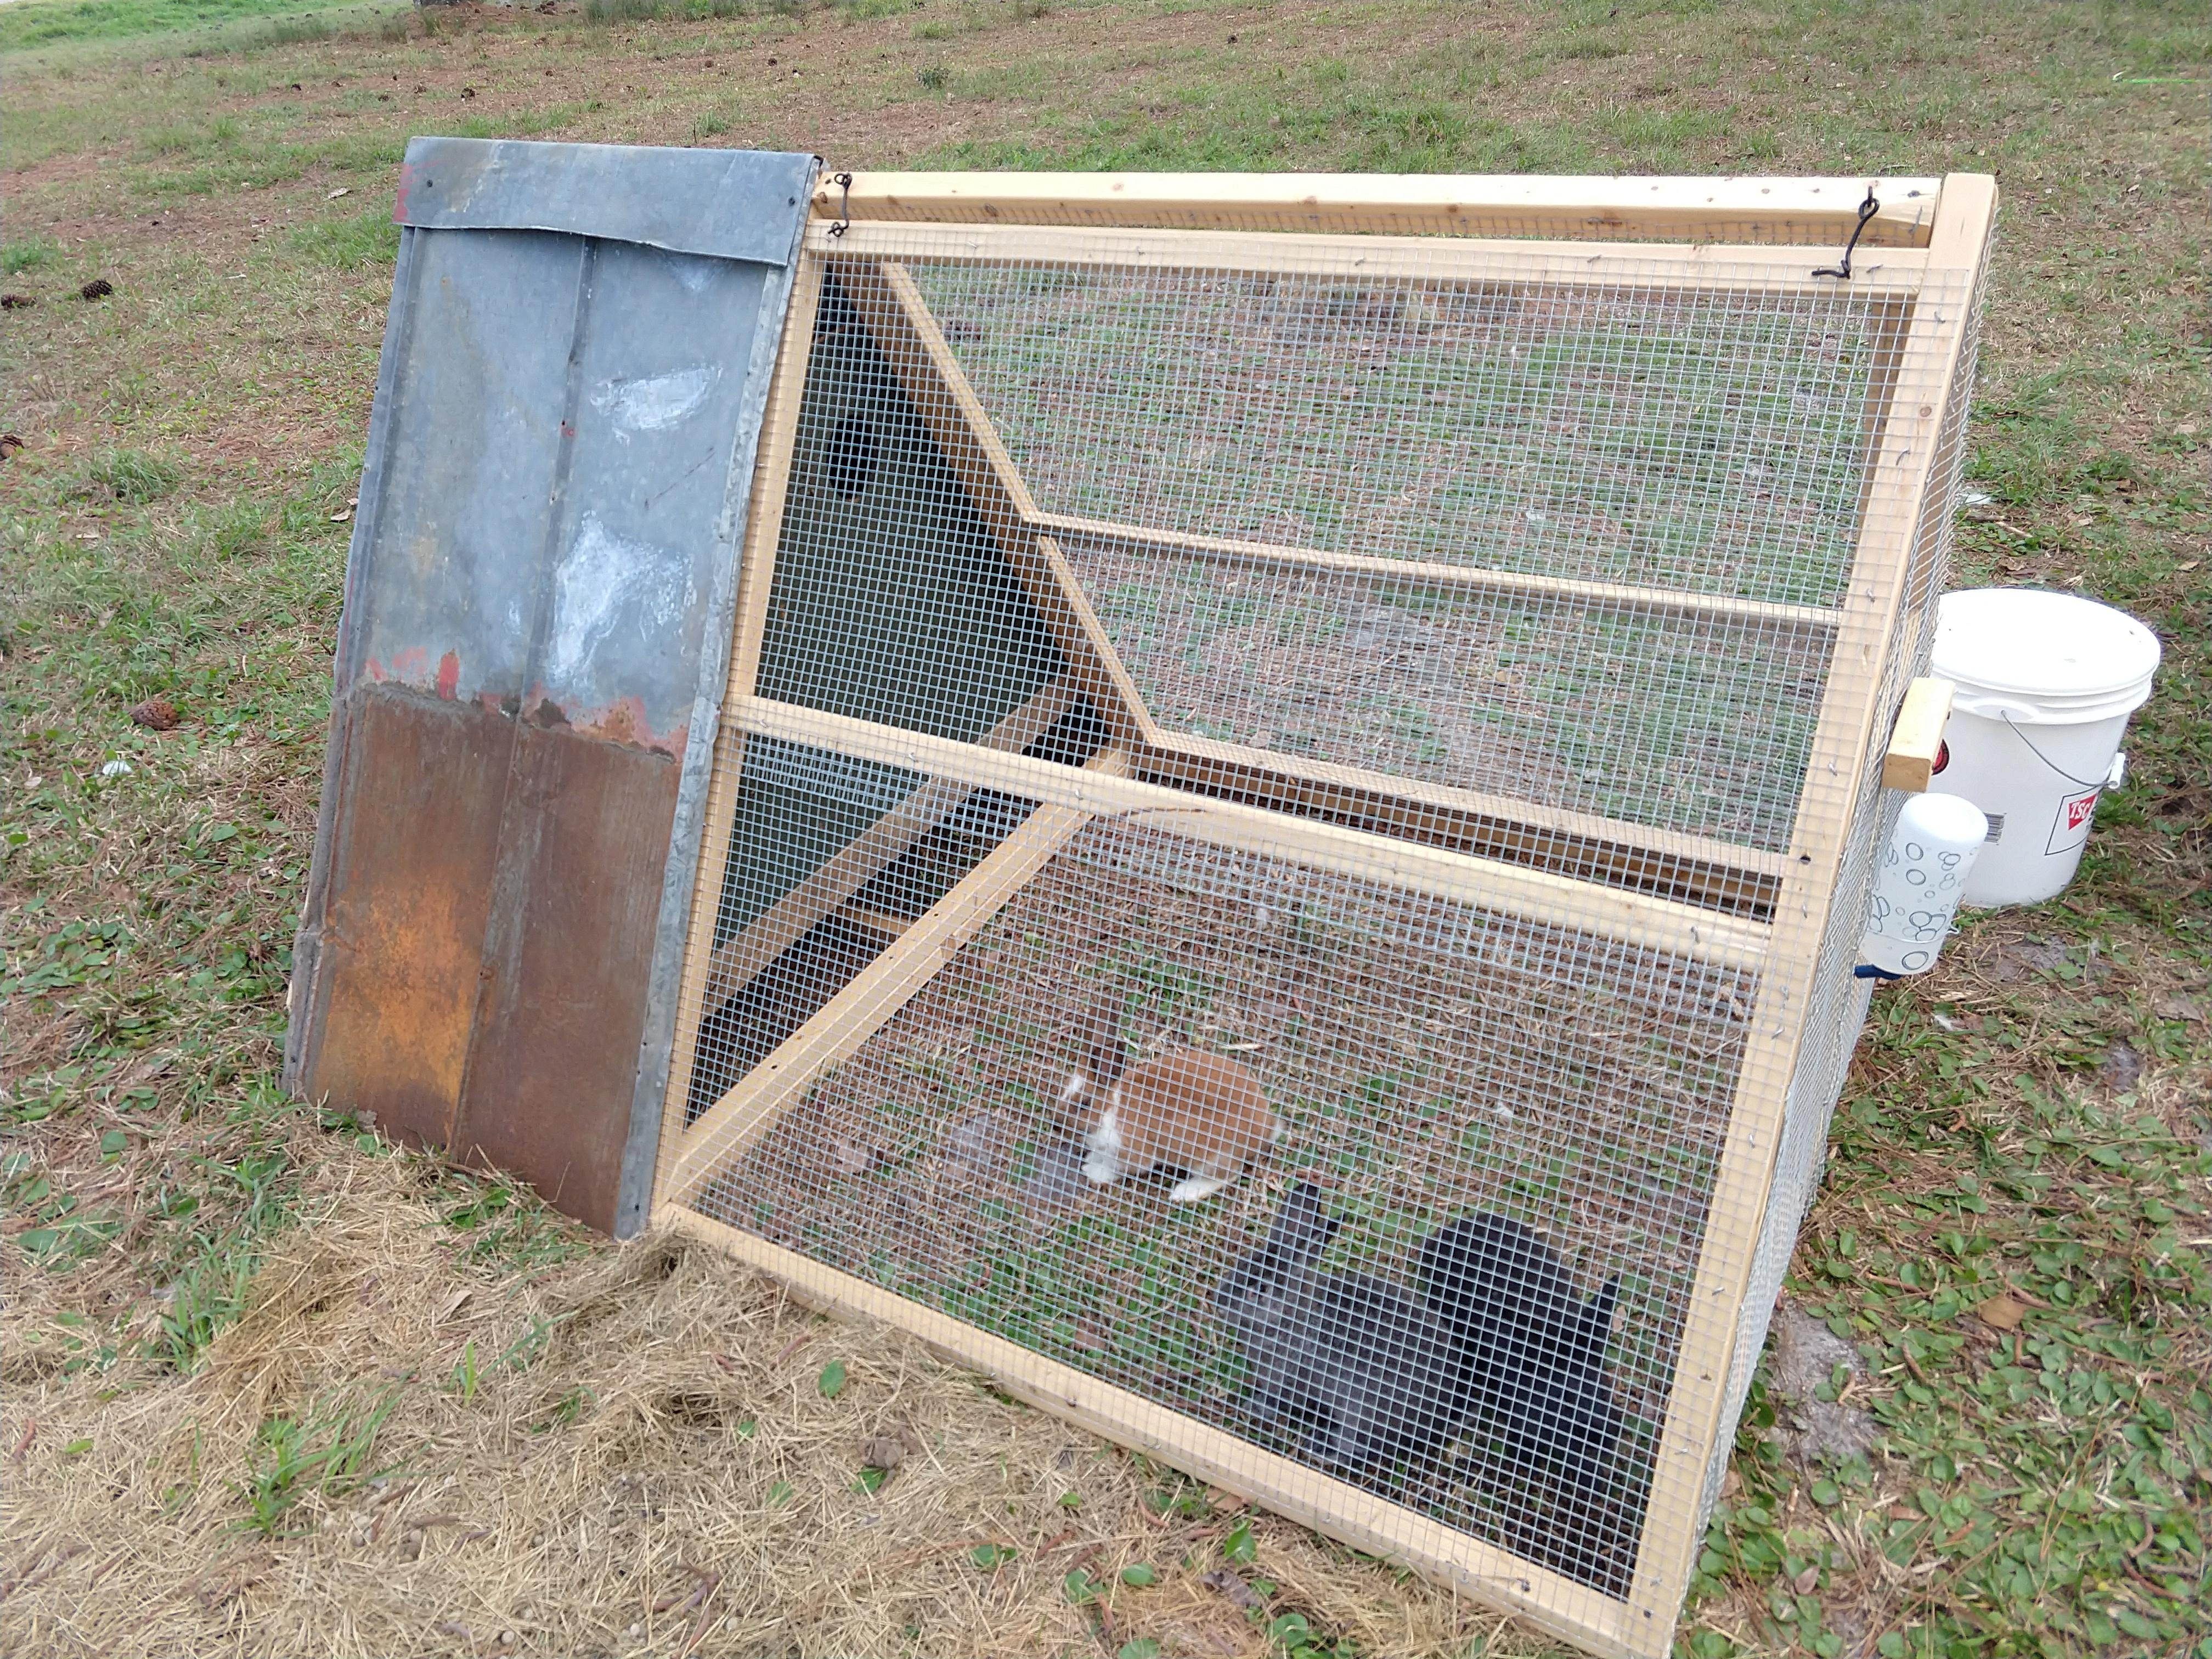
Pretty nice huh? We ended up having to cut some corners with materials for encasing the covered area. The wood we originally bought for those pieces wasn’t going to work and I didn’t want to spend any more money on the project so I found a way to make it work with some reclaimed materials we had sitting around. The roofing material is from a local antique store a friend of mine runs. She cut the panels to size for us when we bought them since we don't have the right tools for that sort of work. Everything else was purchased brand new from Lowes and Home Depot using steemit money!
Items Needed:
Metal Roofing-$15
Lock-already had
Plywood-Free, salvaged
Plywood (we ended up not using) - $13.98
Hinges-$2.47
(12) 2x2s- $2.07 ($24.84)
(2) 1x2s- $1.36 ($2.72)
Hardware Cloth- $23.94
Polycyrlic- $15.97
Screws- $6.47
Lock- $2.19
Hinges- $2.58
Staples- $3.94
Rope- $5.49
Piece of PVC- already had
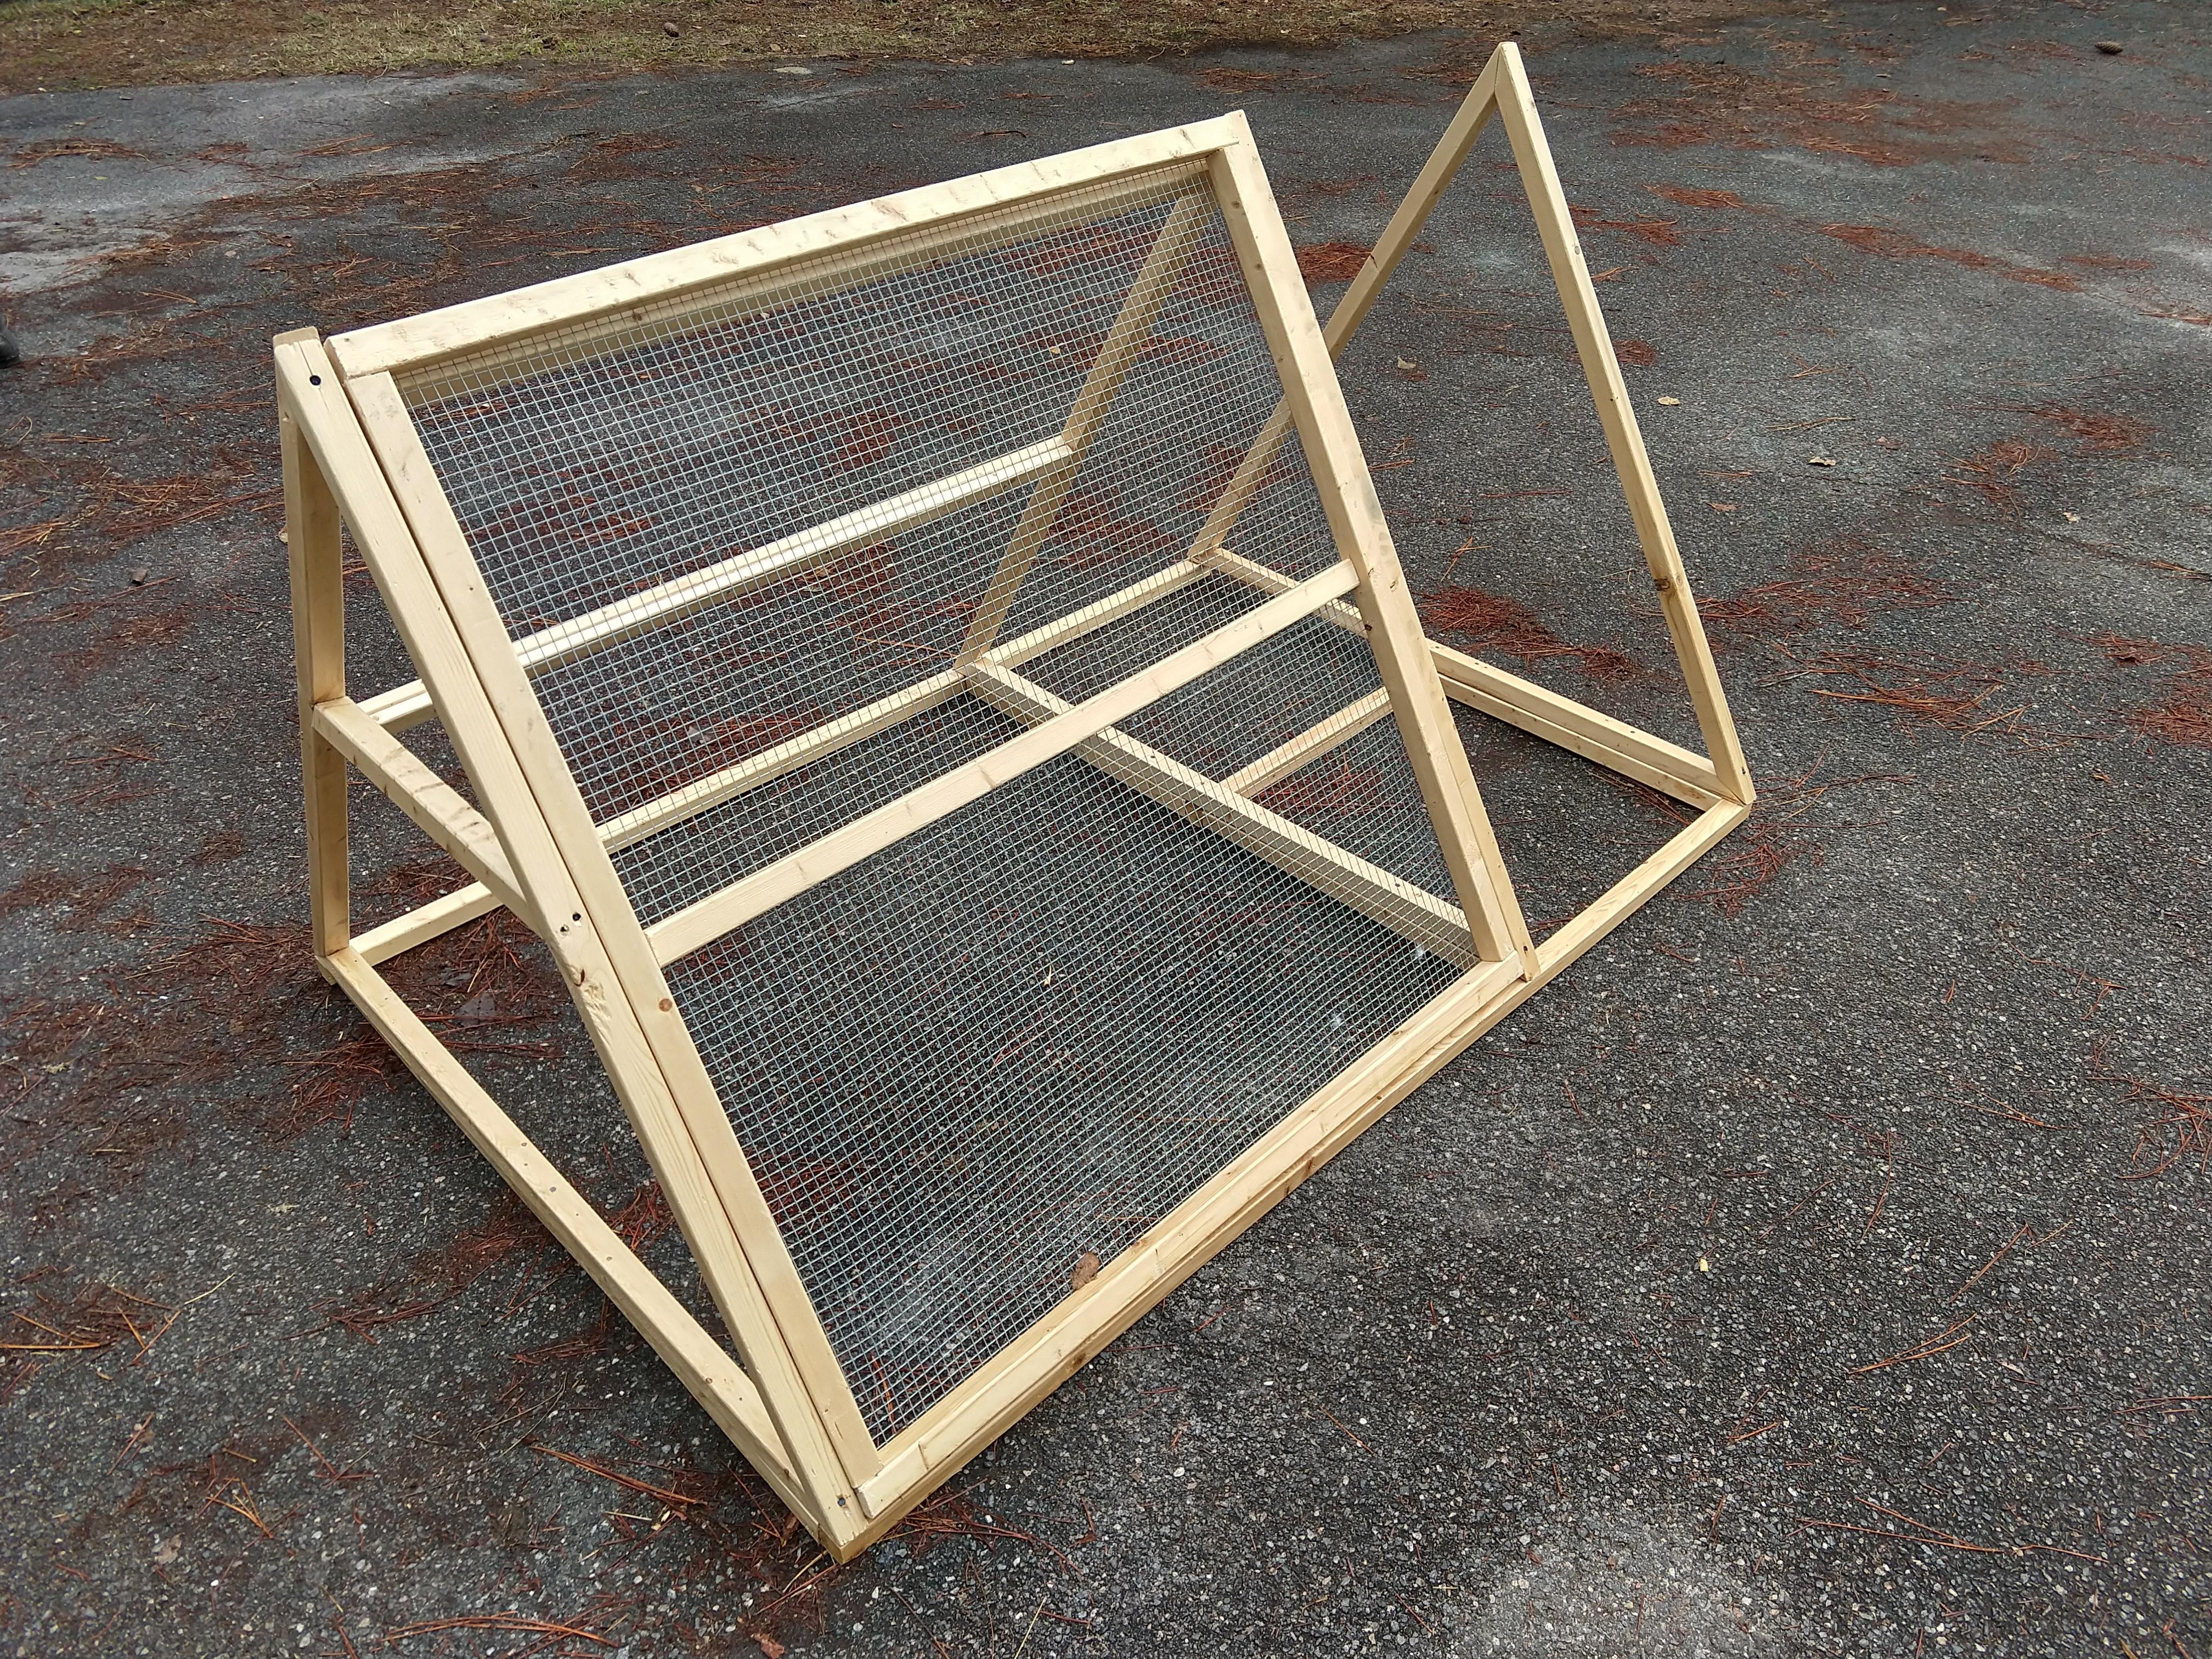
I used a piece of PVC instead of an old garden hose, a trick I saw on Justin Rhodes’ channel which makes the rope easier to pull. The 1x2s ended up being unnecessary, it would have made more sense to use 2x2s. It ended up costing us about $120 most of which was made possible by you guys! The tractor is 6 feet long by 4 feet wide. We used 3 equilateral triangles to make the A frame. The one side and the back wall both come all the way down so that we can get in if we have to.
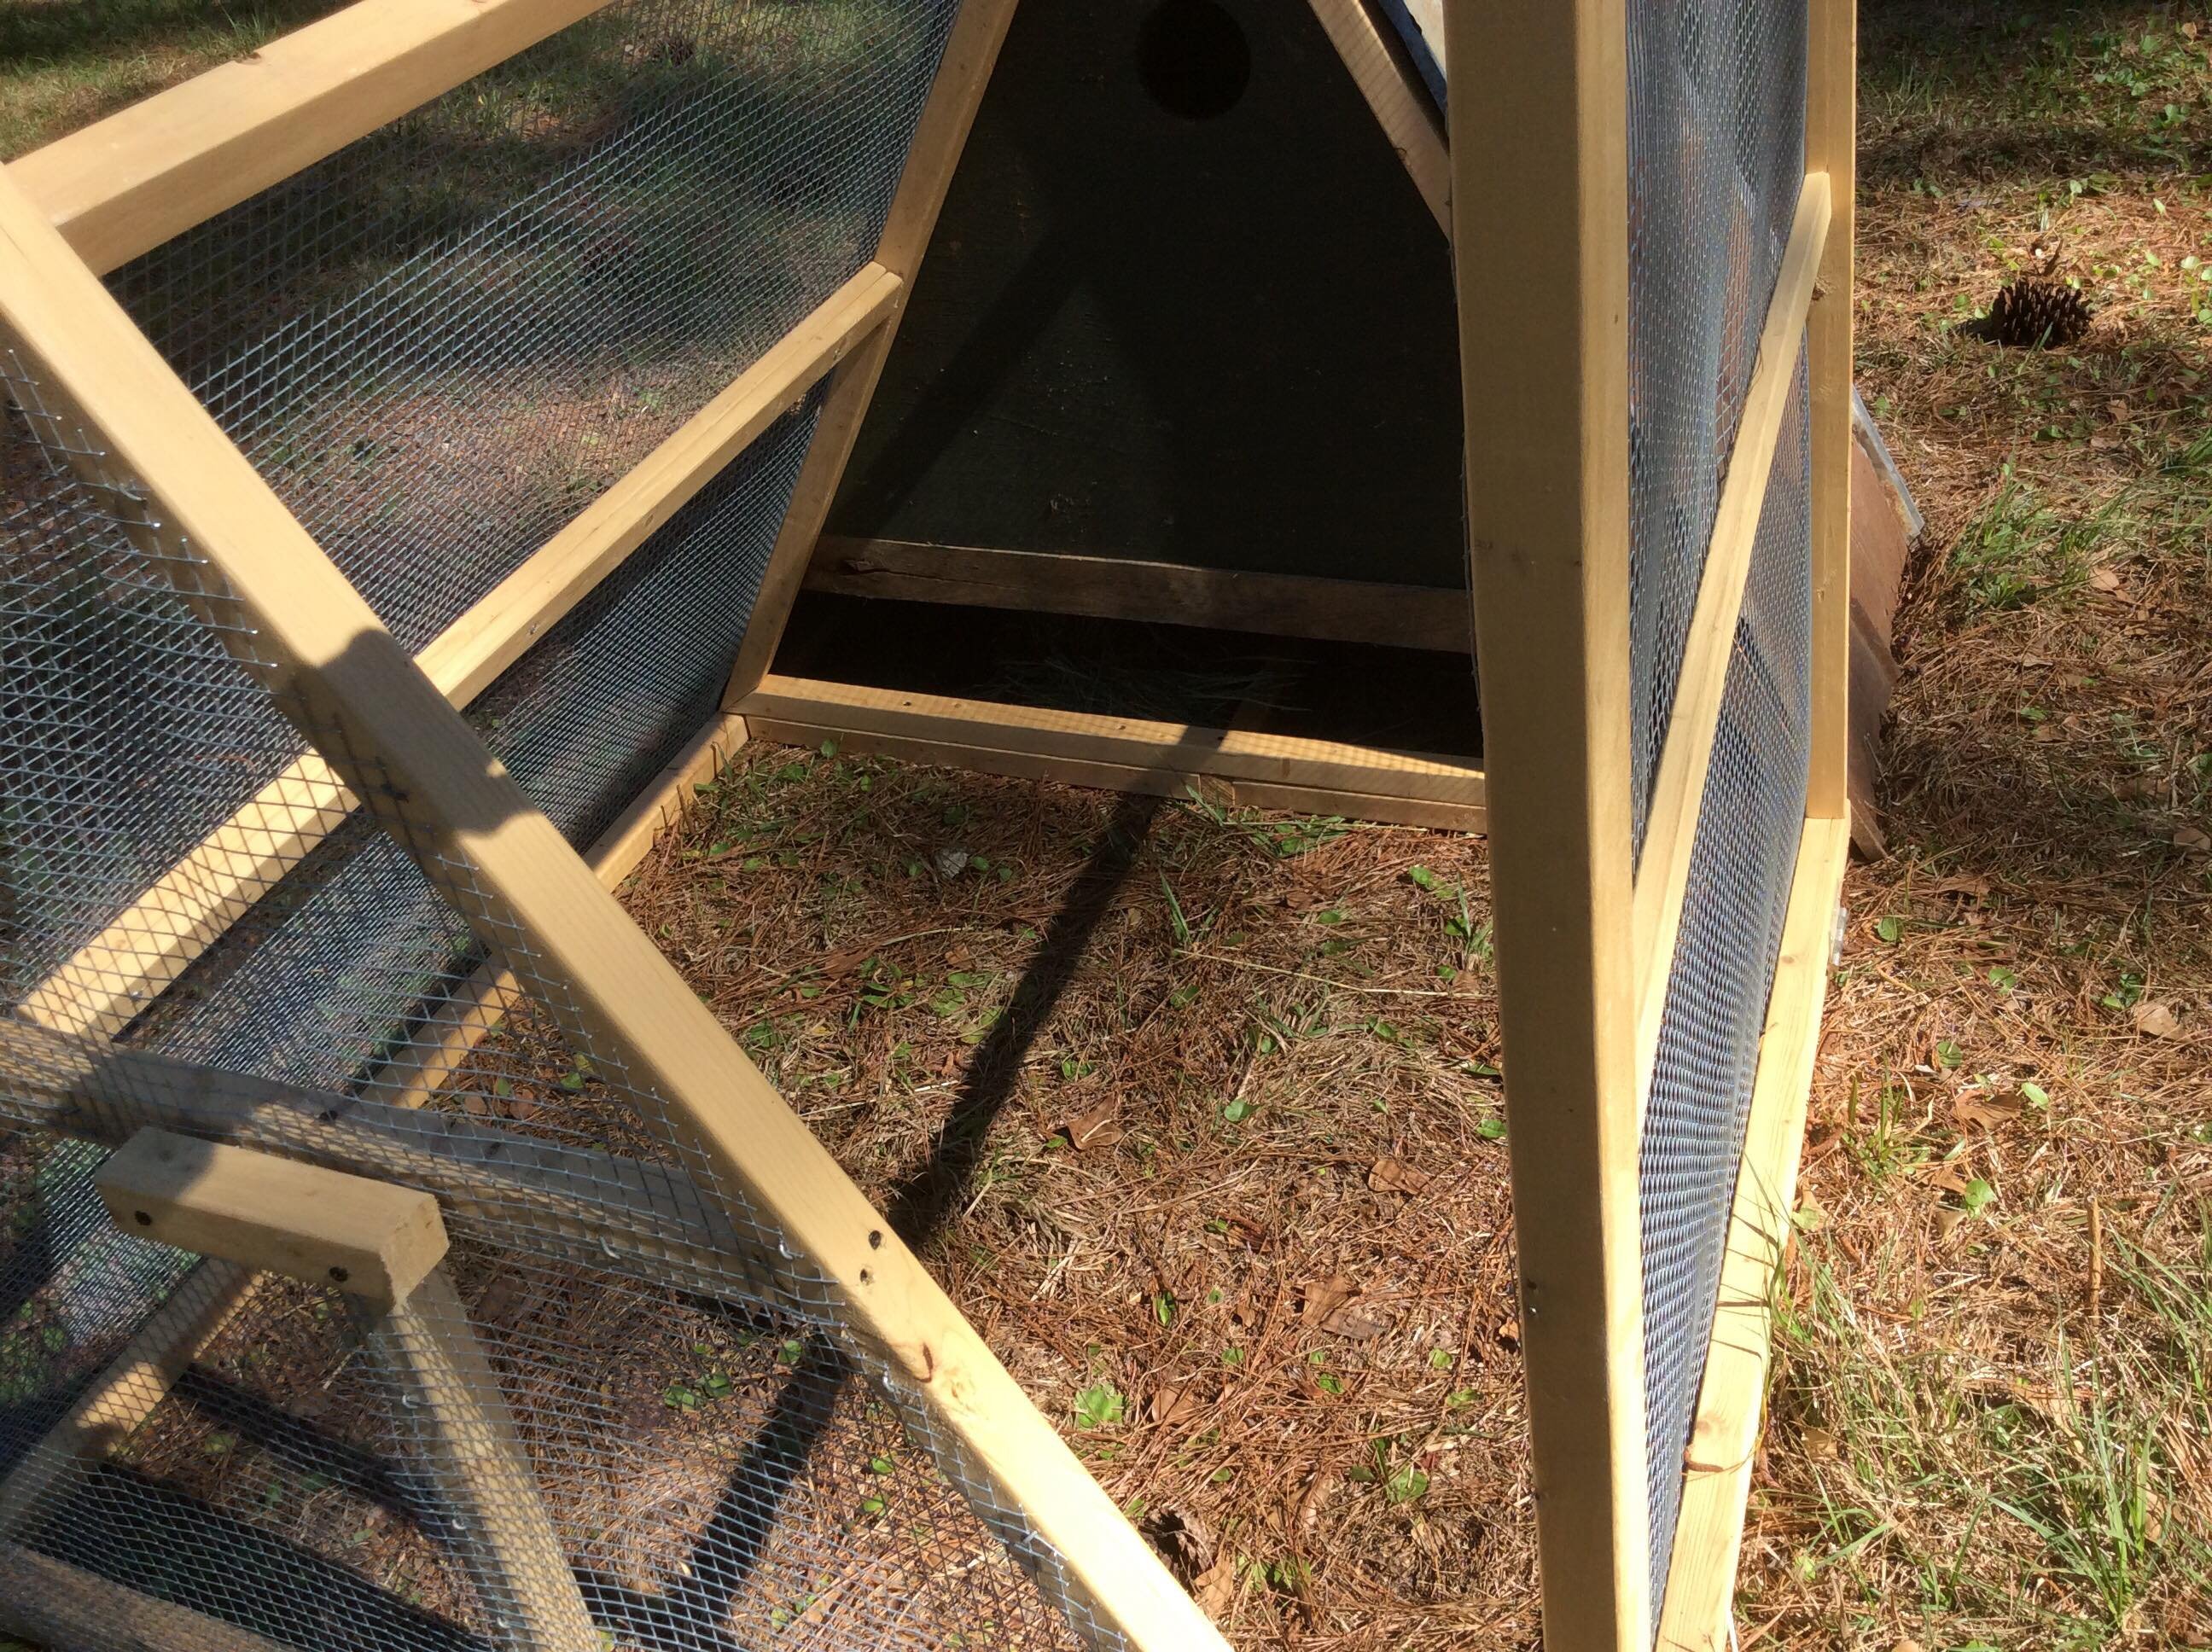
The only thing I wish we had done differently is the hardware cloth. I didn't account for wood on the inside of the frame to attach the hardware cloth so we had to attach it on the outside of the frame which doesn't look as nice. I also would have made it longer so there is more square footage but we have a small car and had to have the pieces cut to size at the store so they would fit.
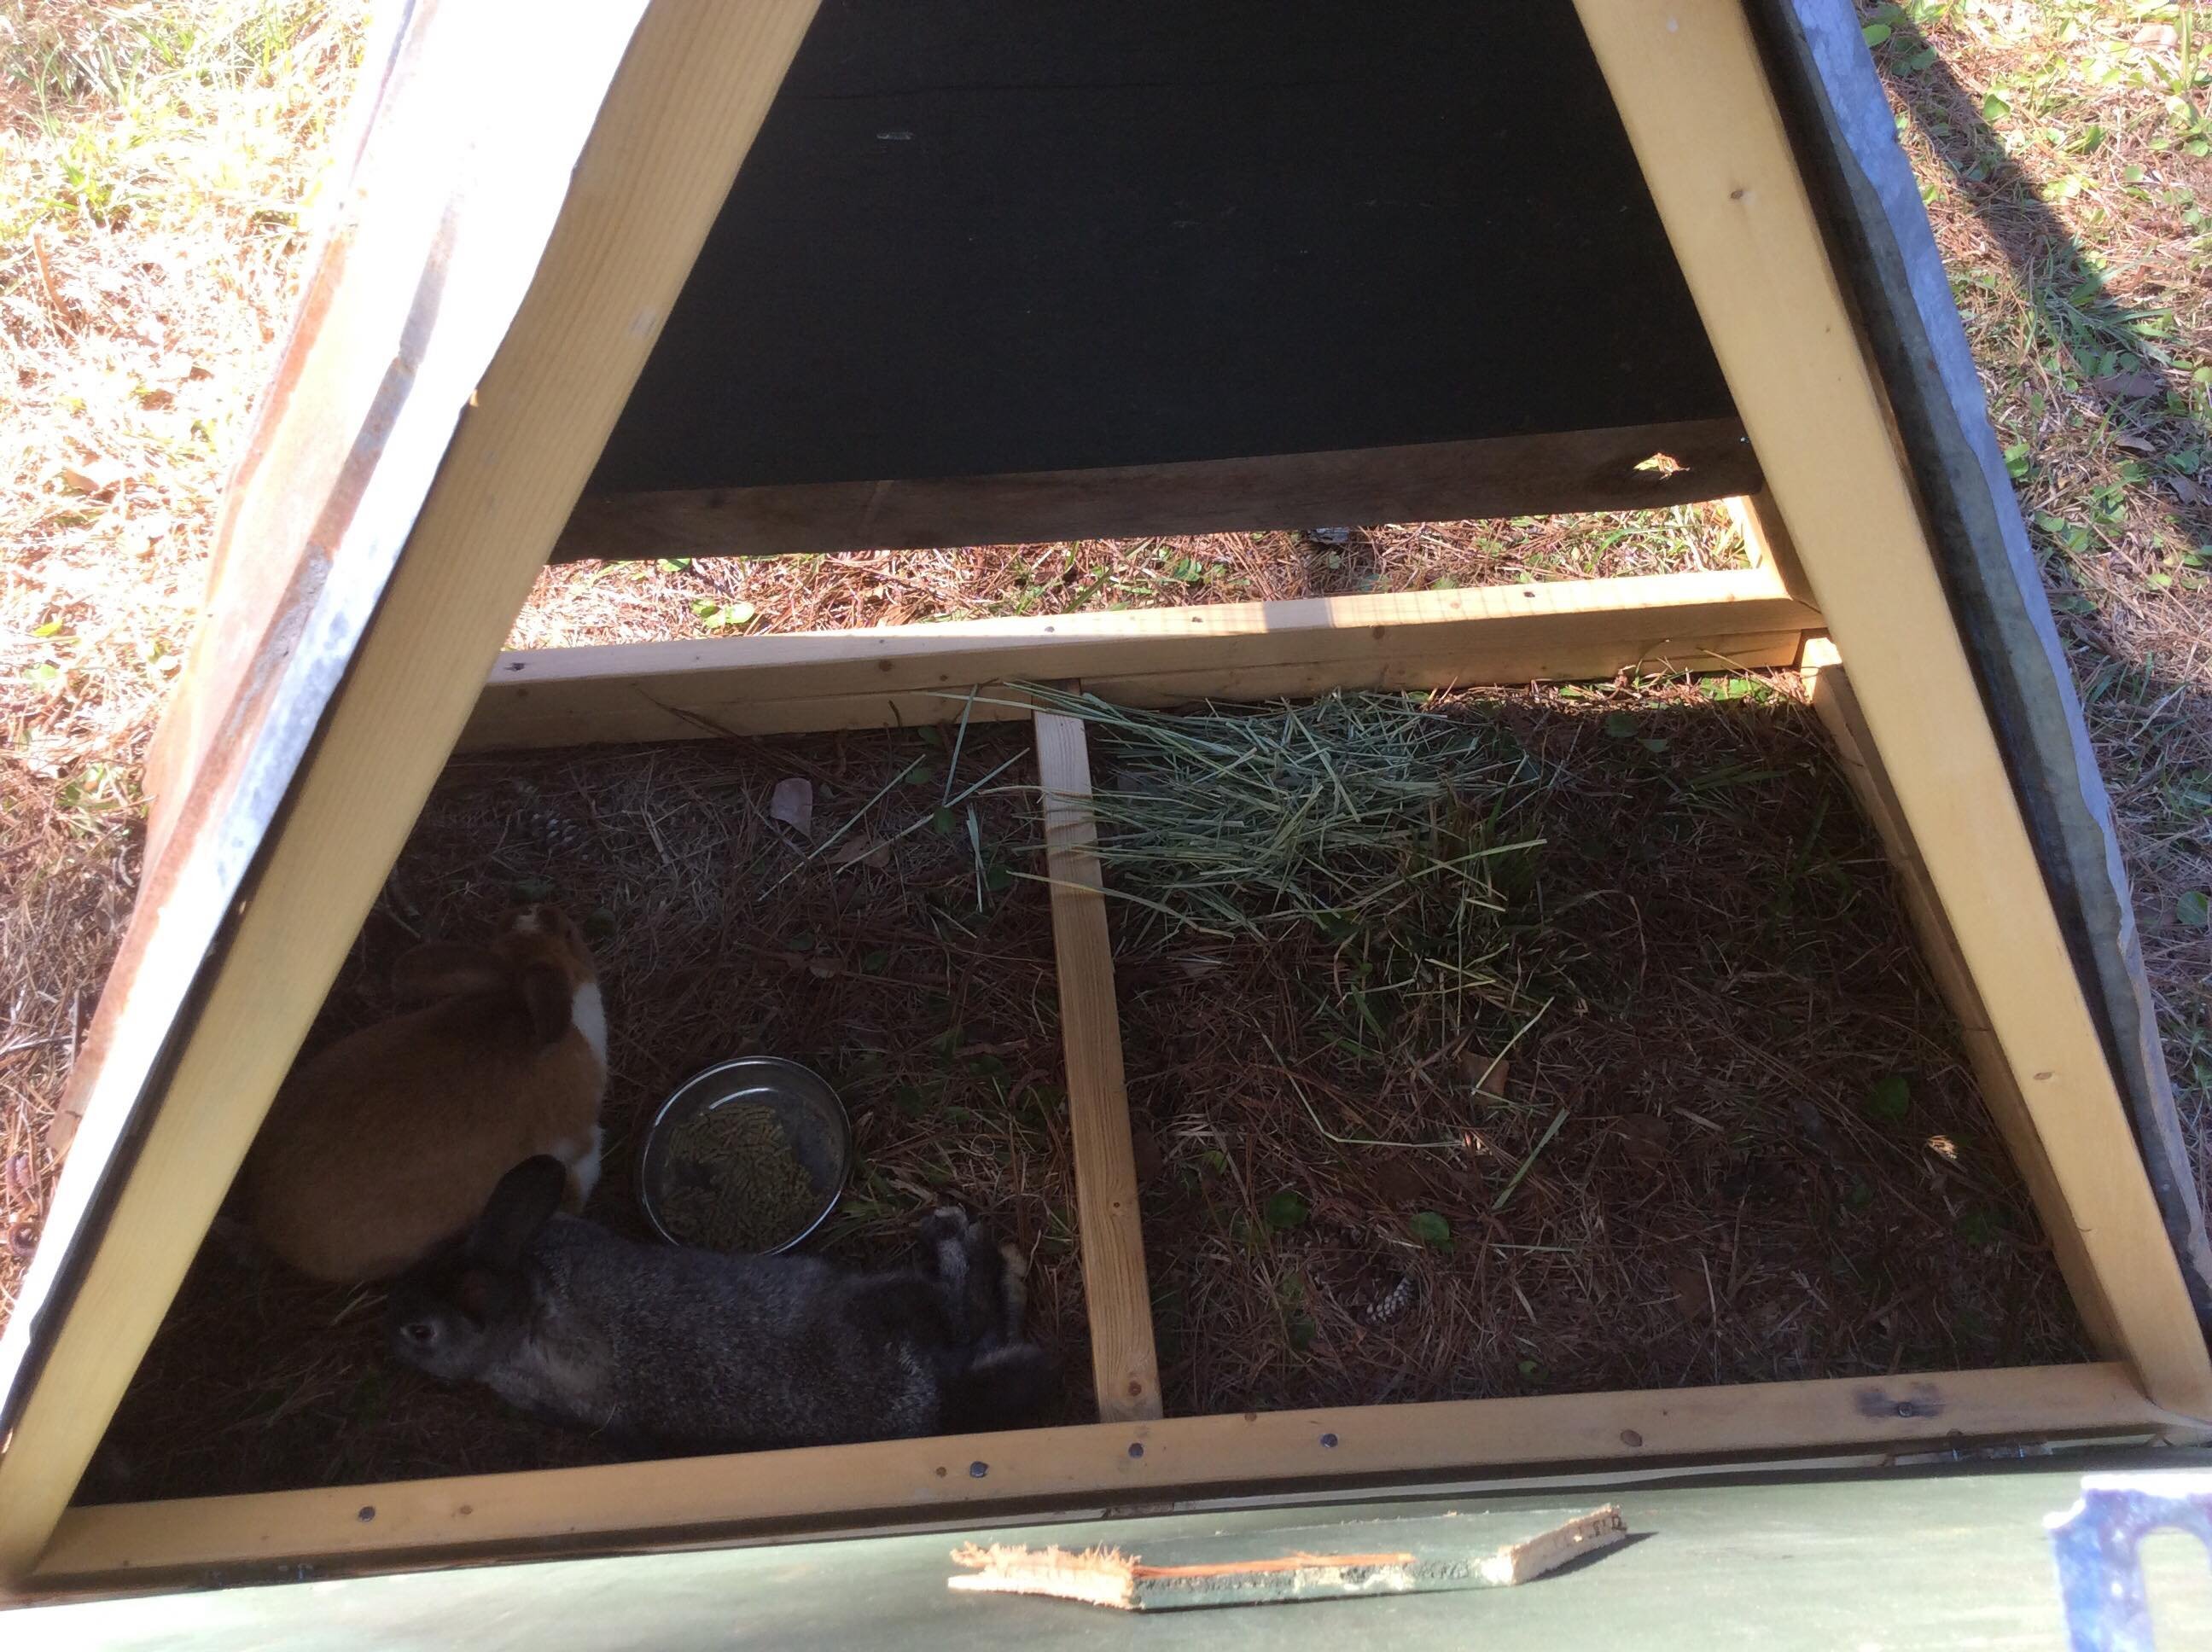
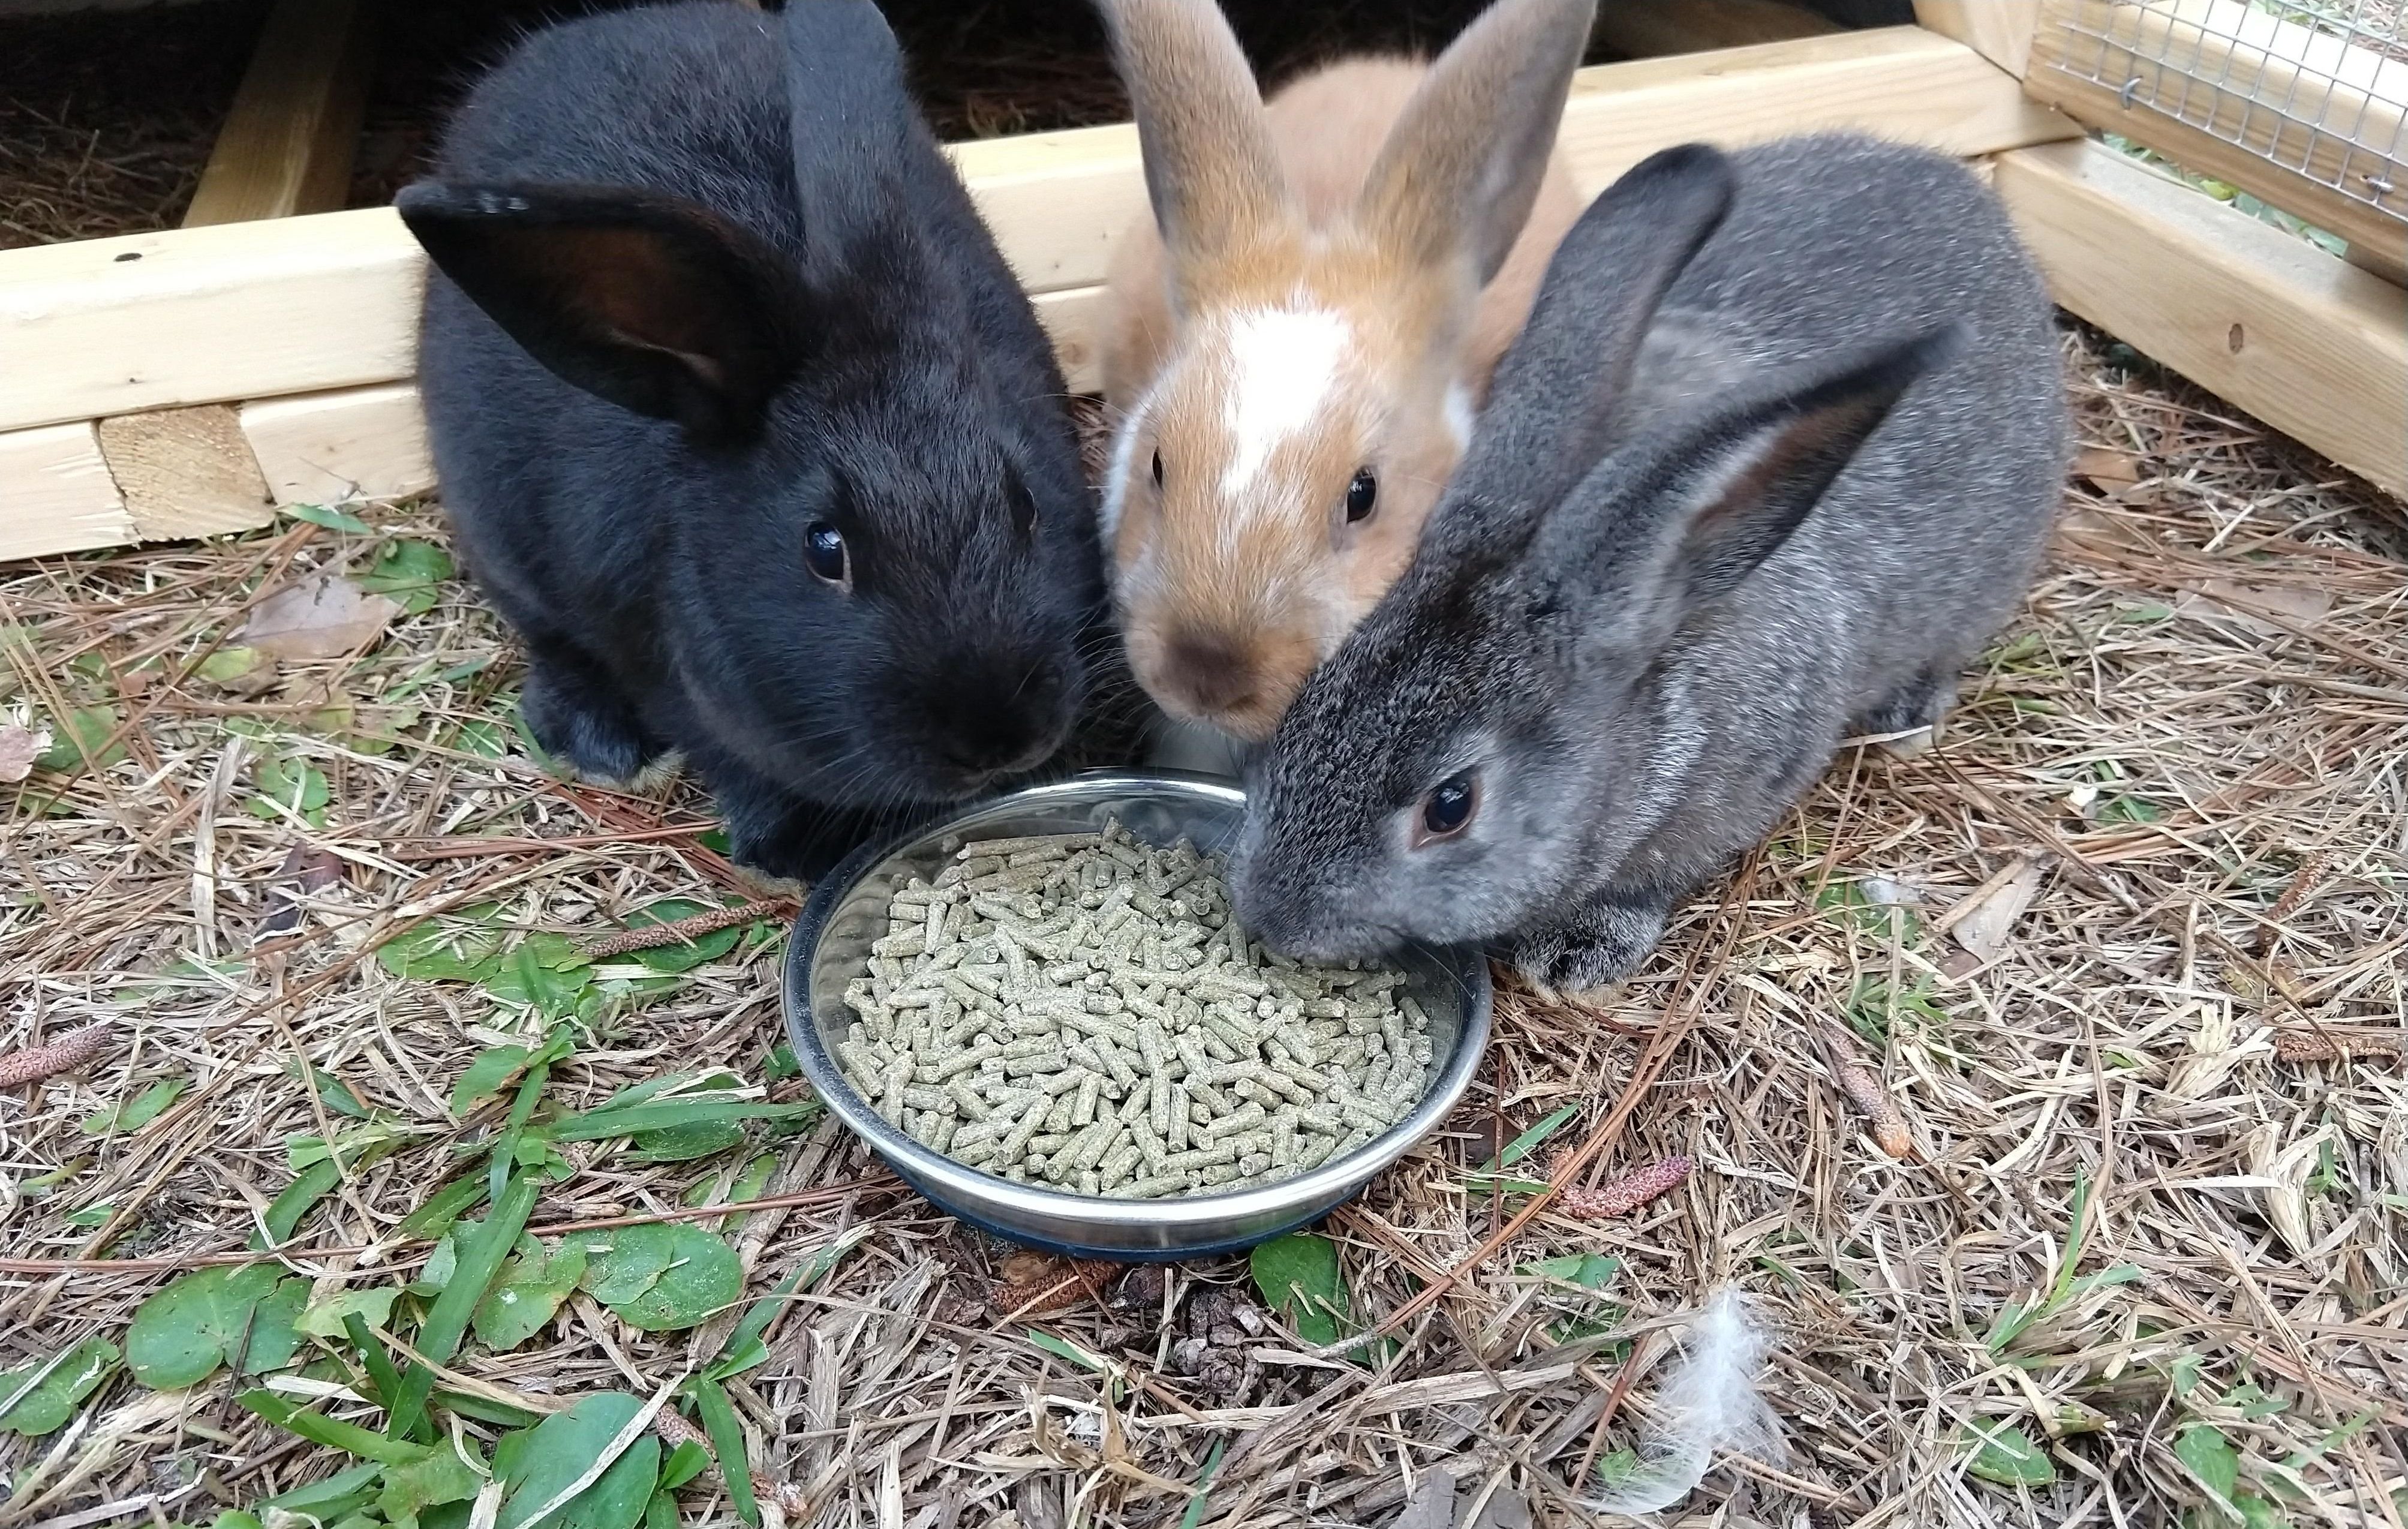
We will be using this tractor until our rabbits reach breeding age, at which point they will be moved to a permanent colony set up. This will allow them to have babies underground which will hopefully minimize our losses to the heat. Once that’s done the tractor will either be used for the buck or the grow outs until they reach butcher age.
It’s working out really well so far (except for the day we didn’t move it, we’ll be talking about that in a future post). I firmly believe in raising our animals in the most natural way possible while minimizing losses and promoting good health. For that rabbits have to be raised on the ground as nature intended. And bonus we get free lawn mowing services and save money on feed costs!
(work in progress)
Youtube