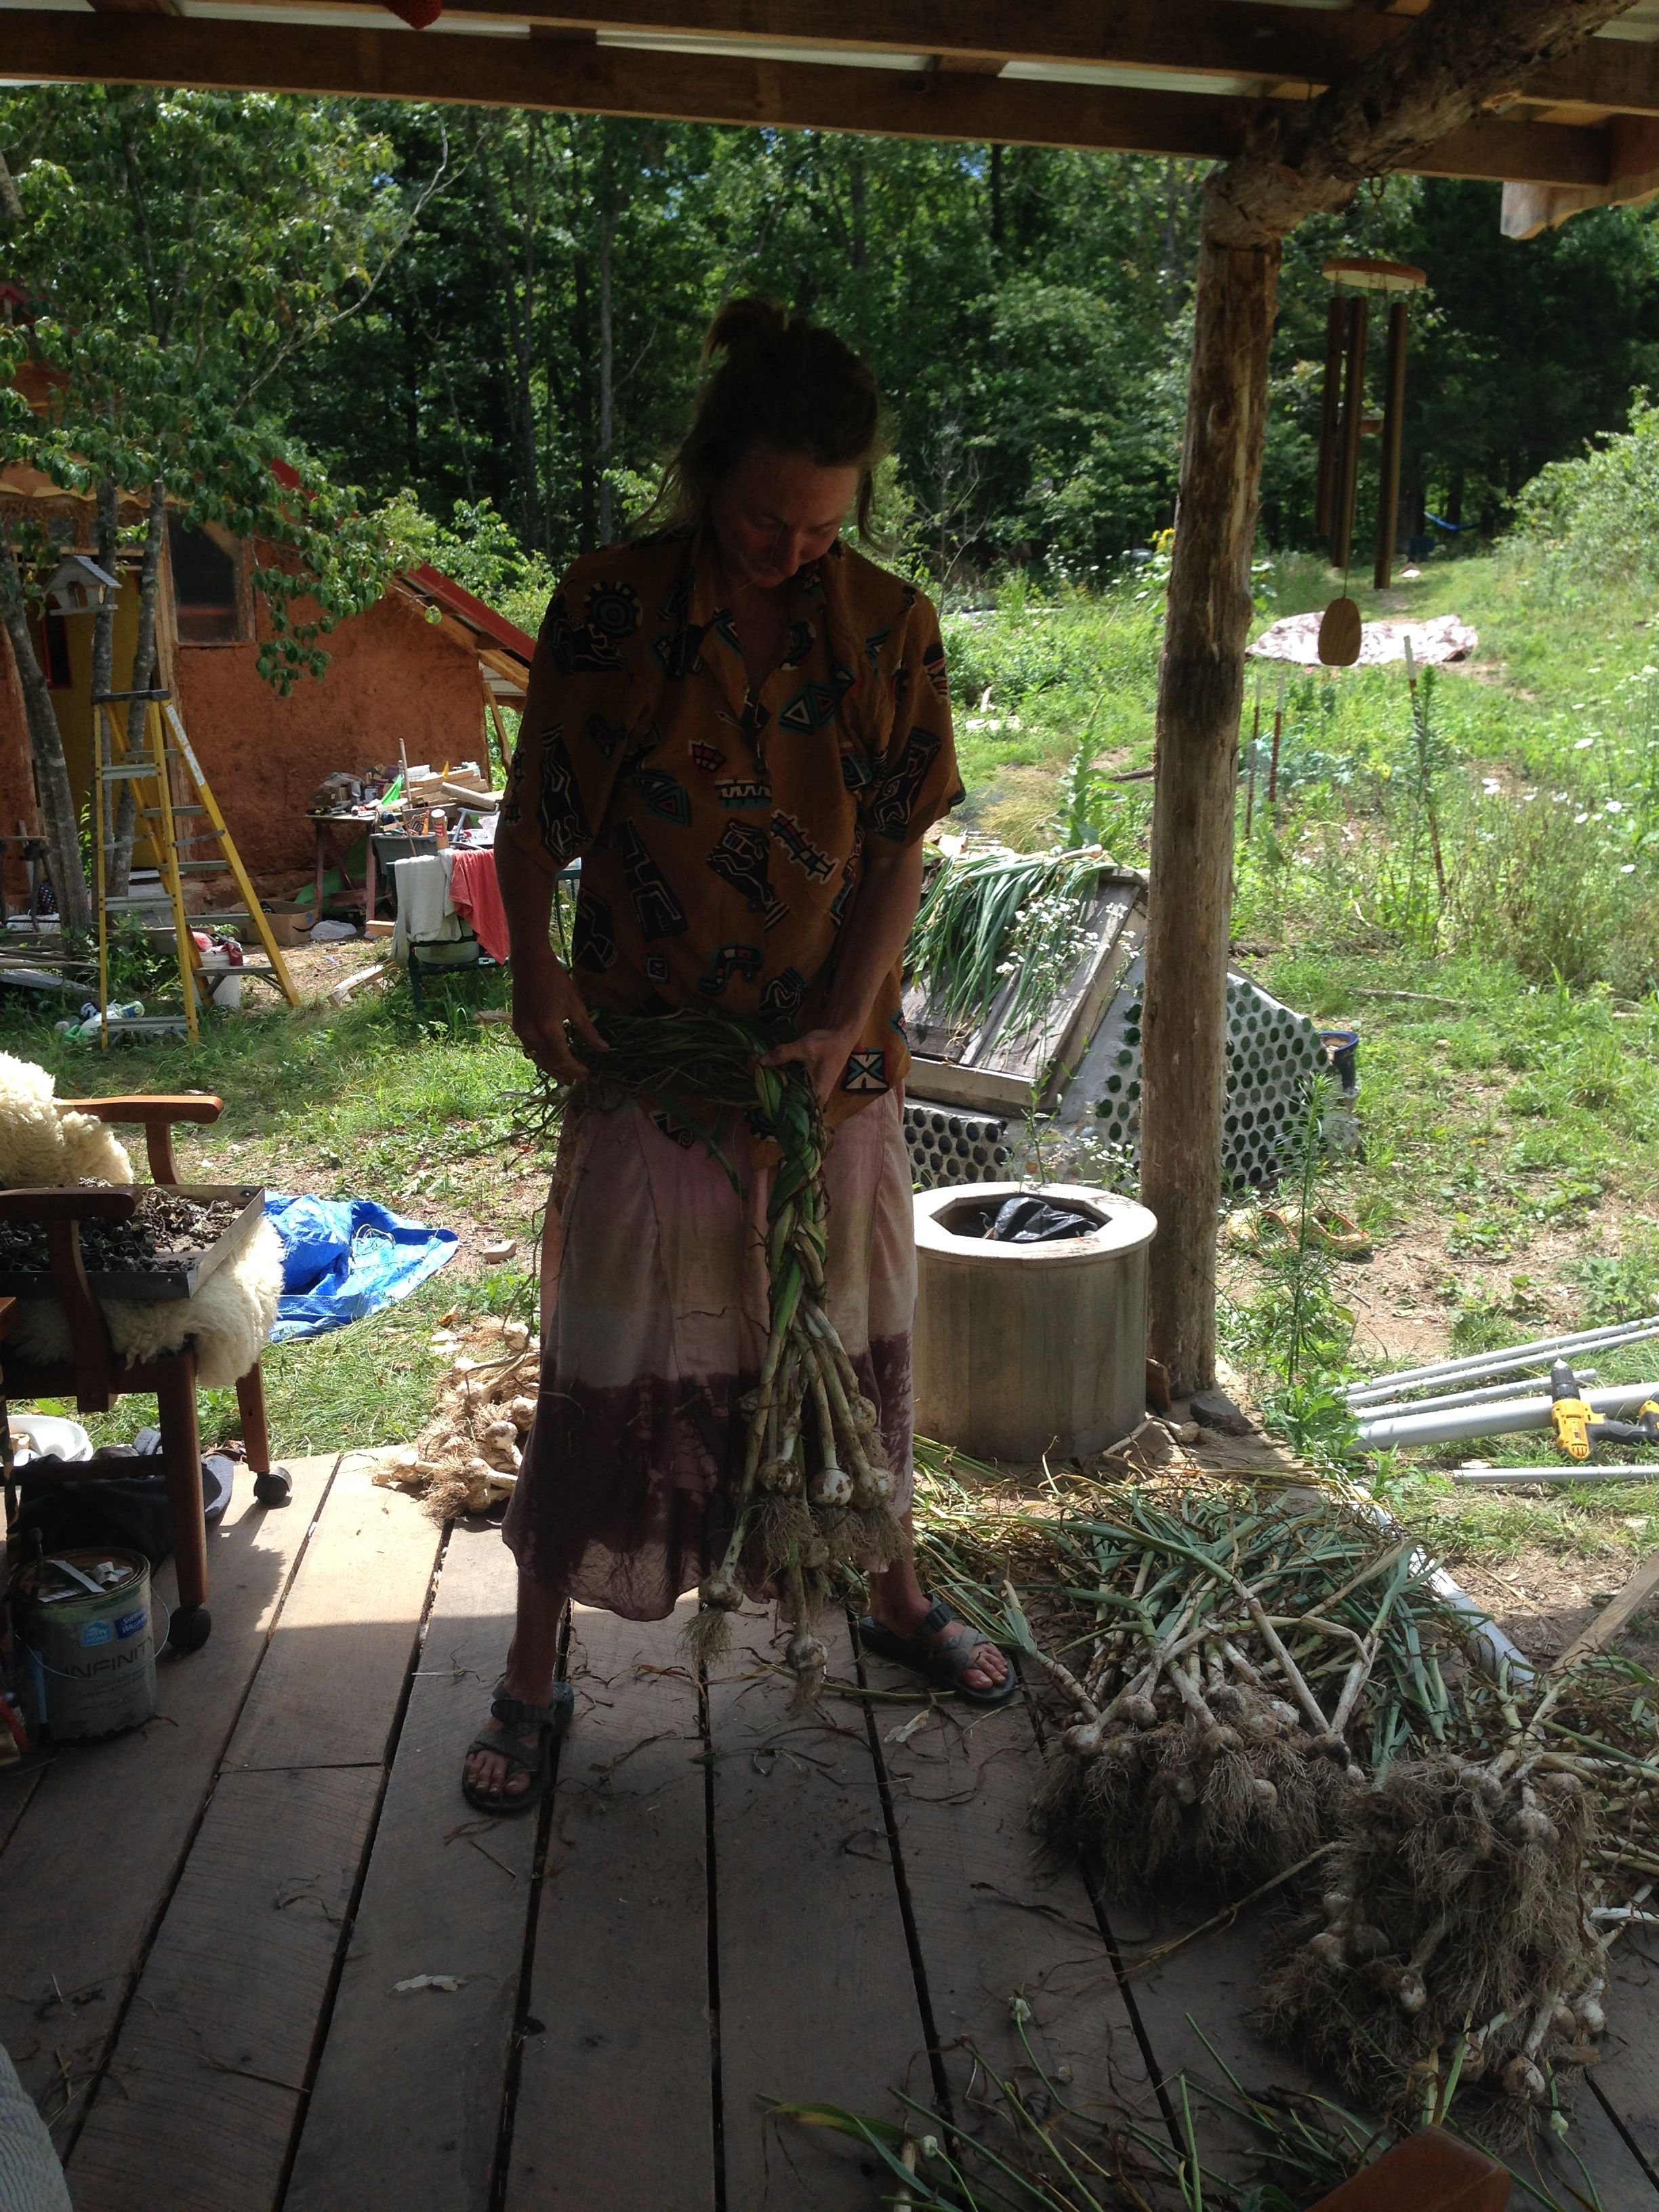
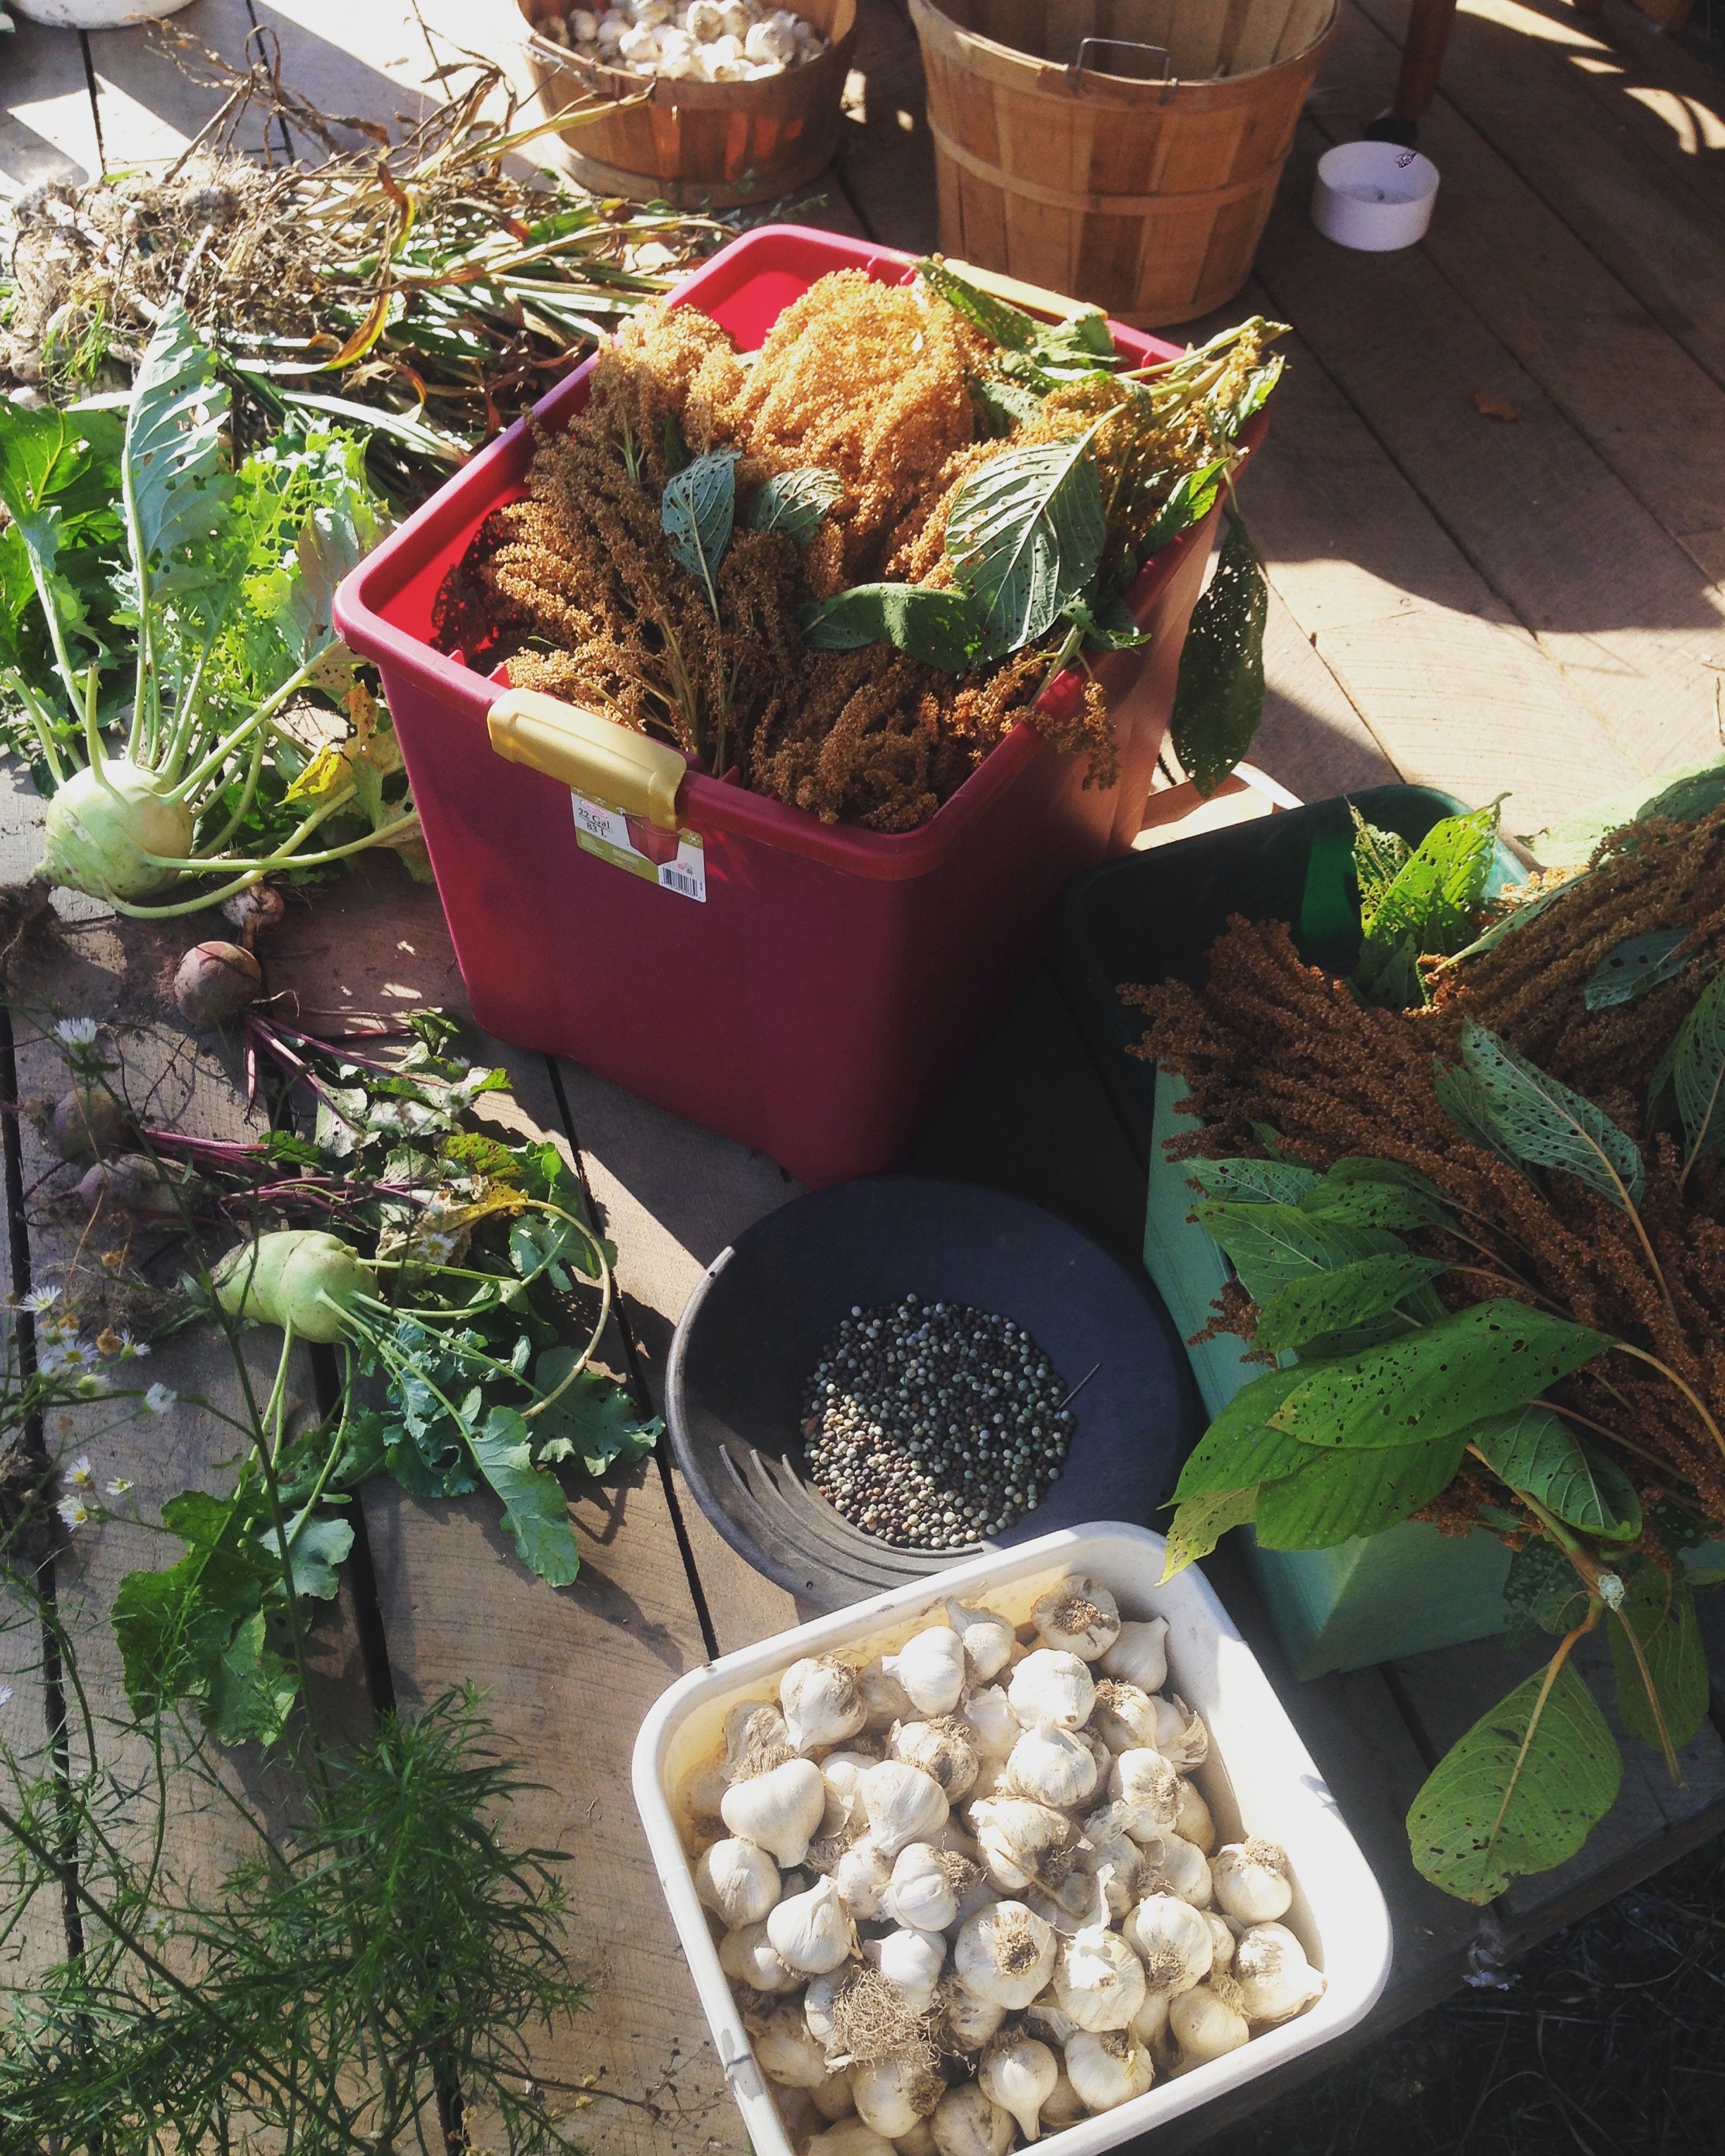
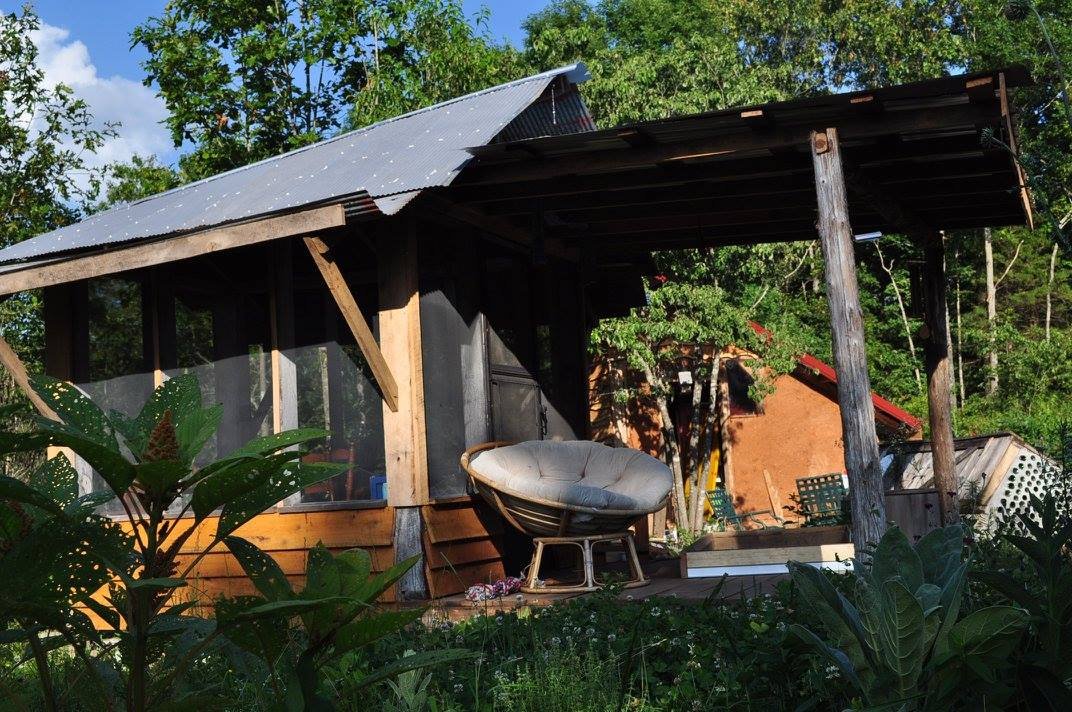
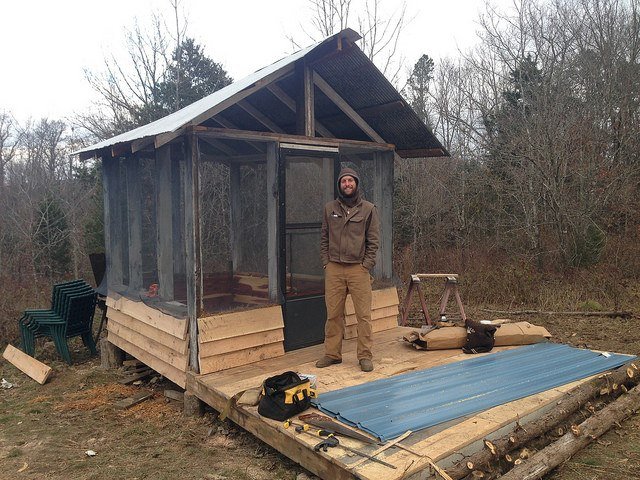
One of the biggest aspects of permaculture is creating spaces that fulfill multiple functions. Our screened in porch gazebo was built with stacking functions in mind. It protects us from bugs and sun. It gives us a cool, dry space with a fan to relax and process garden produce, braid garlic and process seeds in summer. It serves as a place to hang out with friends and have dinner parties. It catches rain water for irrigating plants, acts as a spot for the dogs to sleep and offers an outdoor living room for us to observe and engage with our environment on a regular basis. It does all this and we spent around $400.
In this article, we are going to share the process of building our screened porch gazebo or tea house that cost us very little.
In Winter 2016, we moved on the land. Prior to that, we were living at a friend's house and he had an old barn that he was happy for us to salvage wood and metal roofing from. In Fall 2015, we sanded and cut the old growth red oak and set aside metal roofing. An idea to build a shade building in the garden was birthed and Ini drew up the plans for it and we figured out how to use the old wood from the barn as the studs and framing. Ultimately, some of the wood also came from a local saw mill and we purchased metal screen (so the bugs don't eat it) and screws and nails. That's all we bought for the project new! The door was from a windows and doors thrift store and all the main building was salvaged. Below, we'll walk you through the process and tell you some of the key learning points as newbie builders.
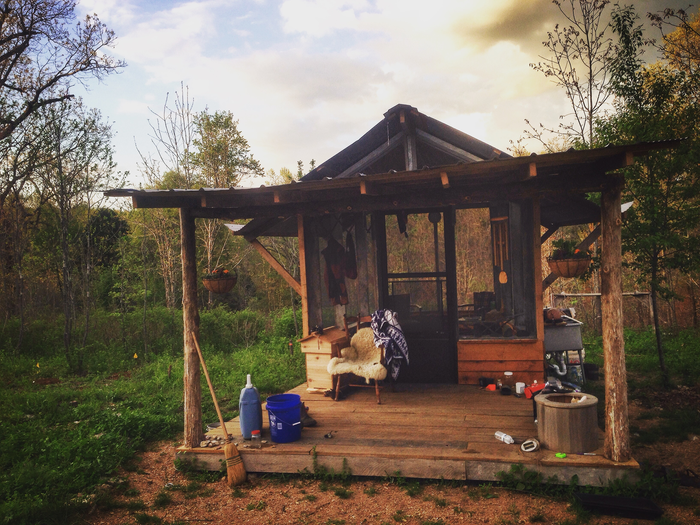
This was a project designed to most efficiently utilize floor joists and rafters from a barn we dismantled while looking for land. We laid out usable members and sought to make an intriguing gazebo that would act as a shady, breezy and bug free outdoor living room. This also gave us another chance to practice a small building to hone skills and techniques. Again we used reclaimed as well as locally milled lumber and a reclaimed metal roof.
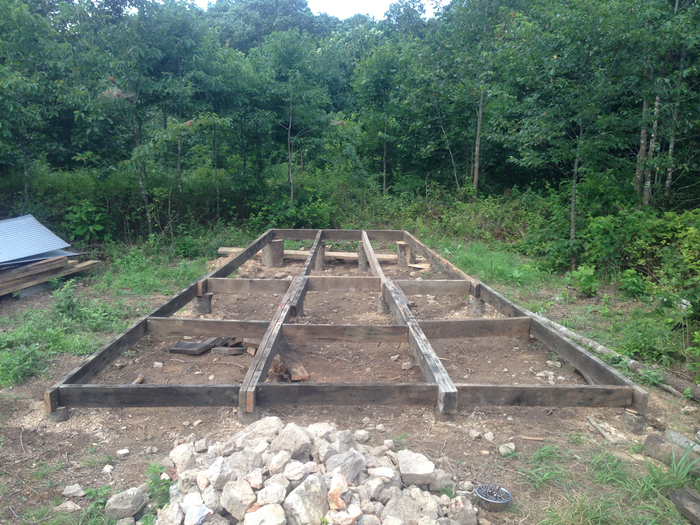
(Here are the joists on locally harvested locust wood post piers. We got the locust from a neighbor's land and it is extremely rot resistant.)
We designed a trapezoidal building with a screened in porch and a covered deck. When I asked some conventionally trained builders for advice they said I couldn't build a trapezoid. It would just be too hard. Well, it was more complex than a rectangle, but also pushed my limits and has more aesthetic appeal.
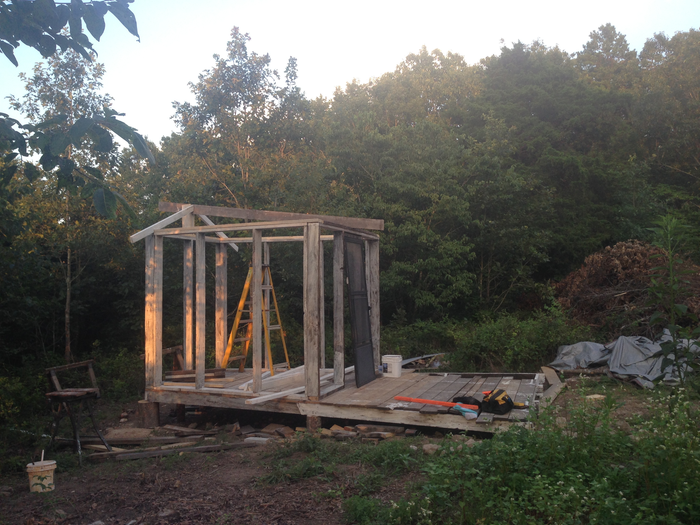
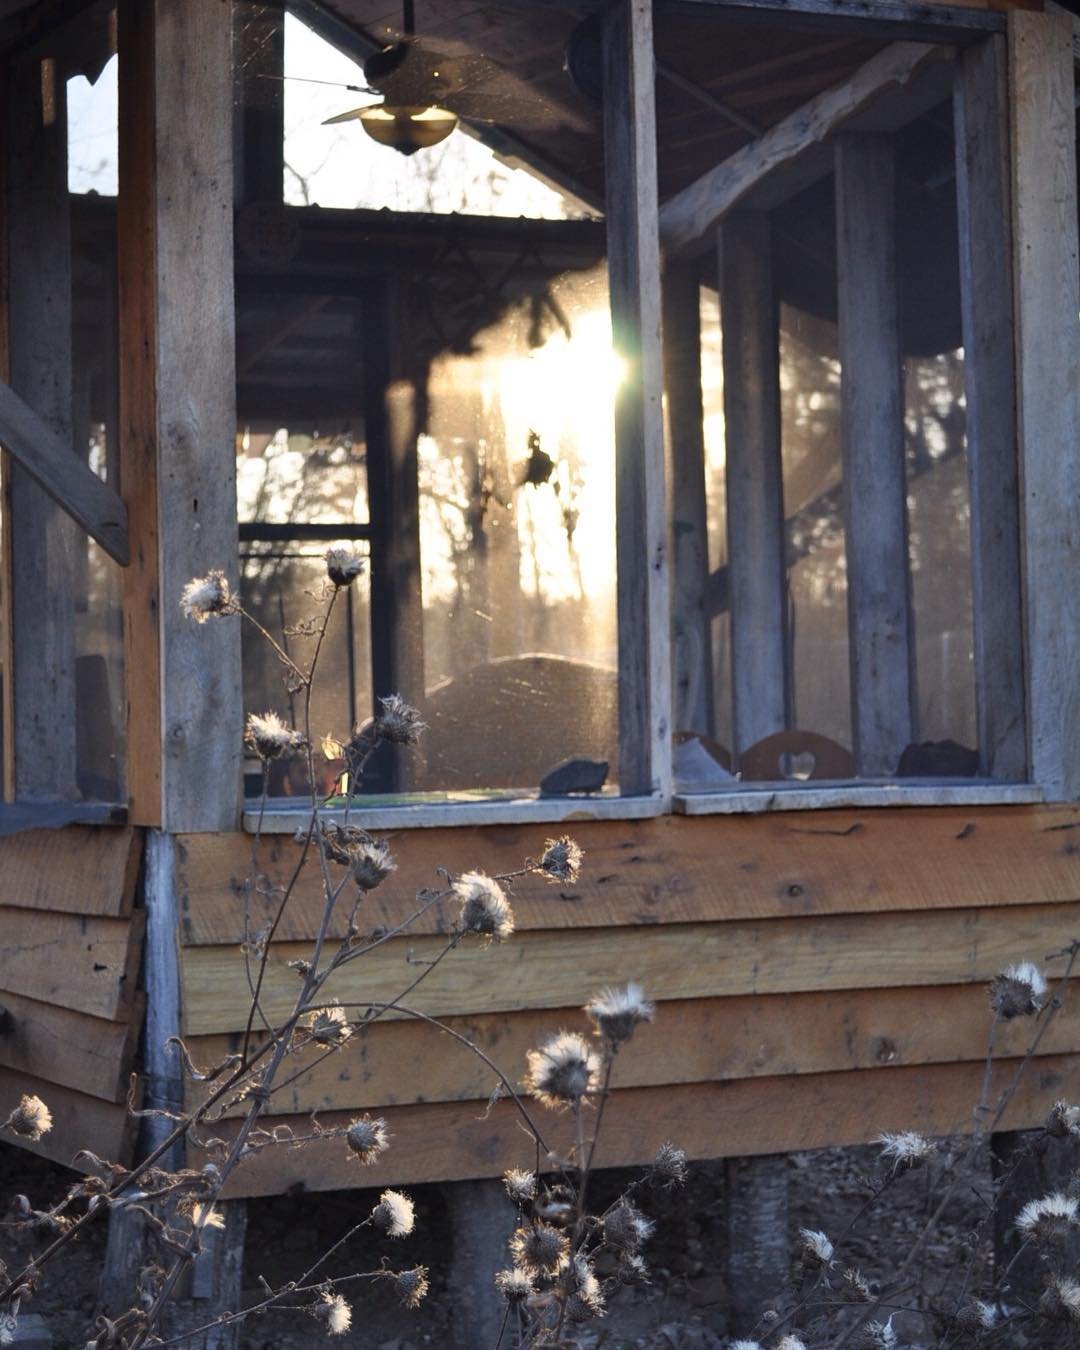
The walls are 2x6 spaced at 4' centers (to accommodate 4' wide screens), with the lower 2' in slip straw covered by cedar paneling inside and oak 1x8s on the exterior (both milled locally). The roof was a little tricky due to the trapezoidal shape, but was a great exercise in figuring out rafter layout. We sheathed it in reclaimed corrugated metal.
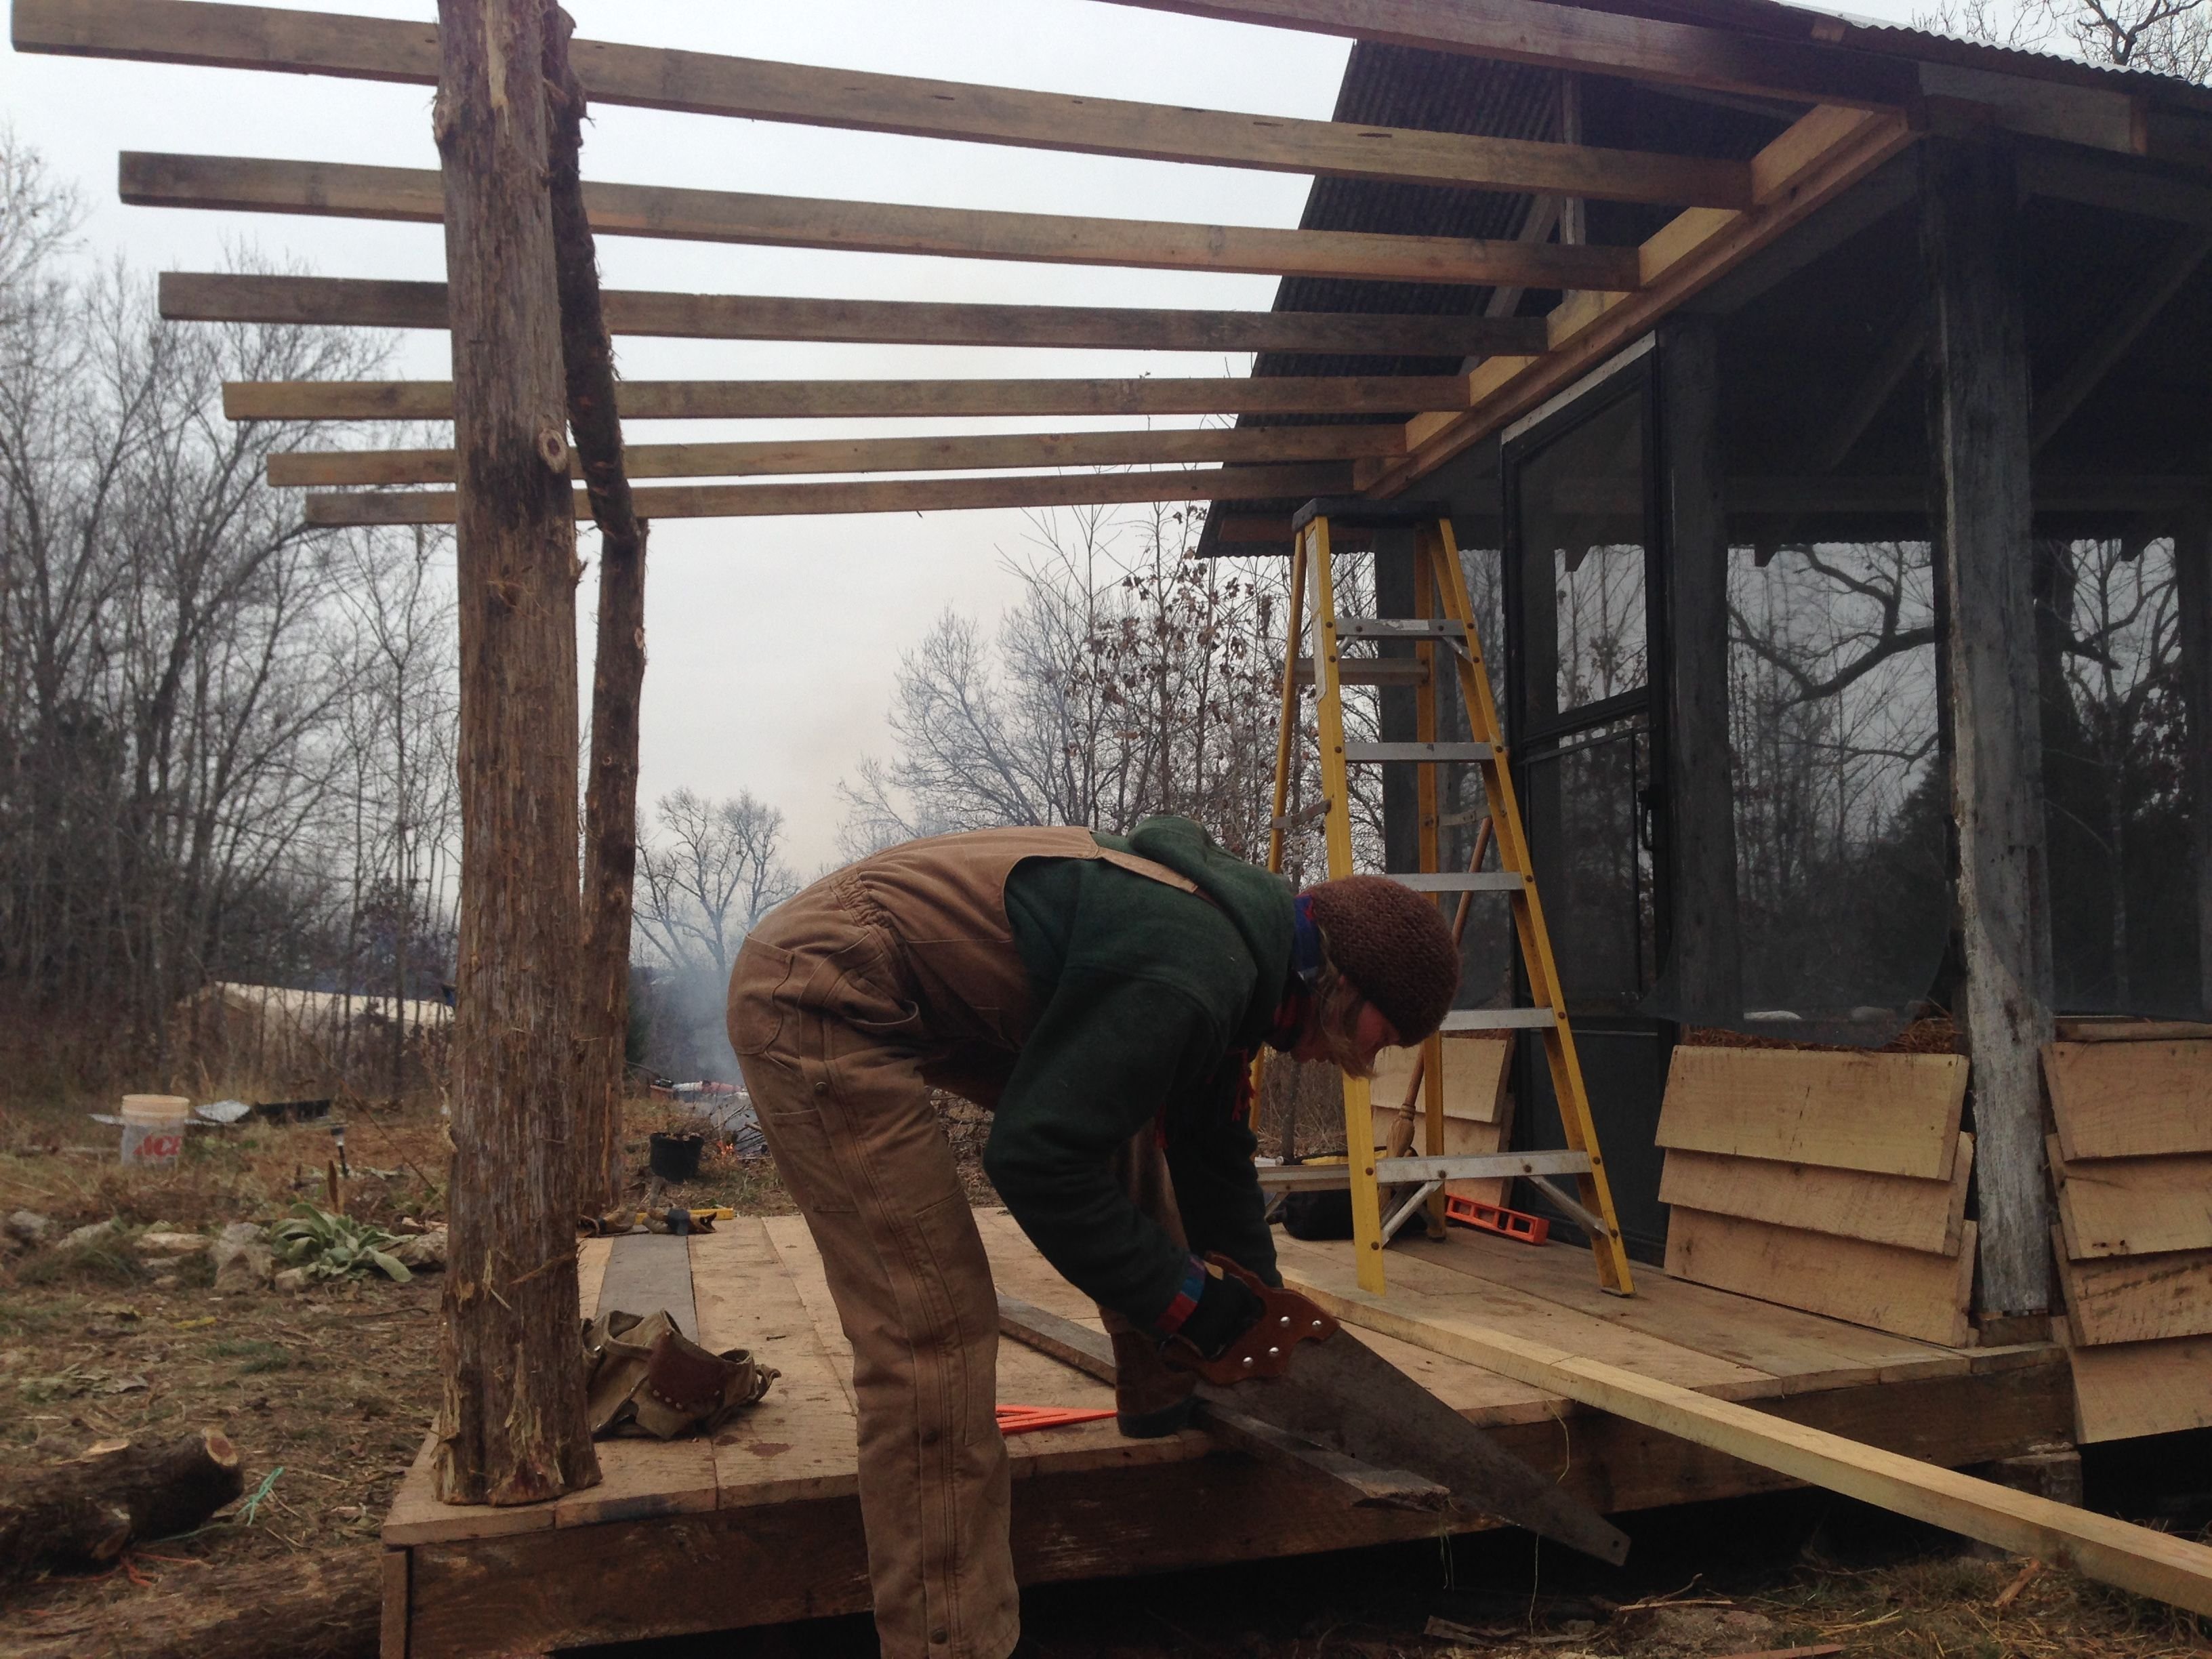
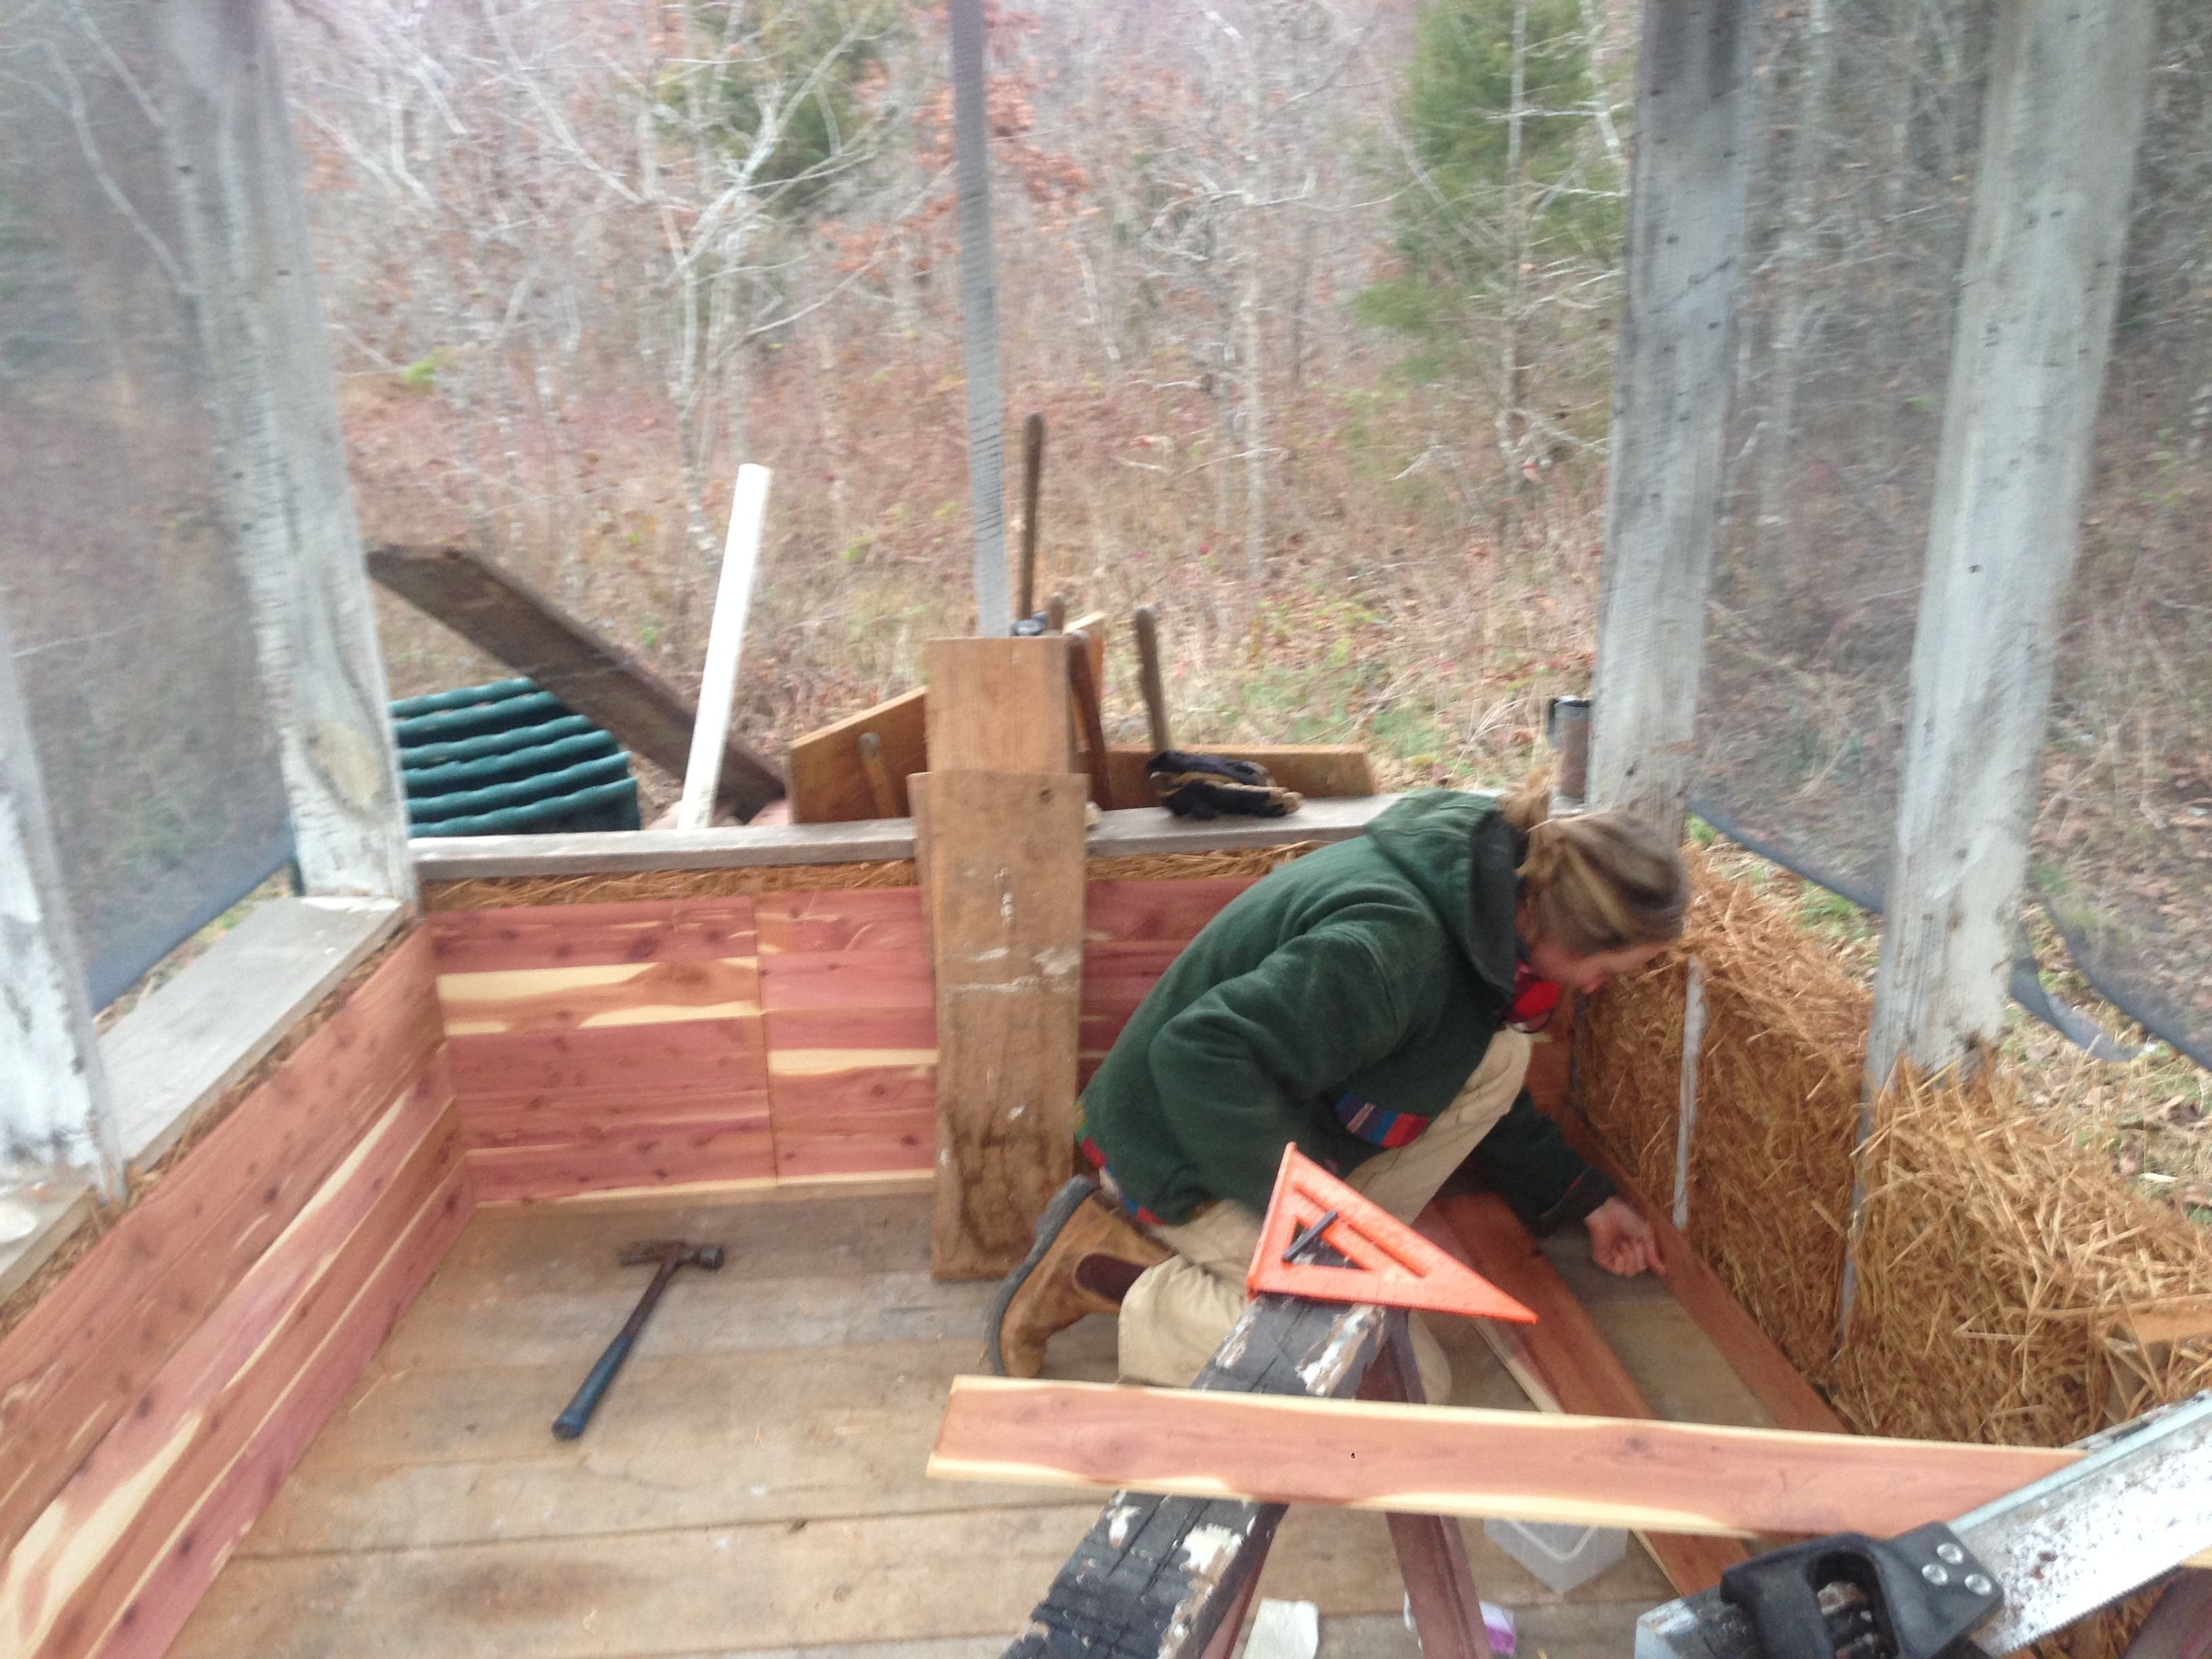
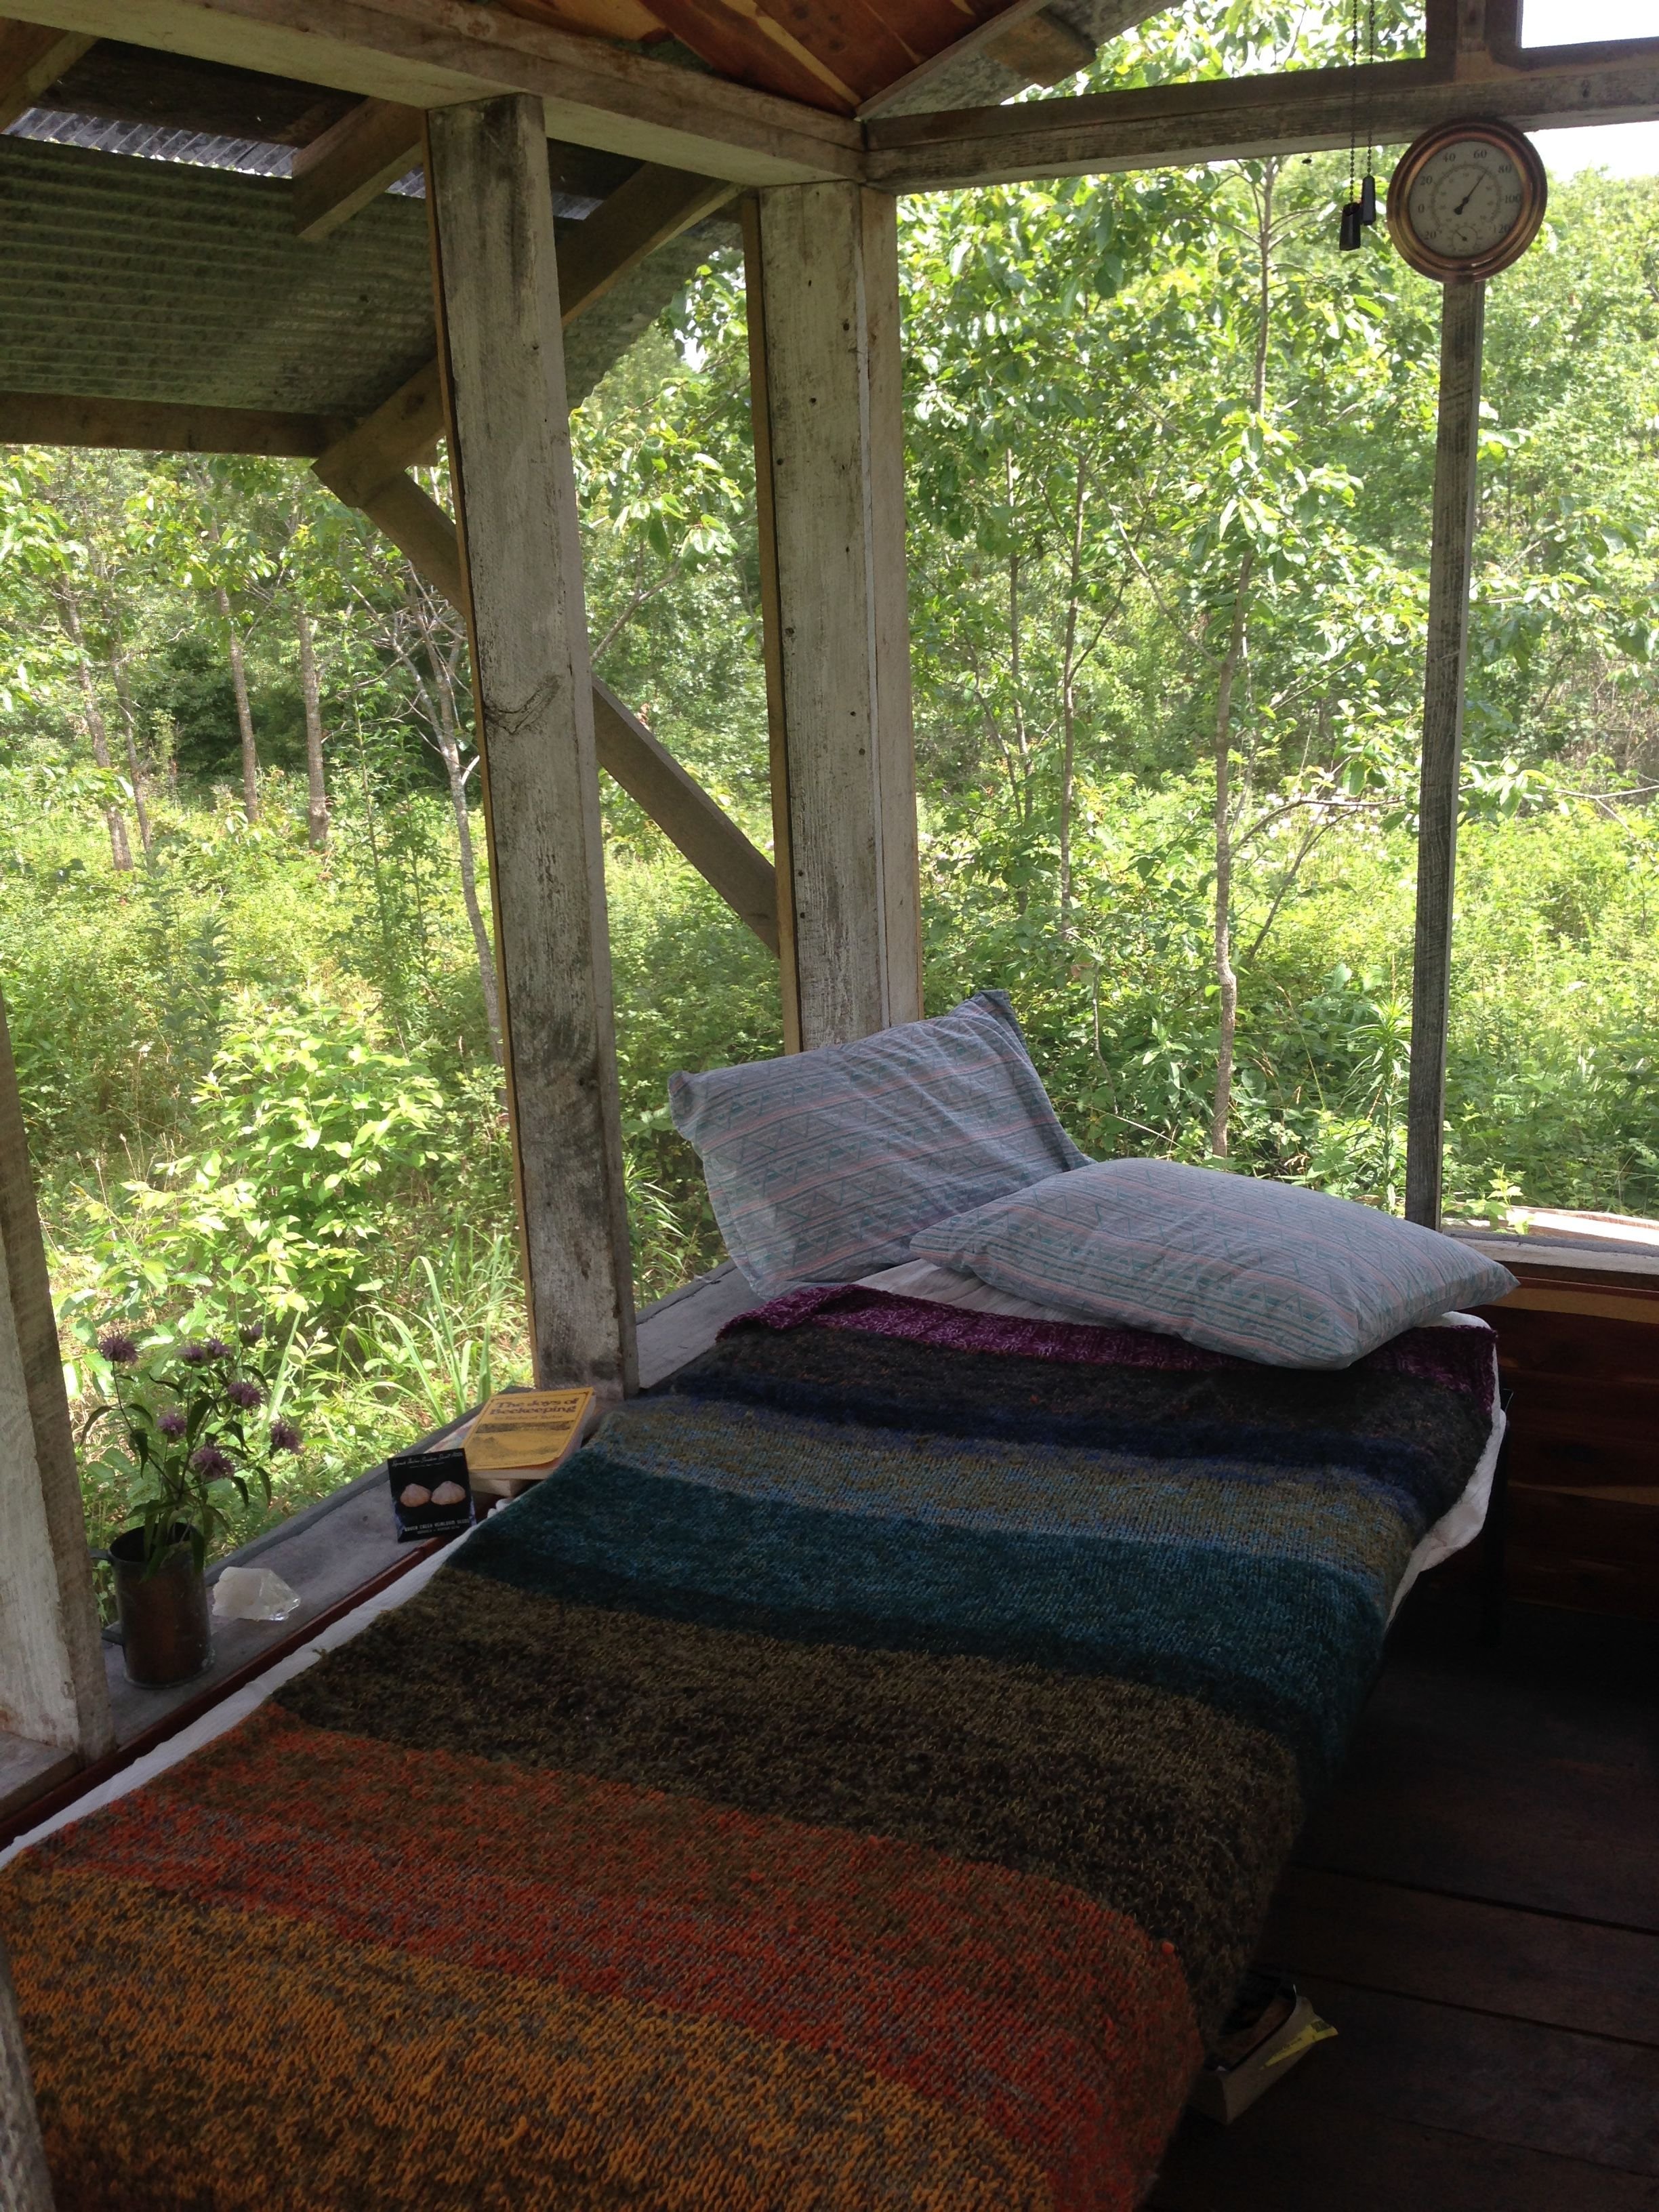
The roof for the deck was built after the 1x8 rough sawn oak was laid on as decking. We used round cedar posts and a beam to support the roof coming of the main building. A through mortise and tenon to connect the post and beam was my first attempt and timber joinery. We made sure to include generous overhangs to create a fully shaded interior most of the year (summer sun can be way too much at times). Then we filled in between the stud frames with slip straw (clay slip with straw using forms) and, after that was dry, Wren tacked on tongue and groove cedar to give it a finished look. In summer, after we got the solar system set up, we wired up a ceiling fan to make the place that much sweeter. We hung out in there so much that summer, even putting a bed in there and sleeping out there some nights when it was very hot.
Here are some of the Lessons we learned while building this building:
- Plane rough sawn wood to be used as decking. We used green unplaned oak and found the variance in thickness to be acceptable for such a rough outdoor space, but really would prefer if it were planed and seasoned before install. The 1/4" gaps left between boards got a LOT bigger once the wood shrunk.
- Don't install screens alone. I did install some of the screens alone, and this created unsightly ripples and sags. An extra set of hands would allow for better tension to be maintained. Aluminum screen was used to avoid insect damage.
- Creating a faux stud allows you to span more than 24" in slip straw. We added a 2x4 between 2x6 studs and used a paddle bit to make 4 hole about 4" apart which we threaded with bamboo harvested on an adjacent property.
- Account for taper and bow in round wood. I leveled the top of posts and found once I put on a tapered beam, the rafter were not level and the roof line sagged. Not so great...