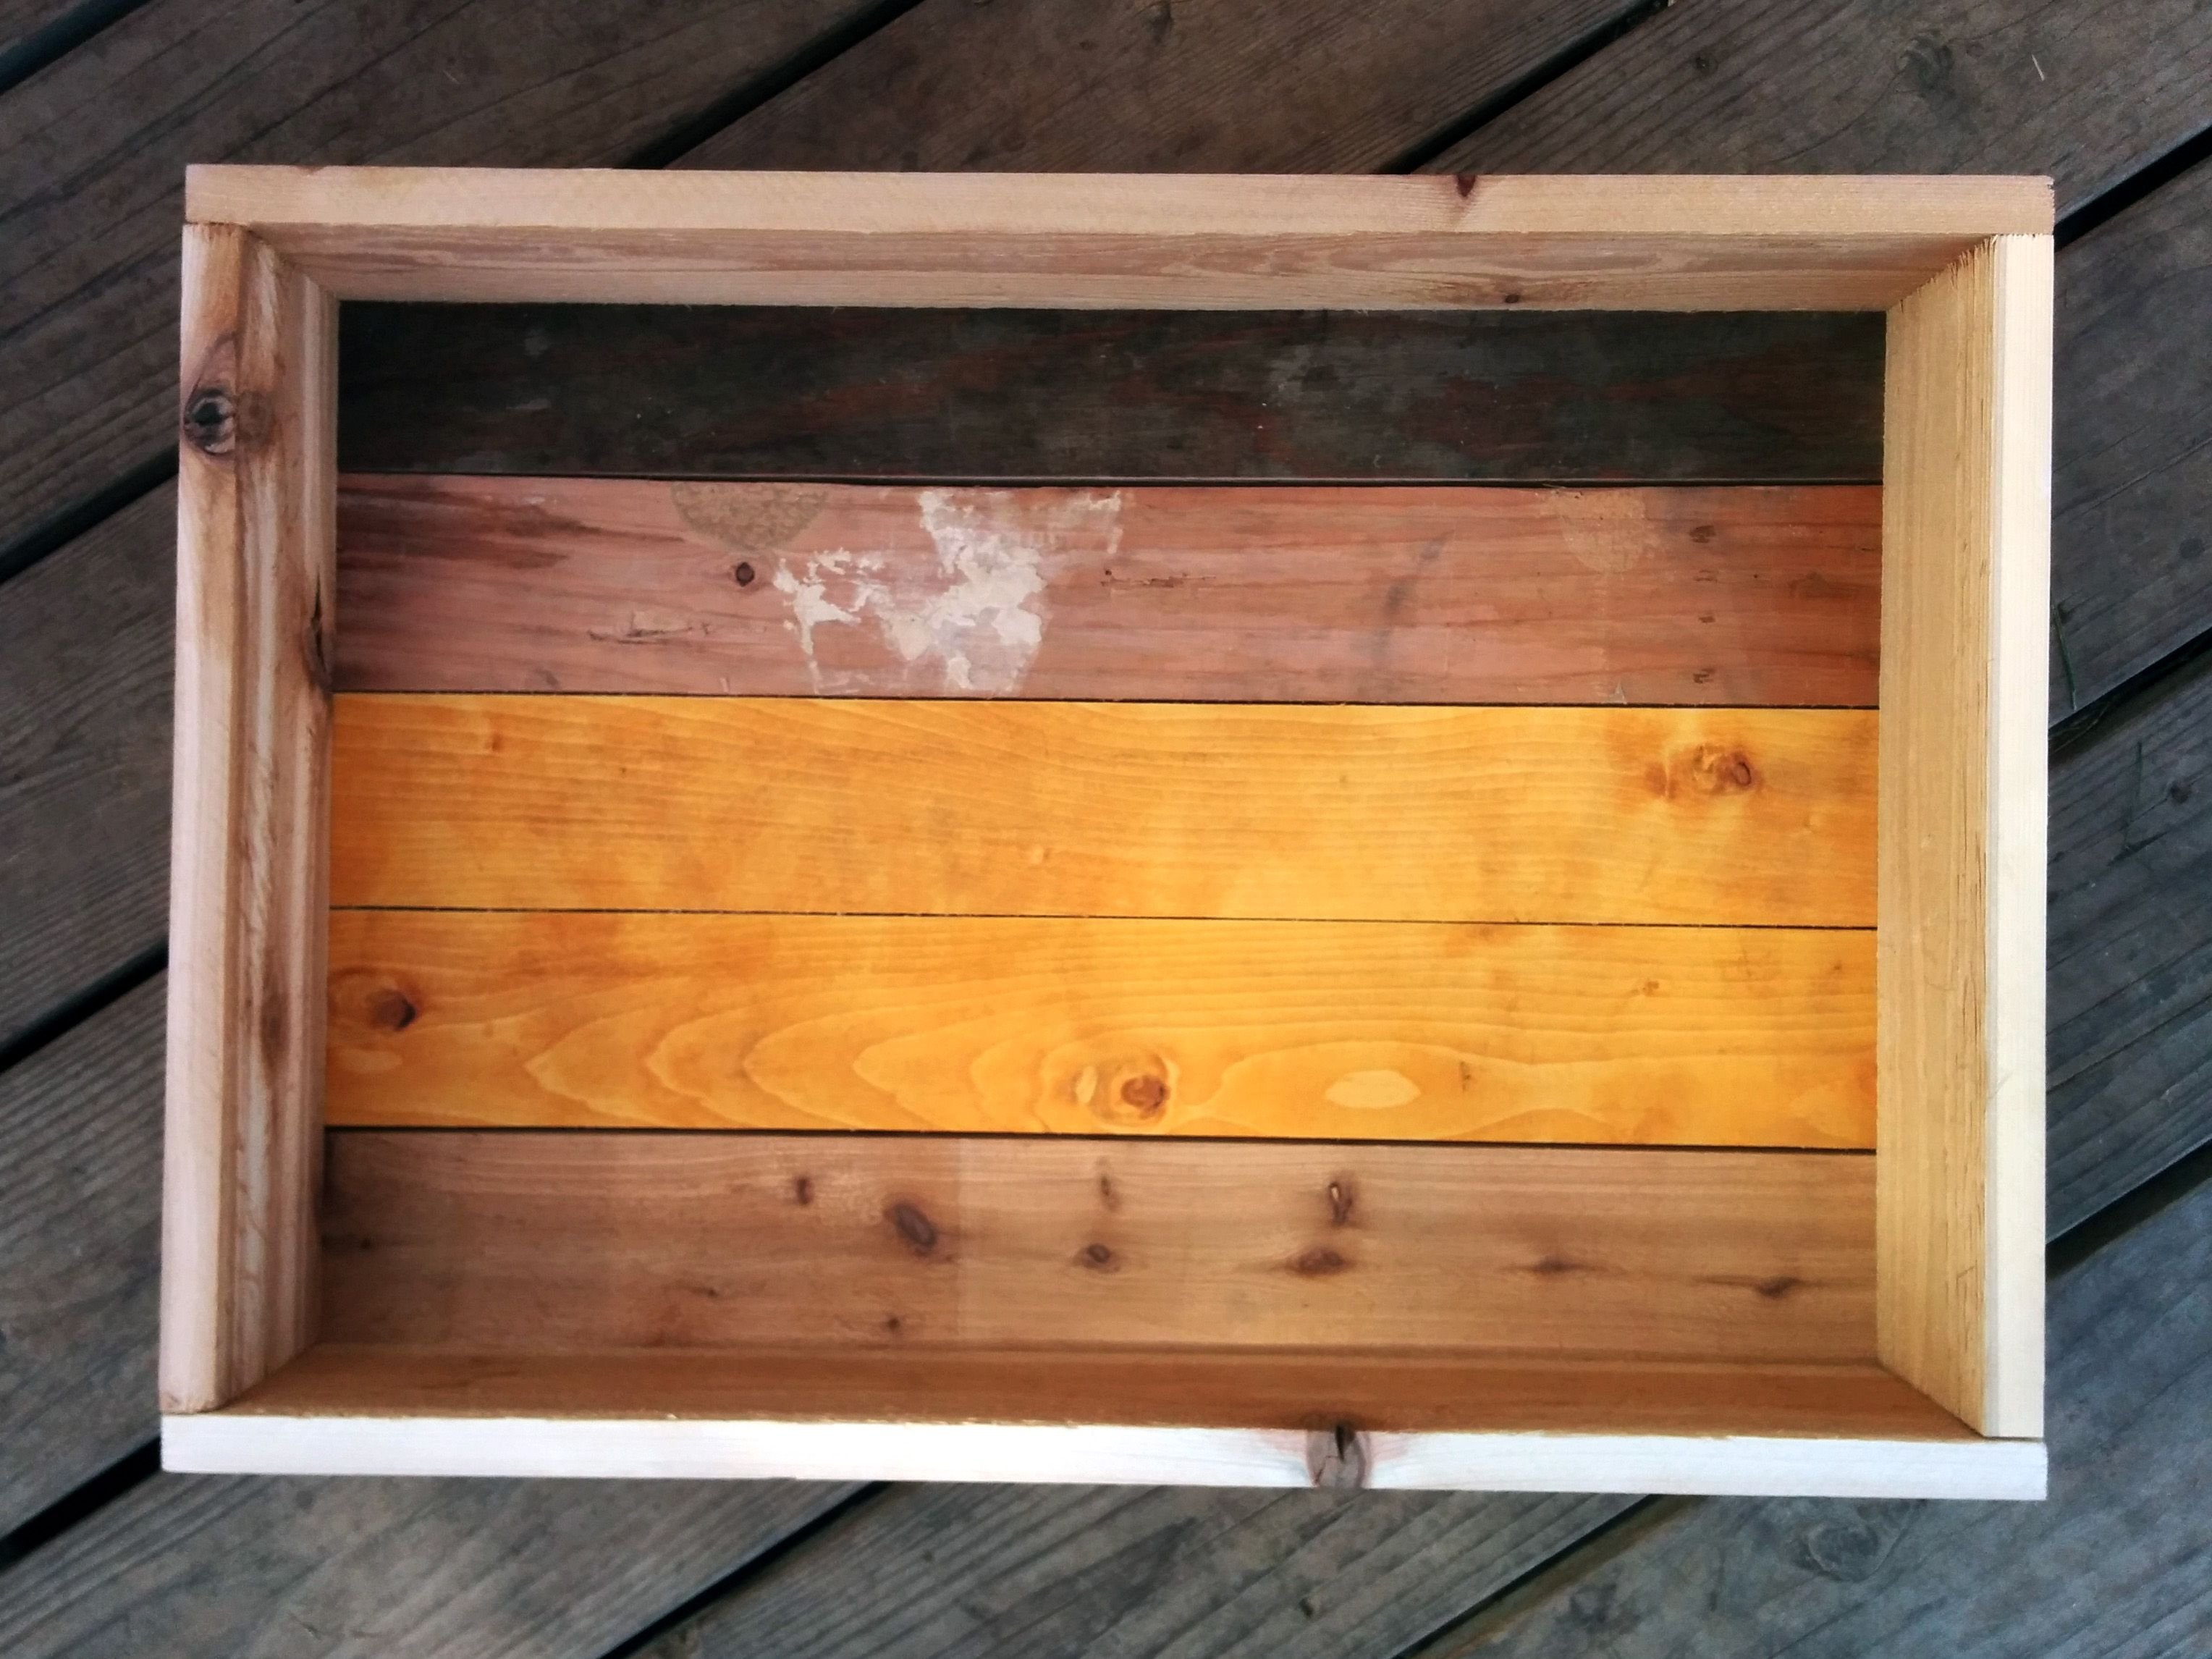
I'll show you how we made our own seed flats from free scrap wood. The total cost was the price of nails and our own sweat equity.
Earlier this winter we were thinking about the new garden we would be planting this spring. While there were still a lot of unknowns about the space we would be planting, what we did know was that we wanted to start a lot of veggies and flowers from seed!
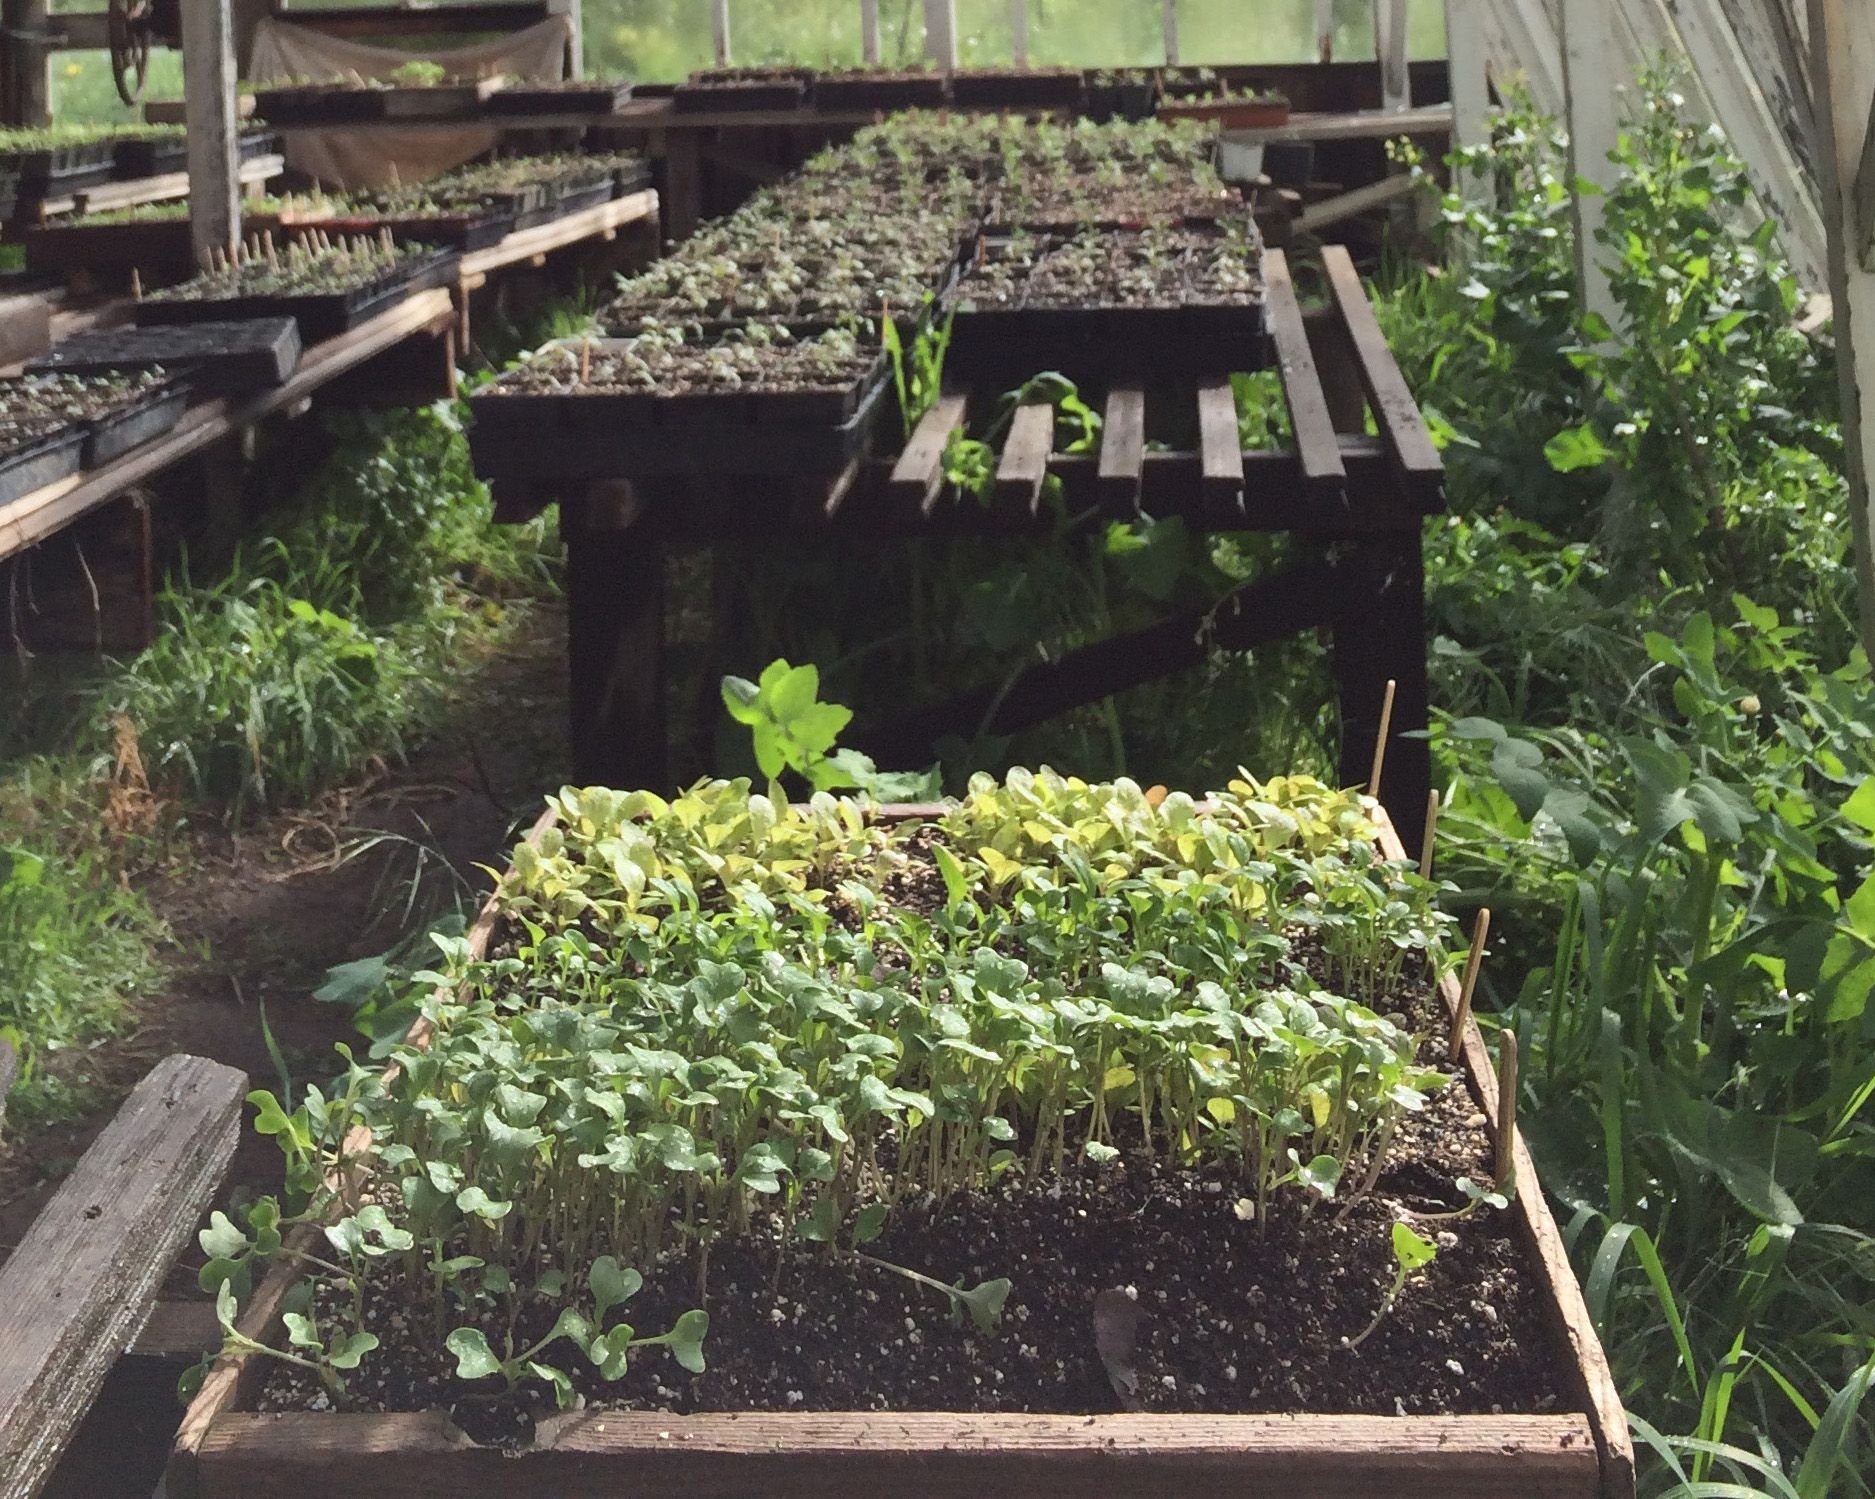
We thought back to our past experience propagating seeds on the farms we have worked for and agreed that we both loved the wooden seed flats that were in use at Camp Joy Gardens (where @idyllwild apprenticed) and how nice it would be to build our own seed boxes. It would be a good way to dust off some basic carpentry skills and put them back into practice before taking on bigger projects.
After digging through some photos we had a rough idea of how the seed flats were constructed but were looking for a more solid plan in case there was more foresight to be had before building.
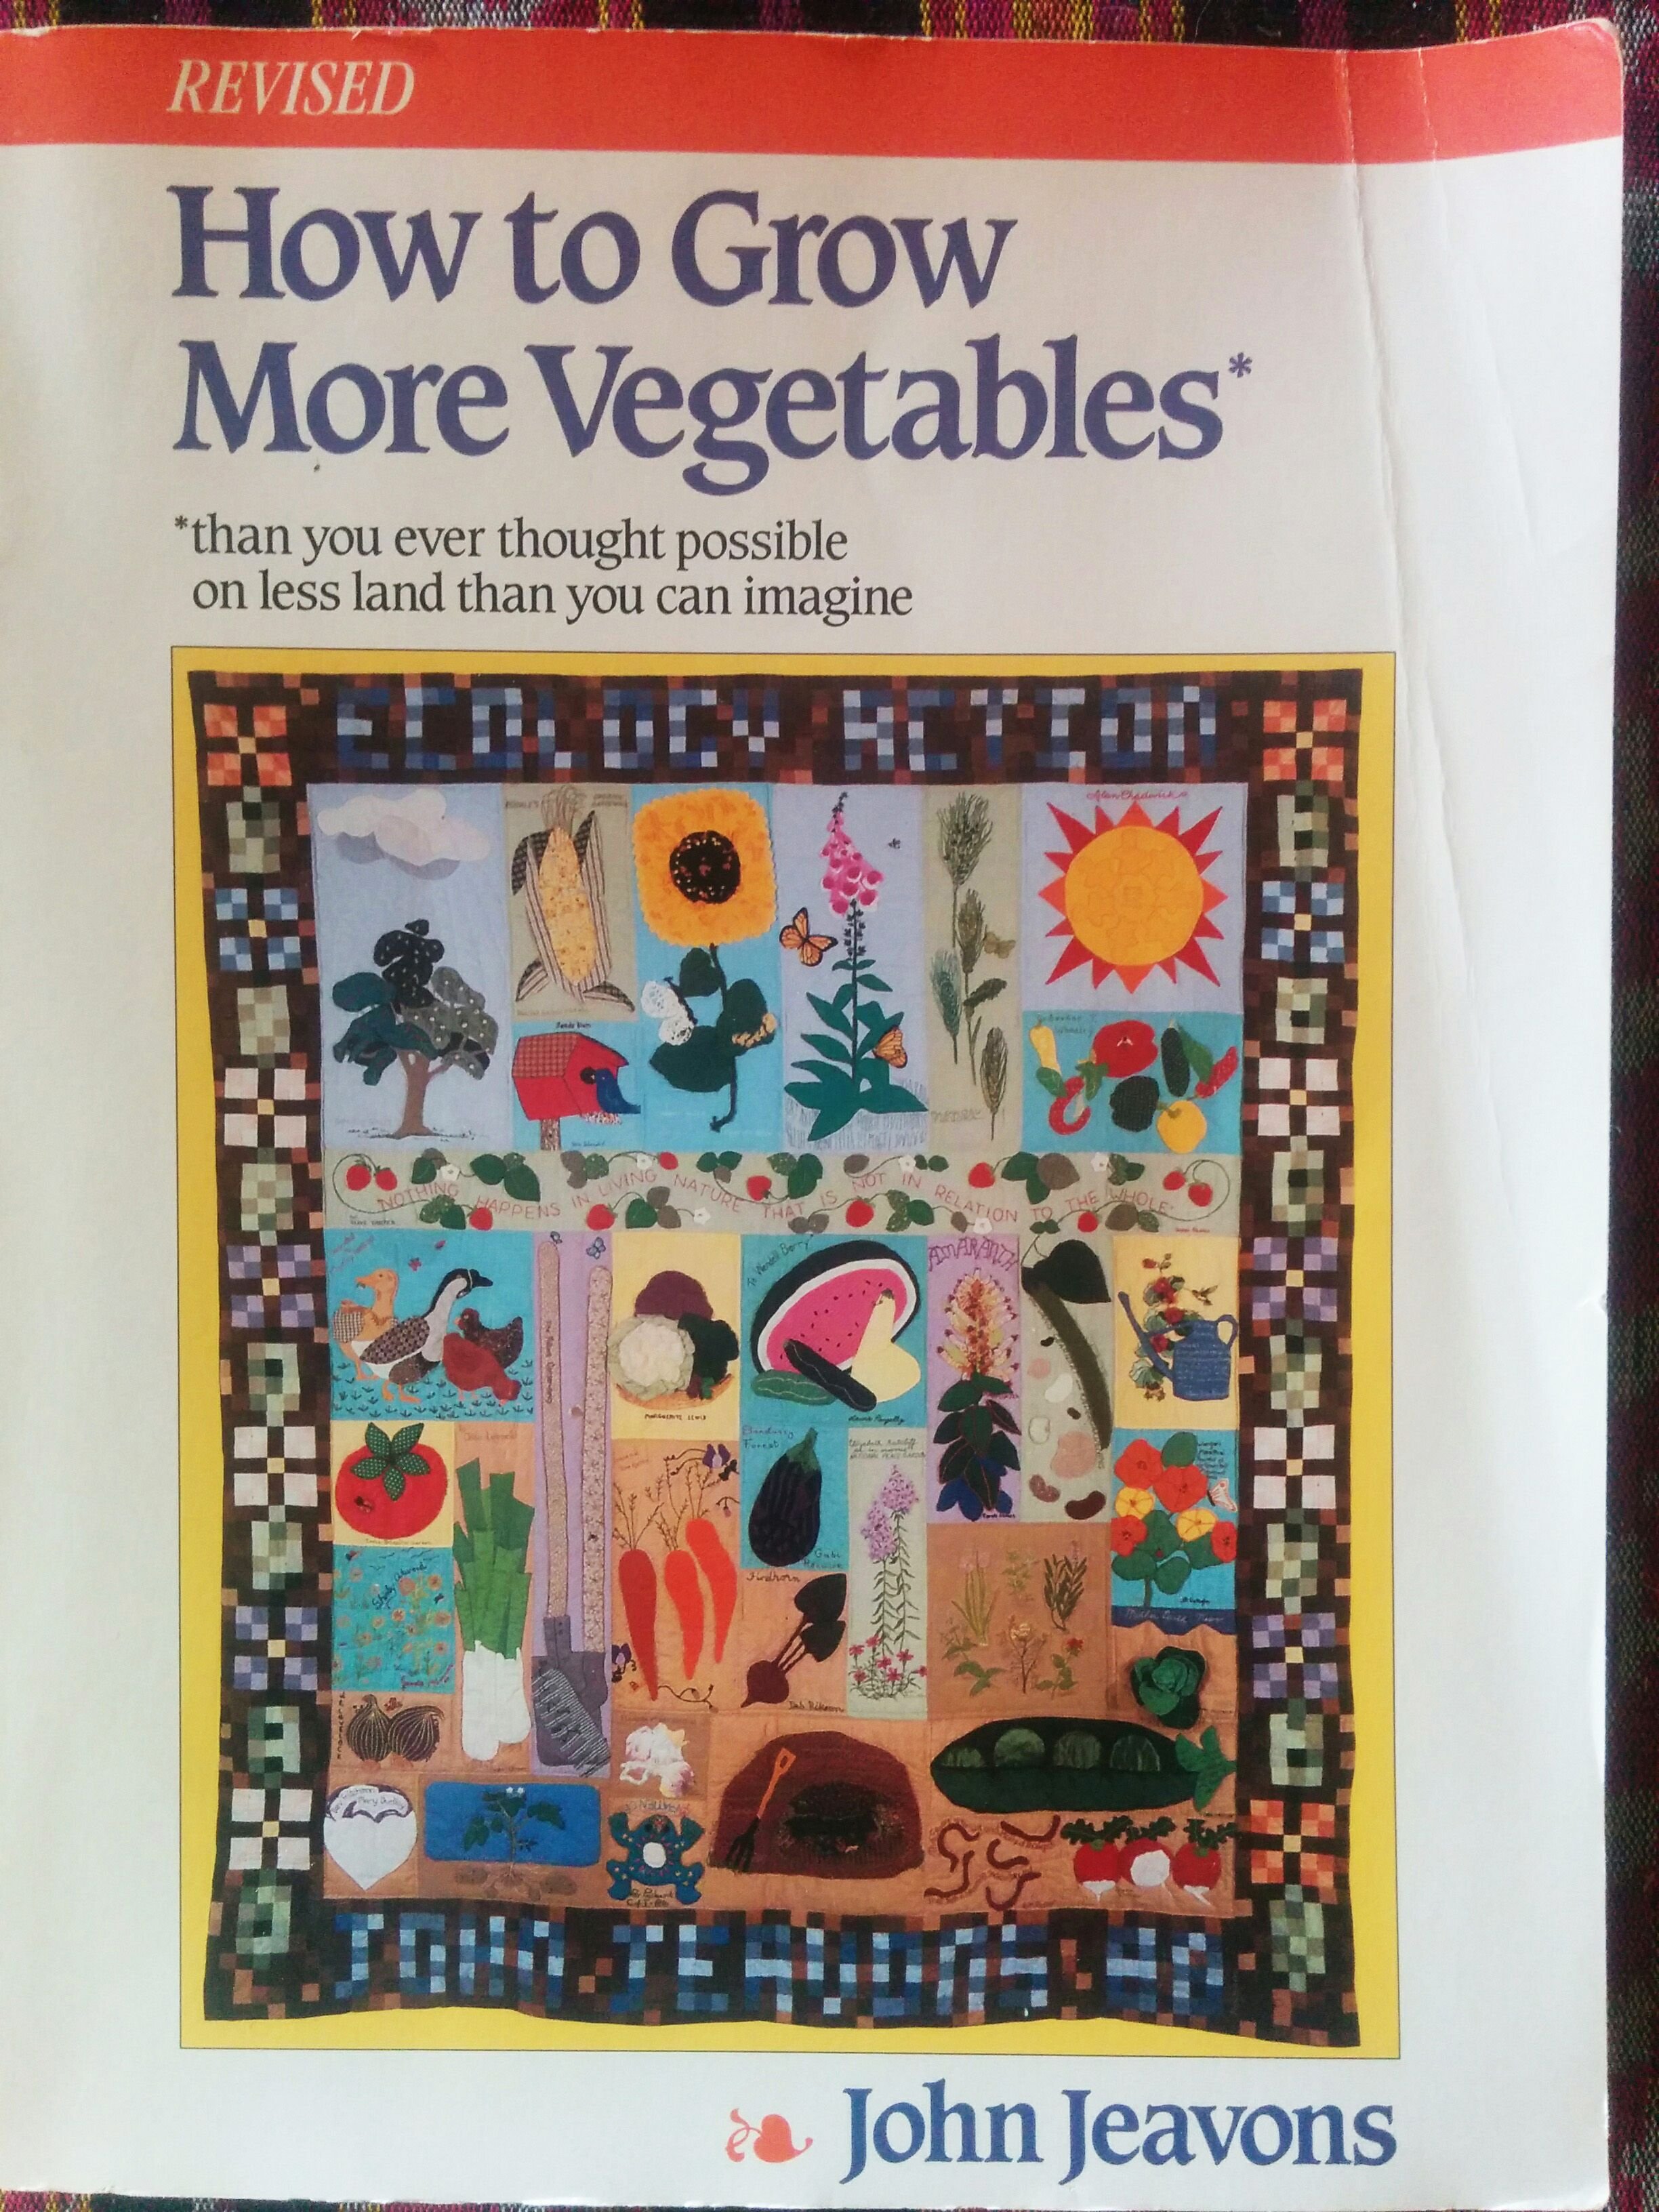
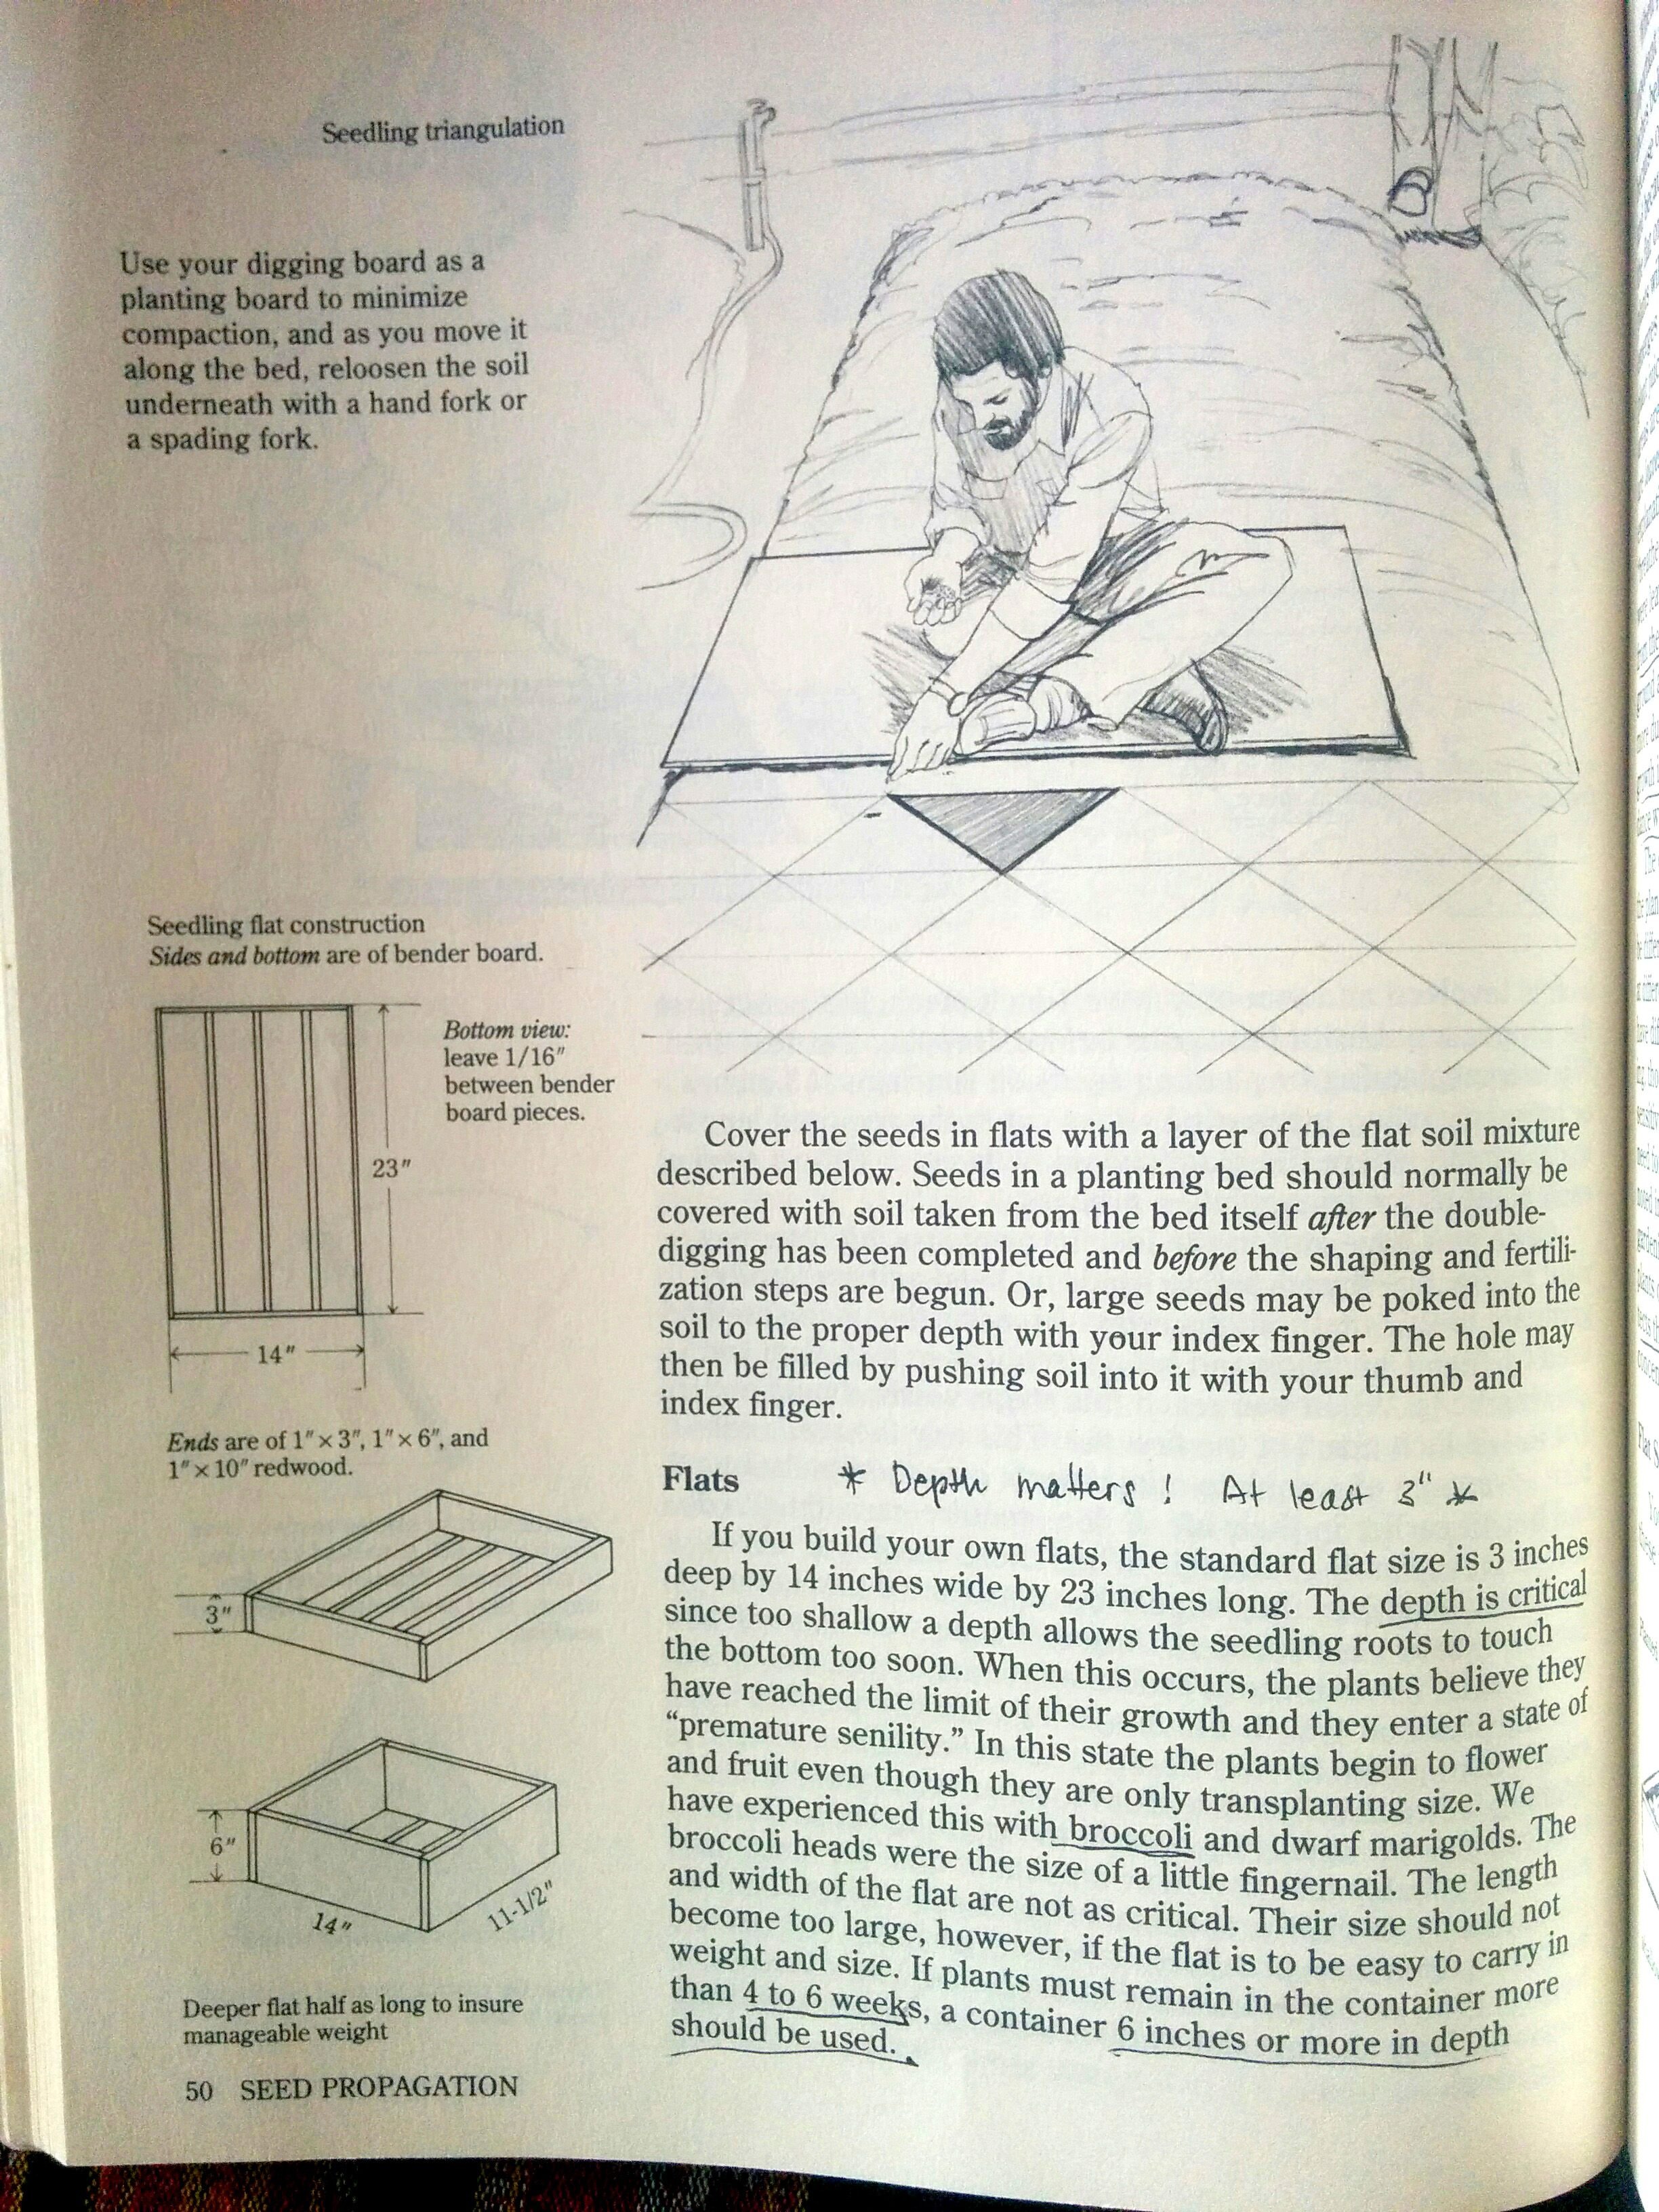
We picked up our copy of John Jeavon's How to Grow More Vegetables and were in luck - there were some plans for seed flats with some well thought out reasoning for dimensions, in particular depth of the wooden flats.
If you can't read the following image you can right click it and "view image" for the full resolution.
John Jeavons was mentored by the same Alan Chadwick as Jim Nelson of Camp Joy Gardens, so we trusted in his plans.
Shortly after we made the intention to build our flats I started scrounging for wood. Luckily my friends had some wood paneling left over from a previous remodeling project that were discards due to flaws that were destined to become firewood - as well as some old plywood. They were perfect for making seed flats!
The wood was 3/4" instead of 1", but it seemed thick enough and sturdy enough to accept nails. A lot of the scrap pine wood was tongue and groove and I measured after the tongue and groove would be ripped out it would be 3 1/2" wide. So instead of sticking to the 3" depth I kept the extra 1/2" for 3 1/2" depth. Rather than cutting it out I figured it would come in handy later, and we didn't have to fill the soil to the top.
We also decided to adjust the measurements slightly smaller on the length so that it would be easier to carry. The long sides would be 22" and the shorter ends would be 14" for a total planting space of 14" x 20 1/2" x 3 1/2".
There were quite a few different pieces of wood in widths ranging from 2" to 5". I decided to use the non-uniform pieces as bottoms and have varying widths of bottom slats that would add up to the full size. It would have been easier to use uniform widths for measuring everything out but I wanted to take advantage of the free material and maximize the number of boxes we built.
After getting the basic measurements figured out I started ripping all the boards I had at hand to the widths that I wanted to work with.
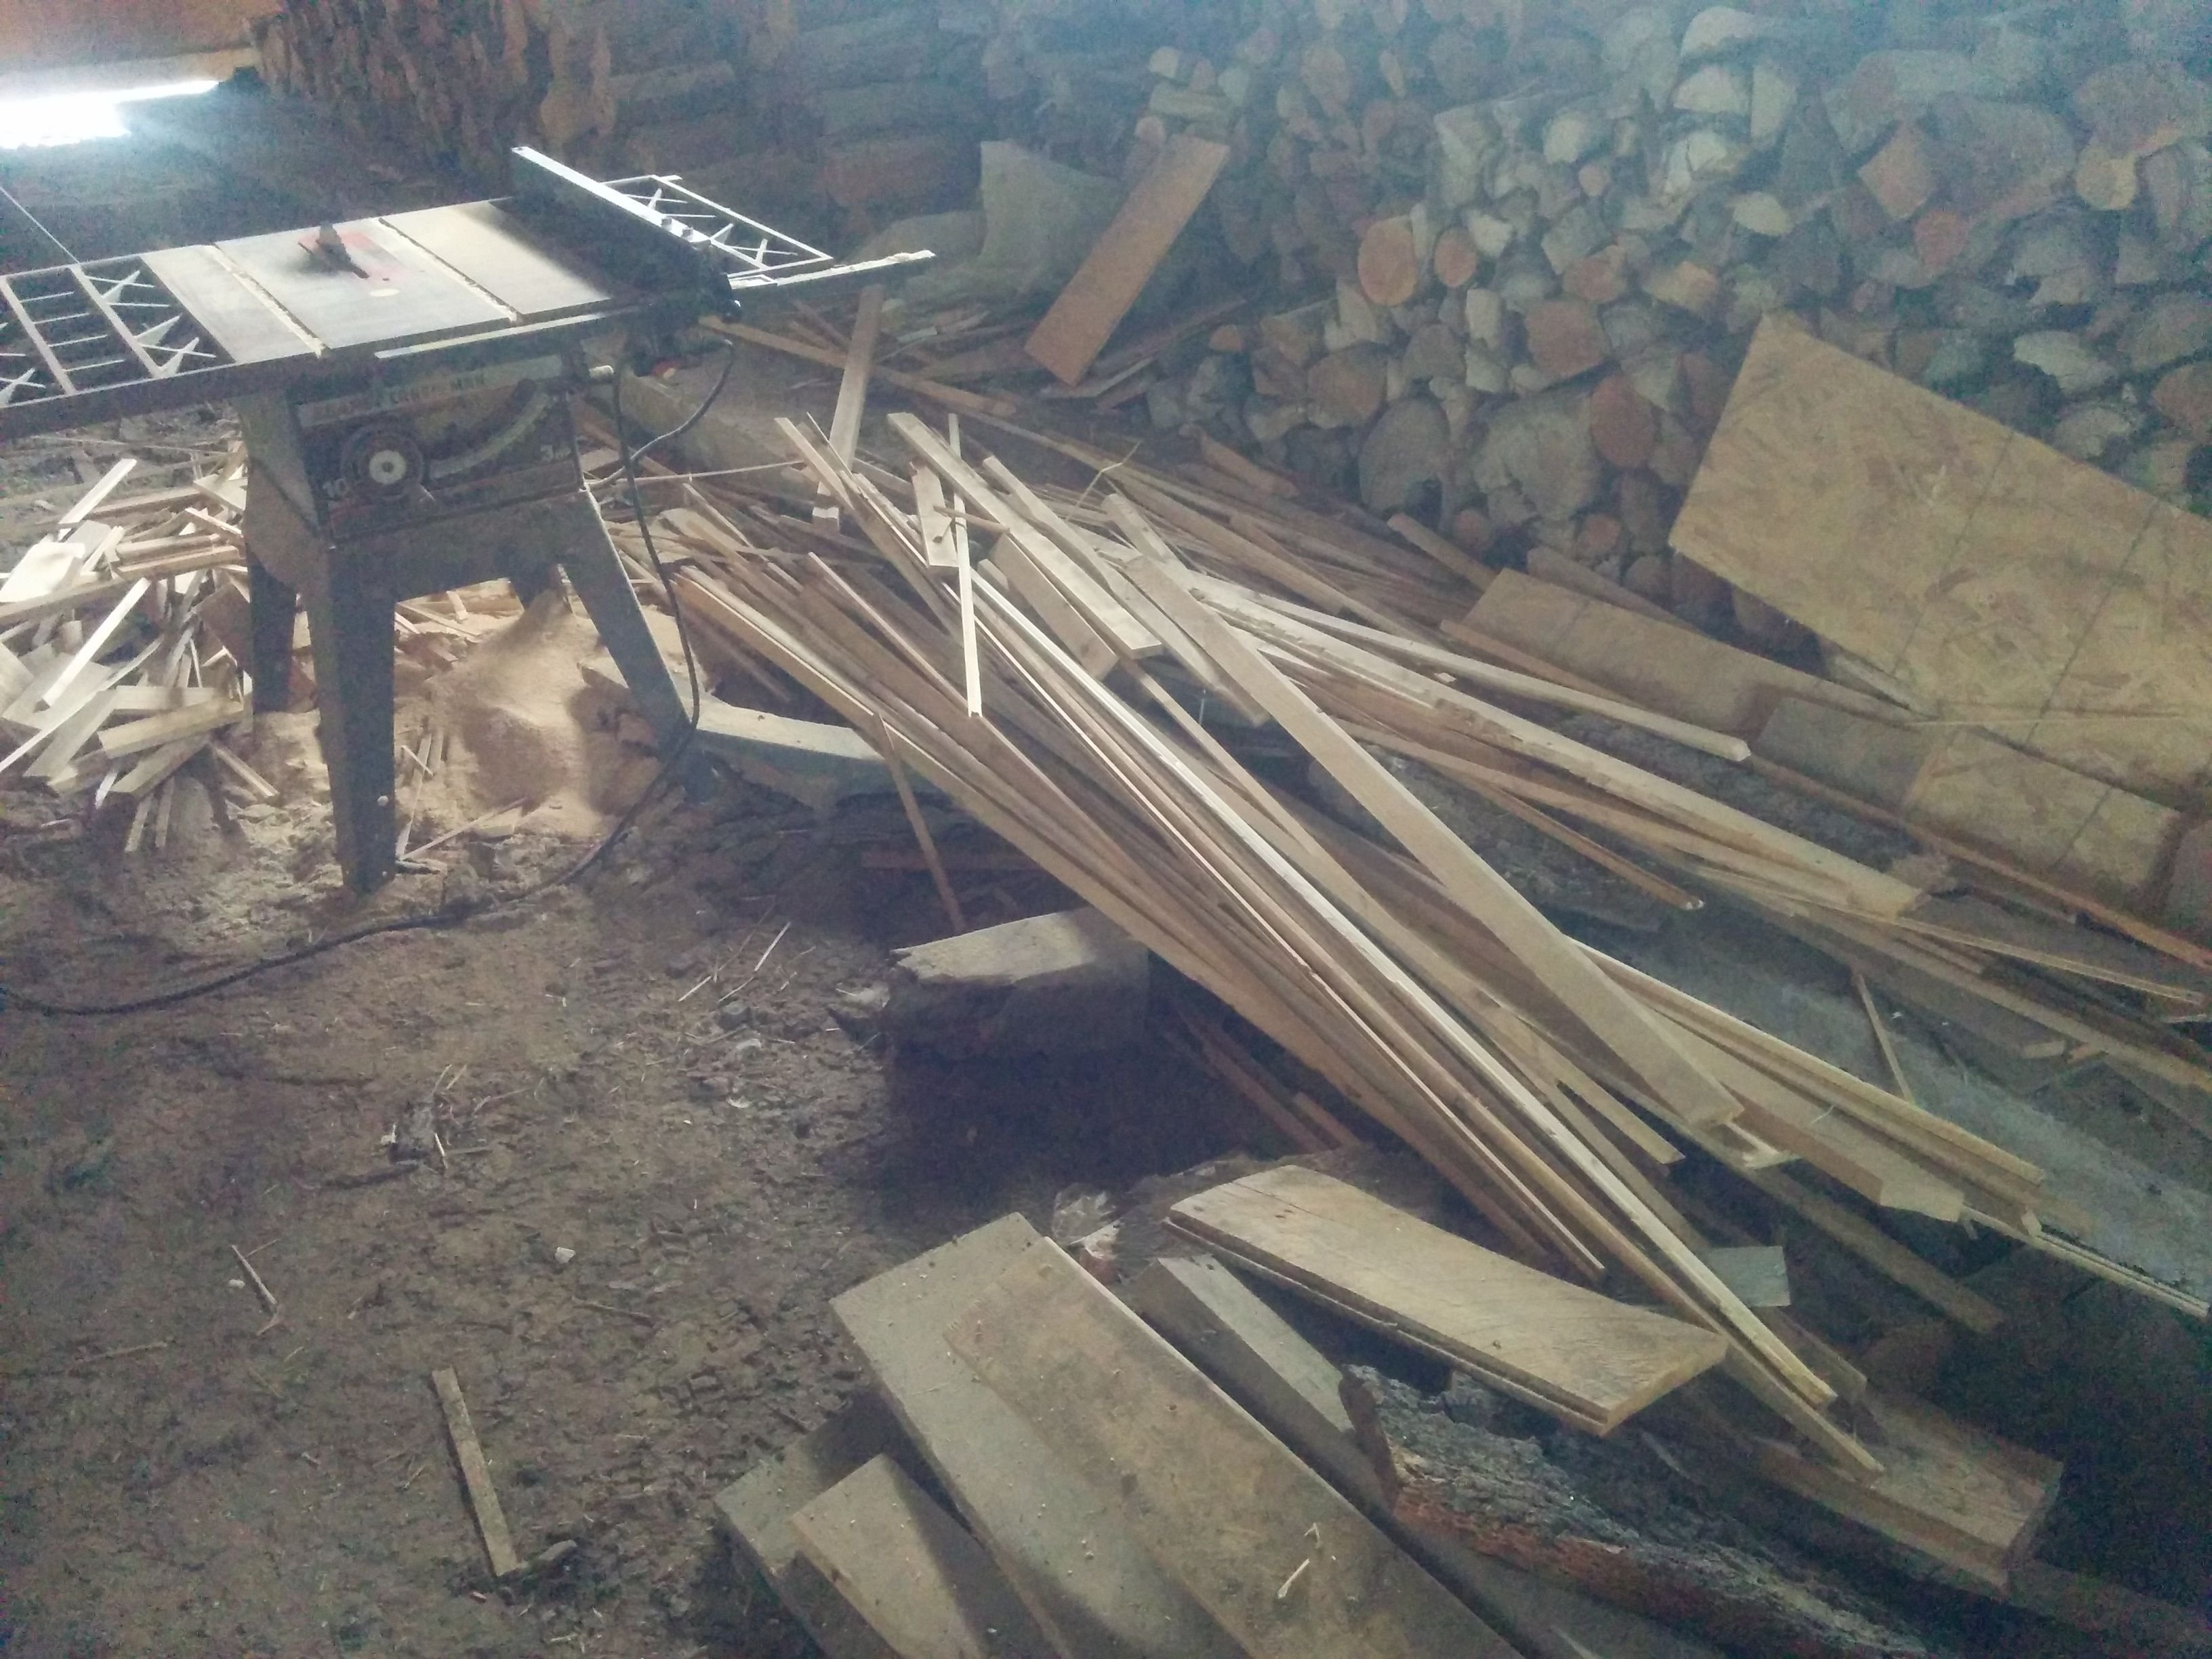
And then I cut them to the lengths that were needed. I started with enough pieces for one box and then lined them up for a quick prototype.
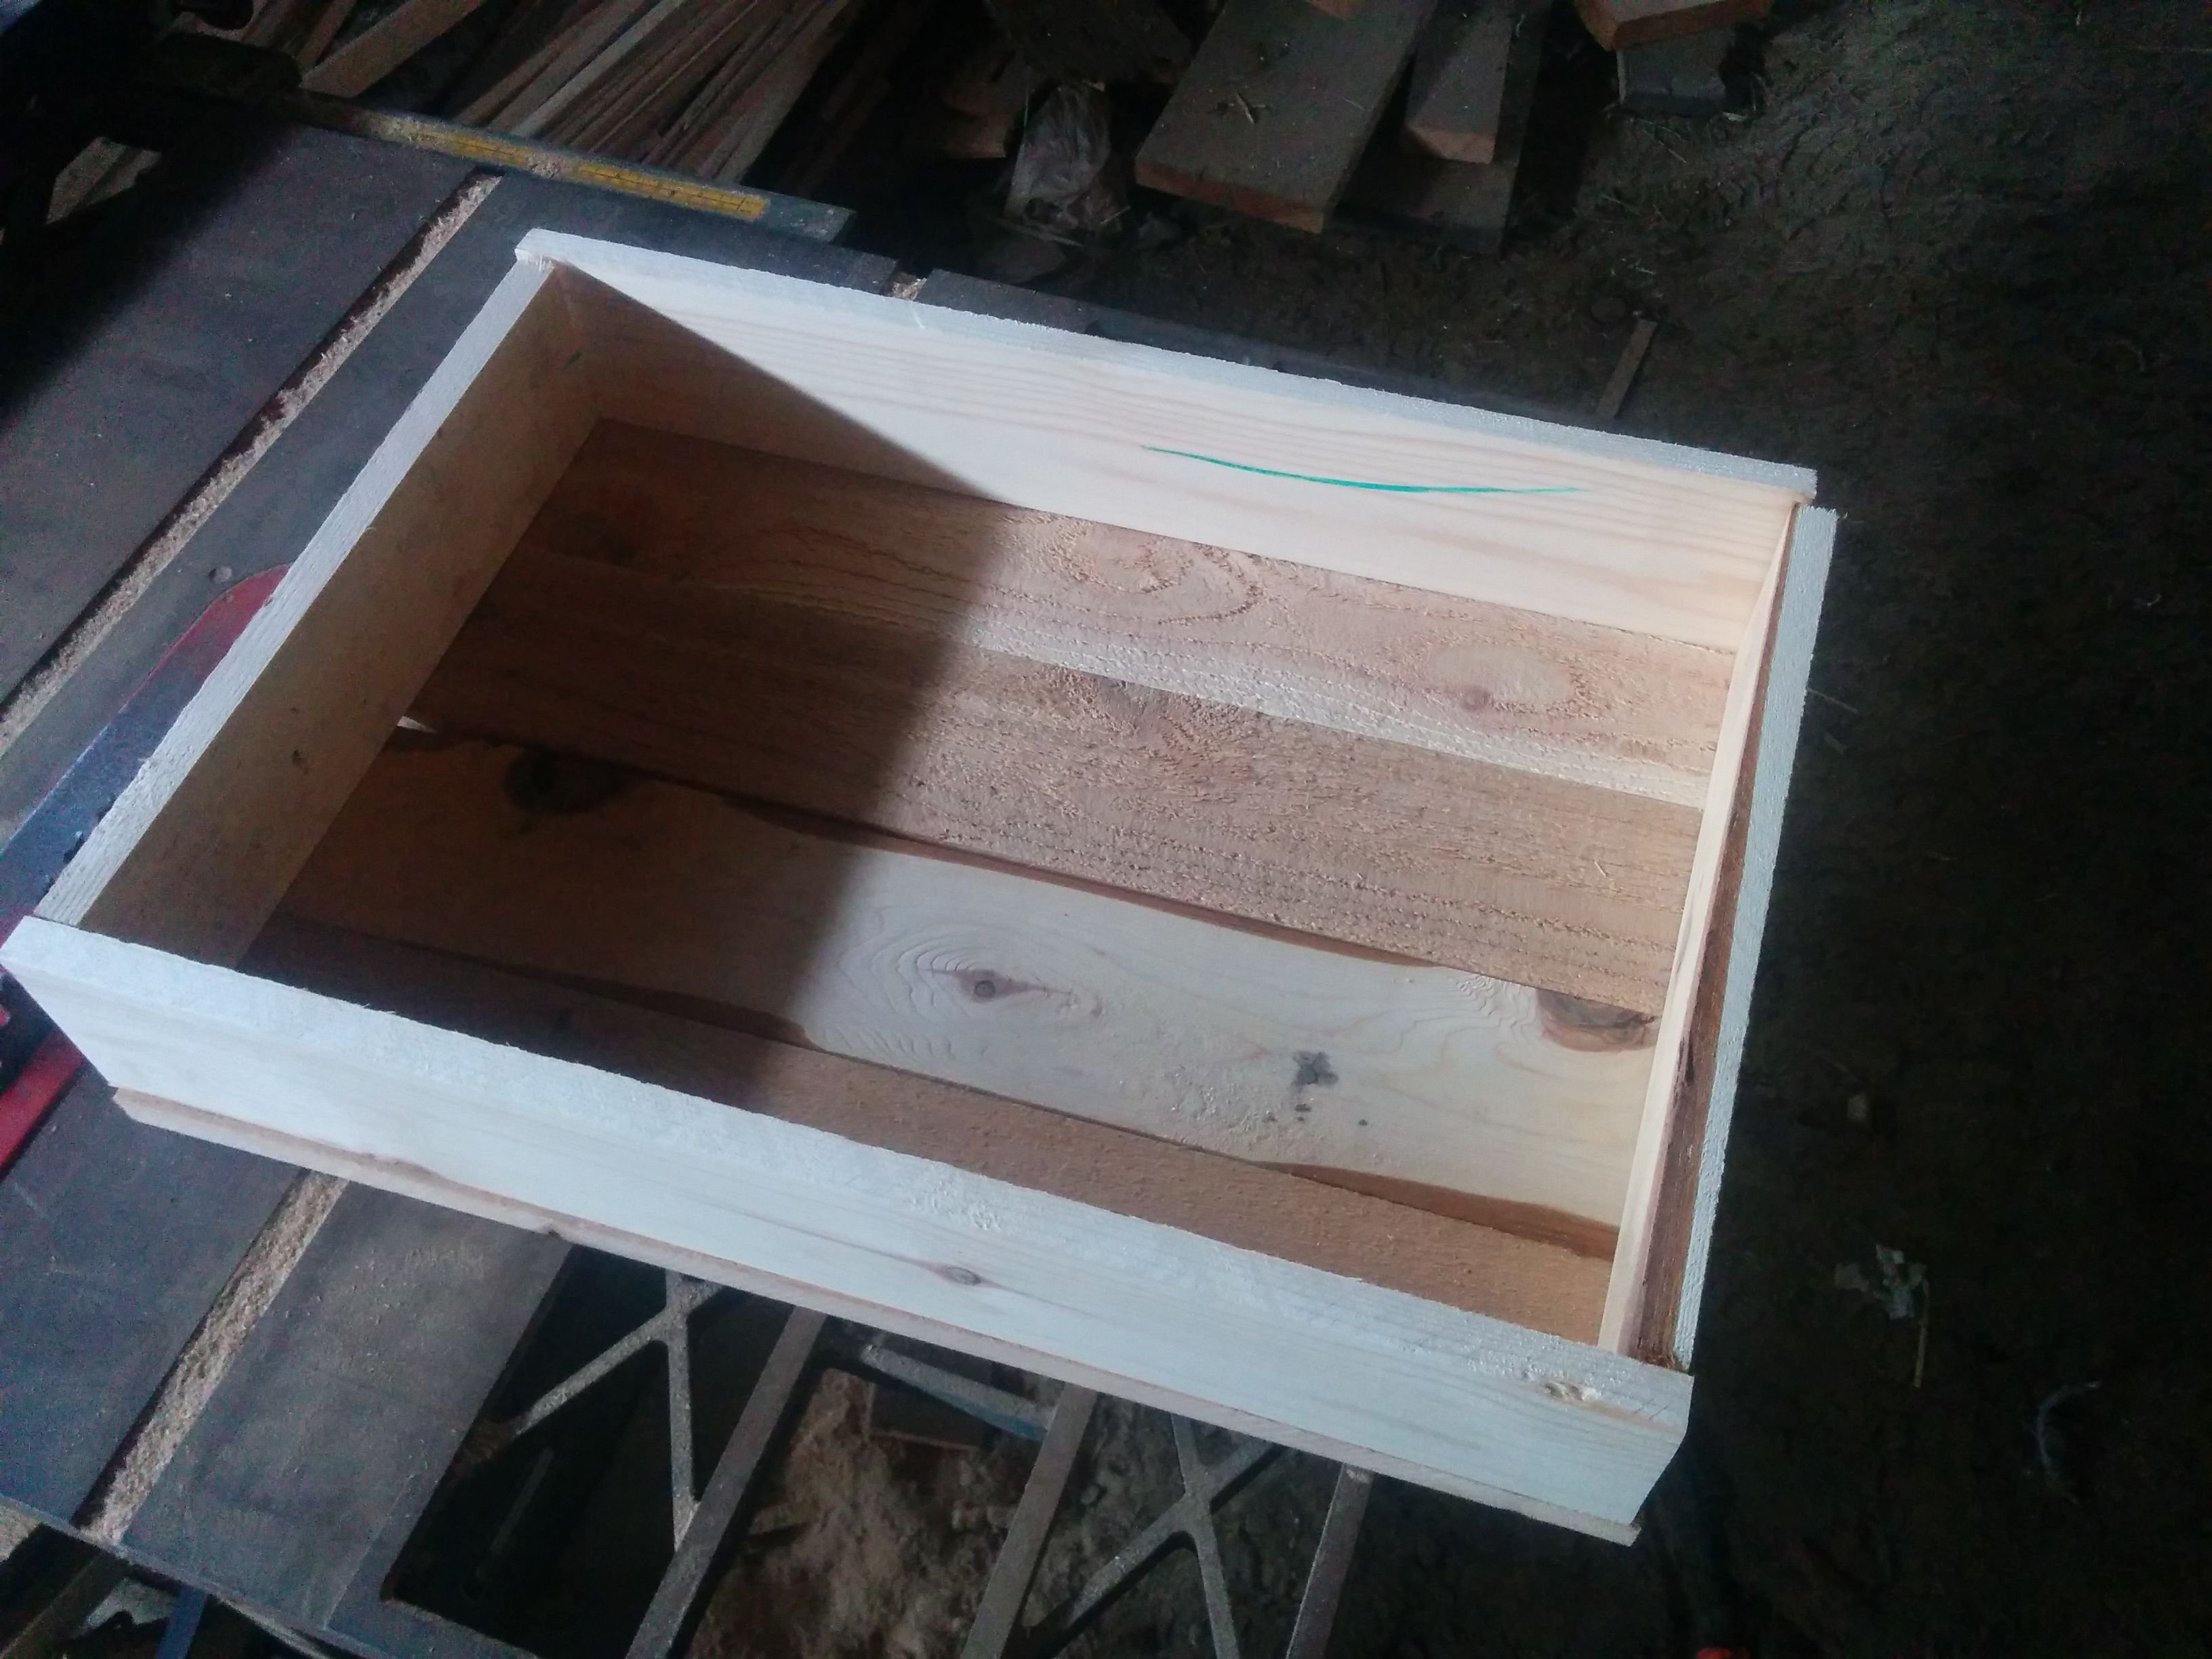
Everything looks good, I trusted my math and so I just went for it and cut all the rest of the pieces to size. After cutting out all the rotten and split pieces, I ended up with enough wood for 19 boxes.
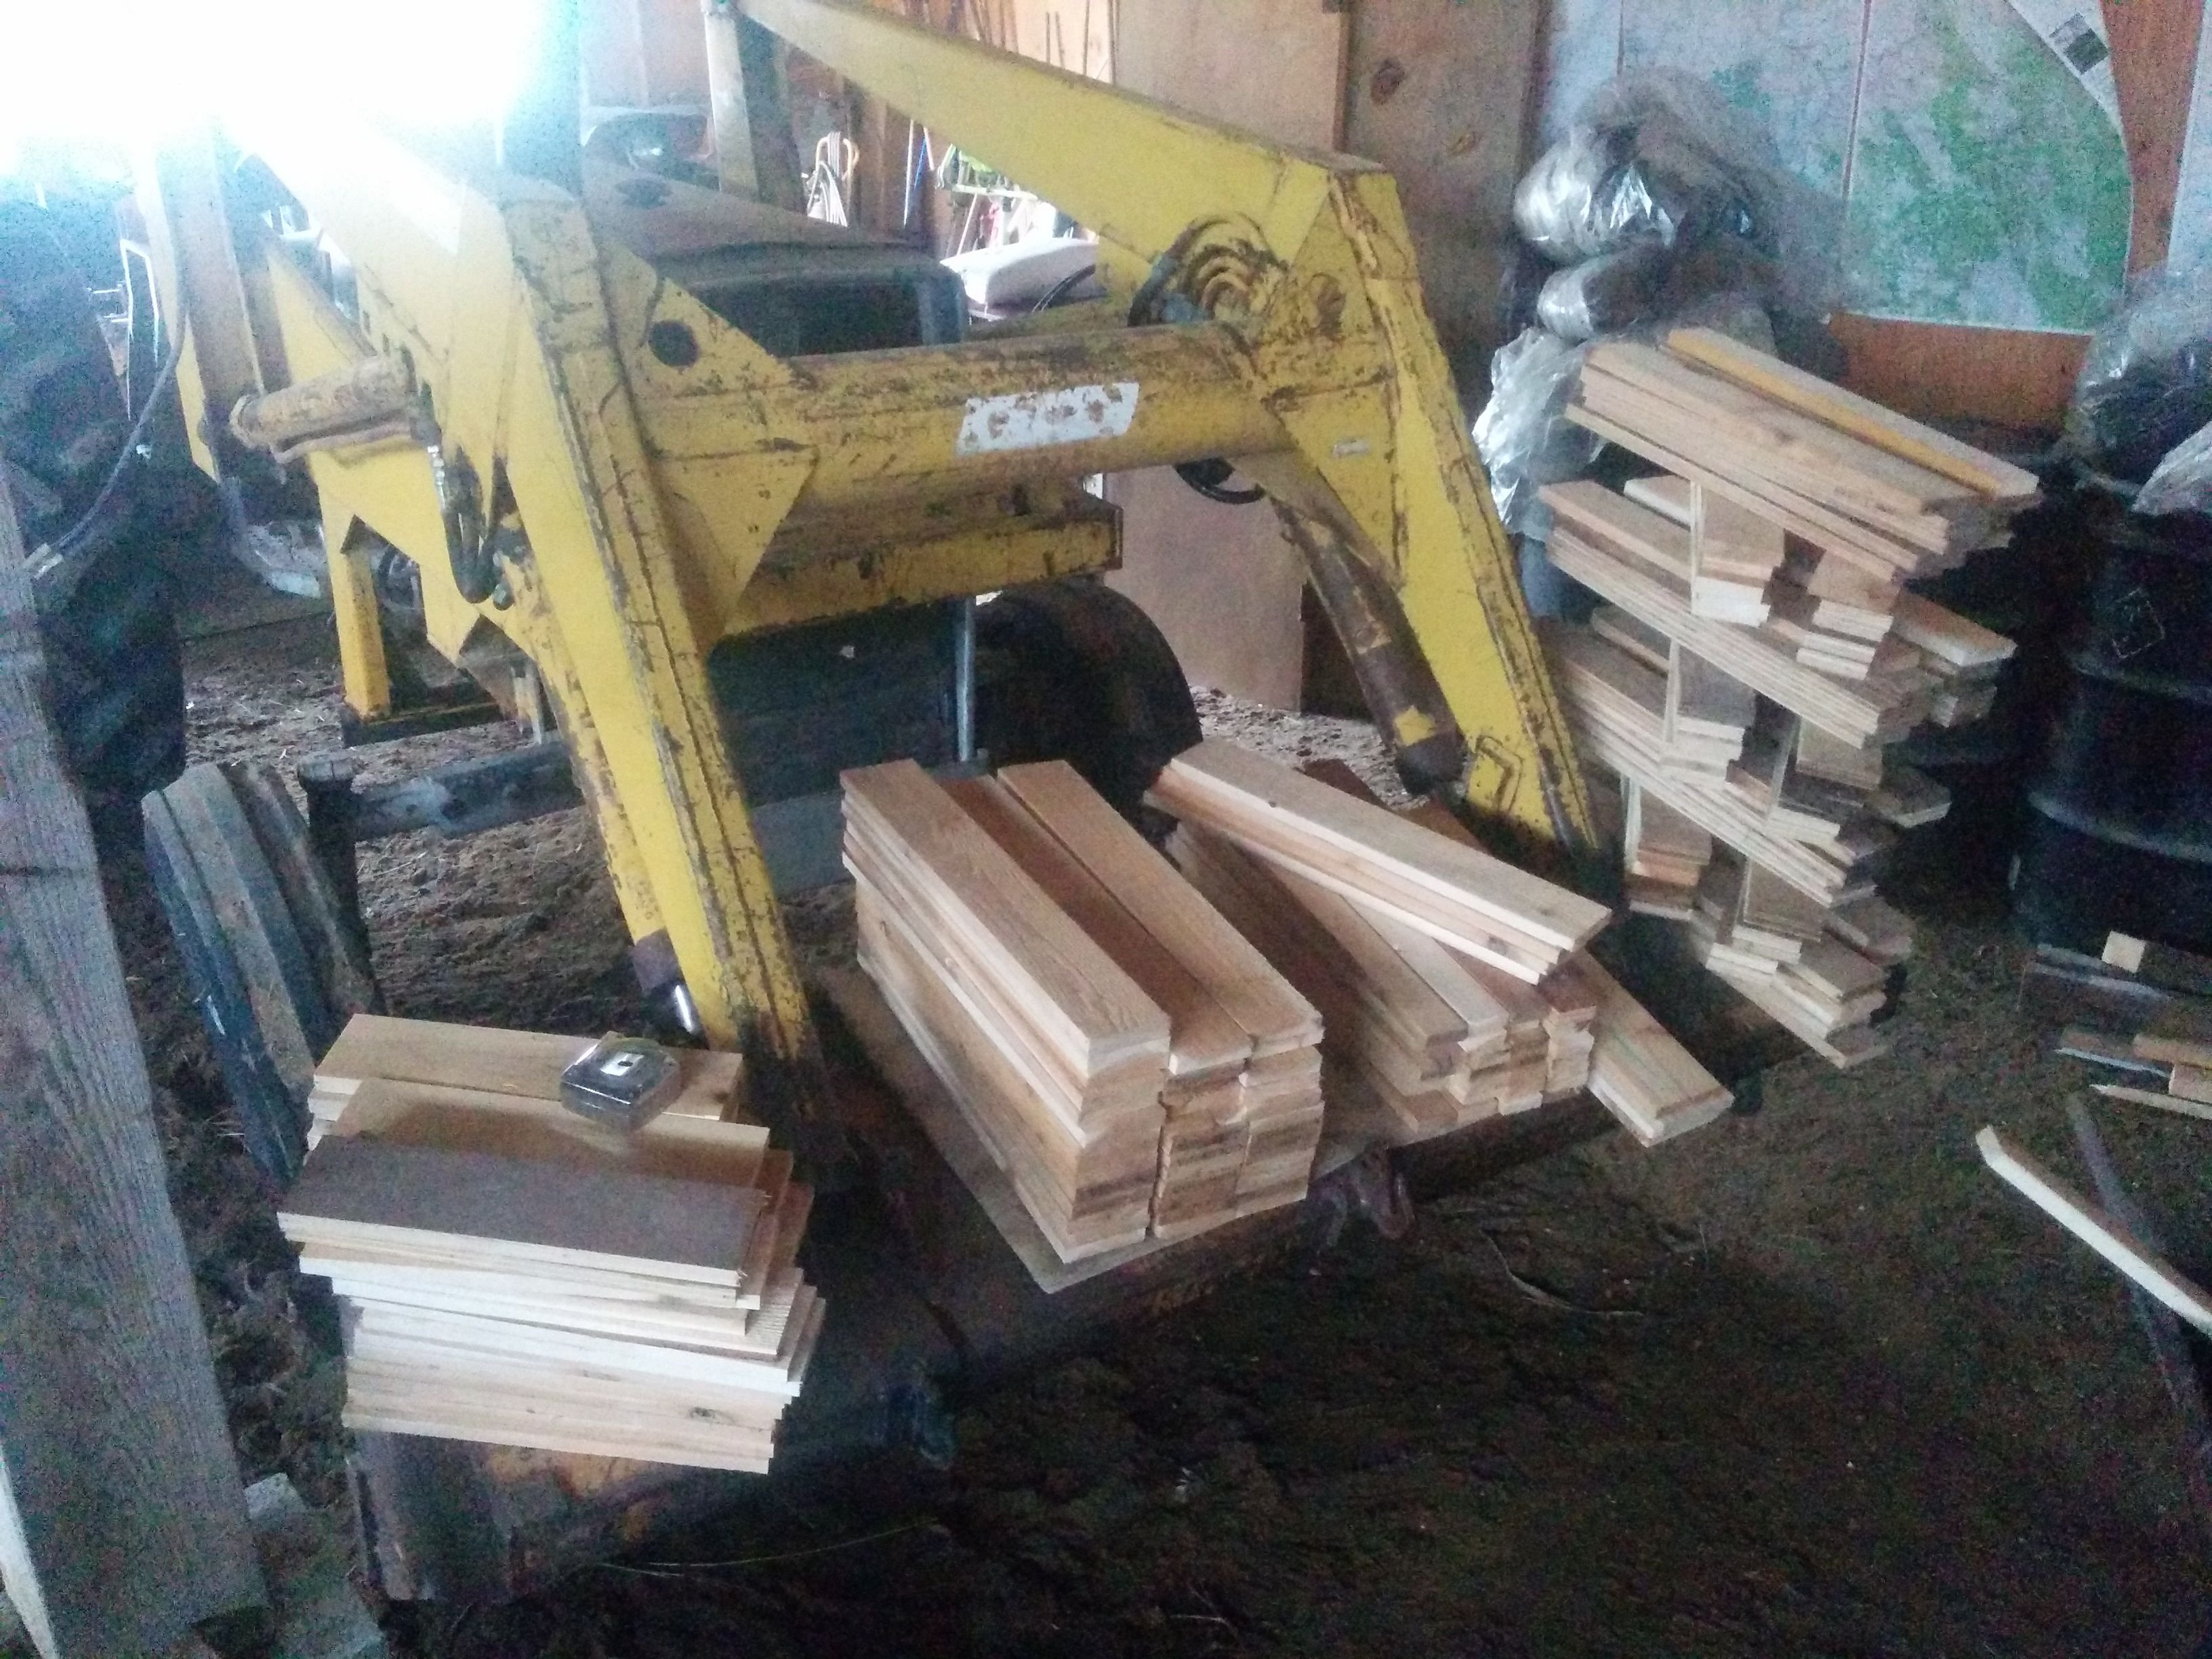
Here it all is stacked up on the front porch waiting for us to move :)
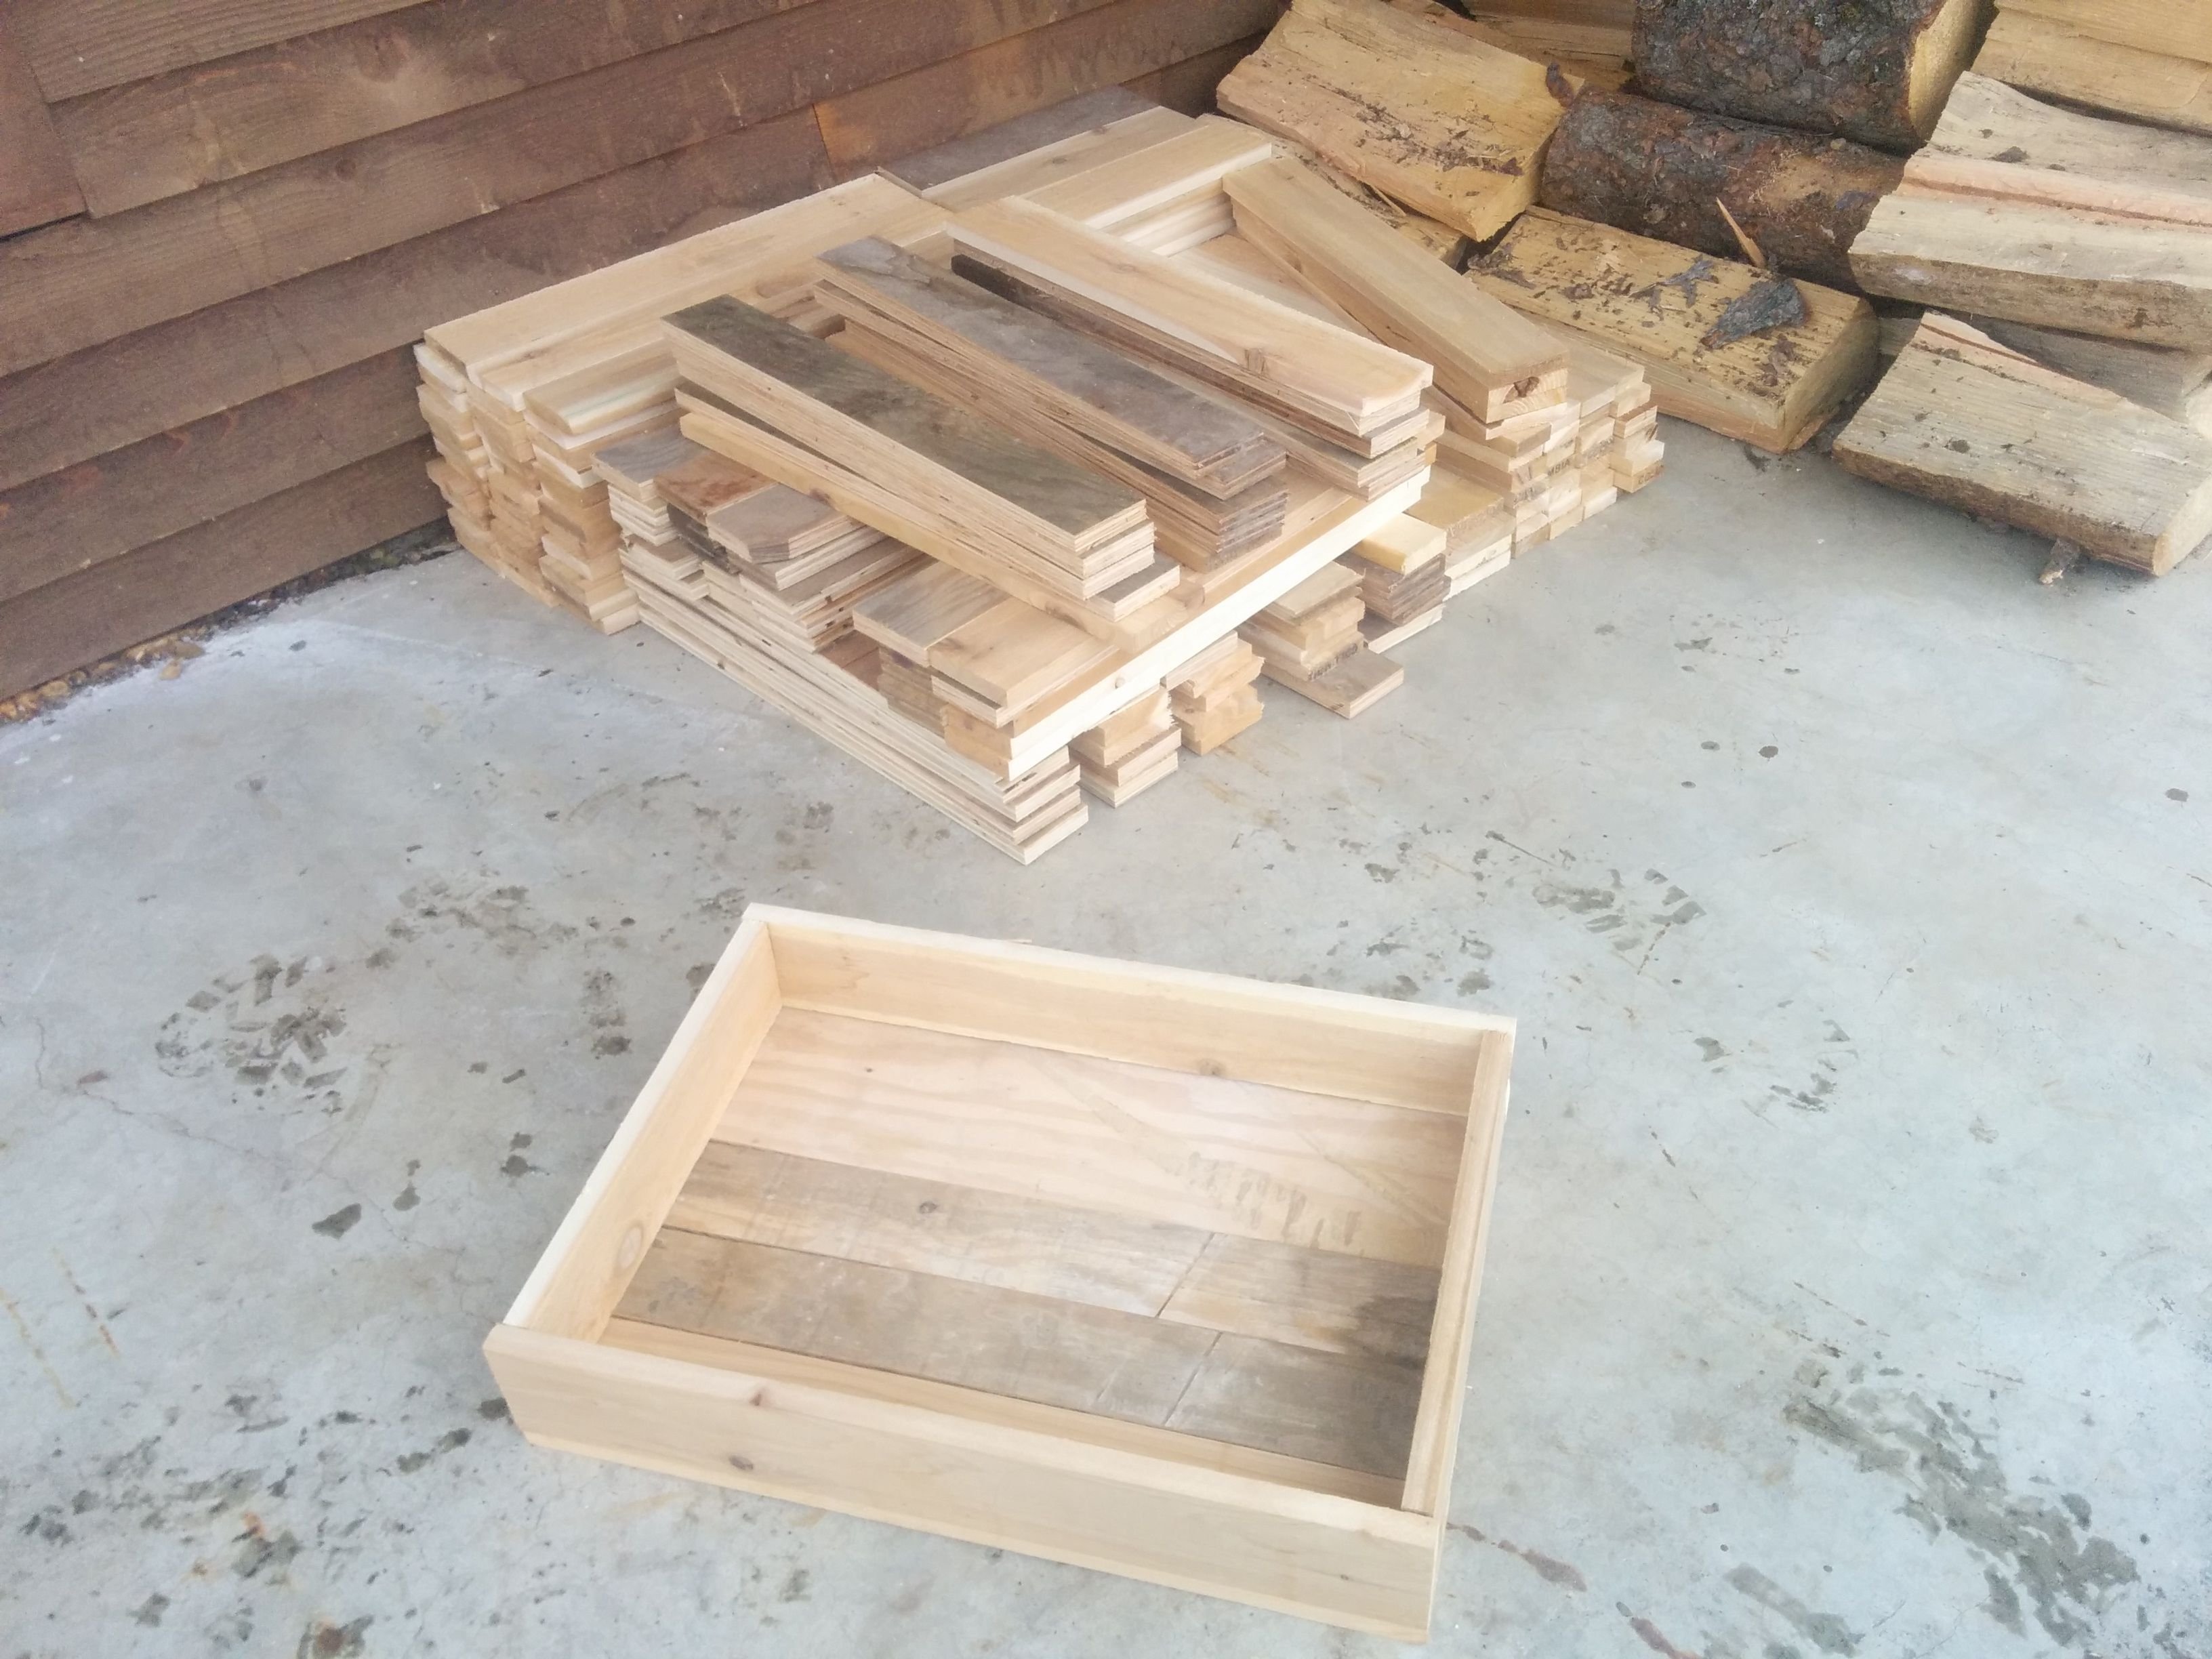
Finally we arrive in our new home and amidst a flurry of unpacking we choose a sunny day to begin assembly!
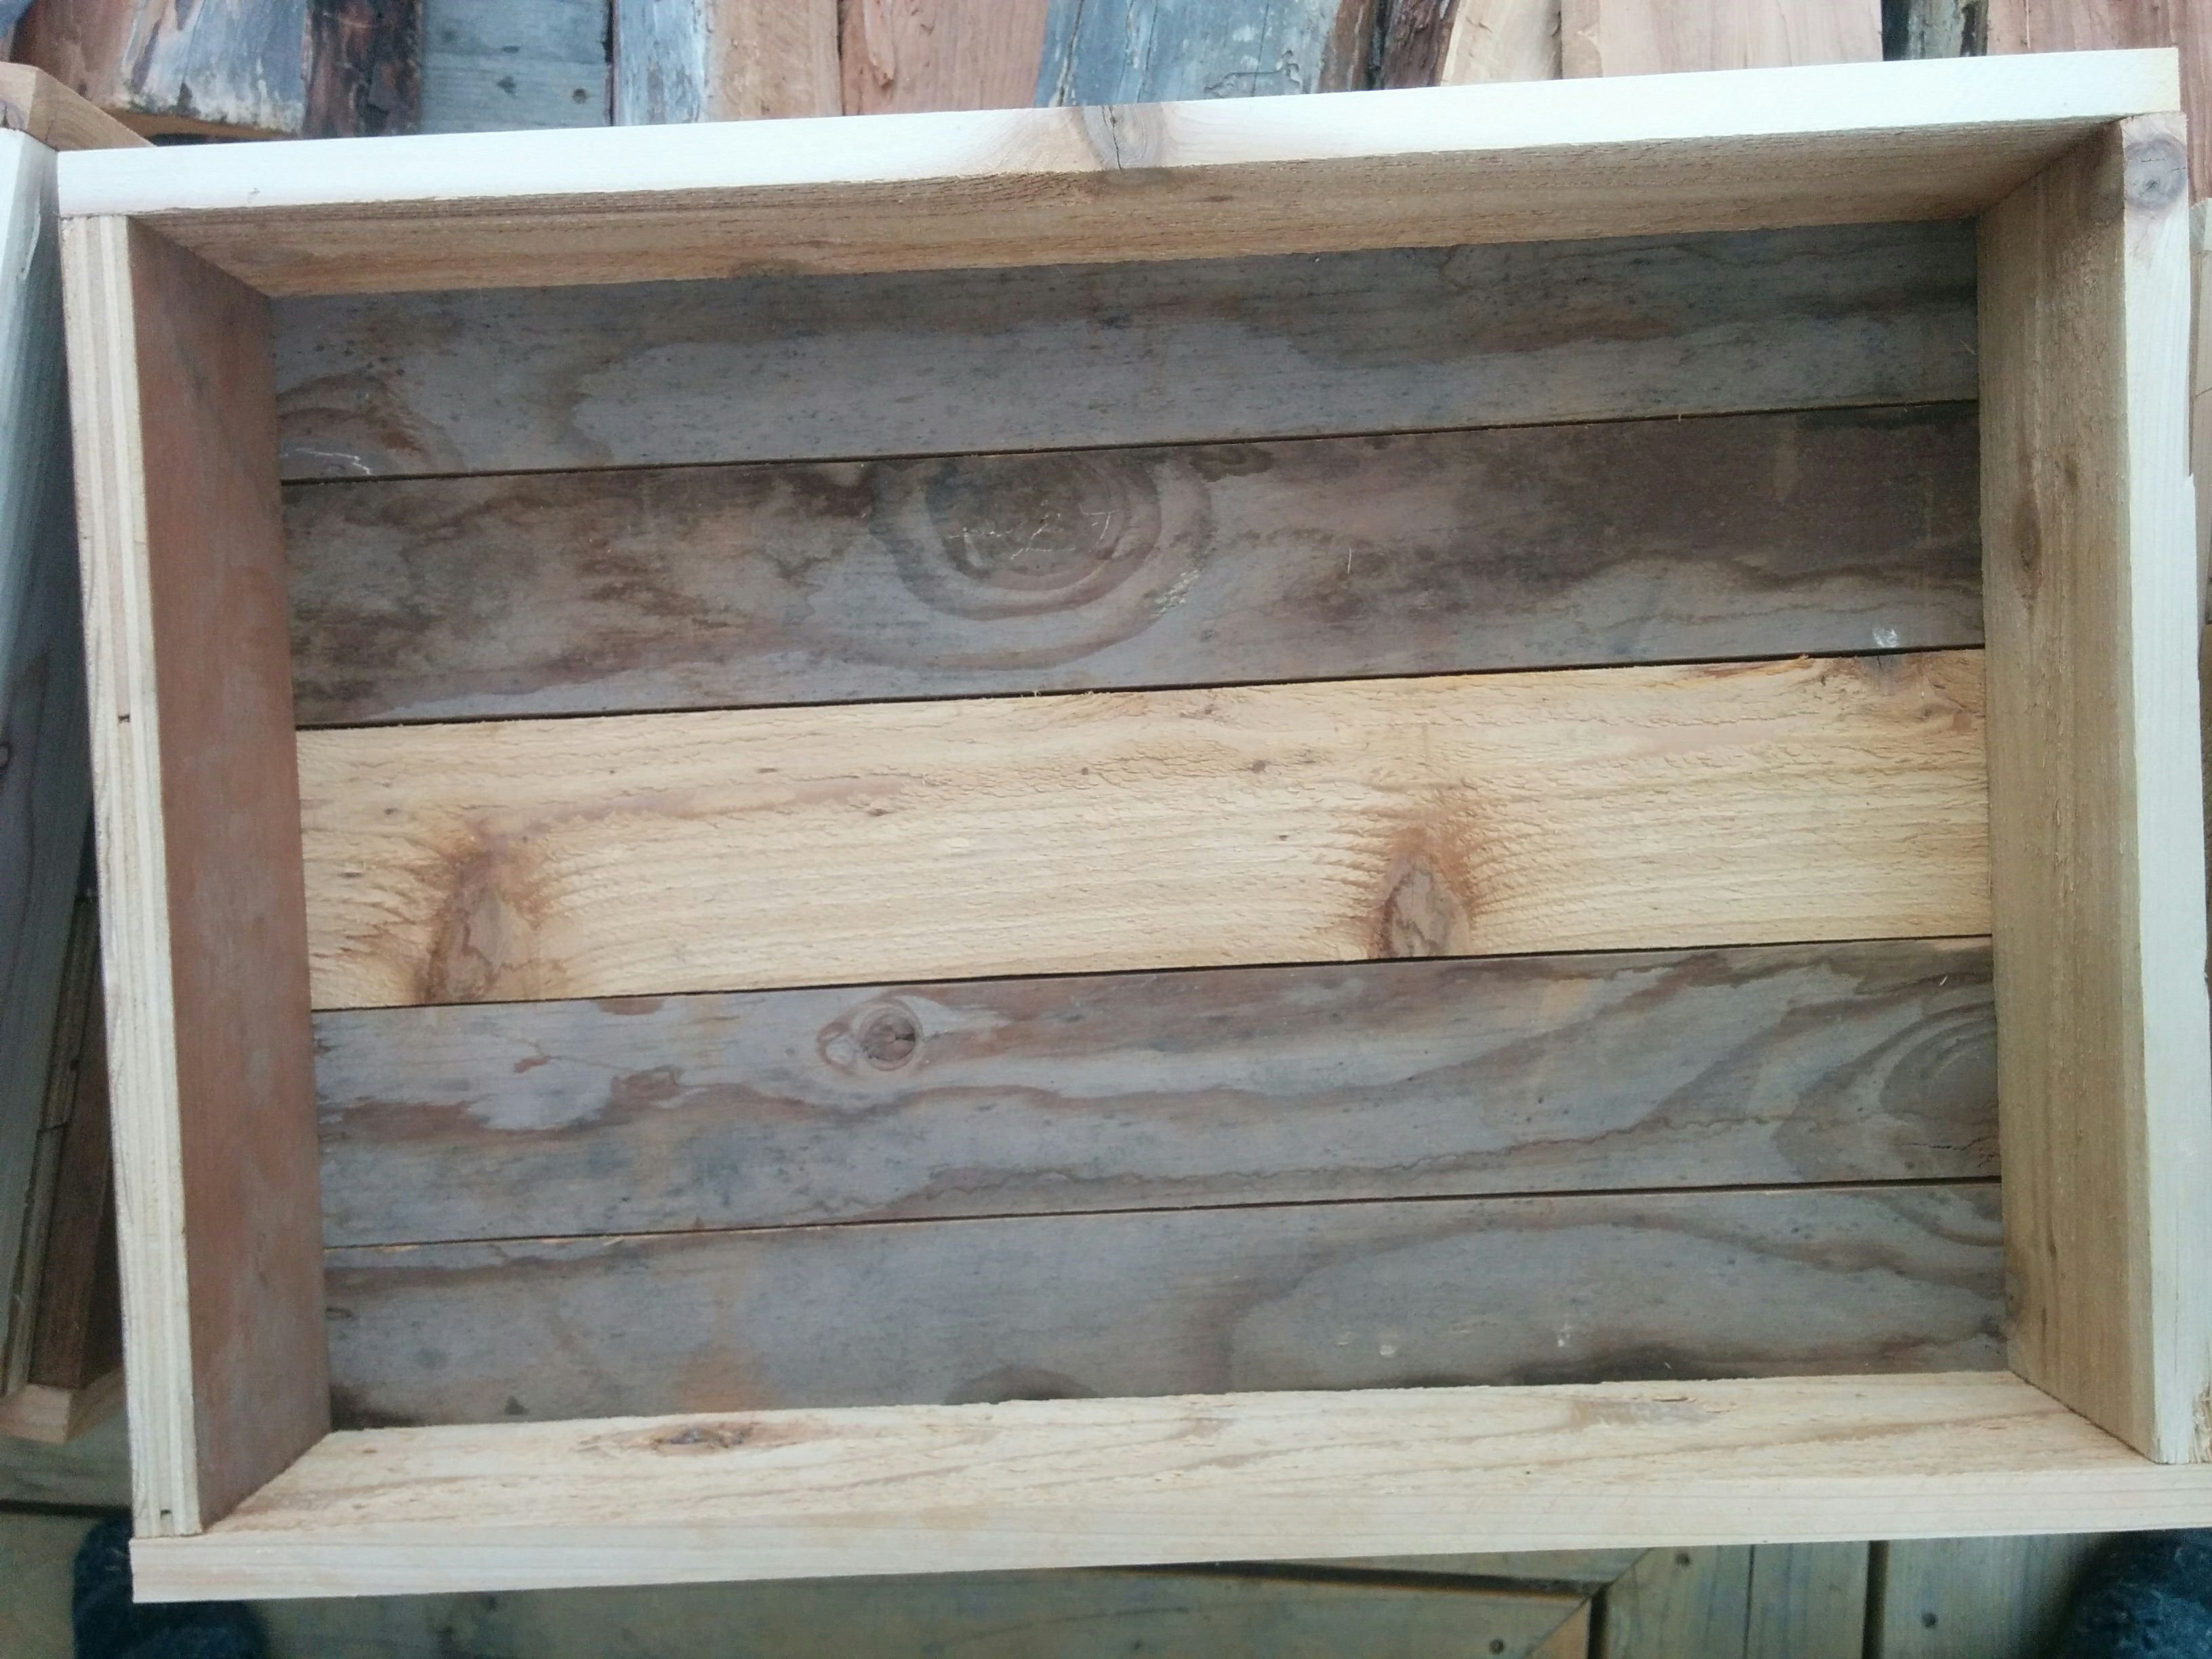
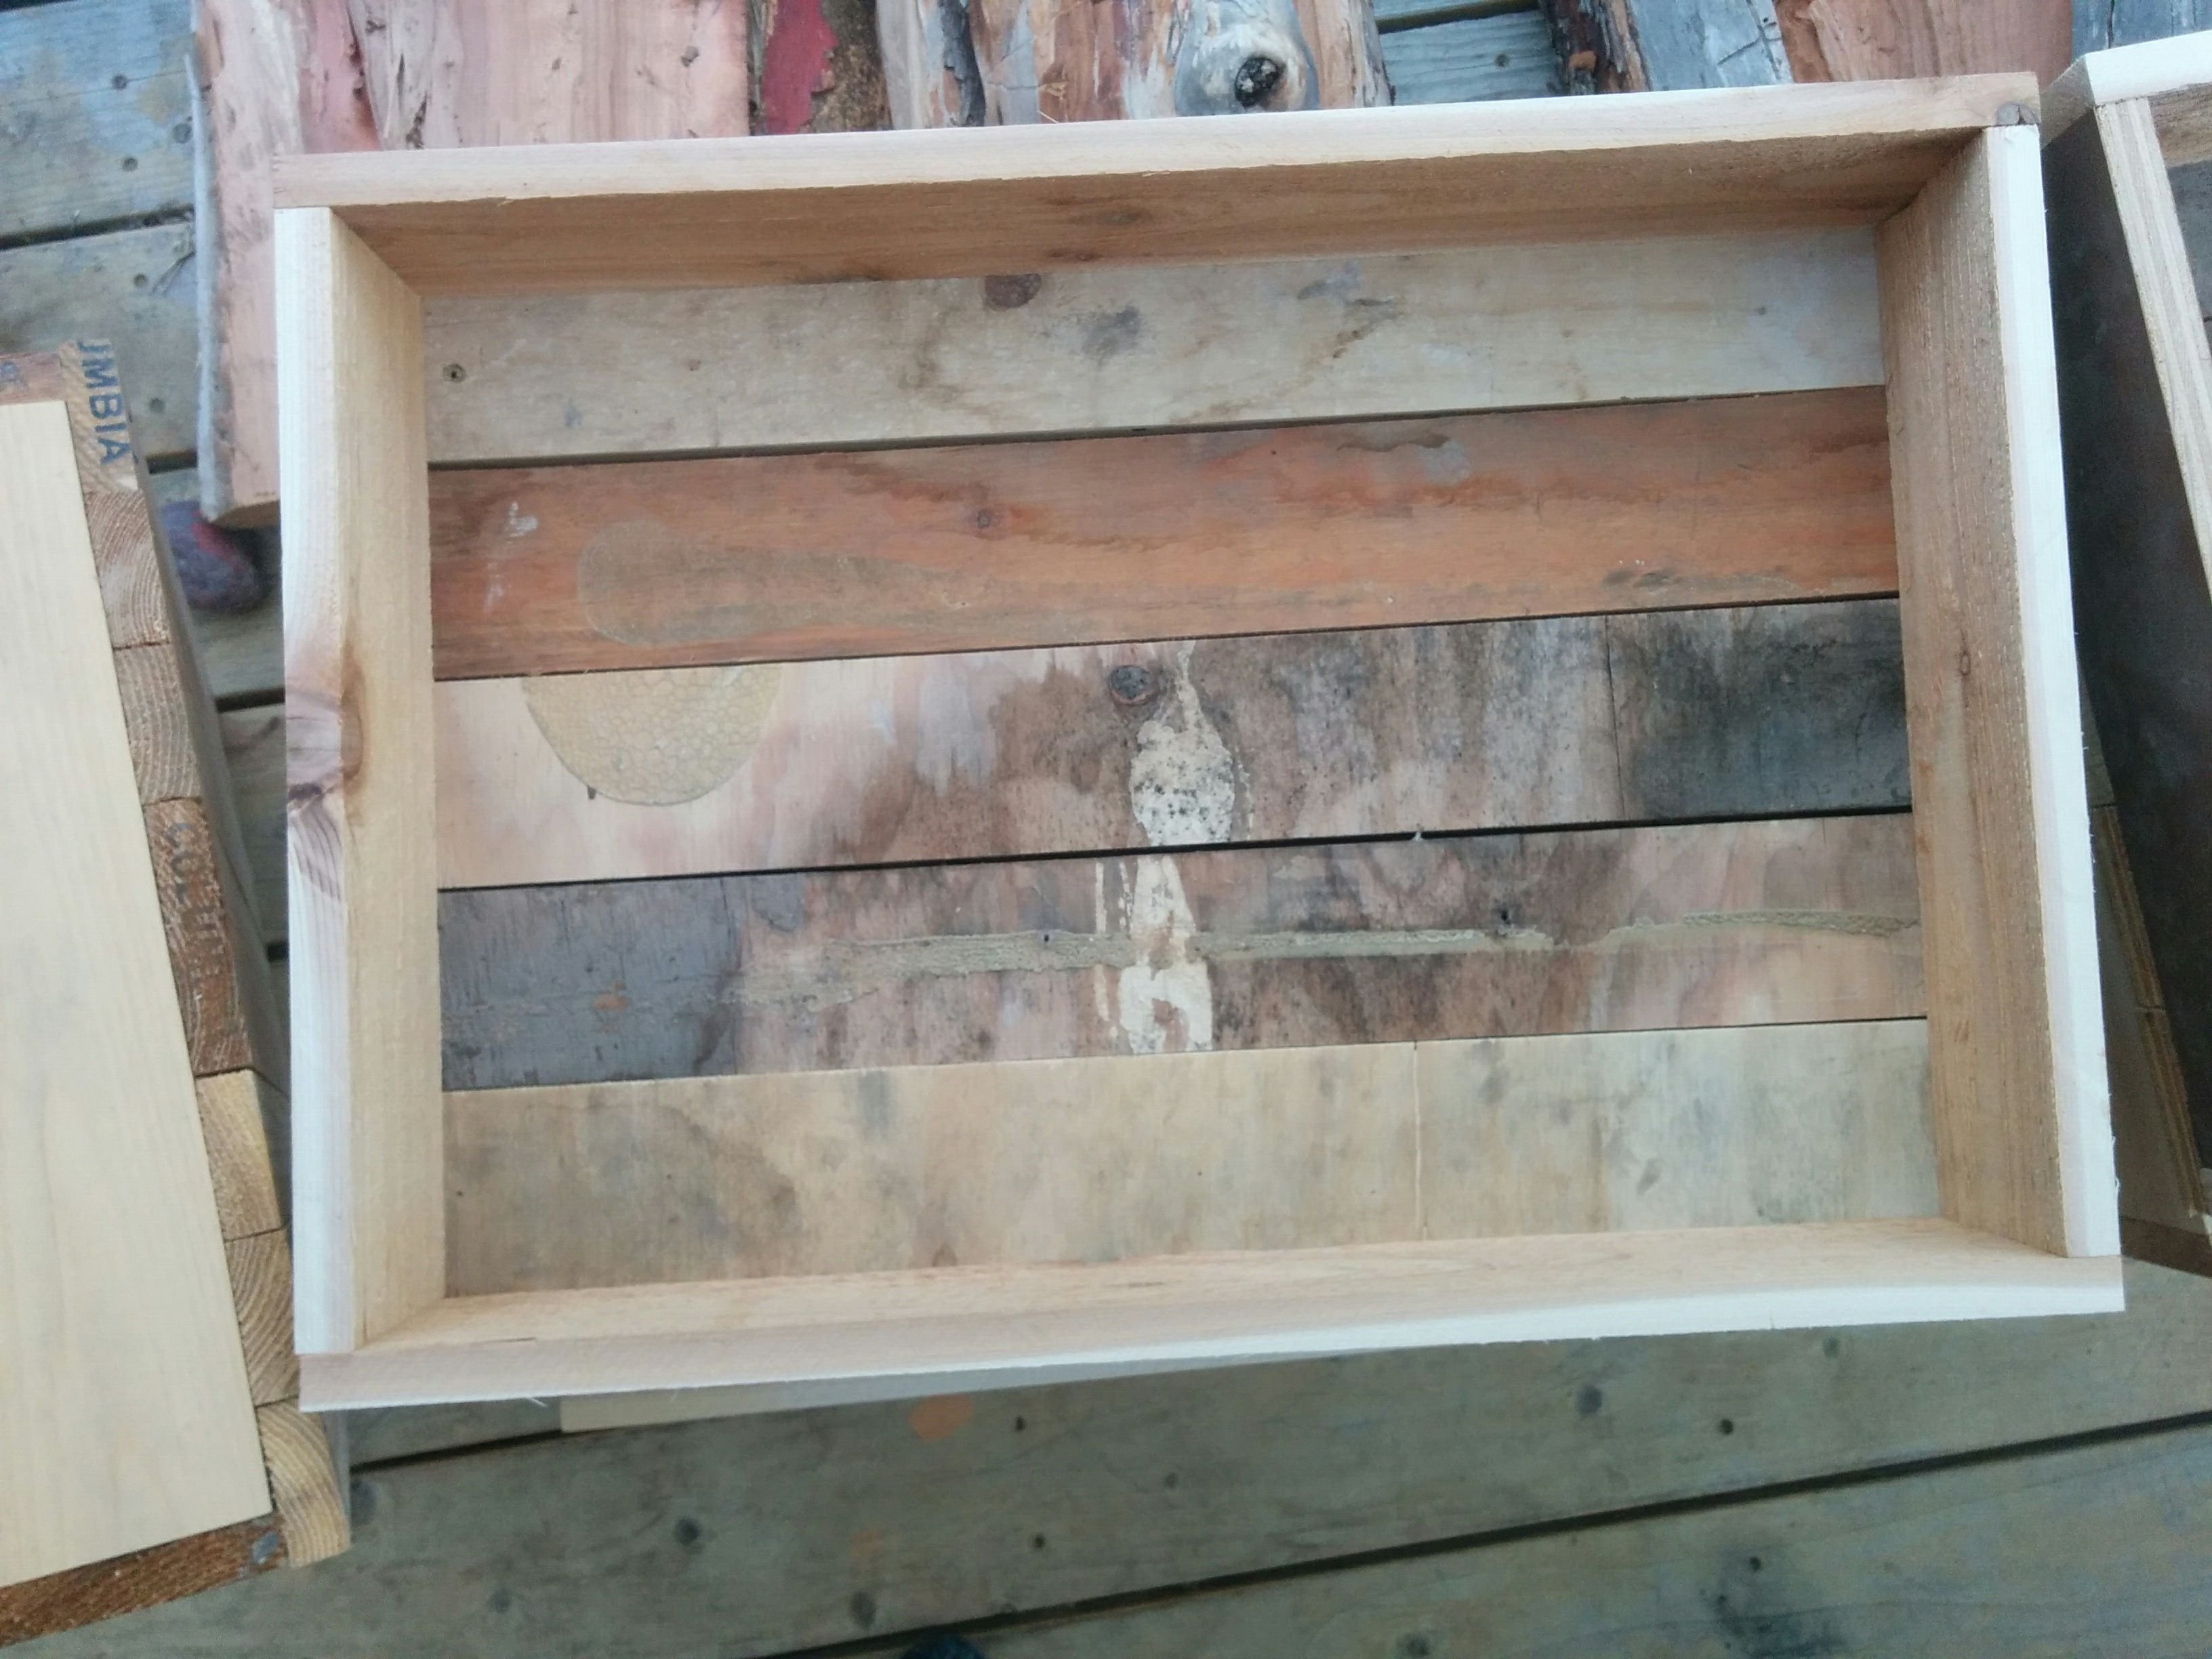
As you can see from the next 3 images the width of the bottom slats doesn't matter as long as they all add up.
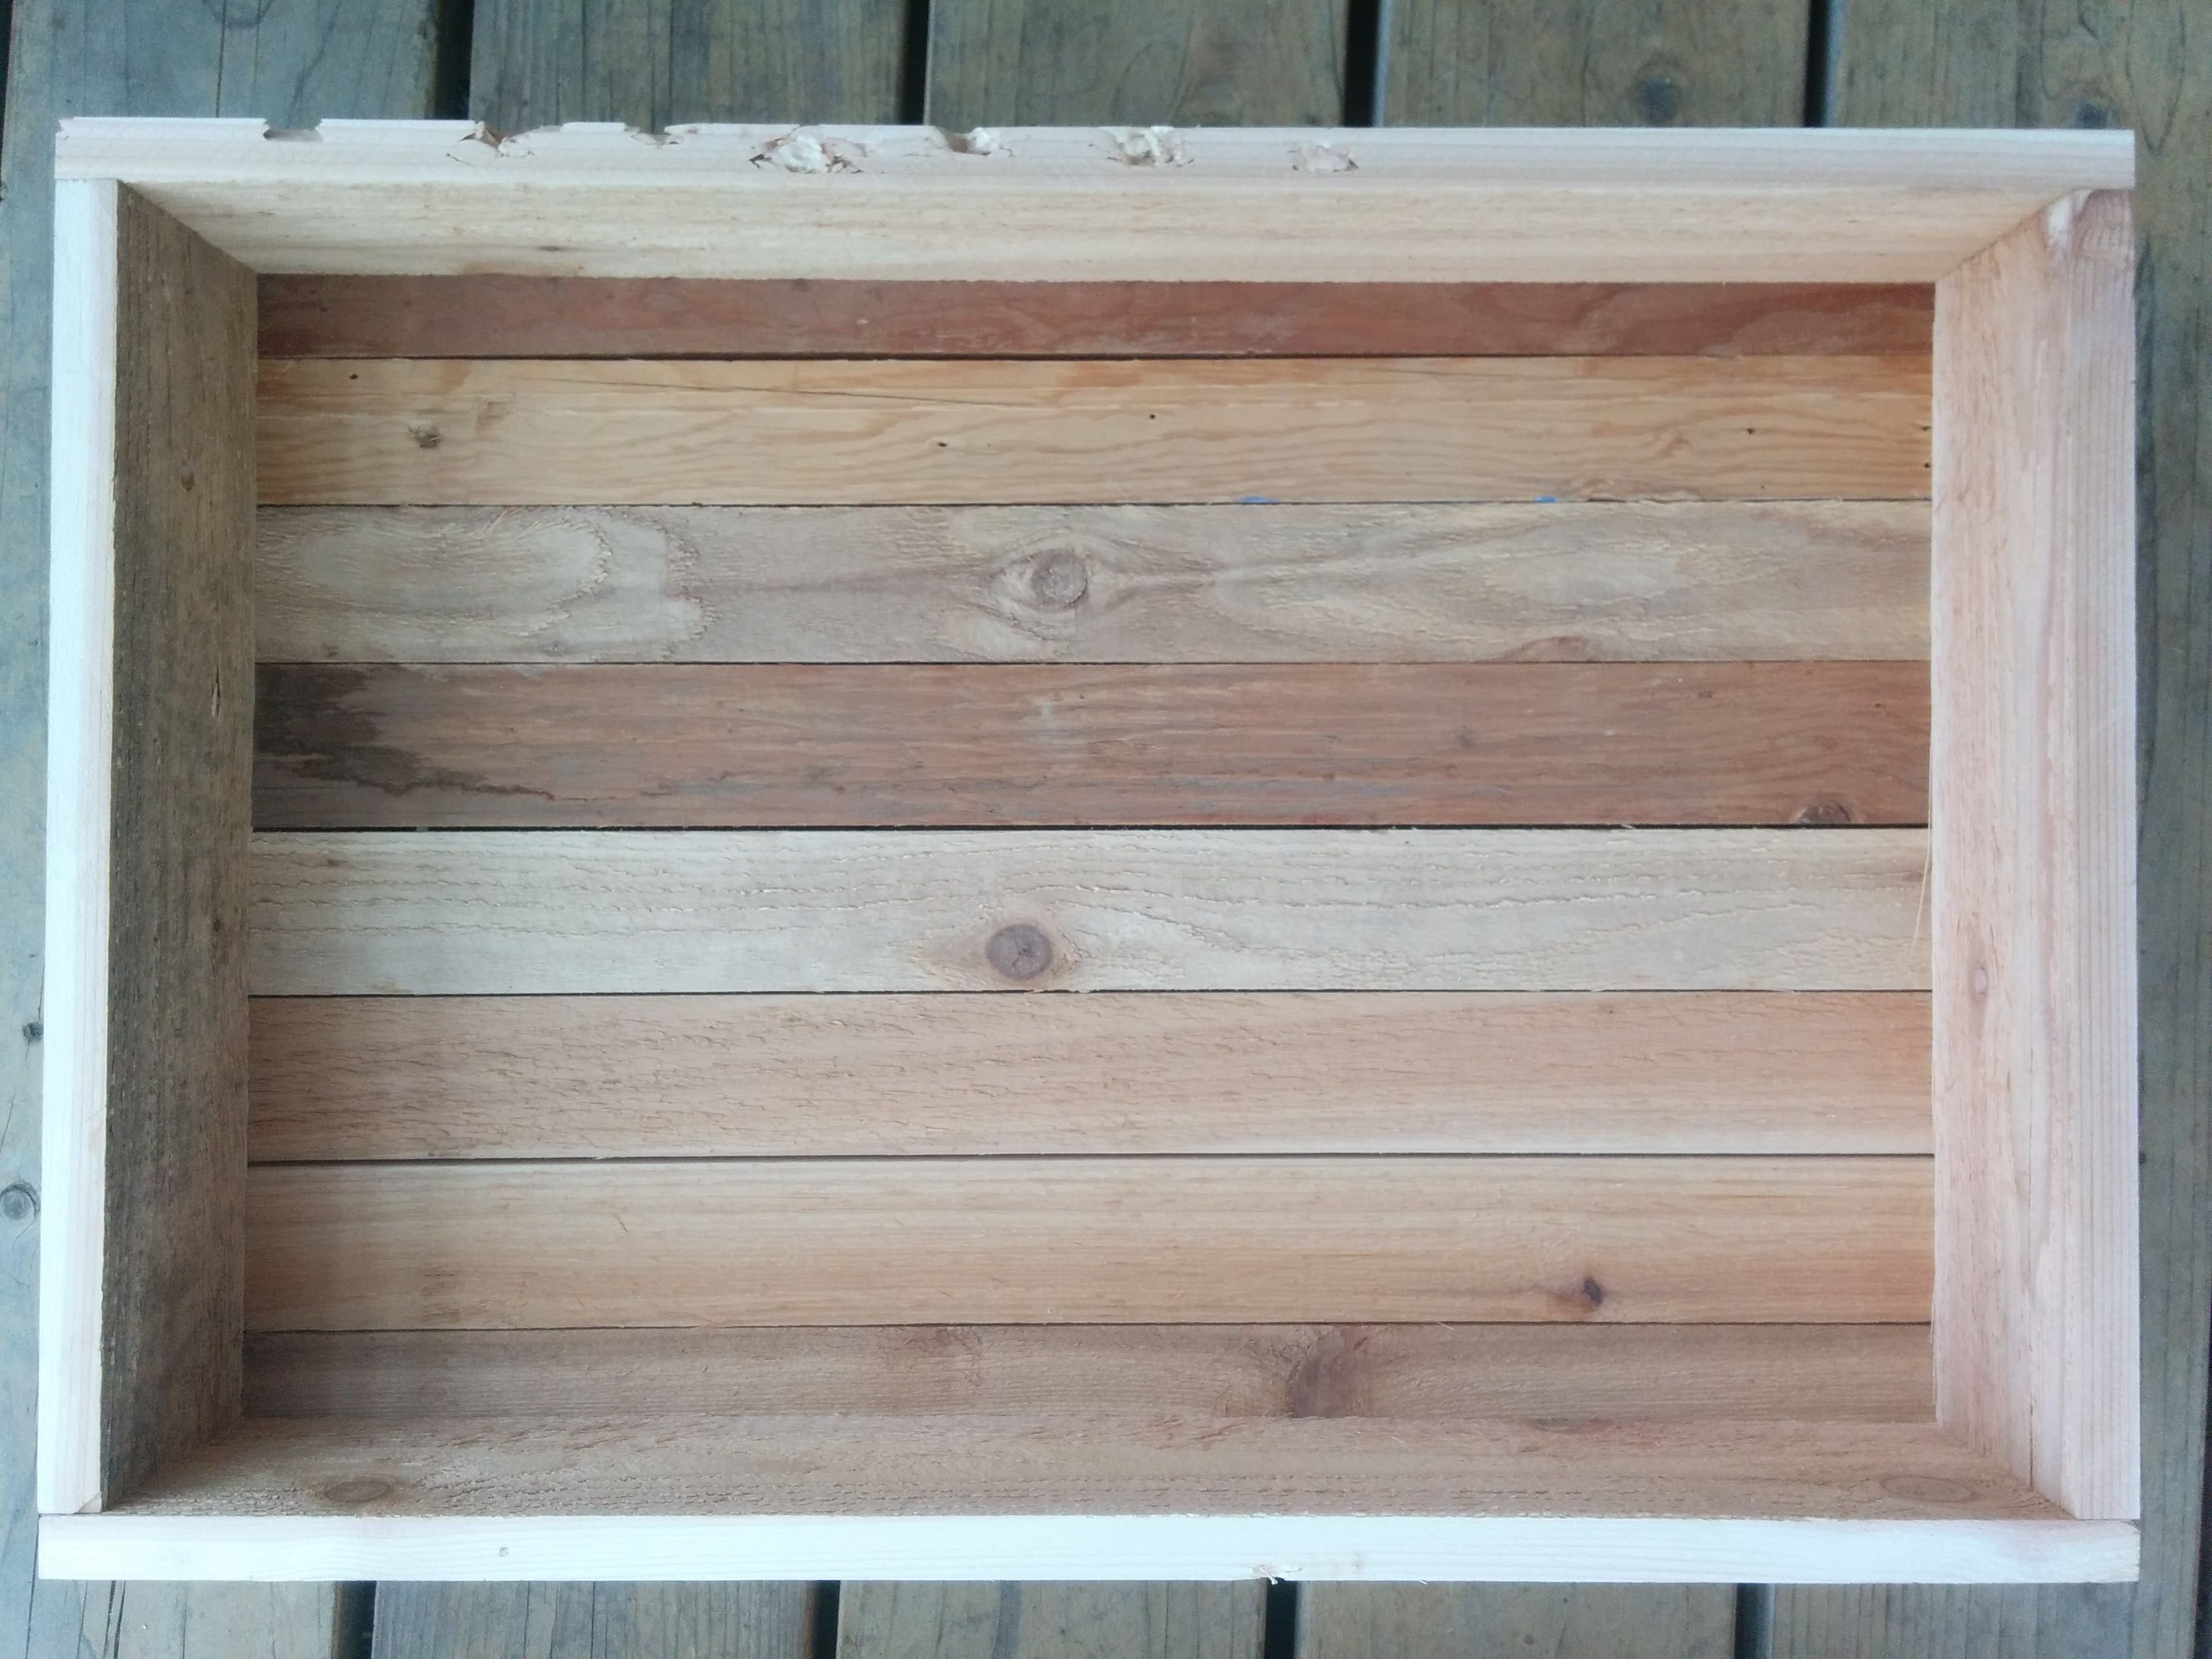
The important thing is to have approximately 1/16" of spacing between the slats for drainage.
In case you got this far and you're inspired to make your own seed boxes, here are some closeup photos so you can see how we assembled ours. If you need to see the image in more definition you can right click and "view image".
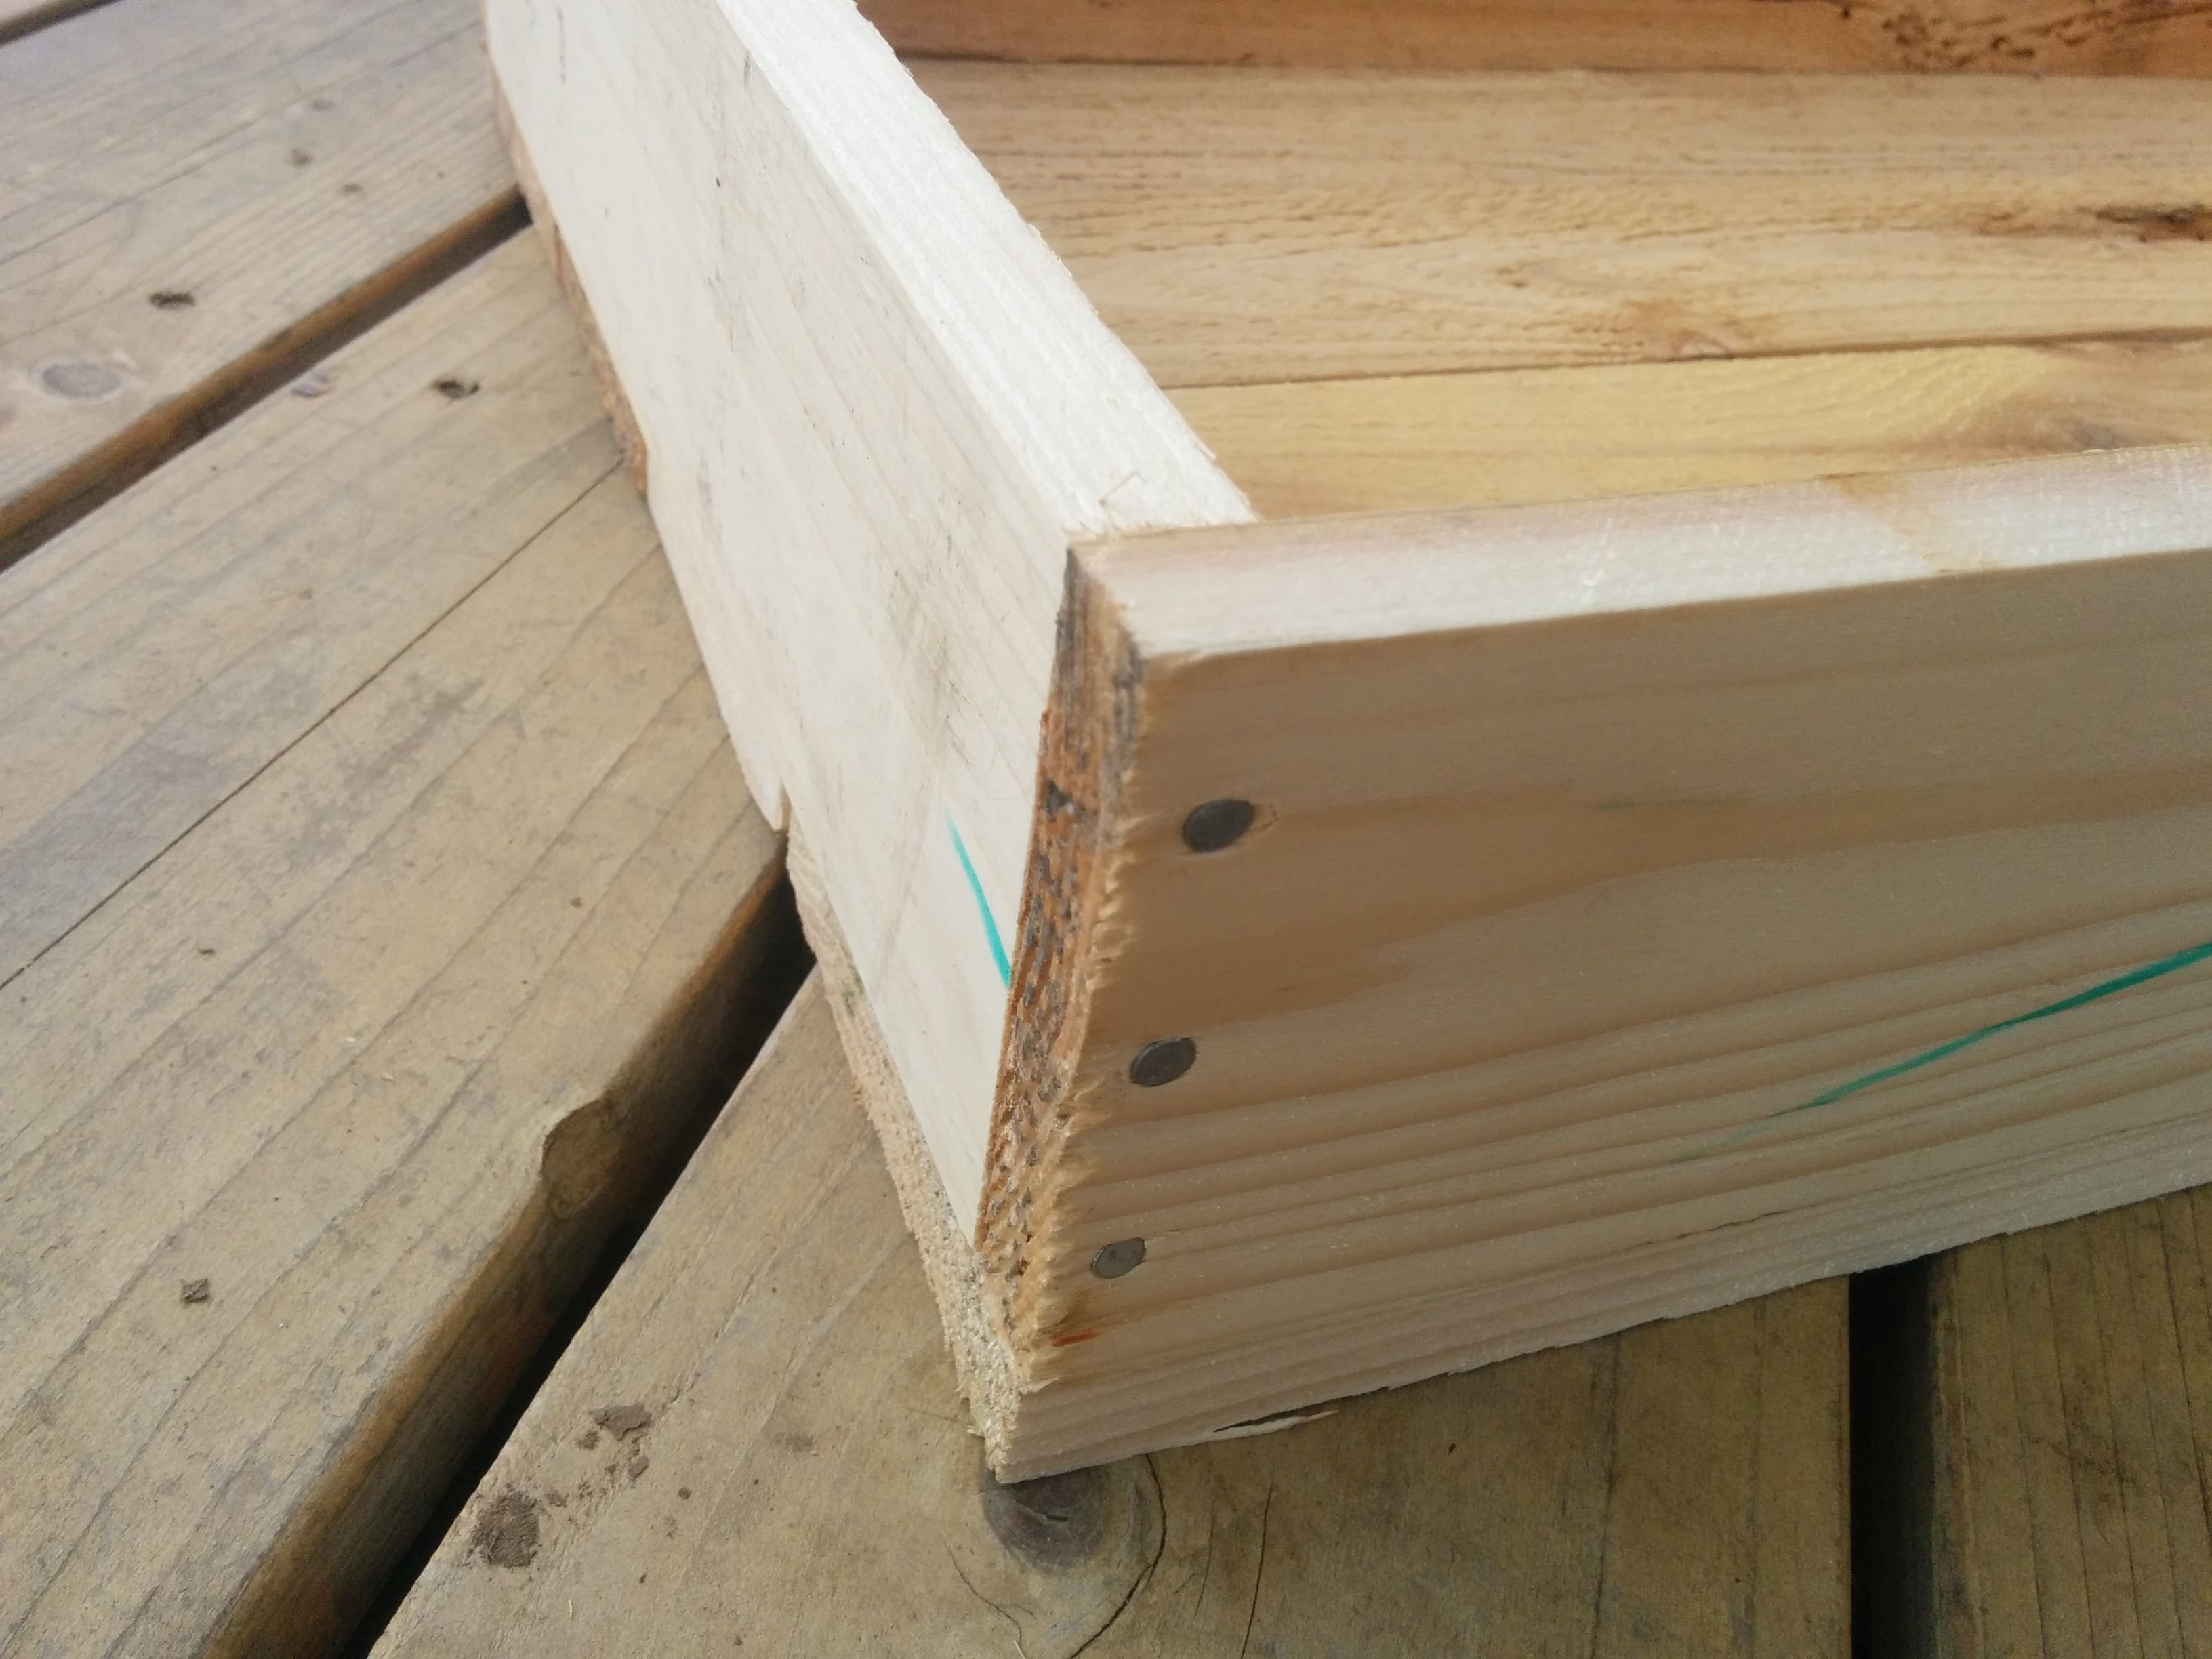
The ends and sides are nailed together with the shorter ends inside the longer sides.
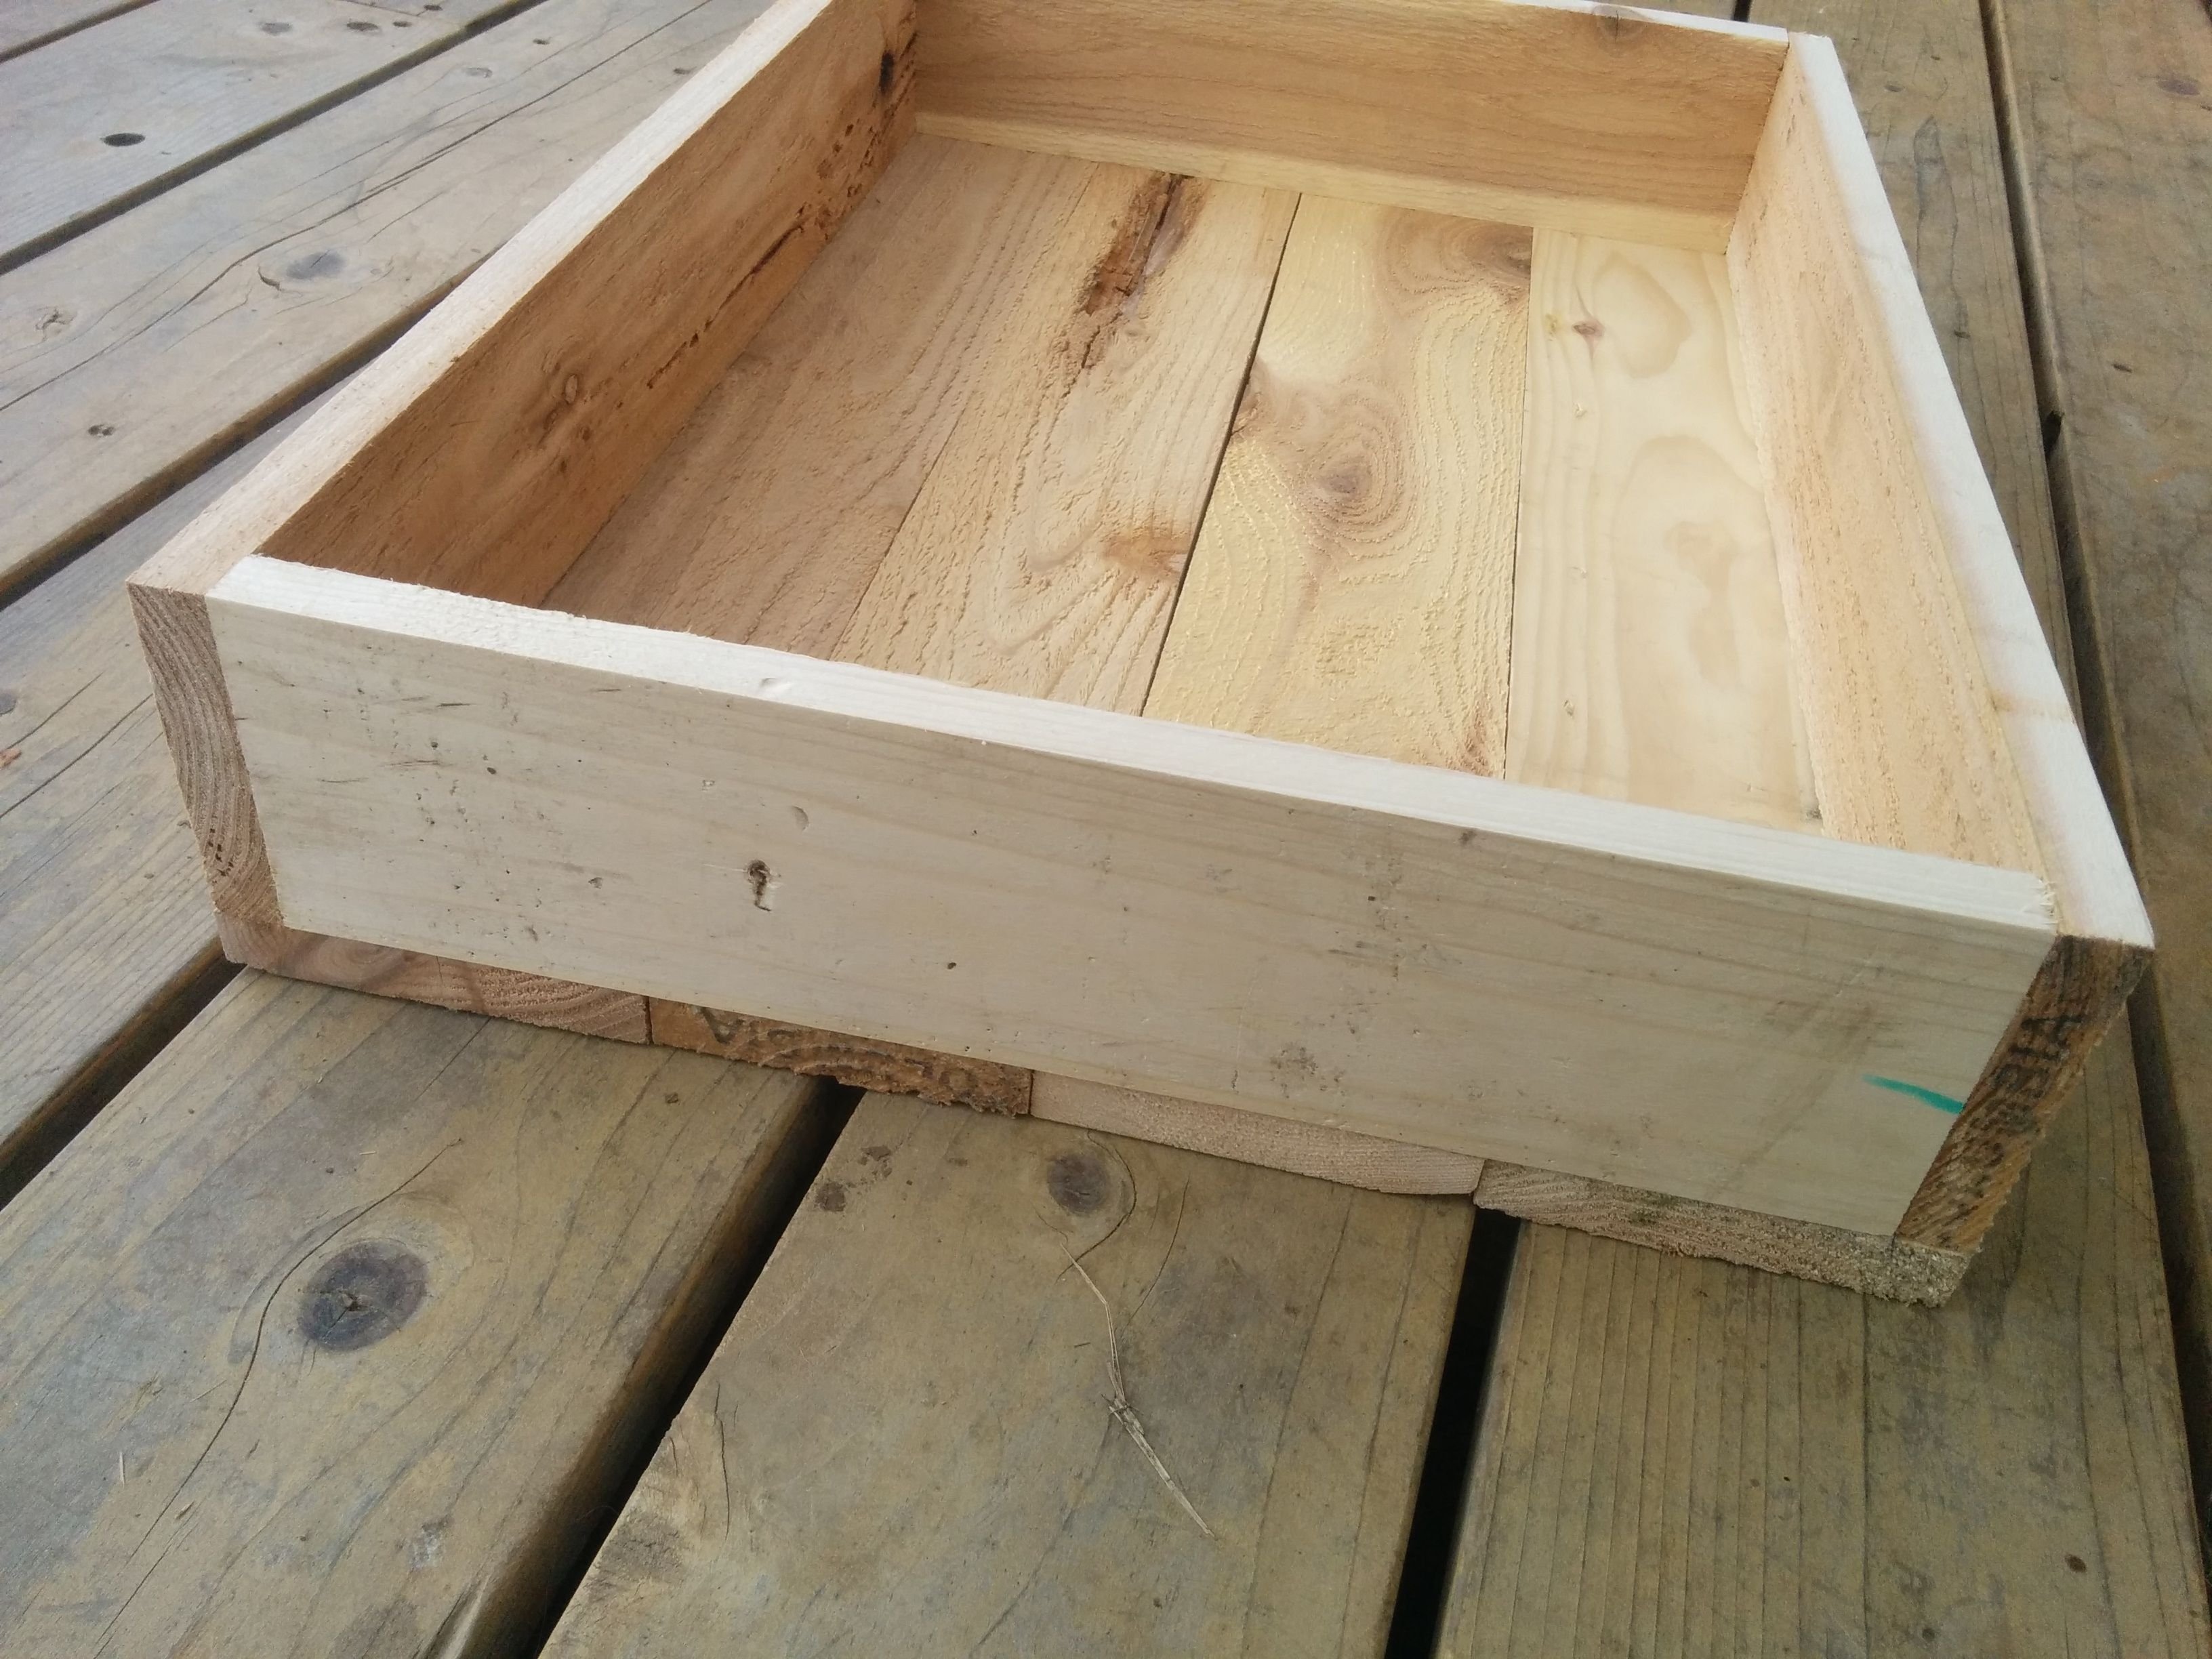
So I measured the bottom slats to the same length as the wider sides.
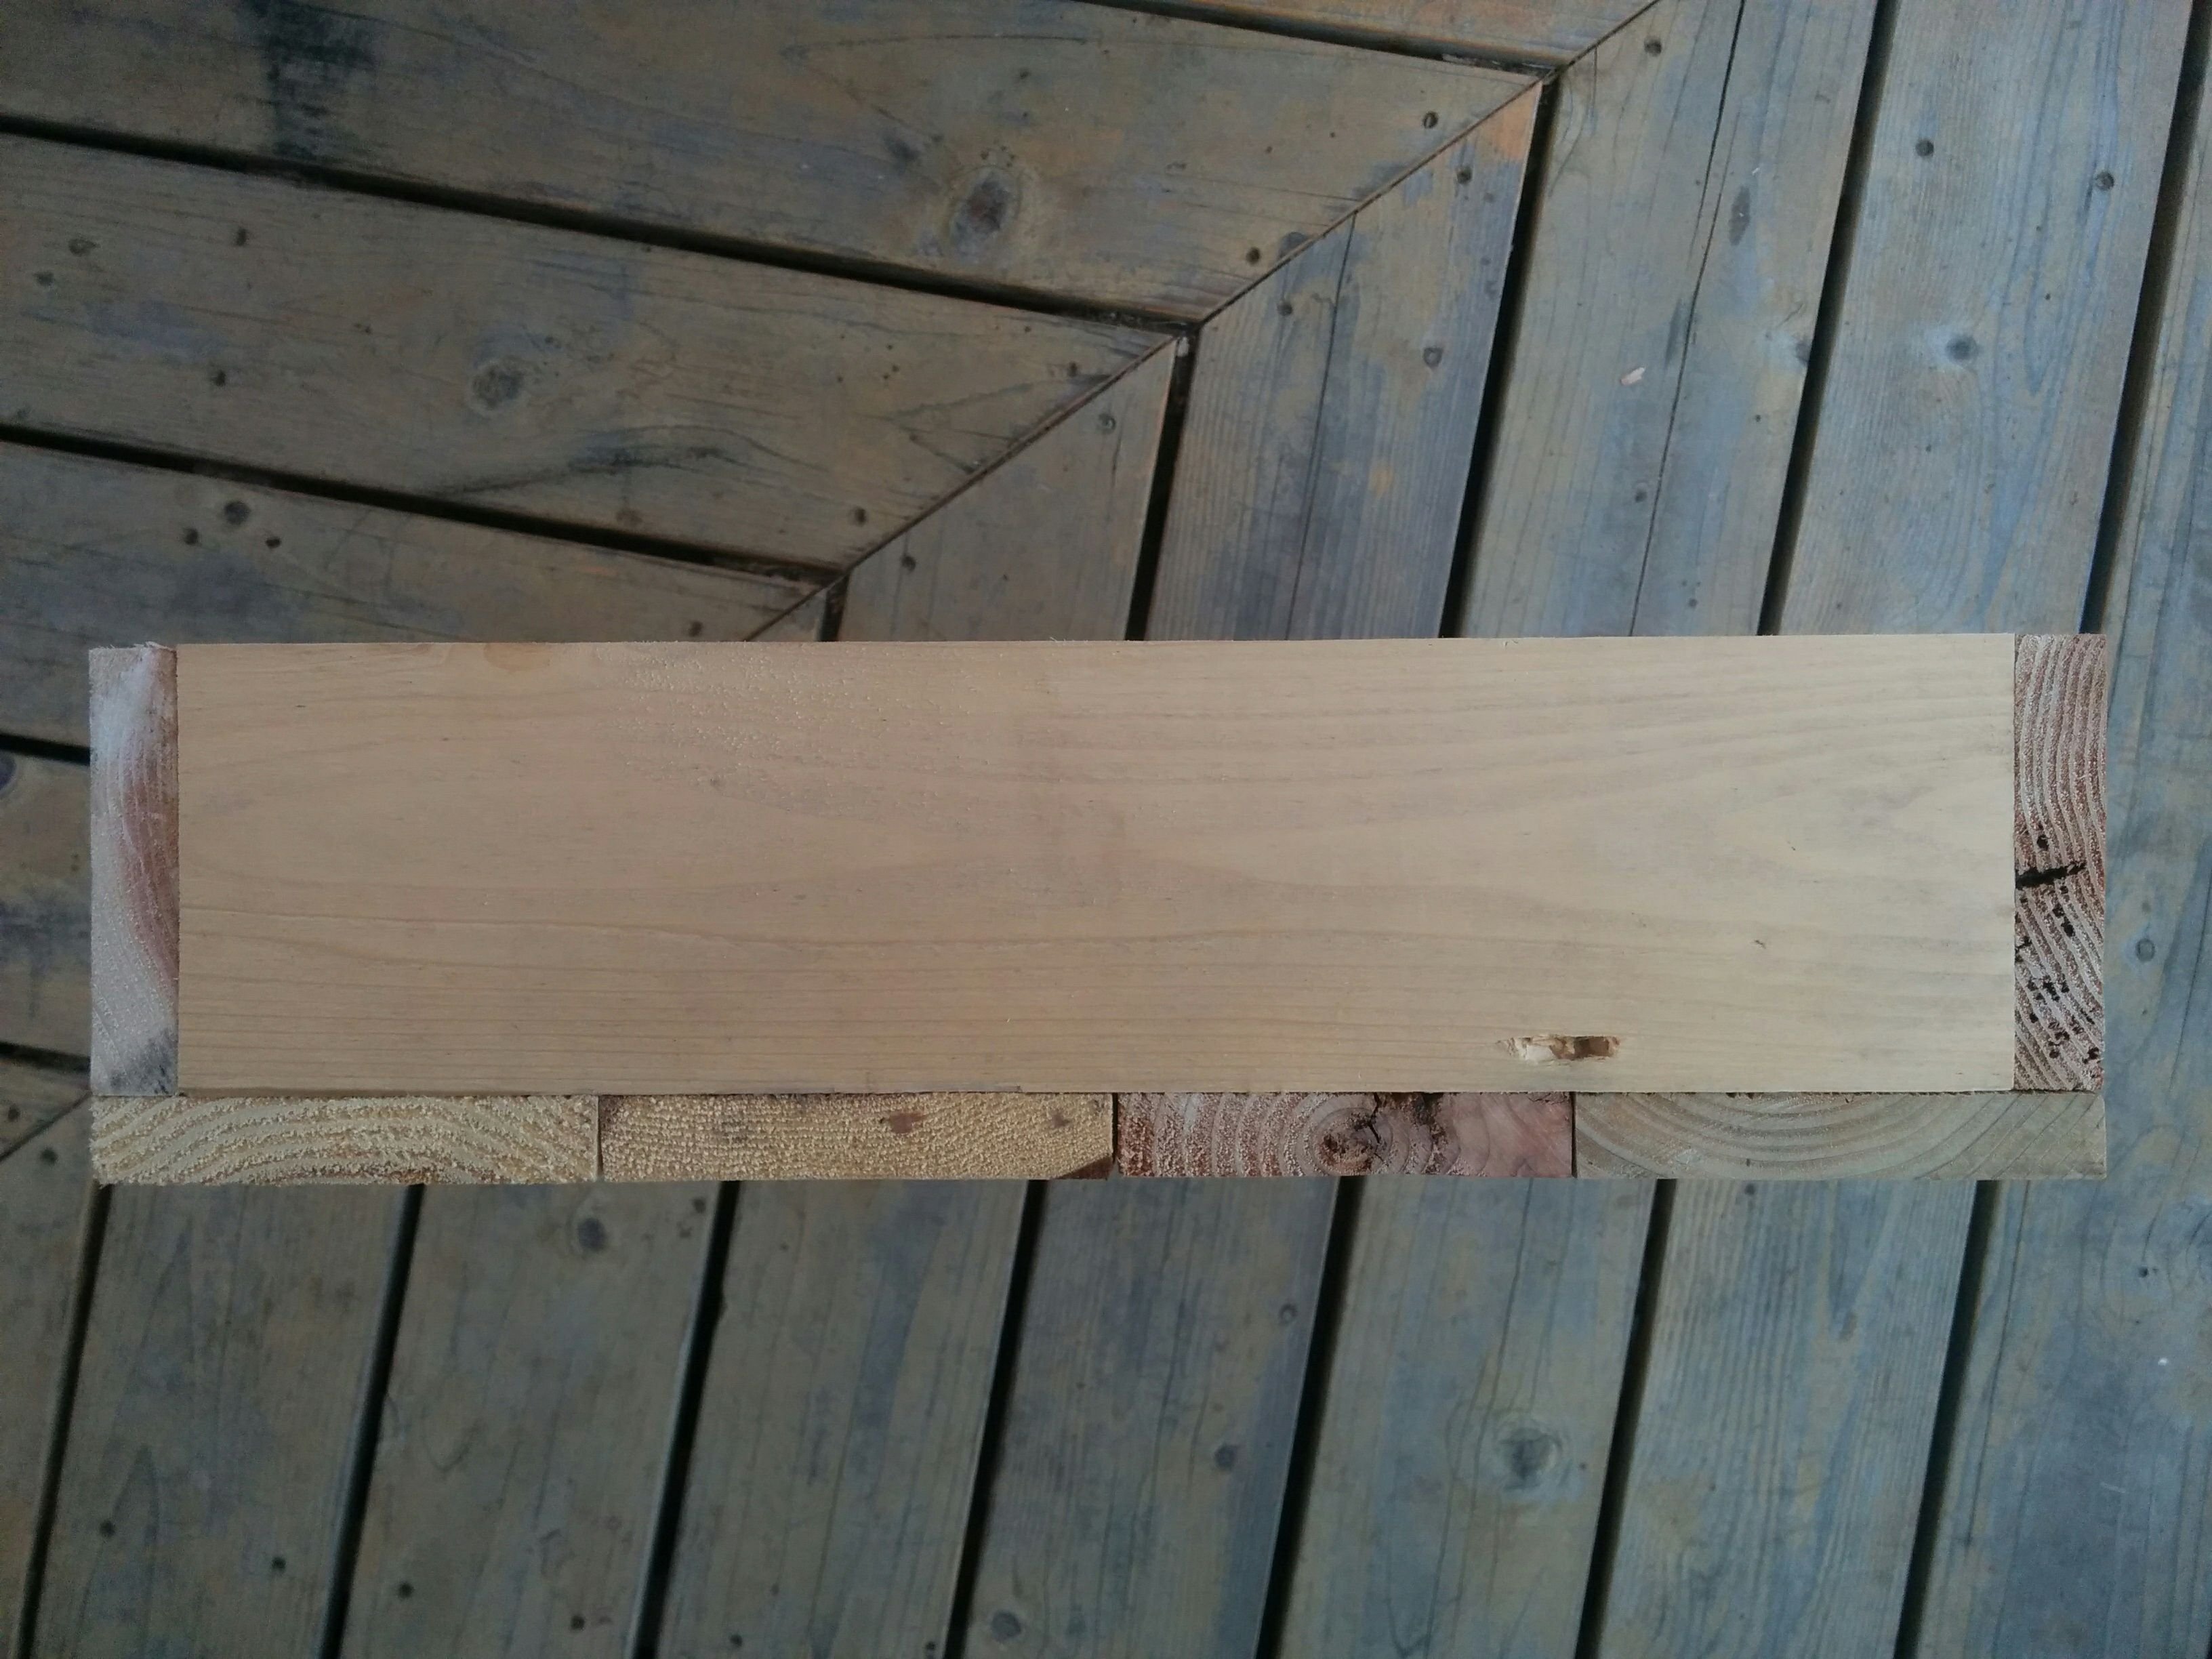
Here is the view of the end.
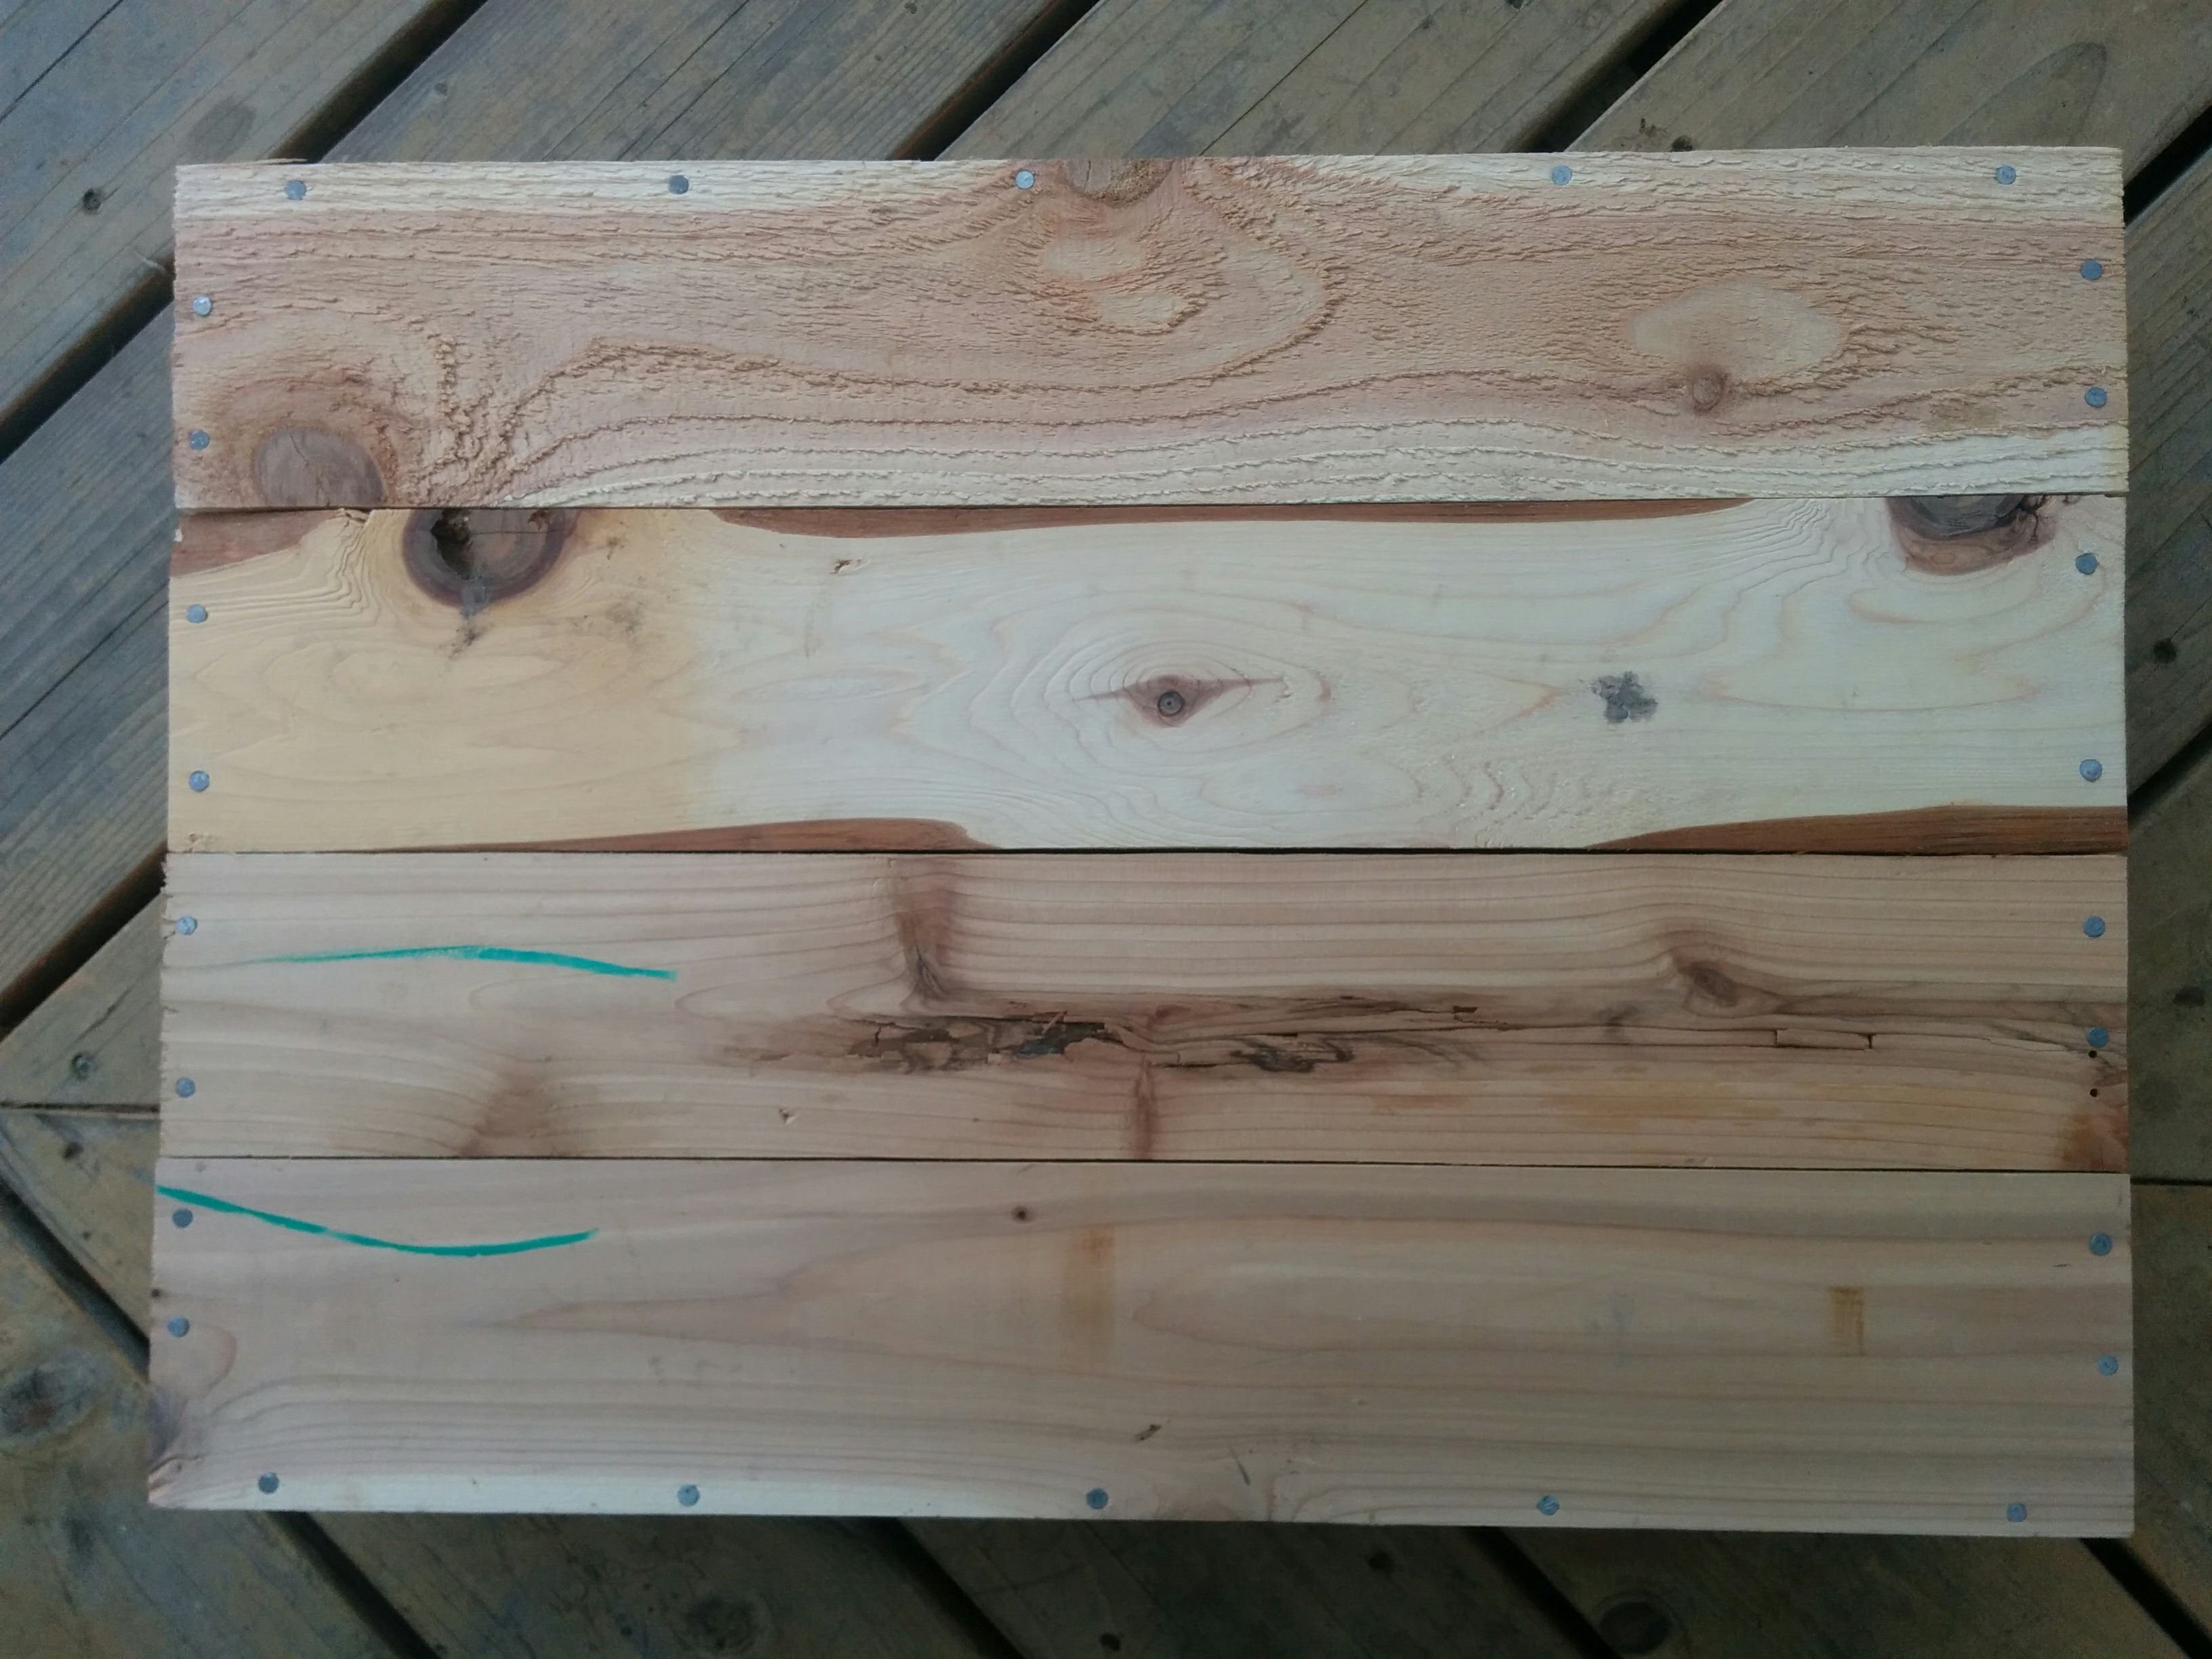
And here is the bottom view. You can see where we placed the nails.
Just to show an alternate style of assembly the Camp Joy flats had two thicknesses of wood (which just happens to be holding veggies :). The sides and bottoms were thinner than the ends, which might save some $ if you were buying the wood new or give you flexibility if you have different dimensions of wood lying around.

When all was said and done we ended up with 19 seed flats! It was about 2 days work with some luxurious breaks! Not too shabby. I am hoping they last for many years of gardening :)
Now that the seed boxes are constructed we are working with homemade soil mixes for our seed propagation. More on that soon!
