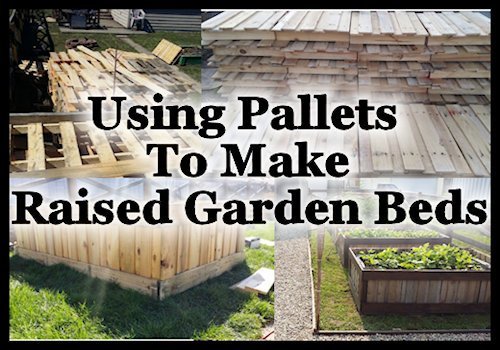
Growing a garden in raised beds has many benefits (read more about that here) but can sometimes be a little costly depending on what you build them out of. I'm all about being frugal and using what I have or what I can get cheap or free for my homestead projects, and pallets seem to be one of those things that just seem to be easy to get for free. I love having free lumber but there are a few things you want to consider before using pallets for your projects.
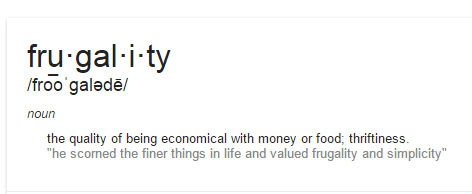
Sometimes saving money does have a cost.
I have found there is usually a trade off of time and work for money, what I mean by this is by using pallets I save a lot of money on lumber but it can be a lot of work and time making usable lumber out of the pallets by breaking them down and removing nails.

Make sure you're using the right kind of pallets for your project.
If you're using pallets for a garden bed you want to make sure you're using pallets that haven't been chemically treated. I don't discard all chemically treated pallets personally, I just use them for projects that have nothing to do with my food or constant contact. Check out this website www.1001pallets.com pallet-safety for more information about determining how your pallets have been treated.
Pallets take up a lot of space.
Something I hadn't considered and may not be a problem or a big deal to some people is the space unused pallets take up and the eyesore they can create when you are storing them between projects. I didn't have any extra room in my buildings so I stacked them outside for a couple months before getting around to my raised bed project and what a mess.
All these things considered I still believe using pallets for homestead projects are worth it because of the money saved and there availability.
So how did I make my raised beds from pallets?
I just happened to get my hands on about two hundred quarter pallets, these pallets measured out at 20" x 24", this saved me a lot of work.

I took apart some of these pallets quickly by using a Reciprocating Saw and just sliding it between the boards and cutting the nails, I had to do it this way because when I would try to pry the boards off I kept breaking the boards because these quarter pallets use a little thinner wood. The reason I only broke down some of the pallets is so that instead of building the bed sides from scratch I simply kept the pallets whole and used the boards from the broke down pallets to cover the gaps between the boards an seen in the picture above.
After I put together all the sides of the raised beds I took some large 4' x 8' pallets I had and broke them down. These pallets had 8' - 1" x 6" boards in them. I used these boards to go around the raised beds and hold the pallet sides together.

After I put these all together and placed them where I wanted them I stacked 12 of the quarter pallets in each one, 6 per layer and 2 high in order to take up about 8" of the space in the raised beds. I did this to reduce the amount of soil I would have to put in them still leaving me about 14" of soil leaving it down a couple inches from the top.
I then lined the inside of the boxes with a Heavy Landscape Fabric which keeps the soil from washing out but allows for good drainage. I then painted the borders and added a water sealer to the outside of the beds to give them some durability against the elements and hopefully get years of use out of them.
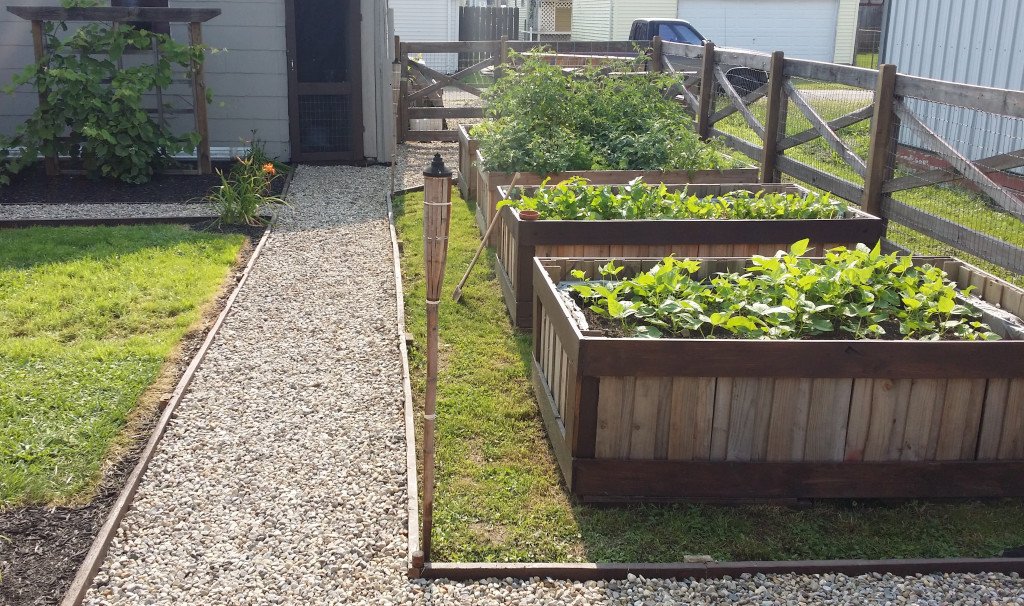
After all that I was ready to fill with a good soil mix and plant my garden. The crops are doing well and I believe these simple, inexpensive garden beds look good and function well and were a great addition to the homestead.
I hope this will get your creative juices flowing and inspire you to look into the endless ways you could repurpose pallets and other scrap materials for useful projects on your homestead. Happy Homesteading!