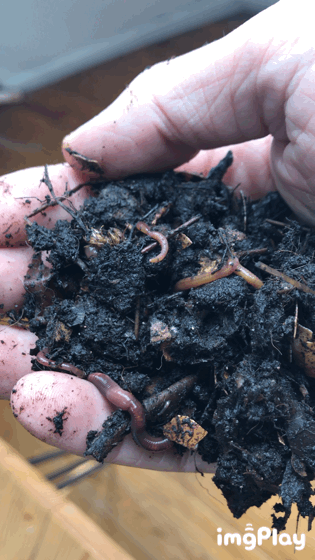
Worm castings are one of the best damn things you can add to your soil, hands down. Worms are miraculous little creatures that create magic in their guts. Their poop is loaded with bioactivity and plant available nutrients. Other animal manures, and even composts do not compare.
Turning your food scraps and vegetable waste from your garden into rich compost efficiently can be a bit complicated. You need to balance the ratios of green and brown materials, turn it, and keep it moist, but not too moist. Vermicomposting (composting with worms) is actually much simpler. You just layer in your materials and let the worms do their magic. When they've turned all of the waste into rich humus, you sift it out and start again.
Worm Bins
The only thing you need is an effective worm bin. You can create your own, and there are plenty of tutorials on YouTube. I chose to purchase the Can O Worms bin from Amazon. It works great and is really convenient. For a vegetarian family, we would need about 4-6 of these to take care of all of our food scraps, so we still have a compost pile to take care of the rest. Eventually I plan on expanding, maybe building a larger vermicomposting system. For the urban gardener and beginner, this is a perfect solution.
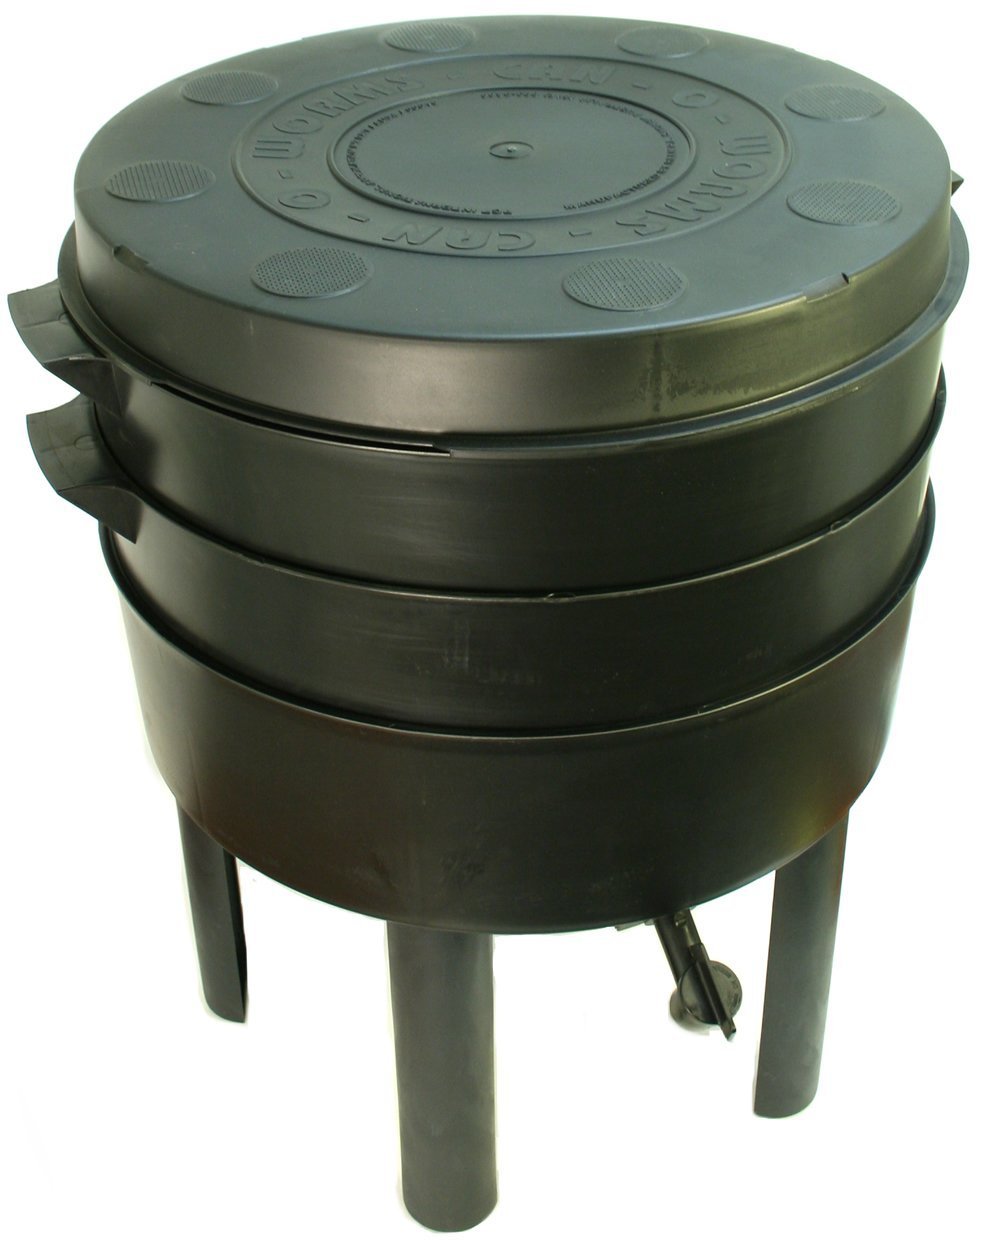
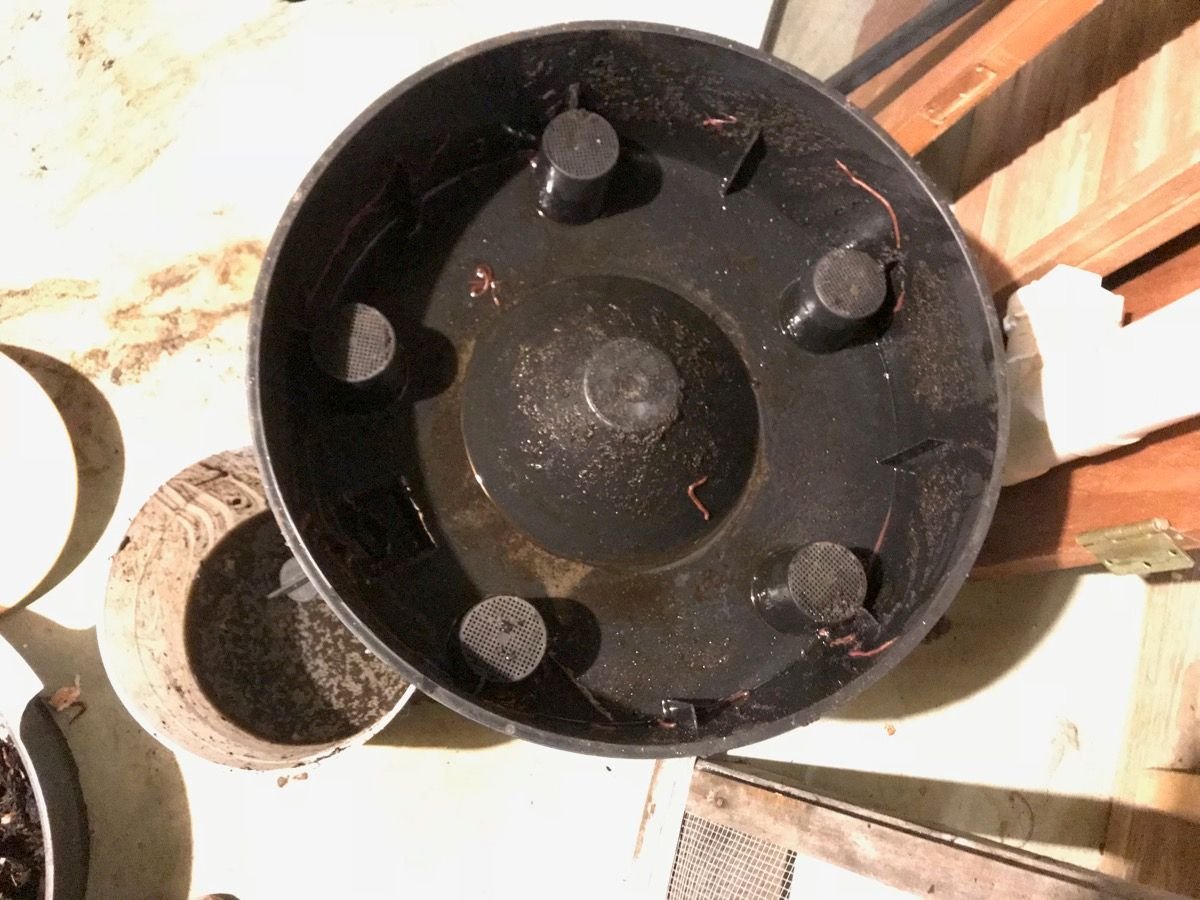
Their are two trays for rotating the system. When you fill one tray you move it to the bottom and begin filling a new one at the top. Worms are theoretically supposed to migrate up from the bottom tray once it's ready to extract. But I find they kind of do what they want to. So I usually end up harvesting and refilling both at the same time. The bottom pan collects all the excess water and has a spout for collecting the beautiful worm soup which makes a great foliar spray or quick plant boost when diluted.
For some reason though the worms like to congregate in the soup, and I usually have to pull a few hand fulls out when draining.
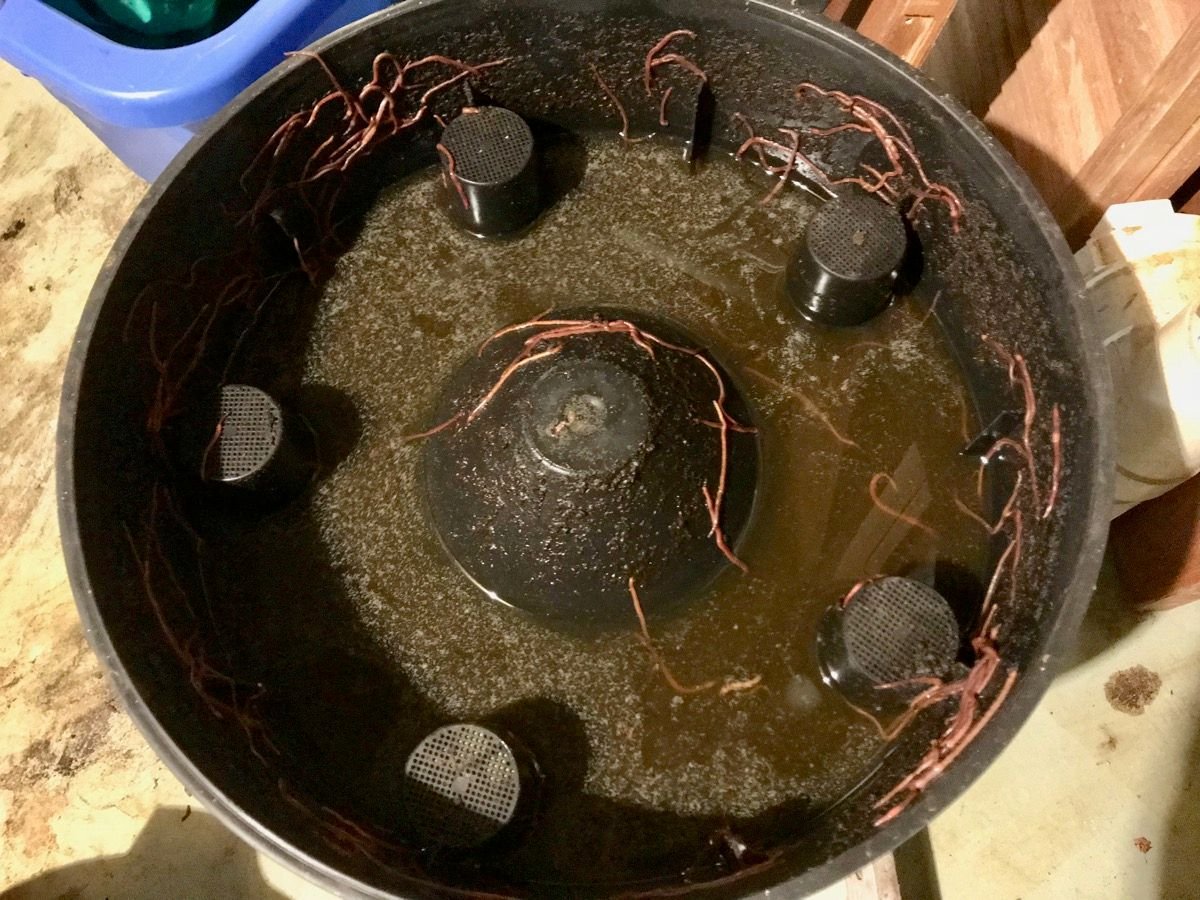
They survive just fine somehow, and I rarely find many dead worms.
Worms
The worms you use for vermicomposting are red wigglers. Unlike earthworms, they like to stay at the surface and eat vegetable matter. Earthworms prefer burrowing deeper into the soil and live off of decayed plant material and bacteria in the soil. I did put a few earthworms into my bin, and they have bred and survived. But their not efficient in a system like this. They do their best work in your garden!
Feeding
The only rule you really need to follow when it comes to feeding, is no meat or bones whatsoever. If you want to spend a lot of time and energy you can be more selective on what you feed your little slimy friends. If the material is easy to eat through they can consume up to half of their body weight a day. I don't have the desire to be selective, I drop whatever I have in their and it takes them longer for certain items than others. I don't really care, I'm in no rush, So fruit peels, cores, stems and egg shells all go in there. I find the worms love the egg shells for laying their eggs in. In time all the material is eaten and broken down, and I don't have to have 10 buckets with labels for collecting various kinds of scraps in my kitchen. They are self regulating, so if you feed them less, they'll slow down and stop breeding, and breed like crazy if you feed them more. So don't worry either way, they're pretty adaptable low maintenance creatures.
I've found that in time, the worms neutralize and self sanitize their environment. Fats and oils can go rancid and smell, too much moisture will bring about mites, organic fruit will almost always contain fruit flies. But in time, all of those go away and the worms do fine. As long as you layer and don't pile too much scraps on at once, you should be perfectly fine. The bin does an excellent job at keeping orders and flies inside, if they do happen to spring up for a period.
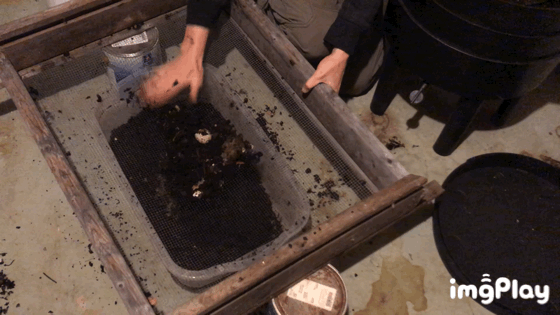
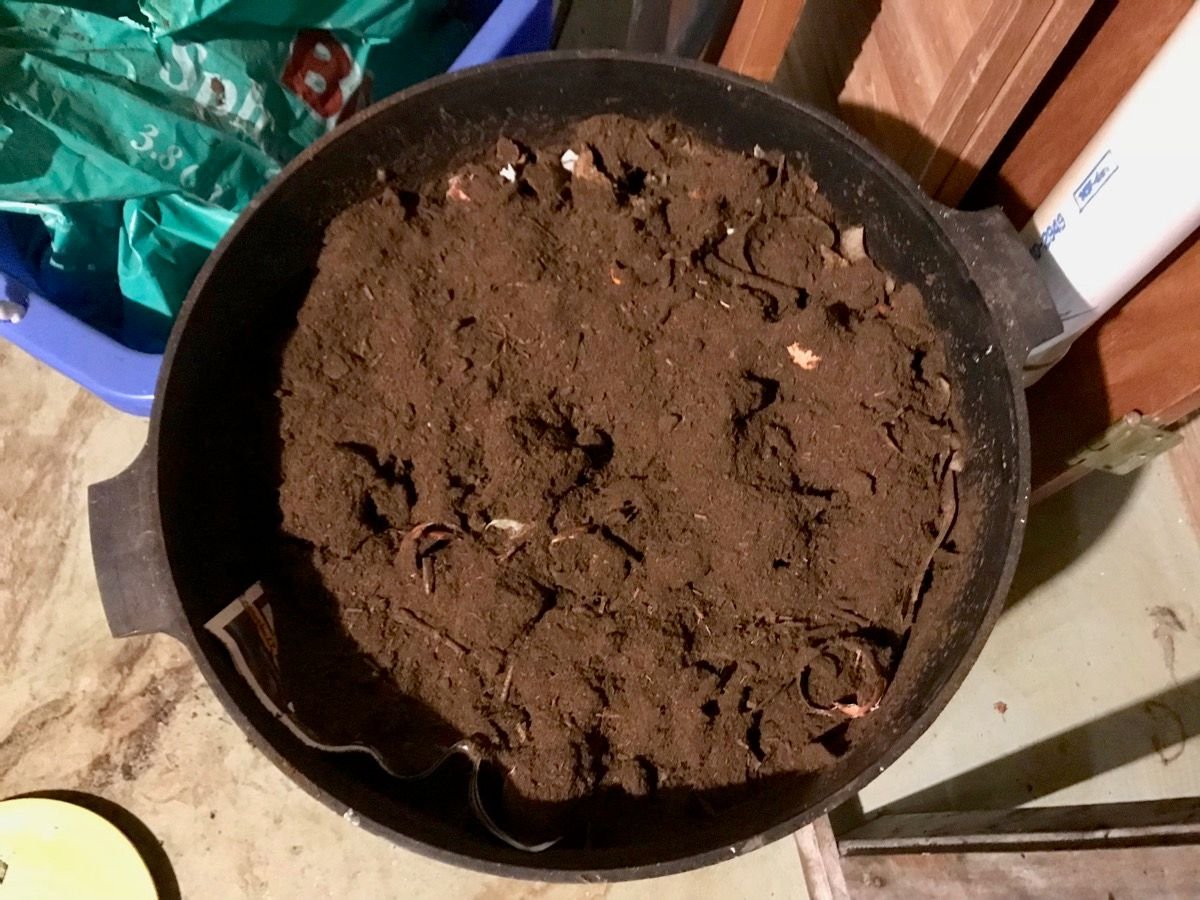
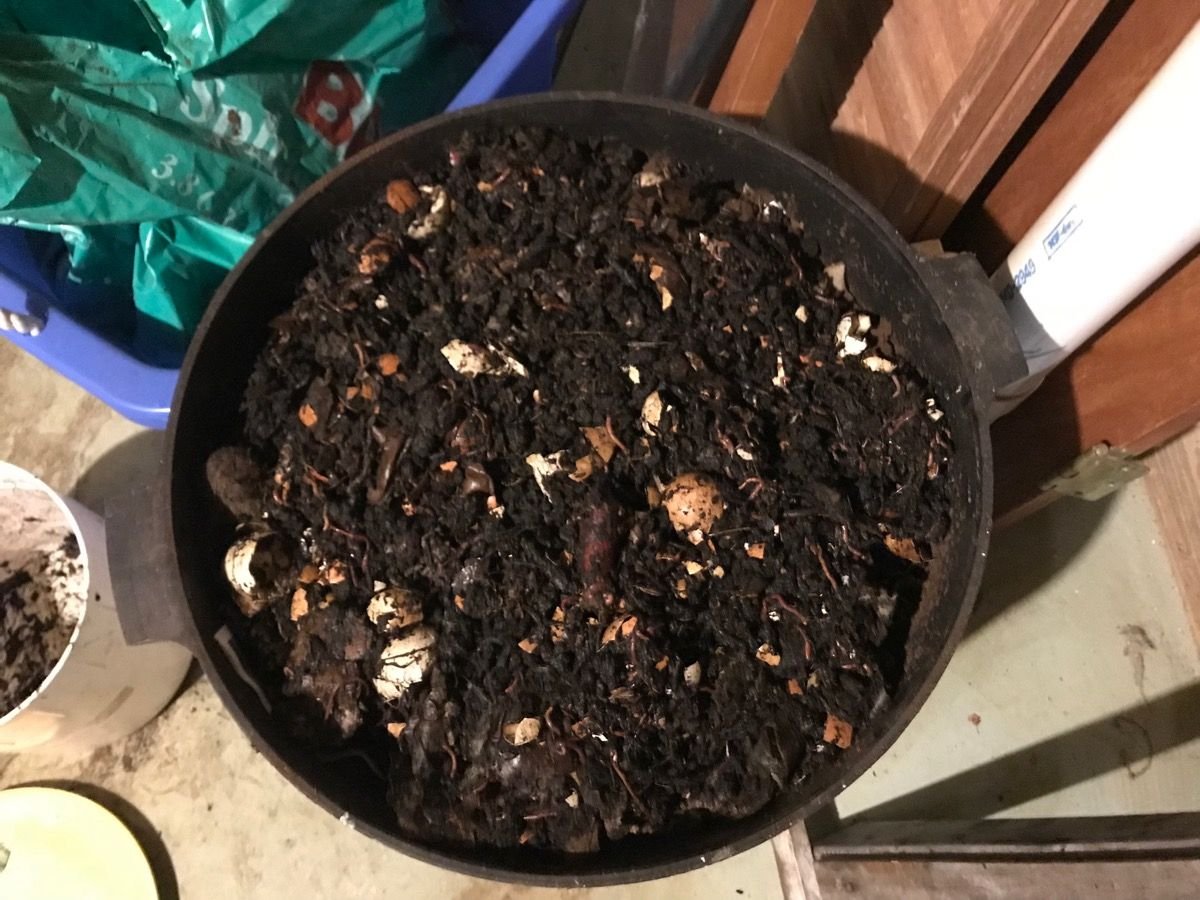
Screening the Poop
For screening the compost, I built a simple frame and stapled 1/4 inch mesh to it. This was sized for my wheel barrow, so it's a bit awkward inside the house. I'll be building a smaller one next time. Works great on the wheel barrow, not so much over a small bin on the floor ¯_(ツ)_/¯
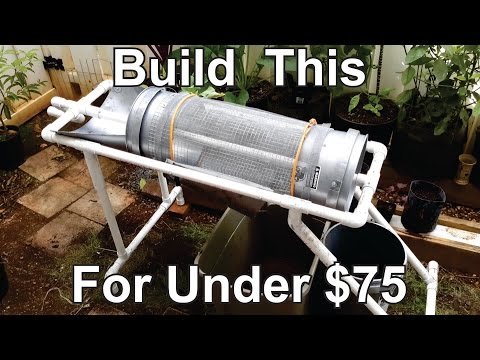
I'm planning on building something like this, at some point.
Setup and Feeding
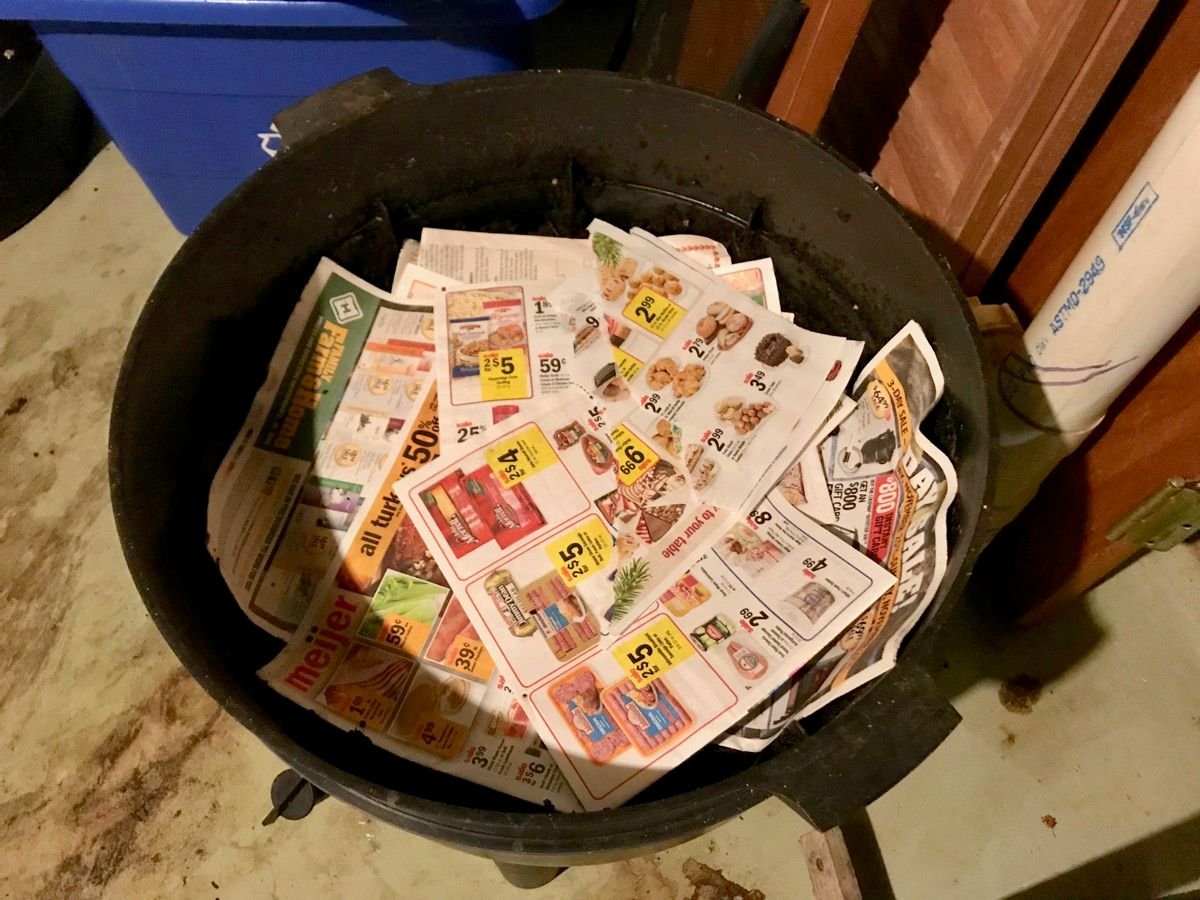
Lay down the bottom layer for the bedding, this can be leaves, cardboard, paper, or non glossy newspaper.
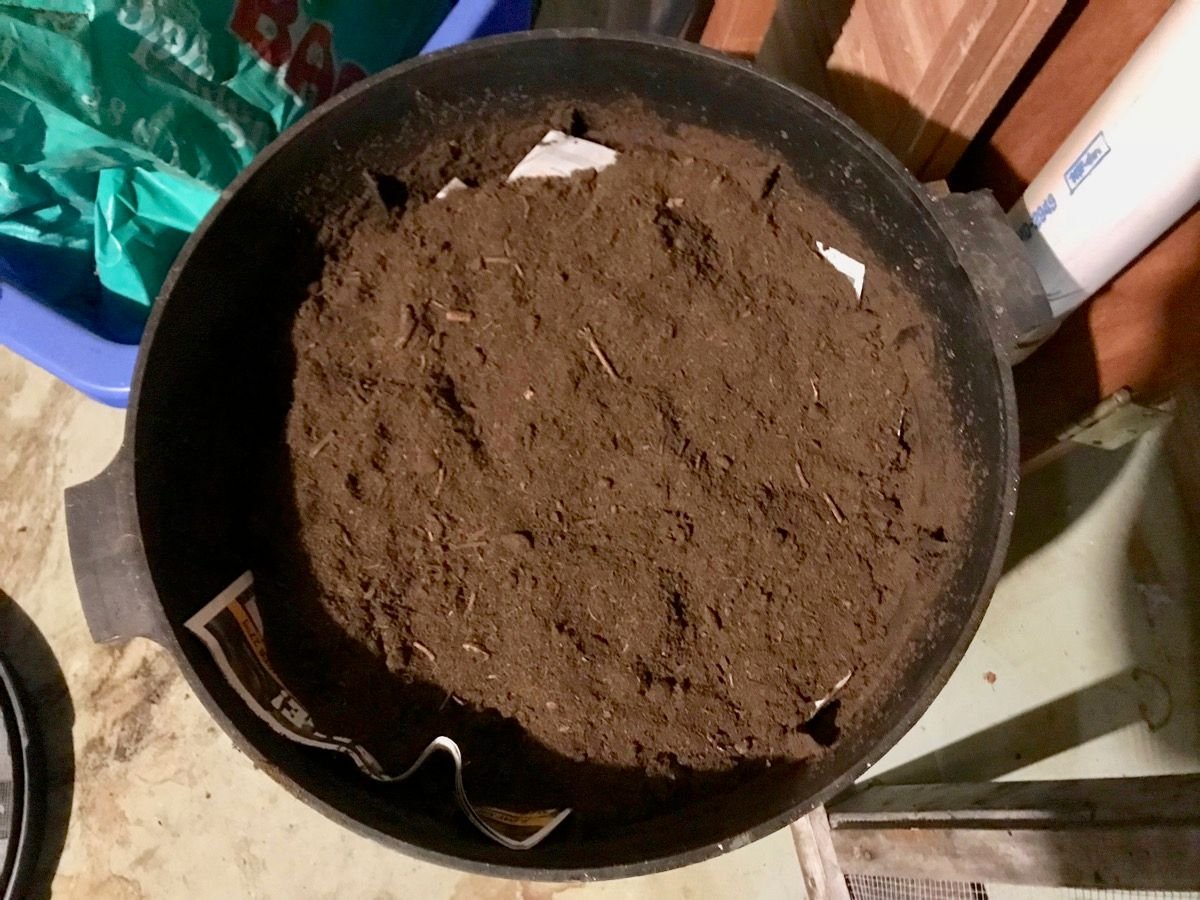
Add your bedding material, this can be coconut coir, peat moss, or decomposed wood or leaves. I used peat moss this time around because I had some leftover. I prefer coconut coir or rotted pine wood I get from the forest, as they absorb moisture much better. But use what you have available, ideally.
Layer your food scraps on top thinly, too thick and it'll start smelling really bad as it becomes anaerobic

Put another layer of brown material/bedding on top
Drop your worms back in and let them go to town!
How I Use the Castings
I usually get about 3 gallons every couple months with this system. It's not enough spread in my garden but provides all I need for starting my seeds and sprinkling in soil when transplanting.
Vermicomposting is something almost anyone can do, and can be a great first step to living more sustainability. For experienced homesteaders, try creating a large system that can handle all of your composting needs. I'd love to see this done on a larger scale!
Resources
tastefulgarden.com: Worm Casting Facts
unclejimswormfarm.com