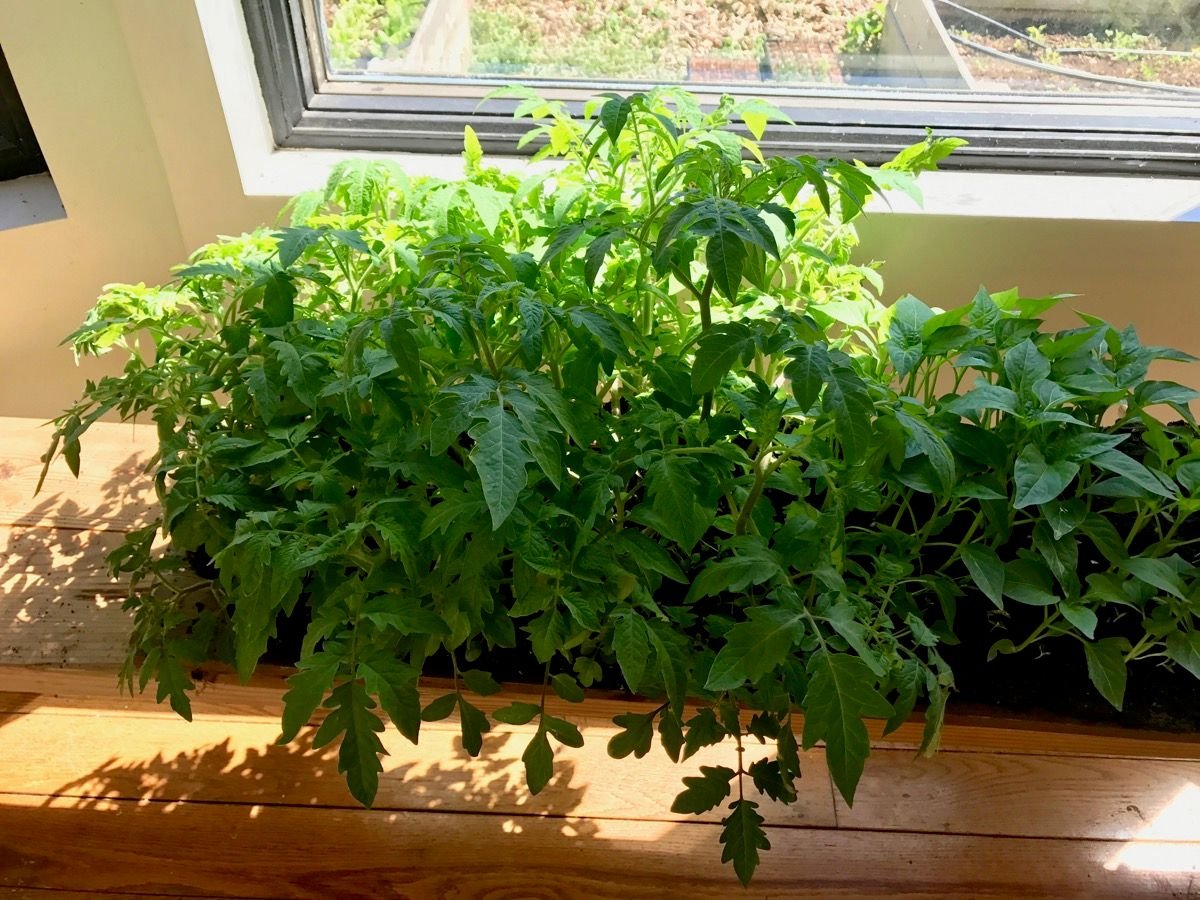
With the holidays over and the sun blessing us with its presence a little bit longer each day, it’s time to start thinking about spring! Now for me, up in the north USDA Zone 5, I have a long 3 months before the ground begins to thaw. But it’s less than a month before I start my first seeds of the season (I’m looking at you onions!). It’s a better time than ever to share with you how I’ve increased production, reduced transplant shock, and removed unnecessary plastics from my life.
The method by which these amazing feats have been achieved is none other than soil blocking. When I first heard of this magic, I didn’t quite understand how it would be effective or how the blocks would hold without crumbling. But after buying a hand held soil blocker a few years ago, I quickly became convinced that this is the only way to go.
How it Works
Soil blocks are simply seed starting soil compressed into small blocks. Because the sides of the blocks are exposed to air, and not held by plastic, the roots self prune as they reach the edge. This keeps them from becoming root bound (roots wrapping around the outside of the soil). Since the roots are waiting right at the edge of the soil, and the blocks hold their structure when transplanted, they aren't susceptible to transplant shock and generally recover much faster than plastic seed cell started plants.
Benefits:
- Reduces dependance on plastics
- Reduces transplant shock
- Air prunes so plants never become root bound
- Saves storage and growing space over plastic seed cells and trays
Tools
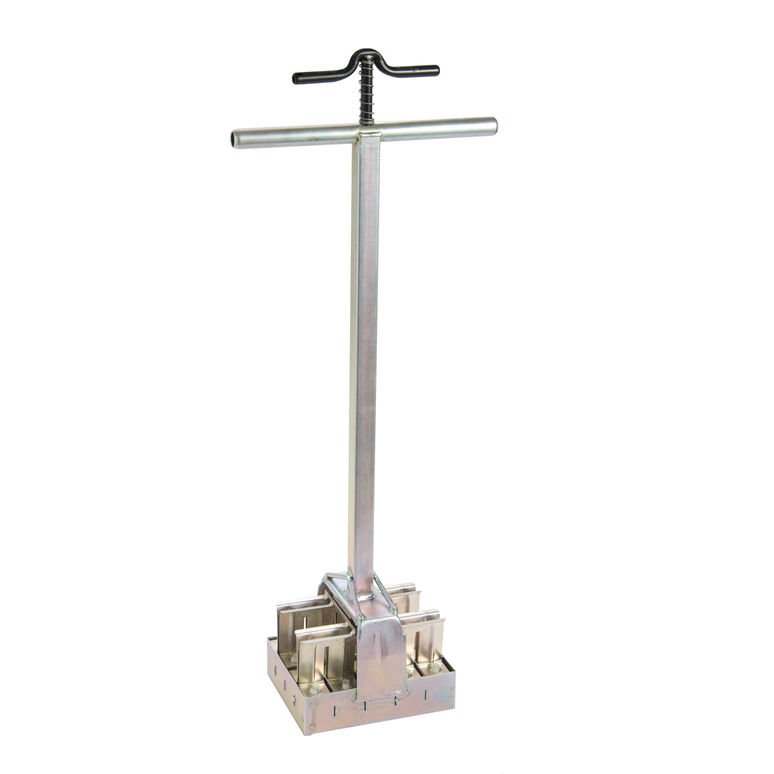
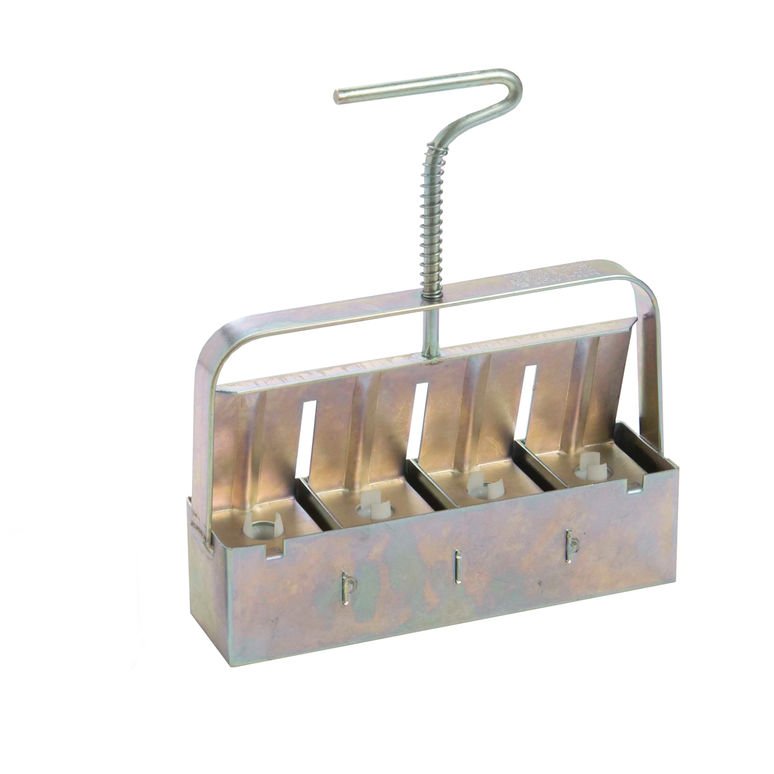
Soil Blocker
It's possible to build your own soil blocker, but unless you are an experienced welder, it won't match the efficiency of a standup soil blocker. The standup versions are expensive but well worth the money.
Soil Block Tray
You'll also need some sort of tray to hold the blocks. I used scrap boards, drilled two holes on each end, and ran some rope through for handles. When wet these things can be pretty heavy, so you'll want something with handles and that is sturdy.
Soil Container
Having a container with a flat bottom for the soil mix is also a must. I'm sure you'll find something, if not, you can use a simple plastic storage container. Anything would work, as long as it has a flat bottom.
Soil
If you purchase premade seed starting mix from a big box store, you will end up spending a ton of money unnecessarily. Making your own potting and seed starting mix is the best way to go, and can be done extremely cheaply, especially if you are creating the compost and base yourself.
For soil blocks, you want a light, spongy soil that drains well and holds its shape when wet. I wouldn’t use any garden soil, as this may contain clay and silt which would impede air and harden like a rock.
Soil Recipe
- 1 part compost or worm castings
- 1 part leaf mold, coconut coir, peat moss, or well rotted wood
- A sprinkling of wood ash (I just lightly cover the surface of the soil in whatever container I’m mixing it in)
- Organic fertilizer per instructions (this is optional depending on the quality of your compost and the time plants will remain in soil blocks)
I wouldn’t spend any money on perlite, I’ve witnessed little difference in the success of plants. If you are concerned about aeration and drainage, don’t sift your compost/castings so finely, and mix in a tad bit of sand. Aeration and drainage become problems when the particle sizes of your potting/seed mix are small and uniform. Since I only sift with 1/4” mesh, I have no issues.
Method
Add Water
After mixing your soil well, poor in water until you get a wet but not soaking consistency that is spongy and and holds its shape when squeezed. After adding the water to the right consistency, wait 5-10 minutes for the soil to fully absorb all the moisture.
Create the Blocks
It takes a bit of practice, but you essentially just press down into the mix with your mold tool and twist it a bit agains the bottom of the container. Lift out, place on seed tray, and press the blocks out of the molds slowly. At first you may be trying to compress too little, or too much soil and end up with an uneven mess for blocks. Don’t get discouraged, they don’t have to be pretty to function, with practice you’ll understand how much you need to compress and produce much cleaner, uniform blocks. If the blocks stick too much, the soil is too wet, if they crumble it’s too dry, adjust the mix until the blocks hold their shape and come out easily from the molds.
Planting the Seeds
I find it easier to plant into soil blocks as a dibble from the soil blocker creates a perfectly sized compression for the seed. Simply drop the seeds in the hole, sprinkle some soil mix over the tops, water, and gently press them down.

Watering
Water the blocks once or twice a day, or as needed. The one thing you want to avoid is having the blocks dry out. If they do they tend to become extremely hard and brittle and may have trouble absorbing water.
Transplanting
In general, transplanting couldn't be easier. But there are some things you'll need to watch out for. If the transplants were allowed to stay too long in the blocks, they may start to root into each other, forming a solid mass of roots that hold all the blocks together. Be sure to separate them with a knife in this case. Separate the blocks row by row. Leave the block intact and plant just deep enough for the soil line to cover the block. Water it in and you are all set!