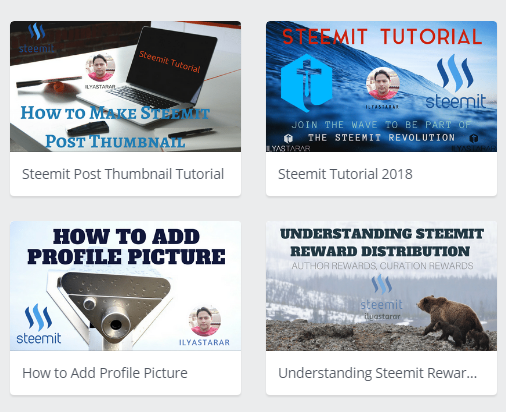
Have you noticed established bloggers using some kind of a thumbnail on their blog and wondered how to create a thumbnail for your Steemit blog posts? Well, wonder no more because I am going to teach you how to create an attractive header image for your posts. It will not only make your posts look better but also get more views on them, and may be more upvotes too if the content inside is good enough.
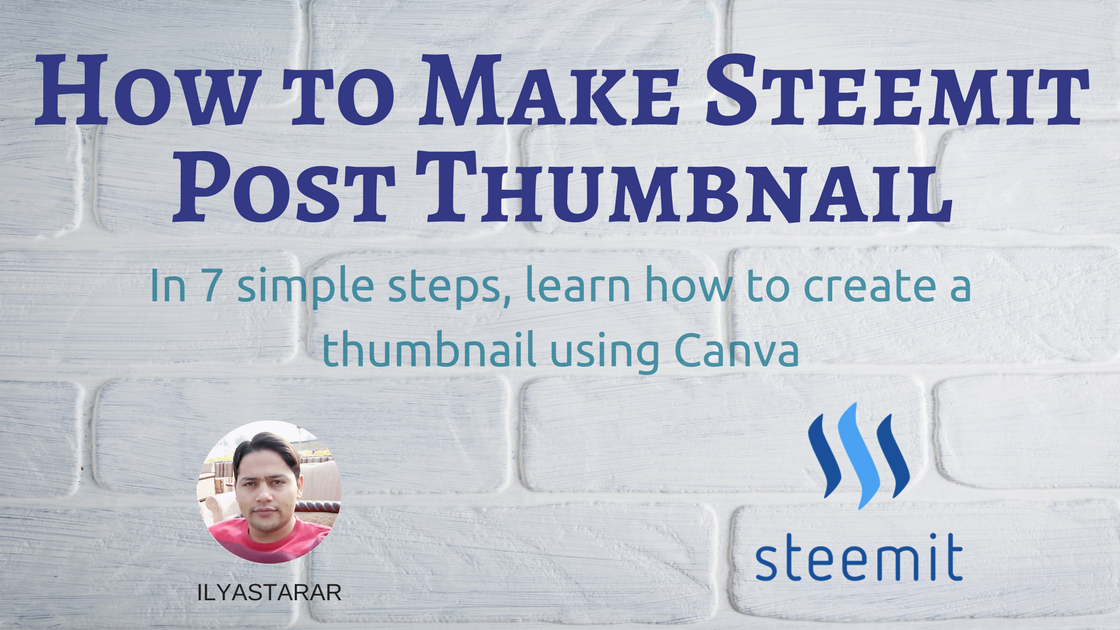
Keep reading to find out how this image was created.
This post and beyond, I will be focusing on polishing fundamental skillset required to become a good blogger on Steemit. Stay tuned. There is a lot to come. If you learn these basic skills and make good use of the tools that I have now started to share, I promise you that you will be a lot better on Steemit than you currently are. Just don't stop learning and always try to apply the knowledge you gather.
7 Steps to Create an Attractive Post Thumbnail
Let's get going. If you have seen my posts previously, most of them have specially designed thumbnails as the first image. The reason for them being the first image is that the first image that you include in your post acts as the default post thumbnail. Let's have a look at the trending posts right now and see if they are using specially designed thumbnails too.
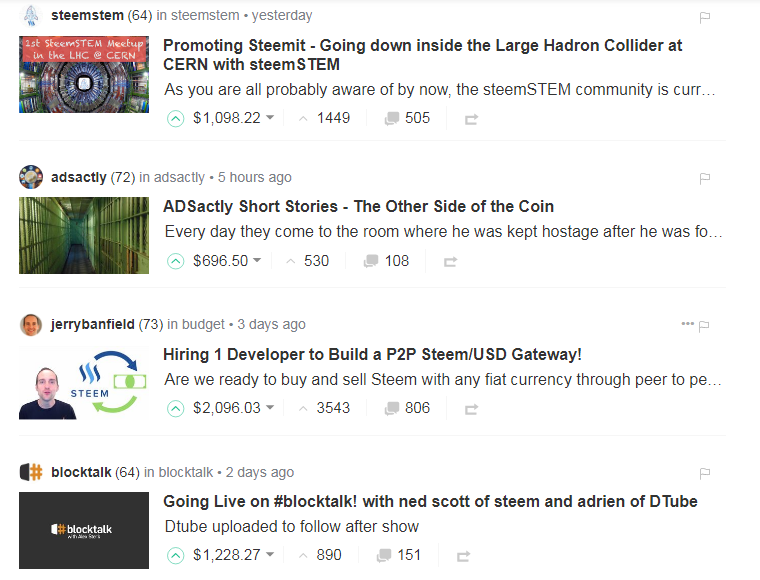
They obviously are using decent thumbnails.
While the desktop browsers show a tiny header image, smartphone browsers do show a significantly sized thumbnail. In either case, having a good thumbnail is a plus. So let's start learning how to do that.
1. Join Canva.com
If you are not a member of Canva.com yet, you should sign up first. Go to the website, click sign up and you will see following box. Choose any suitable option. I chose blog. You can choose personal, blog, student etc.
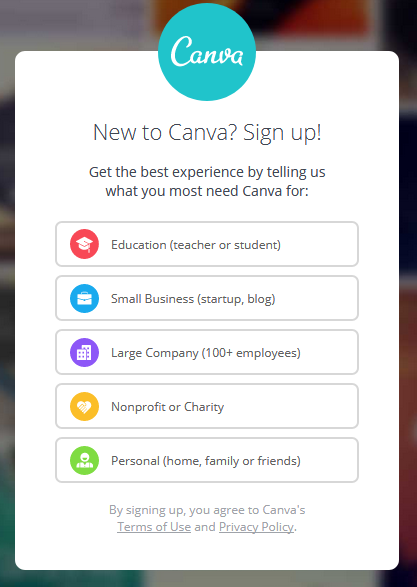
Choose any.
You will see two options of signing up but you can sign in with Facebook too by clicking sign in button instead of sign up one. Anyway, sign up.
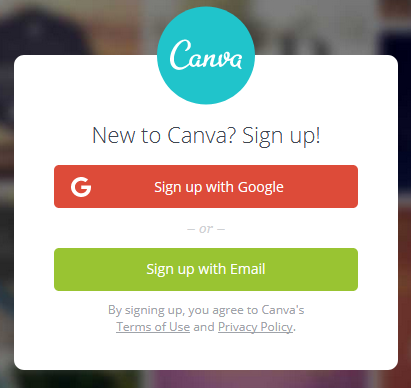
Complete the sign up process.
After you have signed up, it's time to create your first design.
2. Create a Design
Do as shown below. You can choose any given design too but I recommend creating a custom design because it will give you the liberty to create thumbnails of suitable size as well as desirable quality.
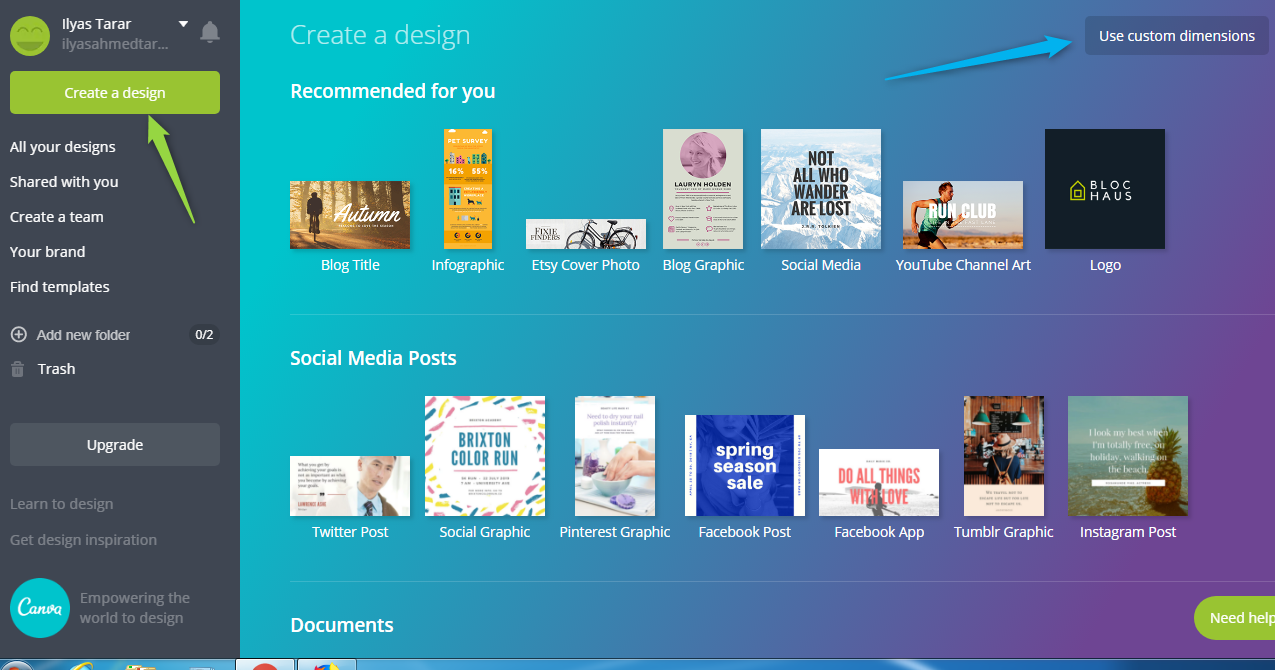
Choose custom dimensions.
You will be prompted to enter your custom dimensions. After some testing, I use 1120 x 630 pixels because it works well on almost all websites and social media, especially in Steemit groups on Facebook.

Enter the details and click design.
You will be taken to the battlefield; the design area. Left panel contains options to add layouts, images, text and files from your device whereas the right side is where preview of your design will appear. Right now, it's a blank canvas waiting for your art. Here's how it looks.
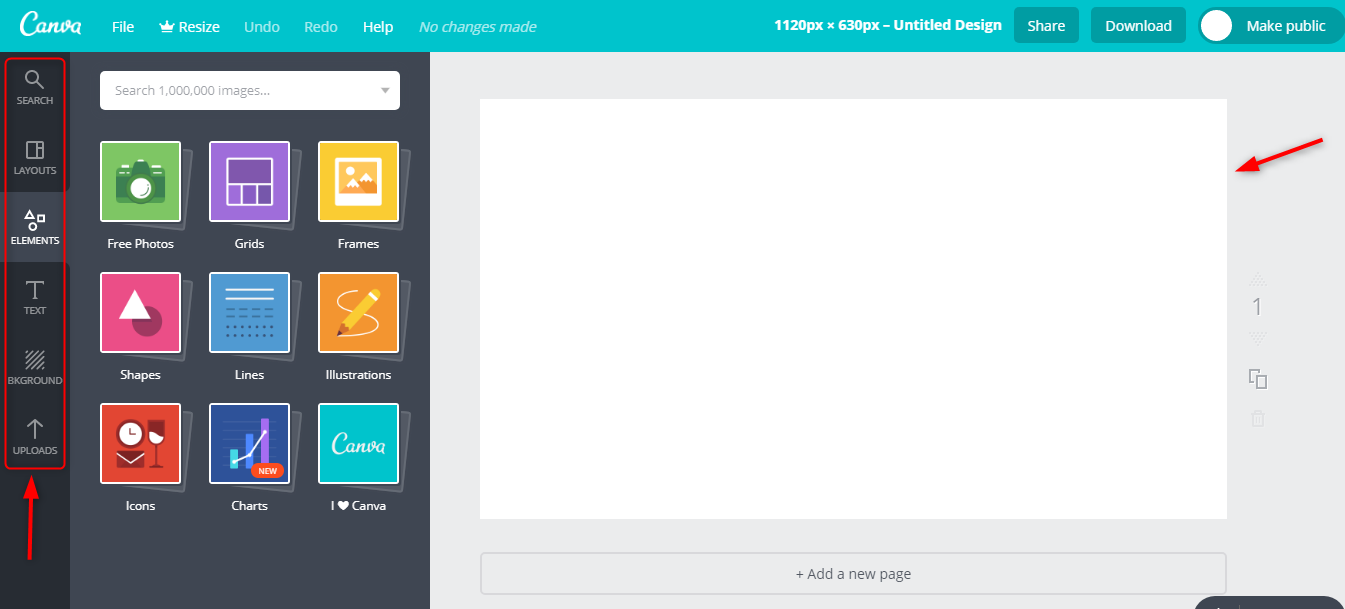
Size of canvas depends on the dimensions.
3. Add an Image
You do not need to visit any other website or upload anything from your device to add the background image because Canva has an inbuilt gallery of copyright free images. Go to Elements>Free Photos and choose an image.
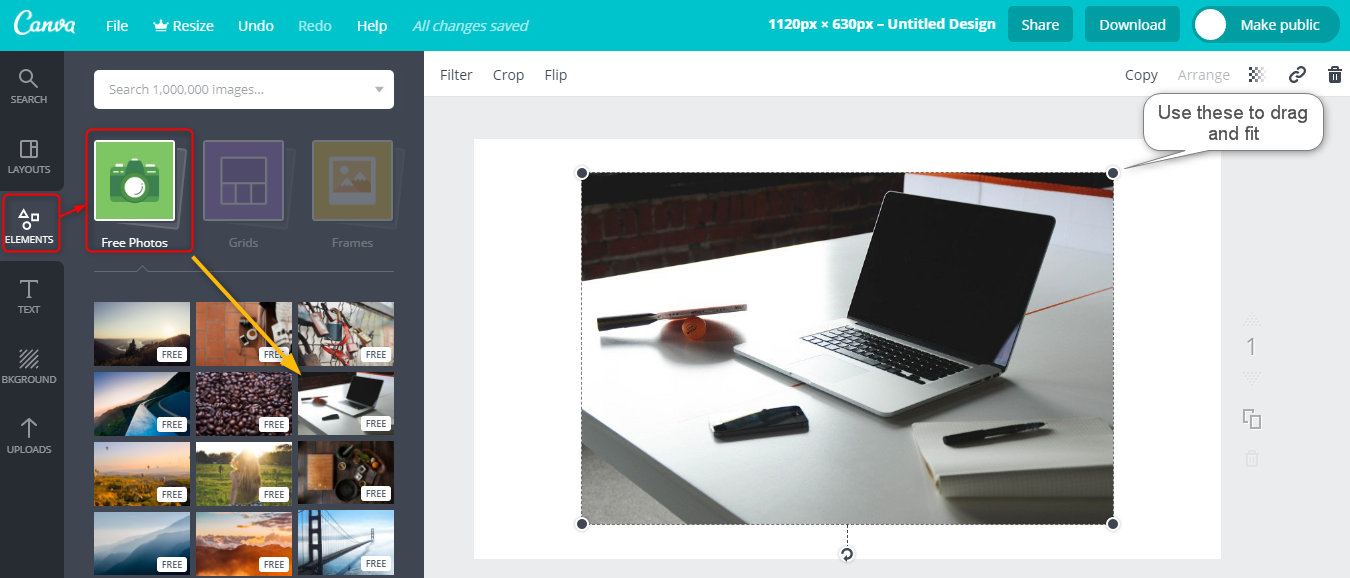
Add an image and stretch corners to expand and fit in the canvas.
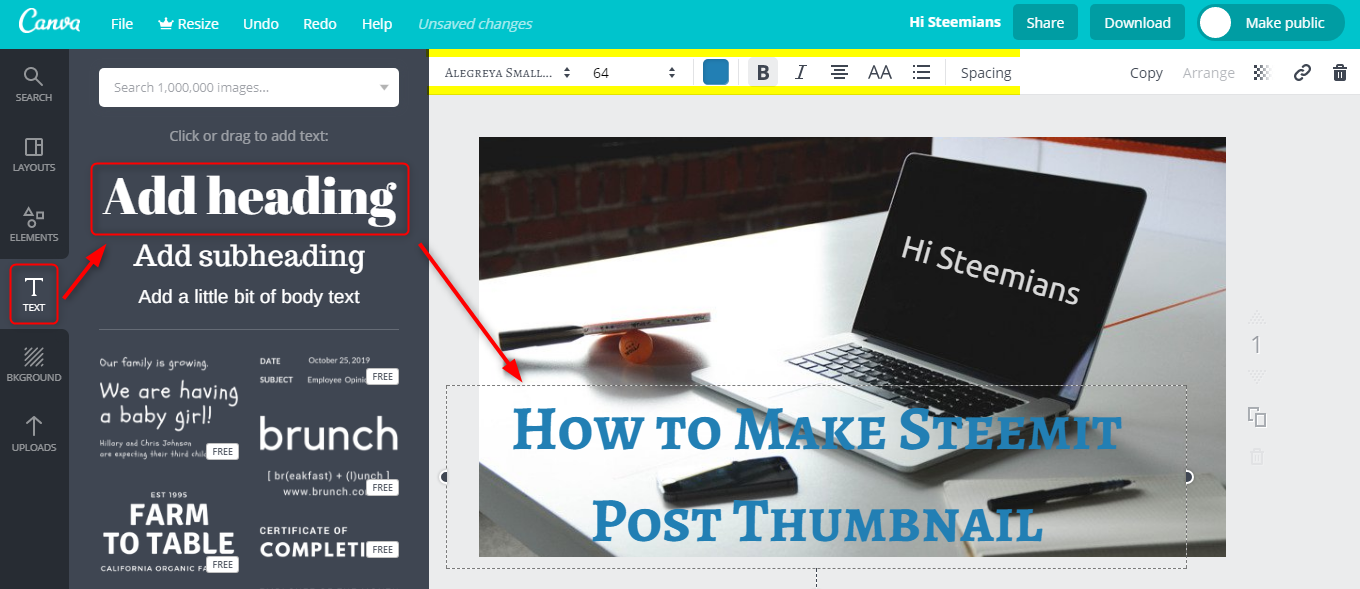
4. Add Text
Text spices up things. In fact, text can do a great deal of good to your post because it visually conveys the title of your blog post. Visuals tend to be appealing and they are clicked. You can use the top toolbar to change font, size, color etc. Let's add some text.
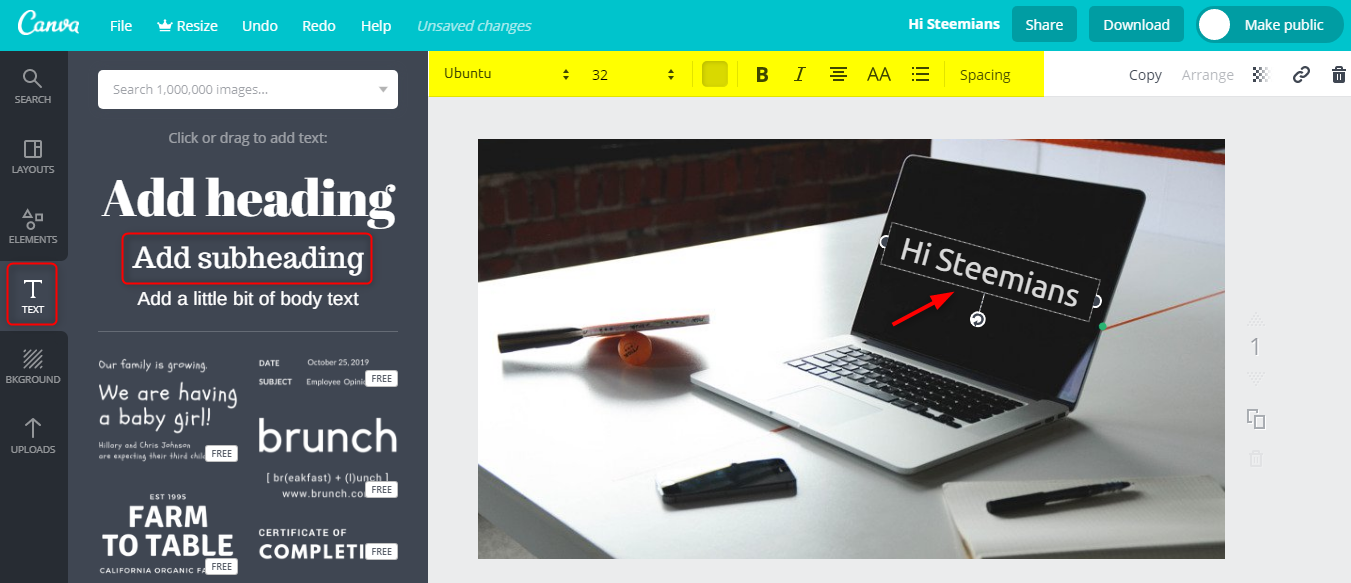
You can see I added medium sized text as example. You can drag and rotate with the mouse to position it anywhere on top of the image.
Now, I will add the heading. It conveys what the post is all about. Again, choose the top toolbar to edit the text. Drag and stretch/squeeze with mouse if needed.

You can see that I am using the thumbnail of this very post to create the tutorial. Saved me some time. (Edit:- Saving time was not a smart thing to do so I updated the thumbnail, thanks to constructive feedback by @lukestokes, to whom I am grateful.)
5. Upload Images (If Needed)
I use upload button to include images that I cannot have on Canva. Personal images and Steemit's old logo (I love that and it's free to use!) are some standard additions to my thumbnails. If you upload any image that is not free to use, seek permission from owner (I did for MinnowBooster tutorial thumbnail image) or at least mention the source.
I added my image and Steemit's ex logo. Uploaded images should be .png transparent images to look good. Opaque images on top of background images don't look good.
If you wish to create transparent images online, here is a tool that helped me making MinnowBooster images transparent. You can also see that I renamed the image. Loading images with proper name helps.
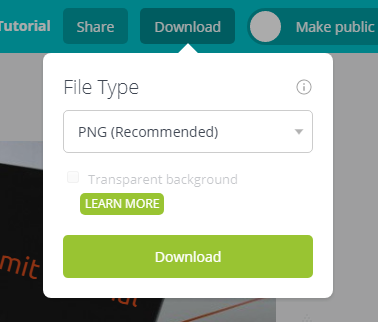
6. Download Your Design
When you have finished designing your thumbnail, it's time to download it. Click the download button and choose PNG or JPG formats. I use PNG usually. PNG is heavier in size than JPG though which means it would take longer to load on the web. You can compress images without losing quality using TinyPNG online tool. That's three tools I have given to you already.
Download your design.
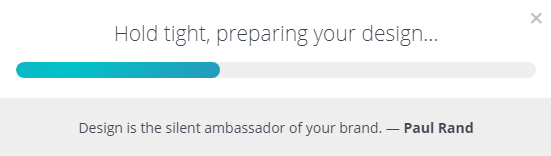
It will start preparing.
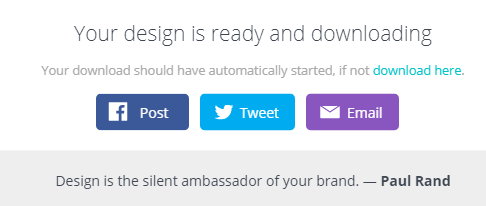
And finally will be automatically downloaded when ready.
7. Create Thumbnail For Your Next Post
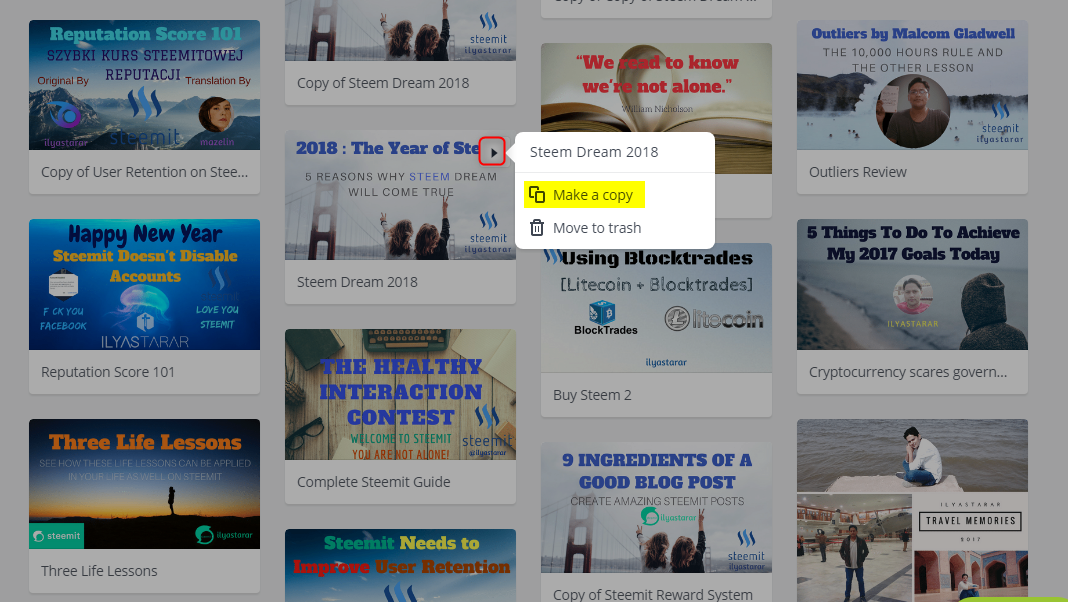
This is a time saving technique that I am including as a bonus for you. When you create and finalize your design, it gets saved in your dashboard.
Glimpse of my recent designs, including this one.
Whenever you need to create another design, do not click on already created design to edit it. It will cost you the old design. What you should do instead is to make a copy of an existing design, change the image if needed, change the text and formatting, and add the new words in place of old ones. You will have a brand new thumbnail in less than two minutes.
I keep my designs saved.
Note:- If you use smartphone or iPad, mobile applications for Android and iOS are also available. App comes in handy but has limited functionality. Good enough to copy and edit previous designs though.
Conclusion
I wanted to share my knowledge with you about basic graphic skills because it has helped me. I am not a graphic designer to the point that I have seldom used Photoshop. I needed to learn this when I became a WordPress blogger in July 2016. The blogging knowledge has helped me tremendously on Steemit and I wish to pass that knowledge on bit by bit. Stay tuned. Do visit my blog to access useful resources that I have been creating regularly.
If you have any question, do share it in the comments. It would be kind of you to support this post through your valuable upvotes and resteems. Helping this post with upvotes will not only benefit the community at large, but also will encourage me to put more effort into educating Steemians to create a better ecosystem on Steemit.
Steem on!