One of the most difficult and most time consuming factors about the HTPC probably is the Media Center. First you have to choose one. Depending on the Operating System you are using your options are:
Windows
Kodi (formerly known as XBMC)
Mediaportal
Plex
Linux
Kodi
OSMC
LinHES
LinuxMCE
I probably forgot to name some (especially for Linux) because there are a lot of options out there. However Kodi is by far the more popular Media Center.
Why do I need a Media Center?
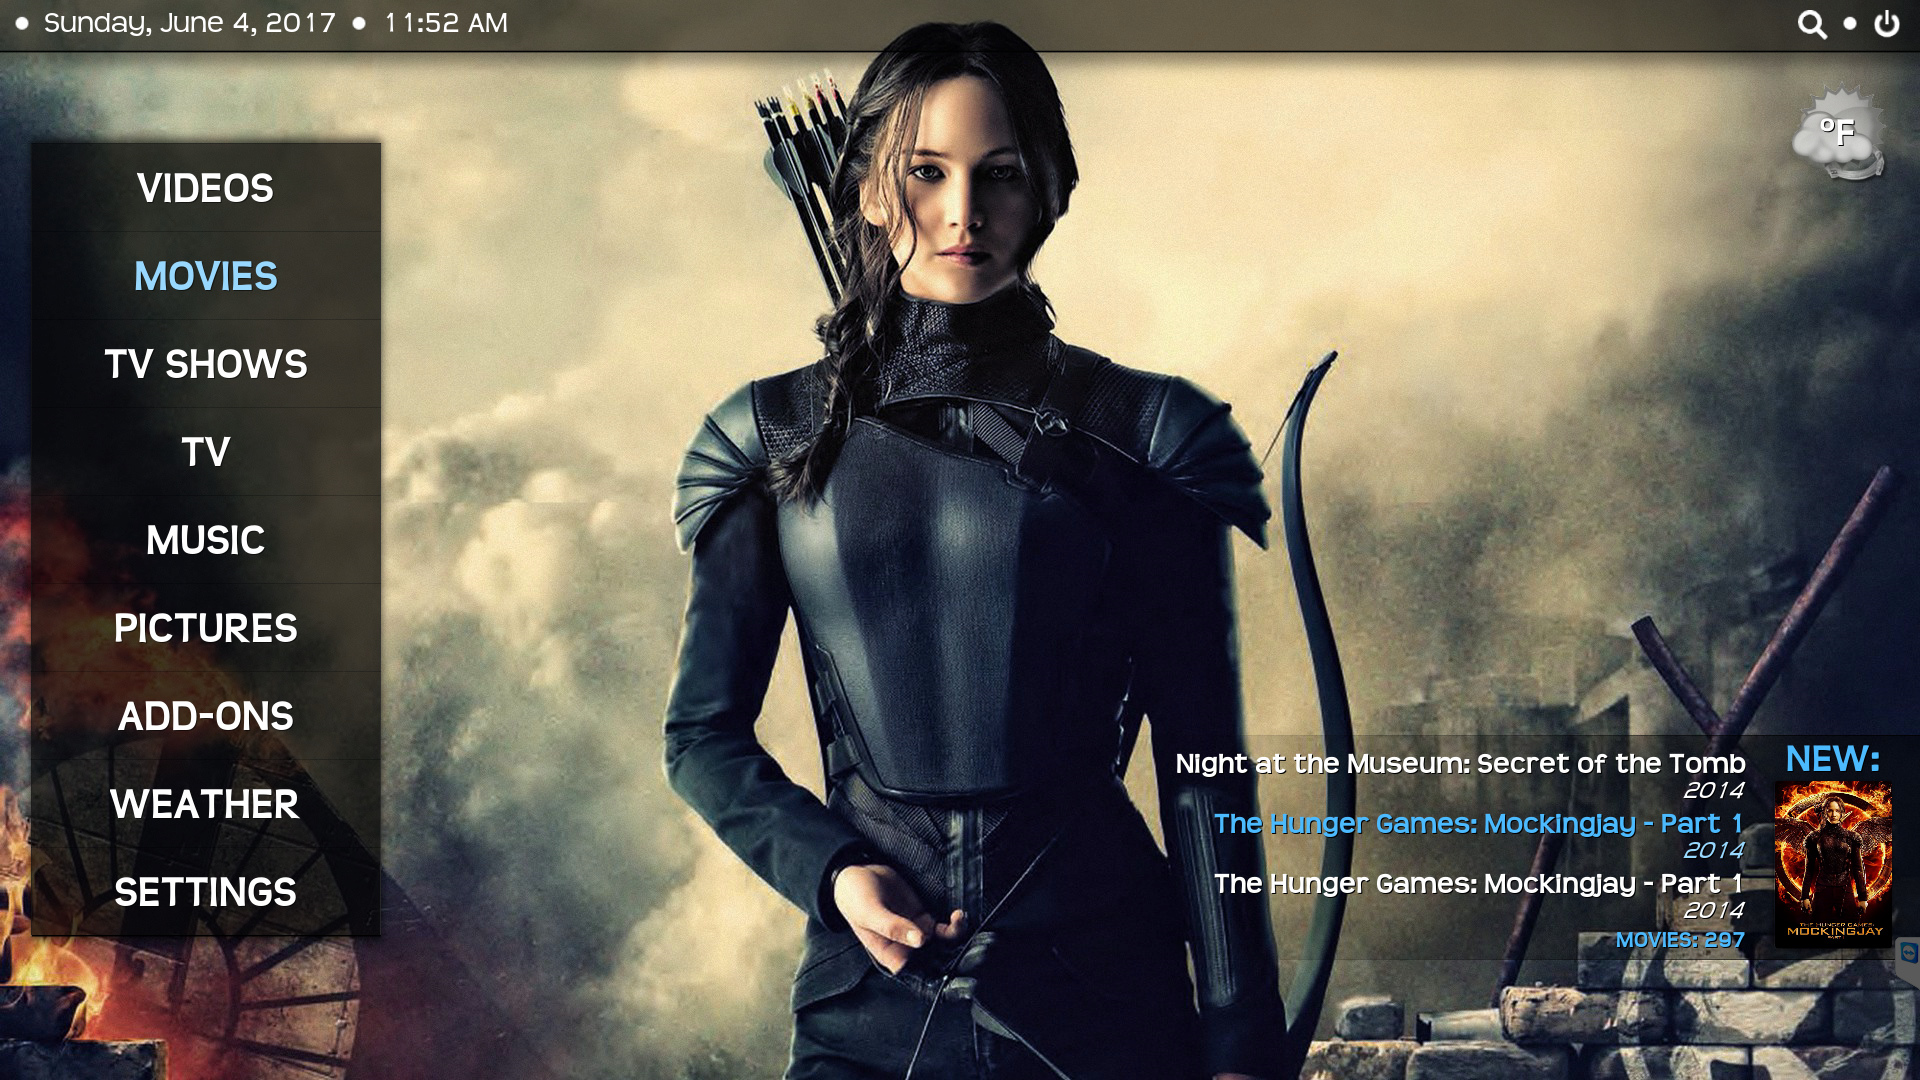
Good question. When using one you start to realize that a Media center really is the heart of your HTPC solution. It is the gateway to your content and determines the way you interact with your HTPC in a way like the Windows interface does.
I myself prefer Kodi because of its flexibility and many options. However this is also the reason it can be quite confusing for newcomers to understand (or any of the other Media centers for that matter).
When I boot up my HTPC Kodi automatically starts and presents me with its home screen. From here I can choose if I want to watch movies, series, listen to music or play games (Steam). The series, movies and music libraries are catalogued by name, year, episode, season etc. Everything has thumbnails and wallpapers (fan art) to make browsing your content as nice and smooth as possible. Kodi even has the option to start playing theme music for your series when browsing that particular series (for example if you really enjoyed Lost and want to revisit season 1, the theme music for Lost will automatically start to play when you go to that library).
All this is done by choosing your options and letting Kodi scan your content. All the adding of fan art, thumbnails, information about series, episodes, artists, actors etc is done by Kodi. You can even add logo’s and clearart (when pausing your favorite show you are presented with a splash screen image for the series) and disc art (the artwork on the original LP/CD/DVD).
Even more options
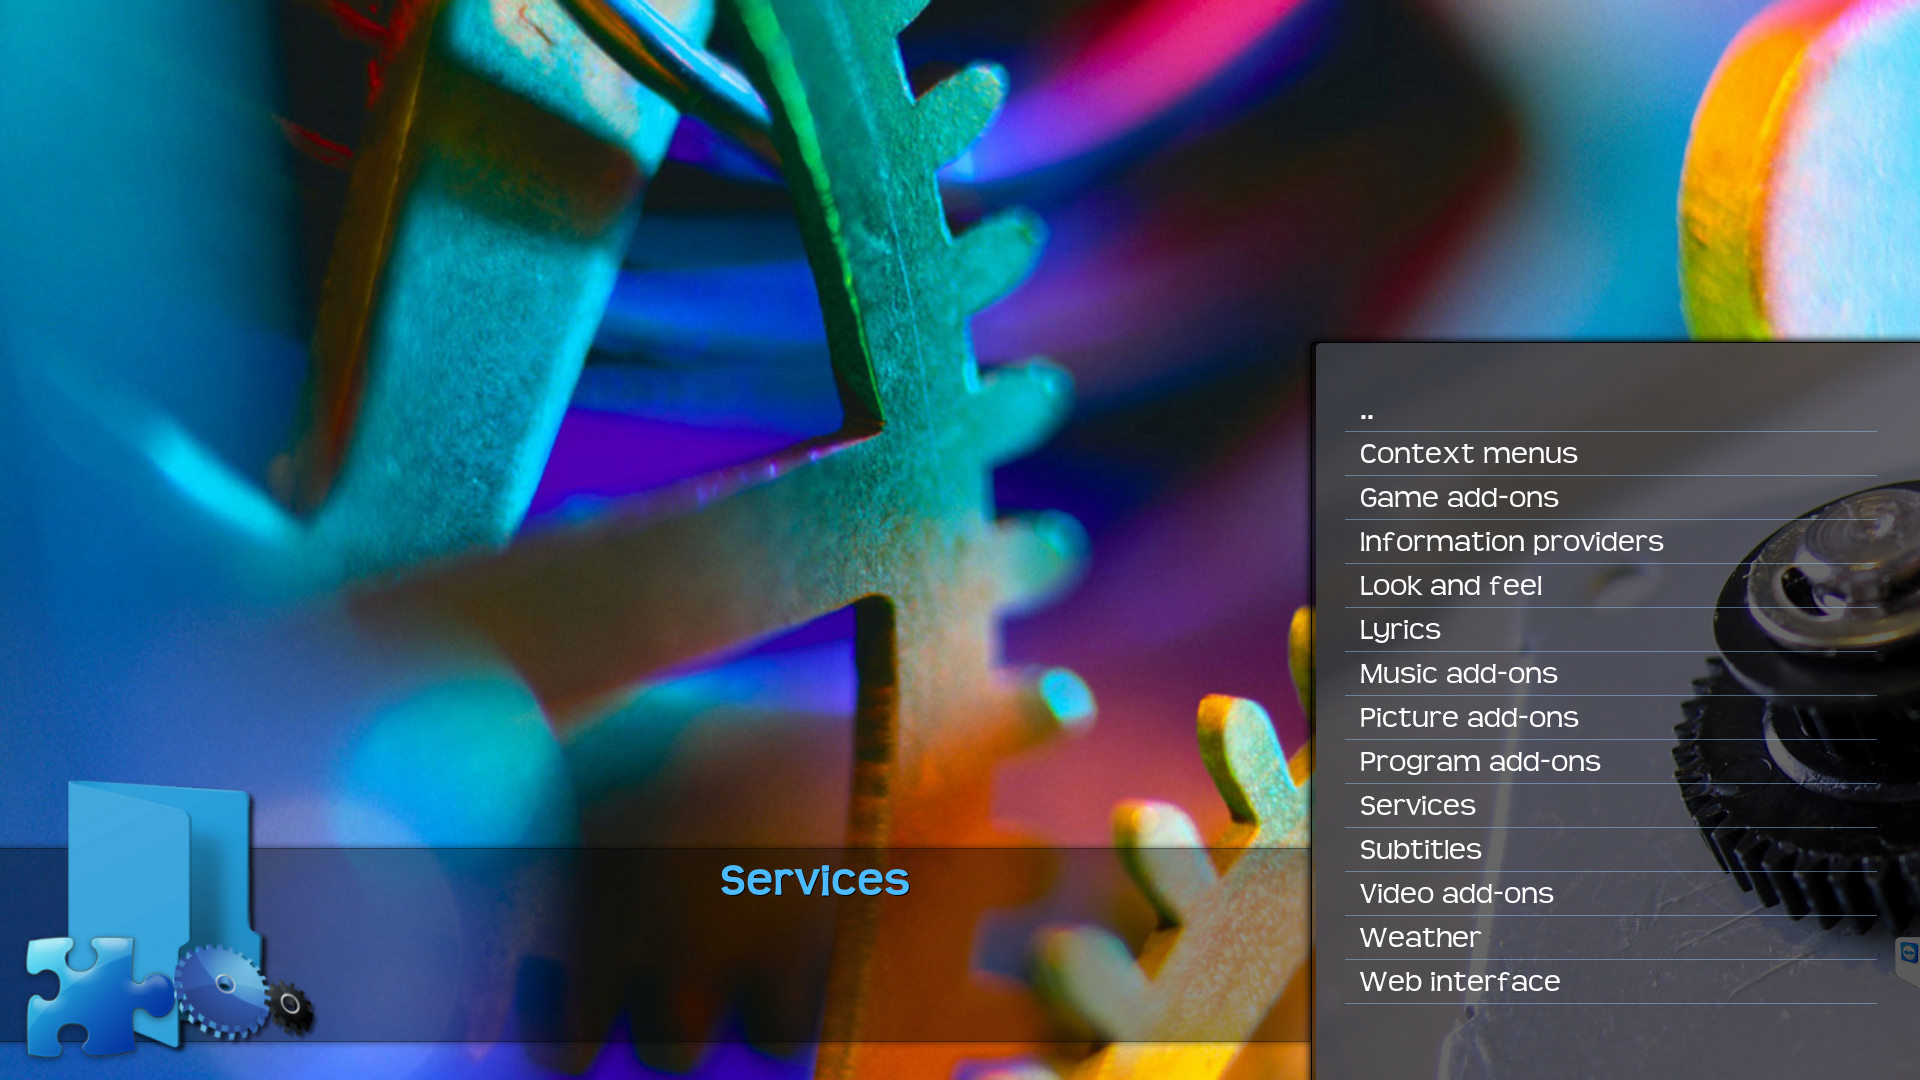
Then there are the addons, these are plugins that you can add to your Kodi installation for even more options. Some of these are supported by Kodi, others like the infamous Exodus are not. Unfortunately Kodi is most known for its infamous addons especially those that support streaming of live sports, series and movies. The add ons however are supposed to enhance your possibilities and options without making the base installation of Kodi a bloated affair. A lot of third parties also have Kodi addons which makes it somewhat confusing. My advise is to stick with the Kodi addons and move to third party add ons when you are more familiar with Kodi.
How does it work
Well, I am going to write a more in depth tutorial on how to install and configure Kodi. I will be detailing how I did it so you can enjoy Kodi the way I do now.
A tip for starters is that you have to organize your content. Keep series, movies and music in a different folder, name them accordingly.
For example
(Folder) TVseries - (subfolder series name) Lost - (subfolder with episodes) episodes named as Lost.S0xE0x
(Folder) Movies - (subfolder movie name) Guardians the Galaxy - (subfolder with movie files) movie named accordingly
(Folder) Music - (subfolder artist) Dire Straits -(subfolder album) Brothers in Arms - (subfolder with music files) the tags of the music files determine the correct output (MP3/Flac)
Now you can let Kodi scan your content. For example for movies and series go to videos. Click on “add Videos”.
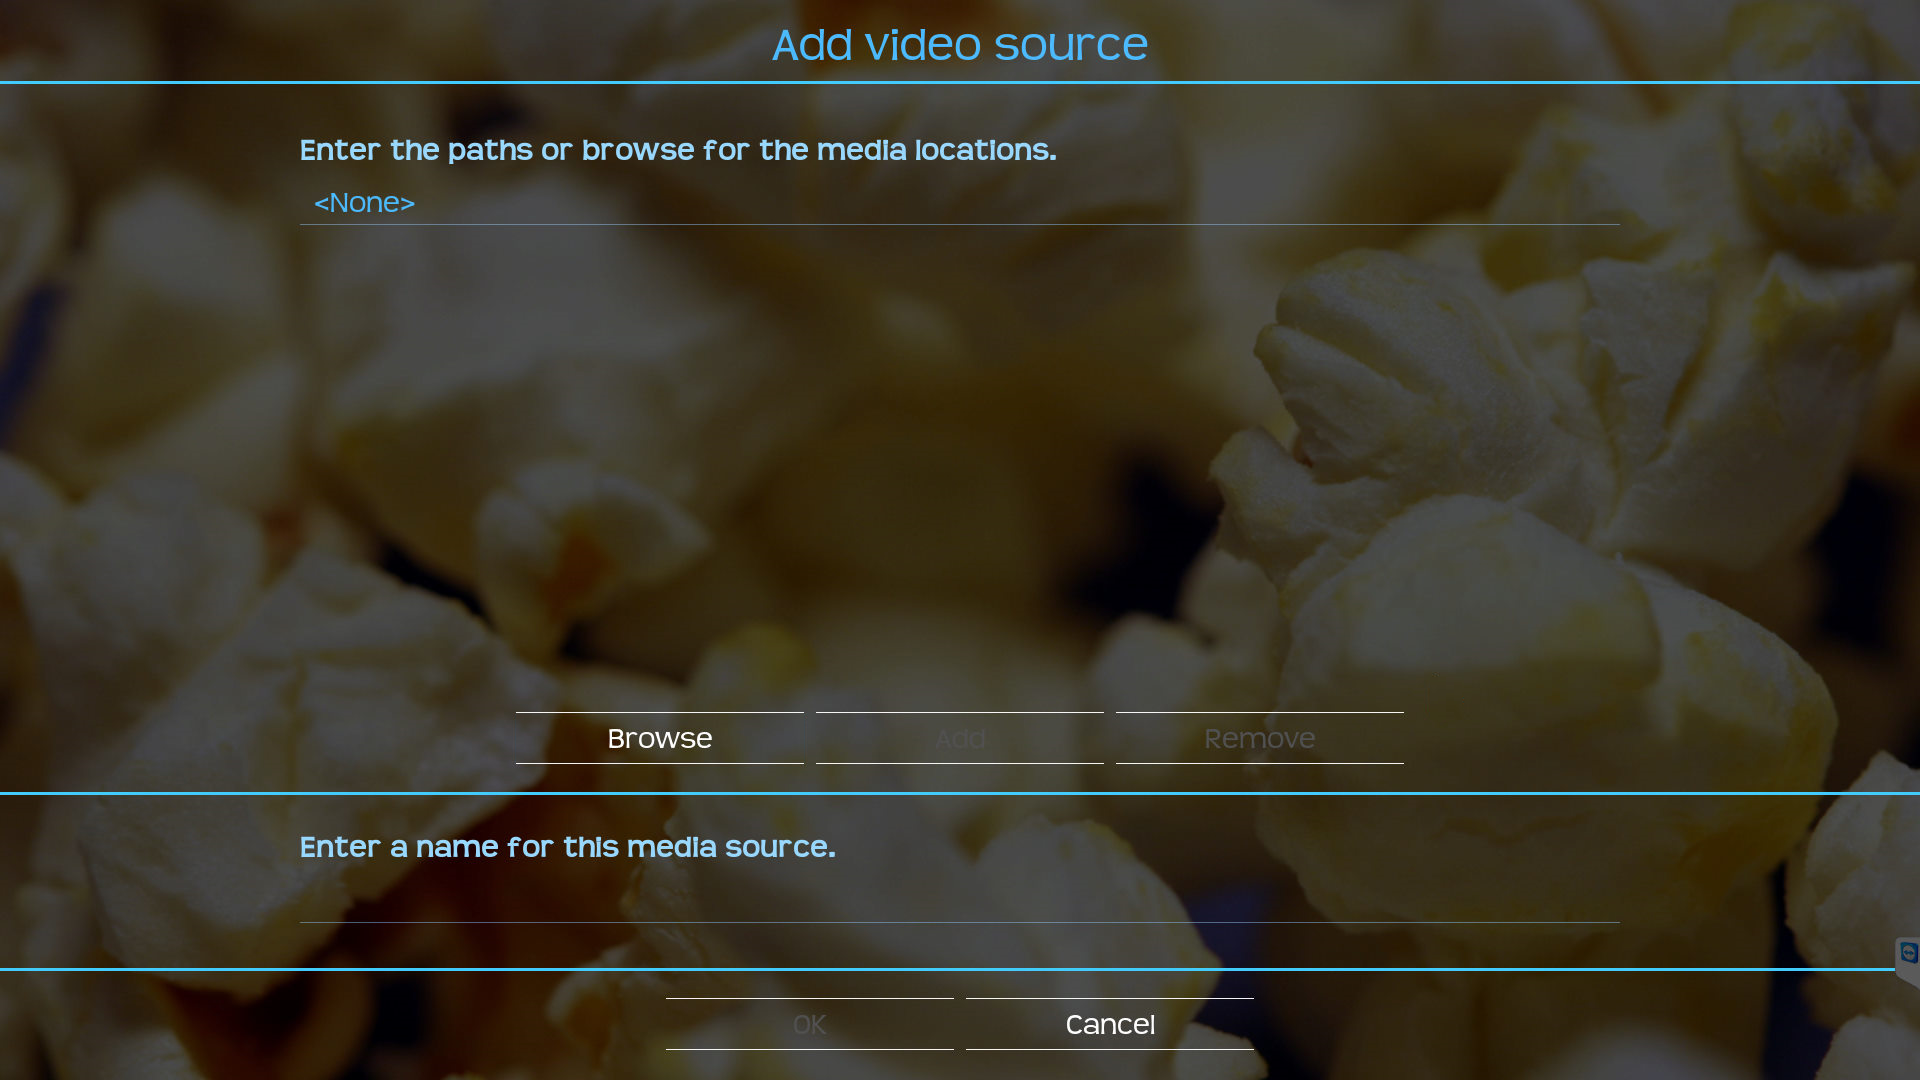
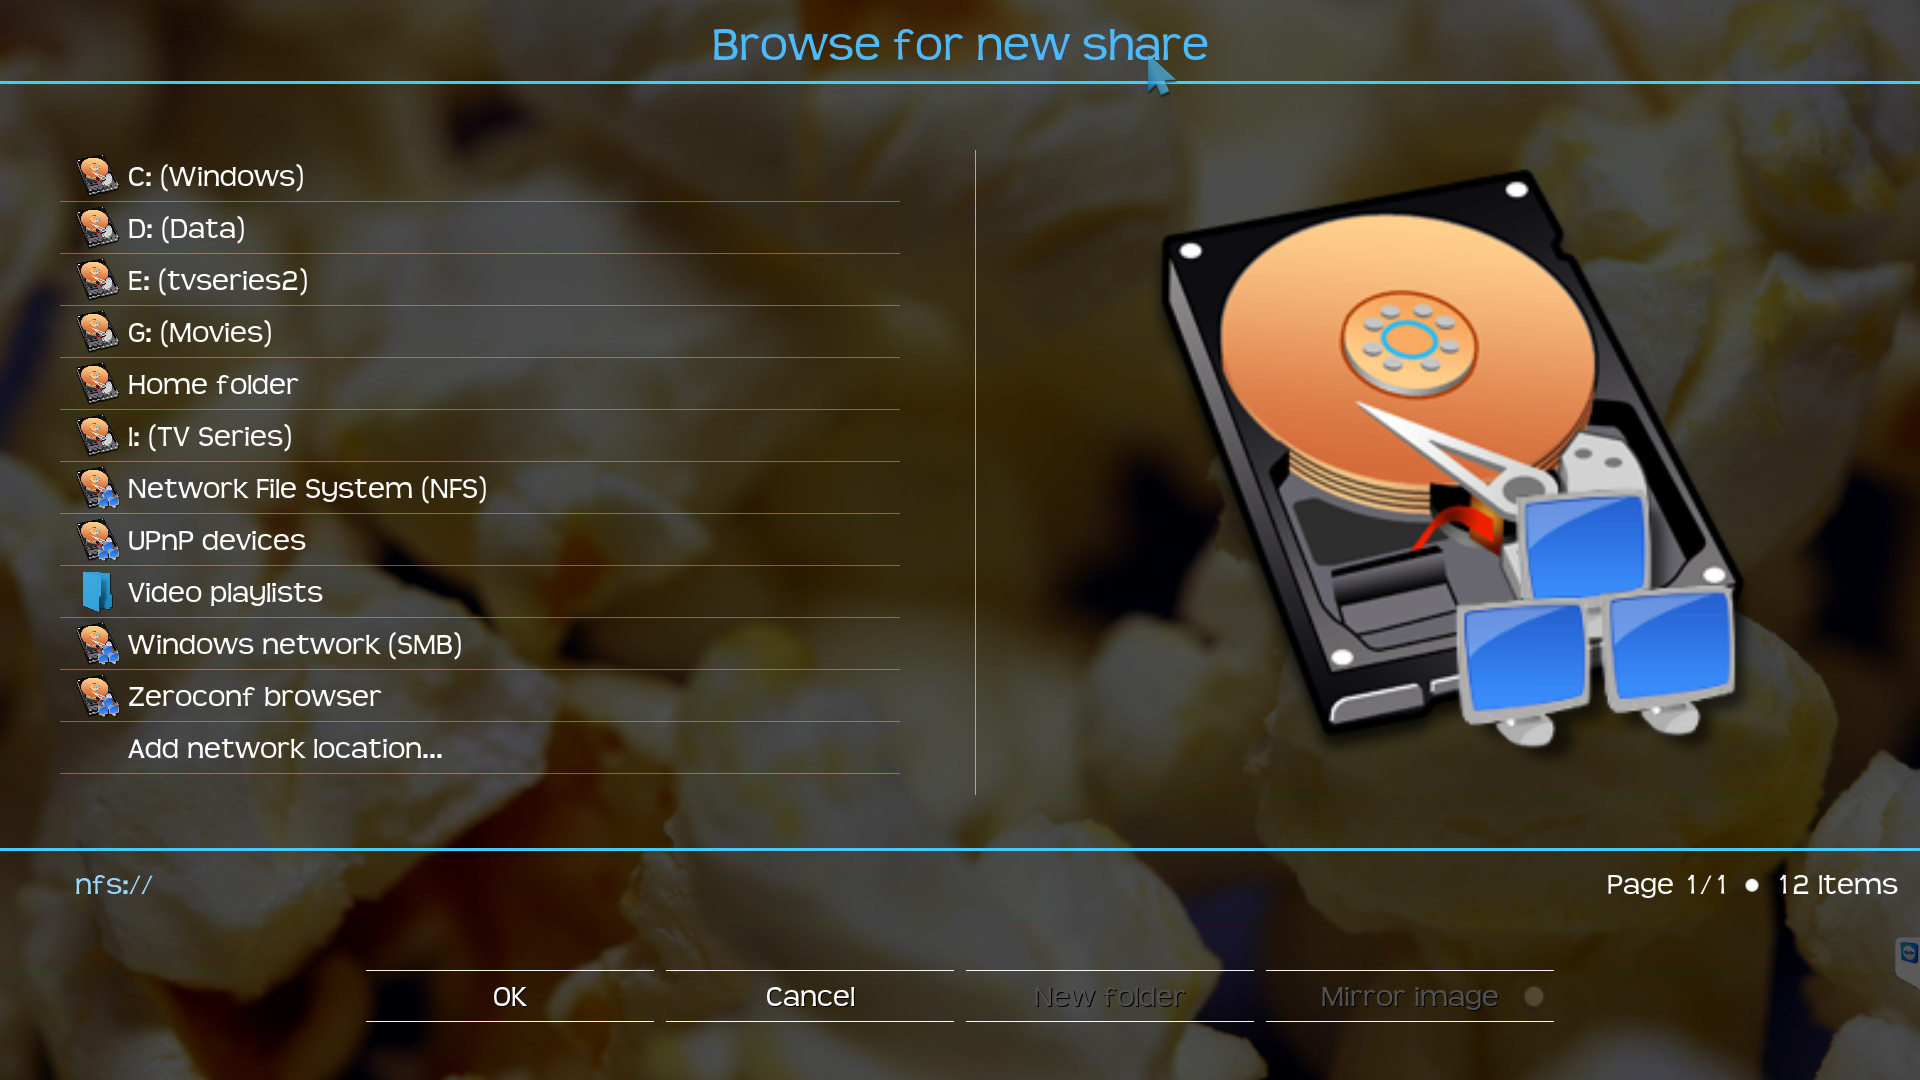
Next browse to the folder where your tv series or movies are located. Name the source (the name is irrelevant). choose the folder and select “add” then “Ok”.
Next you will be presented with a screen asking you to input which content you are adding (movies, series or music videos).
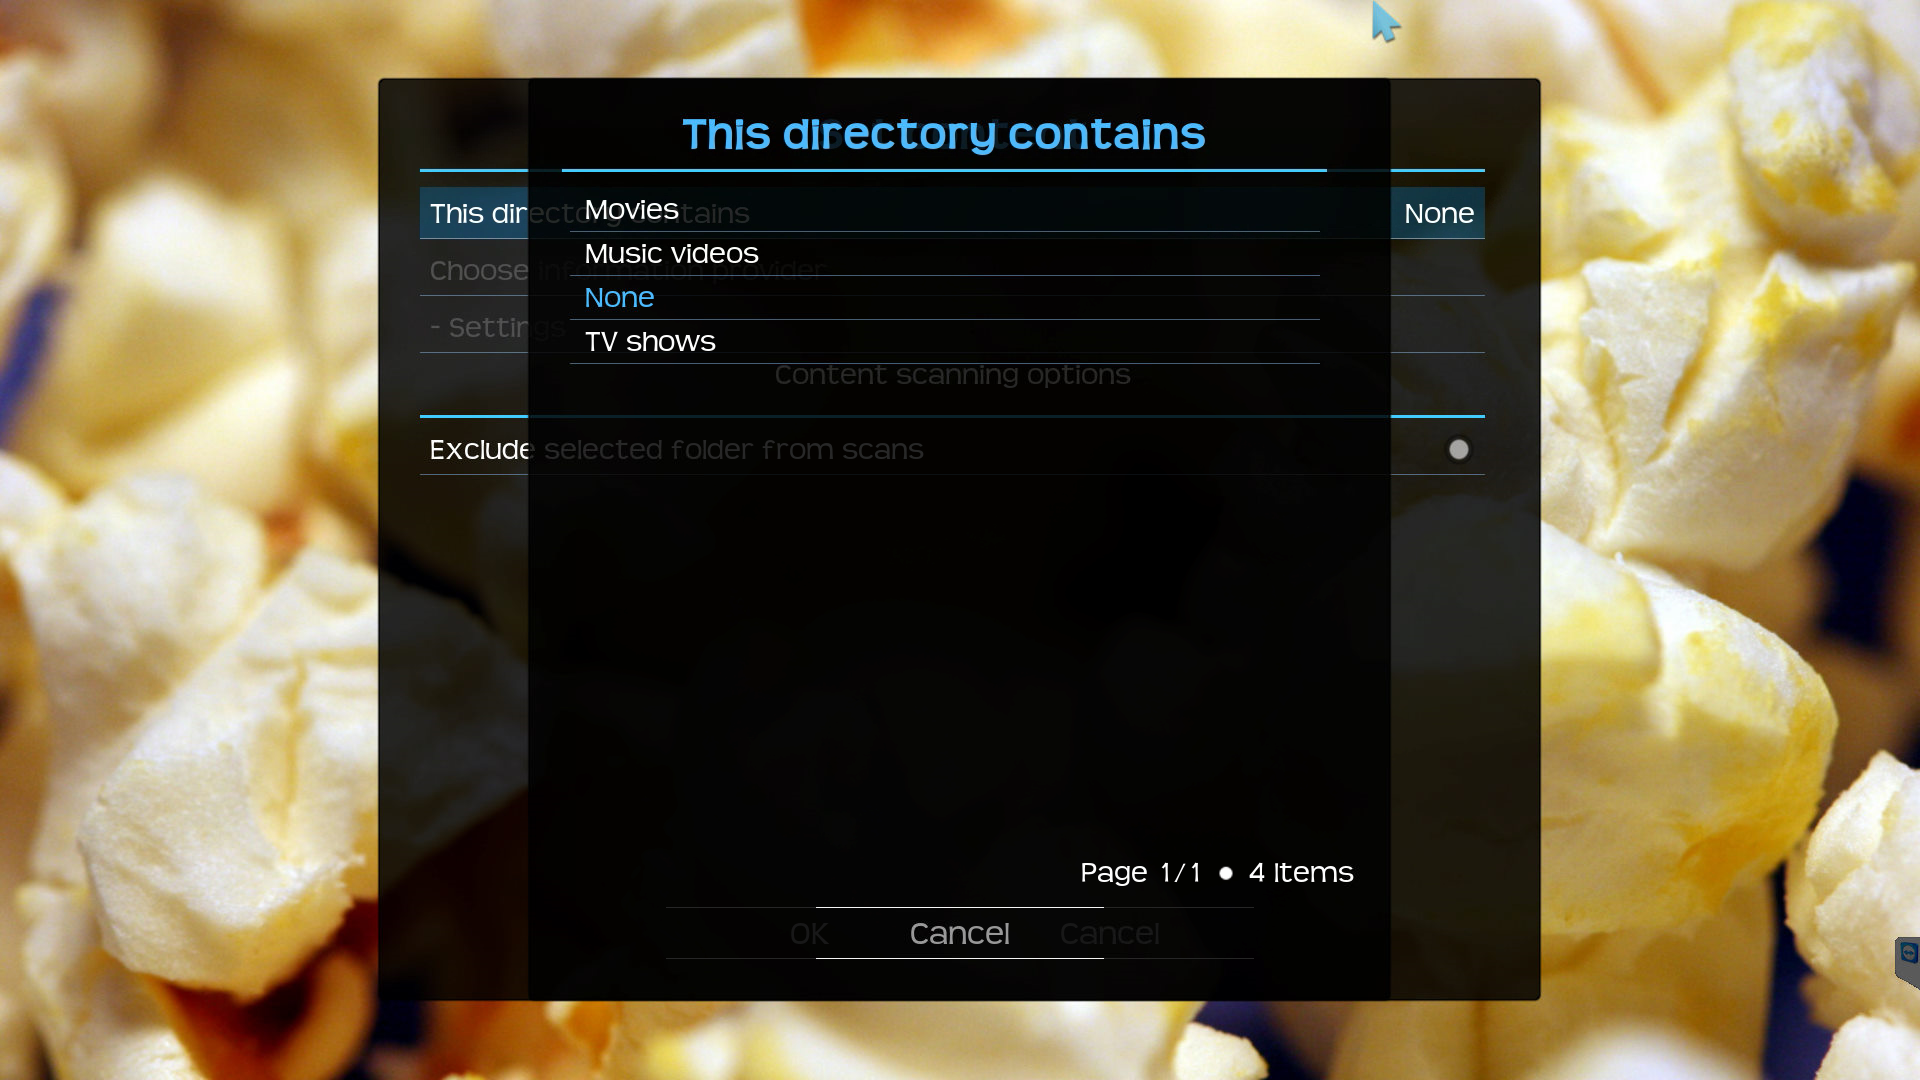
After selecting your content Kodi will automatically add the provider. This is the database which Kodi will use to gather information about the movie, series or music video. Just keep the default.
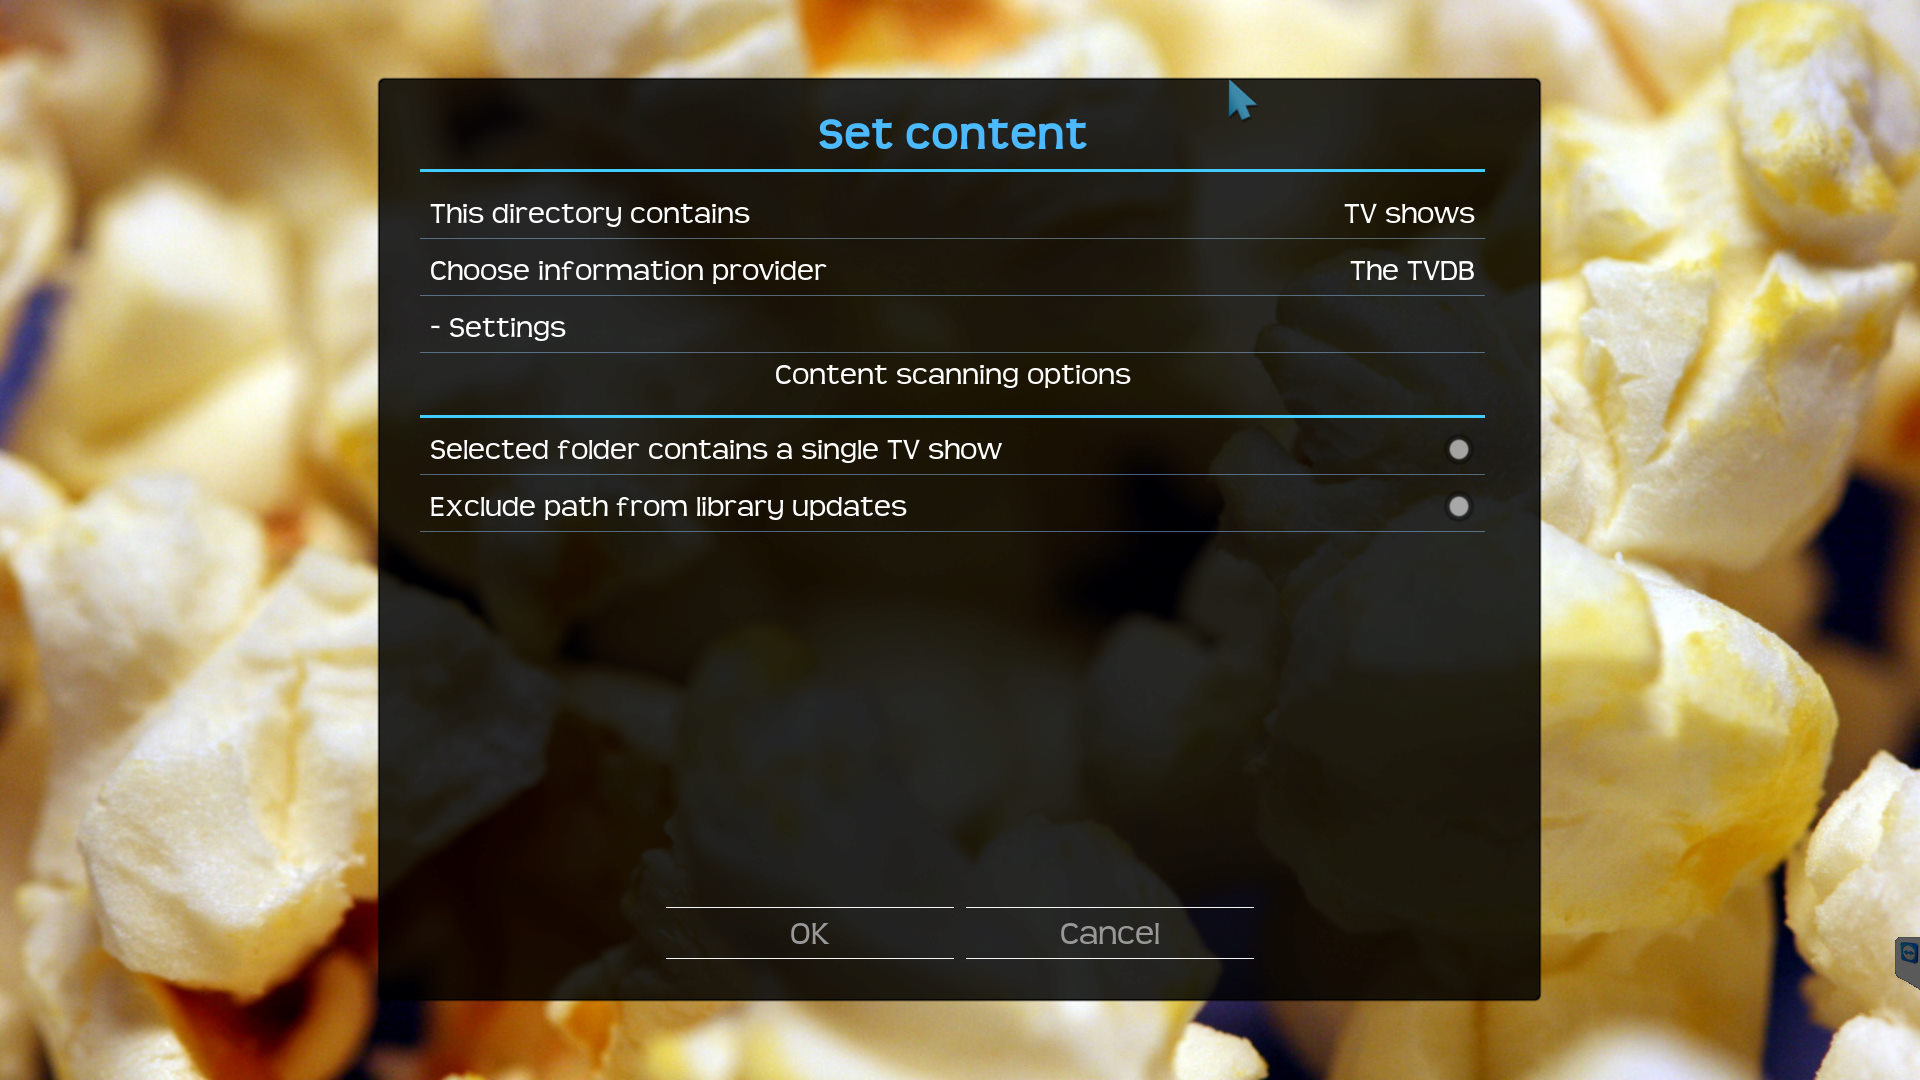
Then select "OK" so Kodi can go to work. The scanning will start automatically. Depending on your library the scanning can take quite a while but after some time your series, movies and music videos will start to show up on your home screen.
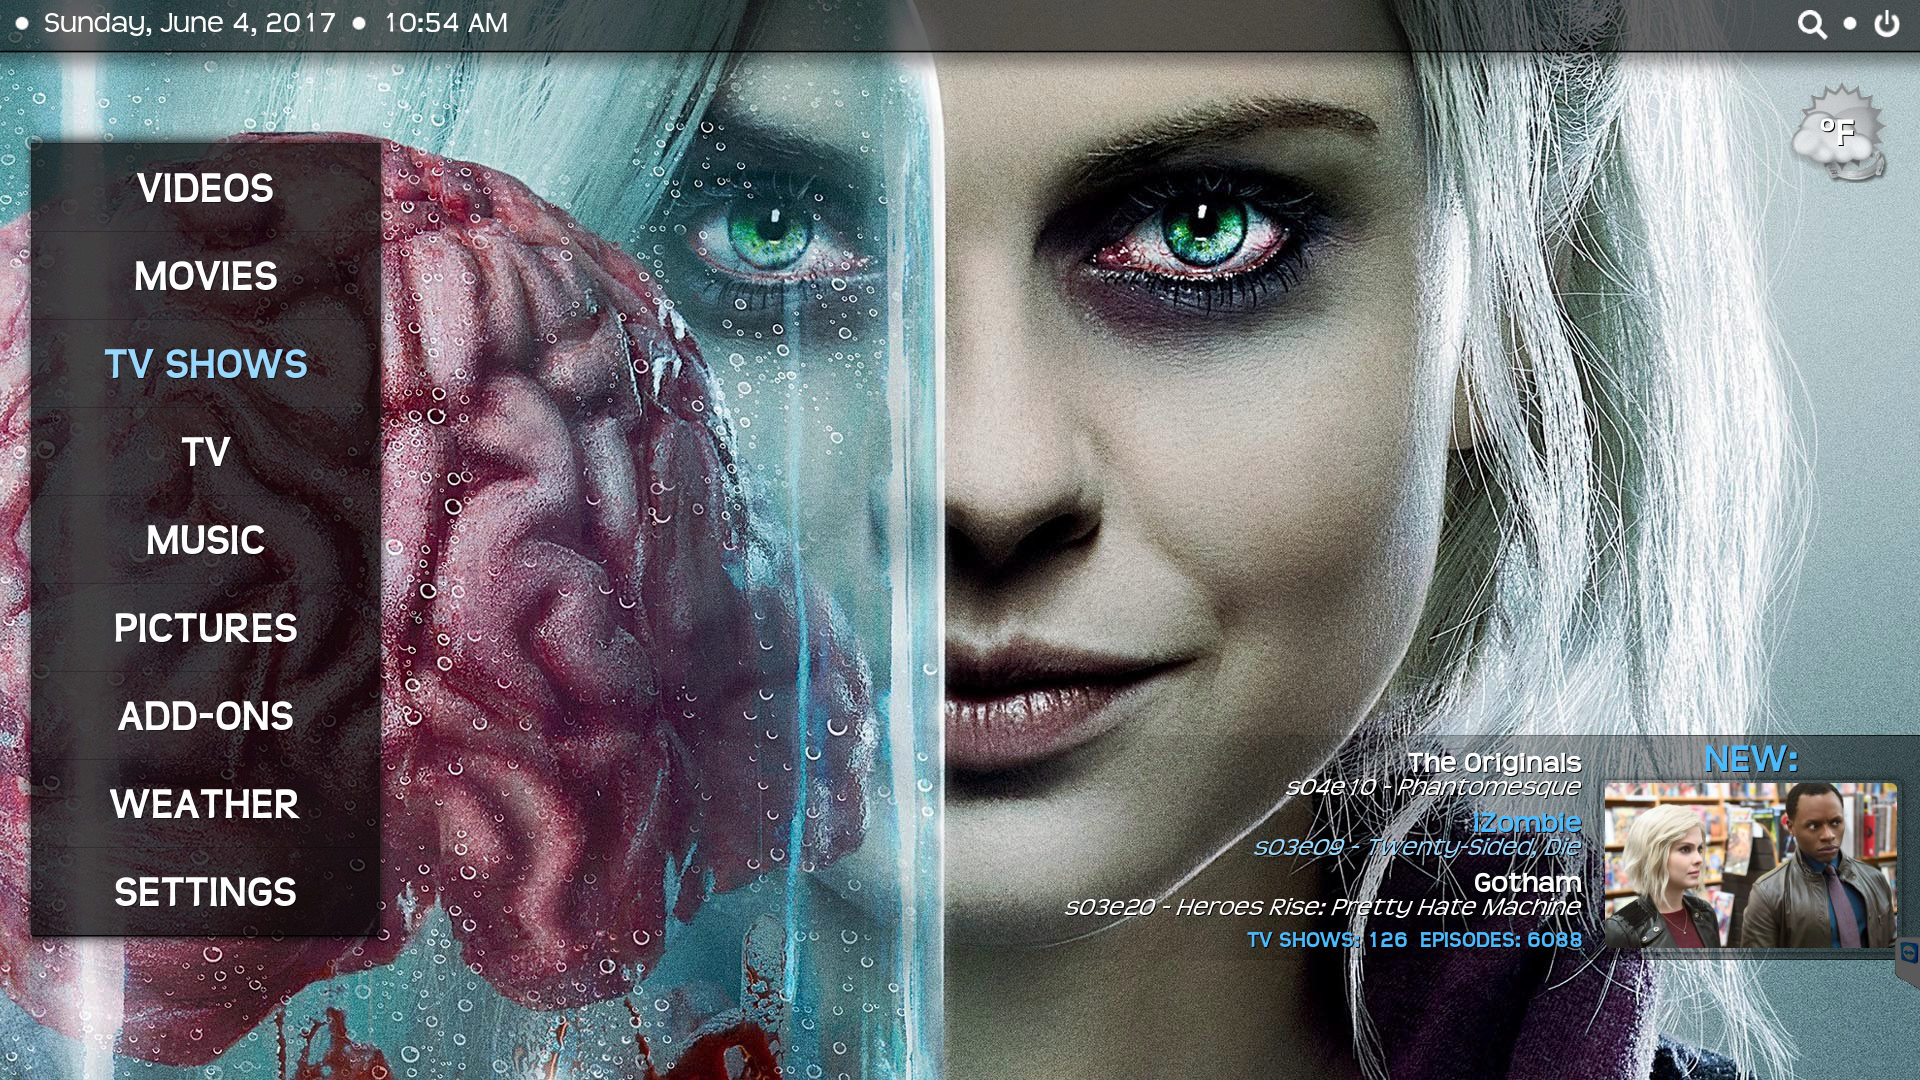
The same goes for music and pictures.
After this you will have a setup you can fine tune further.
You talk a lot about content, Where can I get it?
This is a touchy subject. This is not a torrent downloading tutorial so you have to figure that one out for yourself. But ripping your blu rays is a good way to start. And like I said before there are a lot of streaming addons. The streaming add ons can also be added to your library so that you can mix local content with online content.
So why no love for Plex or other Mediacenters?
Don’t get me wrong. I enjoyed MediaPortal and I like Plex but as a media server. There are good Media Centers available but Kodi is in my opinion the best Media Center at the moment.
Tips:
- When you own a 4k TV let the TV do the upscaling instead of the PC. What I mean by that is keep the resolution of the PC and Kodi on 1080p. TV’s have much better upscaling chipsets
- On TV’s always disable the image enhancers and choose the direct input (scaling/zooming) option if your TV has this capability
- Always use the PC/Game mode option instead of the cinema option on your TV.
- Play around with the settings to see what they do, you can also find a lot of information on the forums when you have specific things you want to configure. Almost everything is possible
- There are different skins for Kodi, experiment with which one suits your needs. My personal favorite is Transparency because of the horizontal menu and Fan art possibilities
Links:
Kodi Forums: https://forum.kodi.tv/index.php
Plex: https://www.plex.tv/
If you have any questions please let me know in the comments. Upvote if you liked my post.

