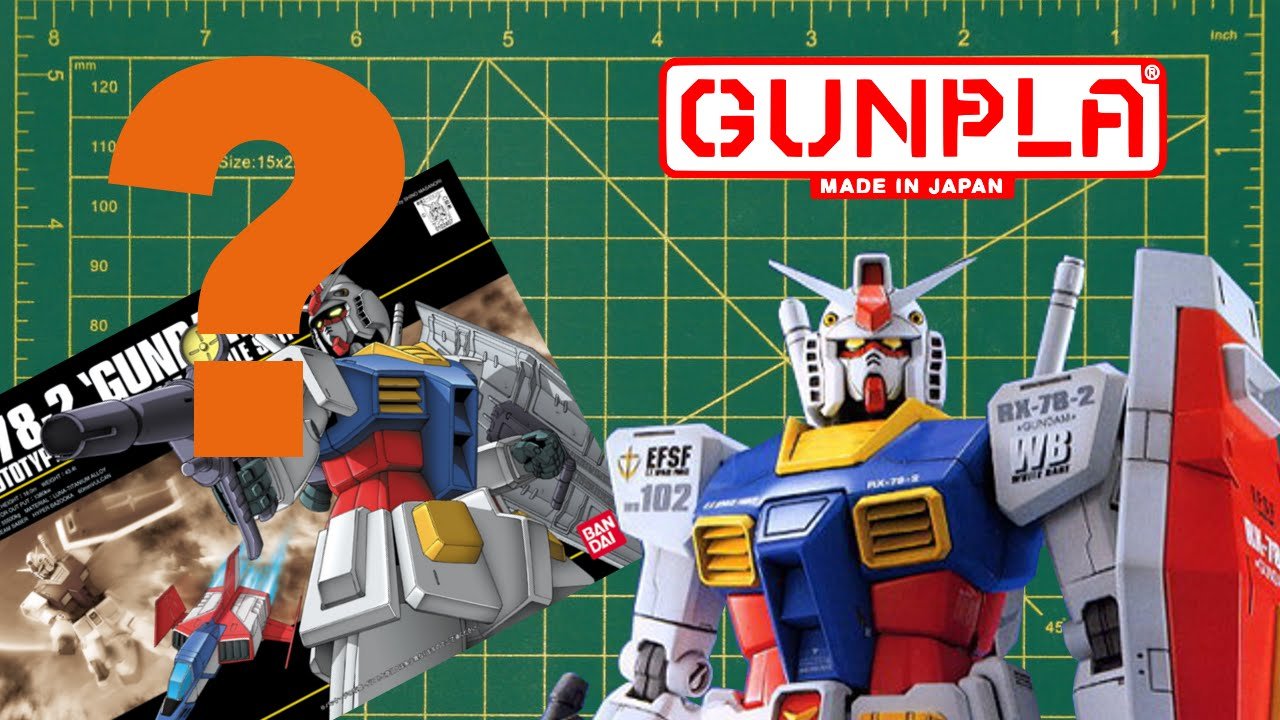
I just love Gundam. Those giant robots are so damn majestic, powerful and agile, and the anime always has interesting stories. Gundam has been on air since 1979. Each story lasts for about a year and if it's really successful, it might even have a continuation for another year or so. Some stories can last for half a year though. There are multiple eras and multiple universes, so things don't get boring. The only thing they have in common is the fact that there are giant robots being piloted by some kind of human. Even the robots are different from story to story. Usually, all mainstream Gundam series are set in a fictional era which begins after a drastic event or chain of events. The scenarios usually are on Earth, space, space colonies and in some cases the Moon and terraformed planets. There are also spin-offs, manga, novels, video games, merchandise and more specifically, Gunpla (Gundam plastic kits) to build, which is what I'm about to show you here.
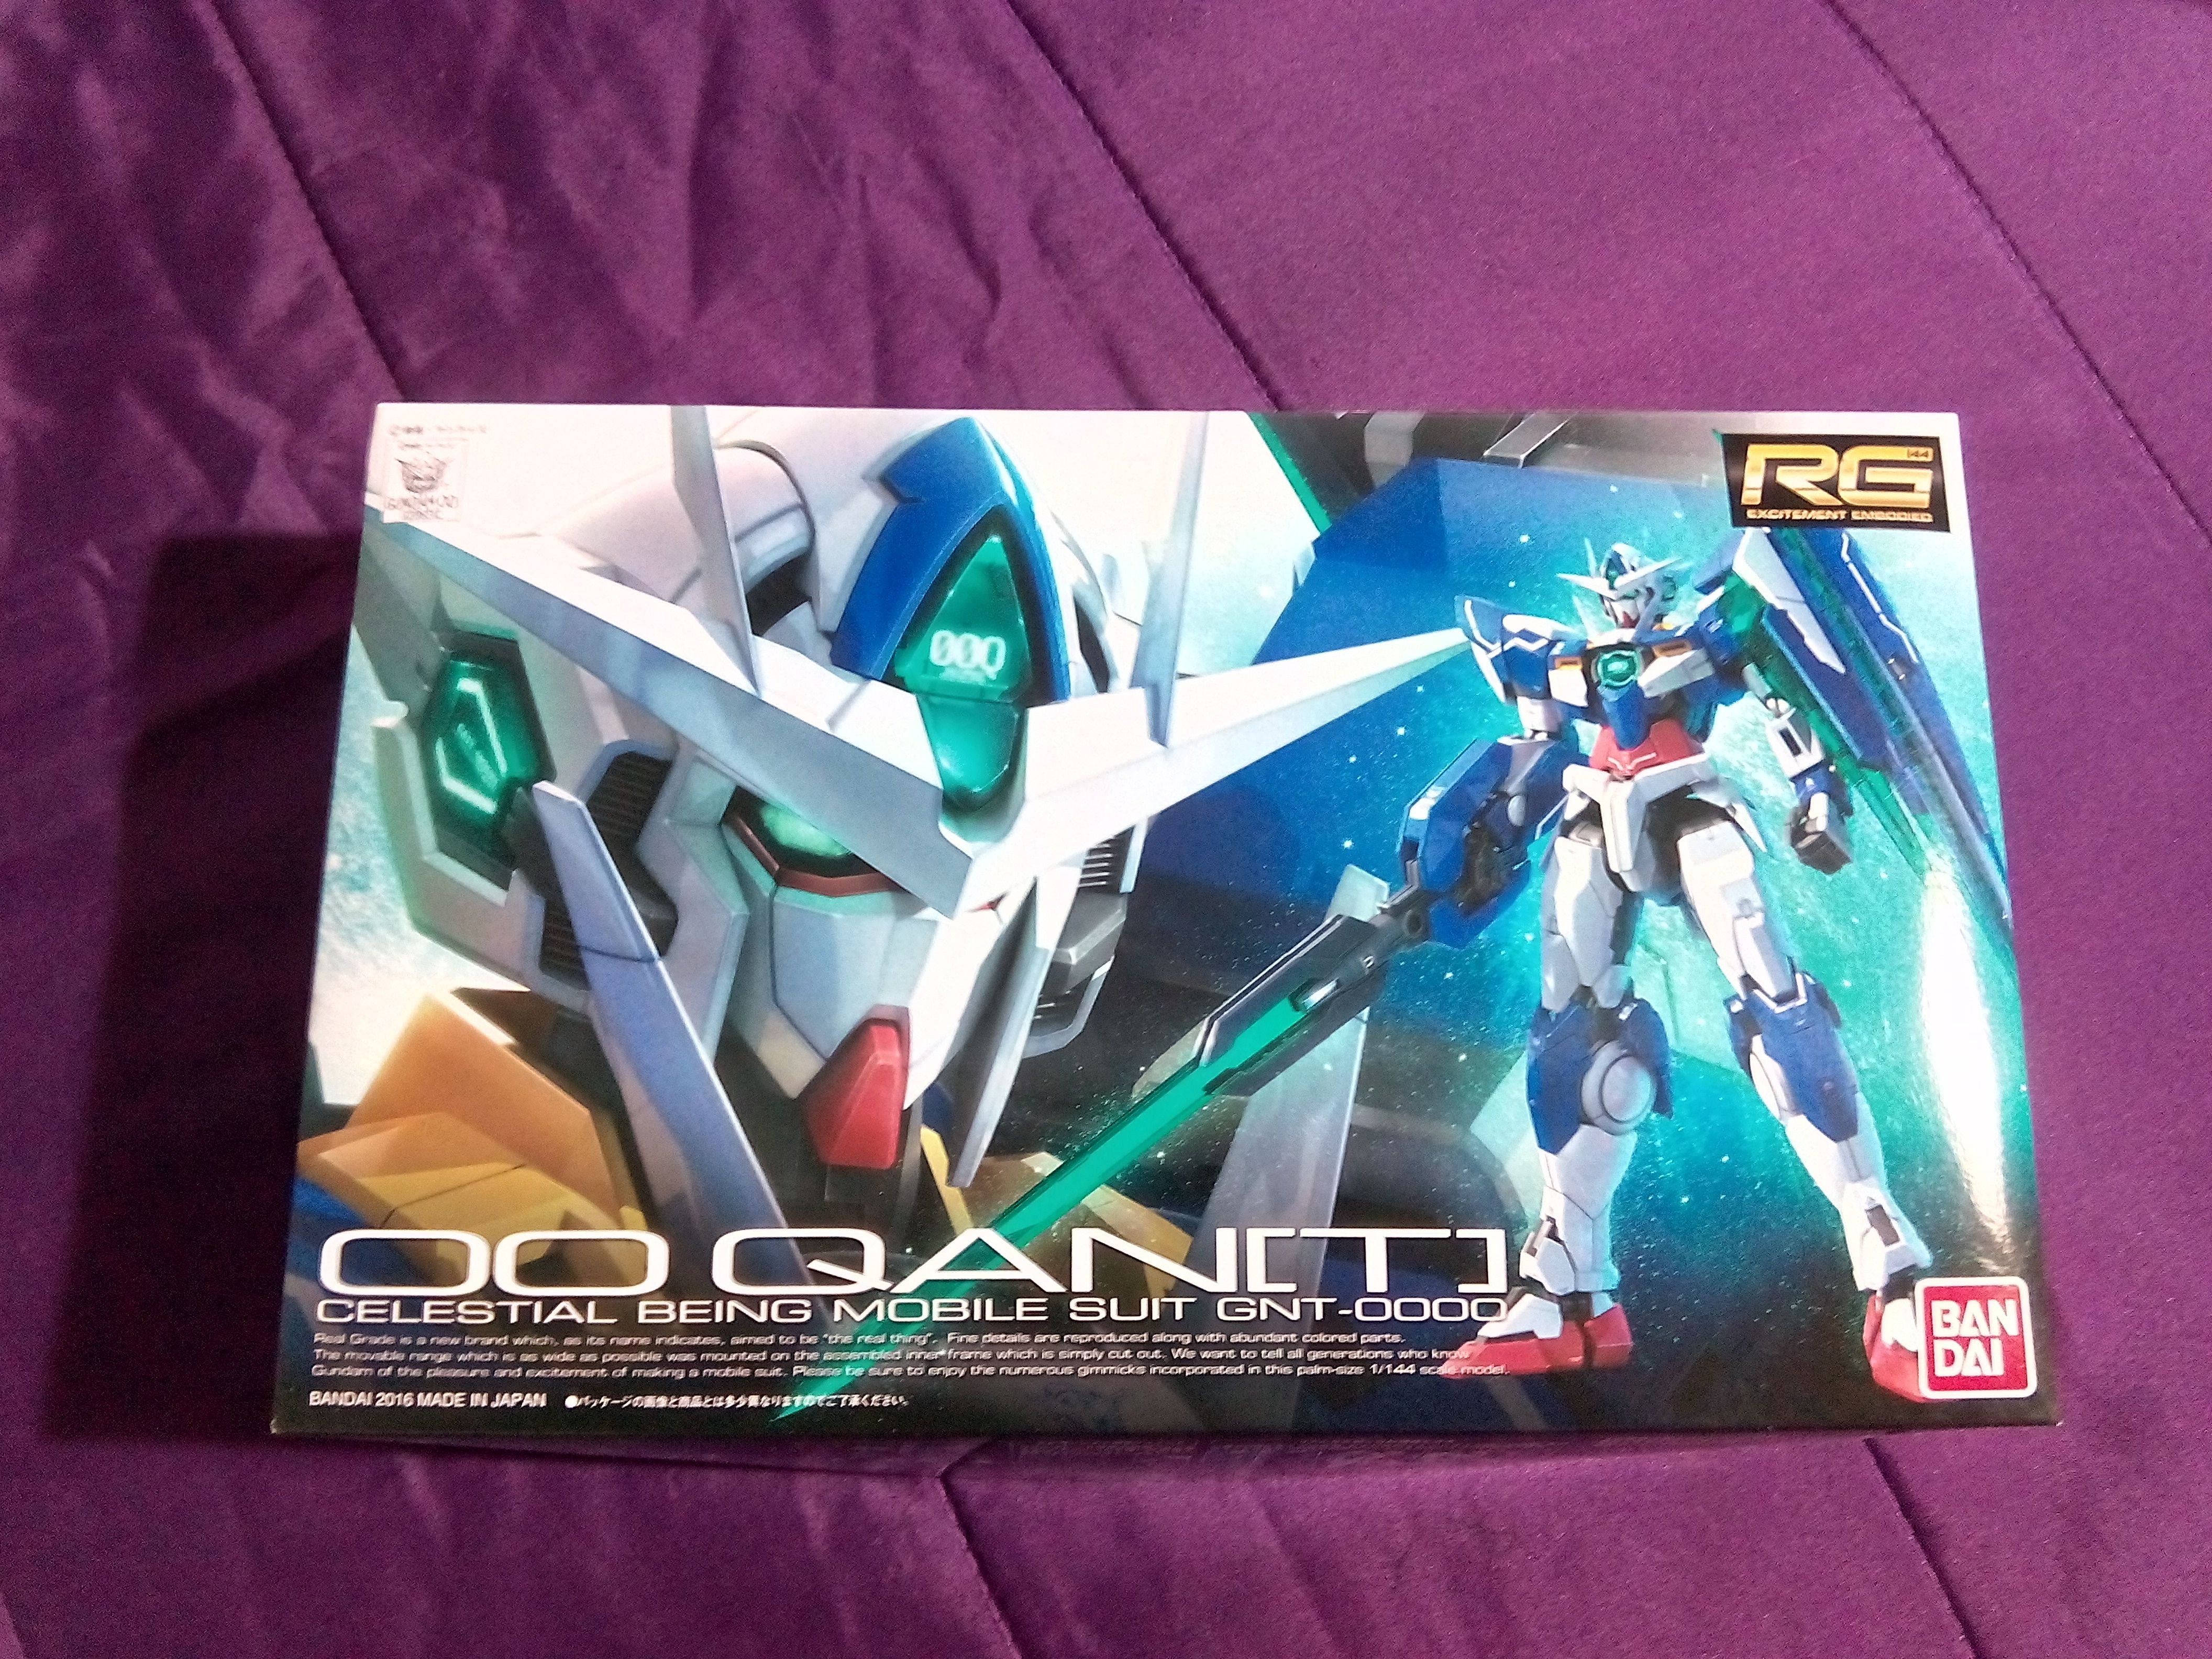
This gunpla is a RG (Real Grade) and it's scale is 1/144. There are other grades in this scale, like the HG (High Grade), but the real grade is more realistic, has more detail and overall looks better. HG needs some work to look good, and RG needs less work. There are also other scales and grades. My initial intention was to paint my gunpla so it would look really nice. I have an airbrush, compressor and paints, but unfortunately my garage's availability is not what it used to be. Lot's of people told me that I don't need to paint it because it looks so good out of the box and that some panel lines and mate varnish would do it... and that's what I'll do. So I started to assemble the inner frame. I thought initially of also cover it in mate varnish, but it will be almost completely covered by the armor, so there's no need.
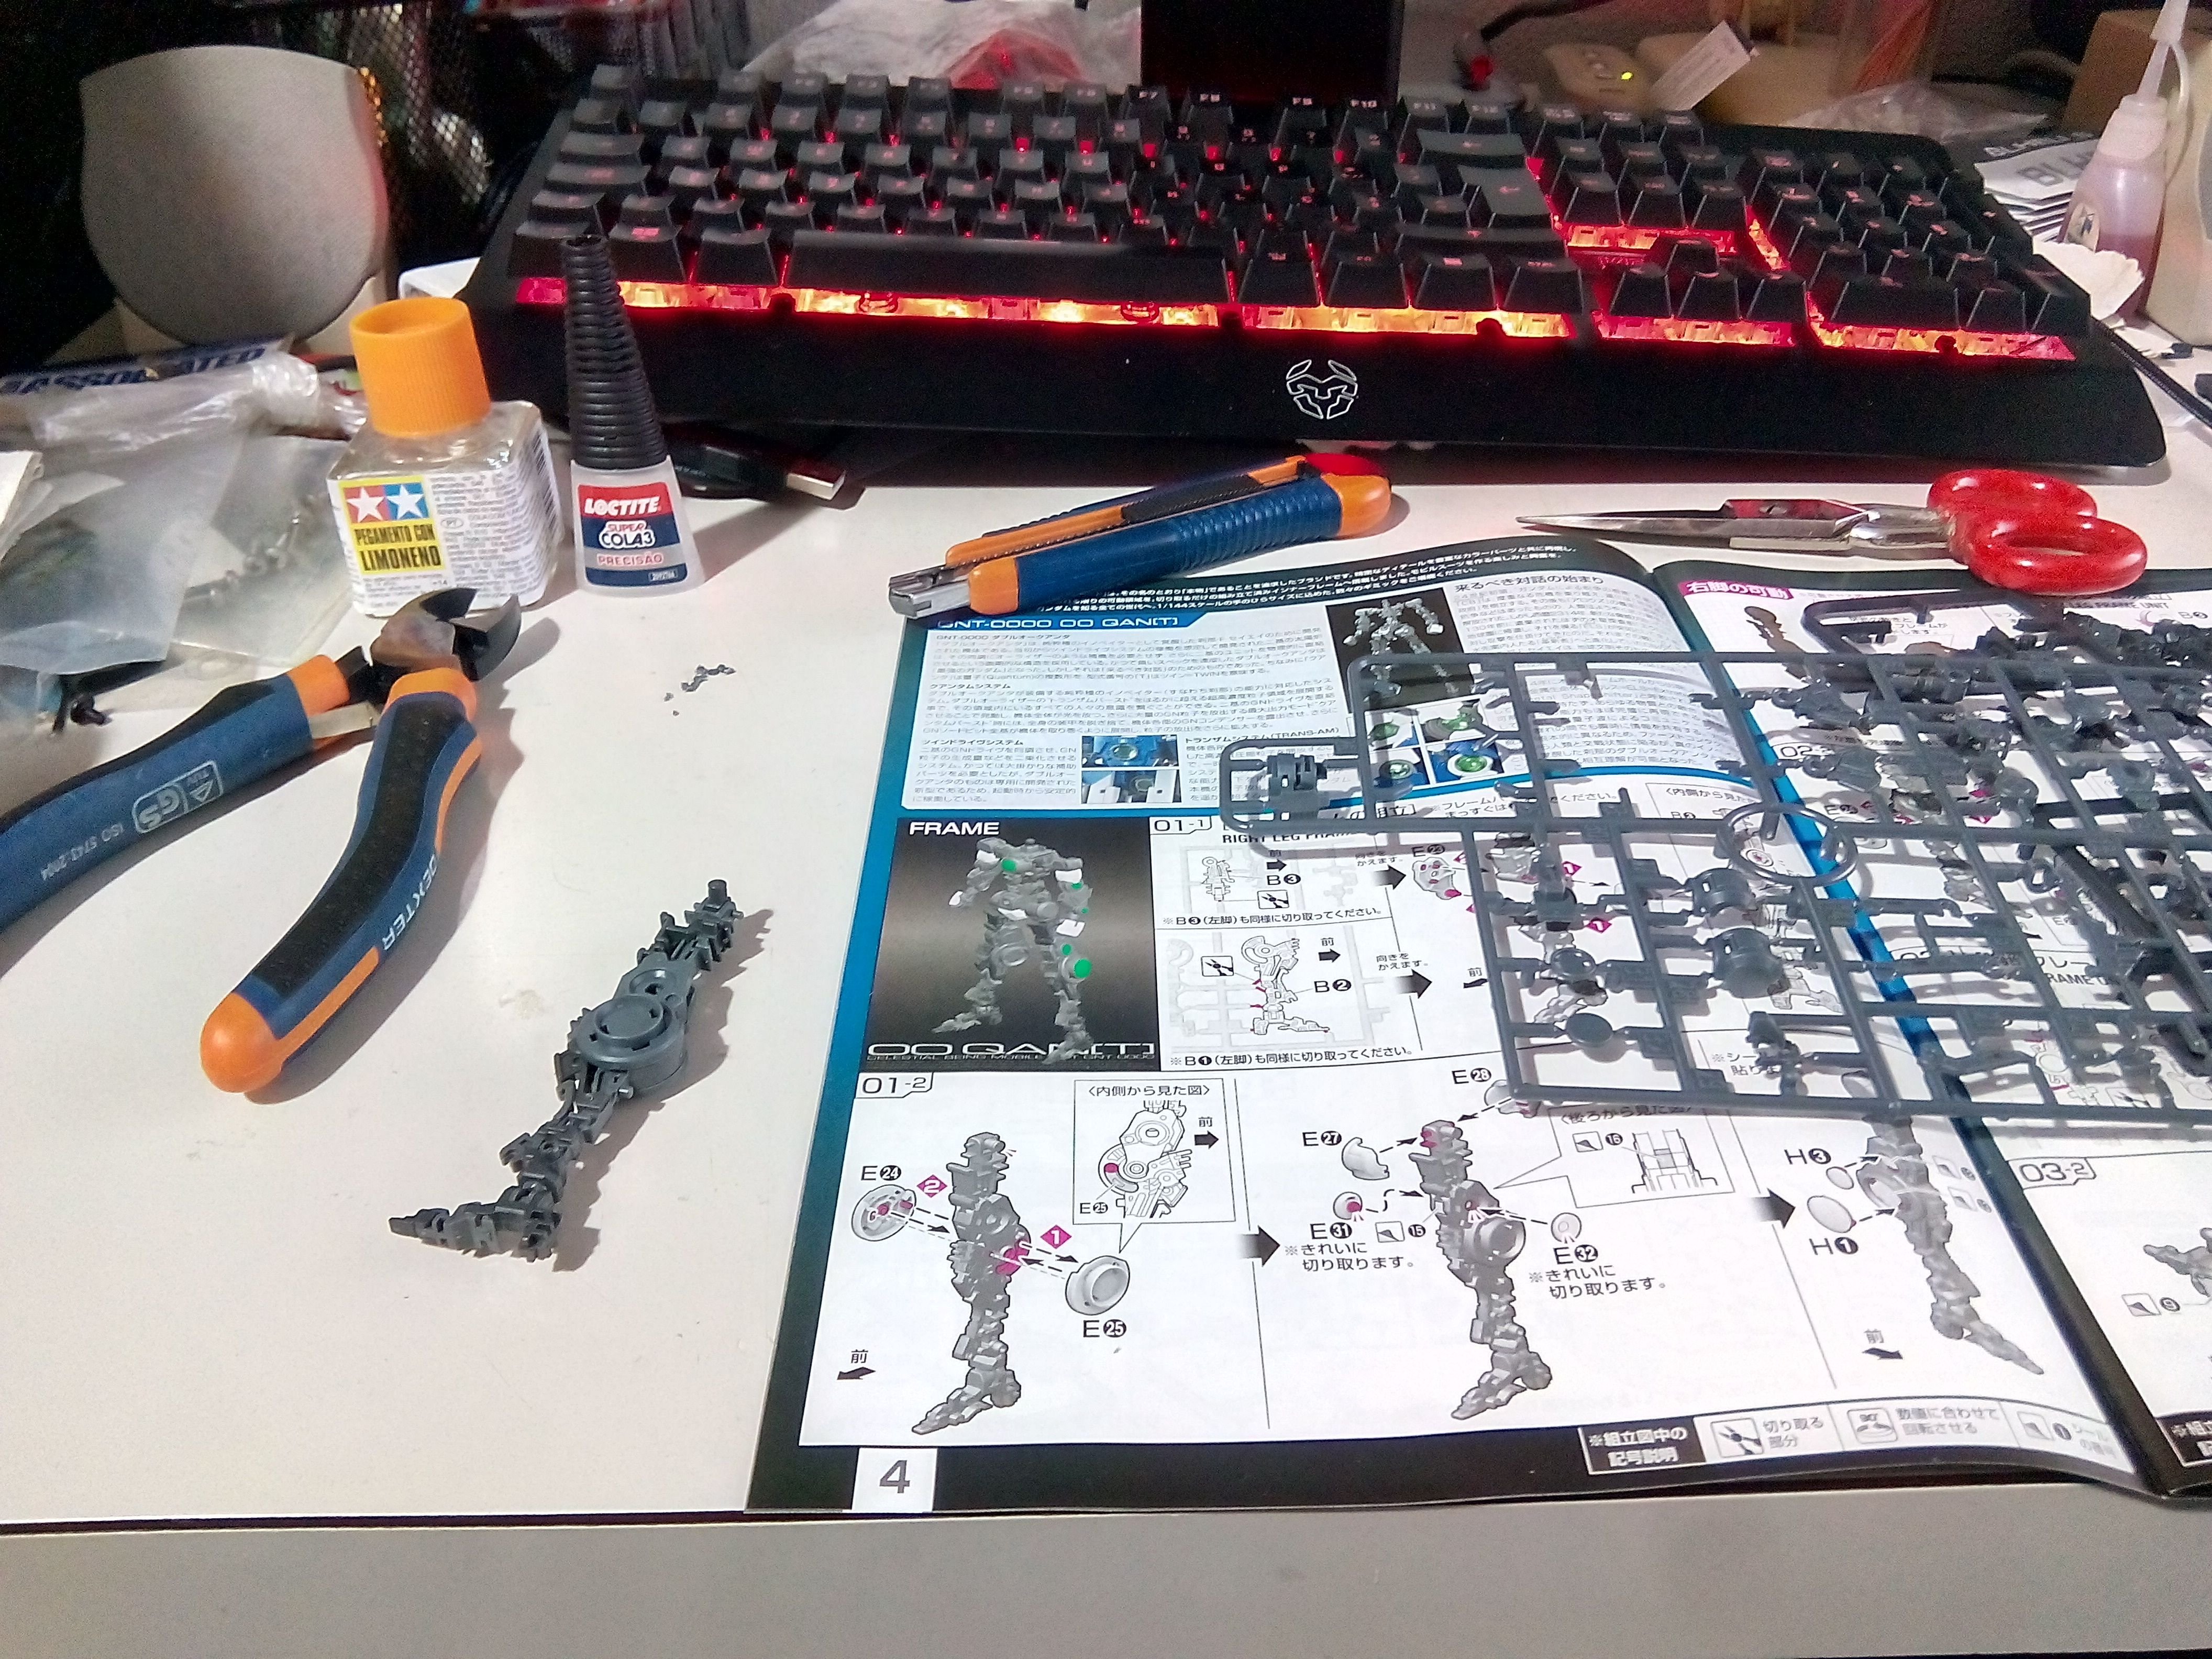
Instructions are in Japanese, but frankly, the diagrams are so well done and detailed that you just need to look closely to the pictures and everything will work out smoothly. But just in case anyone want's it, here's the English translated manual. In that same website you can find English translated manuals to other kits too. Usually RG kits' pieces fit together very well and you don't need glue, but sometimes, there's a section that is a little looser or that will be subject to some stress due to movement, and a little glue in the right place goes a long way. I use less than a drop of super glue in the pins or holes where two pieces meet. Please keep in mind that super glue, when it dries, leaves a white residue around the glued area, so please be careful, and never use it on transparent surfaces. In this case, use proper plastic model glue, or even white wood glue (because when it dries, it becomes transparent).
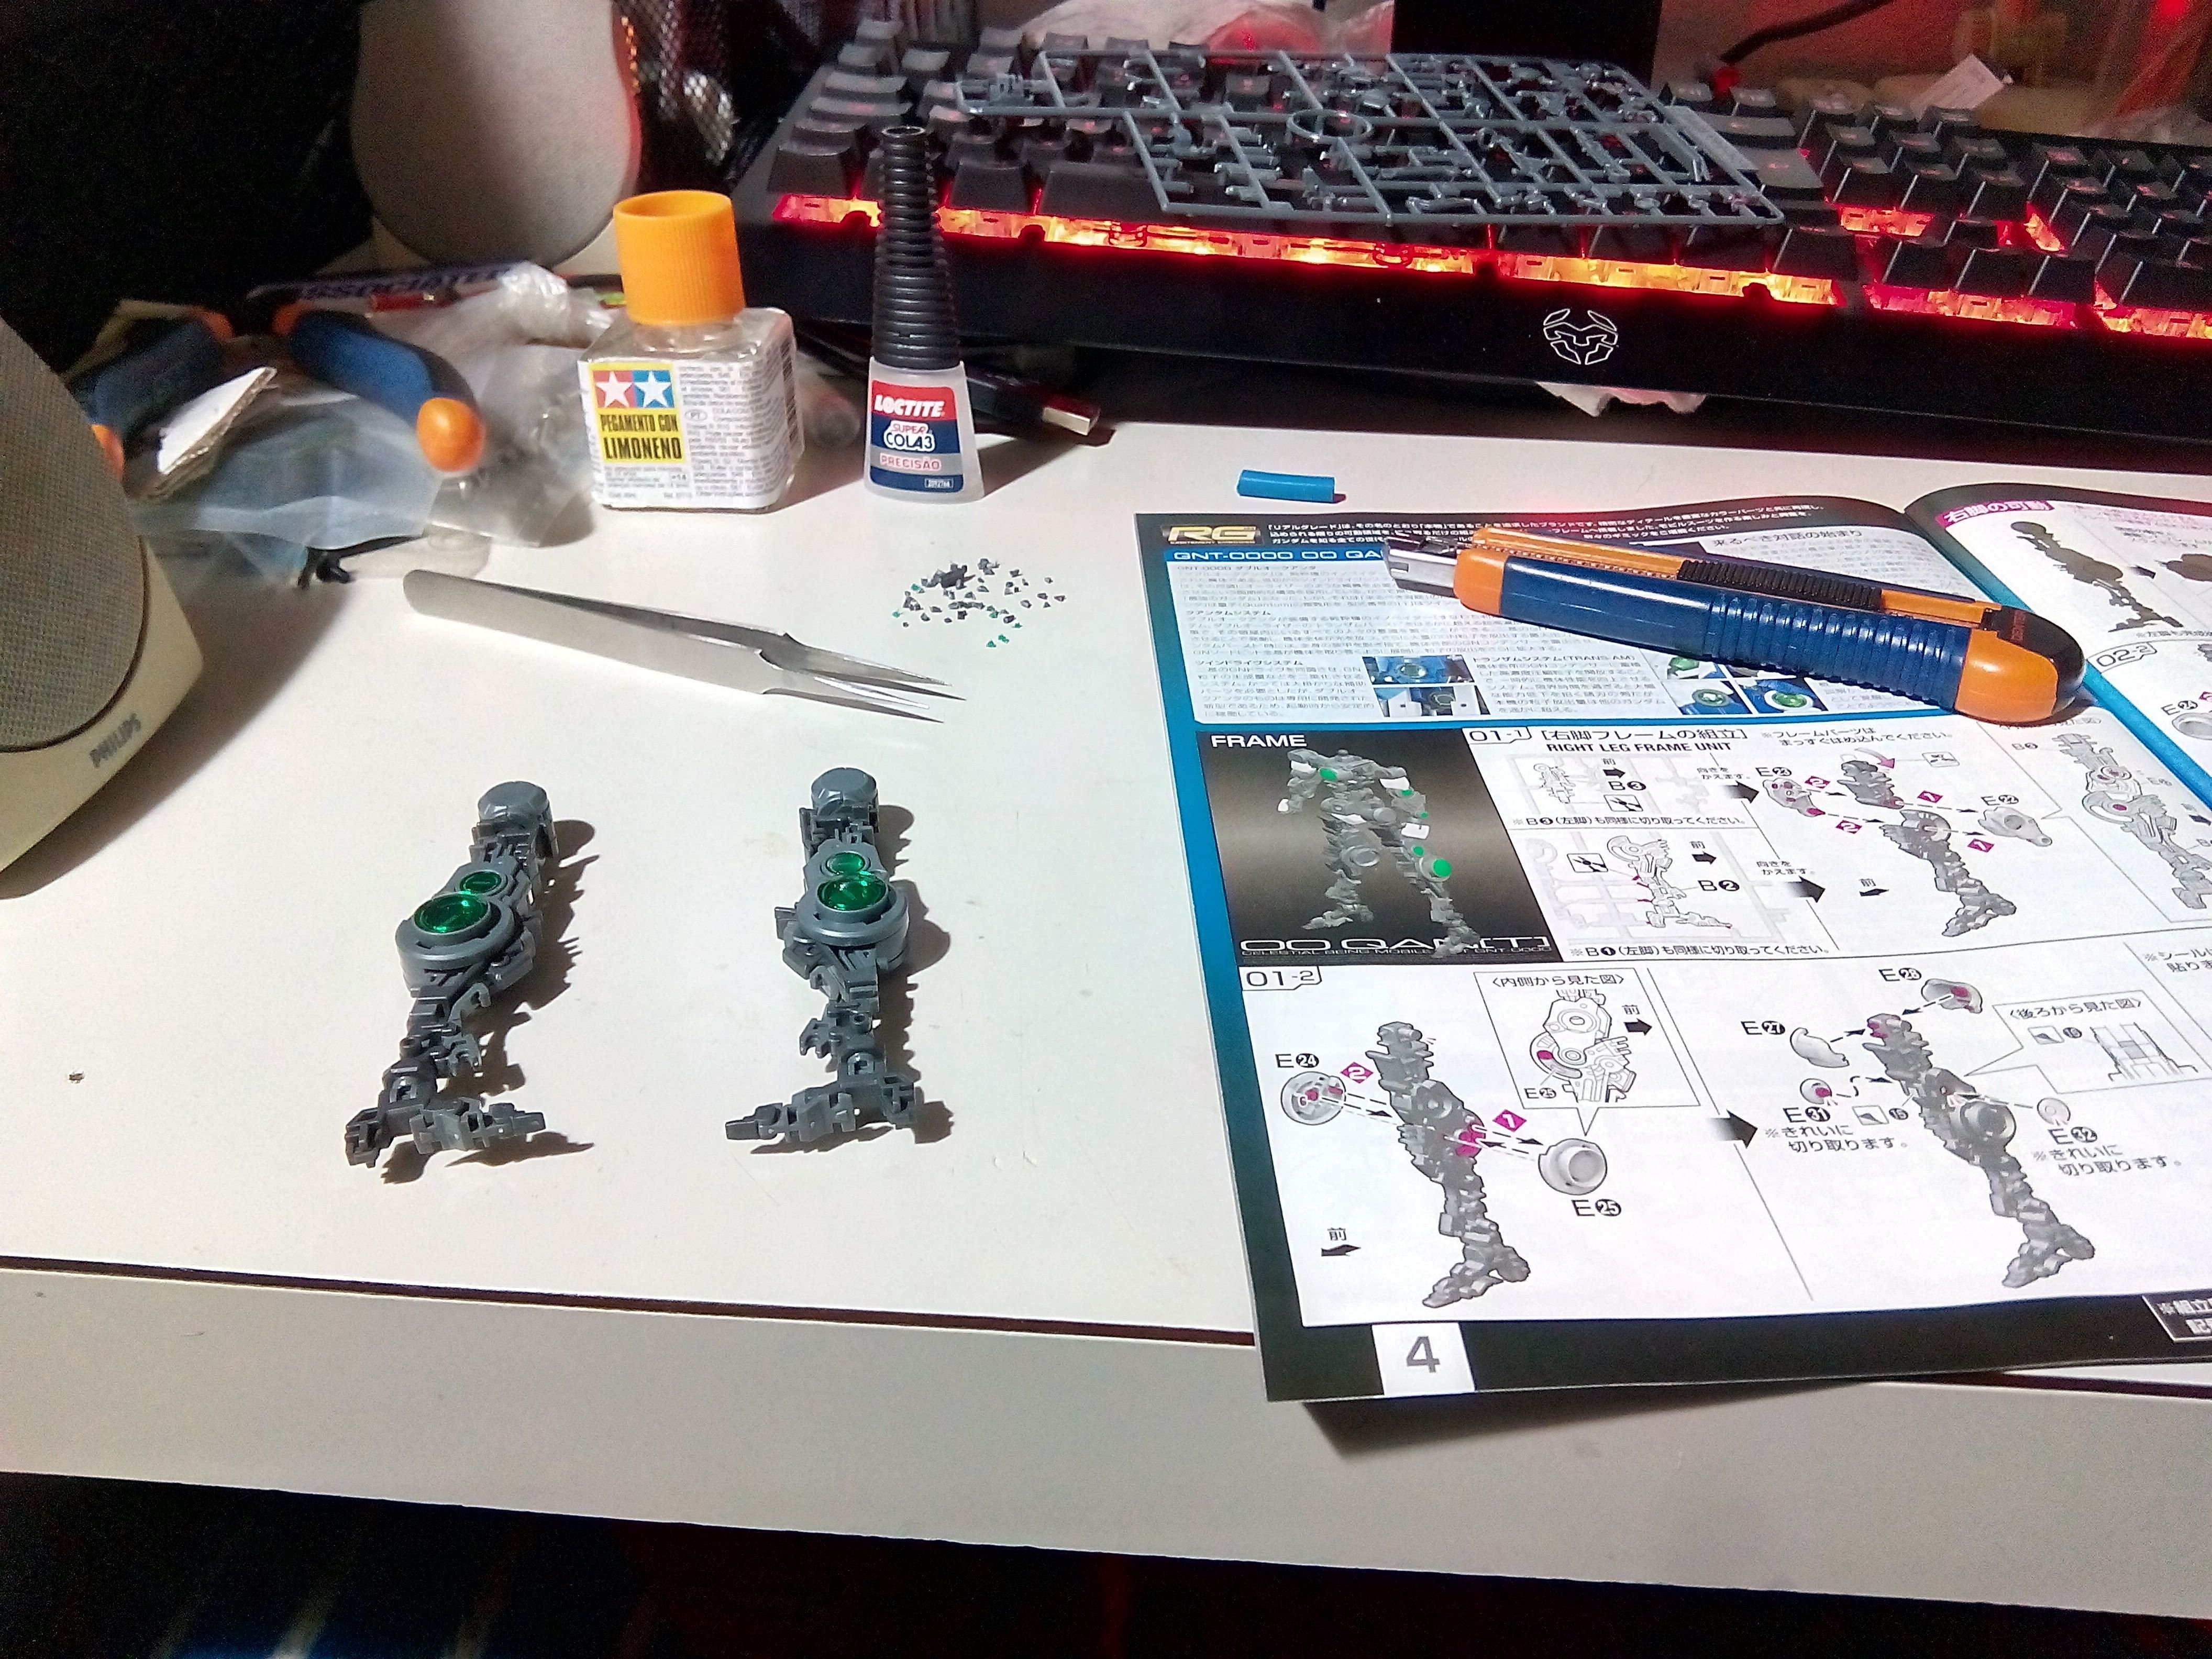
At this point, both legs where completely assembled. A leg has so many joints that you can move it freely and bend it as you see fit. Please make sure that you can move all the joints and that they are secure enough so the completed model can hold it's pose/weight. See those transparent green round covers? There's actually chrome green stickers with very small letters underneath them. Also, the knees have very small chrome stickers. This is the kind of detail a RG gunpla has. Awesome! ^^
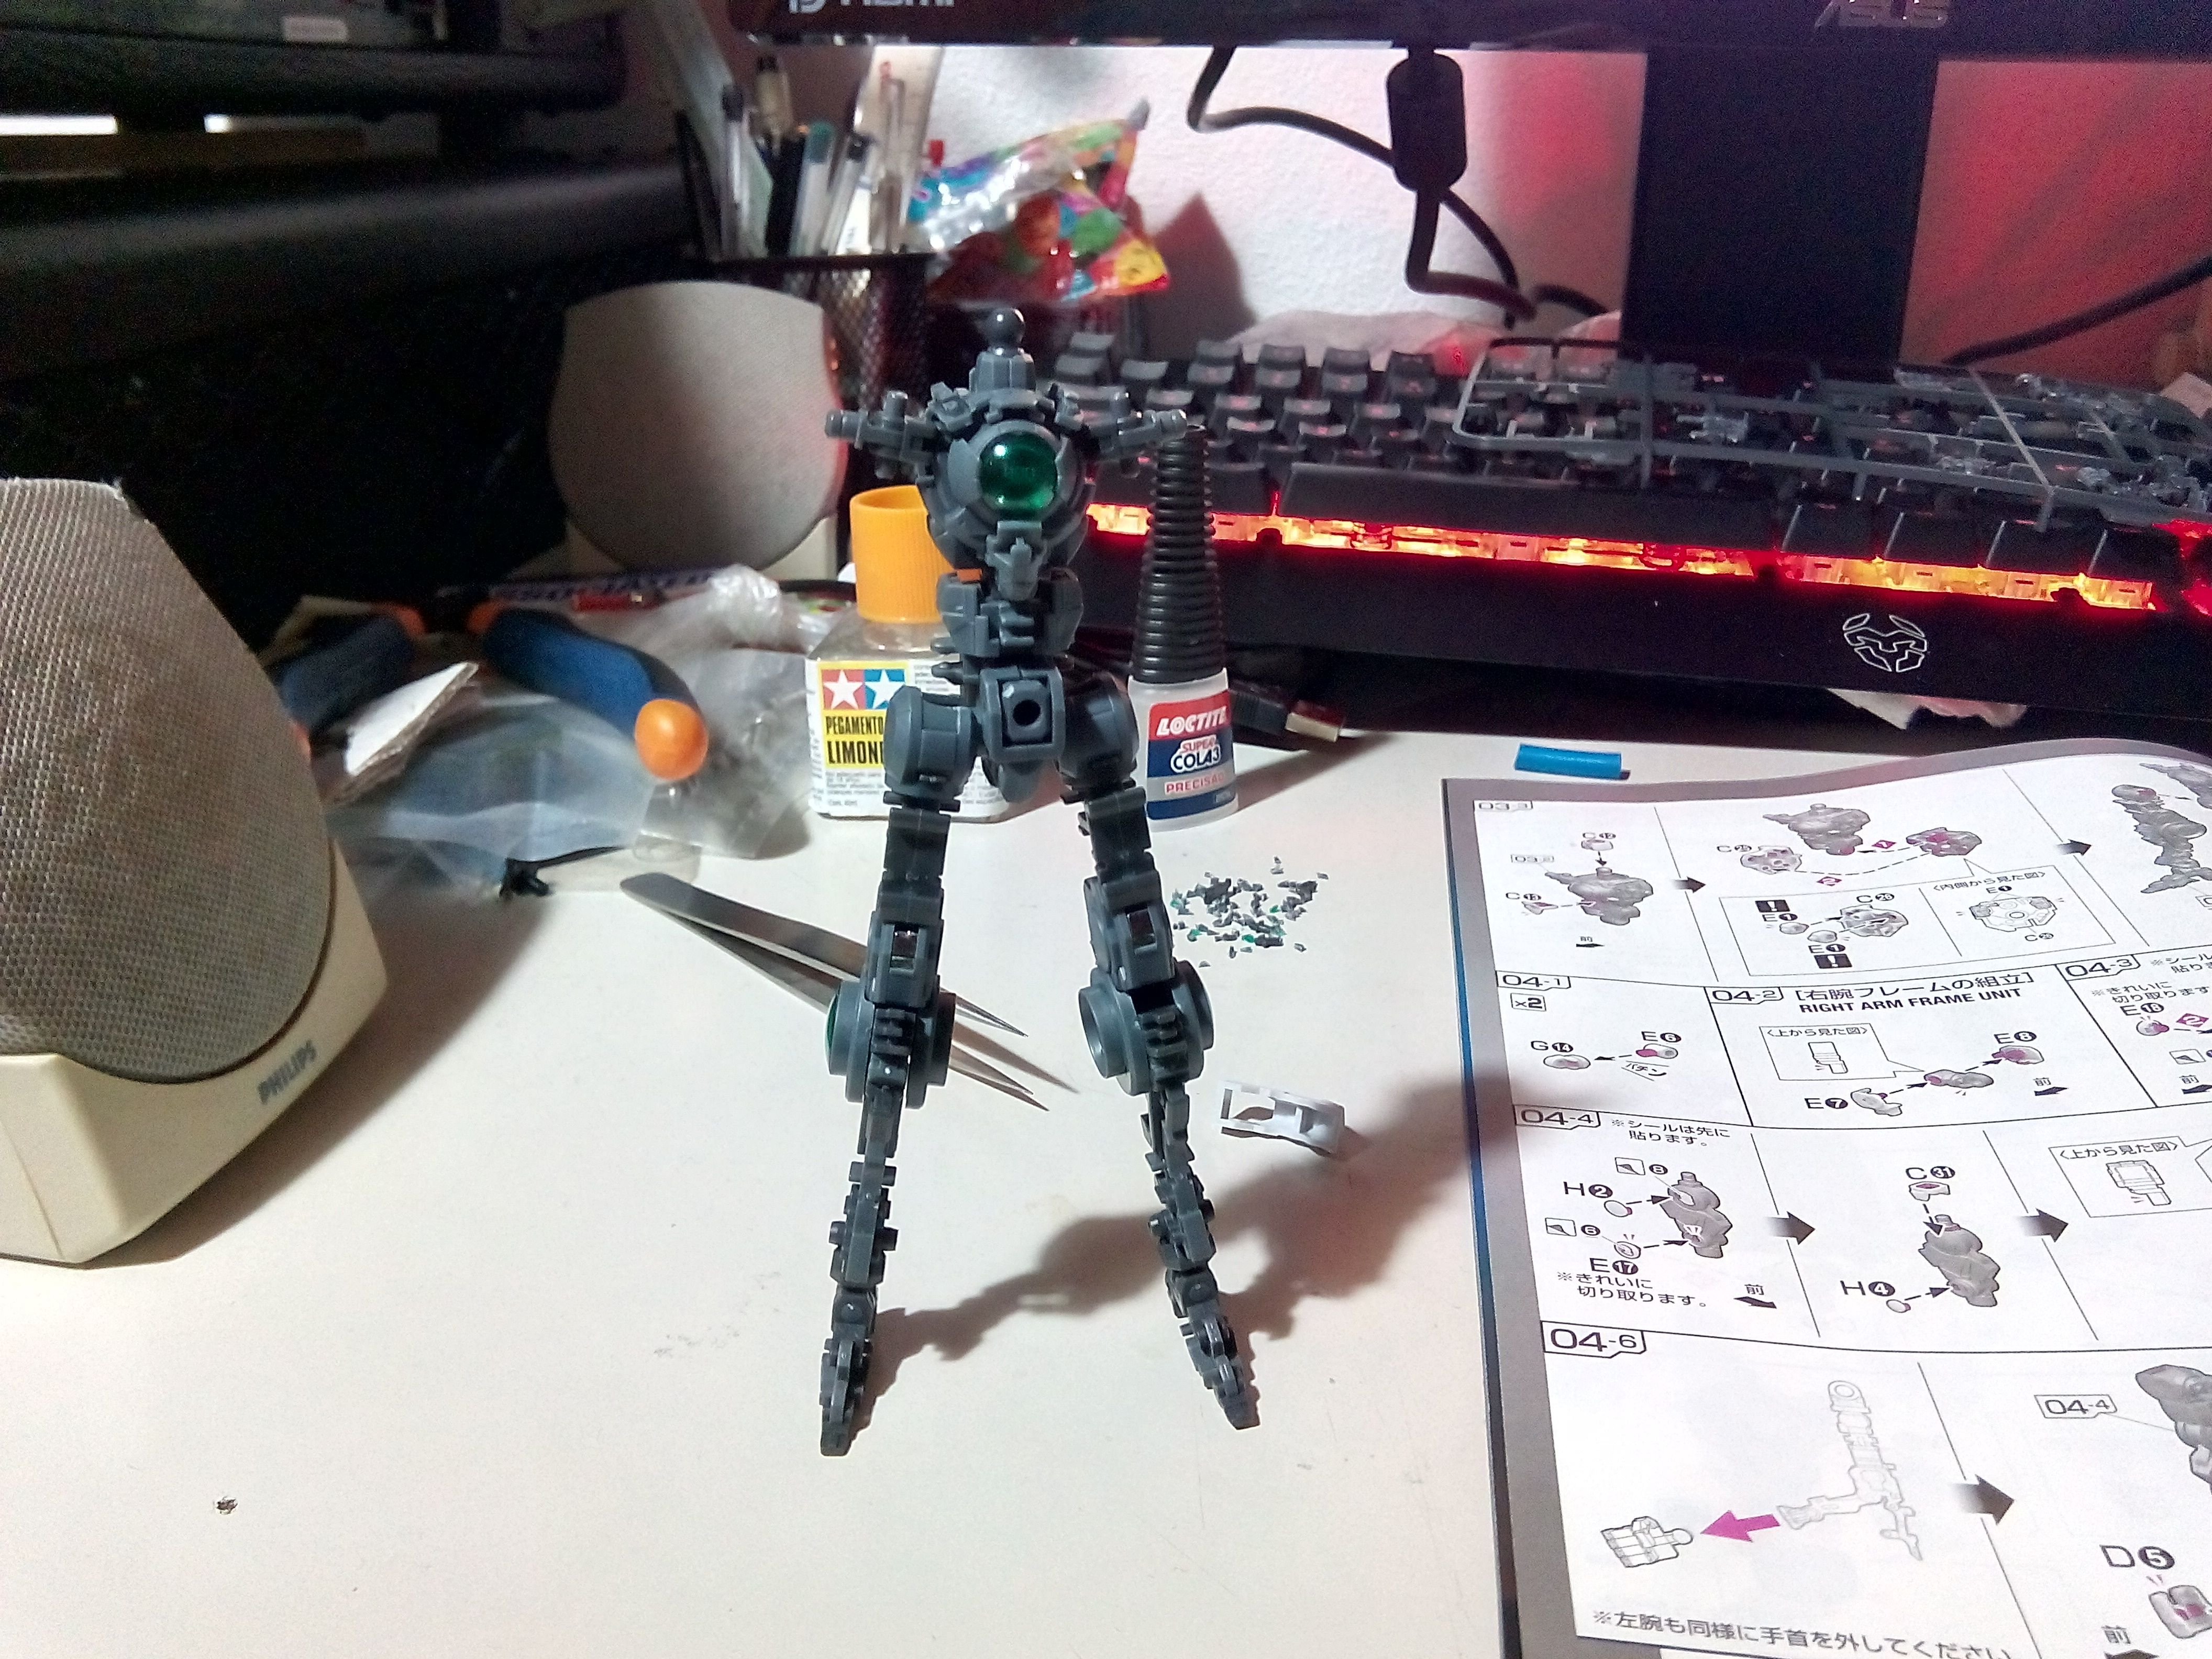
Here you can see the assembled torso with the legs already fitted. There's also that central transparent green piece with the chrome green sticker and the letters. You can actually see them in the above picture. The torso is the central piece that holds everything, and I found that some pieces were a bit too loose for my liking, so I used a little bit of super glue to hold them. Again, be careful and make sure all the joints still move. That white piece is supposed to fit in the bottom of the torso, between the legs, but I want to paint some panel lines on it and apply the mate varnish also.
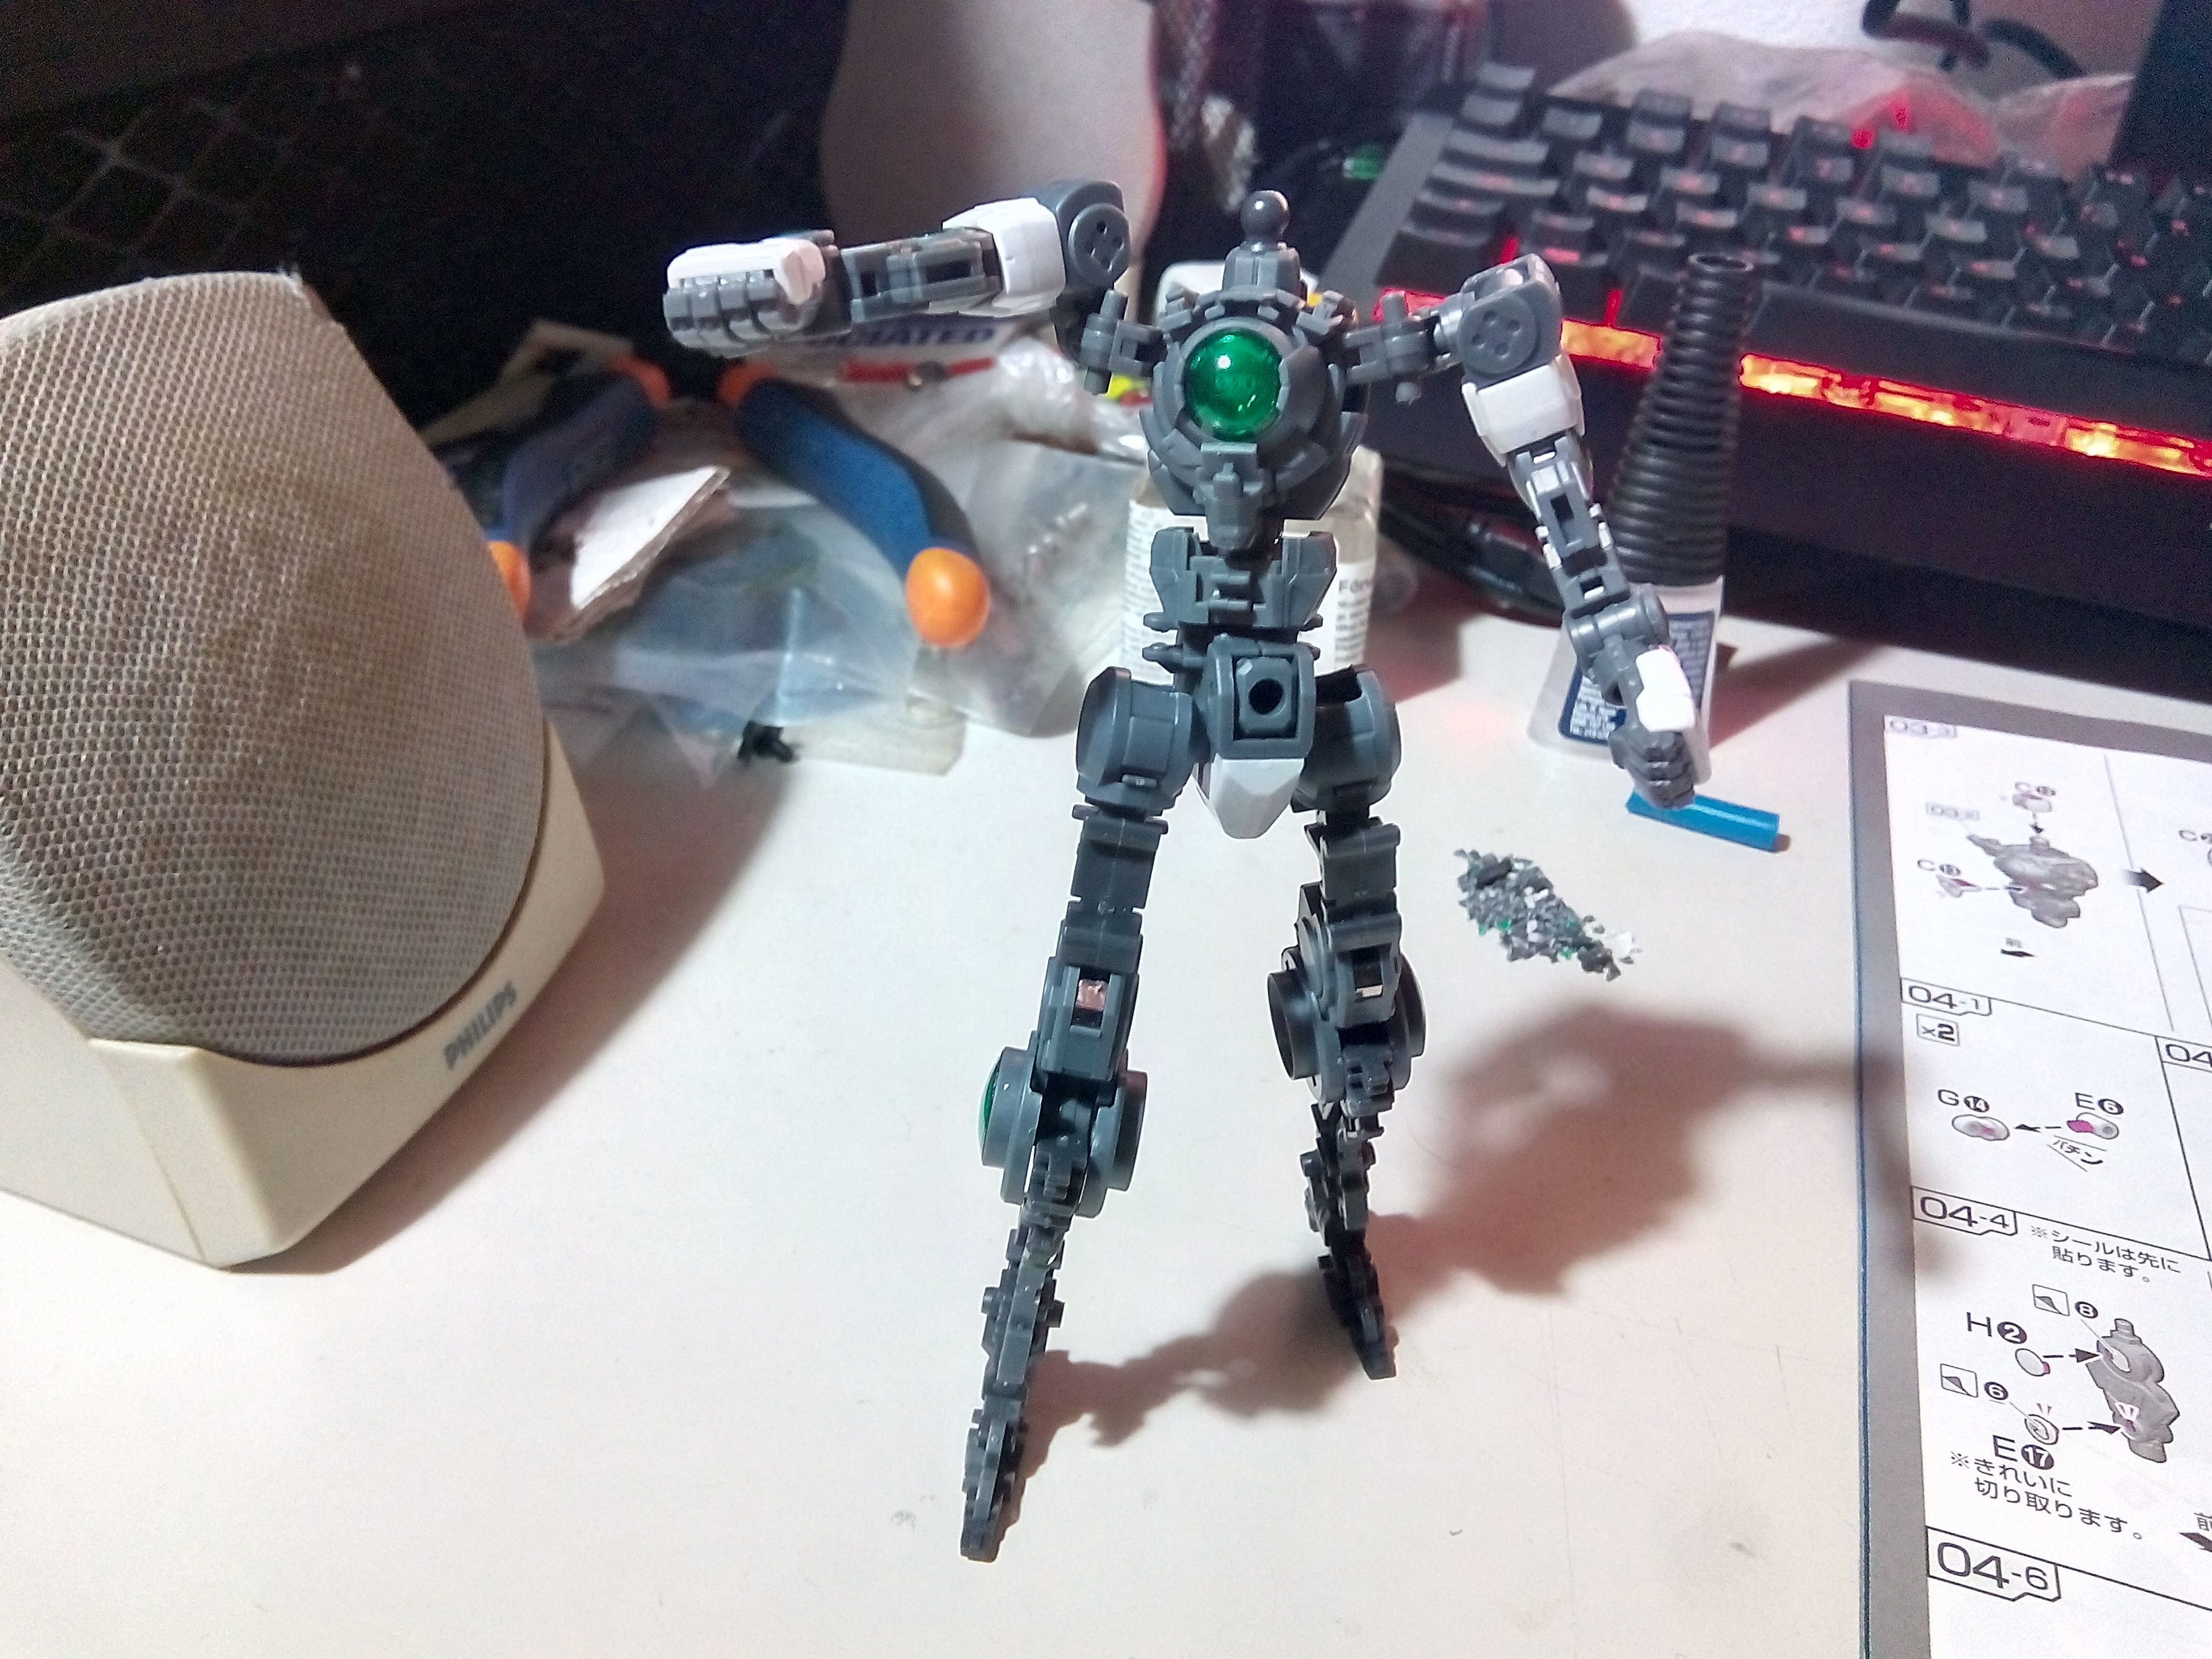
The arms, might not look like it, but they have a lot of parts. See that white part in the biceps? actually, that part is composed of two parts. You probably can't see it in the picture, but the reason for that is that the white from one piece is slightly darker than the white from the other. This is the kind of detail these RG kits have and that's why you don't really need to paint them. See the shoulder? It has four or five parts... Now imagine how many parts an entire arm has. There's also two transparent green round pieces, with the corresponding chrome green stickers with the really small letters, but you can't see them because they're on the exterior side of the arms. Not too tricky to assemble the arms, but you have to pay attention and be patient. Now you can see the little chrome stickers in the knees I told you about before. Speaking about chrome stickers, the elbow joints also have chrome stickers. As you bend the arms, more of those stickers show. Awesome! ^^ I stopped the assembly right here, at this point. Later, I'll have to remove all the white parts so I can paint some panel lines and apply mate varnish. But right now, it's looking good, don't you agree? Stay tuned for PART 2 soon... Cheers!