It's All About The Base!
An item on the around the farm to-do list that has been procrastinated for the last couple years in an outdoor oven. Our family eats a ton of sourdough bread and pizza, so for those two reasons alone the oven needed to be constructed, but my husband also really wanted an adobe oven of bread-baking coolness. He's pretty great, so of course the oven was destined to happen.
There is also the "sidewalk to nowhere" to consider. When we built our house we made sure that it was constructed to be completely handicap accessible, should my husband ever return to the wheelchair that he escaped from when he learned to walk again. Part of the ADA specs for accessibility is to have a sidewalk that goes so many feet from the house in case of fire. That sidewalk is a twenty-five foot span of concrete to nowhere. We decided that the oven would look marvelous at the end of it, and I can't think of a better end of a sidewalk than fresh bread or wood fired pizza!
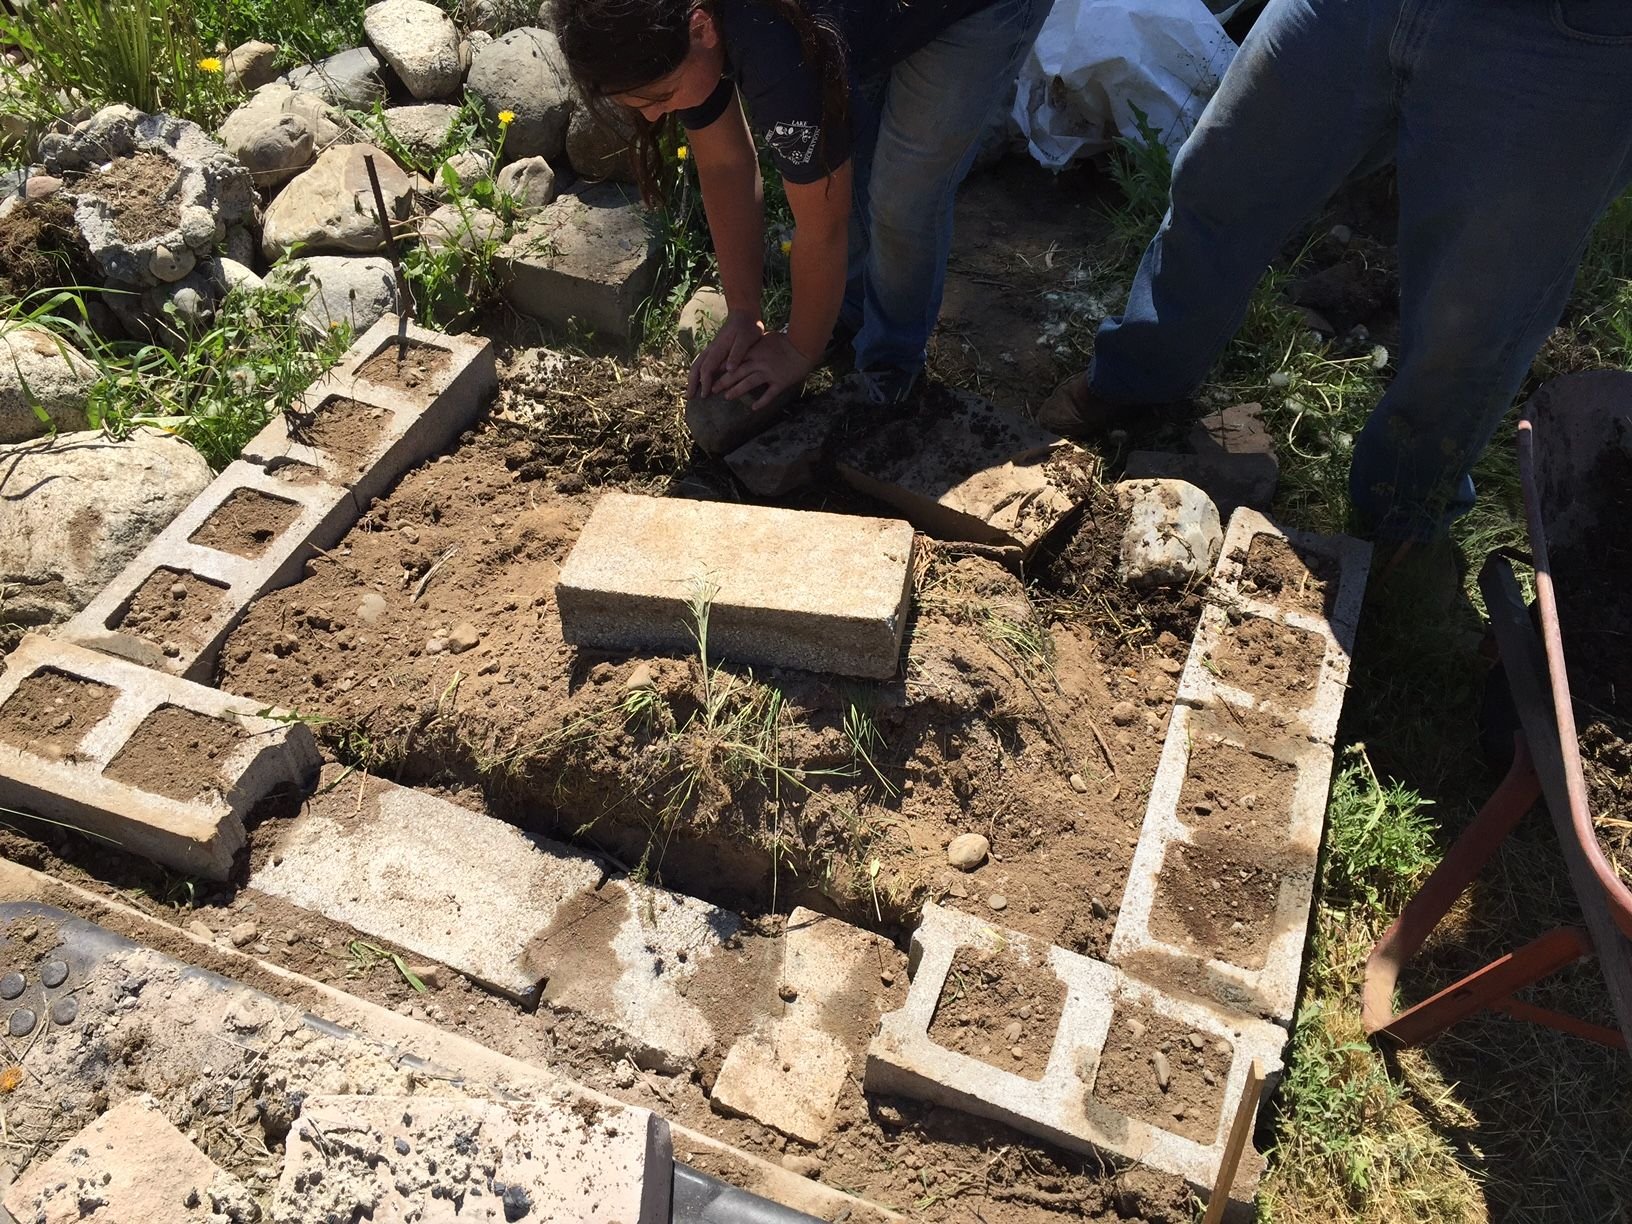
So, after a couple year delay, operation wood fired oven commenced today. One of my main goals was to build the oven for as little money out of pocket as possible, so we have been saving rocks, concrete blocks, and landscaping pavers from various other projects for awhile. My husband and daughter laid concrete blocks in a rectangle and leveled them for the bottom of the oven's base and filled them with concrete.
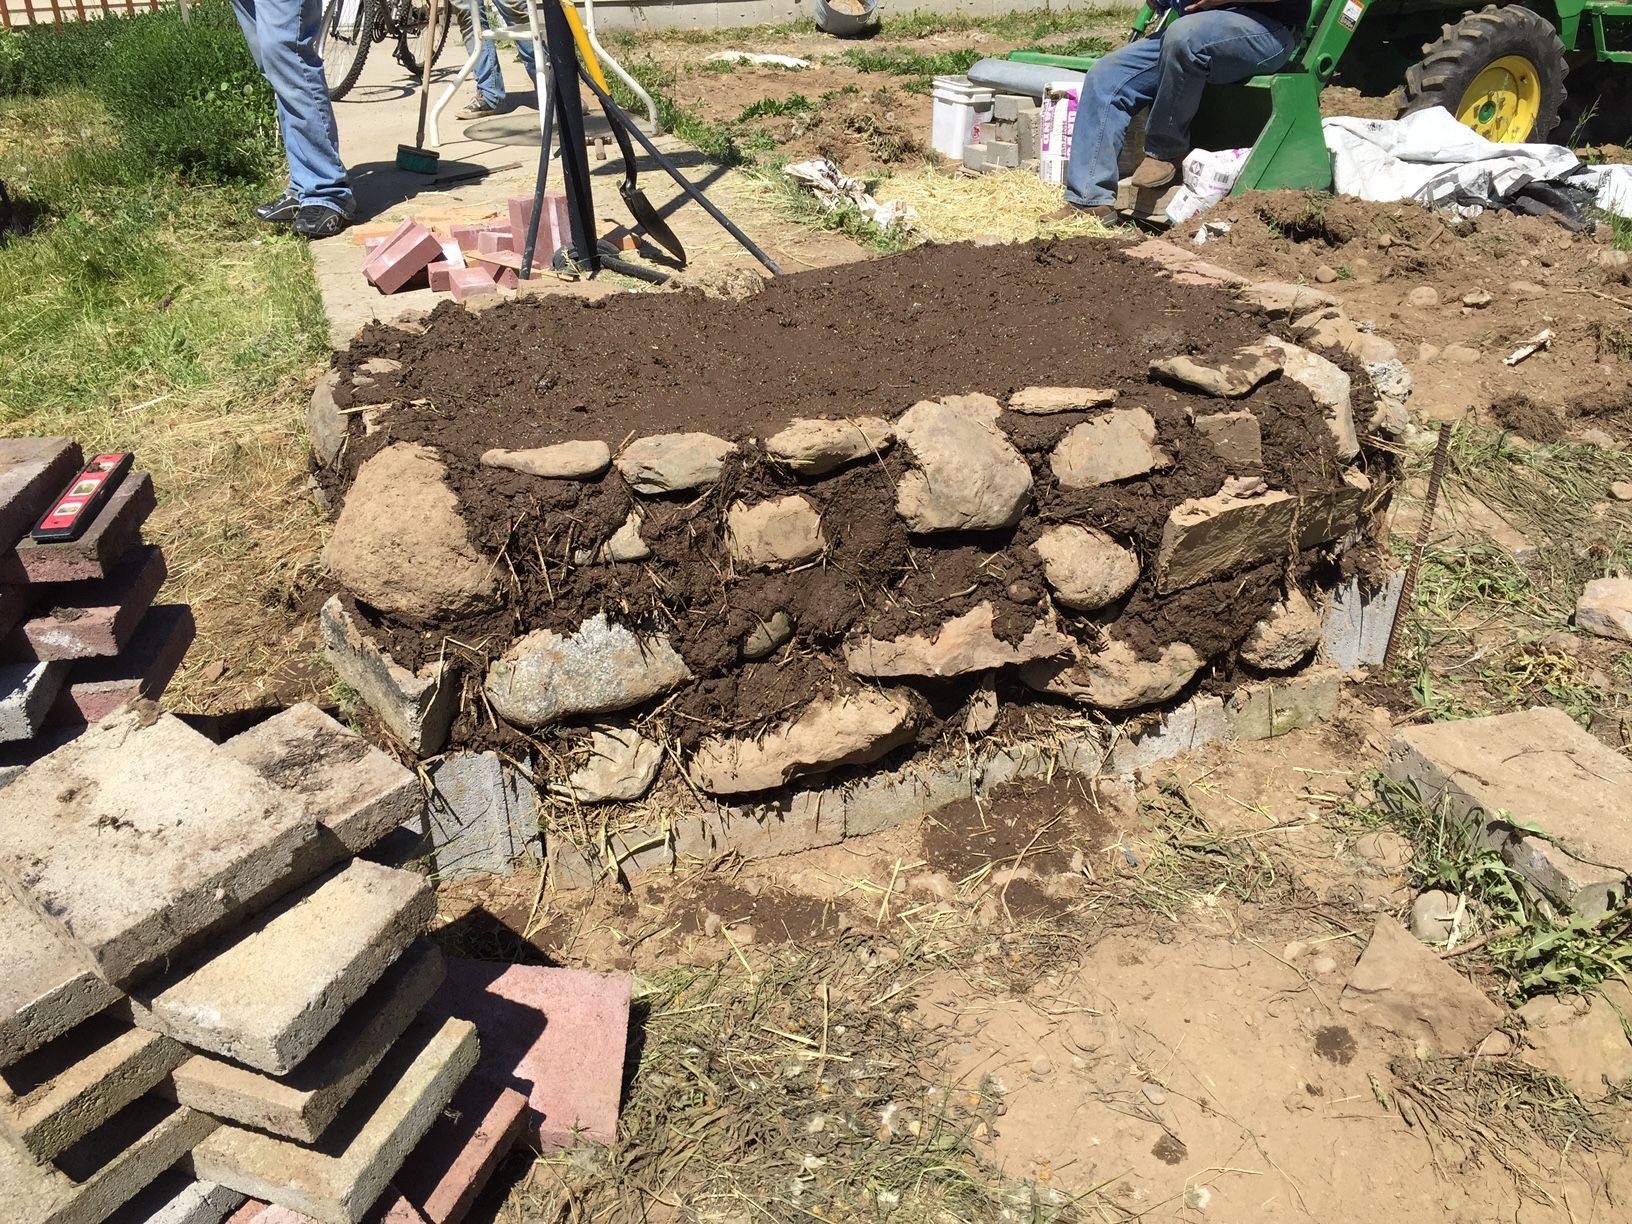
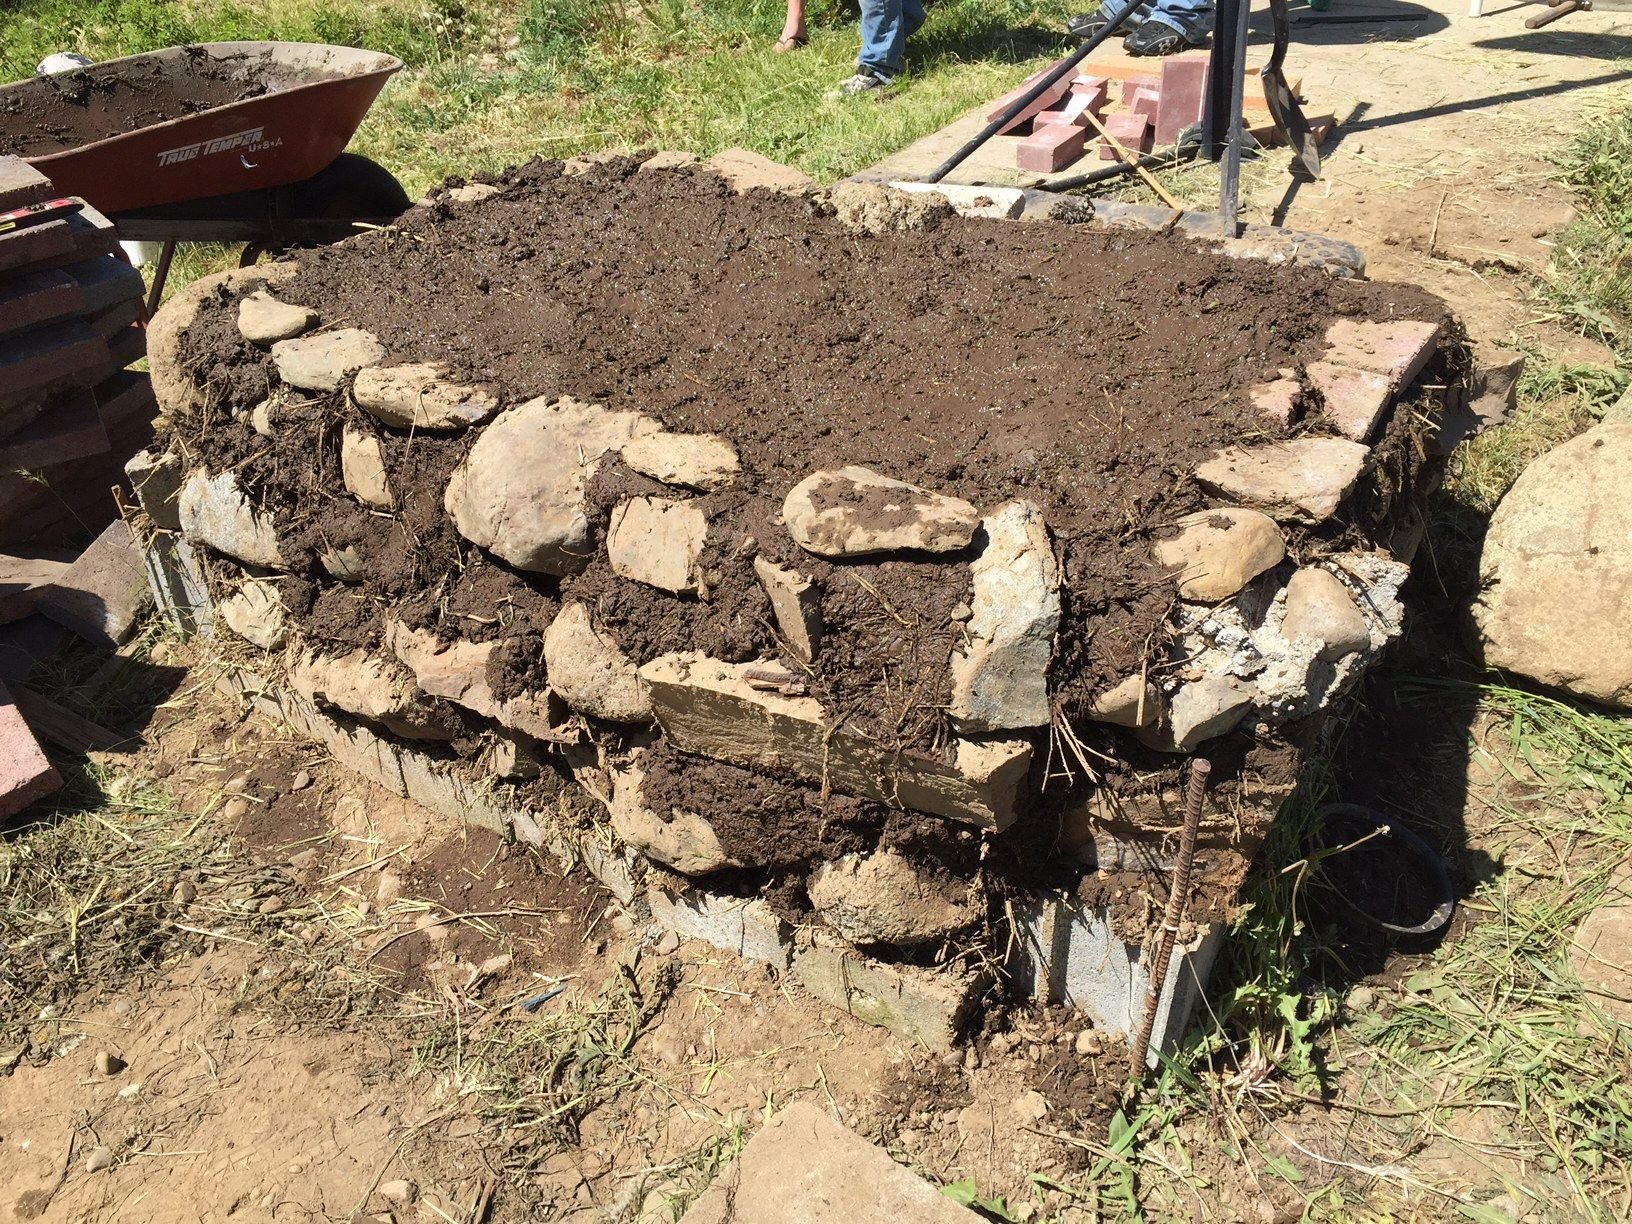
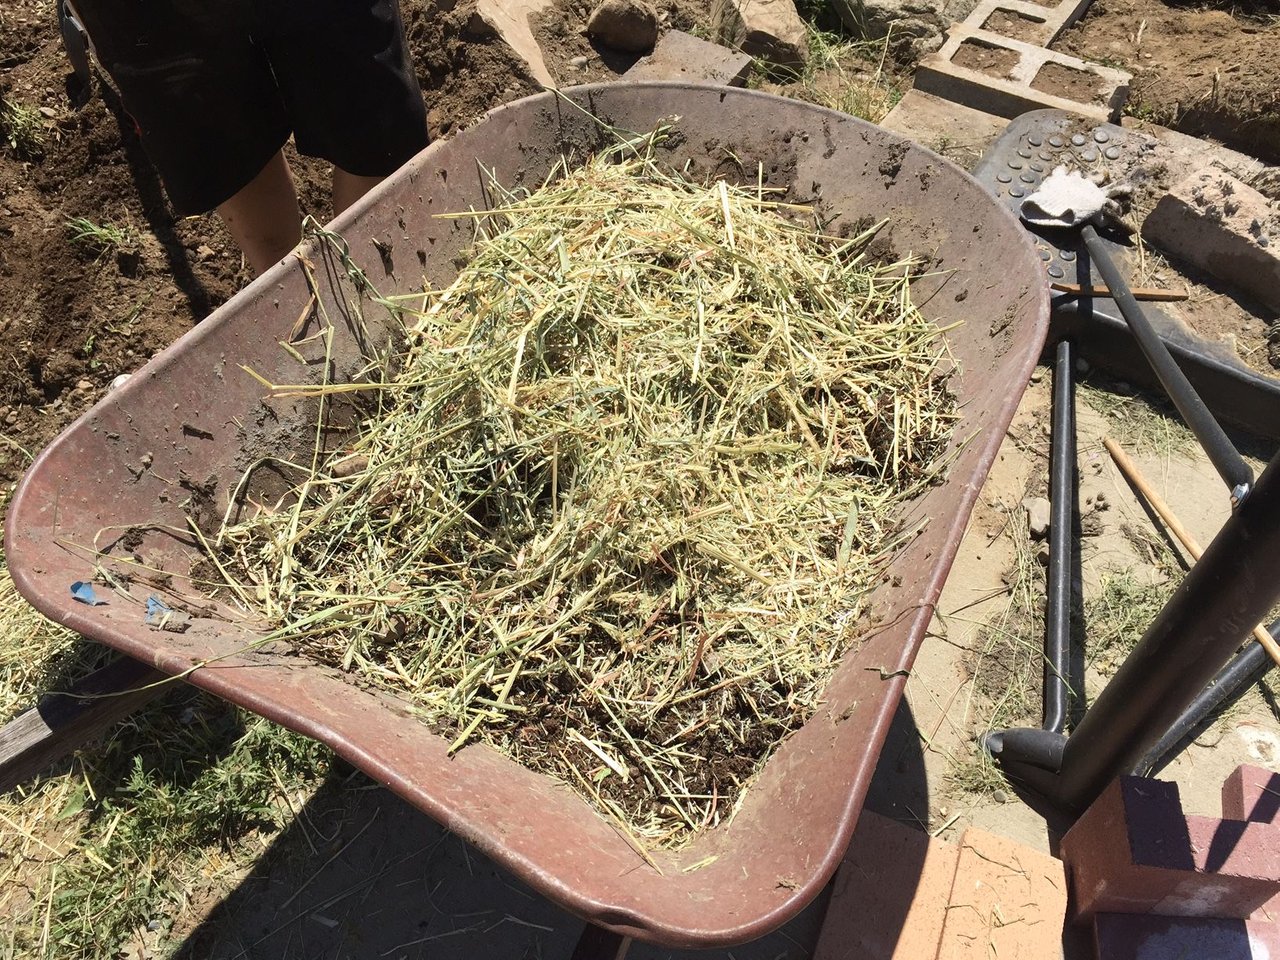
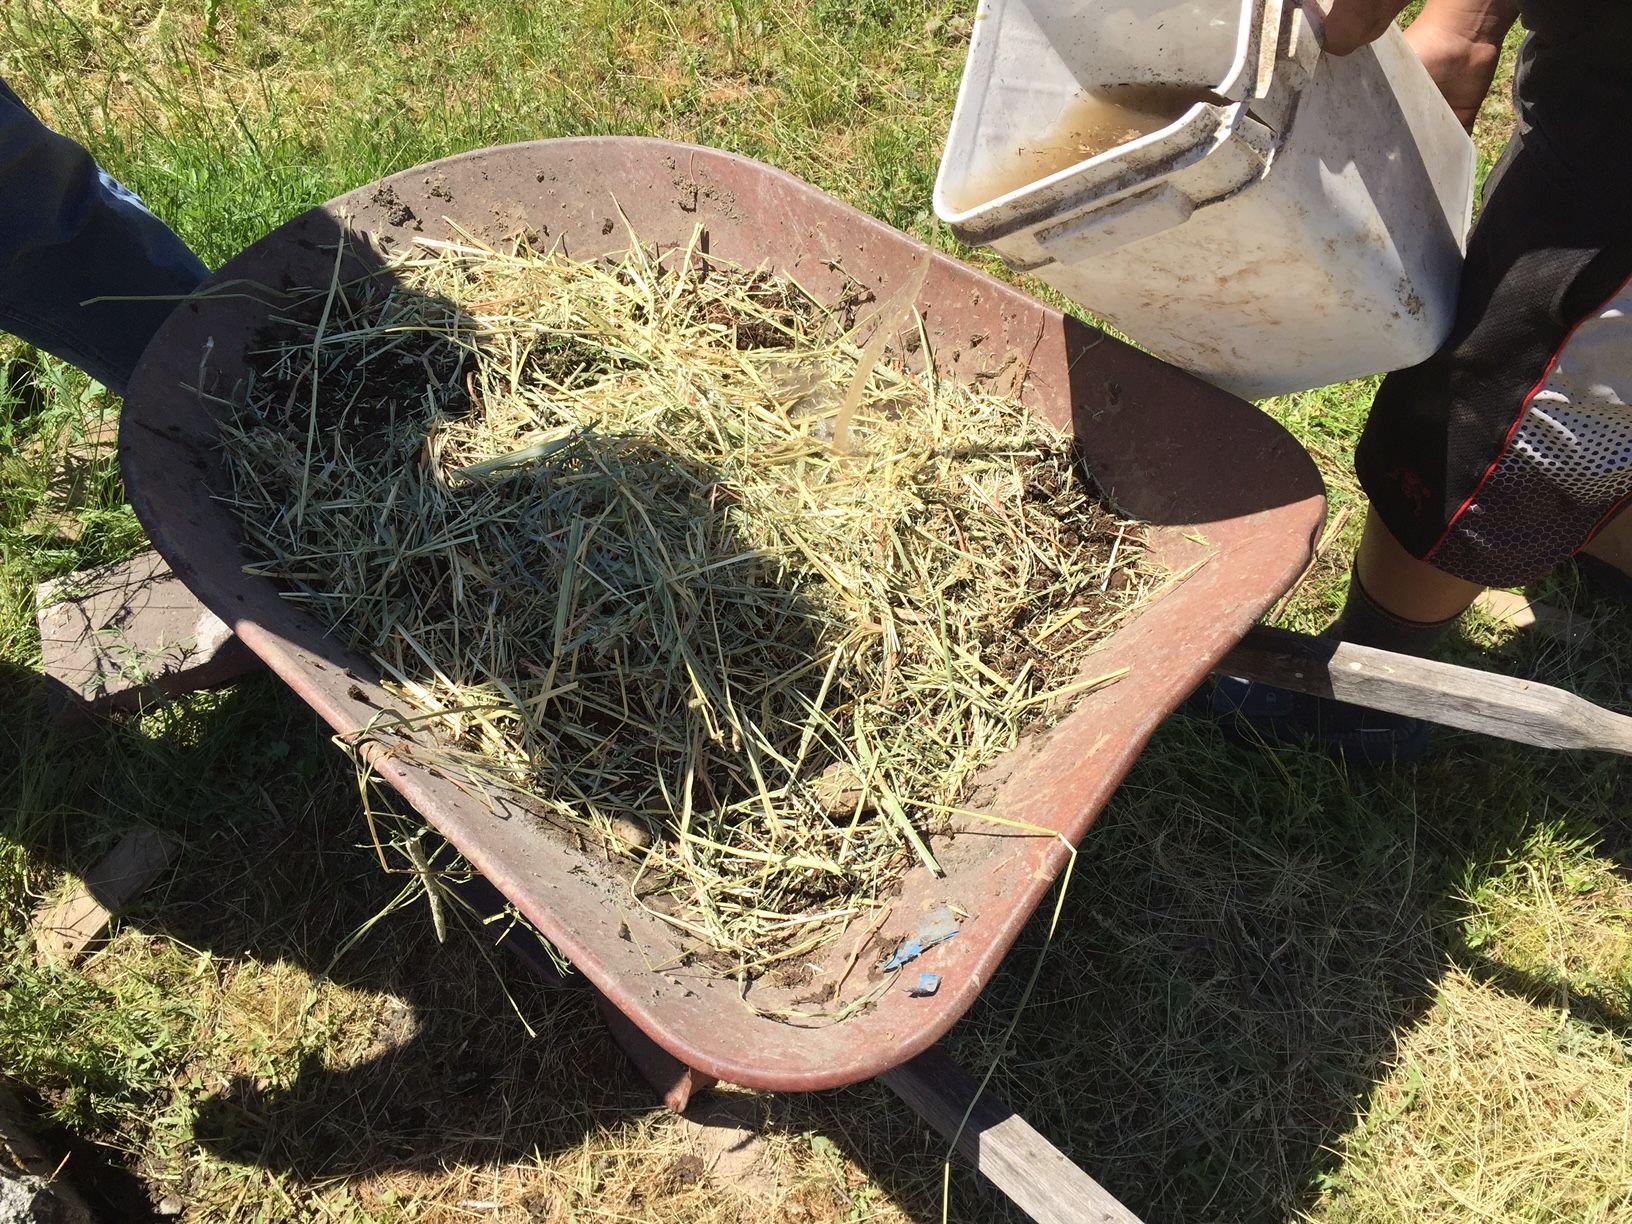
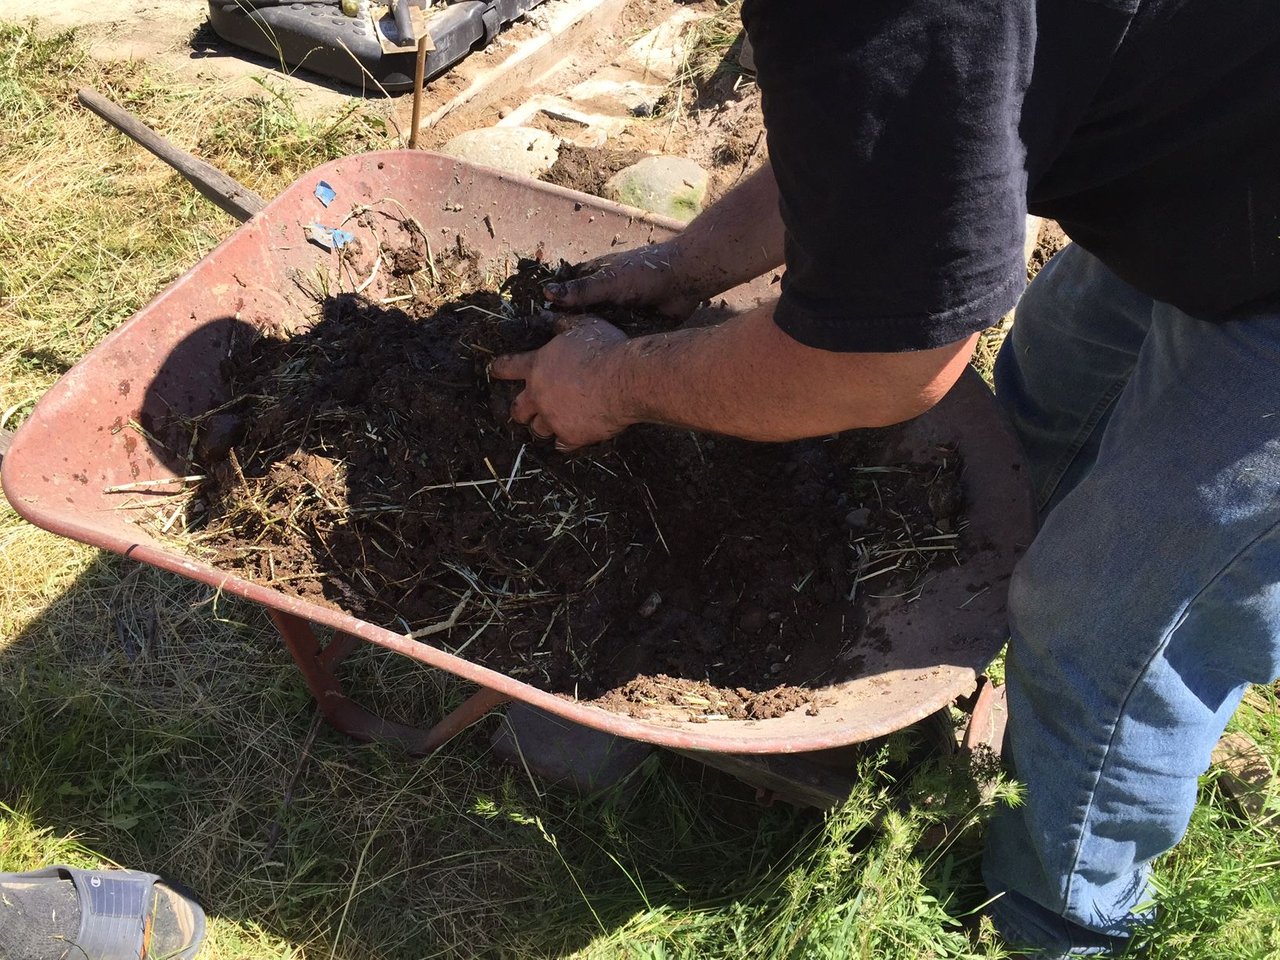
We decided to go with our own mud mortar (Cob) to hold the base together, as I like the look of rustic things, and spent most of the afternoon mixing up wheelbarrow loads of our sandy soil (no clay in it, we tested it), chopped hay, and a few trowels of concrete into a mud pie worthy mortar to hold our base layer together. My children were especially useful during this phase of construction as they helped shovel soil, chop hay, pick up, and stack stones for hours. As we were right there sweating with them they couldn't moan too much, and thankfully we had a party speaker streaming with music to drown out any groans of agony or boredom.

We filled the center of the base in with excess soil and rocks that we had collected, and once we reached the height that my Hawaiian had selected for the base to reach, we got out a 2X4 board and the leveling began. We mixed an extra large load of slightly more moist "mud mortar" and began to fill in the top of the base, for the next item of business with be to top the base with pavers so we can build the actual oven.

My Squeakerbel likes things to be just so. We utilized that personality trait today in the form of intense leveling labor!
As I type this our first round of mud-based handiwork is curing in the sun. The next phase of oven construction is going to be a kick, and by that I mean I hopefully won't be kicking my wise-cracking husband, but as he can't feel his left leg that point is moot anyway.
All that I have left to do to the base is to "prettify" it. I will be taking a trowel and shaping the dried mud-mortar up a bit, and perhaps applying some actual mortar to the base. This whole project is an experiment, and if it doesn't look or work the way that we want it to we can always have an experimental oven demolition party in the front yard. I mean if that isn't a win-win scenario right there, then I don't know what is.
So far we have spent a grand total of about 60 U.S. dollars on supplies for the oven, and all but 4 dollars of that were on special firebricks that line the inside of the oven. Considered that a halfway decent loaf of sourdough runs around 5-7 dollars, I feel that the oven will be worth it.