Creating a card from scratch for very little outlay.
Now, I started creating Christmas cards last year. It was more a way to get Mia involved in making something because, as you may know, the theory is: Get your children into crafting, motorbikes, cars, or horses etc and they'll never have enough money to buy drugs...
I enjoyed making the cards, and thinking back, the point was to NOT spend money, but to create something that would bring a smile to Mia (and me) and also to the person receiving the card.
To that end, I went back to basics for this Steemit post today.
I started with things you're likely to have in your home right now, without spending anything.
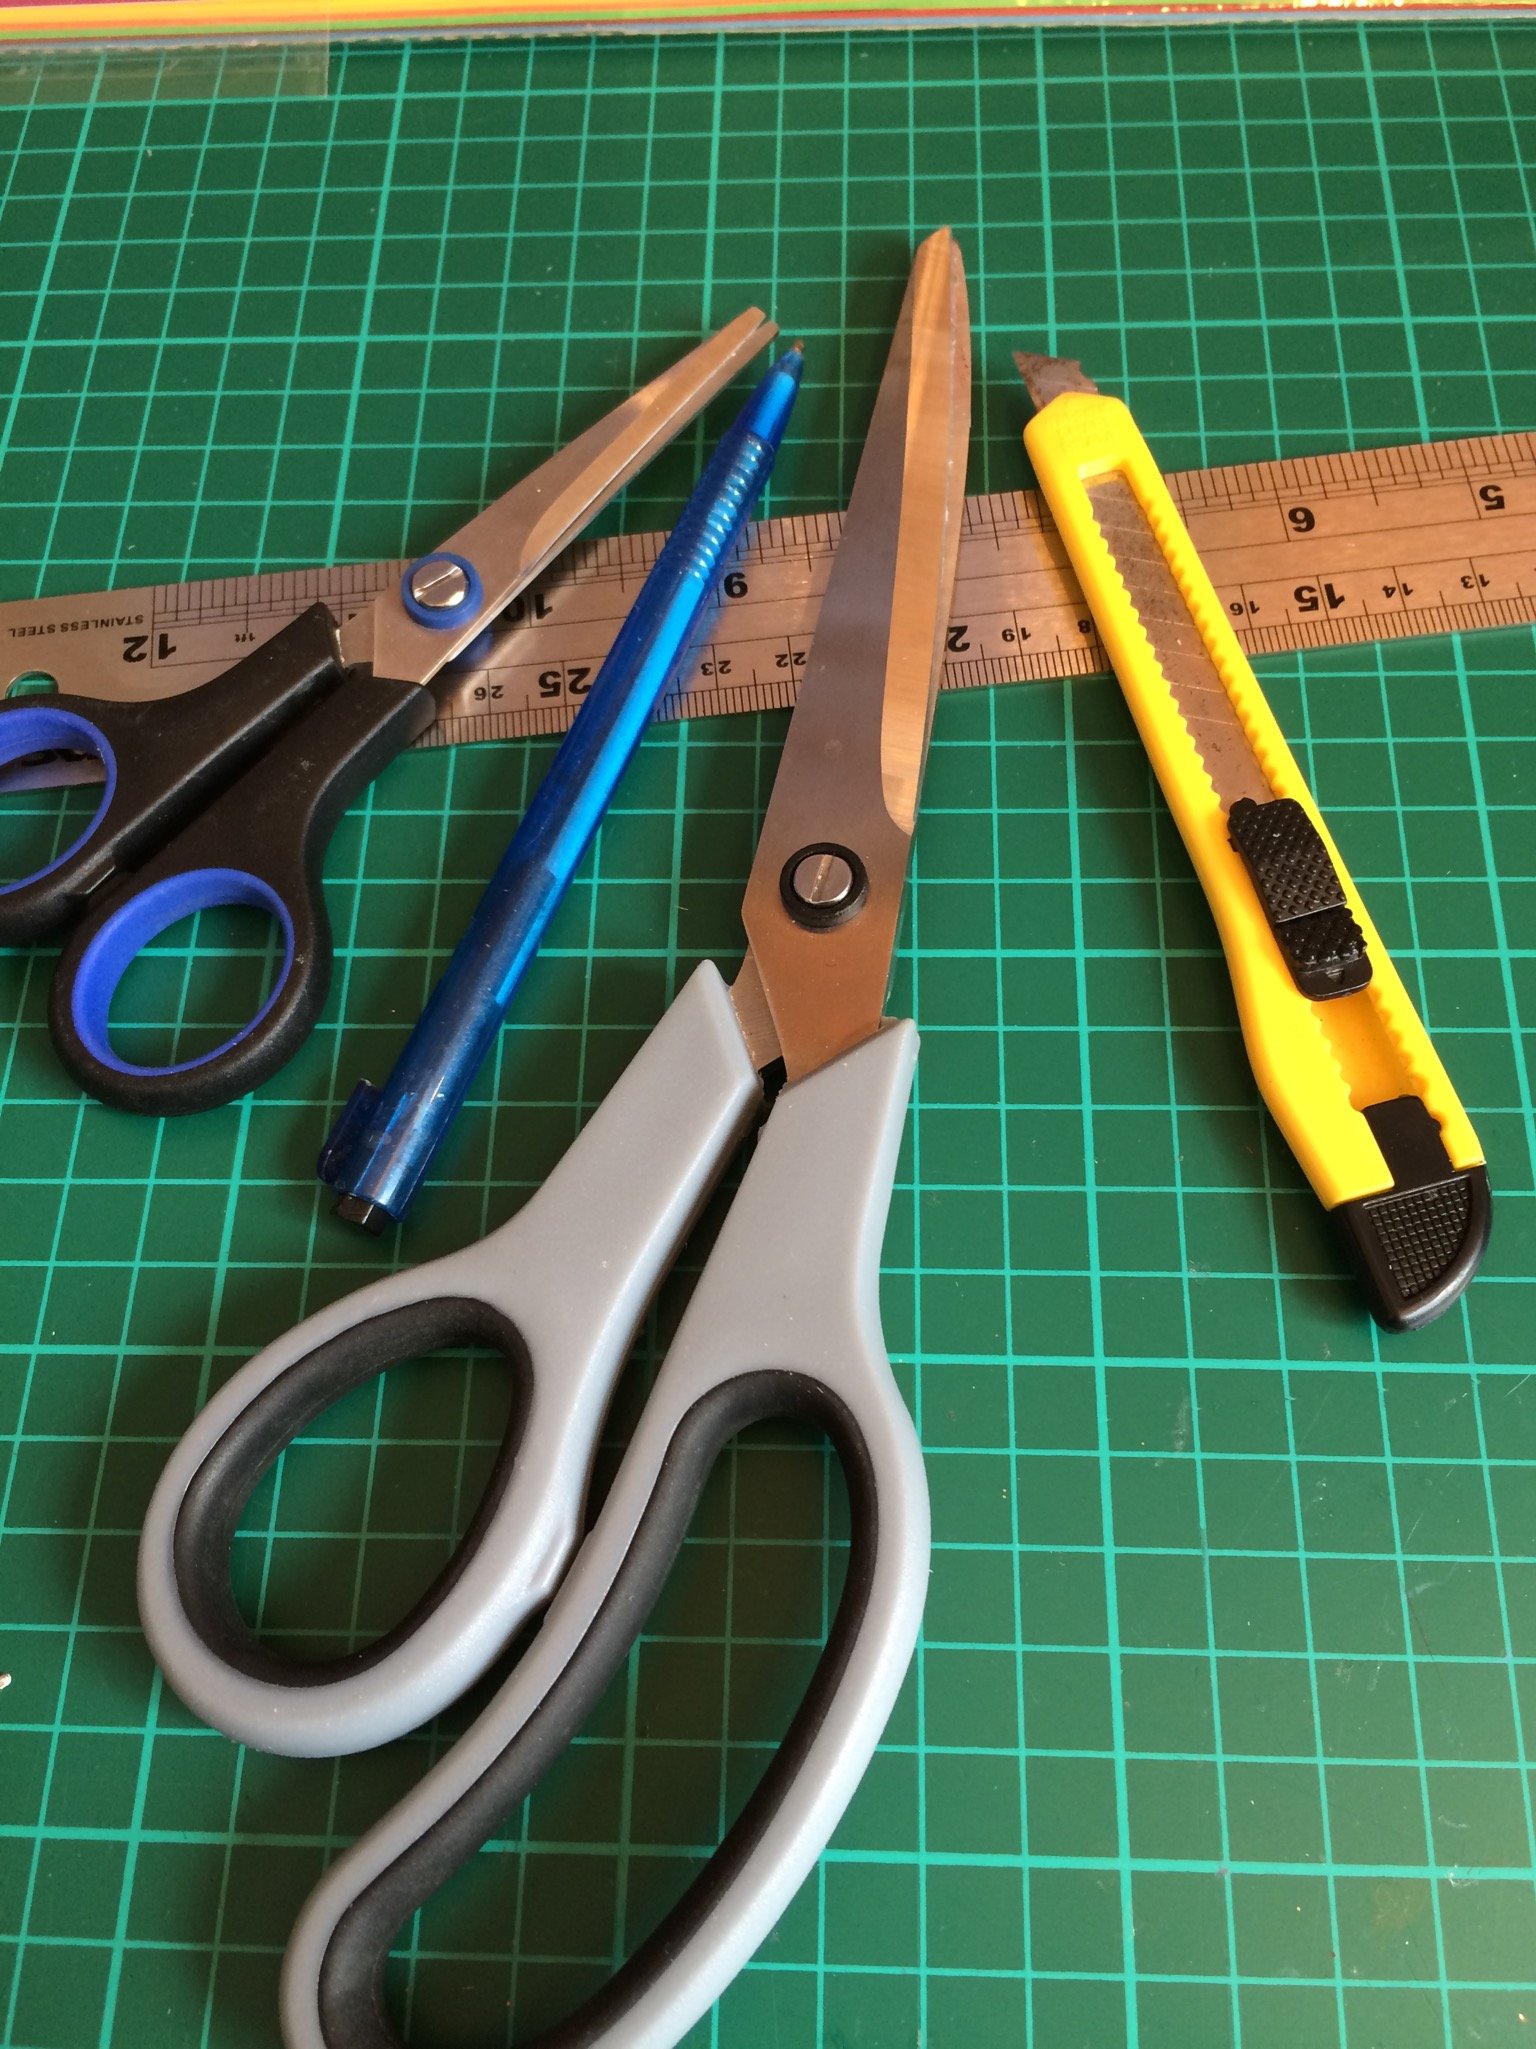
Scissors, a pen, a craft knife and, at a push perhaps, a steel rule. If you use a craft knife, please remember to use a chopping board under the card. Do NOT cut onto the dining table, you will NOT be popular!
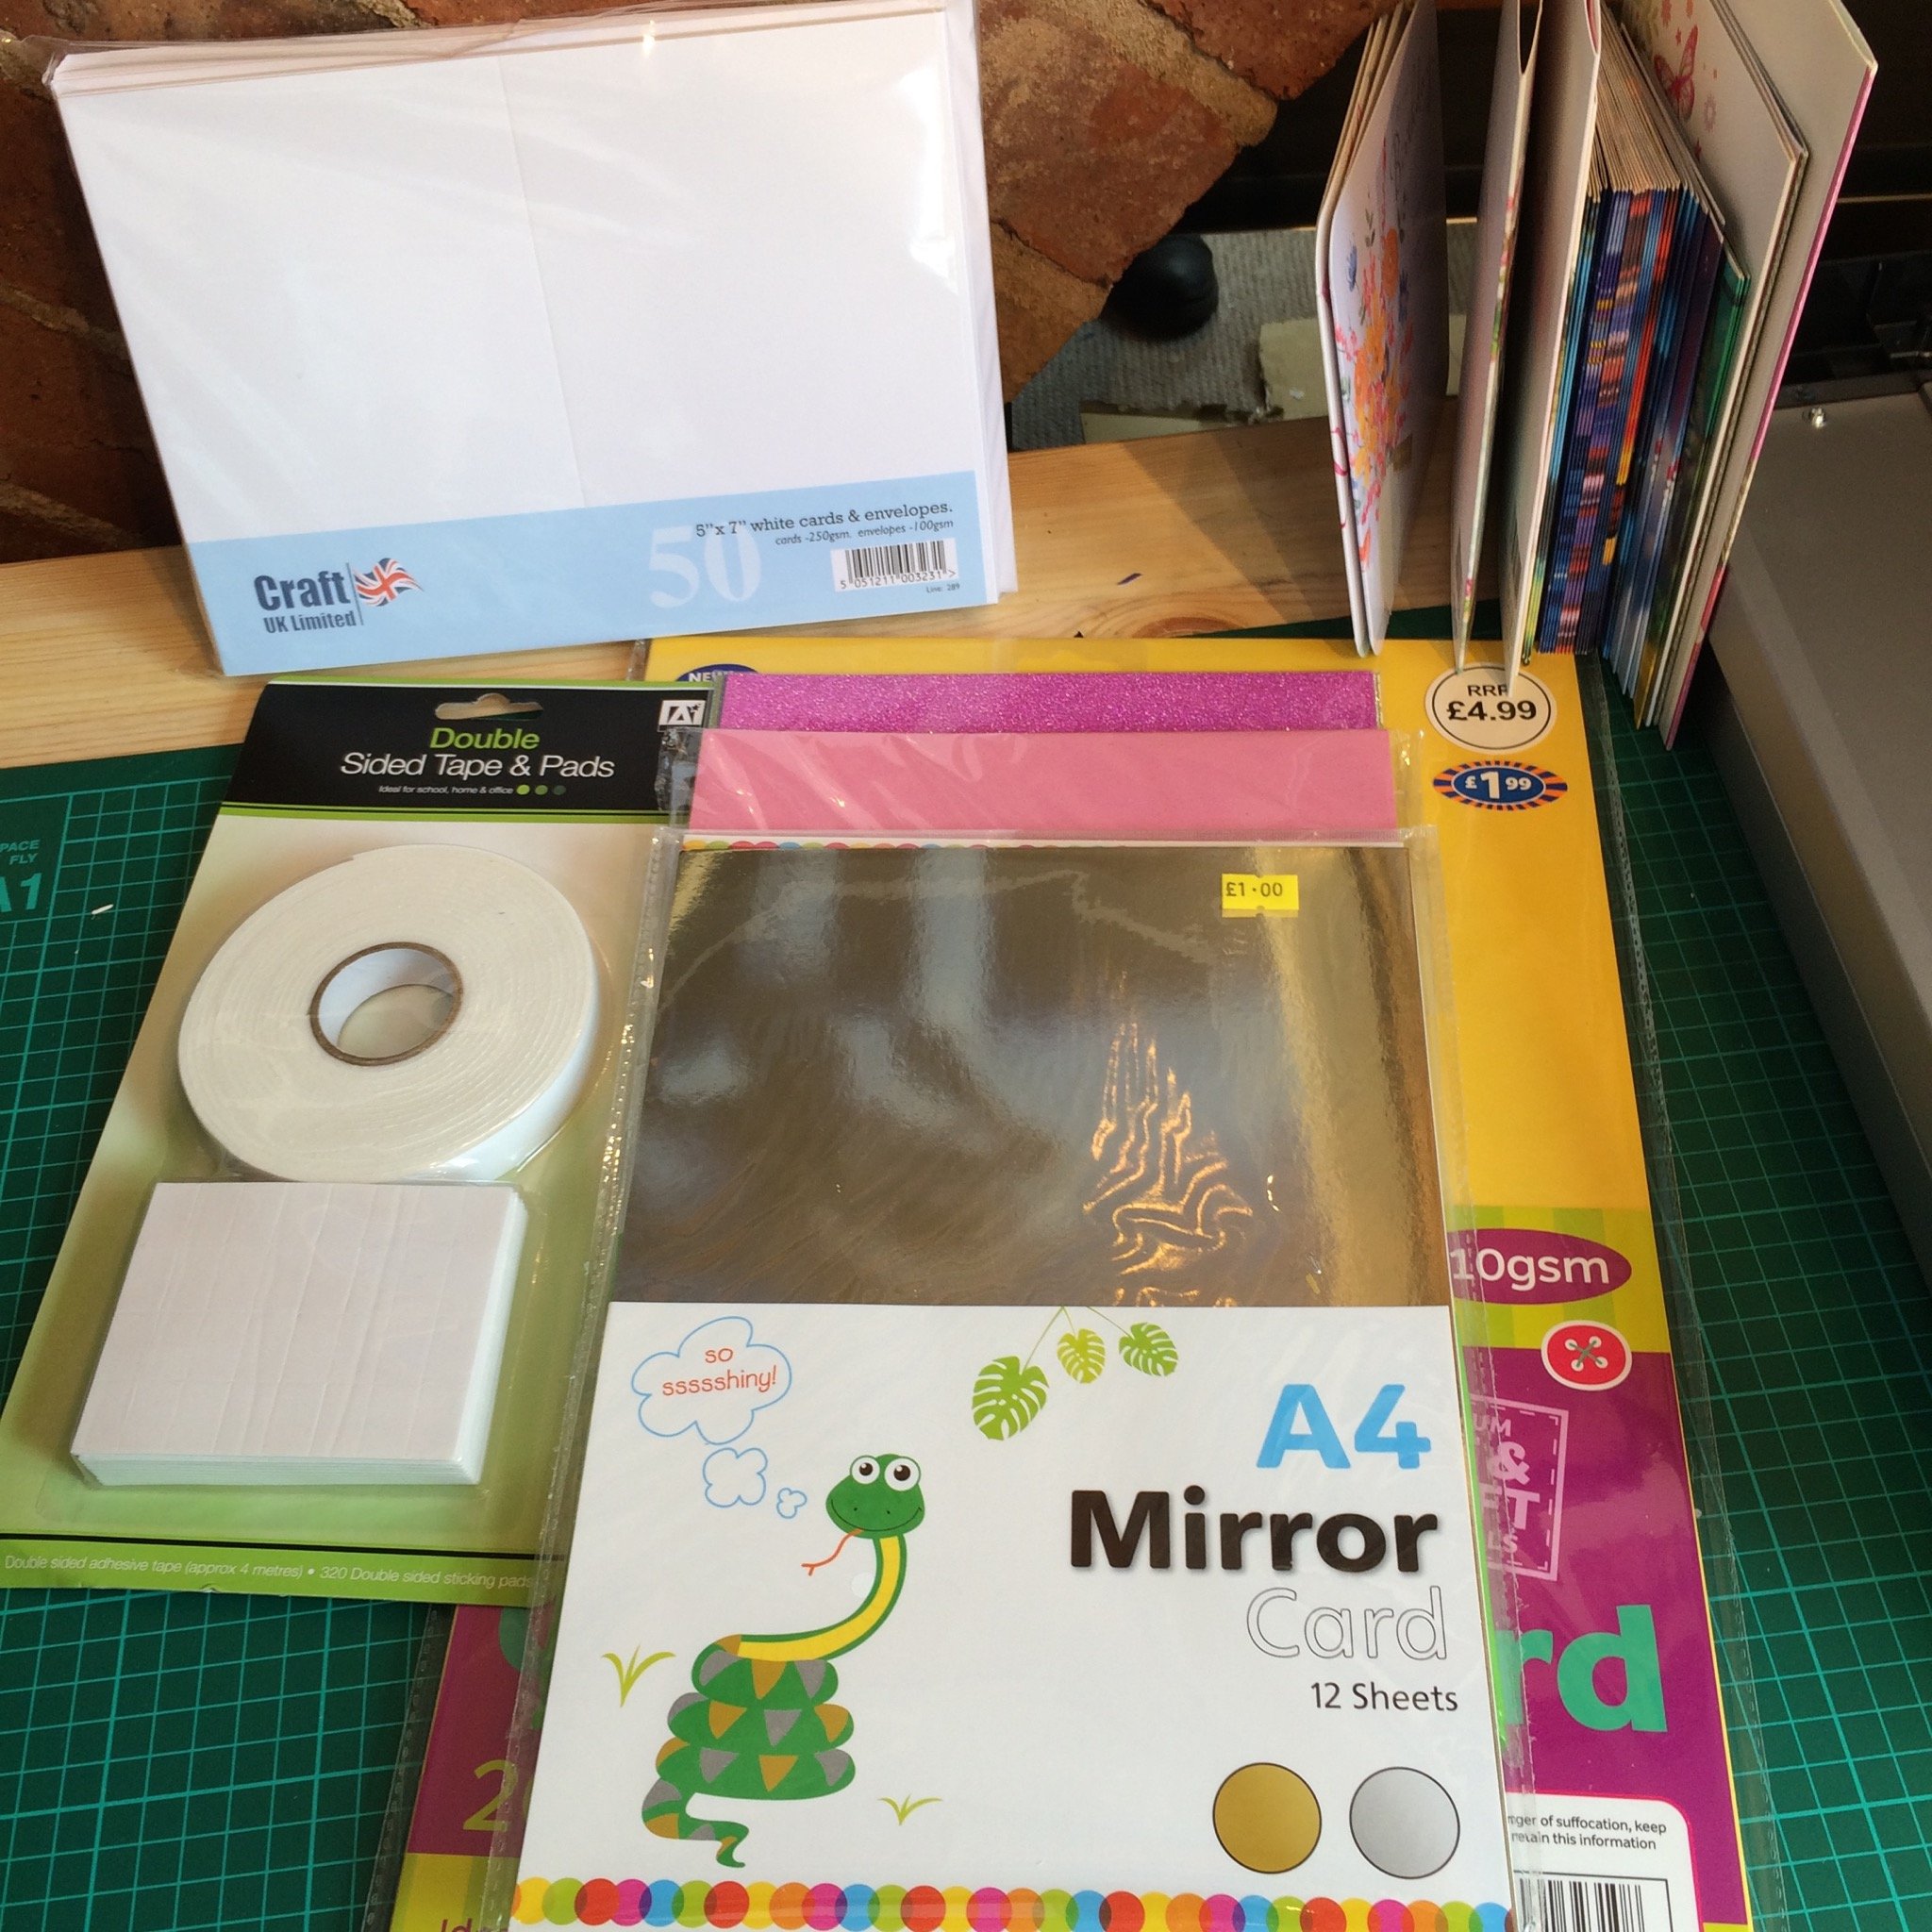
The 'kit' I'm choosing from cost less than a tenner (£10) and to be honest, most of the things I bought were from the high street and bargain stores. The mirror card was £1 for 12 sheets (6 gold, 6 silver) BARGAIN!
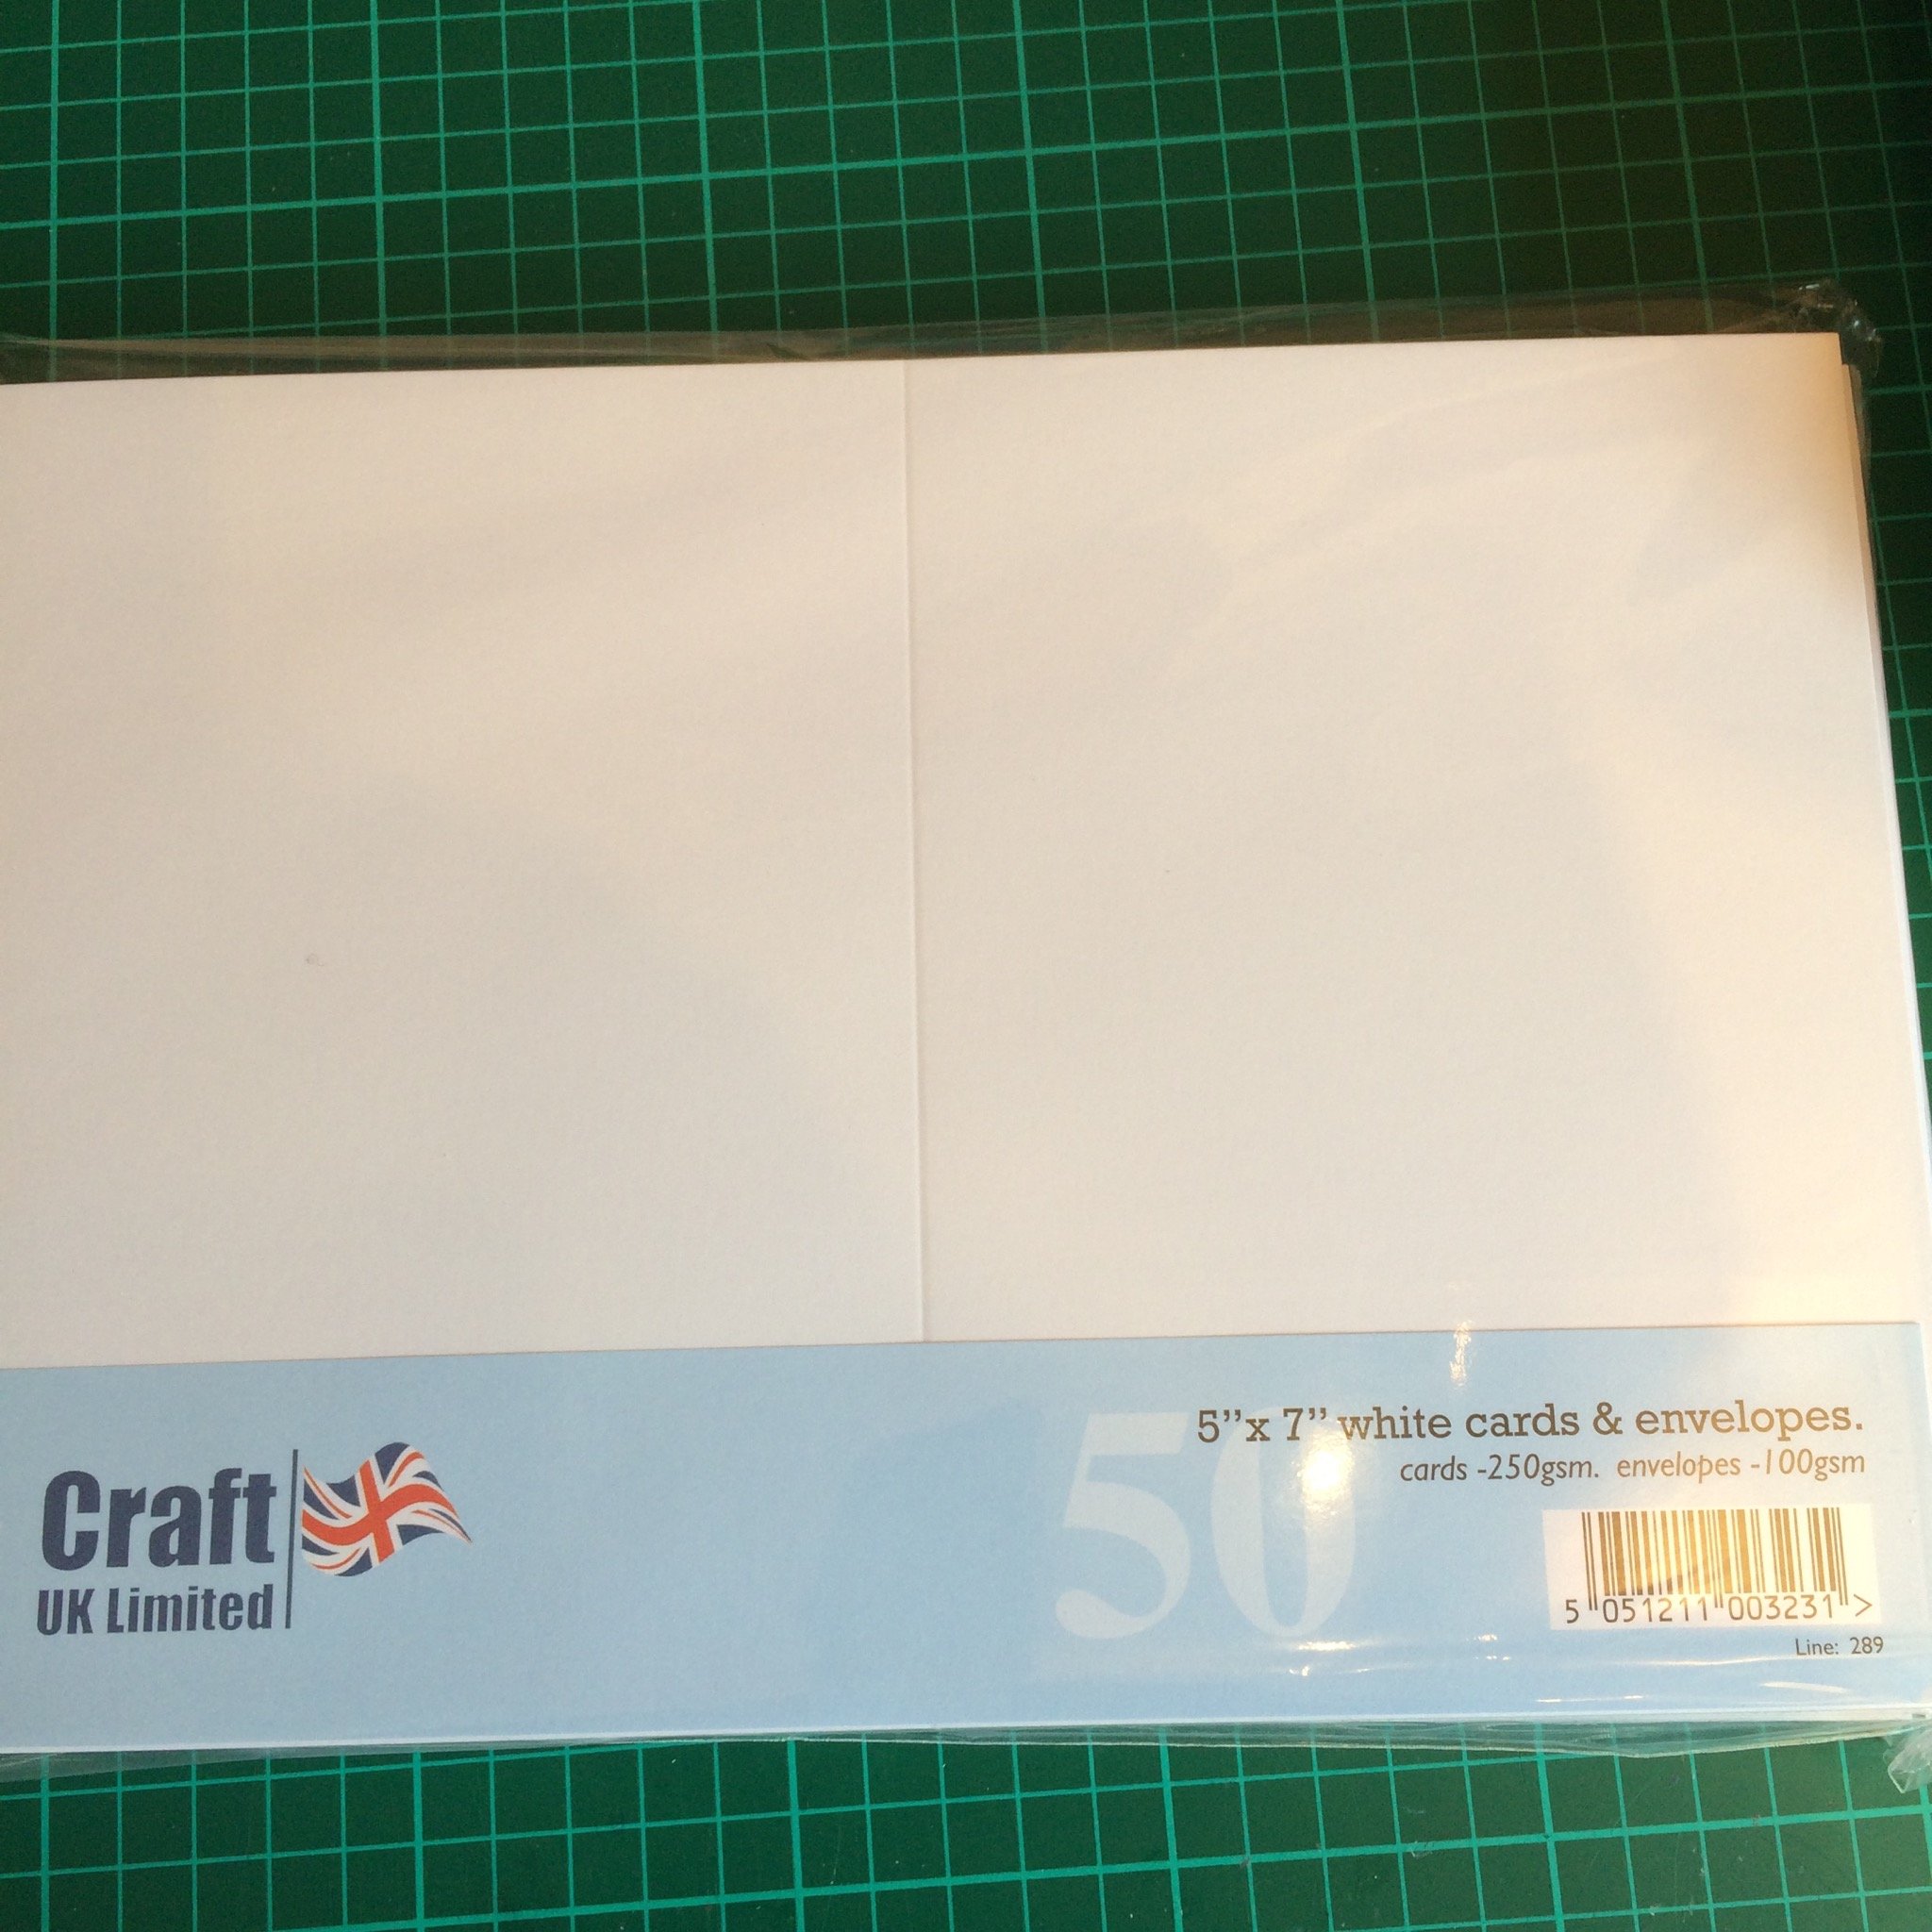
I got lucky with the card blanks - £2.50 for 50 - half-price deal so I bought loads (it just means most of the cards I make will be the same size).
The rest, card stock, paper, etc have prices on so you can see I'm not making it up as I go along (I usually do). The double-sided foam tape was £1 from another bargain store.
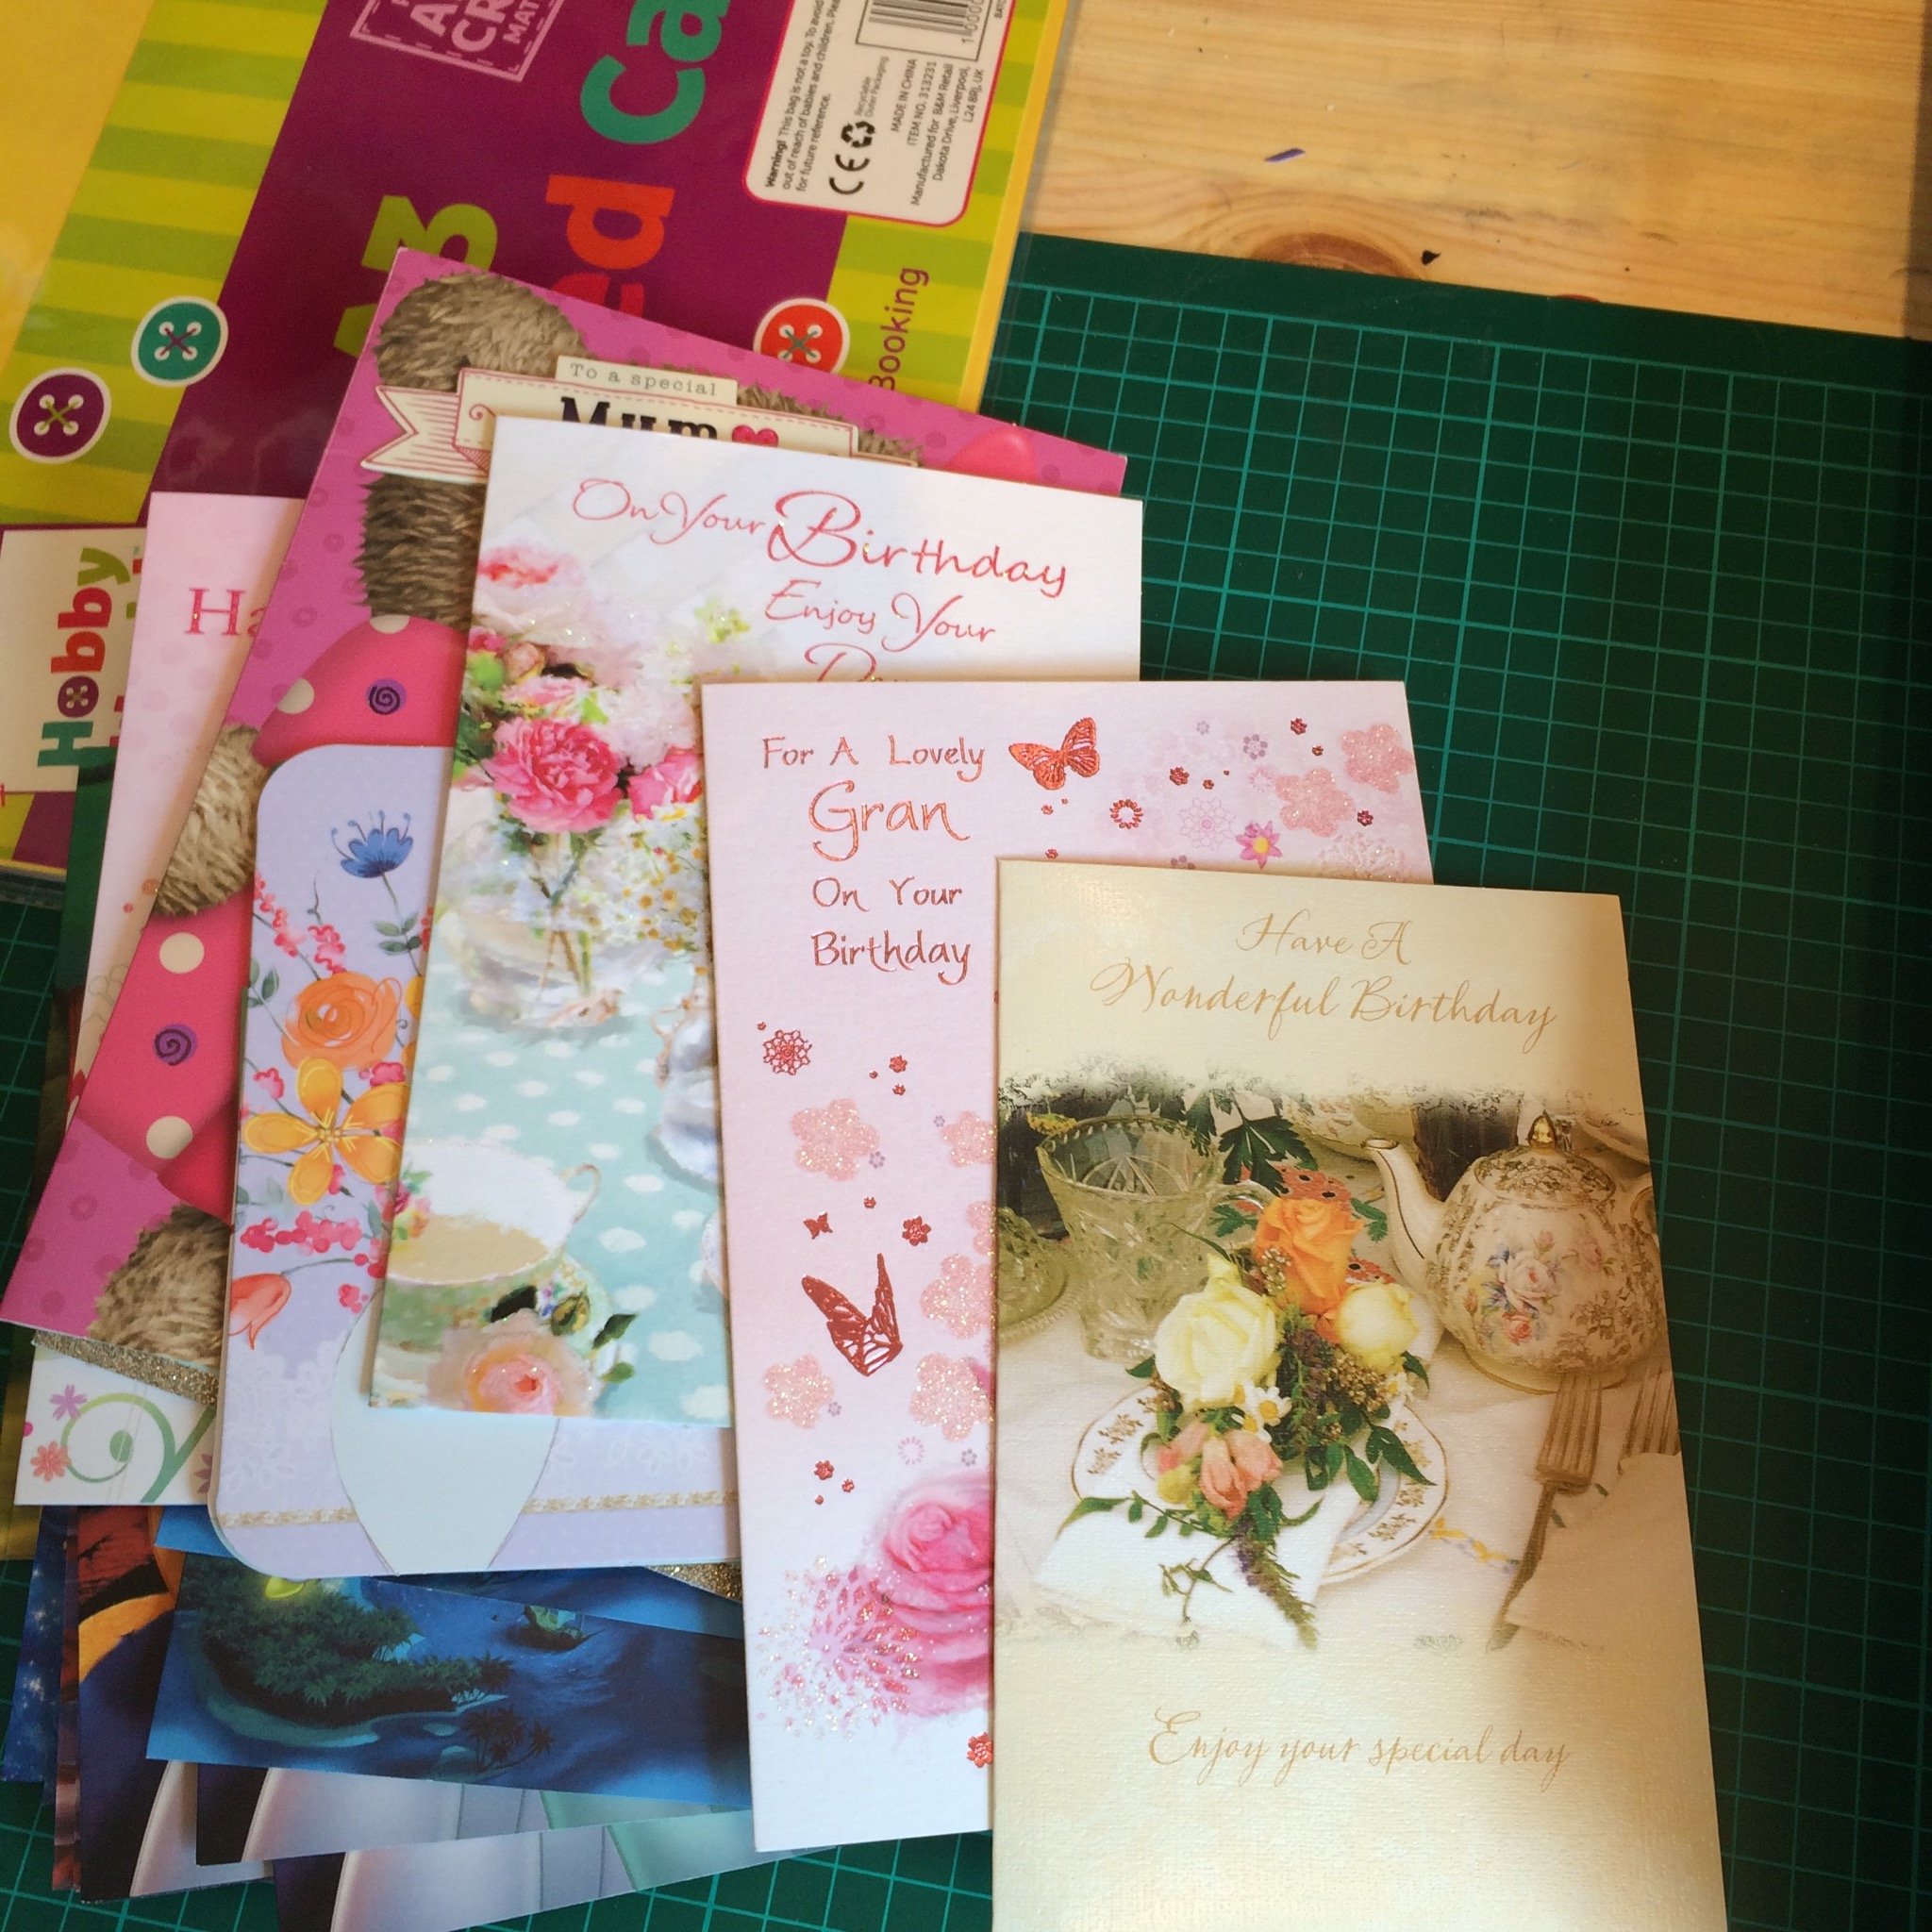
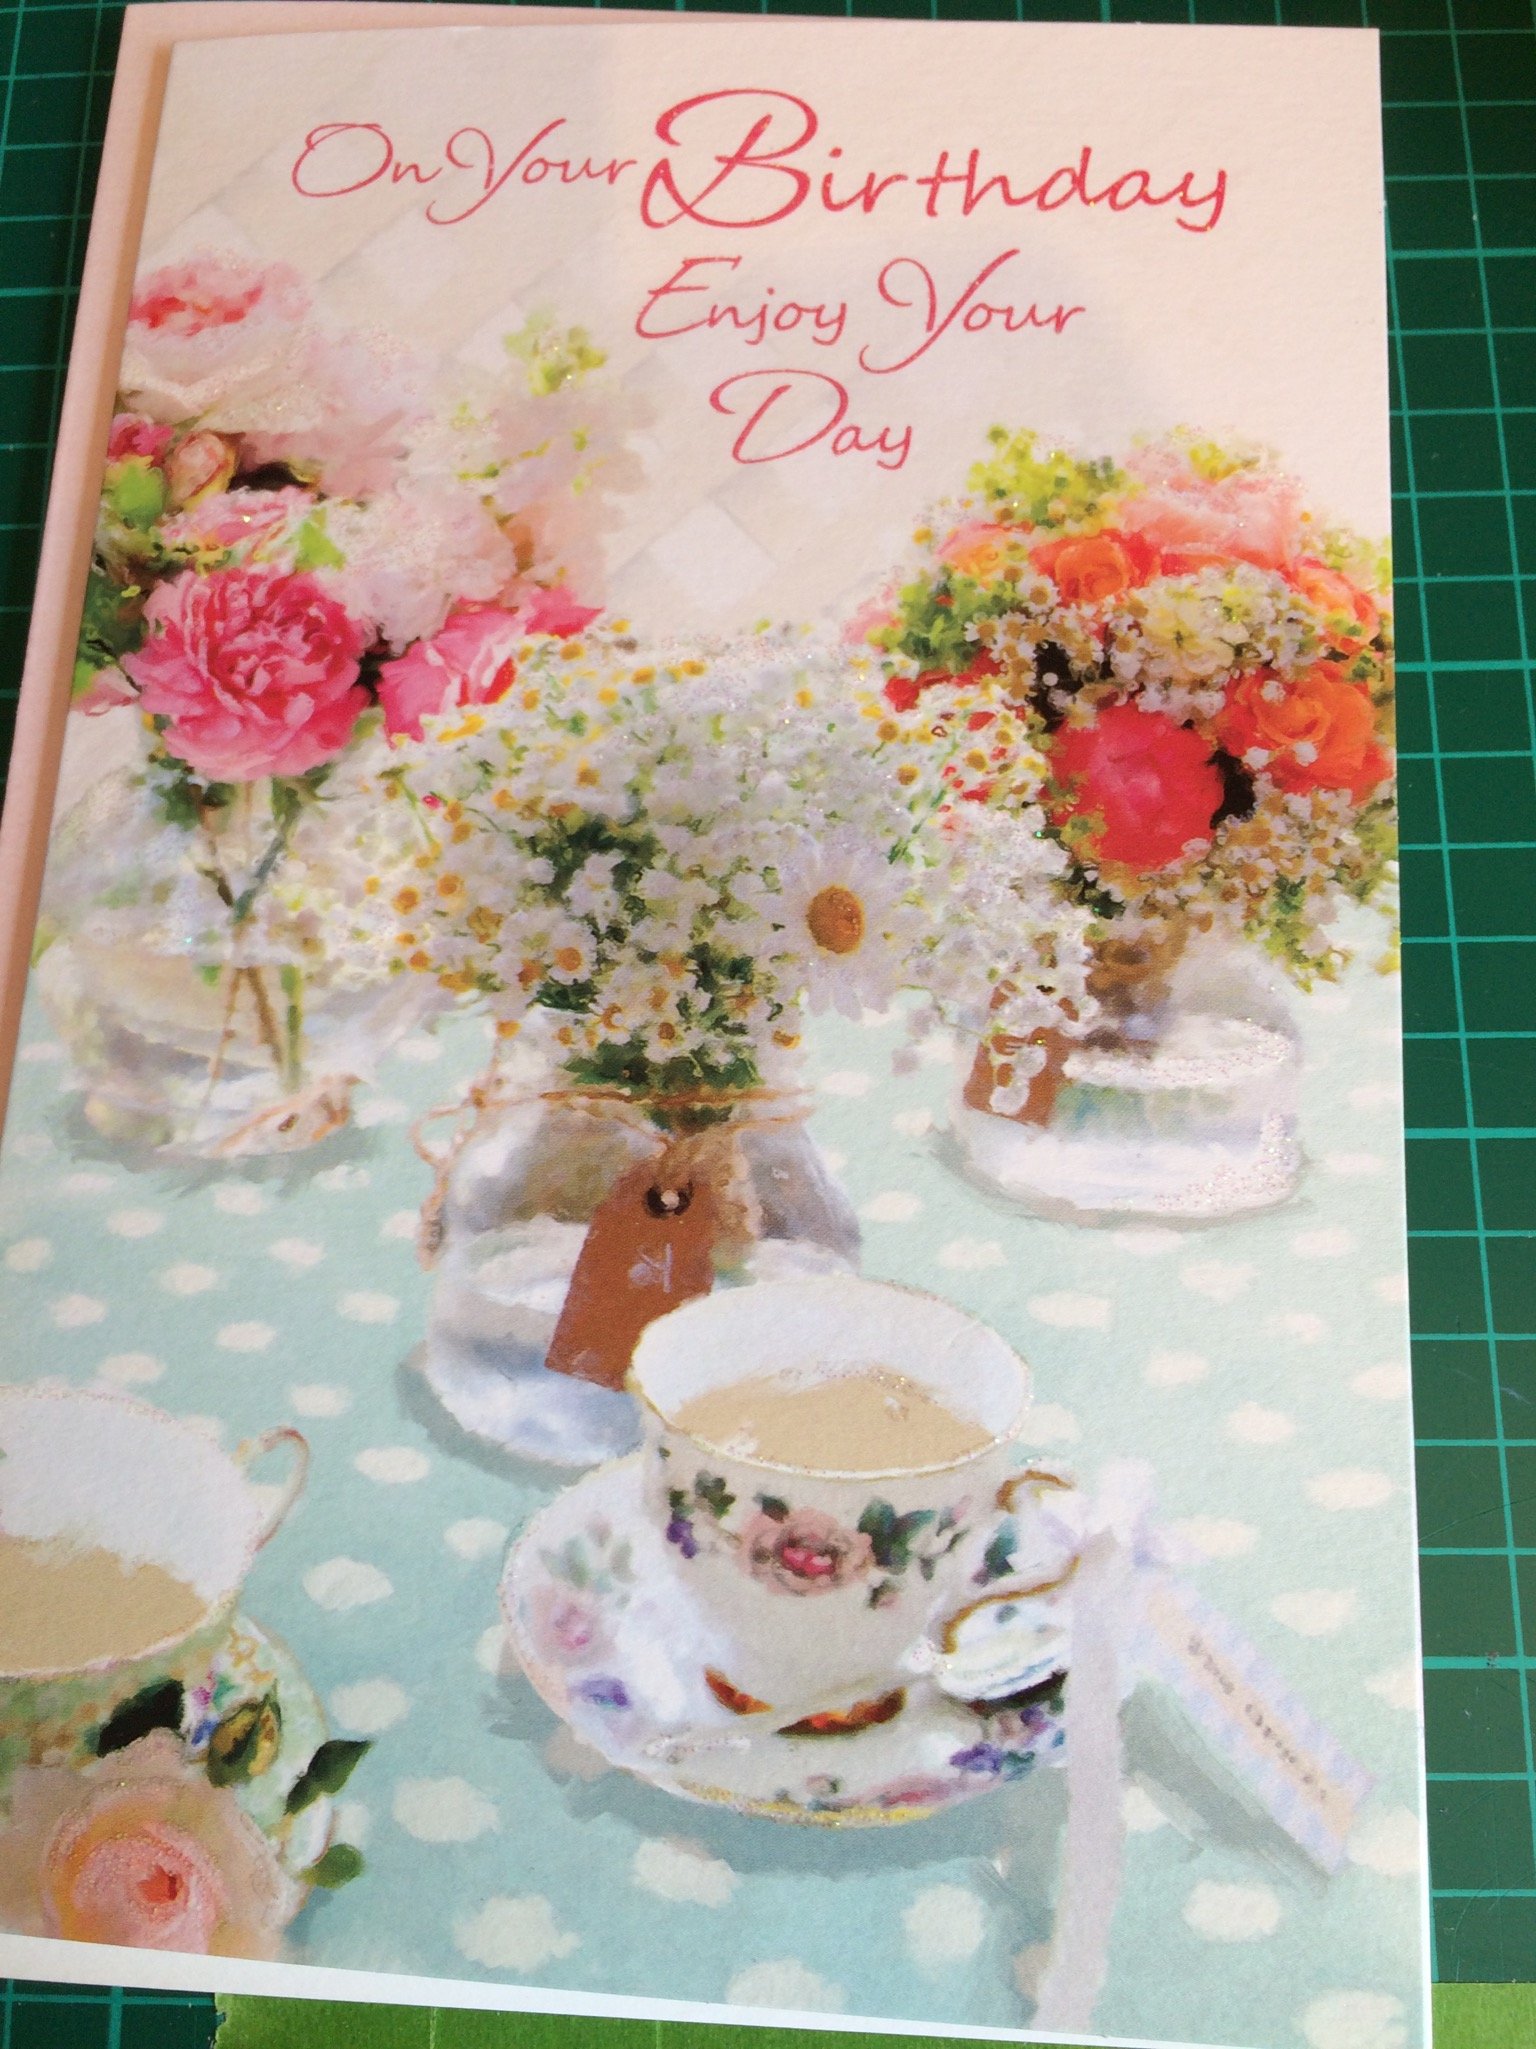
The 'toppers' were free. Ask your mum, gran, sister, aunt or even check your cupboards for birthday cards you've received.
Every one of these were sent either to me or friends/family. I try to save them all, you never know when they'll come in handy :)
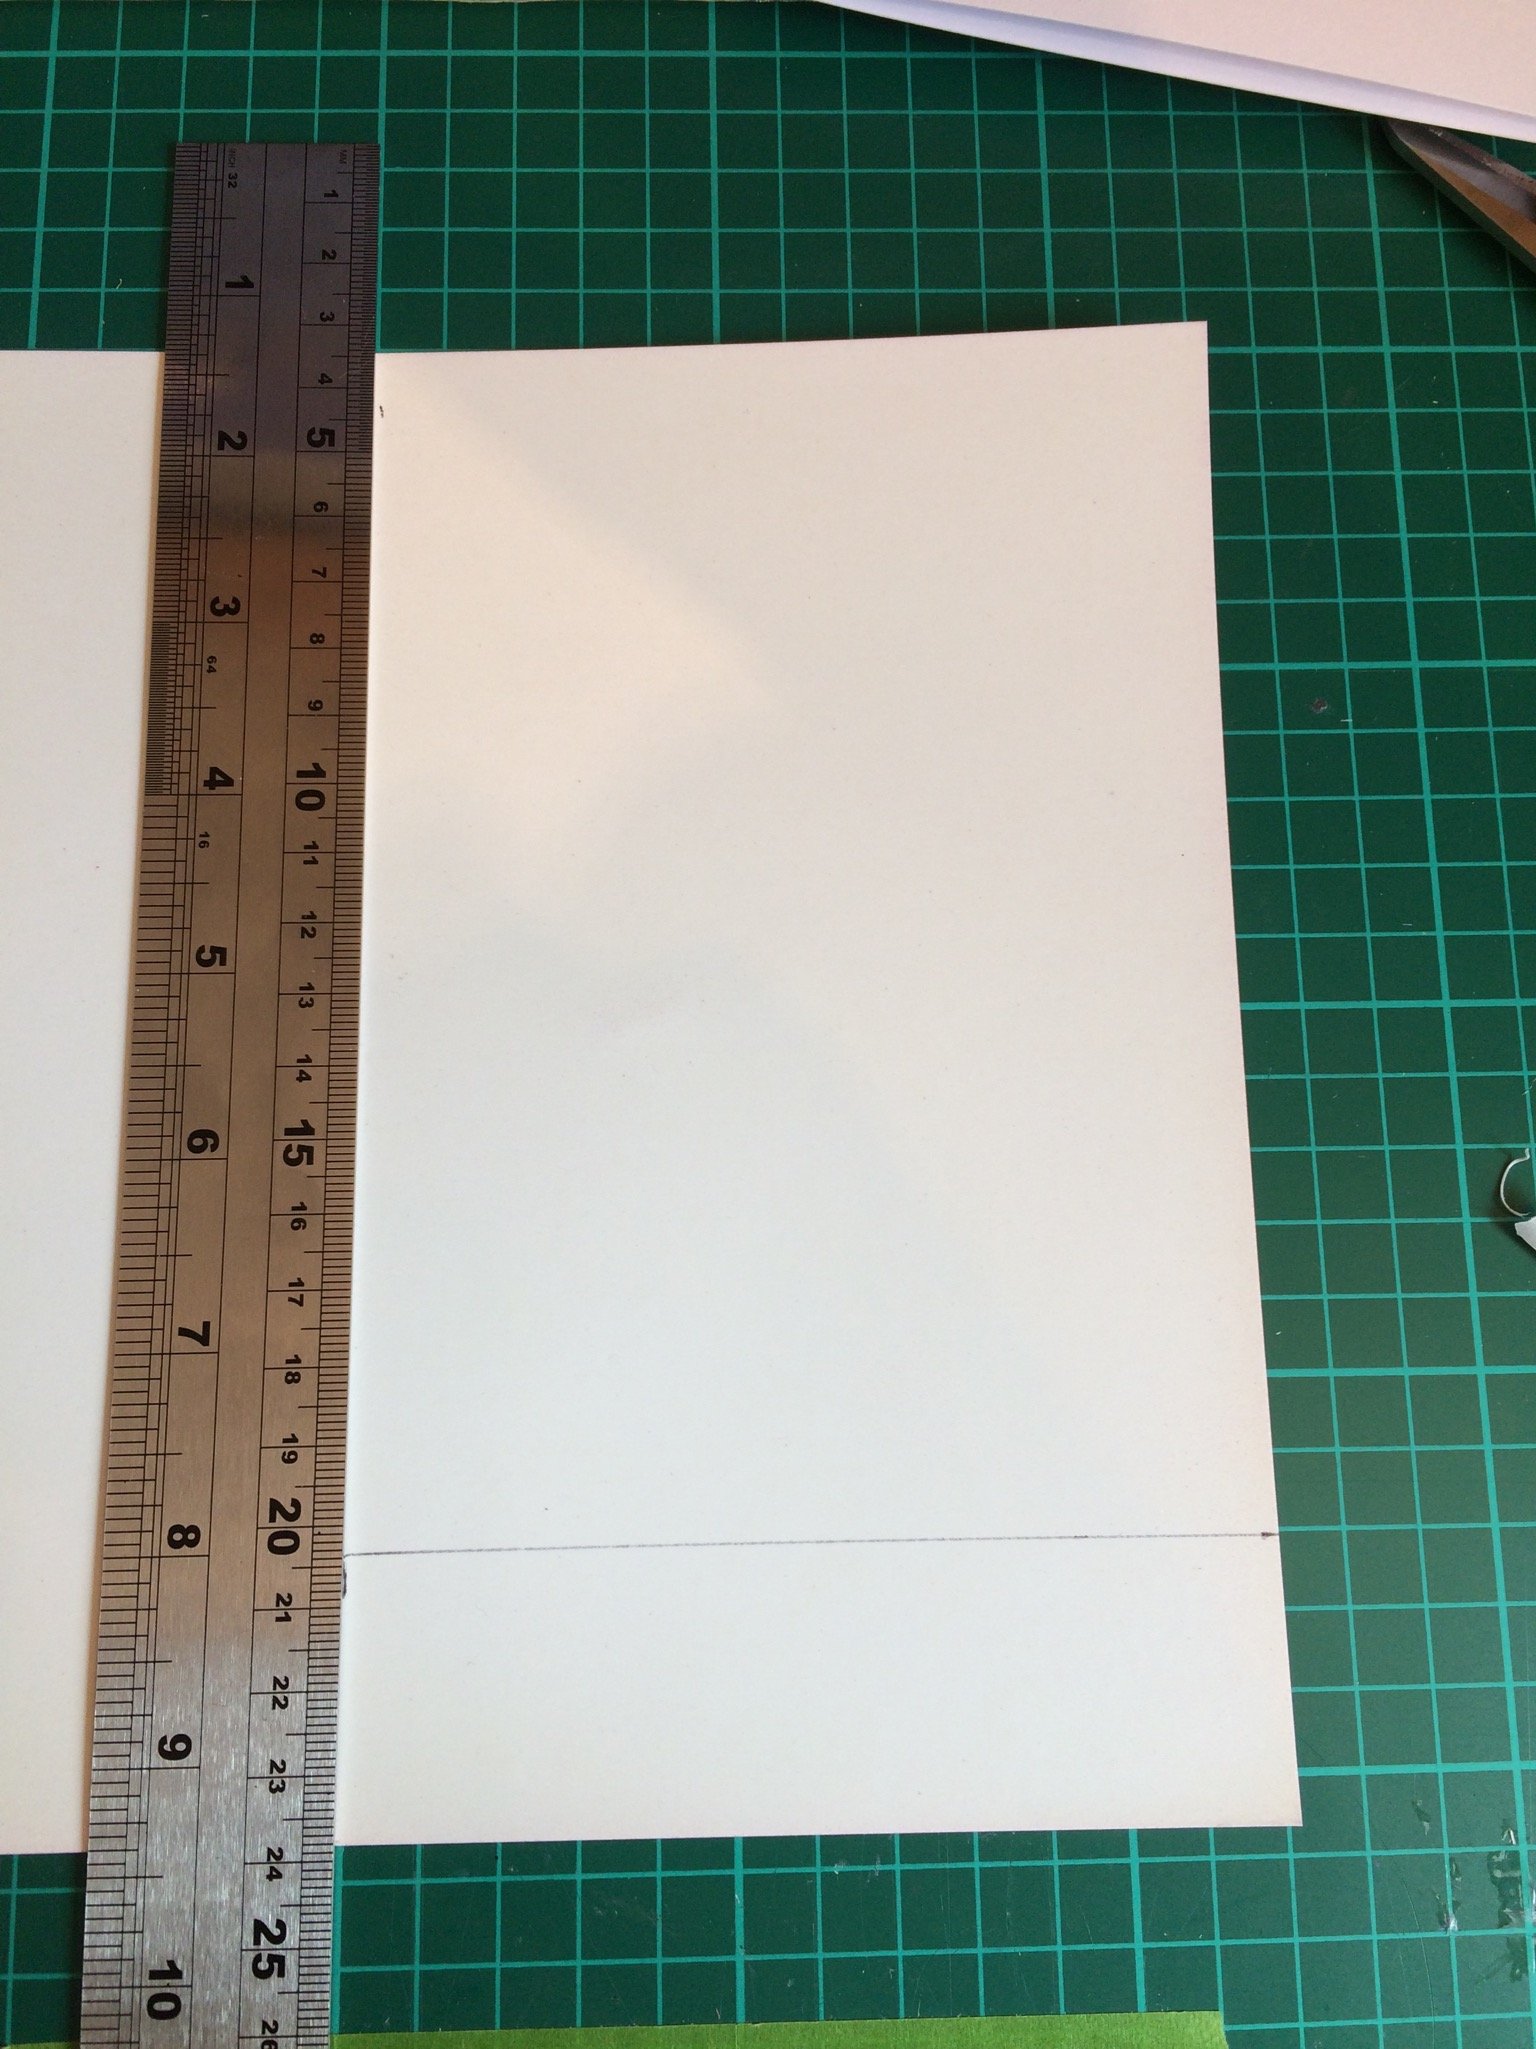
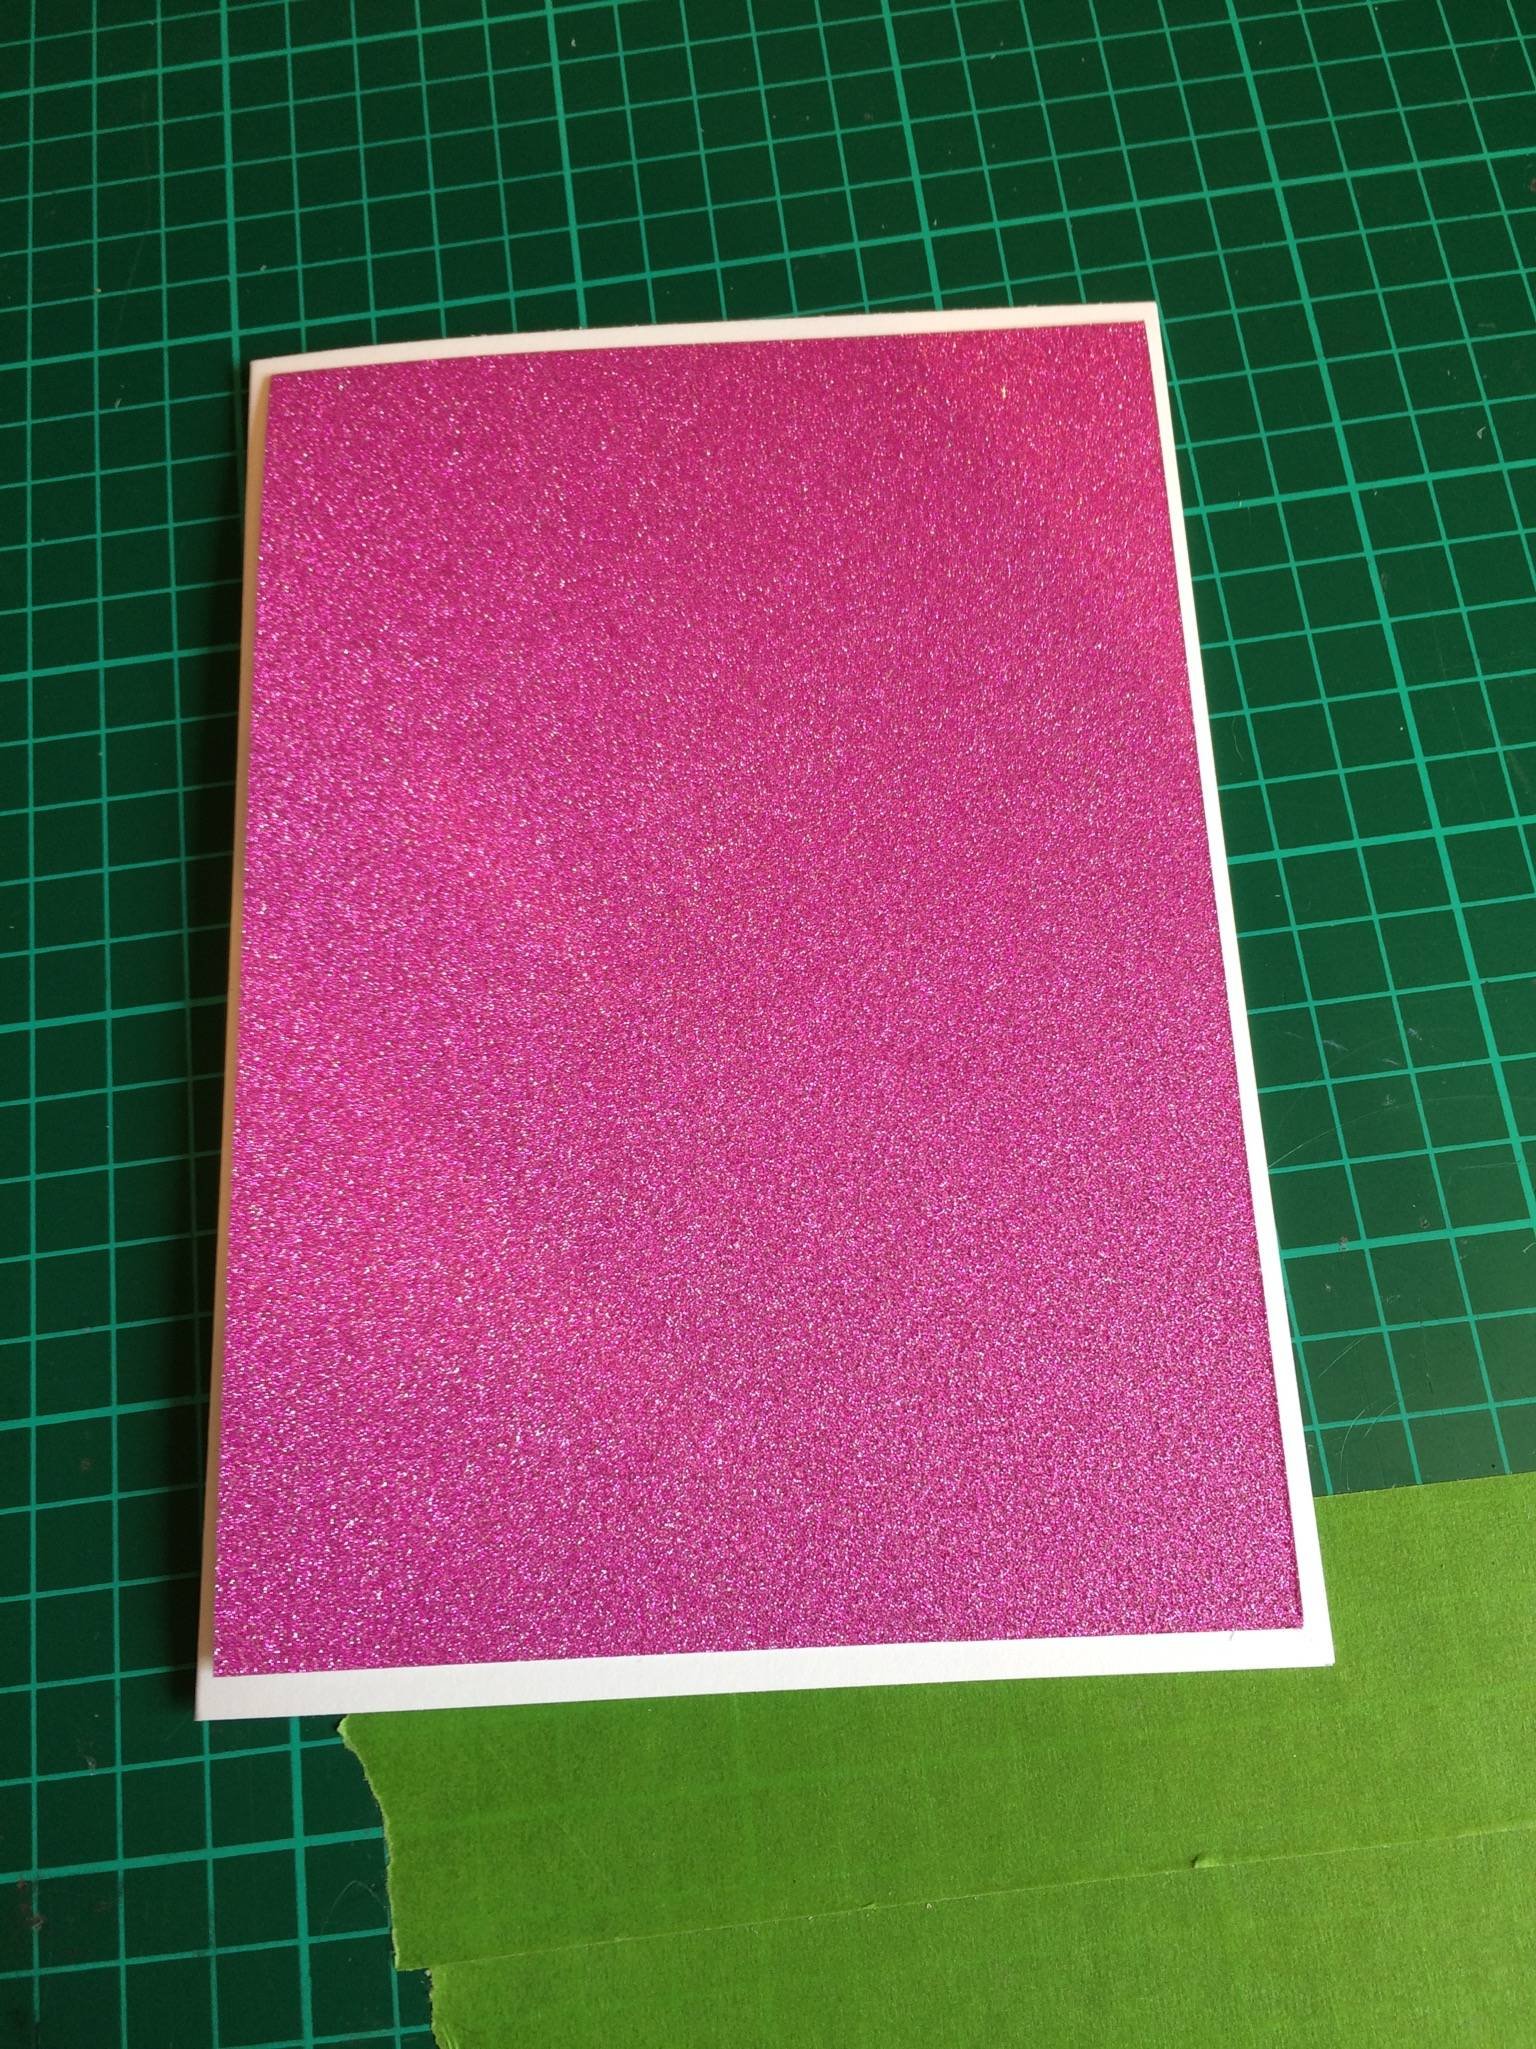
I chose the card I wanted as the background for the topper and measured it against the card blank.
Then I cut it using the craft knife and steel rule.
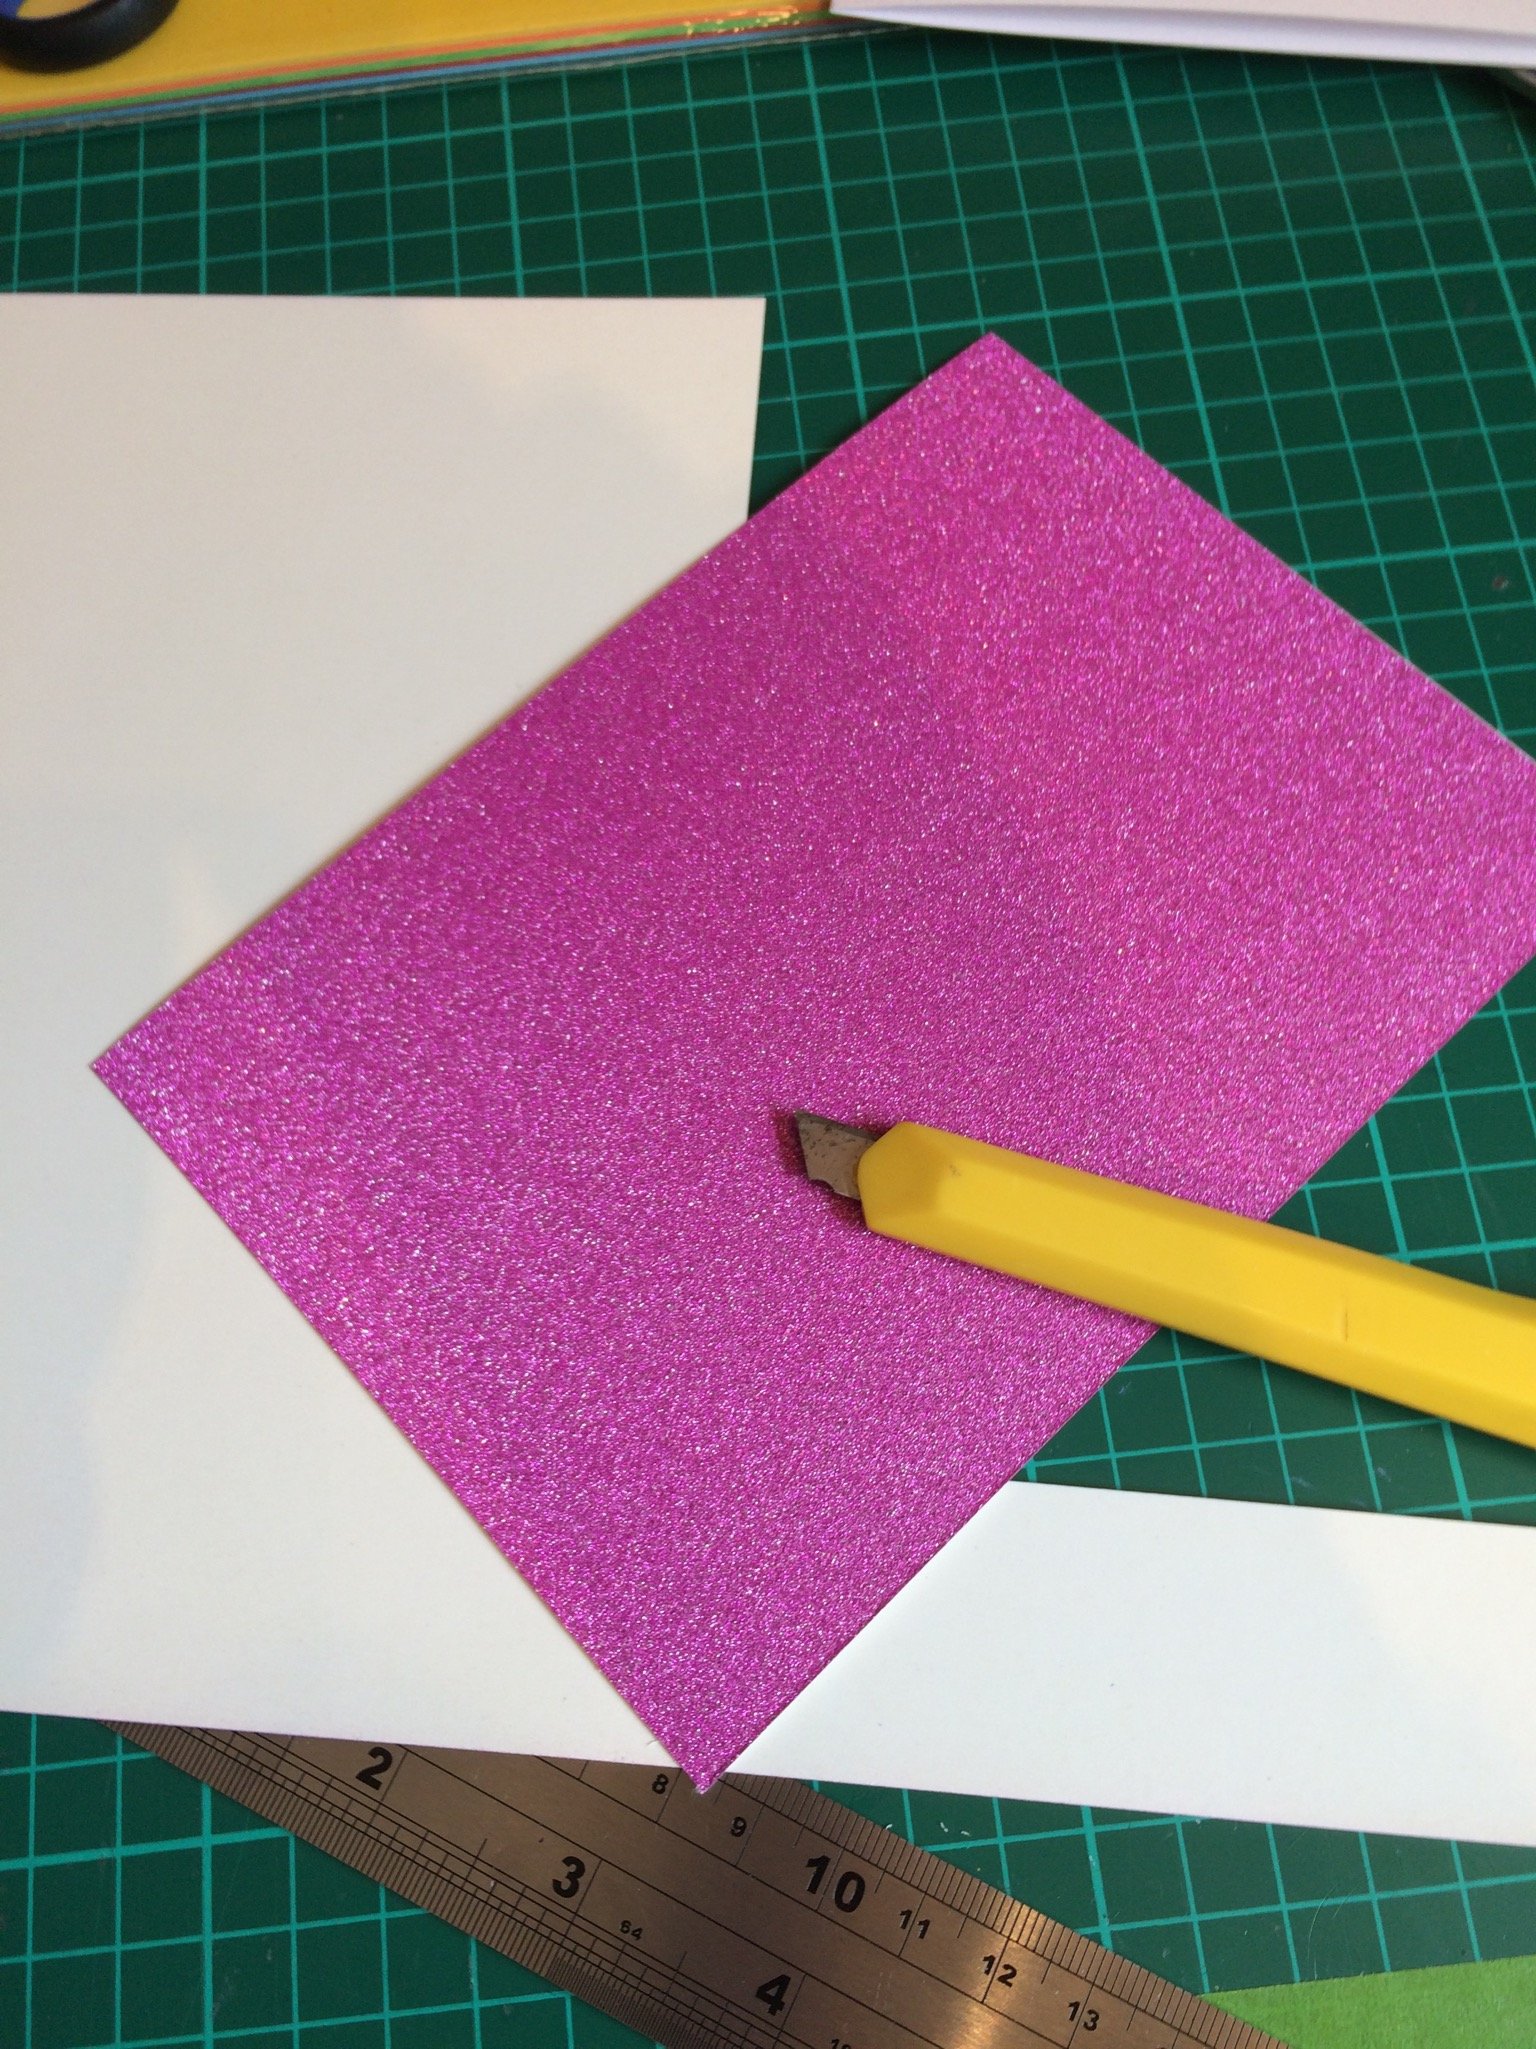
I then found a card that I wanted to make the toppers from and started cutting.
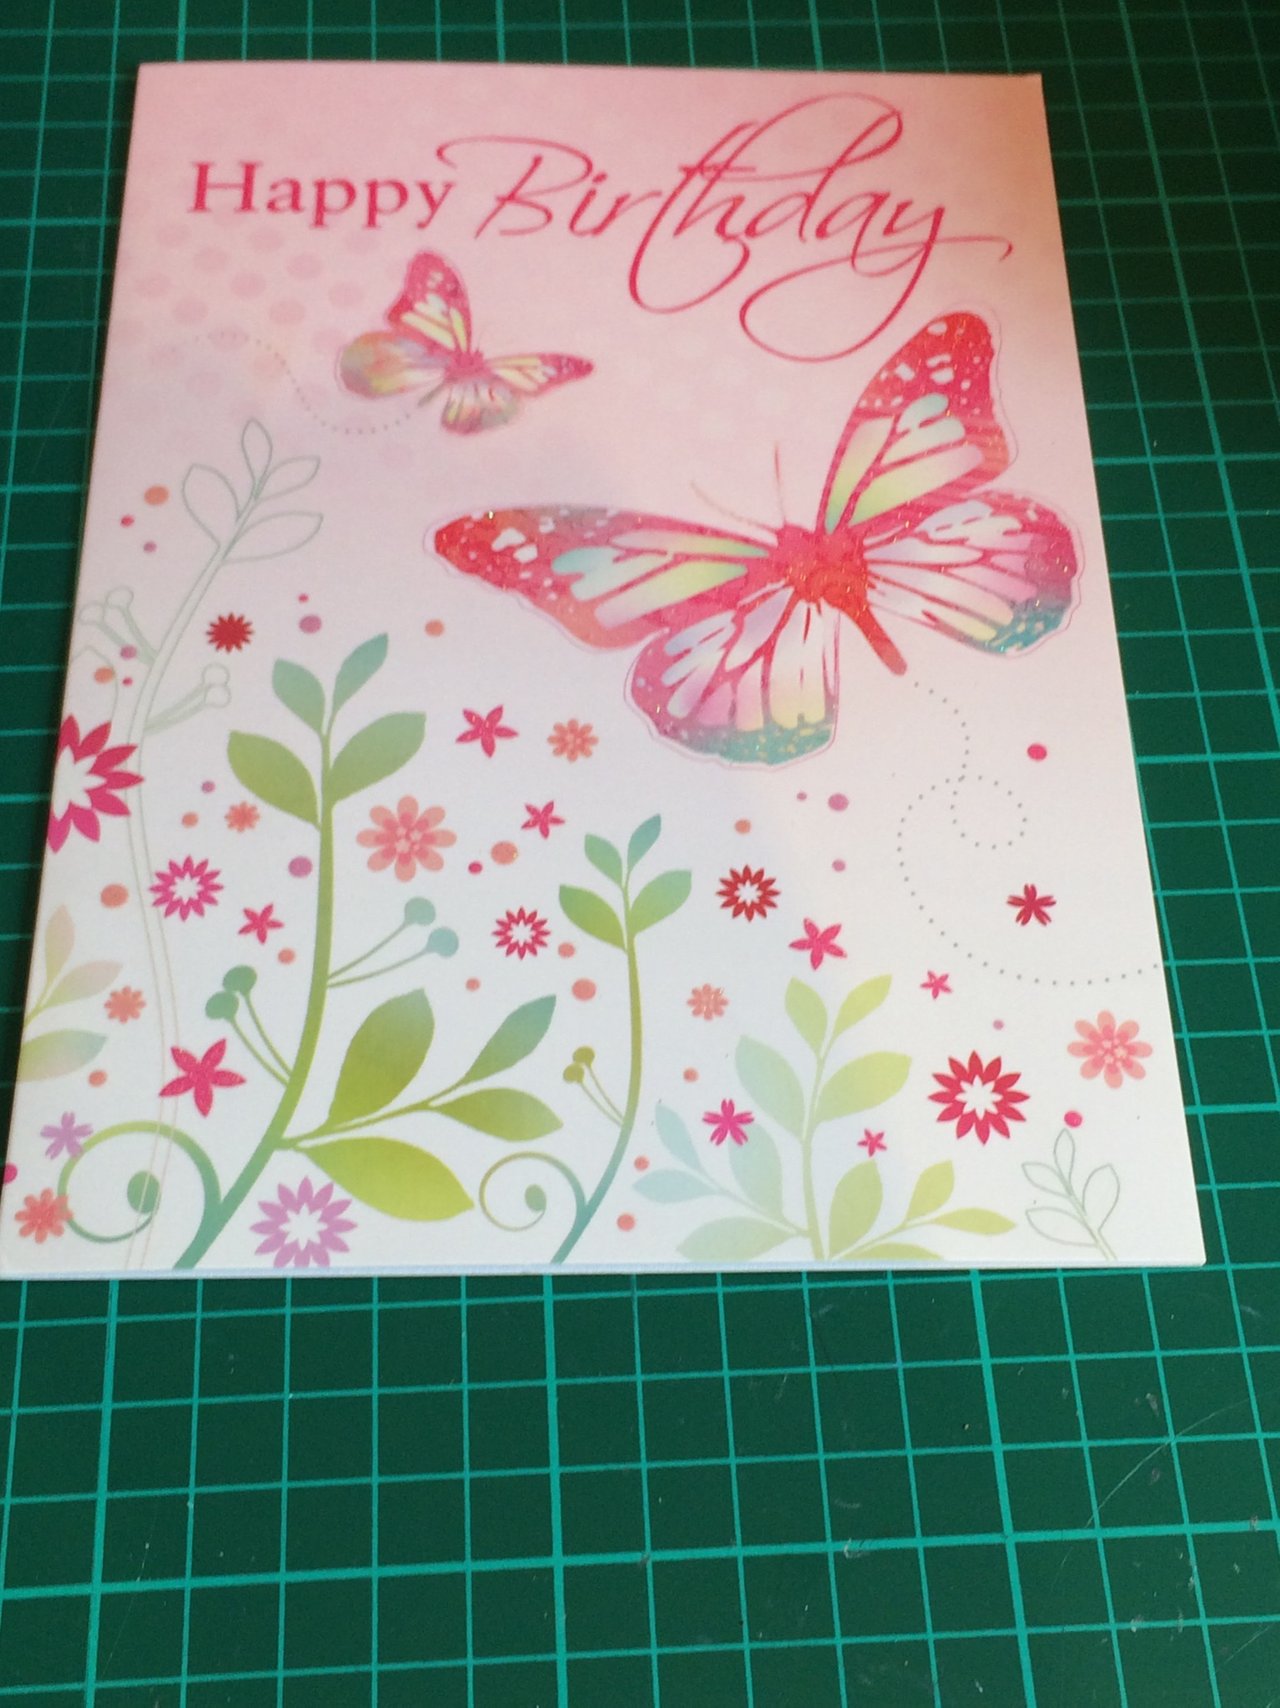
I decided the birthday sentiment wasn't quite right, so took the scissors to another card.
Double-sided foam stickers on the back of the background card - here's a tip:
Put stickers in the middle to give a bit of stability but you don't need to take the back off those few.

Stuck!
I have quite a good 'eye' for borders, but don't hesitate to use a ruler if you want a perfect and uniform edge around the card.
When you have the toppers cut out, place them on the card without sticking them down. That way you can change your mind.
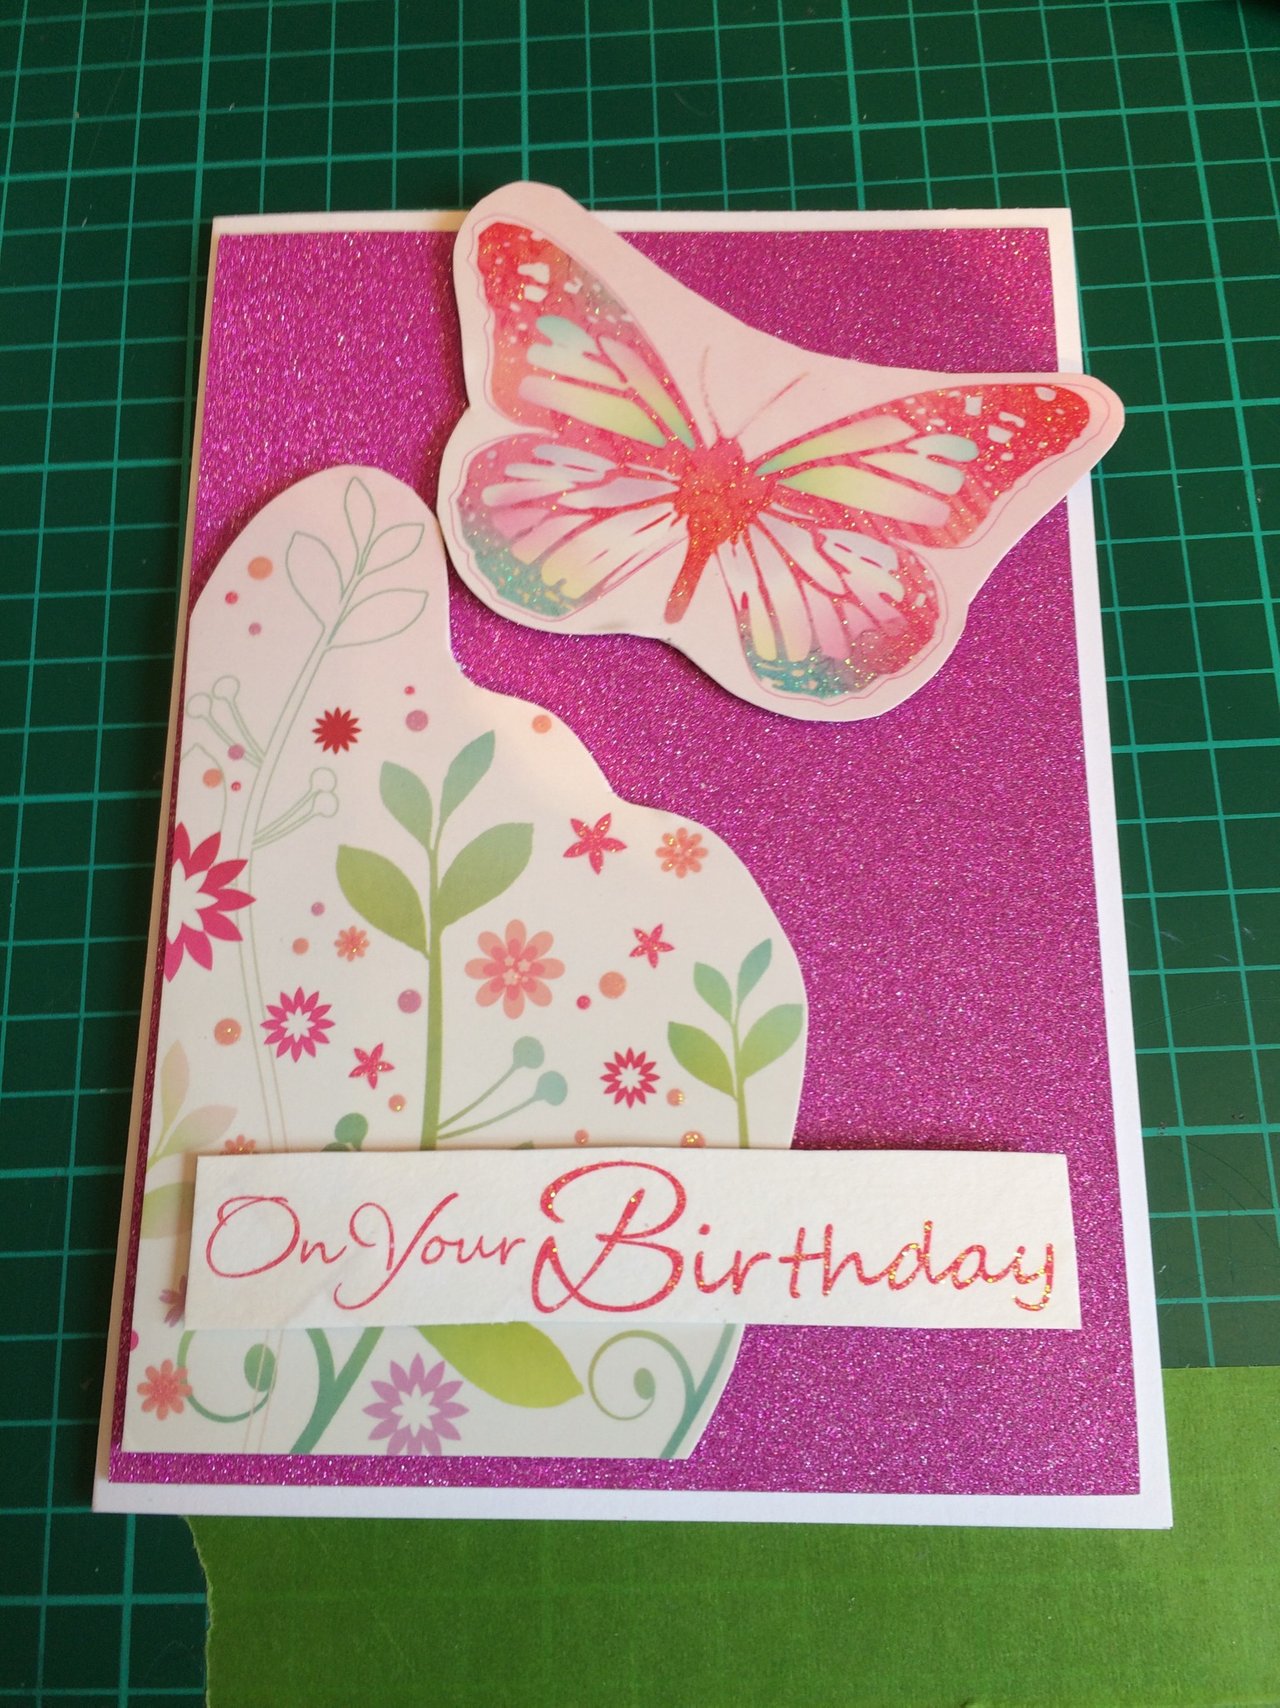
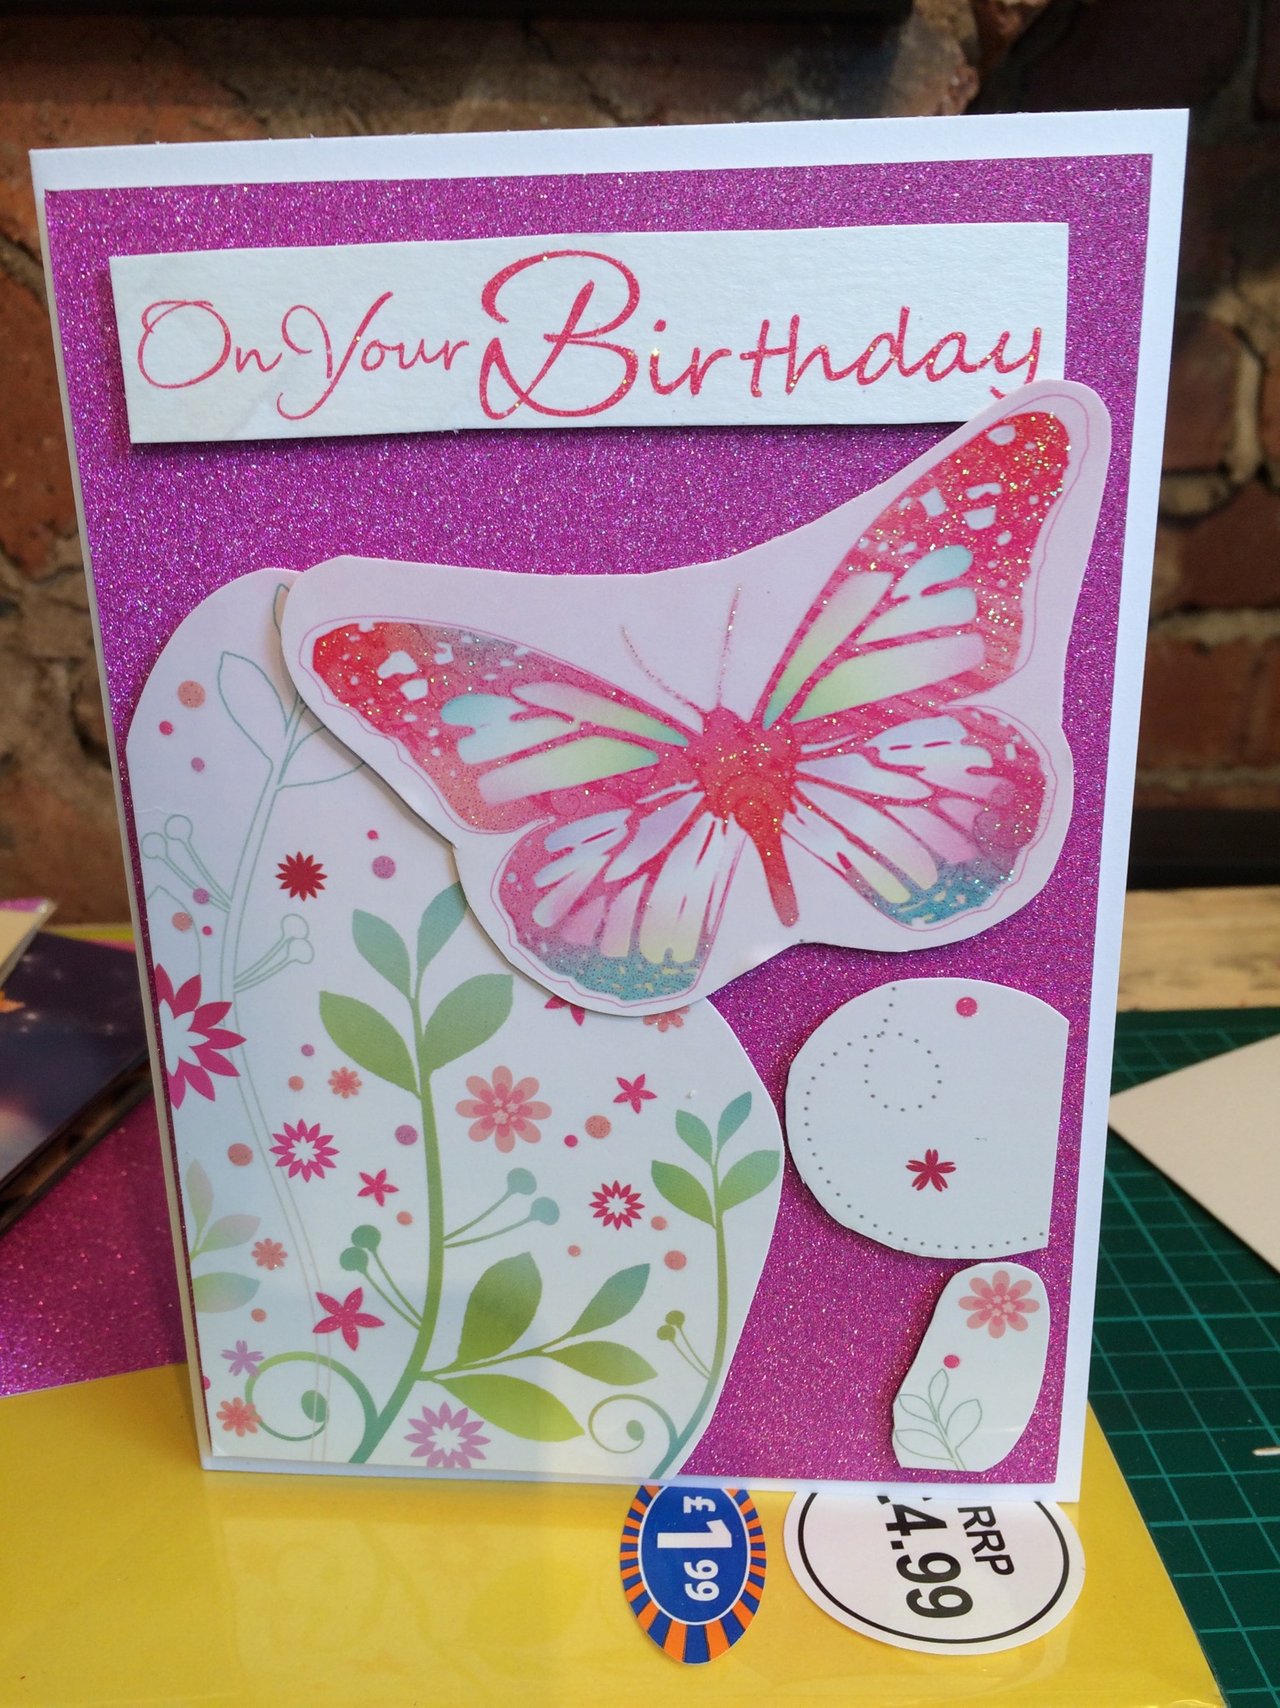
The finished article. Now... all I need is someone with a birthday...
Costings:
As I said, the total was less than £10 but breaking it down,
I used:
card blanks (£2.50 for 50)
Glitter card (£2 for 10 sheets)
Scavenged cards
Double-sided foam tape (£1 for 1 roll and 10 sheets of squares)
card blank & envelope - £0.5
half a sheet of glitter card - £0.10
half a sheet of foam squares - £0.2.5
The card cost 17 and a half pence to make.
I know anyone receiving a handmade card thinks more highly of it than they would a store-bought card, if only because the person giving it has put thought and effort into it.
I'll post a few more tips soon.