Hello again you funky bunch of awesome people!
Welcome to this guide on Instagram automation.
I've put this guide together to show you how I have automated all my Instagram accounts.
Why do I automate?
Mainly because I'm lazy as f*ck...
Especially when it comes to social media. I don't have the energy to deal with the endless crap and braindead banter that is usually found in these places.
And because it's cheaper than hiring a social media manager in India or the Philippines.
Let's get cracking!
Why do marketing on Instagram
How does 300 daily active users sound like?
Here are the recent demographics for Instagram usage:
Now looking at these stats, and by investigating the most popular content on Instagram, the b est niches for Instagram are:
- Beauty
- Food
- Health
- Luxury
- Self-development (think inspirational quotes)
- fitness
- Fashion
- Travel
- Pets
You can see a theme emerging from this. All of these niches can post great photo content about their products. And if your demographics are young people, Instagram can be a marketing powerhouse.
However, it takes a lot of effort to constantly posts on Instagram.
Mainly because they don’t allow uploads from a computer!
So unless you want to be glued to your cellphone all day, automating your Instagram account can be a very cost effective means of marketing your product and business.
Automating Your Content
We'll be using Hootsuite to schedule our content posts.
Sign up for a free account here
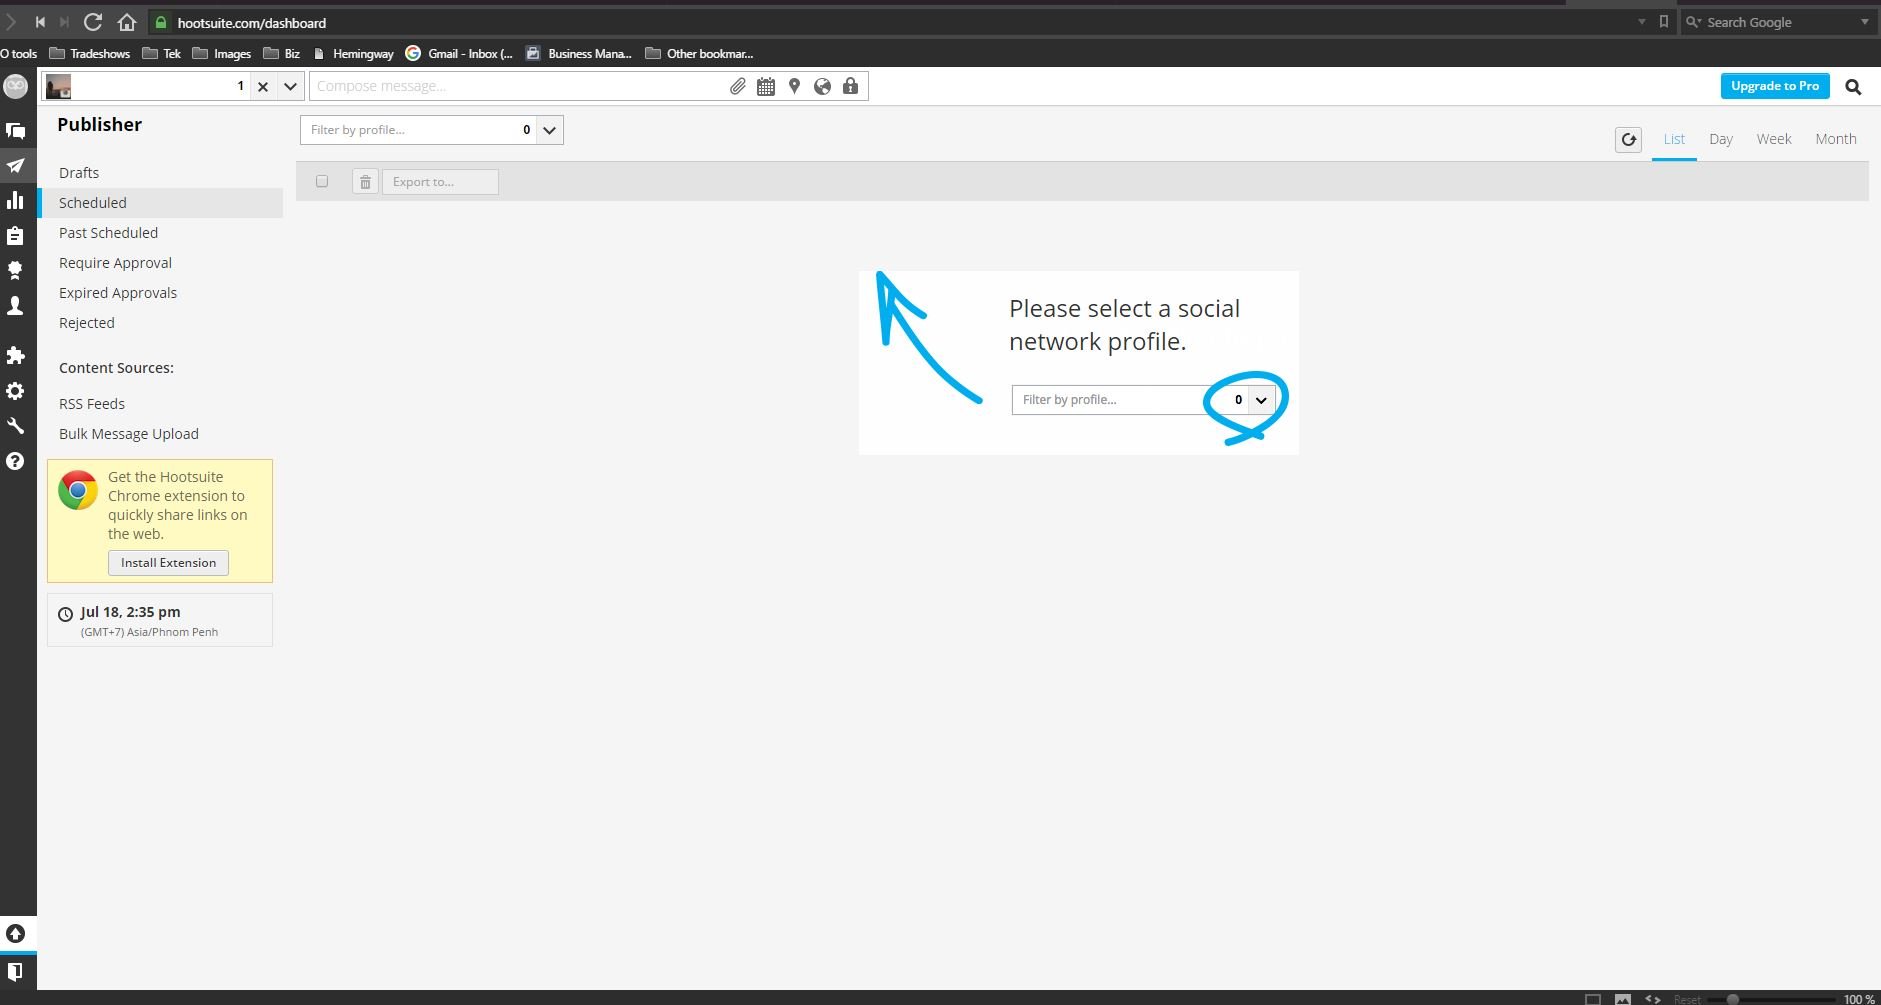
After logging in, you’ll get to see your dashboard:
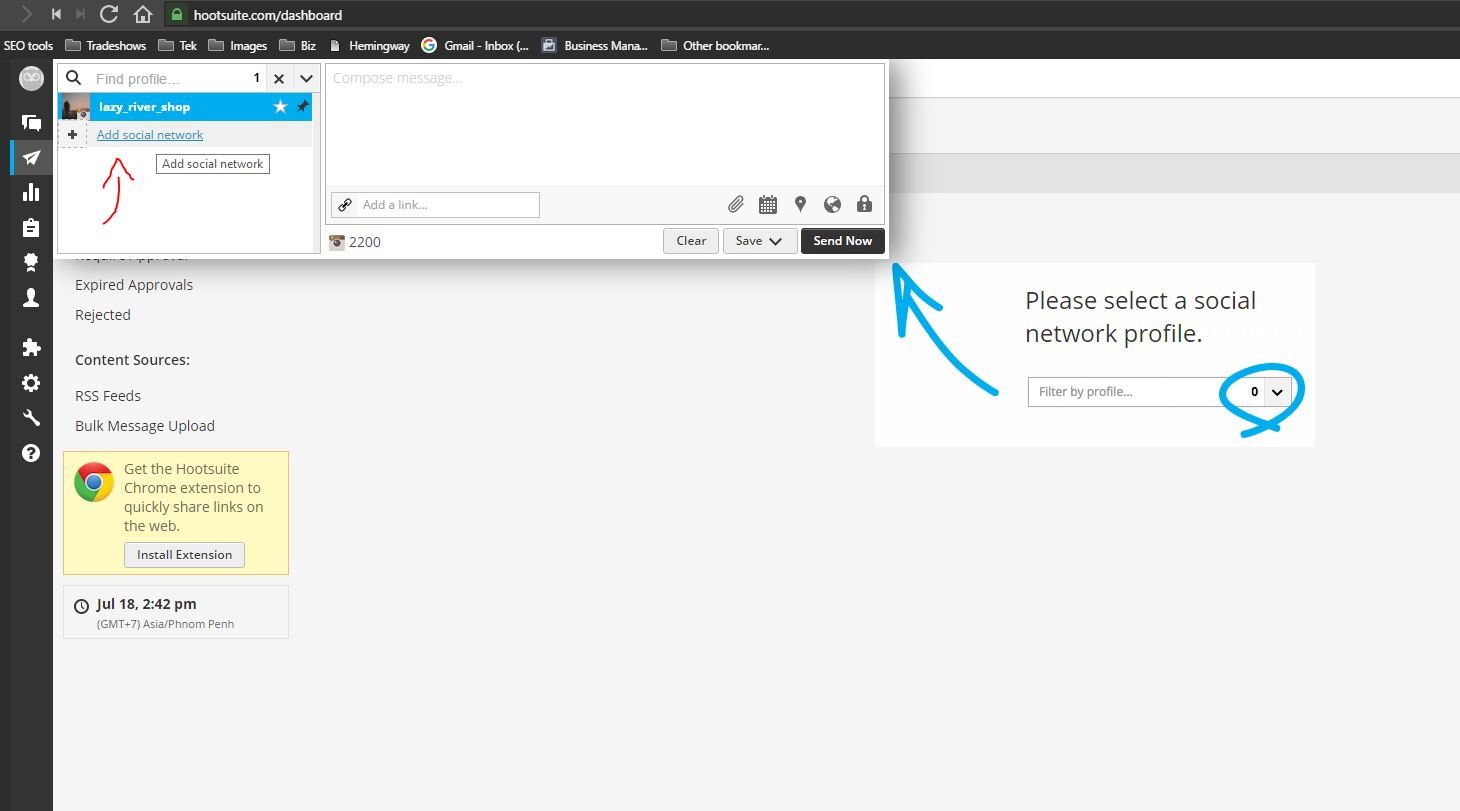
Now click in the upper left and choose ‘add account’
Then choose Instagram:
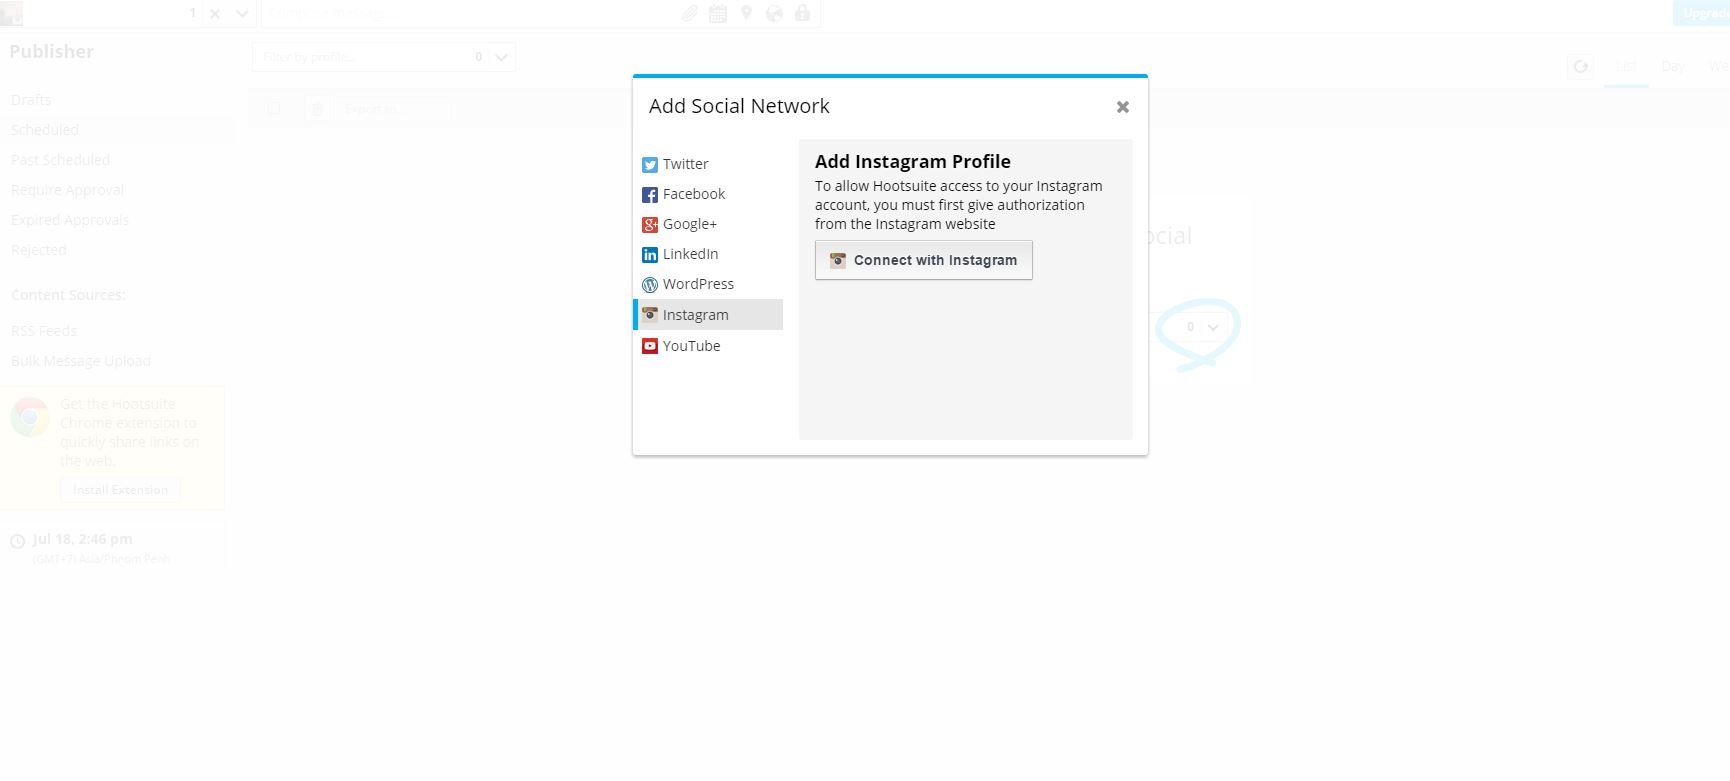
And follow the instructions on the screen to connect your Instagram account to Hootsuite.
Ok! That’s part 1 done. You got your Instagram connected to your Hootsuite account.
Next step is to download the Hootsuite app on your mobile device.
You can find it on both the app stor and Google Play. Just type in Hootsuite and download the app. Login with your username and password.
Next, setup publishing on your mobile device:
Open up your Hootsuite app.
- Tap Settings (Android: Settings are in the main menu ic_drawer98x98.png).
- Tap Notification Settings.
- Toggle Instagram notifications (Publish to Instagram) to ON.
Since Instagram doesn’t allow you to post through a normal computer, Hootsuite will push the posts you prepare to your device. The only thing that you have to do is grab your phone or tablet, and click on the Hootsuite notification. This will open Instagram and will have all of your text already copied so you just have to paste it in the Instagram window.
Got this far? Awesome! You’re now completely ready to automate your Instagram content posting.
So how do you actually make a post now? Easy enough, just login to your hootsuite dashboard again.
On the top of your screen you can start creating new posts:
Since it’s Instagram, you obviously need to add a picture or a video. Hootsuite also allows you to directly add Youtube videos.
Add a picture now:
Then add the hashtags you normally use, but keep the 30 hashtag limit in mind though.
Next you have the option to send it directly or schedule the post.
Let’s schedule it now:
Done! You can schedule as much posts as you want this way. Setup weeks or even months’ worth of content in a single day.
You can see your posting schedule by clicking on ‘Publisher’ in the left hand side menu:
Automate Your Growth
OK! Now that we have successfully automated our content on Instagram, let’s go even further and start automating getting new followers!
Normally, amassing huge crowds of followers on Instagram takes tons of manual work. The biggest accounts have entire teams of social media managers working on it.
So let’s take another route.
Now a word of warning is in order. The use of bots is not encouraged by Instagram. So please be careful when using it.
On the other hand, I’ve grown 4 different account to more than 10k followers without ANYTHING happening.
But some caution is advisable. Which is exactly what we’ll be doing.
So before you start downvoting me for the mere suggestion of using a bot, please read on and check the entire setup. The one I'll be talking about is extremely powerful. And it allows you to look completely natural, especially if you set it up like I'll show you.
The second tool in our automation arsenal is Instagress
This one isn't free though. But they are affordable.
For a mere $10 a month you can run their automation software 24/7. And if you go for a yearly account it drops down to less than $8 a month. Or $0.22 a day.
By the way, I'm not affiliated in any way with Instagress. I'm not receiving any compensation for promoting them, I just adore their software!
They do run a 3-day trial though, so go ahead and sign up for that.
After confirming your email, you'll get directed to your dashboard
Choose add account and proceed with the steps to connect your Instagram account.
Then click on the big grey 'Settings' button.
Let's go over all these settings.
MUY IMPORTANTE!! => SET THE MAIN ACTIVITY SPEED TO SLOW FOR THE FIRST WEEK! THAT WAY INSTAGRAM WILL NOT NOTICE ANY STRANGE BEHAVIOR FROM YOUR ACCOUNT! DON'T FORGET THIS IF YOU VALUE YOUR ACCOUNT!
On to the main settings screen:
Activity speed: Put this on slow for the first week, then go straight to fast. This controls how fast the software will like and comment on posts.
Set everything like this:
Activity speed: Fast
Media Age: Two weeks
Media Source: Tags
Media Type: Any
min likes filter: 0
Max likes filter: 50
What we've done here is told the bot to only like and comment on posts that are at most two weeks old, have between 0 and 50 likes, and is defined by tags (which we will add later)
On to the 'Advanced Filters' settings:
Here we further narrow down who we want to follow and comment on. The reason we set these limits if because we want to attract actual people to our profile. We are NOT interested in getting the attention of business owners, marketers, and other professionals. The goal is to get more traffic to your site or products.
Just put your settings the same way as in the picture and you'll be fine.
On to the most important setting of the software. The comment settings!
Tick the box 'Don't comment same users'. If you don't, you might put up the same comment twice, which will give away the fact that you're using automation.
Next we'll create our actual comment. Instagress has the ability to use a spyntax/word spinner here. Now depending on your niche, this is the setting that can make or break your automation. The example in the picture was for an ecommerce site I run that sells outdoor gear, camping materials, and hiking stuff. So you can see why I created the message as I did...
The trick is to keep your comment reasonably generic. Since you have no idea what kind of pictures you'll be posting them on. On the other hand, if you make them TOO generic, you'll stand out as a bot.
There's sweet spot that you can hit, and that is what will make your instagram account explode :)
I can't tell you how to find this sweet spot, since it varies from niche to niche.
Add some emojis or even hashtags to your comments. That always works well.
Use the example I provided in the picture and see how I created a single comment that will almost never be the same as the previous one. This is done by cleverly using the 'spintax' feature.
Next up are the Follow and Unfollow settings
I prefer to set the follow source setting to 'Followers of username'. This will make Instagress only follow users who are followers of a specific account. This is really powerful stuff for marketers, as we can just access the entire follower base of popular accounts in our niche.
Put Follow cycle on 1000, and tick both boxes for 'Don't follow the same users' and 'Don't follow private users'.
This will make Instagress follow a 1000 users based on usernames you'll select further down the road.
The unfollow settings allow you to create cycles of follow and unfollow. This is recommended as you'll hit the 5000 follower limit pretty quickly if you don't.
Set Unfollow source to 'Instagress'. Unfollow cycle to 1000 and tick the box 'Unfollow who don't follow me'.
Instagress will now follow 1000 people, and after that will start unfollowing 1000 people. Keeping your profile clean as a whistle!
The rest of the settings are self-explanatory. The 'Tags' setting is where you can add hashtags about your niche. Instagress will use these hashtags to comment and like on media. Reasonably important here, make sure you choose the best tags for your market!
You can ignore the 'location' settings.
The 'Usernames' setting is needed if you choose to follow the followers of a certain account. This can be powerful stuff, especially if you find out the best performing accounts in your market.
And that's it!
If you made it all the way through, you just successfully automated your entire instagram marketing campaign!
Some final remarks though. Patience and caution will get you further than going all in with this. The main goal is to not look automated at all! We want to show an organic growth to both our followers and Instagram. So keep the settings so that it looks and behaves like a normal human. Make it look like someone is actually manually making comments and interacting with media.
Keep that in mind and you'll be seeing Instagram success within a few months :)
Sources for the Instagram stats:
http://blog.instagram.com/post/146255204757/160621-news
http://trackmaven.com/blog/2016/06/fortune-500-instagram-report/