I just couldn't wait to get started on building this guitar that I promised to make for you. I couldn't concentrate on anything else all week because I just wanted to see it take shape. Despite many distractions, obligations and complications in my daily life, I set aside a day for it and made a start.. so here's where I'm up to with it...
Maybe it doesn't look like much yet, but that's a significant amount of progress, believe me. Let me tell you how I got there...
I always start a new guitar by making the soundboard. The soundboard (the front of the guitar where the strings go) is the most important part of the guitar. It's what really gives the guitar its sound (that's why it's called the soundboard), it's unique voice and feel. Of course, all the other parts are also important, but the soundboard is really what it's all about.
For the soundboard, the best wood to use is Spruce. That's a Christmas Tree, by another name. The reason for using spruce is that it has the highest ratio of strength to weight. It is very light, yet remarkably strong for its weight. For this reason it was used to make the frames of the first aeroplanes, in the days when they were made from wood and cloth.
Remember I said I was going to build this guitar from local, recycled and off-cut materials?
The soundboard should be as close grained as possible, because that makes it stronger. The idea is that the soundboard should be as light as possible to give the maximum response, but it also needs to be strong enough to stop the guitar exploding under the tension of the strings. So to get the closest grain wood, it needs to grow in a cold climate, like the Alps, where the trees grow more slowly. This would have been a bit of a problem for me, as I live in a hot country, far from the Alps.
Fortunately one of my neighbours here is building a house. It's a very special house, because he's building it using very old techniques, like the European houses of the 15th century - which were built using a cob filling of straw and mud on a strong wooden frame. For the big wooden roof beams, he had imported a load of spruce from the French Alps and kindly let me have some of the offcuts, which he really had no use for and would probably have ended up in the fire.
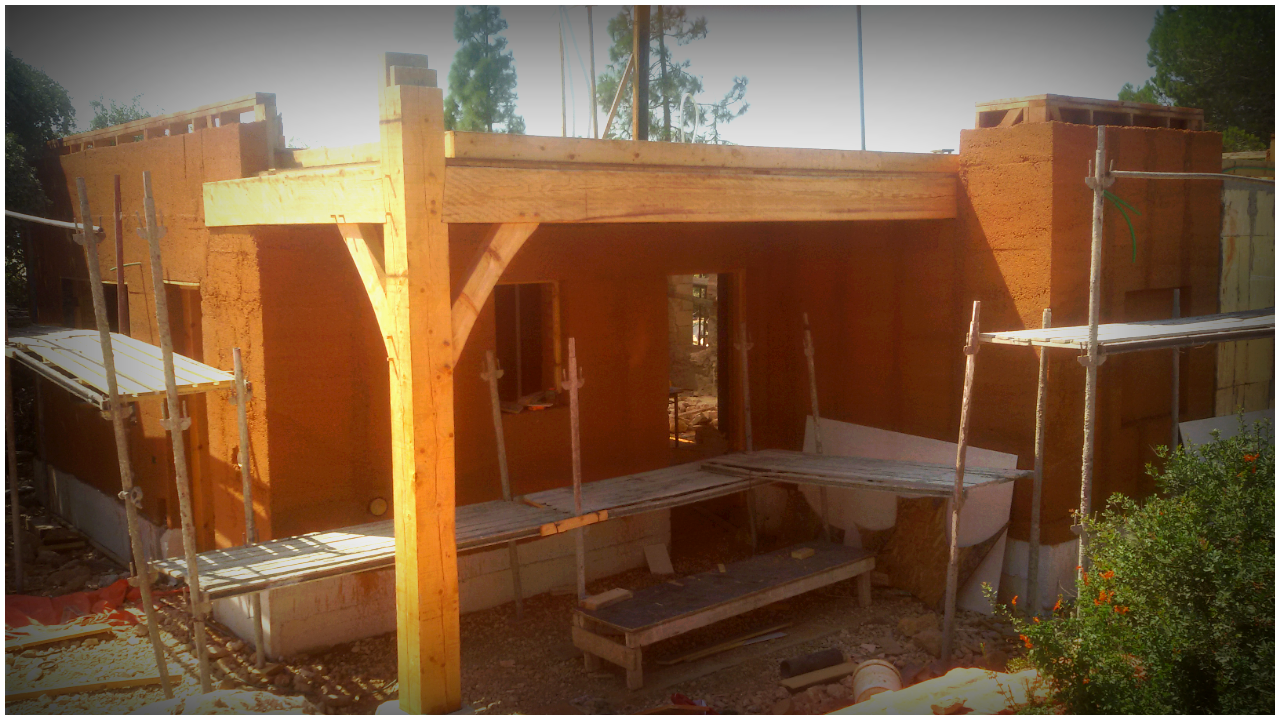
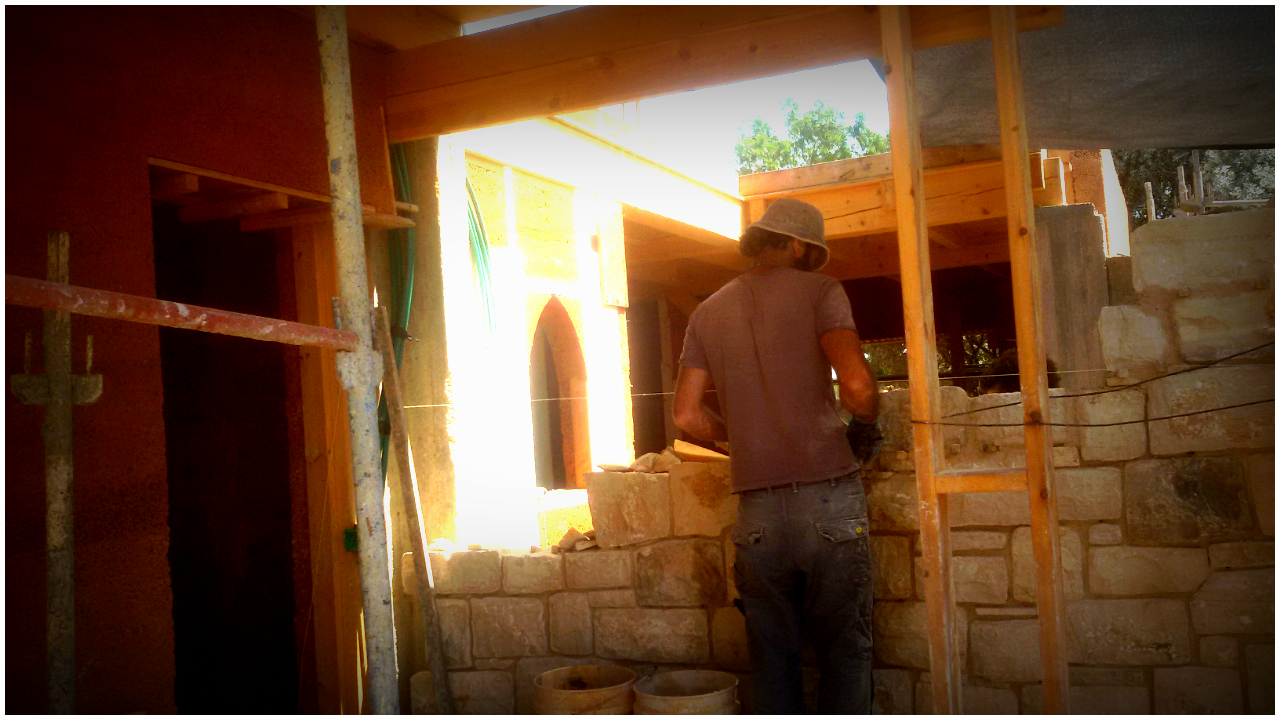
All of those stones are carved by hand, using a hammer and chisel. It's incredible. And all of the woodbeams are connected with complicated tennon and mortice joinery and held together with wooden pegs.
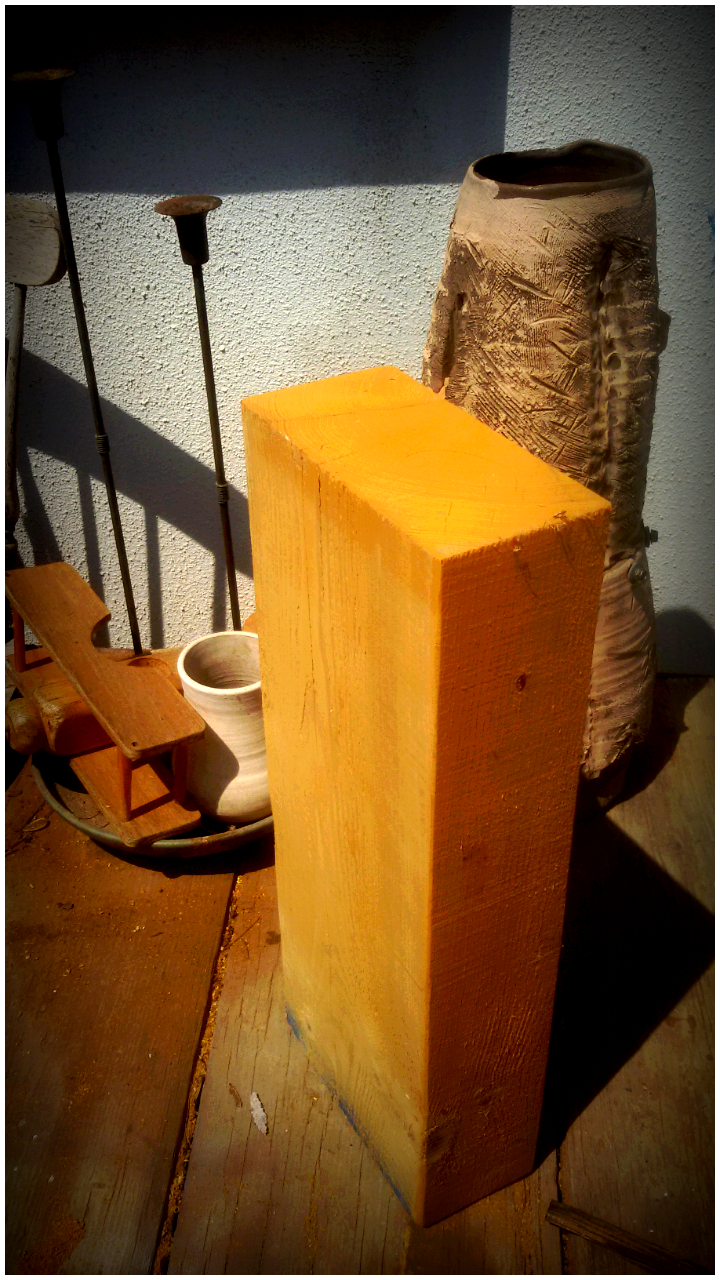
Here is the piece of wood I took for the soundboard
And here is how I cut it into slices using a Japanese handsaw.
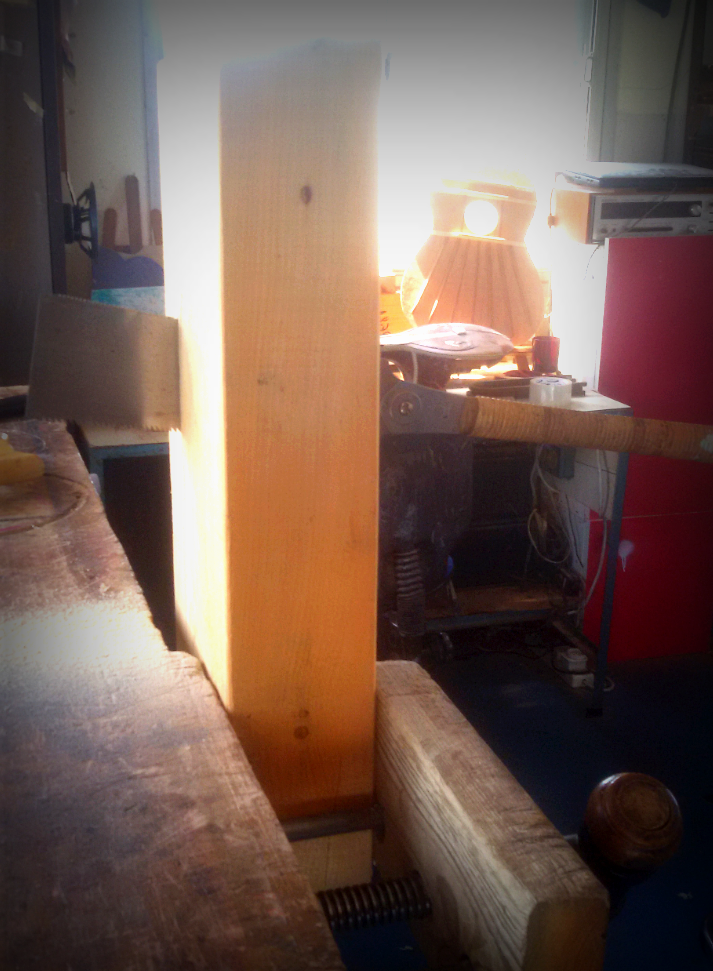
I cut it across the narrower side - even though it would mean I'd need three pieces, rather than two, to make the soundboard - because the grain rings in that direction made it much stronger. You want them to be going down at ninety degrees from the surface if possible. That's called 'quarter sawn' and wood is strongest in that direction. Maybe you can see it in this picture (taken on my phone, apologies for poor picture quality, I'm working with very basic technology here)...

After that I planed all the pieces flat and smooth.
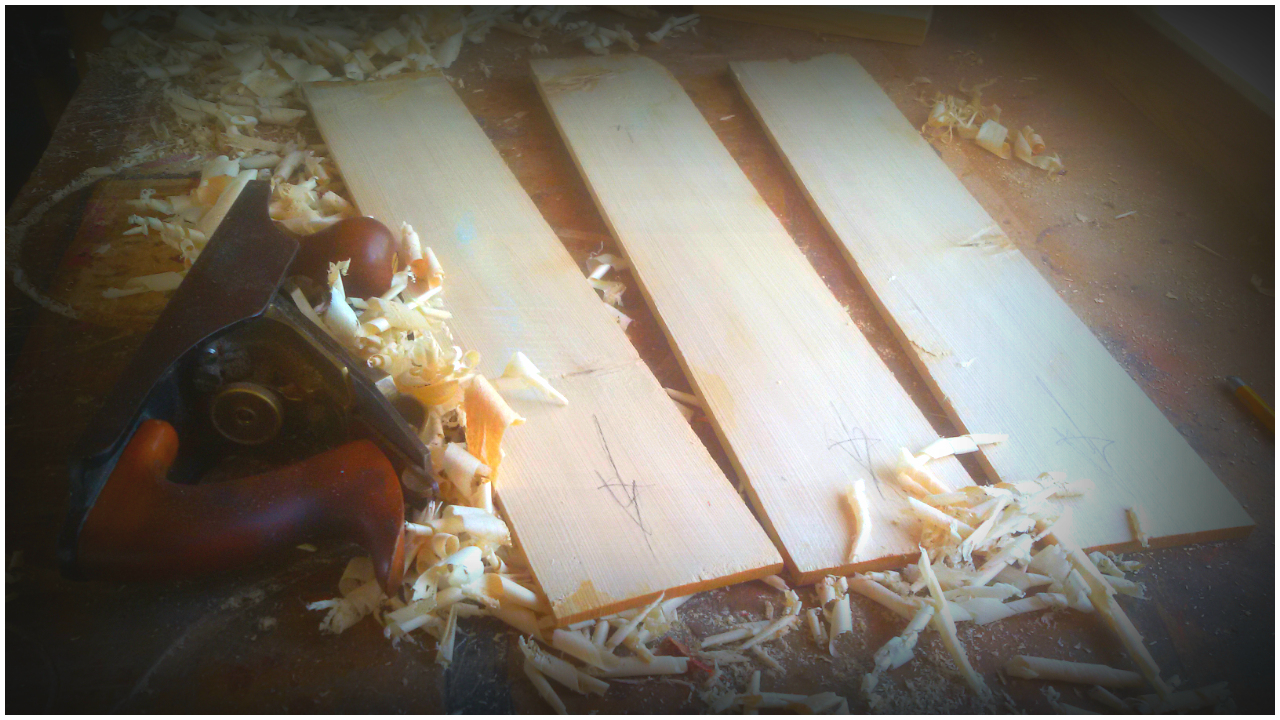
And wrote a few pertinent instructions to help my future self along
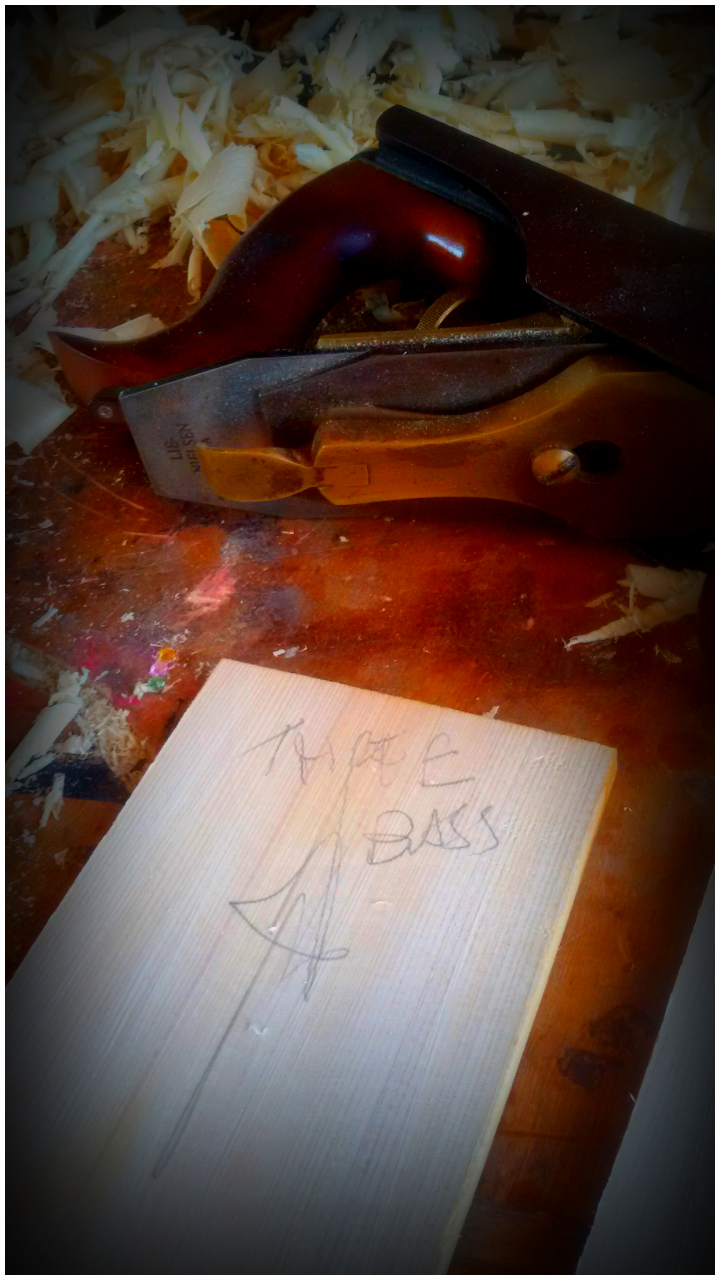
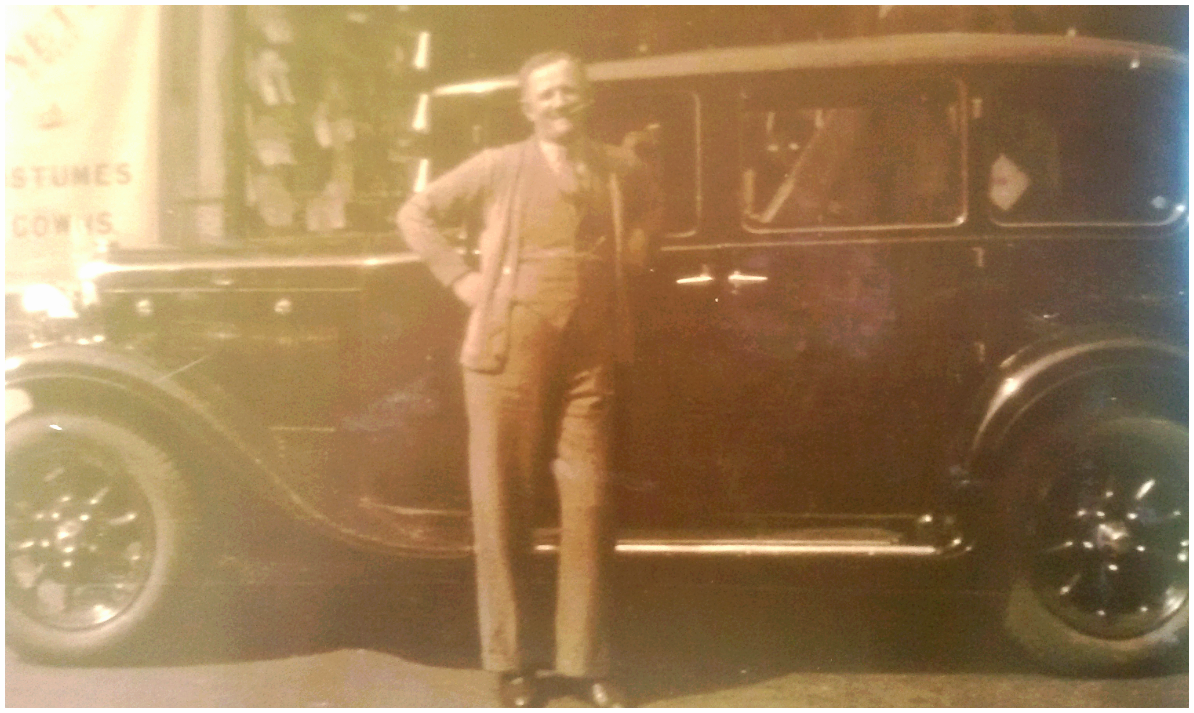
Then I planed the edges perfectly straight (There are a few joins which need to be perfect, this is one of them. Most of the time it doesn't matter too much if things are a bit off) using my Great Grandpa's trusty old jointing plane - a hundred years old and still going strong and sharp.

This is him standing next to a new car, looking pretty strong and sharp himself. It might even be his own car.
(That's Solomon, son of Morris and Esther, some of you may know from my Time Travel Adventures, also here on Steemit.)
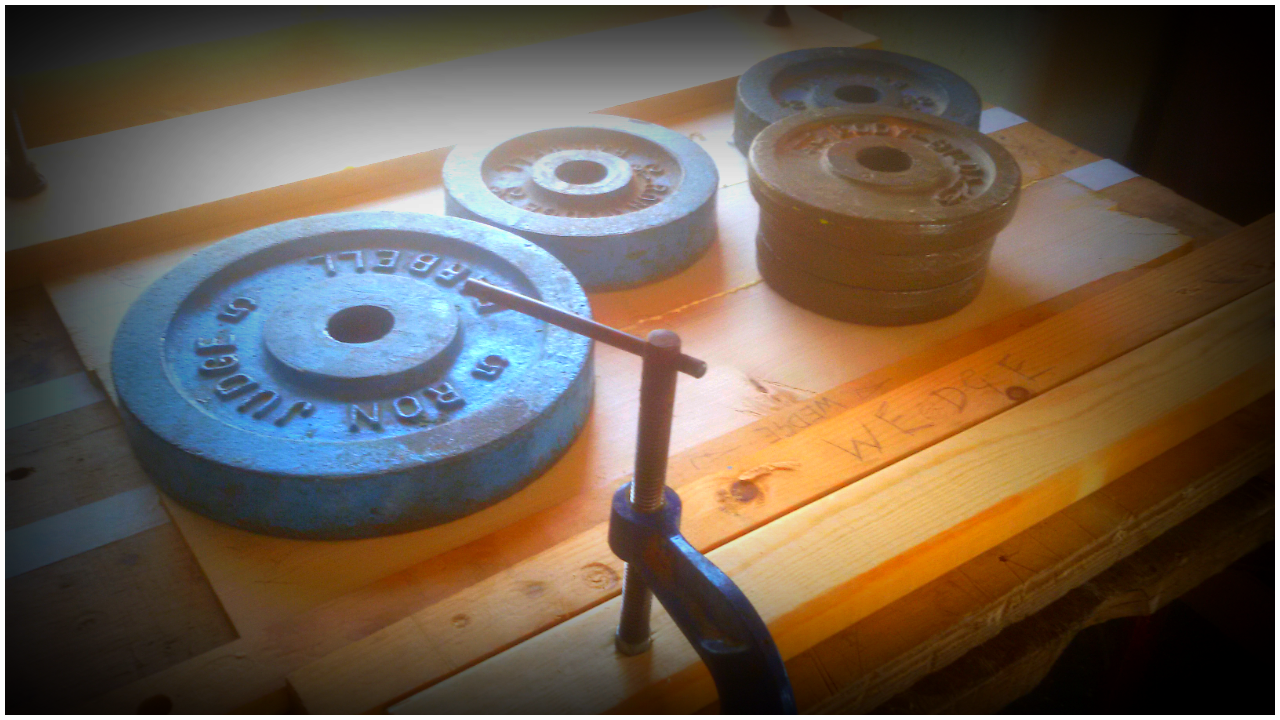
When all the edges are straight, I glue them together using wedges at the edges to apply pressure, and heavy weights on top to stop it all springing up.
 .
.
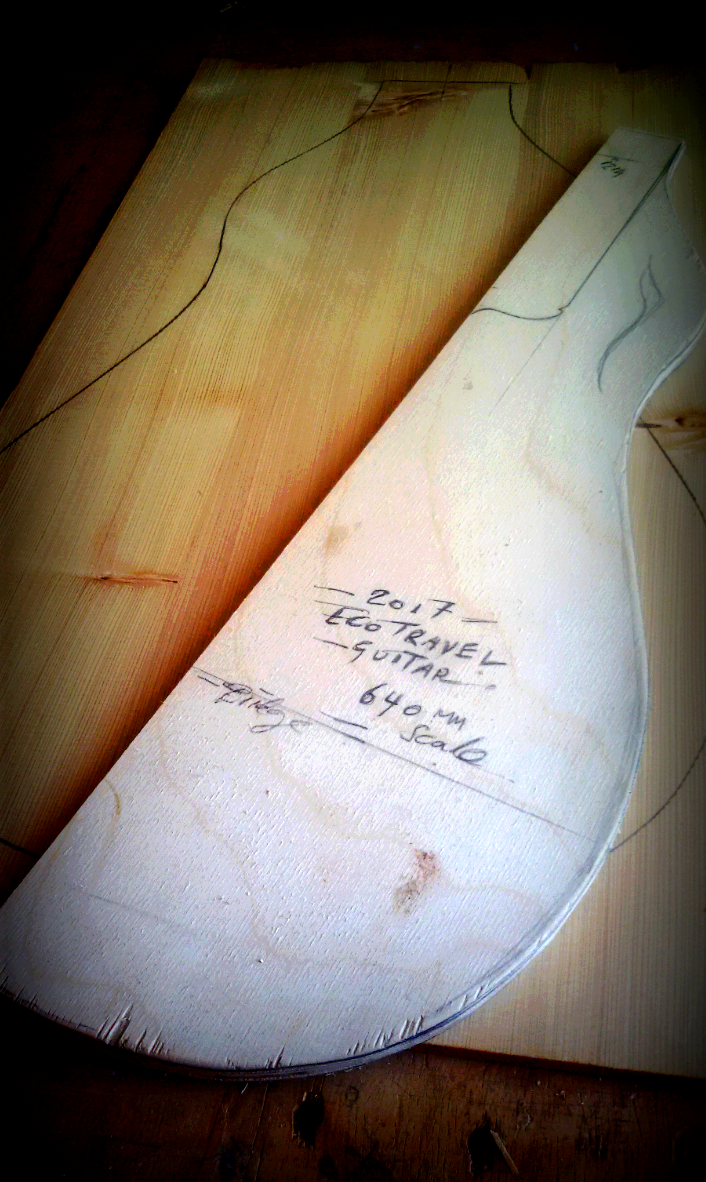
Meanwhile, I get a board of plywood and design a template for the guitar. Basically, I have an idea of a shape and then try draw half of it. I calculate where the bridge needs to be and then work from that - it's usually about the widest point of the soundboard - and work away at the line with a pencil and rubber (that's an erazer, in American) until it looks right. I cut it out and then use that as the template to draw the shape of the guitar onto the soundboard.
And that's the story so far. Thanks for following me this far.
At the end of all this I plan to give this guitar away to some worthy Steemian. I haven't quite decided or figured out how it's going to be decided who gets it.. but there's time yet. I'll figure something out. This is just the beginning.
Please resteem this. I appreciate all your support and encouragement in this project.
Visit my website www.handmade-guitars.com to find out more about my guitar making work.
You are also welcome to visit me in person here in Galilee and even stay and build your own guitar. Maybe it's something you always dreamed of doing...
Check out @ecotrain for more amazing posts from some of the most awesome people on Steemit.
Visit my profile @stillgideon if you're interested in reading my Time Travel Adventures (true story!) and other random stuff I write about. Upvote everything you see. Thanks again.