There are many different types of crossbows. Recurve and Compound crossbows are the most popular. Pistol crossbows are compact, but illegal in Canada - be sure to know your local crossbow laws. Rifle crossbows are used for longer distance shots. Repeating crossbows are designed to be shot rapidly. Bullet crossbows shoot projectiles that look like bullets that are made of lead, clay, or rock.
Today I will be target practicing with a 65# Recurve Crossbow.
Basic Parts of a Crossbow
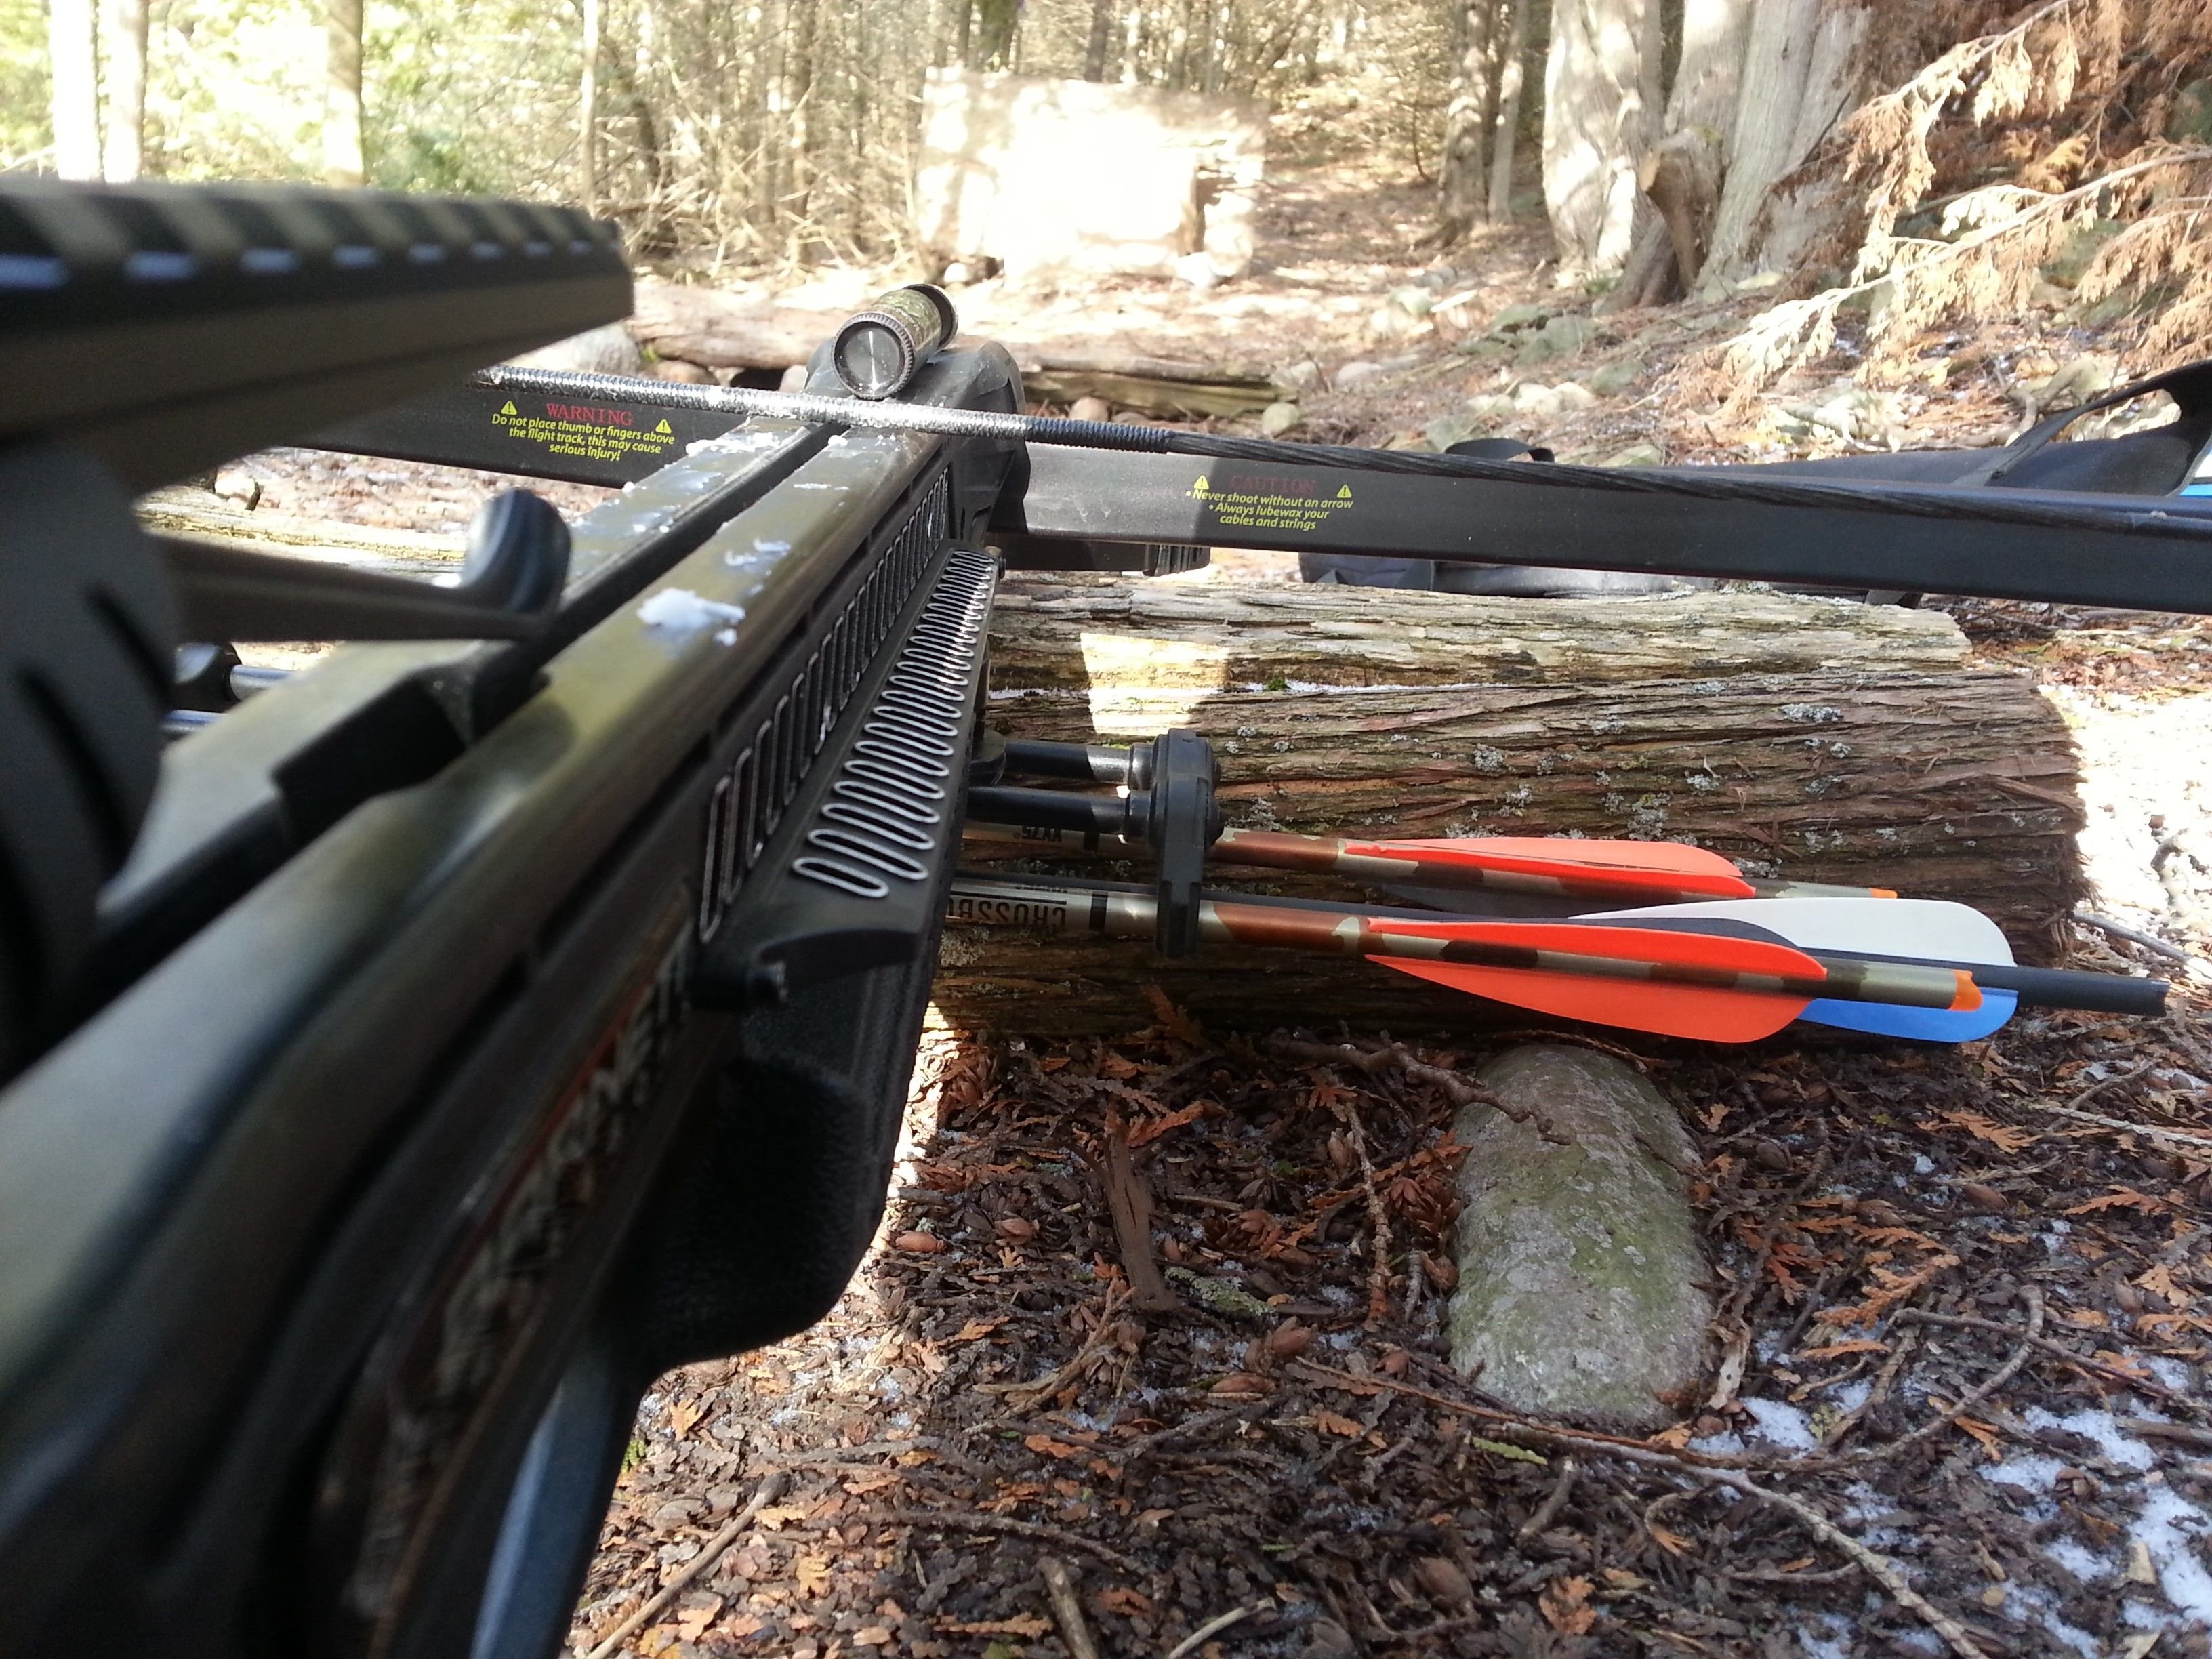
In the picture below you can see basic parts of a crossbow labeled. The stock is the part of the crossbow that is behind the grip and trigger. In front of and above the grip is the Barrel. The Sight is used to look through to aim at the target, it sits on an adjustable slider - attached to the Sight Riser. The String is attached to the crossbow Limbs. The Limbs are like spring leafs, the power is stored while the crossbow is cocked. Cocked is when the String has been pulled back tight, and is held in place by the Latch.
You can see in the picture above that this crossbow has a removable Quiver that is holding three Bolts. Bolts are short arrows used for crossbows. In the picture below you can see the Arrow Retention Spring that helps hold the bolt firmly in the Flight Groove channel. To the left of the retention spring is the Latch that holds the cocked string. Below that is the Safety Switch. Cocking the string automatically switches the safety switch to On. The Safety Switch has to be turned to the Off position before the trigger can be pulled. It is a safe practice to keep the safety in the On position until aimed at the target.
Information About this Recurve Crossbow:
- Barnett Recruit Recurve Crossbow
- http://www.barnettcrossbows.com/recruit-recurve
- 245 Speed (fps) - Speed test using 380-grain arrow
- 150 Draw Weight (lbs) - 65 Kinetic Energy (ft lbs)
- 12.5 Power Stroke (in) - 32.5"L x 27.675"W Dimensions
- 5 Weight (lbs)
Recurve Crossbow - Basic Assembly
Below are the crossbow pieces that need to be assembled. The bow at the bottom, above the bow is the main stock and barrel piece. Luckily this bow piece came already strung. The quiver snaps on after assembly.

In the picture below - on the left - you can see the part of the barrel that hinges down after a bolt being unscrewed from the top. The center of the bow leaf is inserted with the string resting on top of the barrel and flight groove.
In the picture above - in the middle - you can see the hinge has been closed. The nose bolt is being tightened to help hold the bow in place. In the picture on the right you can see how the white line helps center the bow leaf in the barrel before tightening the top bolt for the hinge piece. Be sure not to over tighten the nose bolt or the leaf may be damaged.
Bolts instead of Arrows
Crossbows have shorter arrows called bolts that are usually between 16 and 20 inches in length. Just like arrows they are made from different types of material. This crossbow came with fiberglass bolts, I upgraded to carbon material. Bolts are also made with aluminum, wood, and other materials.
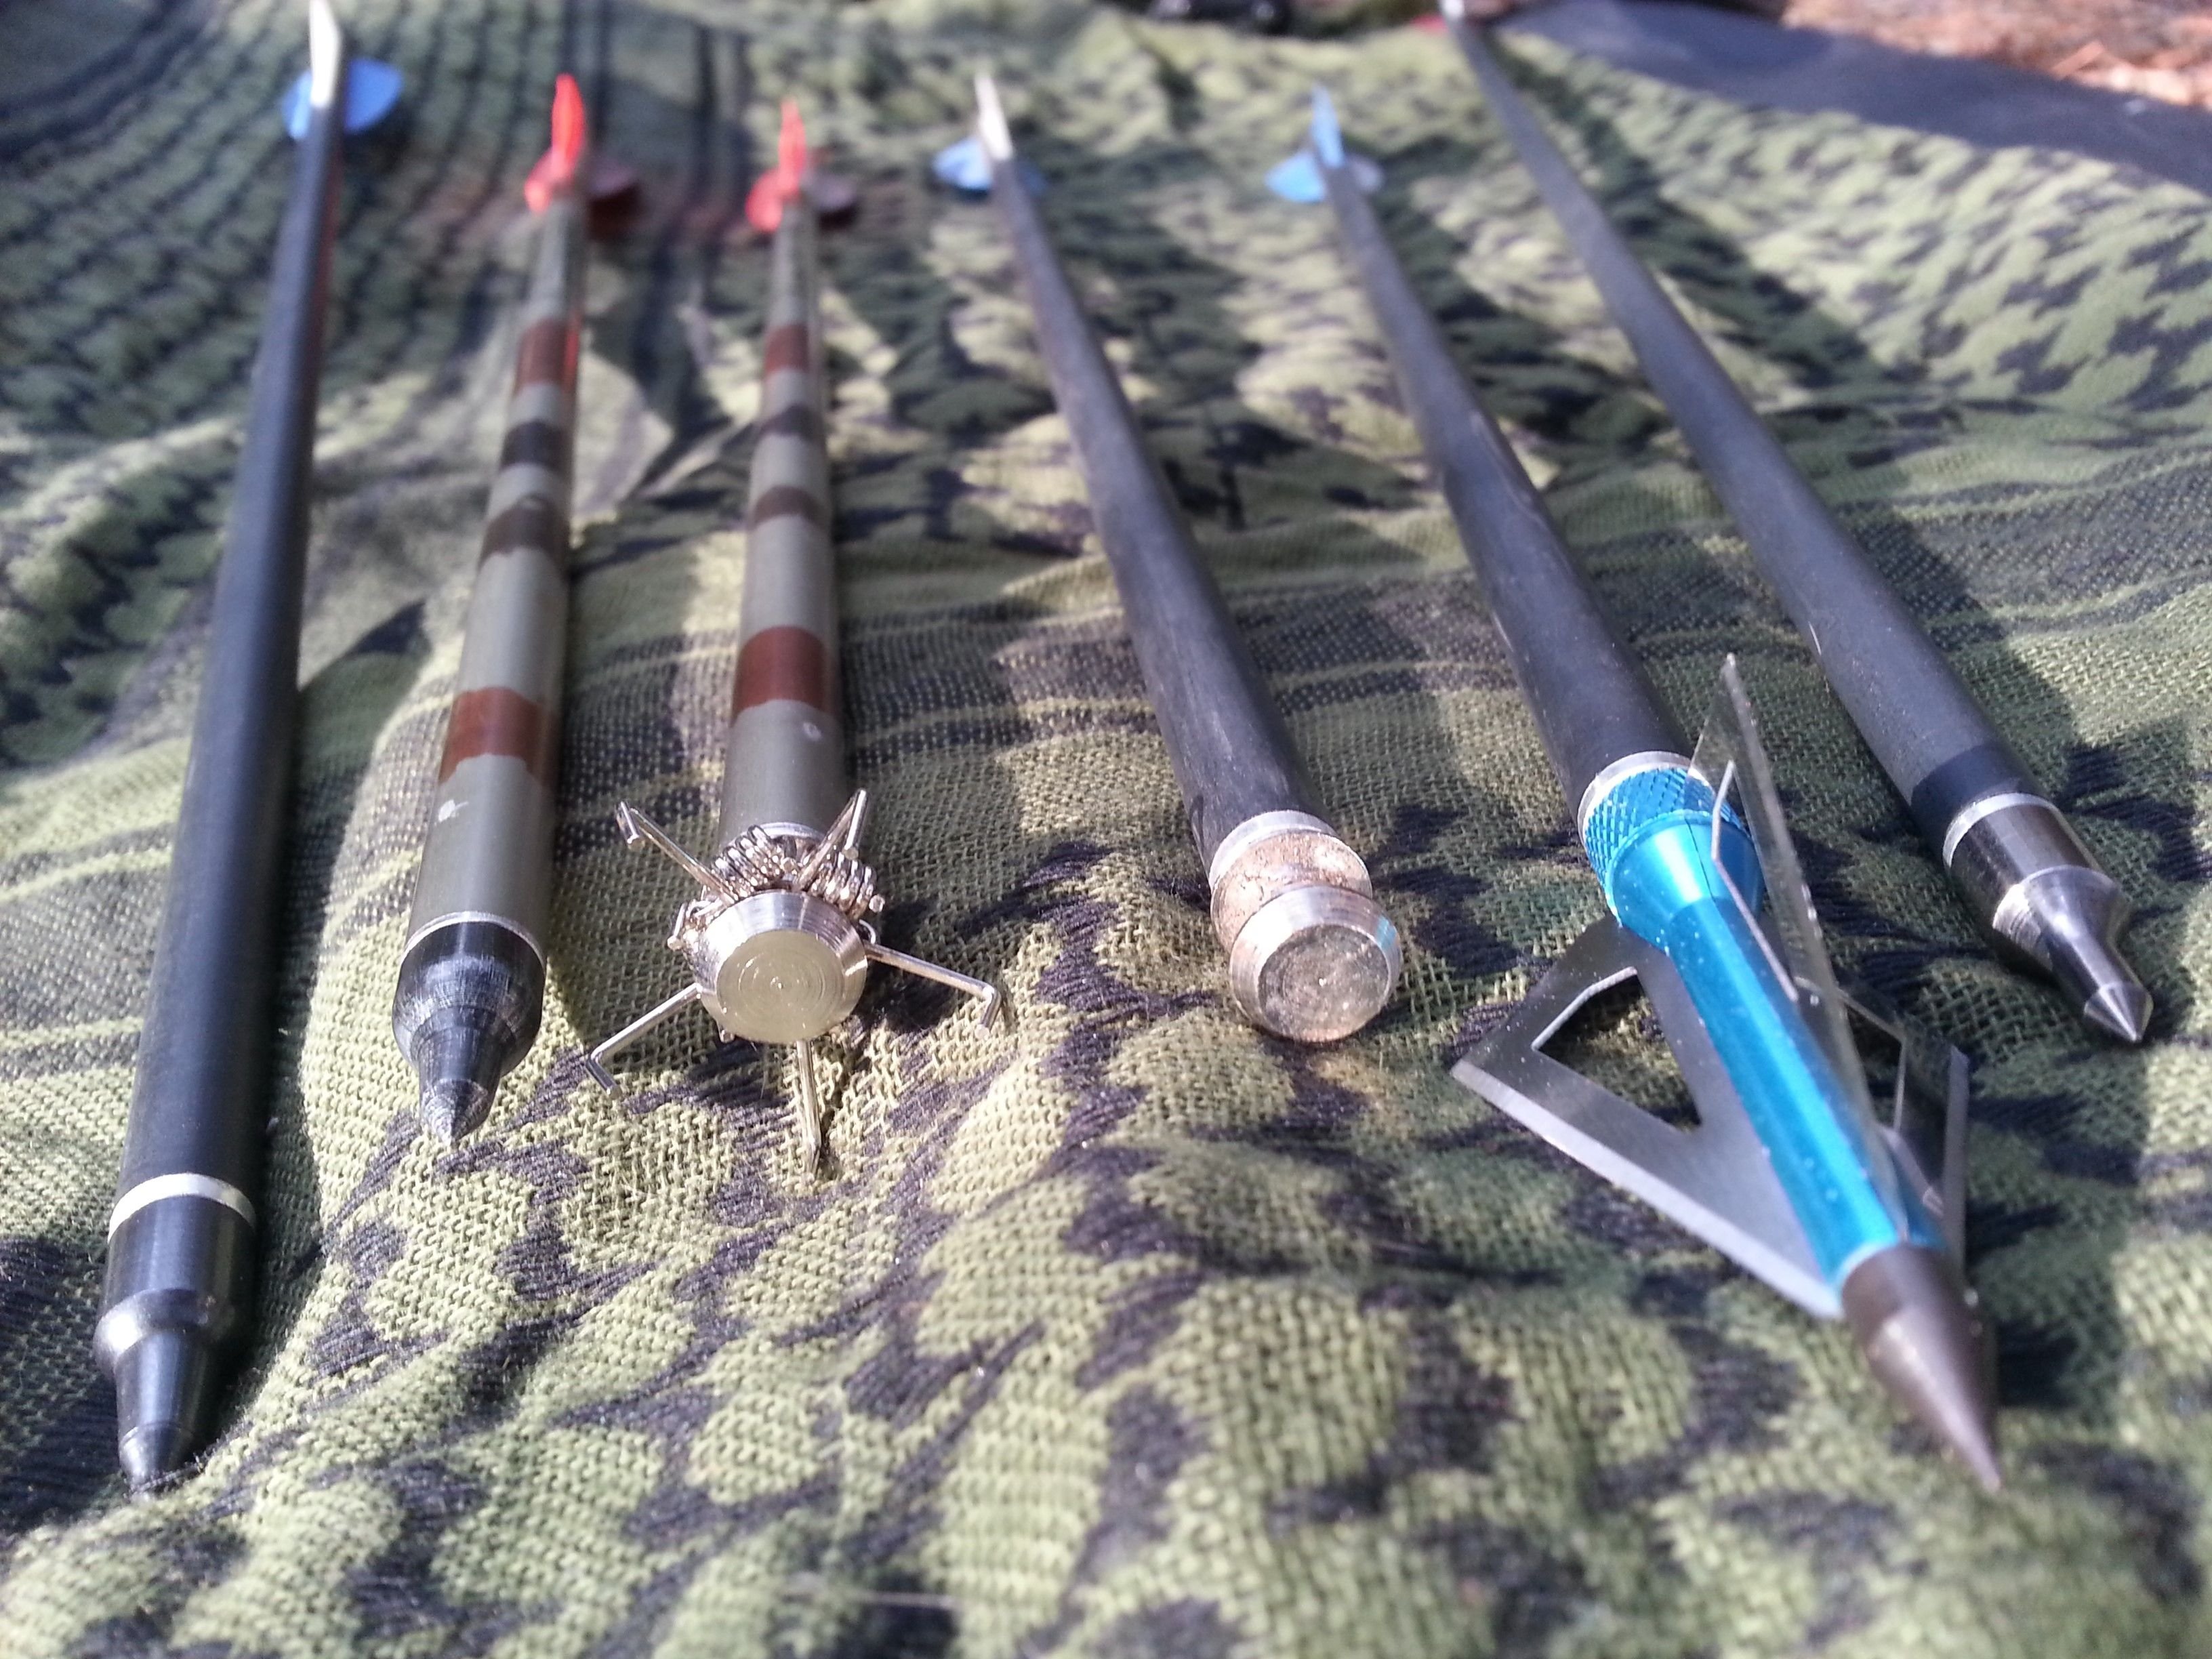
Above you can see various screw on bolt heads - starting from the left you can see two Field heads, a Grabbing head, a grabbing head with the grabbers removed, a Broadhead, and then another Field head. Be very careful with all of them. For target practice I will be using the flat grabber heads with the grabbers removed. I'm hoping these flat heads will prevent the bolt from sinking too far into the plywood backboard of the target setup.
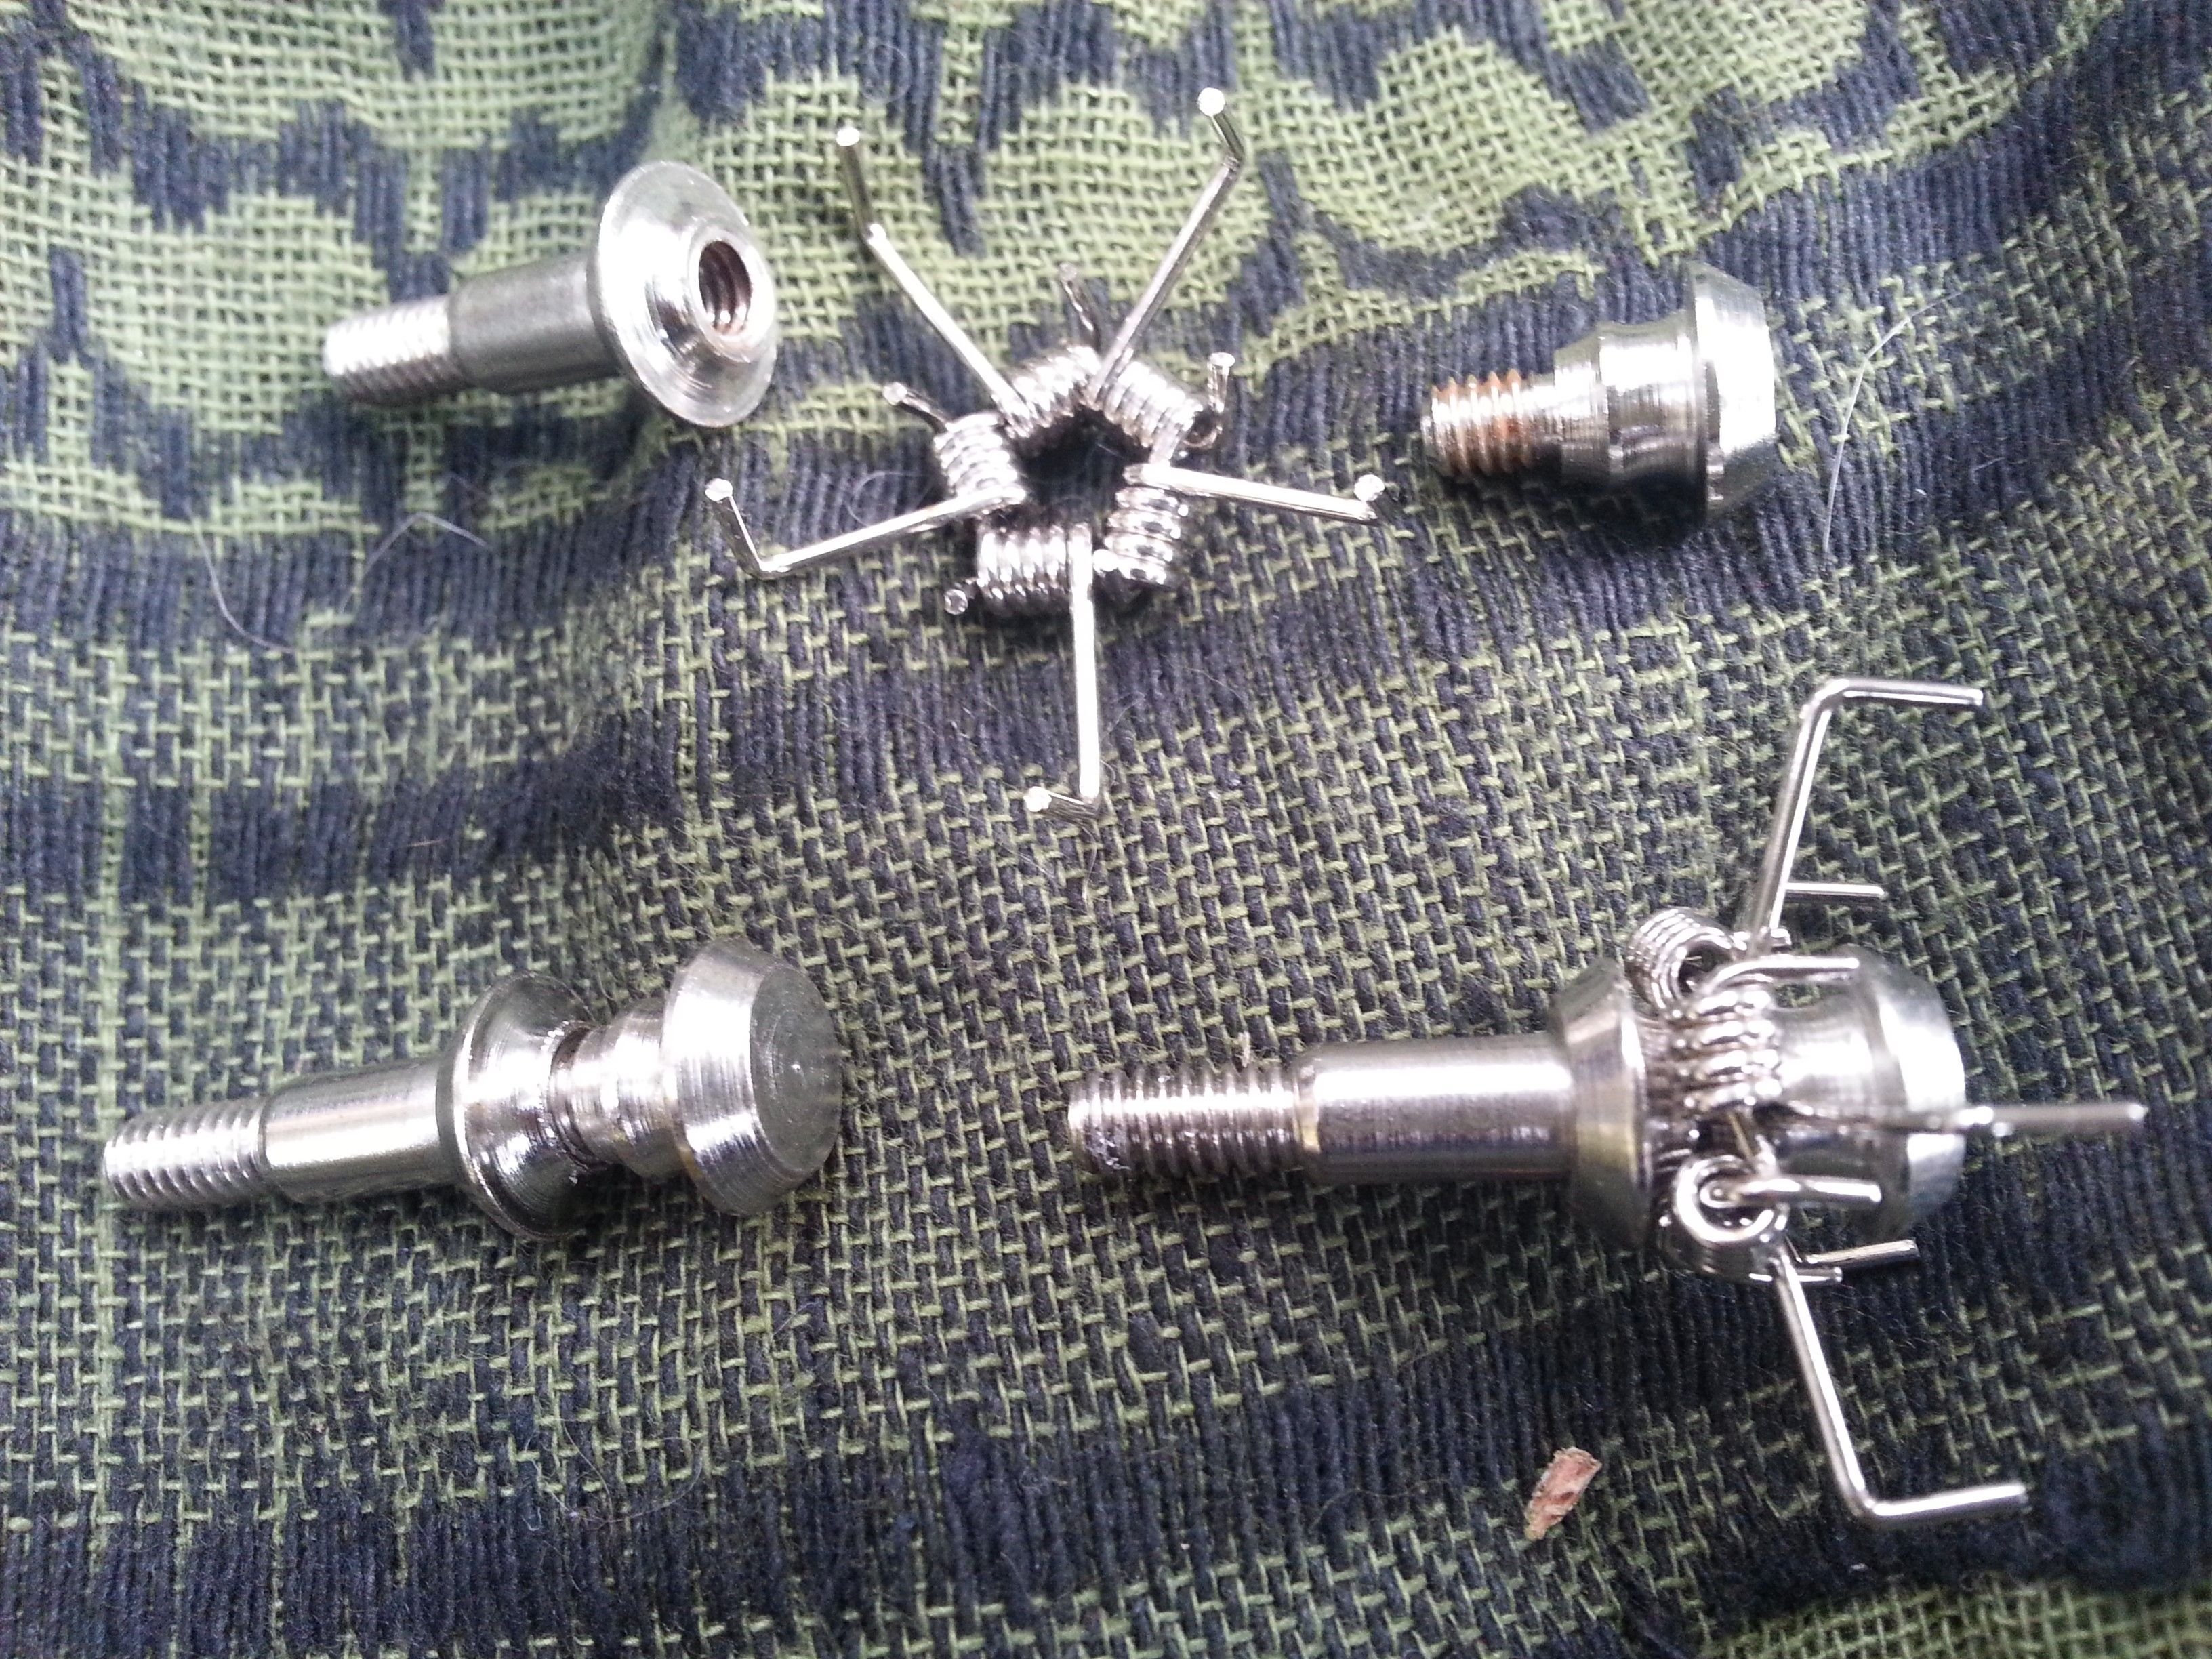
Above you can see the grabber head disassembled and reassembled without the grabbers.
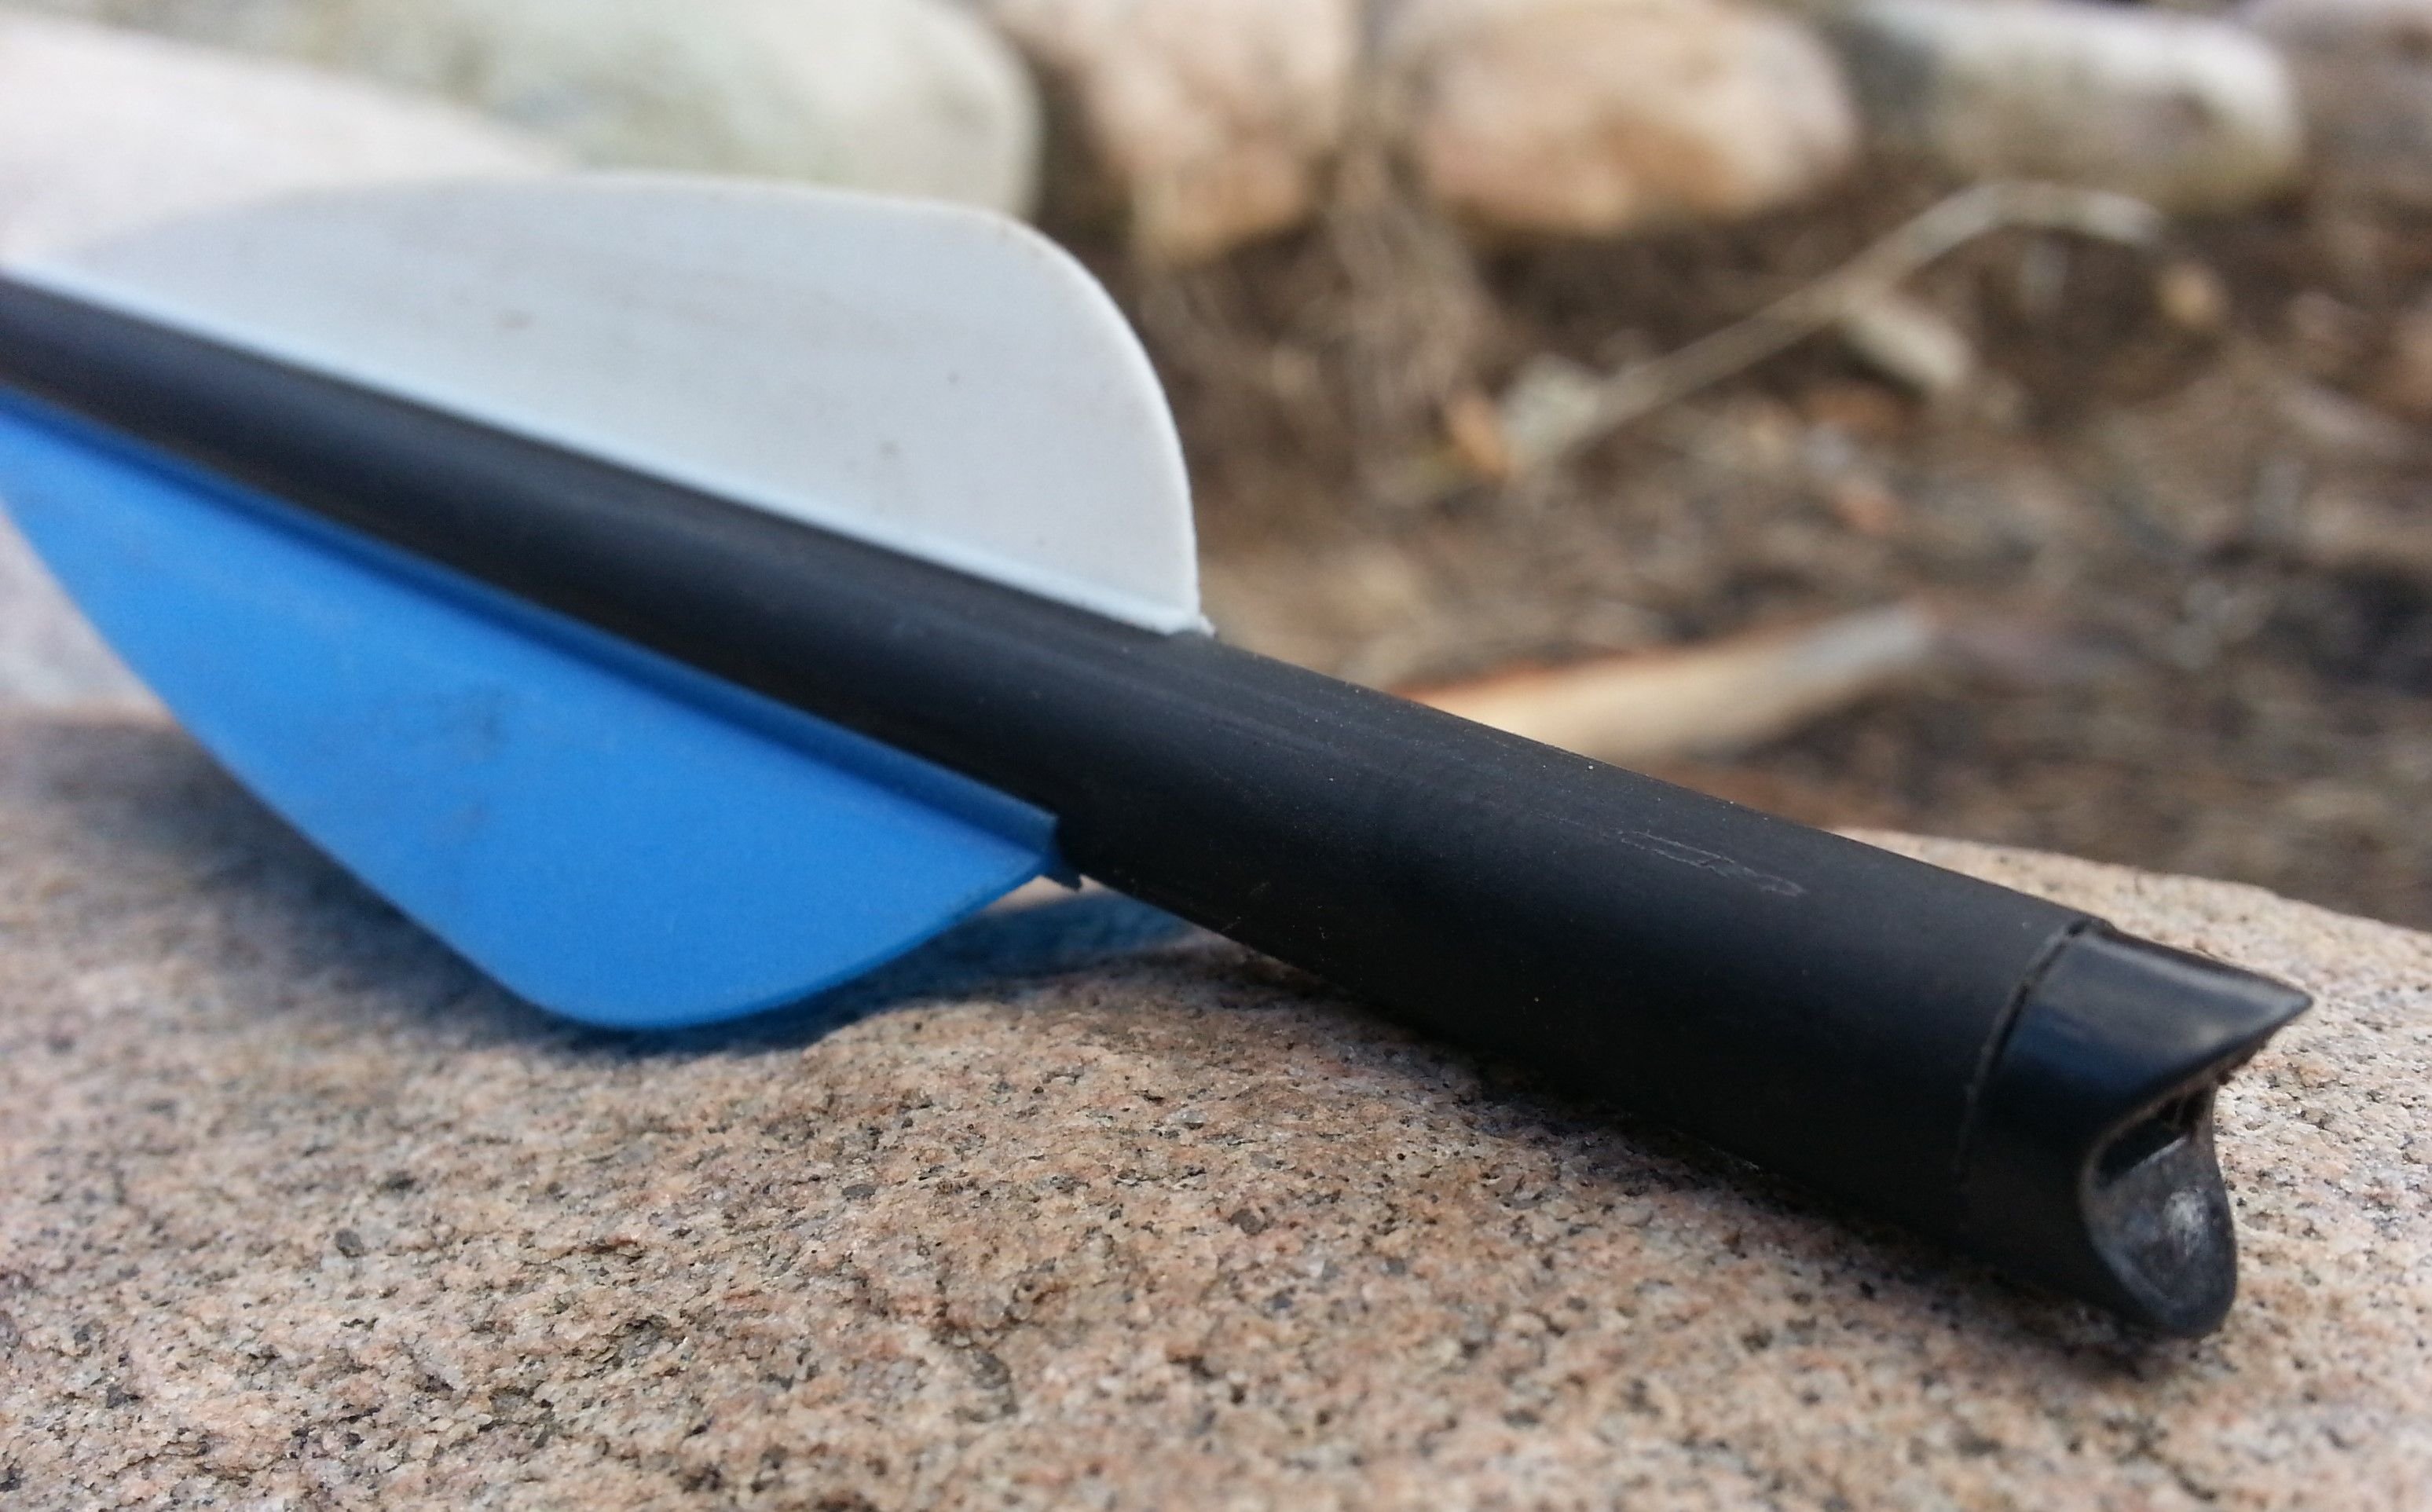
In the picture above is the back of a crossbow bolt, it has a Nock for the bowstring, just like bow arrows do. Crossbow bolts have three vanes or fletches with one of them not being the same color. This off color vane slides into the flight groove of the barrel when loading the arrow into the cocked crossbow. This lines up the nock with the string.
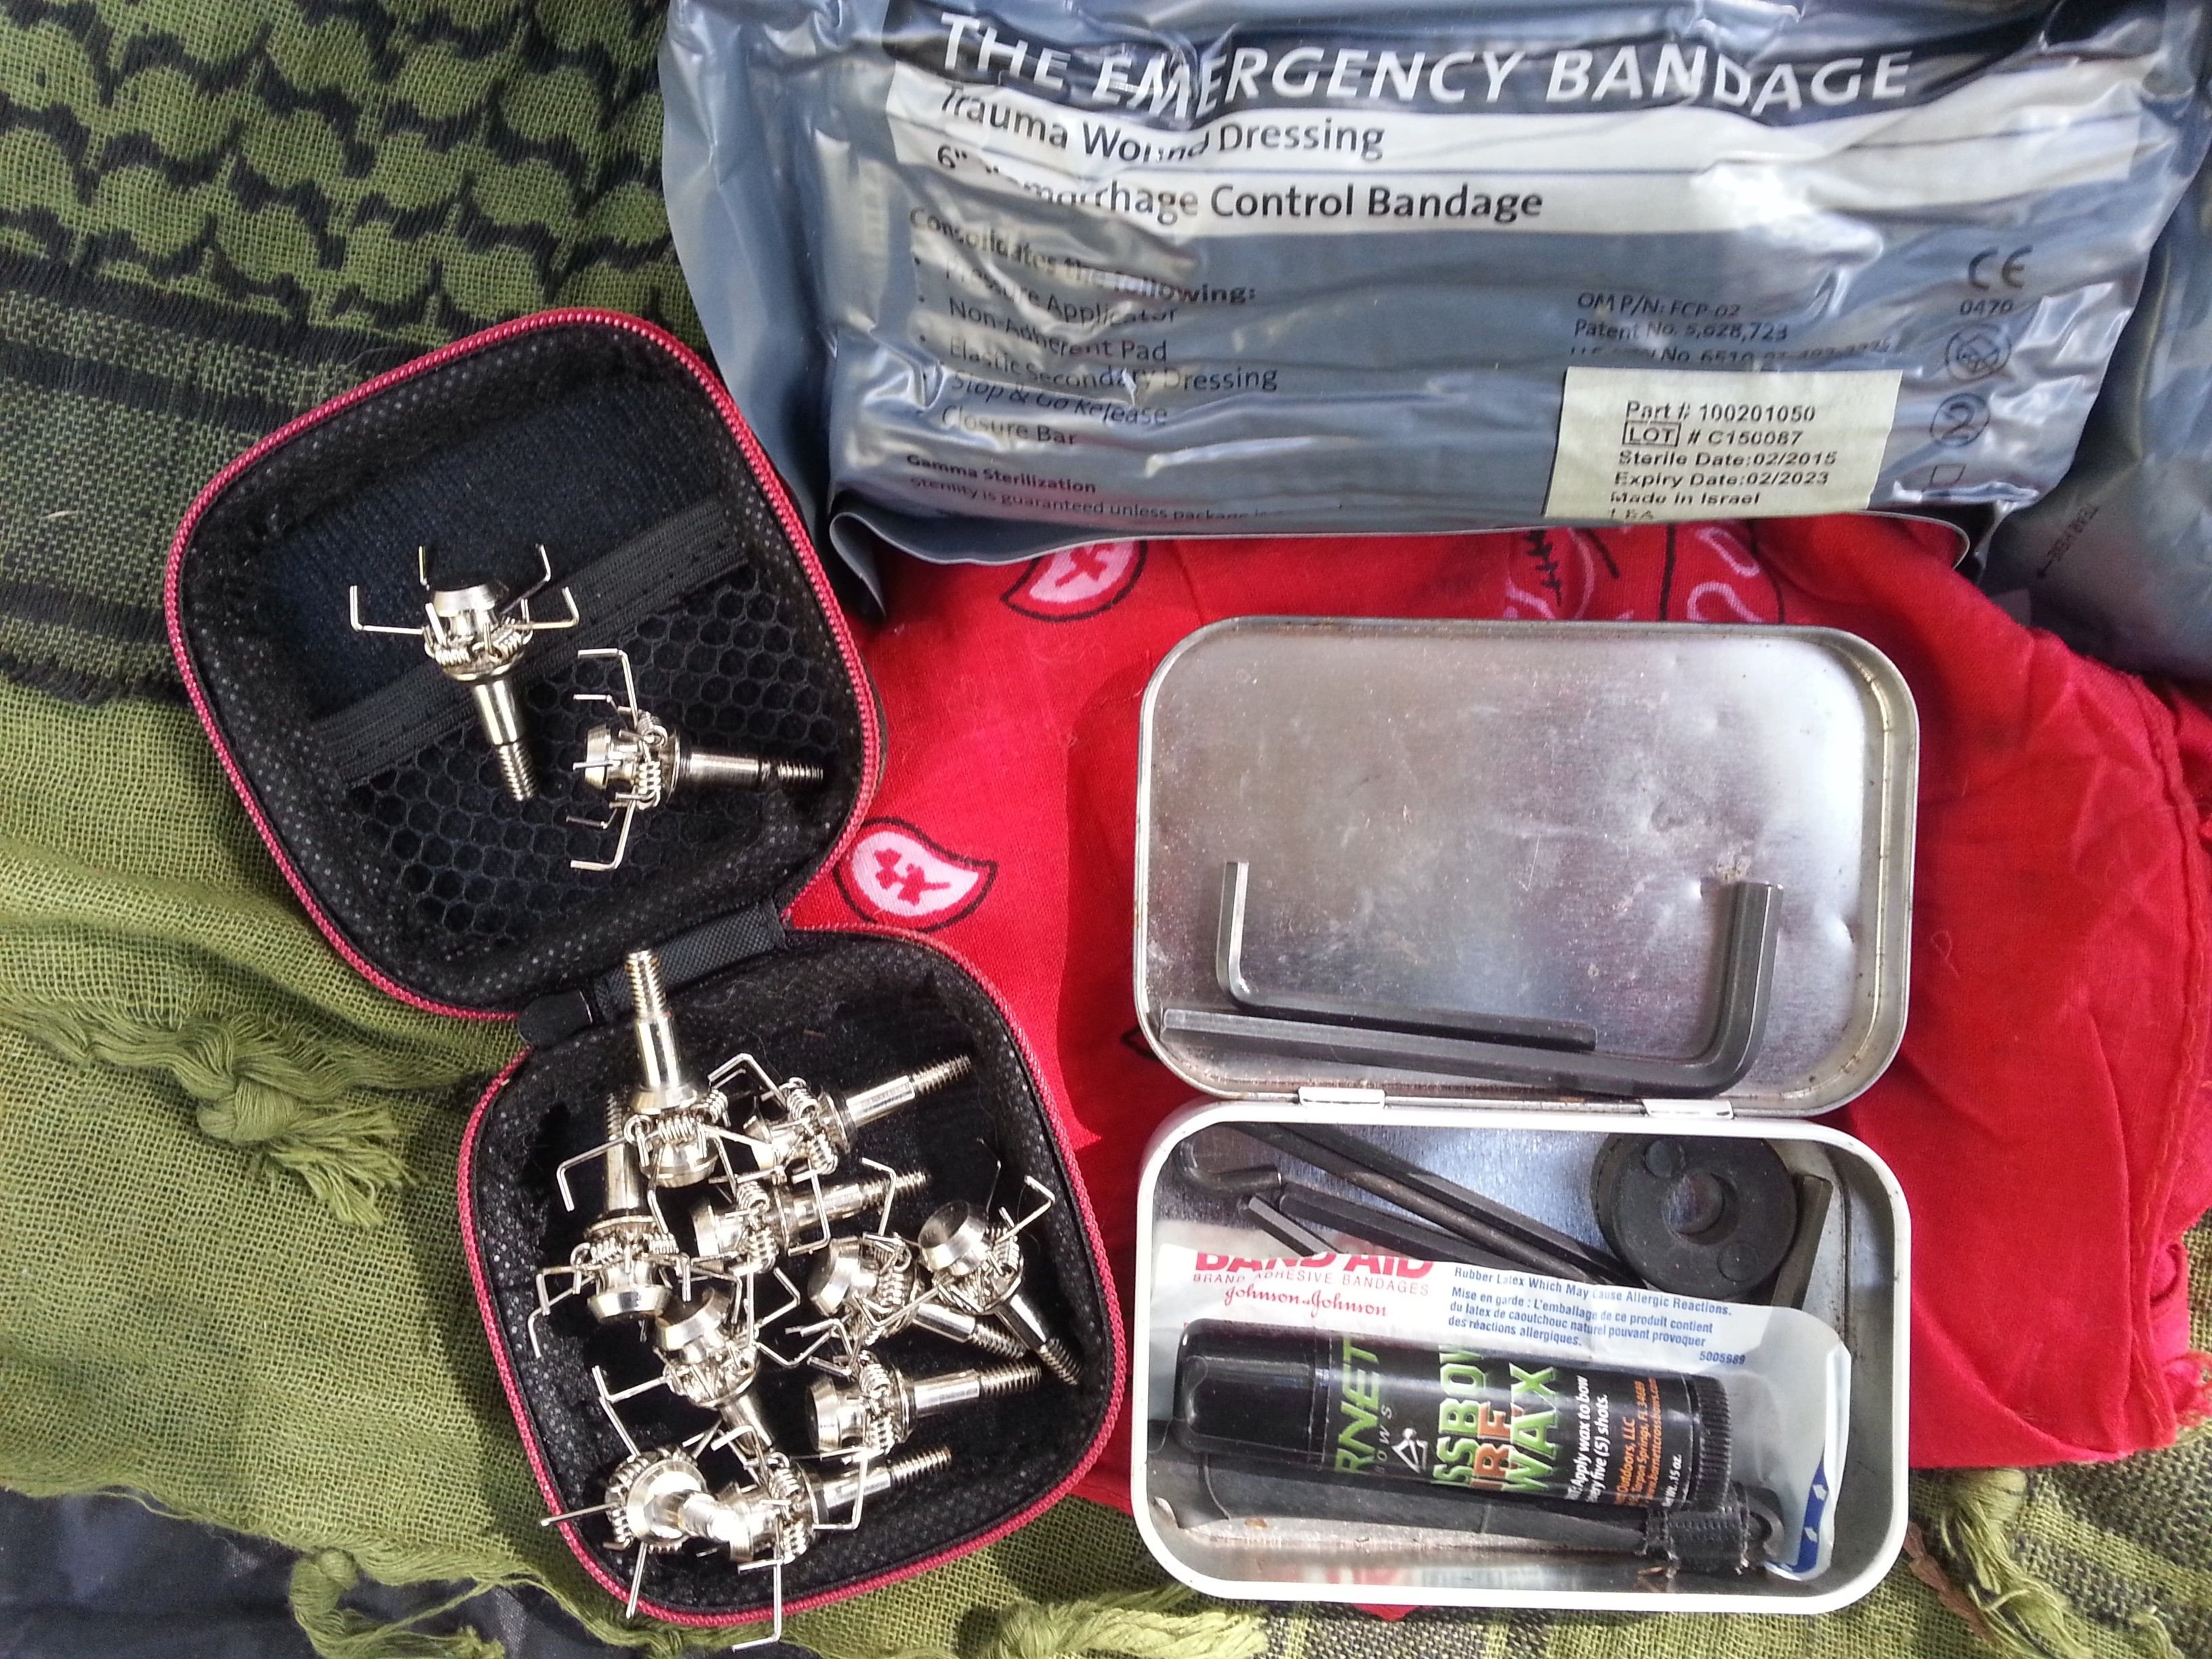
Crossbow Kit and Emergency Bandages
In the picture below you can see the wax for the bowstring, the larger allen key for crossbow assembly, and the smaller allen key for loosening the sight to change it's position on the sight riser for more comfort when aiming.
*Be Very Careful when Using Any Size Crossbow or Bow
It's always a good idea to carry emergency bandages when out in the field or woods. In the silver sterile pack is Trauma Wound Dressing - 6" Hemorrhage Control Bandage. You never know when you or someone around you may need one - especially when the closest emergency services would require a hike out of the bush.
Above is a view of the crossbow aimed towards the target. The manufacturer recommends applying string wax to the top of the barrel every five shots. A little wax on the string helps keep the string from drying and becoming weak. I will smooth out those wax clumps before I get started.
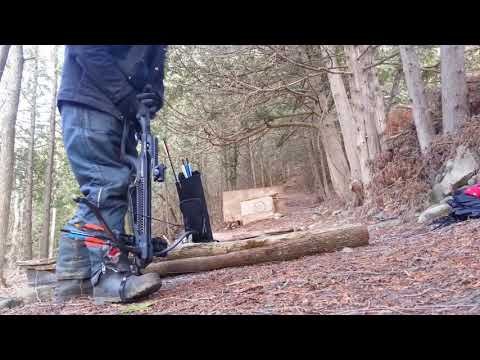
Crossbow String Cocking and Bolt Loading
The cocker's foot is firmly placed into the stirrup when cocking the crossbow. The foot slipping out of the stirrup is how most injuries happen when cocking a crossbow. They have tools for cocking crossbow, I like to keep it simple. The cocker's hands grab the bowstring an equal distance from the center and along the side the Barrel. The string is pulled up until the second click past the Latch that holds the string.
Below is a video of me cocking the crossbow - 150# draw weight, then loading the bolt.
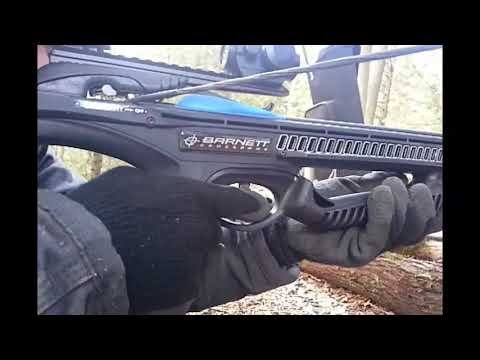
Safety Switch, Trigger Pull
Below is a video of me aiming the crossbow at the target, the safety is only turned off when I am aiming towards the target, then the trigger is pulled in slow motion.
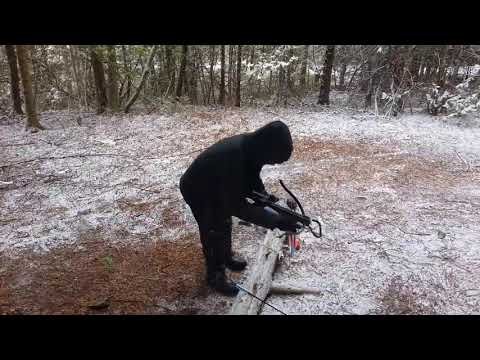
Crossbow Target Practice
Below is a video of the crossbow target practice.
Target Hits
You can see below that all of the crossbow bolts sunk into the forest floor brush filled boxes. I will have to find another target system for practice. I will quickly tire of digging crossbow bolts out of the boxes - and I want to be careful not to damage the vanes. I can see from the hole placement that I need to adjust my scope to the right.

#myhuntingfishing
Be sure to add the #myhuntingfishing tag to your hunting and fishing posts. Click the tag or follow @myhuntingfishing to see all the wonderful posts. I will be taking my son to the lake to go fishing this spring and summer, I look forward to sharing a few of our adventures.
You may find these previous posts interesting:
- Setup and Target Practice with a 50# Recurve Bow
- USB Induction Charging with BioLite Camp Stove - Burns Wood - Boils Water
- Off-Grid: Backpack Solar Panel - Portable USB Charging
- Small Knife Sharpening with a Pocket Sharpener
Have a great day!