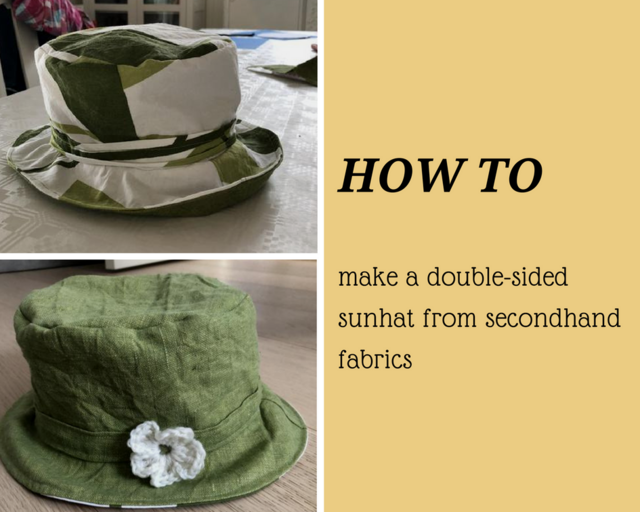
I have a friend who’s nutty about hats. So when she asked me if I’d want to learn how to sew my very own, double-sided sun hat, of course I took her up on the offer.
My friend makes her hats from any secondhand fabrics she can find: curtains, table cloths, clothes - as long as they look good and are good quality, they become a hat. My hat is also made of secondhand fabrics: a cotton curtain on the one side, and a linen tablecloth on the other.
First of all, of course we started off with some coffee and a chit chat, setting up our sewing machines. My machine is about 30 years old and I have inherited it from my husband’s late grandmother. We have a love-hate relationship my sewing machine and I, sometimes not seeing eye to eye at all. But having her sent in for a service a while ago has greatly improved on our relationship, and on this particular day I’m happy to say she purred like a cat.
Here's how we made the hat.
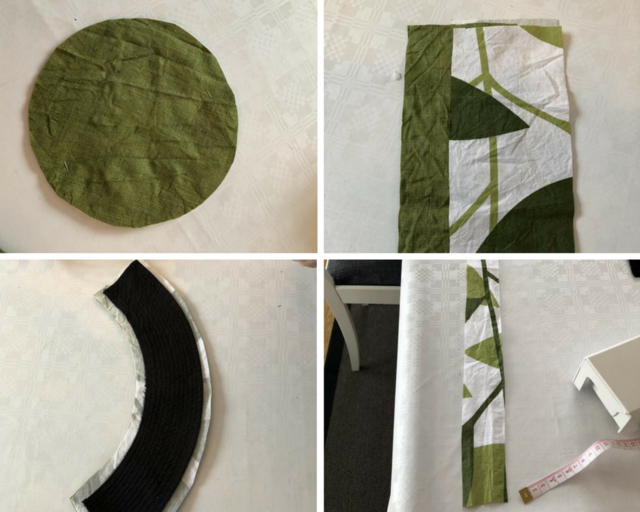
One hat is made up from 5 different parts; the top, the crown (the vertical part), two brim pieces (the horizontal part) and a long narrow piece, which will become a decorative band. First off, cut the parts to size (if you're looking for further details, please get in touch). We used an old, dismantled hat as pattern.
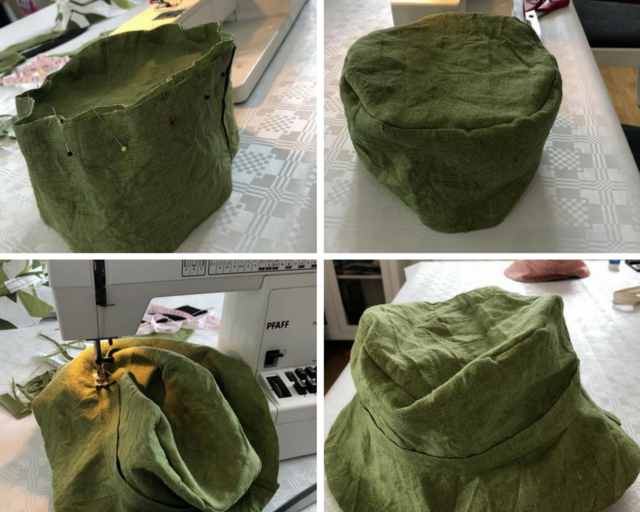
Sew the crown piece together in one end to form a circle, and mount it to the top piece
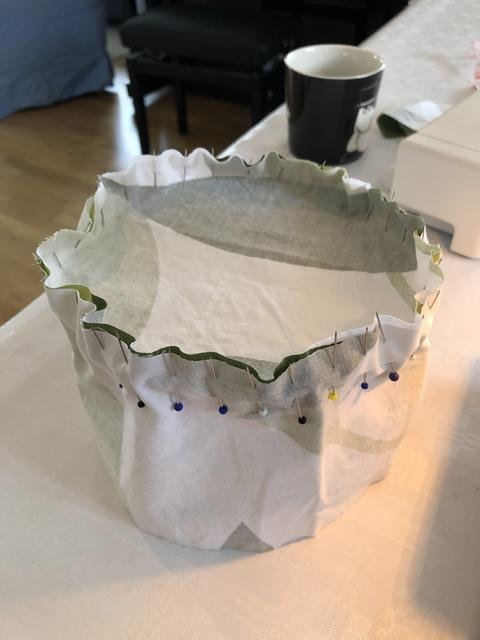
Sew the two brim pieces together in both ends to form a circle, and mount to the crown piece

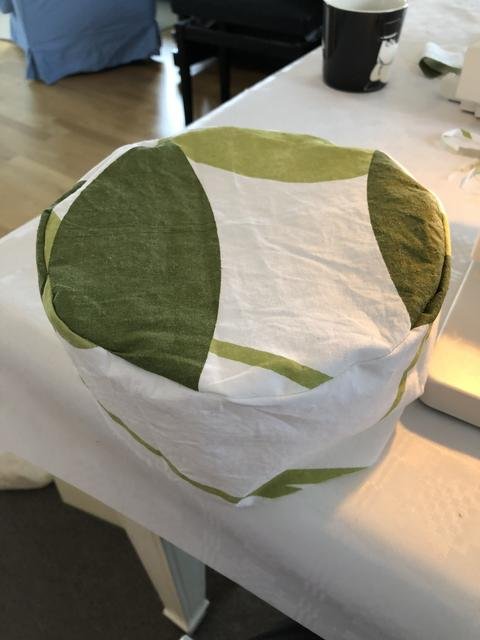
I'm getting all excited by now - it actually starts looking like a hat!
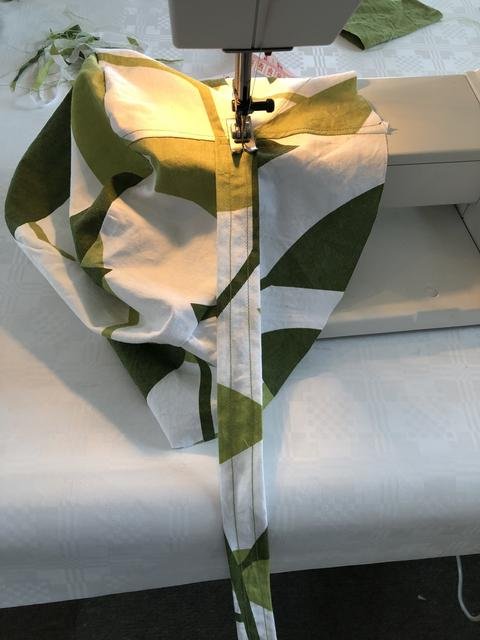
Sew the forth and final piece onto the hat, creating a band that runs all around the hat, covering the joint of the crown and the brim
Now, repeat the same for hat number two, just made in another fabric
Put hat number two into hat number one, with both their insides facing out. Spend some time making sure they align perfectly
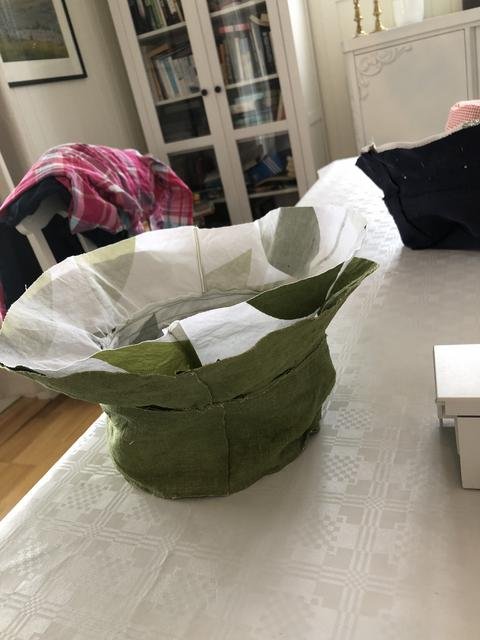
Sew the two hats together along the brim, but remember to leave an opening big enough to allow one of the hats to come through, or you'll have an insideout hat on your hands

Last and final step is to sew an edge around the whole brim in order to close the gap left in your last stage, but also to make a nice finishing touch to brim

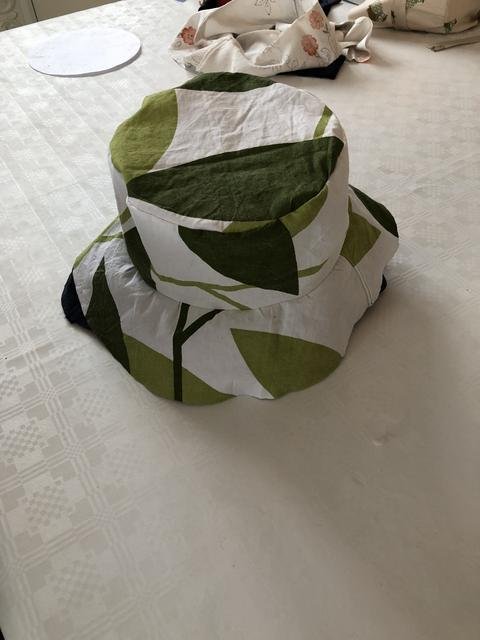
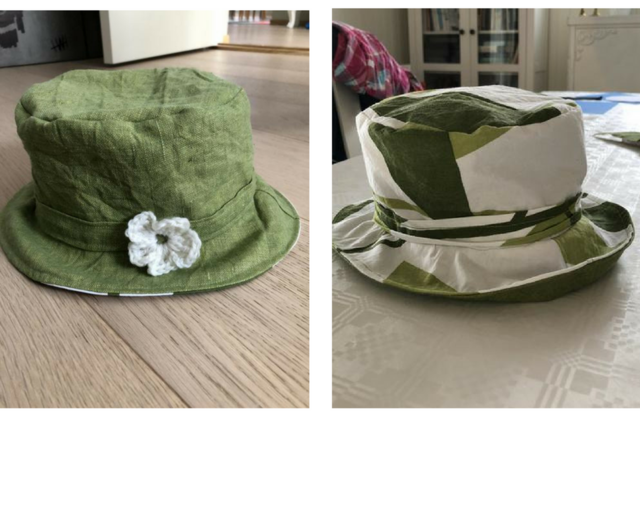
That's the hat finished. I love how it can be used in two different styles, and how both fabrics are shown when worn.
Although not quite ready to quit my day job and become a professional hatter, I am really happy with my sunhat, and whenever spring decides to come along, I'll be ready to greet her. This was my first big venture on my sewing machine, and if I can do it, you certainly can!
Thanks for reading!
-lil-mich
