It's been a crazy week, so far, full of gardening, planting and weeding...and a little bit of harvesting. A little bit! And the baby chickens arrived, throwing all of the semi well laid plans right out the window! I'm flexible, it'll all be good!
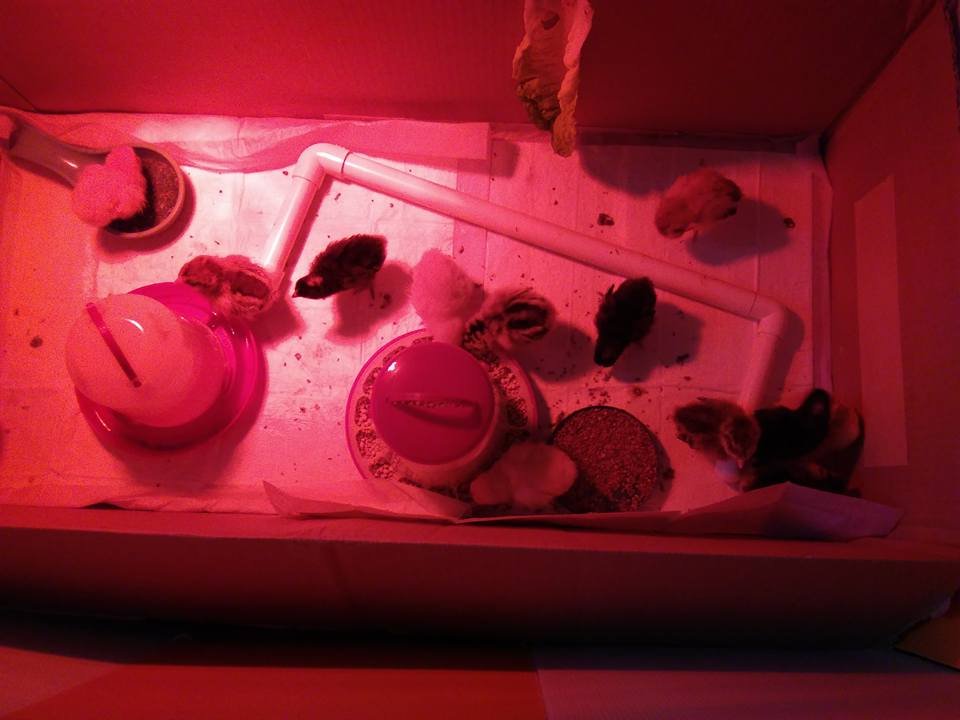
These ladies are in my bedroom. Luckily, they are comfortable enough that their peeping is quiet, almost conversational. Voices only raised when a sister steps on another sister while heading for the food. Who would blame her? How rude! Anyway, I was able to sleep, at least as well as I did before peeps...which is intermittent, at best.
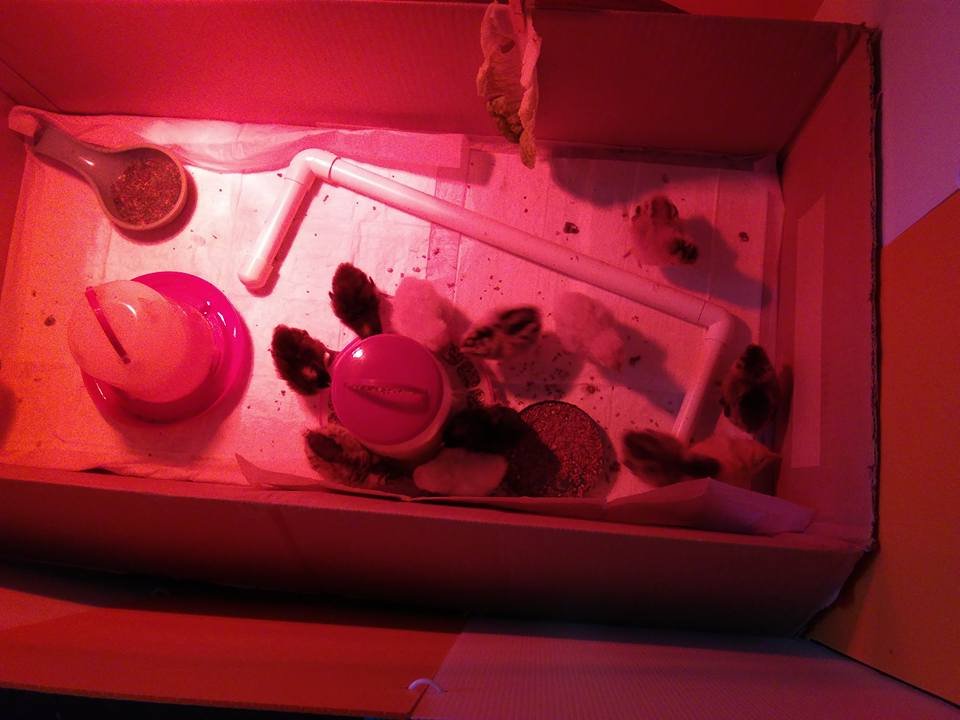
The morning changing of the puppy pads was a comedy, for sure! After reading many opinions on chick bedding in their temporary housing, from newspaper, to wood chips, to special poultry bedding and more, I settled on puppy pads as the most economical and most clean. Bed padding would work too, but the puppy pads are designed with tiny claws in mind. Here are my reasons for the selection.
#2 There is a lavender essential oil fragrance that calms the chicks
#3 The chicks have traction, unlike newspaper, so we don't risk splay-leggedness
#4 They fit into the box without a lot of random excess, so it's safer
#5 Easy to change...well, the next time they will be...I'll explain
So, anyway...the morning changing of the pads...it was really quite funny! My thought was to put all the chicks into a fairly deep basin, quickly roll up the dirty and switch in the clean. The chicks thought otherwise! It's amazing how much stronger they get in just one day! In moments, I had escapees! There goes number one! OMG! I used my right hand to shut my door, so they couldn't wander down the hallway...out pops number two! Meanwhile, with my left hand, I'm still trying to roll the soiled and seed messed padding up without dumping the contents all over my clean floor oh, dang, there goes another one! It's heading to the bed...NO! I scoop that little bugger up, and another one jumps and goes the opposite direction! Played me good, they did! I get those back into the basin, and am now using my right hand to try to block the escape process...no easy feat, I am telling you! Finally got the padding rolled up, new padding laid in...whew! chicks placed, one by one, back into the box...rowdiest ones first, of course! I was ready for a nap by then! Fresh bedding, fresh water, fresh food and grit and we're ready for a new day! Jeez! I need a drink! LOLOL I'm kidding...sorta!
There's bread to be baked...get moving, self!
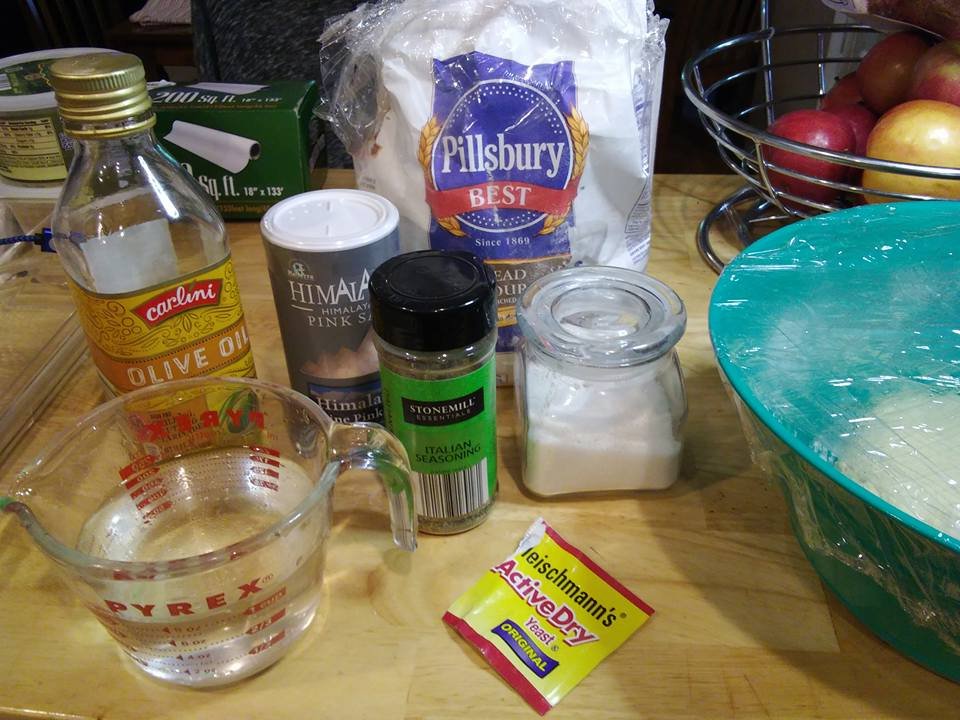
I found some new rustic loaves recipes I've been wanting to try that are stupid simple...right now, I feel that is an important quality in a bread recipe! I was going to do the tutorial steps, but it really would be overkill!
Actually, I forgot, and just mixed everything up before taking the appropriate shots...yes, gonna be a day!
The recipe is simple, you don't need all that! Maybe next loaf! Ready?

1 teaspoon active dry yeast
2 teaspoon fine salt
2 teaspoons granulated sugar
1 teaspoon Italian seasoning
1/4 cup good quality olive oil
1.25 cups warm water (105 to 110 degrees farenheit)
Put all the dry ingredients into the mixing bowl you plan on rising the dough in. Whisk to mix. Make a well and pour the wet in. Stir it with your wooden spoon to moisten the contents completely. I gave it a few kneads by hand, to make sure the moisture was evenly distributed. It's raggedy...supposed to be!
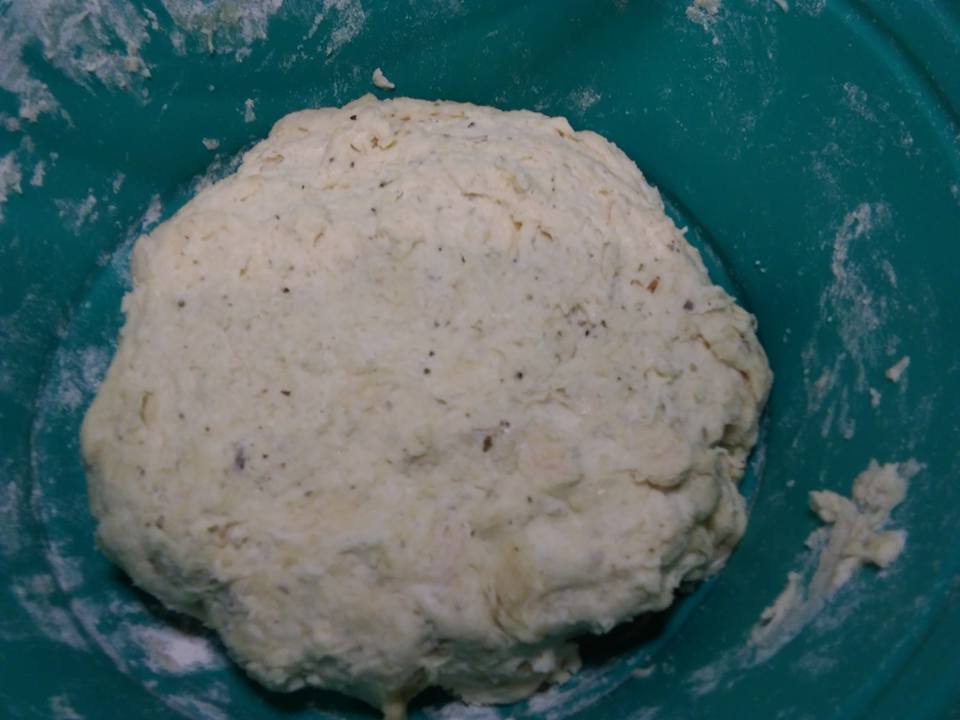
Cover it up and let it sit on your kitchen counter for 8 hours to overnight. This will finish tomorrow. I'll place my heavy Dutch oven in the oven and heat the oven to 450.
While that's heating up, I'll get a piece of parchment large enough to lower the loaf in to the hot pot without burning myself. I'll sprinkle a teaspoon of cornmeal onto an area of about 8" round; then, form my risen dough into a round that will be placed on top of the cornmeal. More cornmeal will be sprinkled on top of the loaf, and three slashes will be cut into the top, for expansion and just cos it looks really artsy!
When the oven is hot, carefully take the Dutch oven out...it'll be screaming hot...remove the lid, place the parchment cradle of bread into the pot. Replace the lid. Put it back into the oven. Bake for 45 minutes, covered. Remove lid and bake for 10 minutes, uncovered.
There are many variations that can be used with this same recipe. You can add Parmesan, other dry herbs, spice mixes like the everything bagel blend, or enjoy it plain!
I'll try to remember to show you how it turns out tomorrow! Promise!
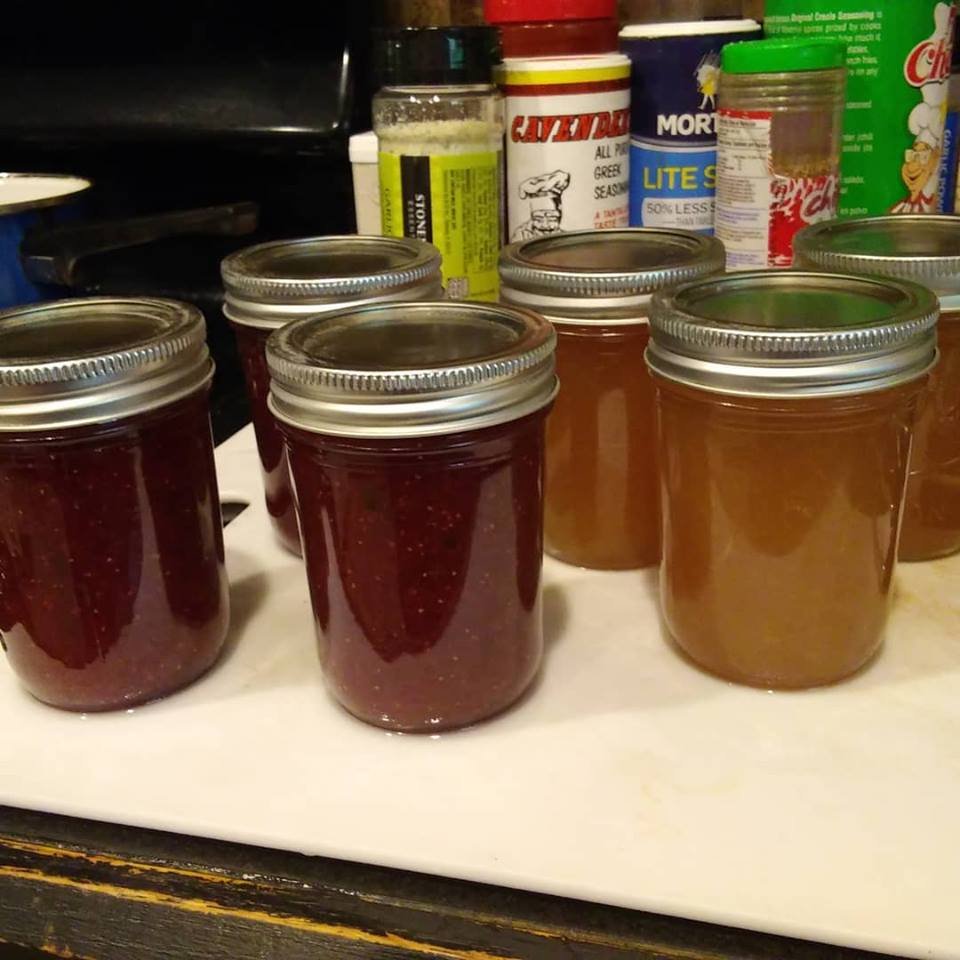
Time to move on to the fruit rescue operations...I had four pears that were past their prime and half a can of pineapple chunks in the fridge that were looking for a purpose. Those became Pineapple Pear Jam. And, there were strawberries from last week, that I knew I was going to jam, so those had been pureed and were just waiting. Both were processed in the same fashion, and each recipe yielded 3 pints.
3 tablespoons powdered pectin (half a package)
juice of one lime
2.5 cups sugar
Mix pureed fruit and pectin in a Dutch oven and heat to boiling, whisking often. When it comes to a hard rolling boil, add the sugar all at one time and stir to blend. Bring back to a hard boil and cook for one full minute after it has been reached. Pack the jam into clean, sterilized canning jars. Process in a hot water bath for 5 minutes.
I try to do unusual combinations in my jams; I prefer not to do the ones you can find at the grocery store. The Pineapple Pear will be unique enough...can't find that here! On the Strawberry Jam, I added a splash of balsamic vinegar and minced jalapenos to make it more fun.
And that's as far as I've made it today, my Steemian friends!
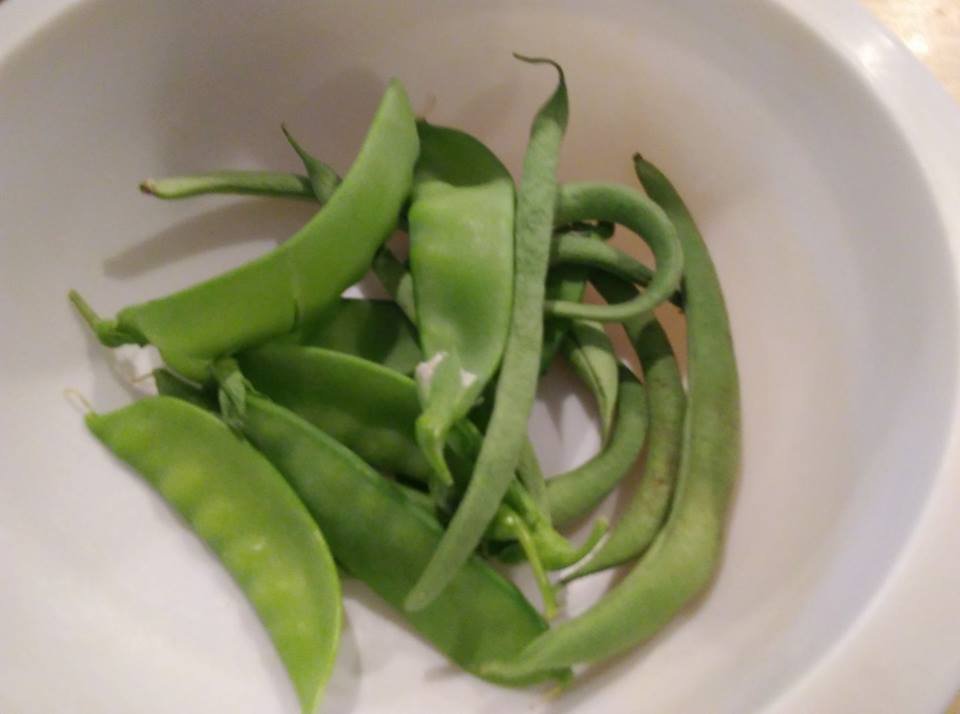
Had a quick bite to eat, did this post...now it's time to get back to getting our things ready for Market Days! I'll leave you with this shot of today's tiny harvest! Steem on, my friends, Steem on!

Community Forums